From the first three articles, someone could easily put together a home shop to do 75% of the repairs on their bike. But once you get past the surface of adjustments and basic components, it is gonna take some pretty large and expensive tools to start working further.
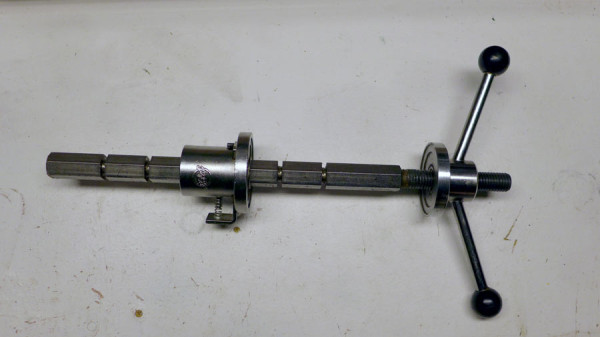
A lot of home mechanics have low-buck ways of replicating these tools, and those methods probably work. Coming from a shop background though, we recommend using the right tool, or taking it to a shop. While you might save money making your own headset press from threaded rod, nuts and washers, the cost savings evaporate if you accidentally wreck that new Chris King headset. A proper headset press will keep the surfaces parallel, and with the proliferation of press-fit bottom brackets, they now double as BB installation tools, so much that Park re-named theirs “Bearing Cup Press” instead of “Headset Press”.
A caveat applies to this post in the series, that all these tools need proper training. Any of these large special tools can do a lot of damage if used wrong, so if you don’t know what you are doing, it would still be best to pay a pro for installation or removal. Or take a class.
TIM: In our last post, a lot of commenters mentioned we were missing a derailleur alignment gauge. Not missing, but I felt like it belonged in this post. Quite an essential tool, especially if you are a mountain biker, the Park DAG-1 (DAG-2 is currently being sold) is both a gauge to check the alignment against the wheel, and a nice long lever to bend the hanger back into shape. If you feel comfortable with that, adding one of these to your kit will always allow you to optimize shifting performance after a crash knocks the derailleur around.
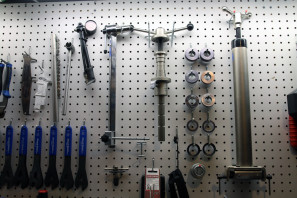
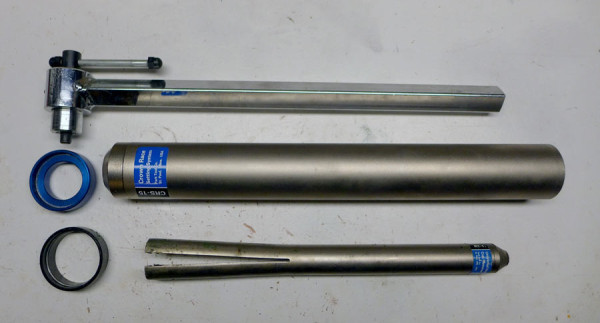
Below are two things you’ll want to have sitting next to your headset press – a crown race setter and a headset cup remover. Both are commonly short-cut by home mechanics using screwdrivers, but if you spend the money to protect your frame with a headset press, you should also do the other parts of the process right.
Zach: The Park DAG-2 has served me well for years but there are more accurate hanger tools out there as I found with the Abbey Bike Tools HAG. There is a huge difference in price however, so most home mechanics will likely reach for the DAG-2 before shelling out for the HAG. However if want your tools to be really, really good looking…
A crown race puller is another tool that has many workarounds but if you switch out forks often or hate scratching your parts it can be very useful. The Park CRP-1 (pictured) or newer CRP-2 have been updated to fit nearly every steerer tube and fork combination out there. The CRP-1 makes it a breeze to remove crown races, but if you come across a stubborn race pour some hot water over it. That’s a trick that Park’s own master of tools Calvin relayed to me long ago – it works. When you really get into headset installation there are many more tools like headset specific drifts, reamers, facers, and threaders that start to leave the realm of the home mechanic.
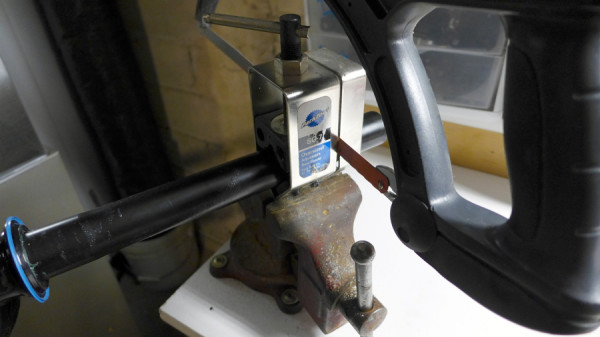
TIM: Even though it is actually a pretty small, inexpensive tool, a saw guide can be very involved. I’ve seen a poor mechanic cut right through the guide itself. If you are installing brand new forks, the cutting guide is a must.
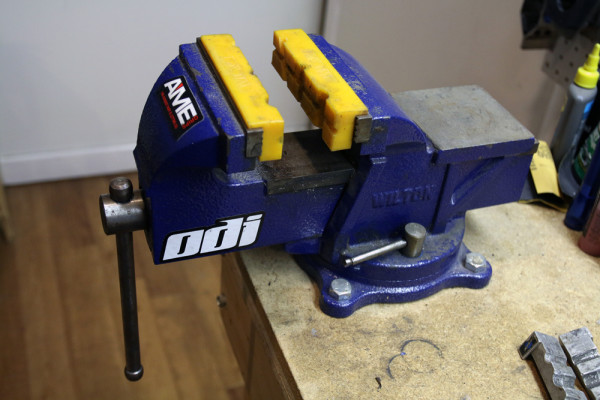
TYLER: And that bench mounted vise to hold it make the job even easier!
Zach: I have to admit – at the shop I used to work at, our old Park saw guides worked great. Just before I moved on from the shop I bought the new SG-6, and have to say I’m not all that pleased with it. The slot for the hacksaw blade is much wider than the actual blade which leads to wavy cuts. Maybe I got a bad one…
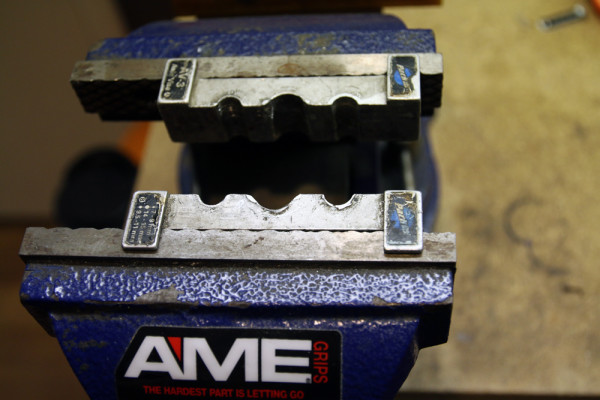
Tyler’s right on the vice, they are super useful to have mounted to your bench – especially with an axle vice like the new Park AV-5 (older AV-3 pictured) and a pair of soft jaws. Acting like a second set of hands a vice can hold that piece of metal while you saw, grind, cut with a torch, or wrench on just about anything. You don’t need one as massive as the 6″ Wilton General Purpose mounted to my bench, but I decided I wanted something I could use for other projects including automotive repairs and the like. I will say that this is one tool not to skimp on. Just about every Kobalt, Harbor Freight, or any other bargain brand vice I’ve used ended up breaking – usually at the clamps for the rotating base, or the actual handle itself. Used bench vices can be a great option since like many tools they don’t always build them like the used to.
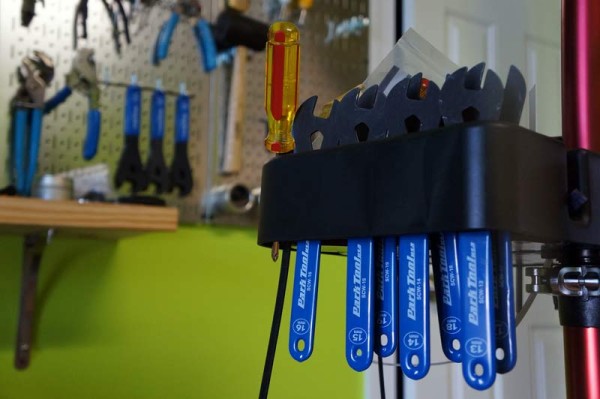
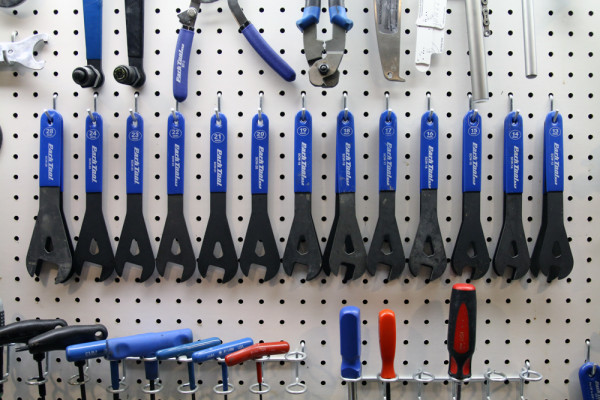
TYLER: For years I relied on adjustable pliers or the cheap multi-size cone wrenches that came with my all-in-one Nashbar tool kit. Finally I broke down and got the Park Tools Cone Wrench Set and it’s been awesome. It includes each size from 13mm to 28mm, and only rarely do I need something beyond that. There are still a few occasions when I need two of something (usually 19mm), but these generally cover anything you’d need a cone wrench for, and they’re way more solid than the ones that come in most kits.
Zach: I’ll second the Park SCW-SET.3 which includes one 13, 14, 15, 16, 17, 18, 19, 20, 21, 22, 23, 24, 26, and 28mm. Added to the cone wrenches from my original AK-32 tool kit, I’ve had all the cone wrenches I’ve ever needed with the exception of needing a second 28mm wrench.
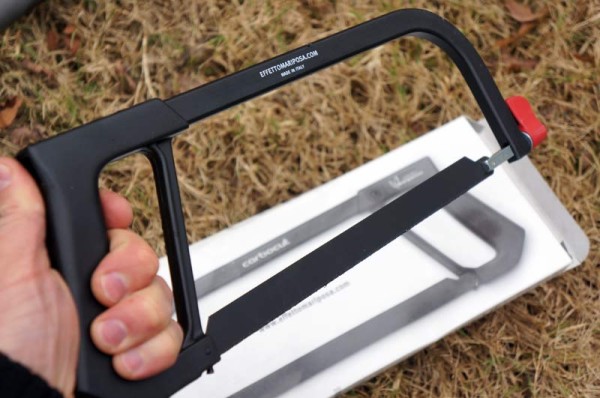
TYLER: This one definitely falls under the rarely used but good to have category: A carbon-specific hacksaw blade. Effetto Mariposa’s Carbocut has made clean work of several carbon steerer tubes on the Rockshox forks I’ve tested.
The cutting edge of the blade’s a bit thick, so it doesn’t fit in Park’s cutting guide Tim mentioned above and you’ll have to freestyle it. But, it cuts a smooth clean edge without fraying the carbon like a metal blade can.
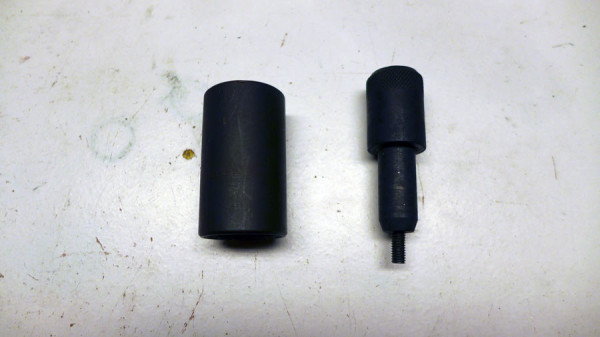
TIM: Also a must for installing new forks is a star nut setter. A few years back Pedros came out with this self-guiding one, and I haven’t had a star nut go sideways since.
ZACH: There are a number of great star nut setters out there, but the Hozan C-460 is my favorite that I’ve used.
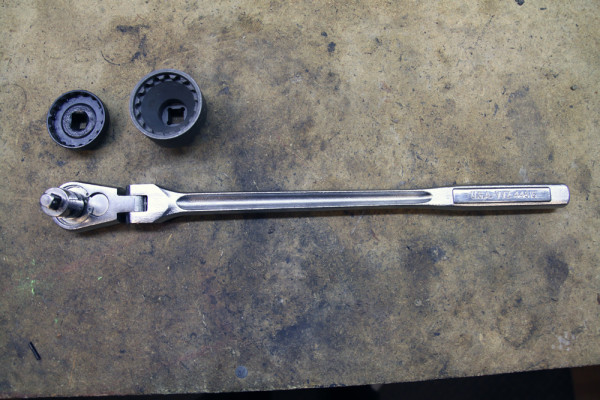
This should qualify as a big tool. Often you need as much leverage as you can get when dealing with frozen bottom brackets or crank bolts. That’s where this Craftsman 1/2 Flex Head Teardrop Ratchet comes in. The 1/2″ drive fits Shimano Hollowtech II and SRAM GXP sockets without an adapter, and a 1/2″ to 3/8″ adapter allows it to be used with other sockets. The flexible head allows you to keep your knuckles clear of the frame reducing the number of cuss words when that BB finally breaks free. This ratchet also works great for loosening your car’s lug nuts.
TYLER: You can always make what’s affectionately known as a “sissy bar” by putting a piece of pipe over the end of your standard-length ratchet handle, too.
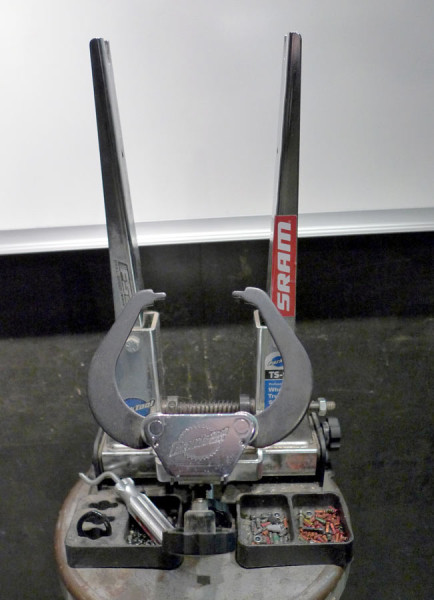
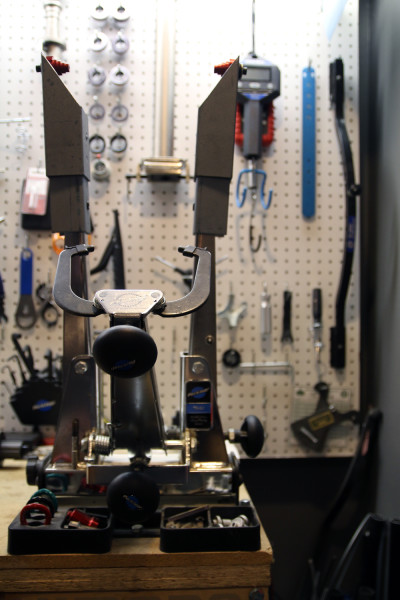
TIM: Last, but not least, the big, bad truing stand. Expensive and awesome looking, they can help you mend a bent wheel, or build a new one. Of all the tools though, if you don’t know what you are doing, you can make a mess in a hurry. There are some great consumer grade ones out there that cost less than 10 truings down at the local shop, just make sure you know what you are getting in to.
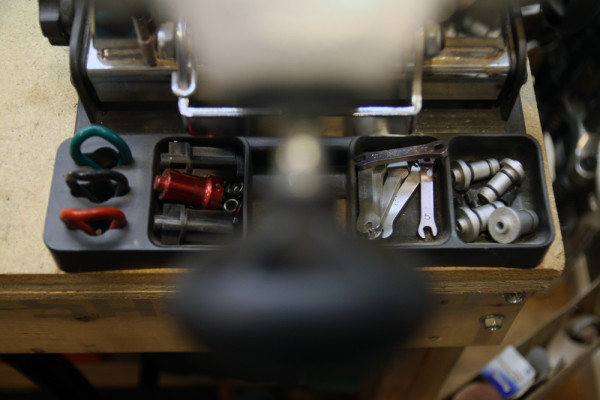
Zach: Tim’s right on the money with the truing stand. It can definitely lead to some wonky wheels if you don’t know what you’re doing, but there are probably many out there who, like myself, view building wheels as a rite of passage. If you’re in that club or aspire to be, a quality truing stand is the first step to wheel building zen. Start by working on trashed wheels or your neighbor’s huffy, read Sheldon Brown’s take on wheel building, or one of the Zinn and the Art of Bike Maintenance books, and give it a try. If you want to step right into the big leagues right away, the Park TS 2.2 is hard to beat. We just wish it was fully fat bike compatible, but wheel and tire sizes have been rapidly changing which makes it hard for tool manufacturers to keep up. We’ll get into my homebrew 197mm fatbike hub adapter in a later installment. The Tilt base that Tim and I are both using makes using the stand more to your preference and also acts as great storage for nipples, or thru axle hub adapters.
If you haven’t seen them already, make to check out all of the other installments from our Home Workshop Series!
