In Part One, we laid out a few ideas for creating a work space. Now it’s time to start filling that space up.
Once you get working on your bike, you will start to accumulate tools. A lot of tools. This is a good thing. But you will need a place to keep them. Everyone is different, so there are a lot of different ways to do this, and no specific right way, just whatever works for your preferences and your space.
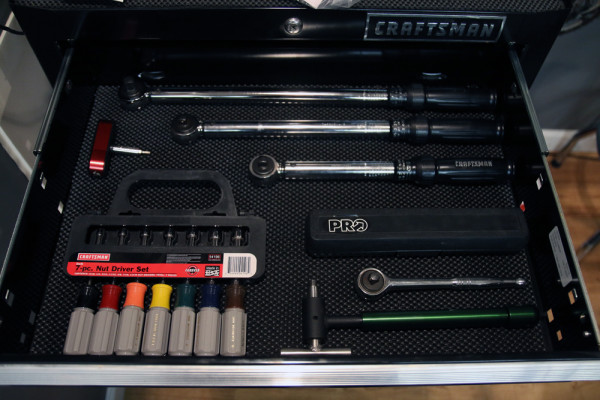
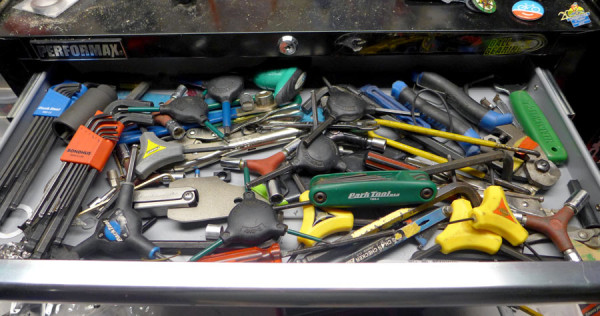
I prefer tool boxes. There are a lot of nice ones out there that have sliding drawers, and are made of metal to last a long time. What you need completely depends on the amount of tools that you have. Many basic tool kits come with their own pretty nice plastic tool box that works very well for that quantity of tools. But once you start to outgrow that basic kit, you will need to look int other options. Even for metal drawer style toolboxes, you don’t need anything special, mine are just the basic house-branded items from the local home improvement store. I choose this style because I am not typically very organized with my tools, so this works as a good alternative to leaving them all over the surface of the workbench.
Check out the other methods, some lights and stands, and some pictures from readers after the jump…
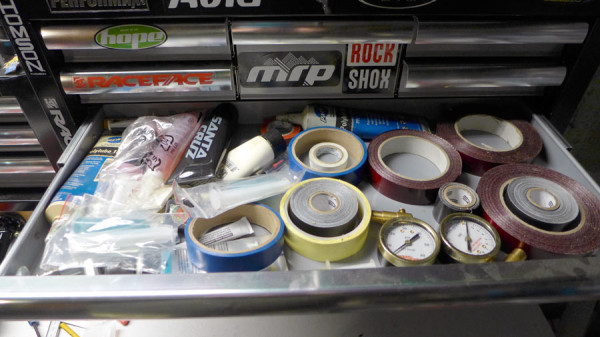
These tool boxes can also be used to store other sundries from around the shop. They cost about $70-$100 depending on how many drawers you need, but real professional-sized models can run up into the thousands of dollars.
Even if you prefer the pegboard method (below), tool chests are still great places to store more delicate tools like torque wrenches. They also act as great storage vessels for things that don’t hang well on walls or are used less often like brake bleed kits and suspension tools.
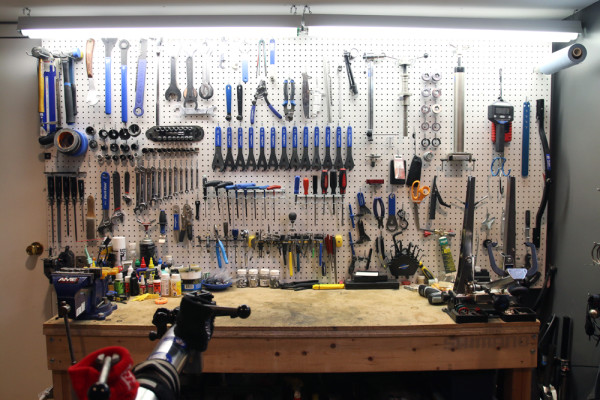
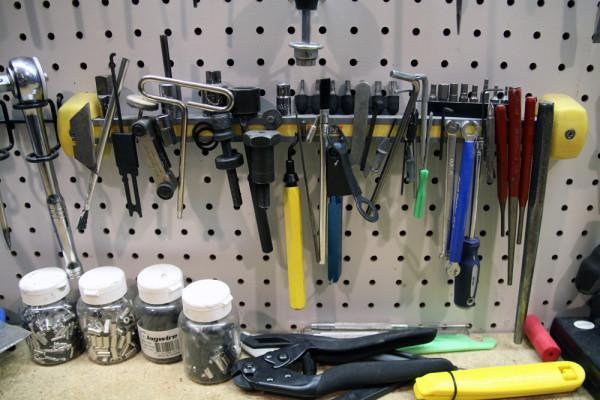
Zach appears to be quite a bit more organized than me, so he uses the pegboard method. Using pegboard, everything is right in front of you and easy to see, but you also need to be diligent enough to hang each tool back up in it’s proper place after you are done using it. The biggest advantages of visual organization boil down to speed and efficiency during repairs since the proper tool is always in the same spot. It also keeps the tools looking fresh since you aren’t searching in your tool box to find the one you need.
Along with the pegboard, mag strips are very useful for keeping track of smaller tools that aren’t exactly peg friendly.
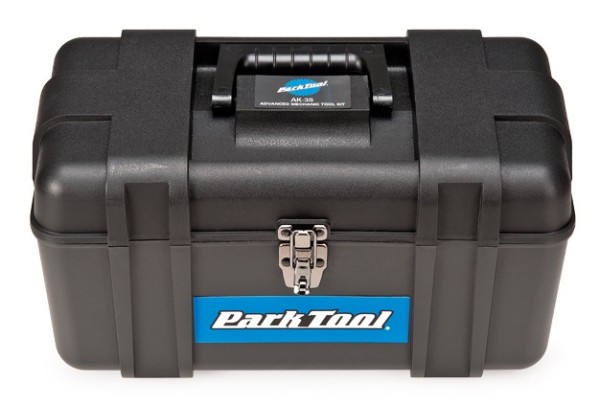
No matter what, its not necessary to jump into an expensive setup like either of those right away. If you start out with a simple tool starter kit, it will most likely come with a box that will work just fine. In fact, for most home mechanics keeping your tools in a tool box like the Park Tool model above may be the best way to go. Tools are expensive, and unless you plan on putting together two different sets, having everything road trip ready in a single case makes a lot of sense.
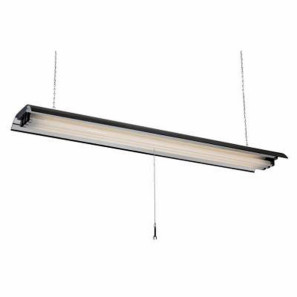
Since most of our workshops are in basements, proper lighting is essential to see what you are doing. Almost everyone will use a fluorescent shop light, as they are pretty cheap ($40), easy to find, and put out a lot of light. I have one of these directly above the workbench to see what is going on over there, and light up what is being worked on.
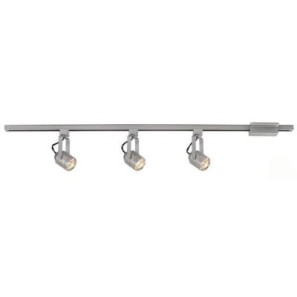
If you need to put direct light in certain areas, home improvement stores also sell decent, inexpensive track lighting kits. These will work well at putting a bright spot of light in dim areas, so I use one of these behind my work area, with the various lights aimed mostly at the work stand, since it is shaded from the main fluorescent light by some basement heating ducts.
Older ones will still have halogens, which are great for warming up your workspace in the winter, too, but cost a ton in energy. LED lights are available to replace the older halogen bulbs now, which cost more up front but last for a decade and reduce utility bills. Compared to a big fluorescent, the color of the light can be more finely controlled depending on the type of bulb you buy, but they can create harsh shadows, too. Tyler has both in his workshop, which provides a nice balance depending on the time of day and type of task. He’s also lucky in that there are large windows nearby, too, which let in the best light source of all: the sun!
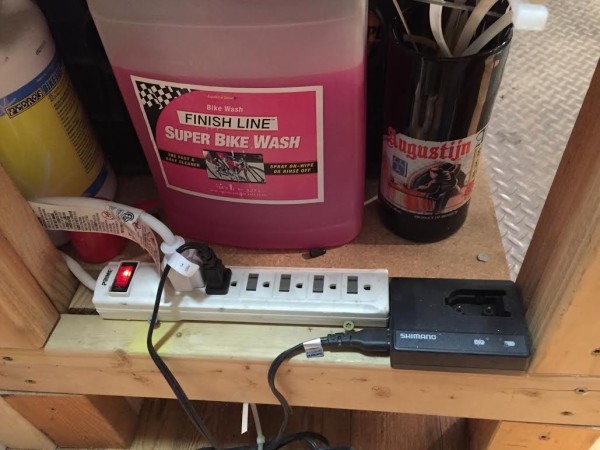
You can save a bit of coin by going with the shop lights that don’t have their own on/off switches which are usually the cheapest at Home Depot ($12 a piece) and similar home improvement stores. Instead of using a pull cord on the light, mount a power strip on the side of your workbench with an on/off switch of its own. This way you have an easy way to turn on the lights, no pull cord hanging in your face, plus extra outlets for power tools or a convenient place to charge Di2 batteries.
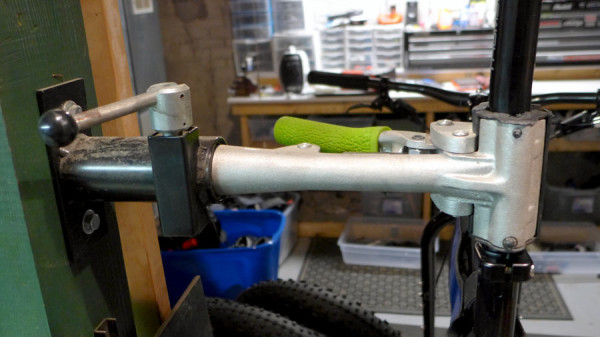
And the final key to being able to work on bikes in your new space is a good work stand. I use a Park Deluxe wall mount stand for a variety of reasons. First, it was really easy to mount since my 1920’s home is held up by massive wooden posts throughout the basement. Second, once you use a nice cast aluminum Park tool head, it’s hard to go back to anything else. Finally, it was the least expensive way to have the nice Park professional head, and it mounted quickly and very solid with a couple 4″ lag bolts.
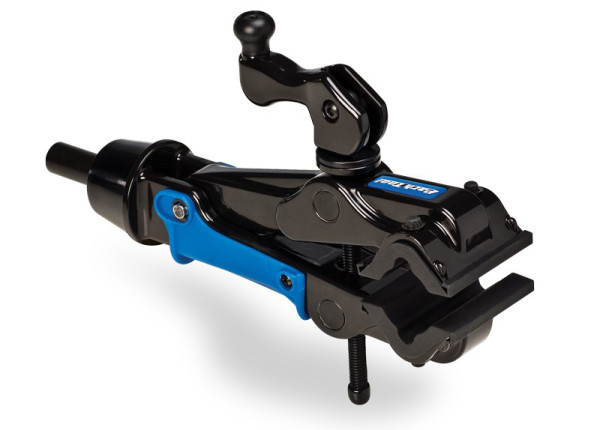
While the original Park Professional head will outlast many of your bikes, the 100-25D Micro-Adjust clamp is a welcome upgrade for bikes without the traditional round seatpost. Not only will shorter riders benefit from the clamp’s narrower jaws (since less seat post may be exposed), the clamp is better for aero seat posts, dropper posts, and lightweight carbon posts.
However, as much as I love the heavy duty Park Professional stand for my permanent workshop, if you need a single stand for both home and travel use it’s hard to look past the Feedback Sports Pro-Elite work stand. Super portable yet very stable thanks to its tripod base, the quick release jaw makes it a joy to use. They aren’t cheap at $284.99, but if you’re looking for a pro level stand that you can take with you to races, it’s worth it. This is Tyler’s main workstand and it’s been going strong for a few years now.
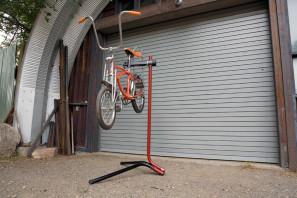
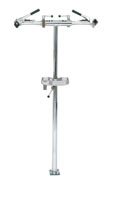
At other ends of the spectrum, Feedback Sports sells a really nice Recreational Work Stand for just $129, and Park has the full professional model with two heads that can go for $800+. No matter which way you go with a stand, they all do the same thing; get the bike off the ground so you can work on it.
READER SUGGESTIONS
After last week’s article, we had a few good tips flow in from readers who have set up their own home workshop.
From “Nate” –
A few suggestions on your bike workshop series. You suggest using the interconnecting workout room mats in the shop. These aren’t a great choice for underneath the workstand. They don’t react all that well to solvents used to clean bikes. They handle small drips well, but if you’re using something like a CleanStreak chain cleaner and dripping a lot, the solvent will chew up the mats. I use these in my shop and am not terribly thrilled with them. In common use in my area at bike shops are thick rubber horse stall mats from Tractor Supply.
From “Gillis” –
Plywood tool board, use screws. (someone above said nails, but after a while those can come loose. And screws are easier to manipulate) -Bench vice, ideally with different jaws for a multitude of tasks.
-Power strip. fix it to a leg or under the lip of the work surface. With nearby shelf it can be a good place to store and charge batteries.
-Small garbage can or . Also good for placing under bike when cleaning, it catches the excess drips and/or dirt/grime, which minimizes clean up afterward.
-I put in a bottom shelf just off the floor with a 2×4 kick-board underneath. It keeps stuff off the ground in case of spills or flooding (for basement dwellers) and stops that tiny screw from rolling to the back-wall into that unseen crevice never to be found again.
All great points. At some point you will need power, so if your space does not have it, adding a power strip to the workbench is a great way to make it accessible. I also have a small kick board on the bottom of the bench to keep things from venturing too far into a place they can never be found.
From “Aiden” –
Saw the article you have done on BR regarding workshops, and just thought I’d share with you our new professional mtb suspension workshop here in Australia.
After several years in a home based workshop similar to those pictured in your article, we moved our mtb suspension workshop into a new custom premises, entirely designed for suspension service, including a dedicated rear shock bench, and two benches for forks to be worked on by our technicians. You will notice there are no bike stands, as we do not do full bike servicing. Every small part and tool is within quick reach and is ordered according to brand and model. It’s not 100% perfect, but it is pretty refined to make work as efficient as possible within reason.
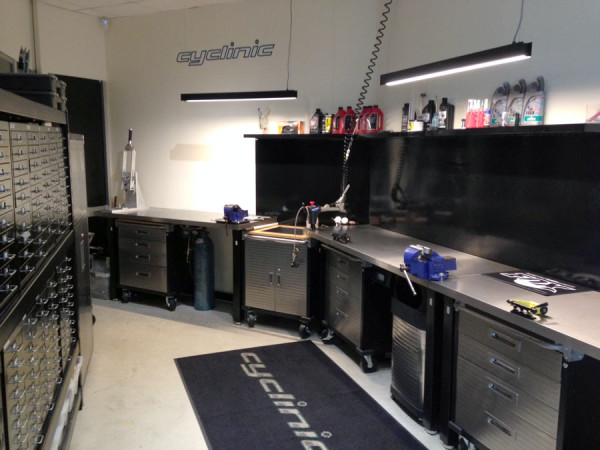
I think it would be easy to say that Aiden would have us all jealous for a “home workshop”, but its nice to hear from him that he was able to take a nice home shop, grow it into a business, and make that business successful enough to need to grow into a full professional shop.
Tune in next week as we start to cover basic tool kits…
If you haven’t seen them already, make to check out all of the other installments from our Home Workshop Series!
