If you’re reading this right now, your bike is dirty. Let’s face it, except for those of you that make your bed every morning, wash the dishes after a light healthy breakfast and disinfect your chain after each ride (truth… best friend and former roommate), you probably owe your bike a really good, deep cleaning. When I received the Ultimate Bike Care Kit from Muc-Off, and what has to be the most robust chain cleaning device ever created from Park Tool, I said… “it’s time”.
Knowing I might be judged, I decided anyway that this would be a good time to delve a little into some winter maintenance tips while tending to an embarrassingly overdue cleaning of my bike. Check out the before and after pics as a result of the Muc-Off and Park Tool’s help as well as some handy semi-pro tips and items I threw in for good measure. I’d love to learn more so be sure to add your maintenance tricks and tips in the comments…
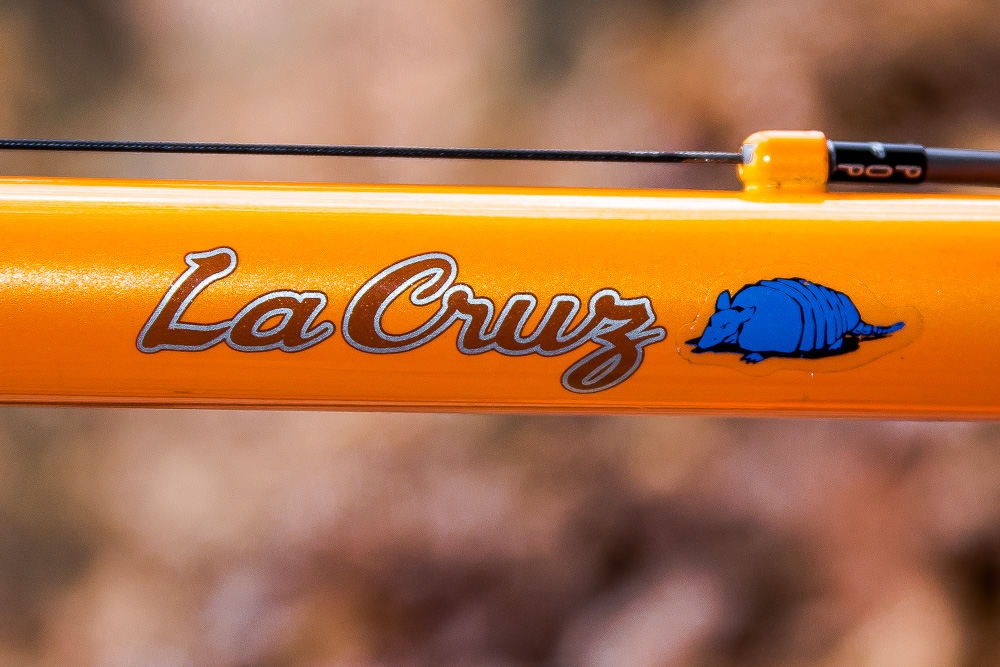
Meet the victim. My steel 2007 Salsa La Cruz cross/commuter bike running a beat up 1st generation Dura Ace 10 speed drivetrain that I took off my actual cross bike years ago. It rides on Stan’s 29er Crest rims running 42mm tires laced to my 15 year old Chris King ISO hubs (that are on their 4th or 5th set of hoops). This beast has been used for “gravel” riding (before someone gave it a hip identity), as a commuter bike, and what I refer to as my “rain bike”. When I was a wrench, I used to be overly meticulous and use every trick in the book to get a someone’s bike clean… and not just clean, but to the point that it made them almost afraid to ride it as if they were about to steal its youth.
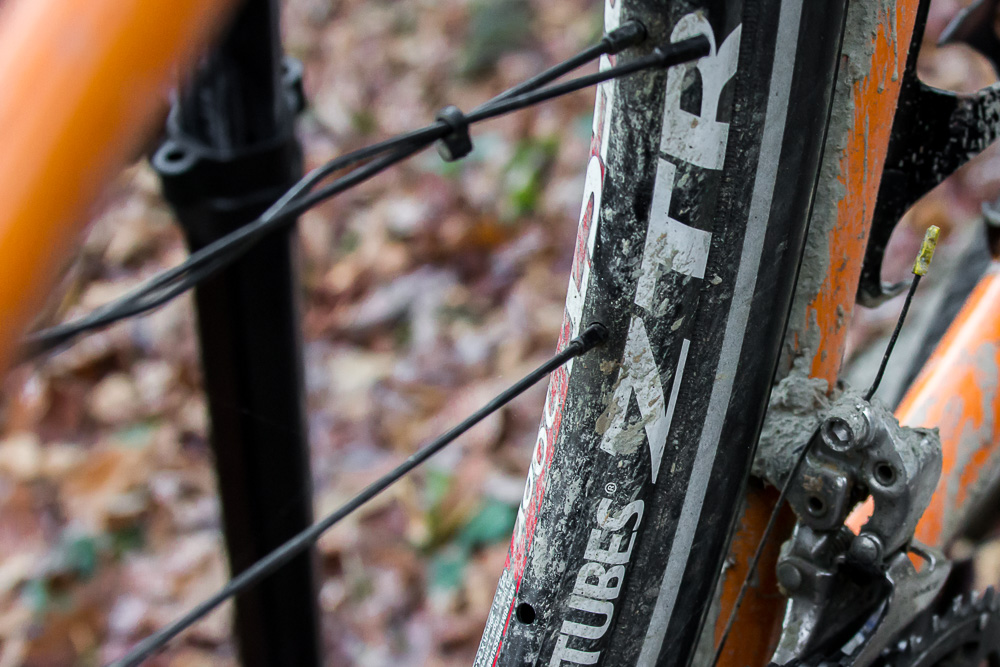
My personal bikes? You may take a look at the picture above and think “I bet that was a fun ride even though he had to do a little roadside repair till he got home and fixed it”. While that may be the decent thing to do, that particular layer (or sublayer) of mud I believe is from riding some soupy gravel roads in Virginia with the above-mentioned OCD friend (yes, he washed his bike for an hour before even changing out of his gear) three years ago. I zip-tied that spoke about a month after the nipple broke because the rattle was driving me batshit crazy. Because I recall the repeated complaints of my friend not wanting to ride behind me due to having to look at my wavey rear wheel, it must have happened some time before then… so do the math.
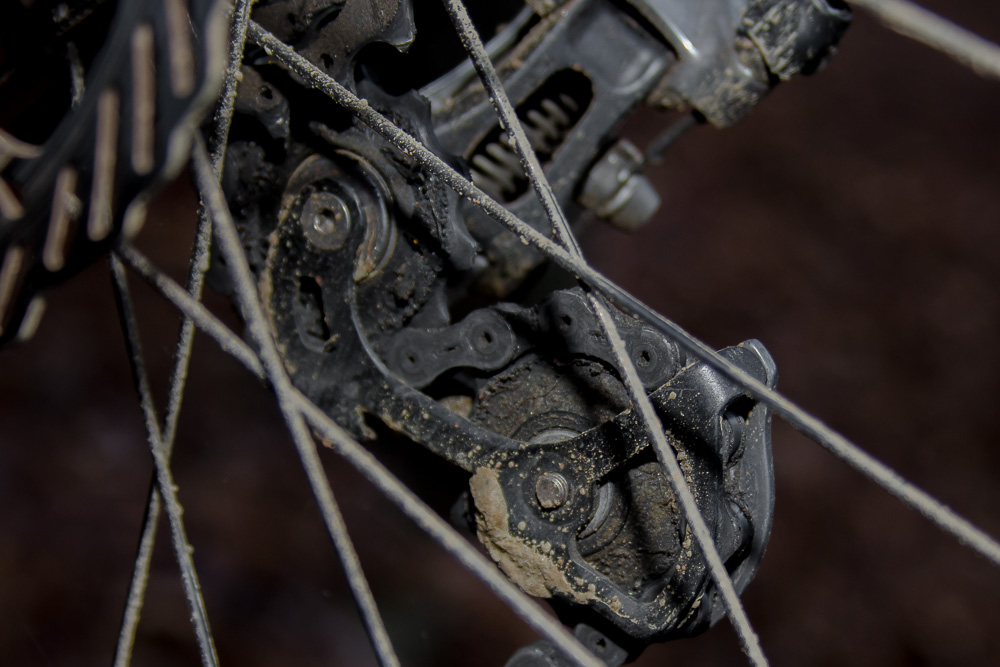
Just looking at the encrusted and gummed up drivetrain will cost you something like 18.34 watts or so. When things are this bad, I usually take a dental pick (or Muc-Off’s hooked Claw Brush mentioned below in this case), to scrape off the thick hard crud that has accumulated over time. Needless to say… if bikes had smells like we do, this thing would probably smell worse than the surface of Bourbon street in mid-July.
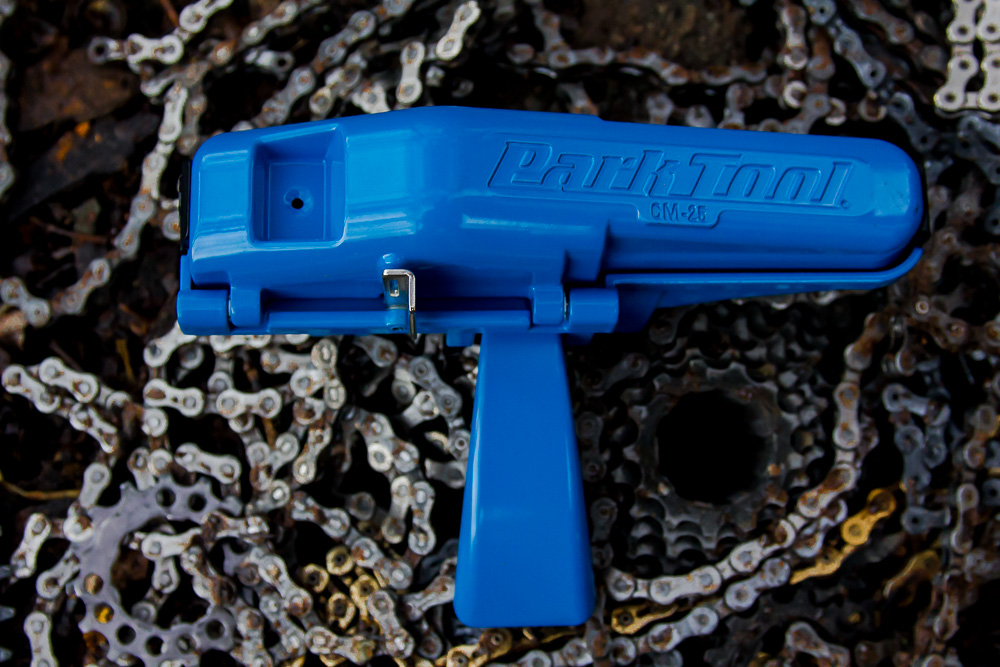
The first step to cleaning a bike is to degrease all of the dirty parts because a regular “bike wash” solution won’t cut through the oil soaked grime. To conquer this feat, Park Tool‘s’ new CM-25 shop level chain scrubber came to the rescue. The die-cast aluminum casing & handle on Park’s newest chain cleaner is strong enough to stand on (don’t) and houses 4 scrubbing stages that the chain passes through (compared to 3 in their standard plastic CM-5.2).
I admittingly was never been a fan of the housed chain scrubbers because they seemed messier than they were worth and in a shop environment, would eventually break… plus, we had an industrial parts cleaner for that kind of duty. When I did finally get around to “cleaning” (as opposed to just adding lube and wiping it off), my personal chain, I would take it off, coil it up, soak it, scrub it, blow it out with compressed air, wash it off with warm water and liquid Joy, let it dry, add lube, and reinstall. *whew*
Now that “life” isn’t all about bikes and I don’t have access to a parts cleaner, ain’t nobody got time for that kind of chain care! Suddenly, a housed chain scrubber seems like a not so bad idea. The one I had was okay, but it was a cheap one that seemed to spread the gunk more so than “clean” it. Turns out the company that sent it to me never put it into production, so no need to throw them under the bus.
Once the Park Took CM25 is filled with about 2oz of cleaner, you close it over the chain and start spinning the cranks backward. The chain first passes through a side scrubbing wheel to remove any stuck on gunk off of the side of the chain. Next, it goes through upper & lower wheels with bristles that act like the teeth on a chainring to clean out the crud in between the links. It then goes through a sponge to capture the major debris and fluids and lastly a felt pad to wipe off any smaller particles before exiting. The upper and lower cartridges that house the scrubbings wheels and sponges can be removed for easy cleaning and replacing should you wear them out.
Simi-pro Tips:
- Your chain isn’t clean yet – After cleaning a chain and applying lube, you’ll often notice when wiping the excess lube off, it’s already dirty and your chain may sound a bit gritty. For a truly clean chain, before lubing, use the CM-25 to run the chain through some soapy water then rinse it off to remove any left over “dirty” solvent. Using compressed air to blow out the remaining leftovers within the links’ housing as well as dry the chain will remove most of what is causing the chain seapage and grit. Your chain is now edible.
- Save that cleaner! – Muc-Off’s Drivetrain Cleaner isn’t a one hit wonder, nor are other bottled degreasers. Once you are done running the chain through the Park Tool scrubber, pour it back into the original bottle. Yes… even though there is perfectly clean fluid still taking up more than half of the container. What will happen is that all of the gunk that came off of your drivetrain will sink to the bottom of the container leaving all of the clean solvent at the top. The next time you go to clean your chain, just be careful to not shake the bottle so only the clean fluid at the top gets used. I’ve done this before using one bottle for several years. The last time I used it, the container was made up of 75% gunk with the top 25% being a barely usable solvent.
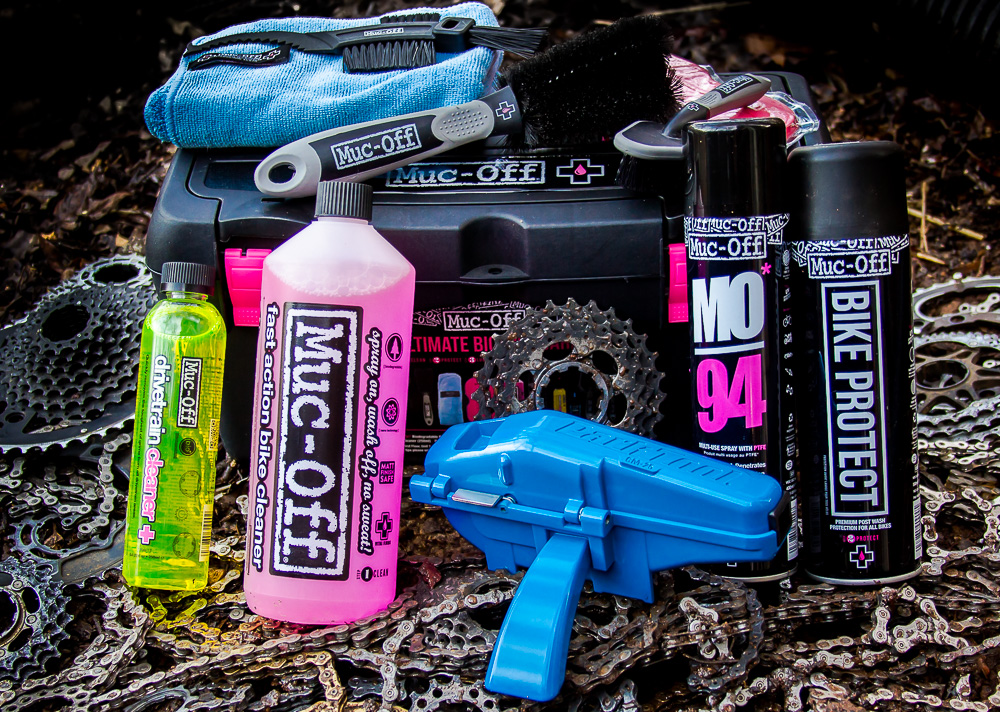
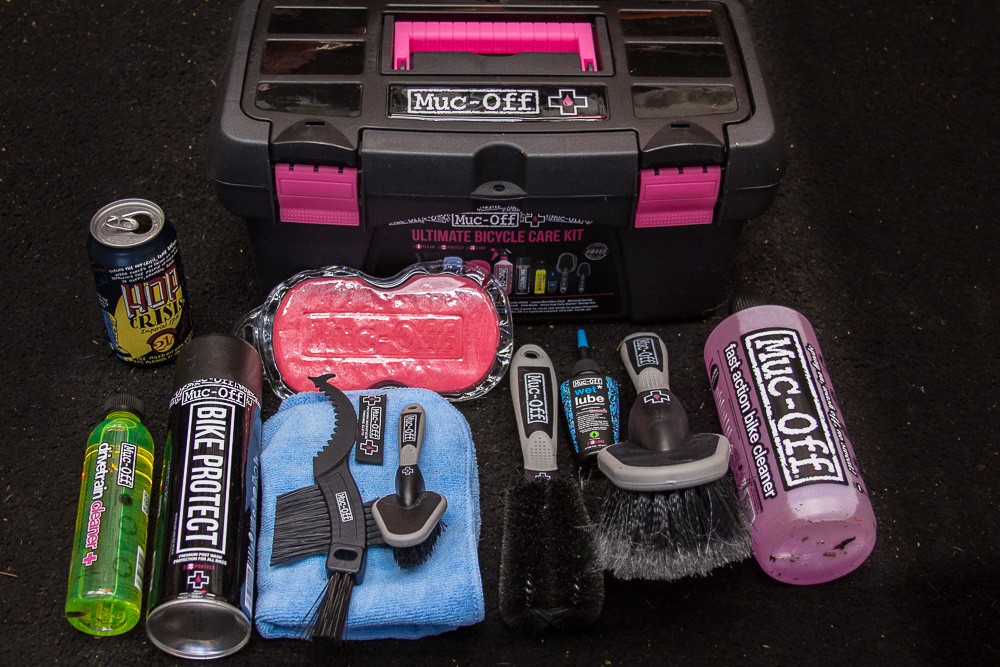
From across the pond, Muc-Off has been making quite a bit noise in the US for a few years now with a large assortment of what they consider elite level cleaners, protectors, and lubes. (They do sell a small bottle of their Nanotube Chain Lube for $95 which is made for lubing their $200 treated Nano Chain after all). They sent me their Ultimate Bicycle Care Kit ($109.99) to try which included the following items:
- Drivetrain Cleaner – The pretty, neon green Drivetrain Cleaner is biodegradable and did a great job quickly breaking down even the thickest crud. First, I sprayed it directly onto the entire drivetrain to let it soak then took the Claw Brush to pick and brush things out back and the Detail Brush to scrub the chainrings. I then ran the Drivetrain Cleaner in the Park-Tool CM-25 for a winning combination and rinsed everything off with a hose leaving the drivetrain pretty sparkly.
- Bike Cleaner – I’ve used this before and it does its job. First, I applied it by spraying some directly on the bike to soften up the crud. Then using a bucket with water and half a cup of the wash, I used the included Microcell Sponge & Soft Brush to clean the entire bike. It pierced the layers of mud & grime like a champ and left what was a pretty spotless bike at this point.
- Microcell Sponge – I didn’t know what this pink thing was until I opened the packaging and it expanded to full size. It’s a giant sponge… nothing special, but good to have.
- Soft Washing Brush, Detailing Brush, Two Prong Brush, and Claw Brush – The Soft Washing and Two Prong Brushes resemble that of what you can find at the auto parts store. The Detail Brush was nice in that it reached the harder to get to areas, yet provided a flat scrubbing surface that made cleaning the chainrings much easier. The Claw brush was well designed but was flimsy compared to those from Park Tool and Pedros. I did like the “pick” end on it, but when trying to put it between the dirty cogs on the bike, the “flex” would cause it to bind between the gears as I tried to turn the wheel.
- Microfibre Cloth – This is special. Special in the way I want a pair of boxers made of this magical cloth. We’ve all seen a microfibre cloth before, but this one has a soft, thick raised pile on one side giving it some serious polishing abilities.
- Bike Protect – I assumed this was a sort of bike polish, but it wasn’t that at all. It is listed as an “all over” after-wash corrosion inhibitor and that it disperses water. They recommend spraying the whole bike down, including the drivetrain & frame after washing help remove any moisture still in the chain so that lube better adheres to it. It also leaves an undetectable layer on the entire bike to keep future grime from sticking to it making future cleaning easier.
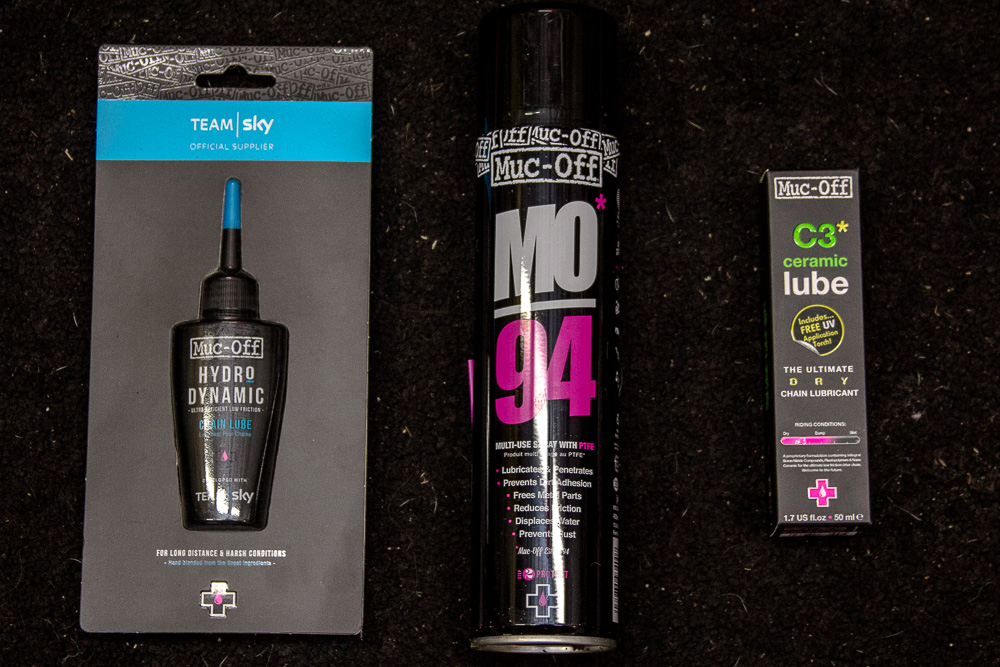
- Bio Wet Lube – It’s a quality wet lube I’m sure, but I had to jump on that $28 Team Sky HydroDynamic chain lube they sent that comes with it’s own black light! (below)
- Tackle Box – Good way to keep everything together especially if you travel to events where things are bound to get messy.
Muc-Off topped off the Ultimate Bicycle Care Kit with some of their next level items for me to try. I’ll go into the HydroDynamic lube below, but center is their “do everything” MO94 lube. It’s a penetrating PTFE formula that also lubes & protects anything you put it on. If you’re familiar with GT85, it’s basically that but with a more traditional, old-school WD-40 scent. I’m not going to be able to tell you which one is better, but the MO94 seems less runny… and the GT85 smells oh so glorious. For a premium dry lube, the C3 Ceramic Lube is a dry lube with ceramic particles to increase longevity and decrease friction. It also comes with a UV light torch so you can monitor the lube’s coverage on the chain.
mmph sis mmph siss mmph siss mmph siss WUB WUB WUB mmph siss mmph siss…
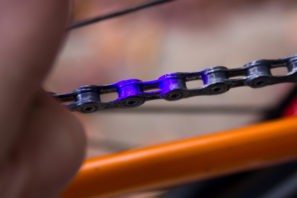
Like the C3 Lube, their HydroDynamic lube comes with its own black light. Having your own personal black light may be typically reserved for those going to Tomorrow World, but now cyclists can enjoy a similar errr… experience. The HydroDynamic Lube is said to be designed to be longer lasting in wet, dry or dusty conditions making it good for road and cross when it’s dry. To back all of this up, Muc-Off developed a Chain Lube Optimisation Dyno (C.L.O.D) to measure how well various lubes performed. Along with the help of Team Sky, Muc-Off developed what is a high-tech chain lube that they say creates a stronger lubricating film with elements that produce less friction far better than your standard chain lube. All that is said to add up to longer, higher performing results. The included black light shows whether or not you missed a spot and it makes it visible in even broad daylight. While most of us over lube then wipe off, when you consider the cost of this stuff, just like a 15 year old scotch, you don’t waste a drop. If you’re Frooming it, with the crew at Team Sky, details like this are no surprise.
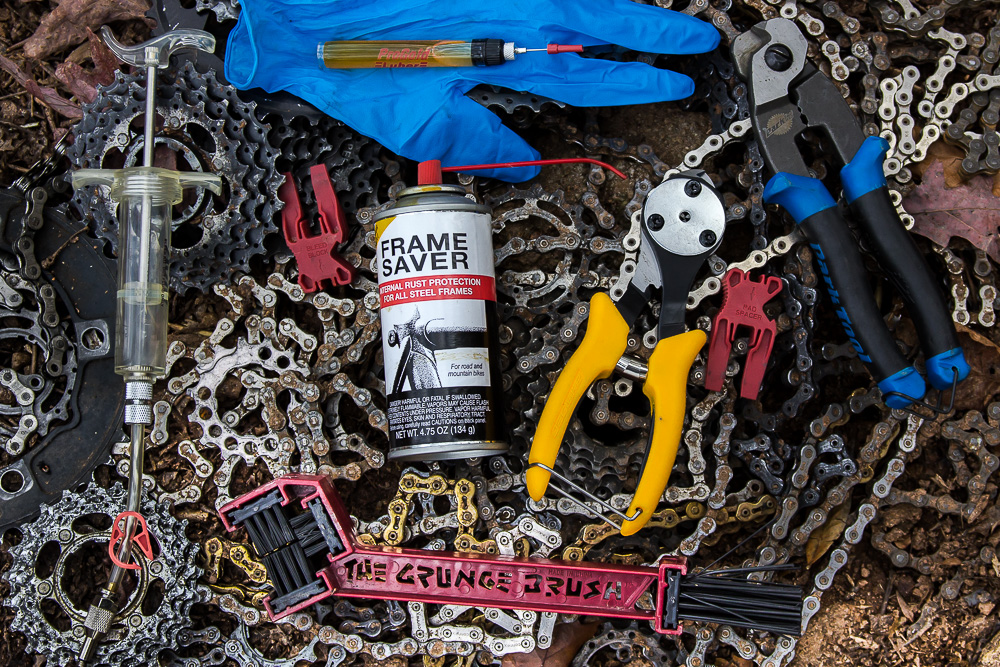
Okay, so that covered cleaning, protecting and lubing the drivetrain, but I thought I’d throw a couple of things I like to do, and maybe you would too. Check out my personal Semi-pro tips, and be sure to add some of your own in the comments!
Semi-pro Tips:
- Park Tool latex gloves – Up top, if things are pretty bad, a set of latex gloves will go a long way to keep your mittens pretty while working on a dirty bike. I typically use some reusable mechanics gloves, but mine recently gave up the ghost so these are great for backup.
- Pro Gold Pen – On the glove is ProGold’s lube pen with their dependable ProLink chain lube. I’ve always had a lube pen in my stash for
shootinglubing up little pivot areas, shifters. and cables. Keeps the little things moving nicely without creating a runny mess.- Avid Pro Brake Bleed Kit – On the left is Avid’s Pro Bleed Kit. While designed for SRAM/Avid brakes, if you have the fitting, this kit will work with anything. The kit come with top-notch fittings and syringes that make it easy and trouble free. Bleeding your brakes doesn’t take long and isn’t hard once you figure it out and is a great way to freshen up your stoppers’ performance. (note: if switching between DOT and mineral oil, wash and dry this kit out thoroughly)
- Frame Saver – Front and center is JP Weigle Frame Saver. It is great to use on a new bike as it fogs and coats the inside of the frame to prevent corrosion. There are other brands that do the same thing, so if you’re going treat your steel bike similar to how I neglected this one, this stuff is a must.
- Disc Brake Blocks – Speaking of brakes, I keep several of these brake caliper blocks handy. The thin side is made to slide between the brake pads, but if you are going to use any solvents or lubricants near the brakes, I suggest removing the brake pads and inserting the wide section of the block.
- Finishline Grunge Brush – While I do really like the Park CM-25 reviewed above, Finishline’s Grunge Brush bottome center) is a great handheld brush that is good for breaking up the really heavy… well GRUNGE! This is a great tool for knocking off the really heavy stuff before going into the CM-25. It also has long stiff bristles on the other side that do a good job dislodging the hard stuff between the gears front and rear.
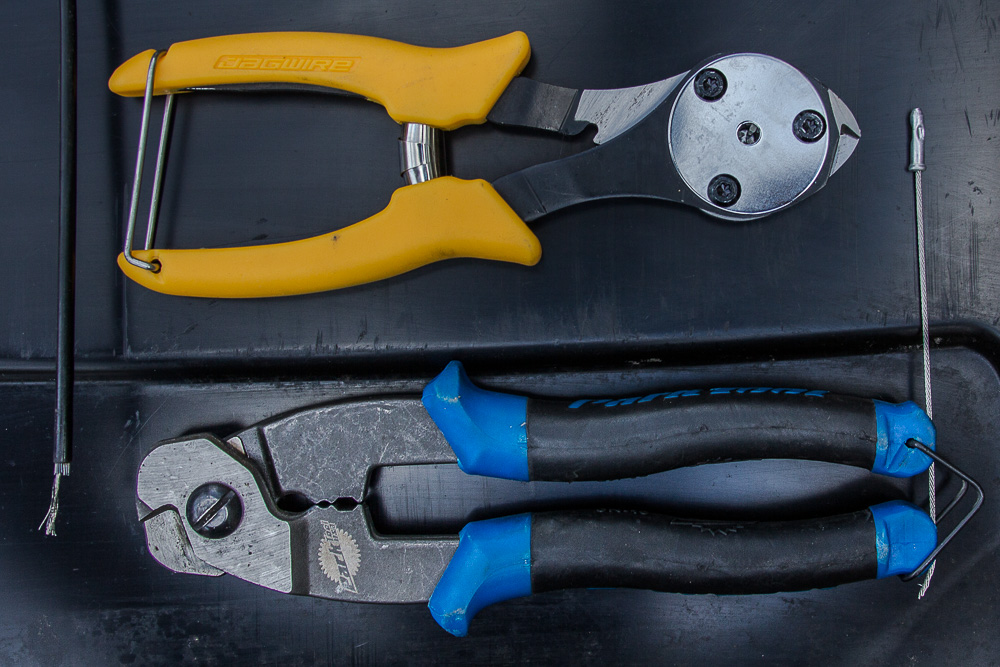
- Park Tool & Jagwire Cable Cutters – Cable maintenance and replacement is important as well. Read below why I use both Park’s CN-10 Cable & housing cutters as well as why Jagwires cable crimping & cutting tool is one of my favorite tools.
These two handy items are staples when doing anything with cables and housing. A lot of people, and even shops use the Park snippers (bottom) for all of their cable & housing needs as they cut really well and have an area specifically for crimping cable ends. However, the Jagwire cable cutter & crimper manage the cable details far better. The cutter portion is sharp and smaller making getting into tight places a little easier and the crimper… the crimper is why I bought this tool. If you look at that little hole in the middle really closely, there are three little mashers that come from 3 directions at once and put three perfectly even crimping dents into the cable end. No more pliers, ruined cable ends, or crushed finger tips. I grin every time I get to install a cable end.
I still use the Park Tool CN-10 for precisely cutting cable housing as it cuts it straight every time, and that is VERY important. (keep reading)
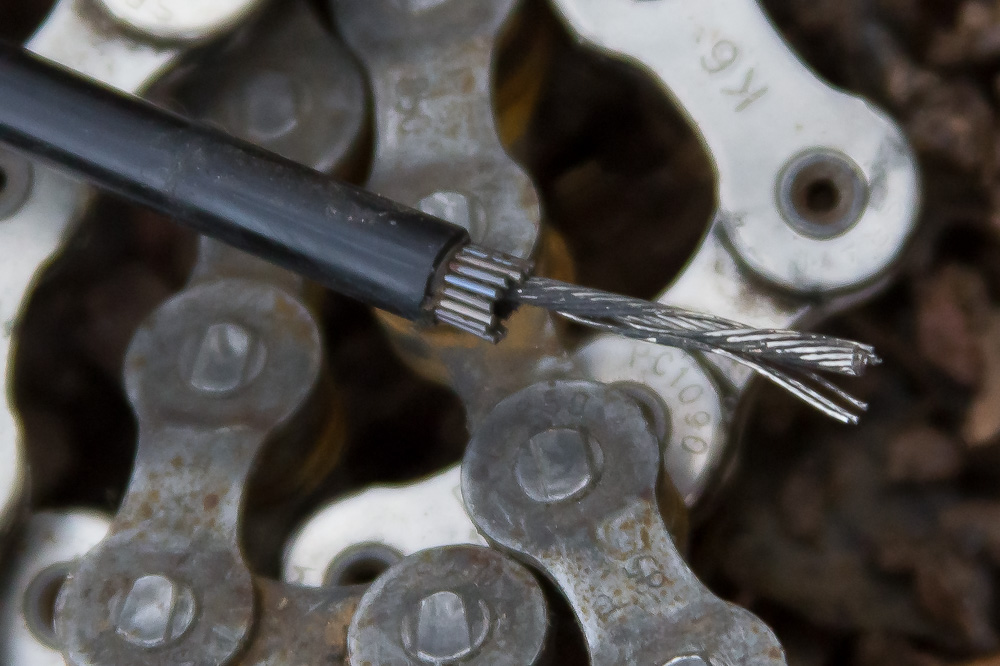
Cable housing that is designed for shifters is made up of long metal strands that keep the housing flexible while preventing it from expanding under internal cable tension. The plastic coating is obviously softer than metal and over time you will notice that the plastic will “compress” exposing up to a quarter inch of the housing’s metal strands. Often, one of those little strands will work its way into where the cable passes through the feral and ruin your shifting. There is no reason to replace the housing unless it’s super dirty or cracked and if you’re careful not to cut the cable too short, you can reuse it. Cutting the exposed strands tidies up the connection between the cable, housing, & frame, making for much crisper & more accurate shifts.
Semi-pro Tip:
- You’ll Shoot your Eye Out – Wear eye protection and aim the cable housing end away from you when cutting so not to impale metal shardes into your eyes. I’ve had several orthoedic surgeries, broken ribs, and paper cuts, but a scratched cornia was by far the most painful and annoying thing I’ve ever experienced.
- Mind the Tips – For the OCD types, to get really flat cable housing ends carefully using a smooth stone wheel on a bench grinder to smooth and even the edges. Just be careful as you can completely ruin the housing’s end if the grinder hits one of those internal strands too hard. It will basically crack up to an inch of the plastic coating causing you to have to start over with a fresh piece of housing.
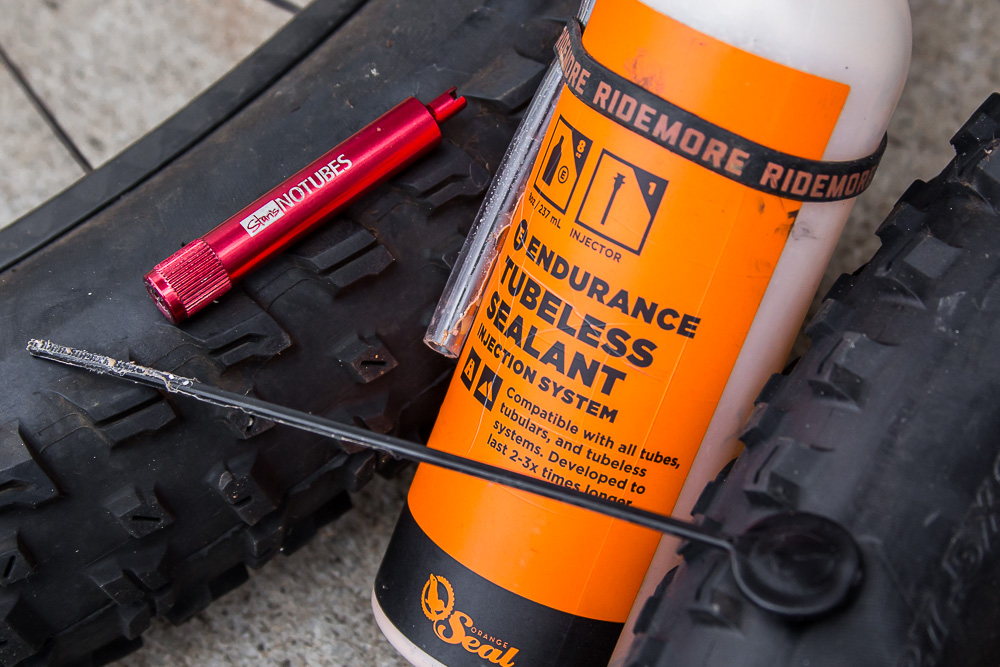
Another thing that should be regularly done is updating the correct amount of sealant in your tires so it can do its job when something breaks through. Orange Seal sent me some of their new Endurance Tubeless Sealant to try and while it worked, it was hard to tell if it did anything special. Well, I am happy to report that a recent puncture was more like an 1/8 inch tear and it would not hold the standard Stan’s I’ve used for years. It even failed to hold a fresh batch I put in it. I planned to eventually patch the tire since it only had a few rides on it so I kept it around. When I got the new Orange Seal Endurance I noticed the larger glitter like particles in it, so I thought I’d give it a shot. VOILA… The Orange Seal Endurance did the trick! A handy feature of the Orange Seal is the quick disconnect hose and the smart little dipstick for checking sealant levels.
That little red doodad to the left is Stan’s valve core remover. While it may seem simple, I use this tool all the time and even keep an extra one in my hydration pack’s tool roll. What’s the big deal you ask? Well, every single tubeless valve out there has a removable core. Removing the core does make it easier and mess free when adding sealant, however, what I have discovered (the hard way) is that core can come loose over time. Especially if you have a pump head that threads onto the valve, it can… and will cause it to loosen over time.
Semi-pro Tip:
- Stubborn Tubeless Setup – Removing the core opens the valve’s passageway allowing air to enter it much faster. This simple procedure comes in handy when trying to get a stubborn tire/rim combo to seat. Once everything pops in place, have the valve core handy, cover the valve with your finger after taking the pump’s head off, and screw the valve core back in.
- Soap it up! – Keep a spray bottle with some water and dishwashing soap in your rotation of cleaners. Lubing the sidewalls of a tire with soapy water before airing it up lets it seat much easier and if there is any sort of air seaping out, the bubbles will let you know where so you can shake some of the sealant in that area… or like I’ve done, discovered either a damaged bead or rim.
- *bonus: Spraying down a bike with that soapy water and rinsing it off is a good cheap way to do a quick wash.
Click for a closer look, but I forgot how good this bike looked. Though I had no problem riding while it was filthy, there is something to be said for riding a really clean, well-lubed bike.
I’m looking forward to seeing how well Muc-Off’s Bike Protect keeps the future grime off. If all it takes is a quick spray of the hose and a little lube, there may be hope in the La Cruz’s clean future.
Lastly, while the Dura Ace looks fresh off the shelf, I noticed some pretty obvious crud the cleaning failed to conquer. Turns out, gravel encrusted chewing gum may require a little more effort to remove… yeah, I’ll be sure to get right on that.
