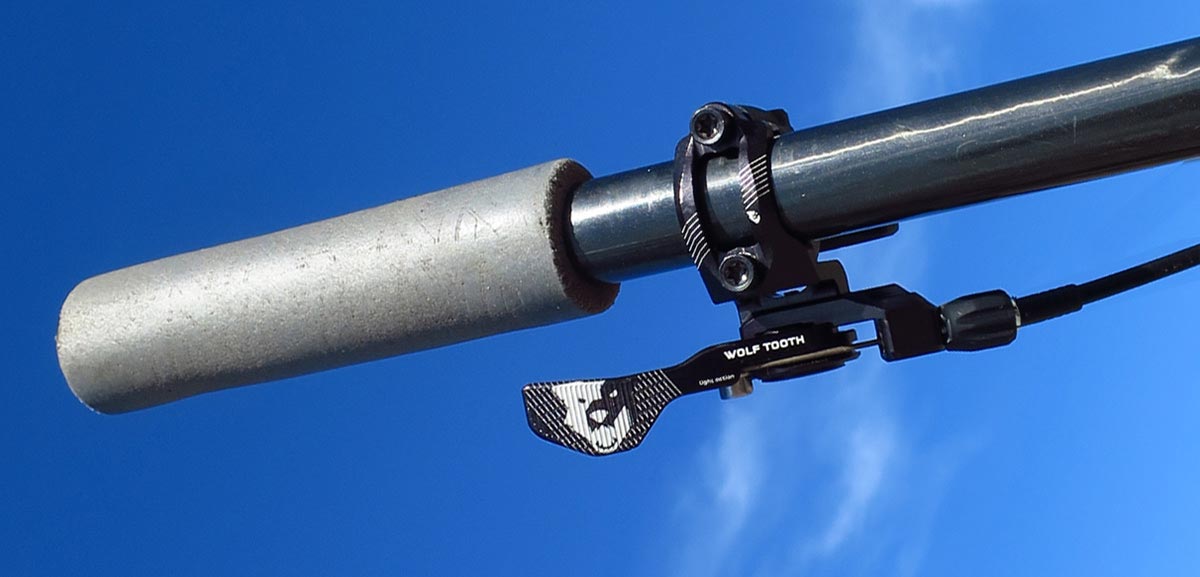
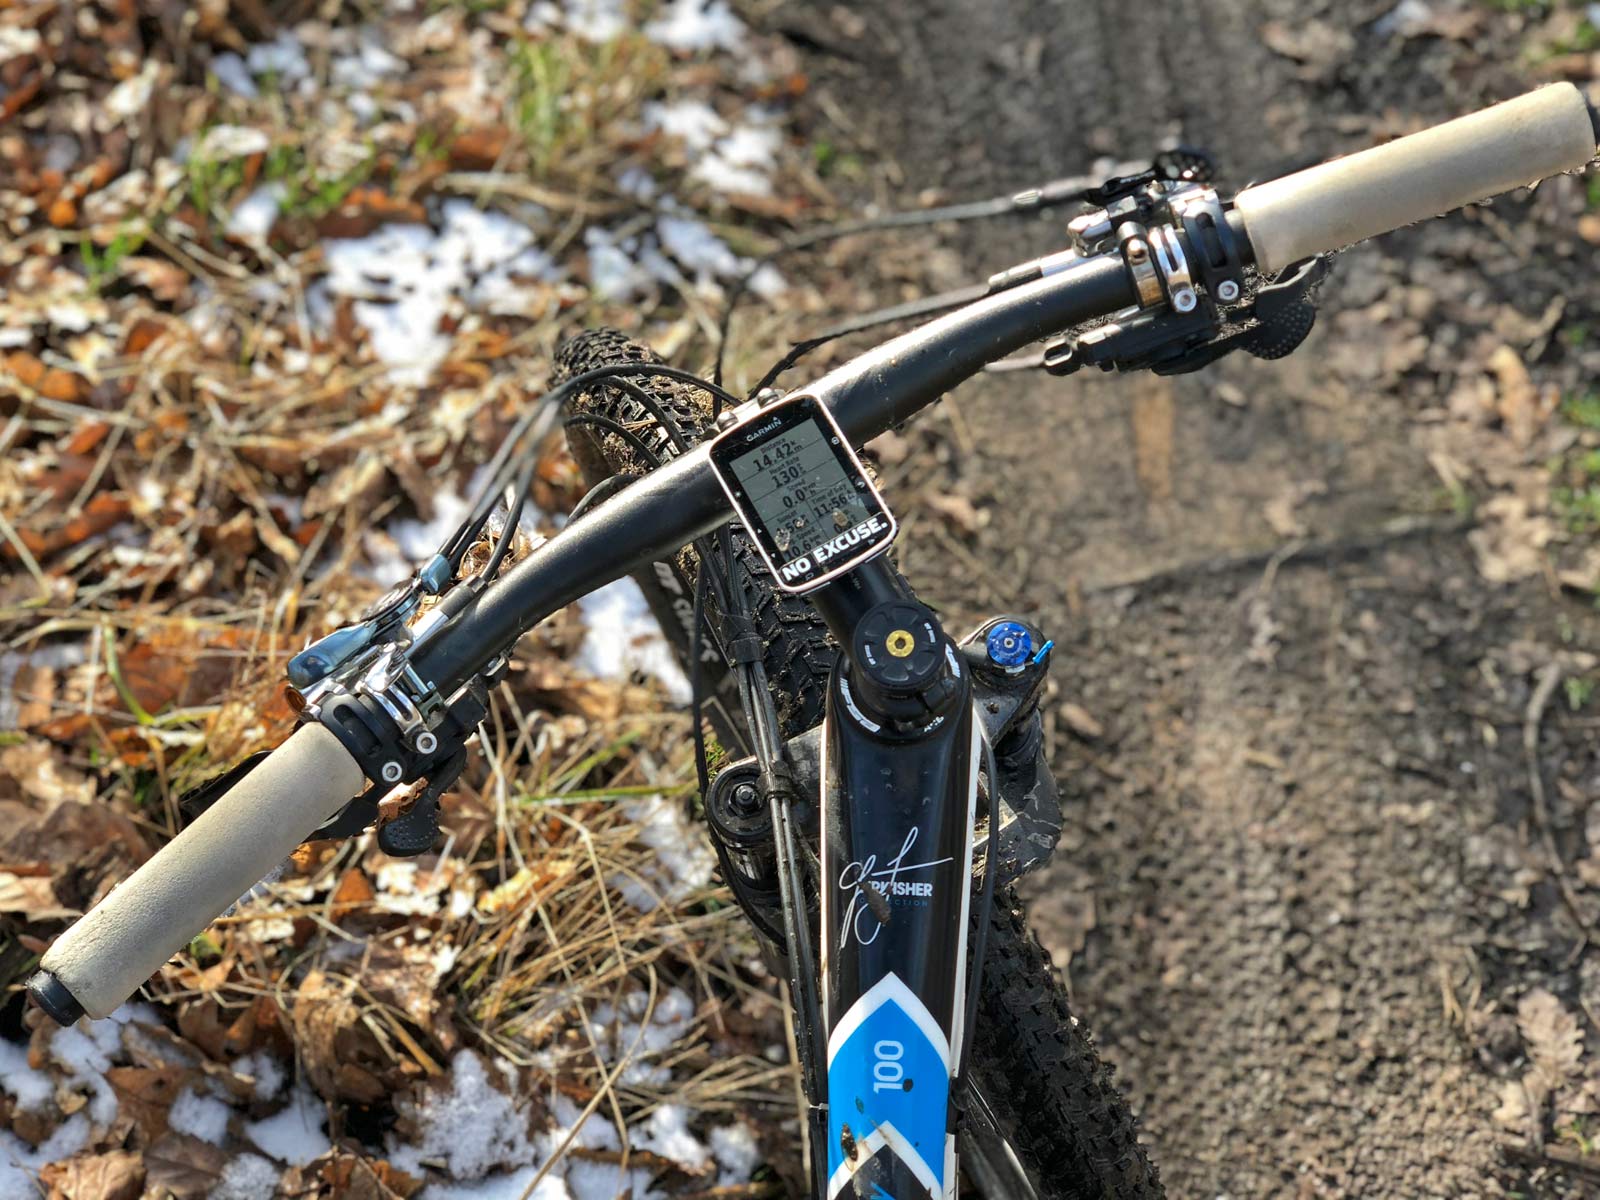
Our Suspension Tech series focus on dropper seatposts has covered choosing travel, fitting a dropper to your bike, maintaining the post, and why it wasn’t working in the first place. Now, we’ll wrap up our mini-series with cockpit setup and how to choose the best remote for your dropper.
What options are there for remote dropper actuation?
Almost every post includes a stock remote option these days, sometimes more than one. Options include internal or external routing to make its way to your handlebar; hydraulic, cable actuated, or wireless electronic connections; and under, over or adjacent remote placement. But a number of aftermarket options have cropped up too, and actually drove the OEMs to take a second look at their own ergonomics.
We talked to engineers from BikeYoke, KS Suspension & 9point8. They offered the differing perspectives of a smaller dropper maker that also sells aftermarket remotes for other posts, one of the dropper industry leaders, and another smaller dropper manufacturer who does most of their design, manufacturing & assembly under one roof.
Why choose a push button vs. a trigger style remote?
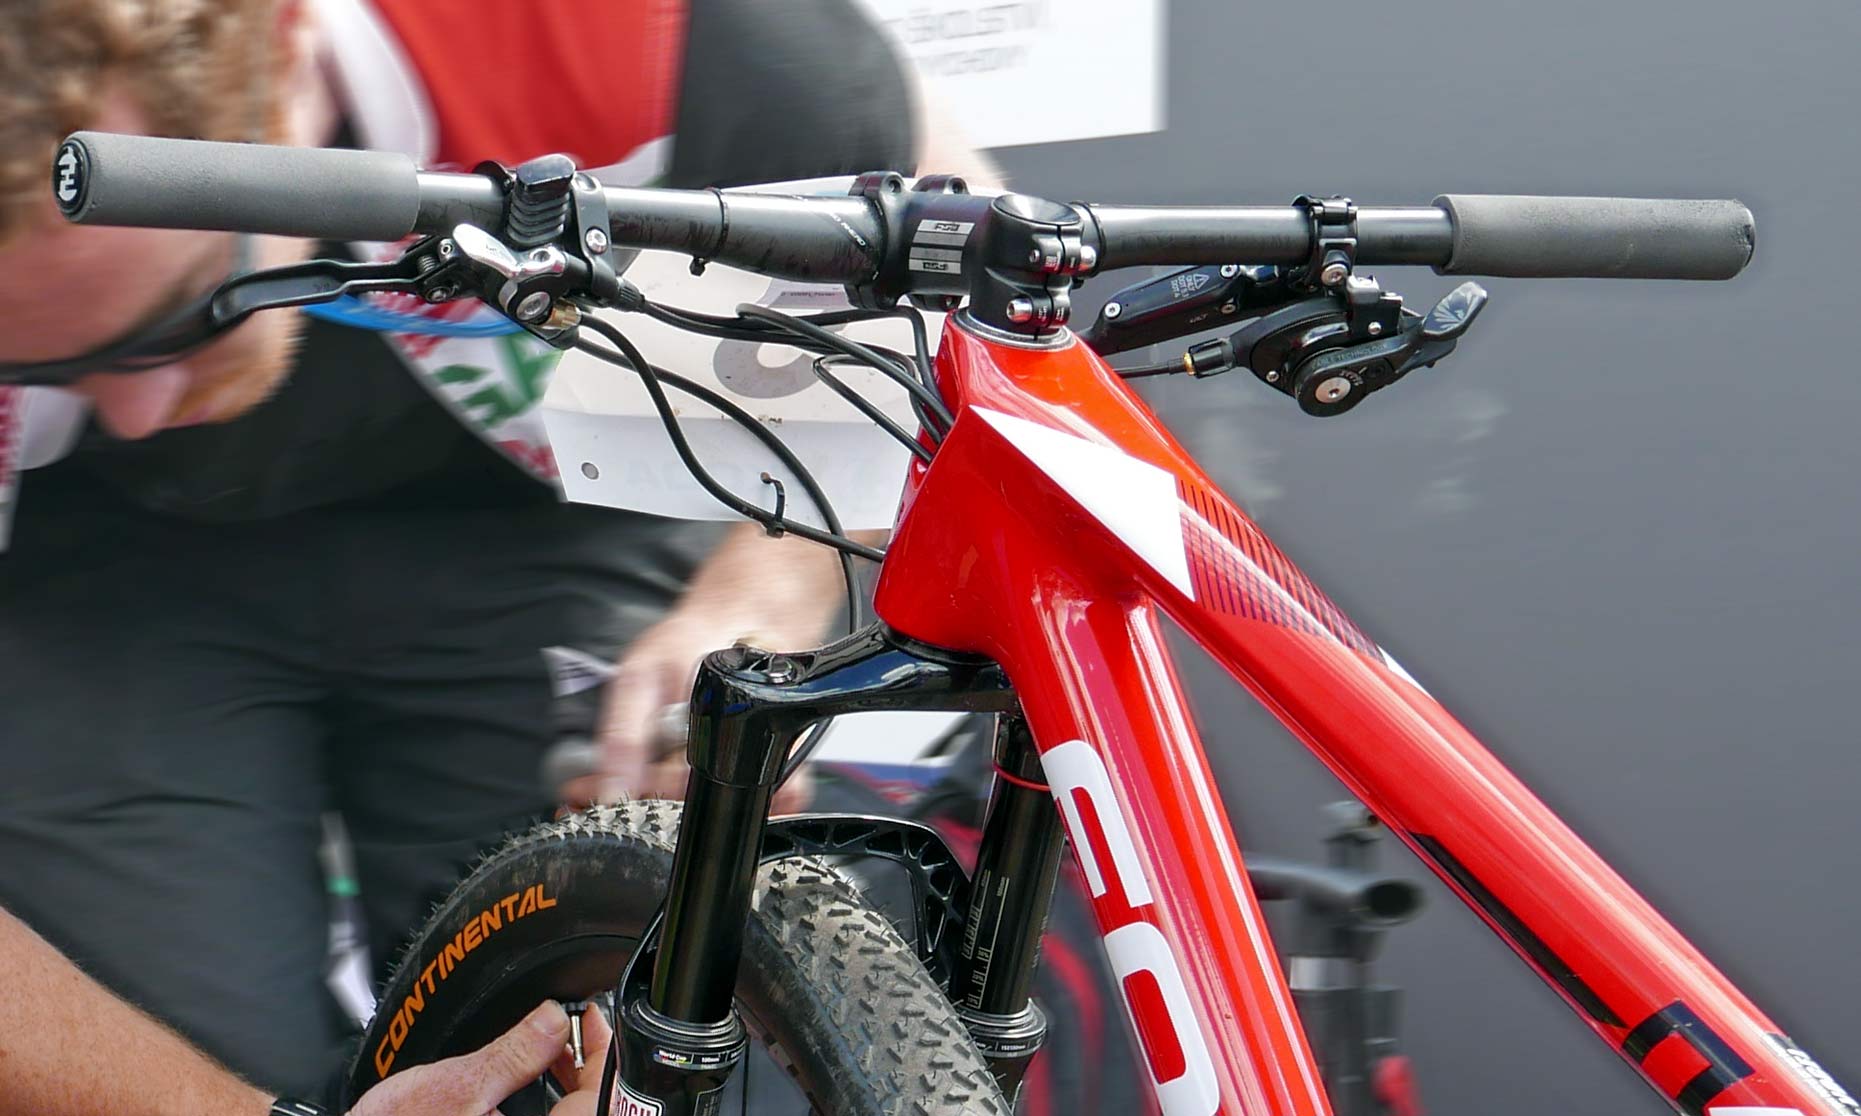
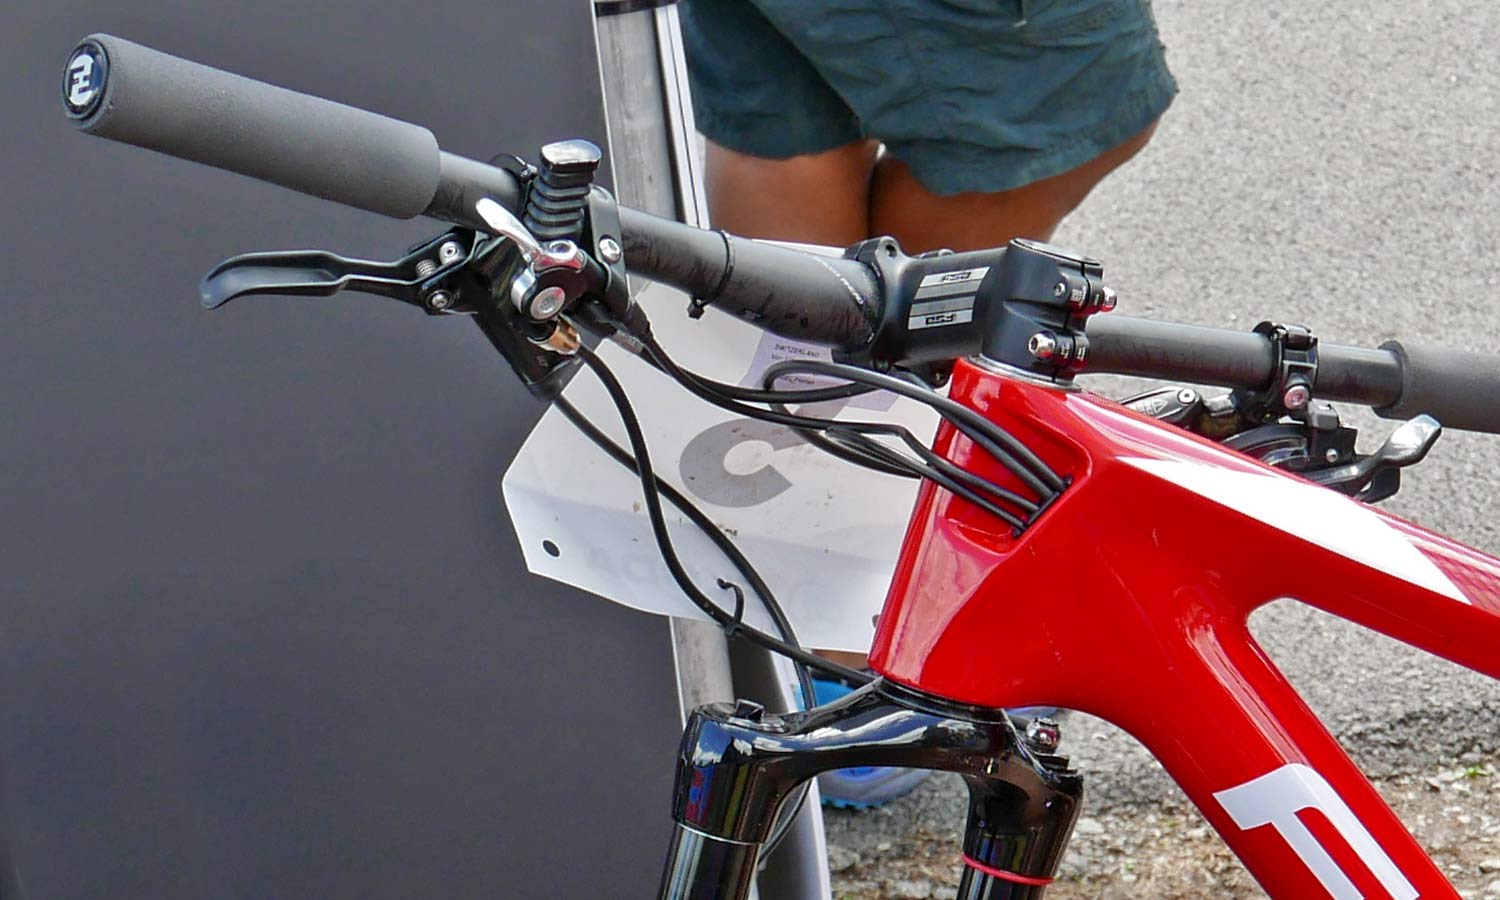
The general consensus here is to pick whichever you prefer, and the one that plays nicely with your cockpit setup. Some post makers suggest that you just try the stock option. If it works for you, great; if you aren’t comfortable, try something else. Some riders even end up combing the two, like pro XC racer Florian Vogel who we spotted with a KS Southpaw trigger remote for his dropper & a double hydraulic push button RockShox XLoc Full Sprint remote to lock out both his fork & shock at once.
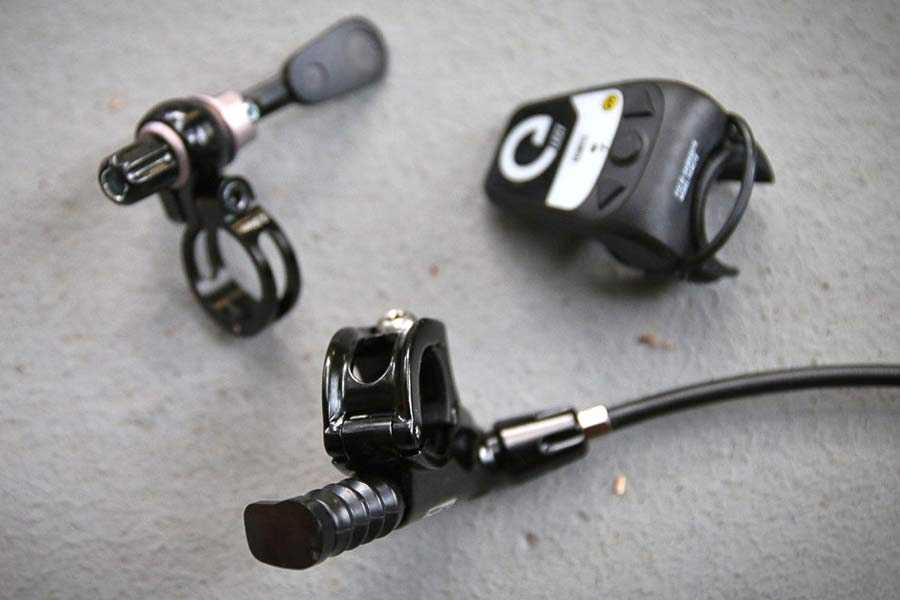
The standard option for several years had been a thumb-activated push button or push-down remote. That grew up semi-organically as riders were still using 2x drivetrains, so the push button was designed to take up the least amount of space on the handle bar, and to nestle closely around brake & shift levers. It also was the only option for RockShox’s hydraulic Reverb, until a couple aftermarket companies started offering mechanical conversion kits.
Because most of us mountain bikers have trained ourselves with years of trigger shifting, the most popular solution from most dropper OEMs and aftermarket remote makers tends to be trigger style remotes. That coincides nicely with many mountain bikers losing the left shifter in the move to 1x drivetrains.
Remote above or below the bar? Right or left side of the bar?
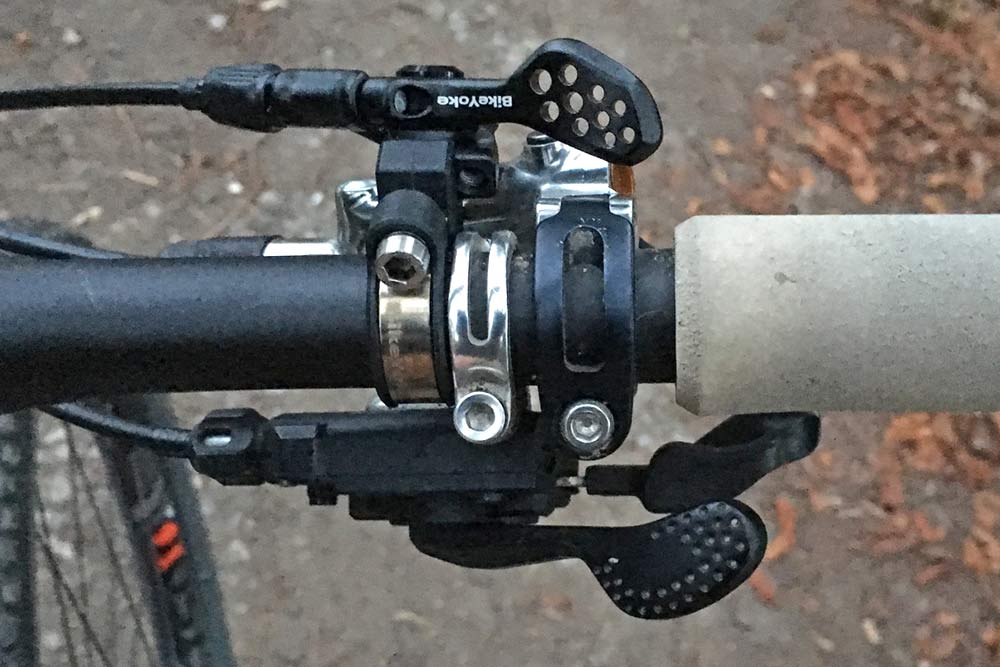 Nowadays, a left side trigger remote below the bar has become the gold standard. That tends to make the most logical sense as it is protected by the bar and with 1x drivetrains is stays out of the way of the shifter and makes for an uncluttered cockpit. KS says this is the best case scenario as it “allows the most ‘wrap’ of your hand around the bar [and] is also the most natural position for your thumb to reach and activate.”
But some riders do prefer other arrangements, especially for riders with front derailleurs, or for racers when suspension lockouts come into play and they want to keep the two remotes separate. That’s why most dropper manufacturers offer at least 2 or 3 remote options.
9point8’s recommendation is to find a setup for your bike “that allows the rider to maintain grip of the bar while operating the dropper lever, and is in a natural position”. The large amount of variability also is a boon for any rider with mobility issues, as you can really get a remote wherever it works for you.
Integrating a dropper remote with a brake lever clamp?
Integrated mounts look nice and clean up the cockpit. But they do tend to sacrifice some adjustability. Here the consensus again comes down to user preference. Everyone we talked to mentioned the variability in rider hand size and hand position on the bar being the limiting factors.
You best bet is to just see where you prefer your own remote with a standard clamp and then have a look at the various integrated options for your brake levers. Specifically look at options with I-Spec (Shimano) or MatchMaker (SRAM) clamps that allow both left/right & rotational adjustment. If you set your brake levers far from your grips for 1-finger braking, you may find the remote lever to feel too far away.
But if you don’t prefer your remote widely separated from your brake clamp, this is an easy way to tidy up your handlebar.
Can I use an old front shifter to control a dropper seatpost?
It doesn’t work with all droppers (9point8 says their Fall Line post has a unique cable pull & force) but we have seen Problem Solvers show us how to do it with a SRAM shifter by disabling the ratcheting mechanism inside. But as BikeYoke puts it, “Why would you? It is much more bulky, than a dedicated 1x remote.” 1x trigger remotes start around $20, with even the best ones no more than around $75. And everyone in the industry seems to agree that you just won’t get the same smooth actuation of a remote designed specifically for your dropper.
What about setup around 2x drivetrains? And fork & shock lockouts?
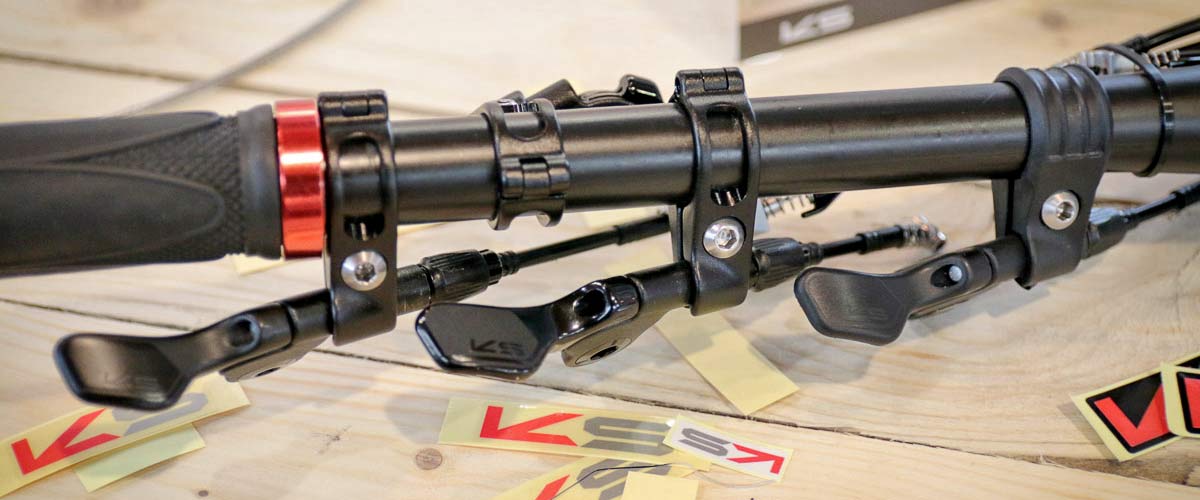
Double or even *gasp* triple drivetrains mean your bar is going to be crowded. More so, when you talk of adding suspension lock-out remotes like on this all-around XC bike. Here is where you are going to need to look outside of trigger remotes. But there are plenty of options – push-down remotes being the most common and typically work for either right or left side setups. KS even offers an ODI lock-on compatible 2-3X remote that lets you ditch the in-board locking collar on your grip to sneak the remote in there.
This is also where that 1-finger braking might come in handy, as it can offer precious real estate so you can run brake, shift & remote levers on both sides of the bar.
Combining suspension lockouts & dropper remote controls?
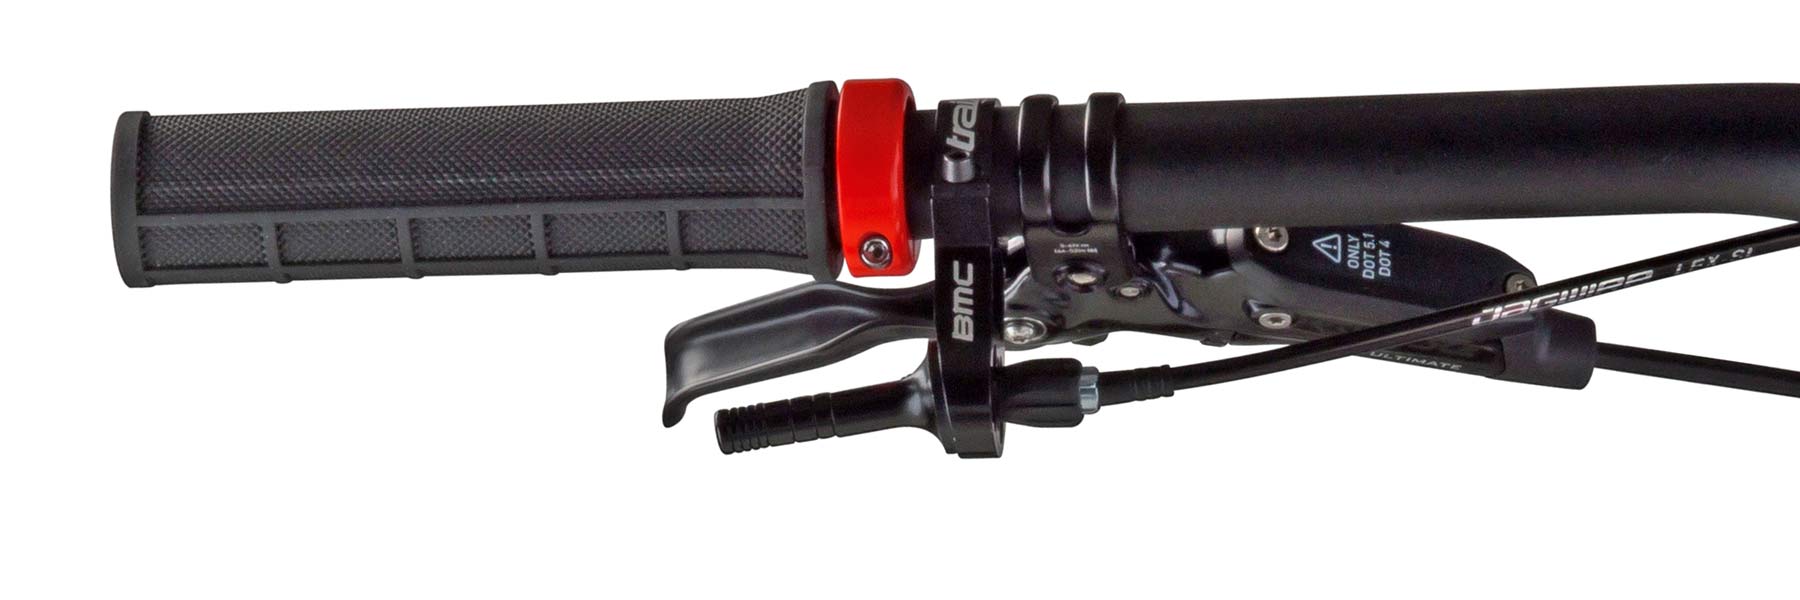
Wanting to simplify the handlebar setup can lead to some interesting solutions. BMC introduced Trailsync this year that pairs a suspension control and dropper control. It isn’t a suspension lockout – only switching suspension between a platform mode & fully open valving – but even that raised a fevered discussion about riders wanting to drop the seatpost independent of suspension modes, and definitely separate from suspension lock-out.
But it does present an interesting argument – how can you tidy up the cockpit as we add more tech onto the bike?
Does it make sense to link dropper & suspension modes? Several companies have experimented with simply putting the remote levers into a single body to take up less space on the bar. But KS dropped that idea after seeing it too difficult to pick the correct button in the heat of the moment. Maybe some combination of electronic droppers like the Magura Vyron with electronically controlled suspension like Lapierre’s E:i Auto could be the next step? What would you do to keep the levers and controls simple without giving up features and functionality?
That’s it for our Dropper Seatpost Tech series. This should give you plenty of tips to set up a dropper on your bike and keep it running smoothly. Next our Suspension Tech Series dives back into forks and shocks.
The fun never ends. Stay tuned for a new post each week that explores one small suspension tech, tuning or product topic. Check out past posts here. Got a question you want answered? Email us. Want your brand or product featured? We can do that too.
