Before #vanlife was ever a trending hashtag, many of us (myself included) found ways to make the most of our vehicles to make life on the road a little more comfortable. It really doesn’t matter what vehicle you have – there’s probably a way to make it work. But for many of us cyclists, the Honda Element is a popular choice. Considering its relatively small size, there is still a ton of interior room that with the right build out, can be used for bike transportation or even car camping. However, it doesn’t quite live up to the promises in those early advertisements of seats that fold flat into a comfortable bed. However, since it’s an Element you can remove the seats and build yourself a perfectly flat sleeping platform that will make sleeping inside your Element far more comfortable.
While I initially built this sleeper platform just for myself out of necessity, I’ve had enough questions about it that it seems like a worthwhile topic for our #vanlife series. One of the best things about the design is that it’s fairly modular, meaning with a few tweaks it could easily be modified to sleep two (just mirror it to the other side), or even be adapted to other vehicles. 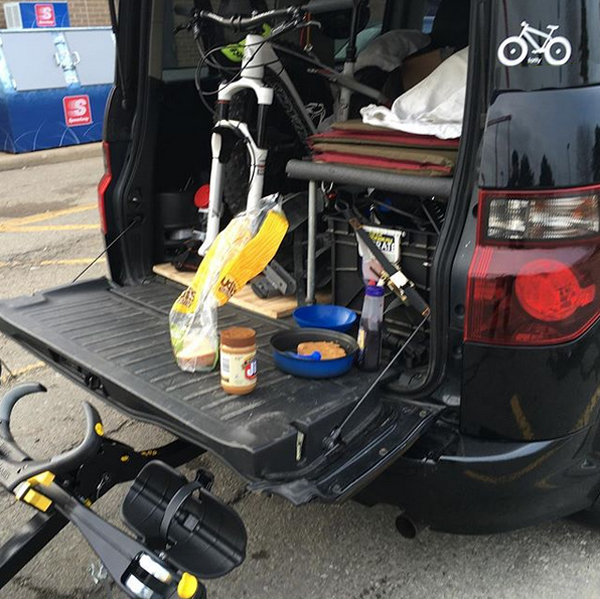
When I set out to build this platform, I had a number of very specific design criteria that will explain why I did things the way I did:
- It needed to fit a full size standard Therm-a-rest sleeping pad
- I still wanted to be able to store bikes inside the vehicle along with the platform
- There had to be room for my storage crates underneath, and they had to be easily accesible
- The front two seats still had to be useable
- I wanted to be able to set up the sleeping platform without having to get out of the vehicle
- It needed to be removable, and easily stored in the garage
Materials Needed
- 1x 4′ x 8′ sheet of 3/4″ plywood (preferably pre-sanded)
- 2x 12″ piano hinges (one 24″ hinge would work if you could find it)
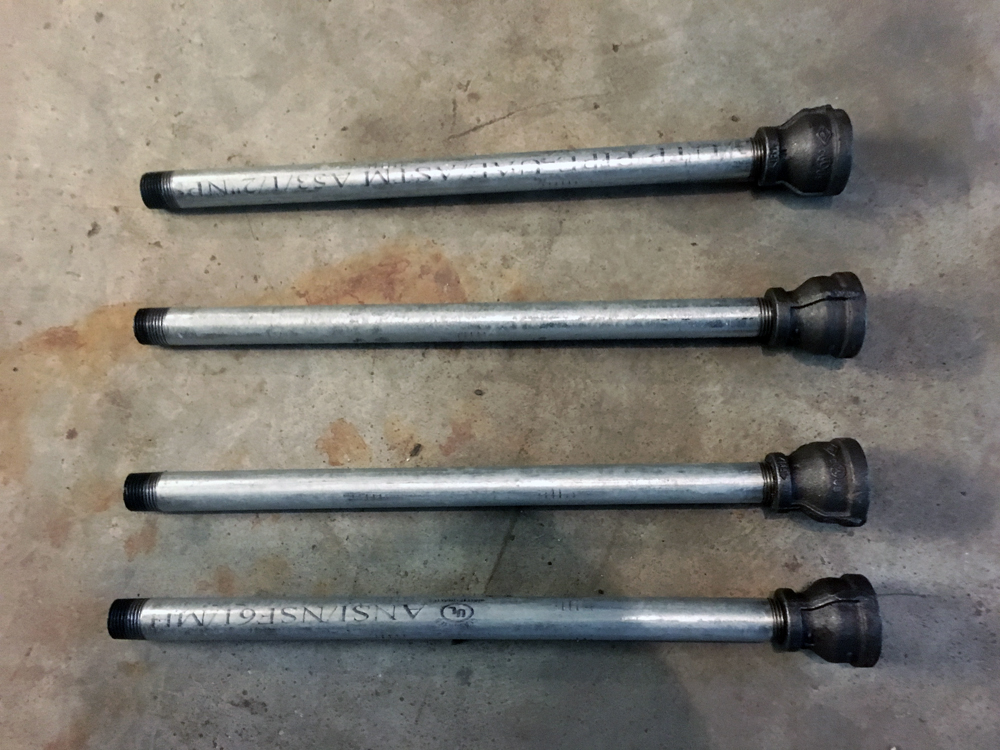
- 4x 14″ long 1/2″ steel NPT pipes, threaded on both ends
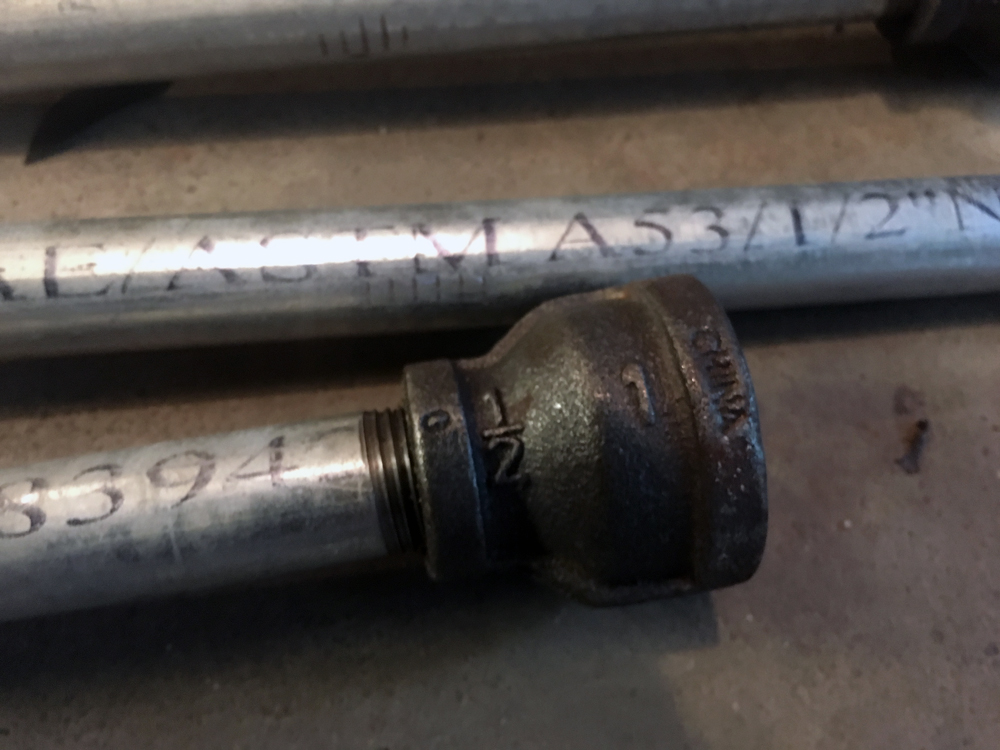
- 4x 1/2″ to 1″ NPT adapters
- 4x 1/2″ NPT floor flanges with screw fittings
- 3x D-Rings with mounting brackets
- 2x ratchet straps
- 1x pack of 3/4″ pipe insulation
- Construction adhesive
- appropriate screws
- scrap wood or a 2″x4″ plus 2″x1″ for adjustment pieces
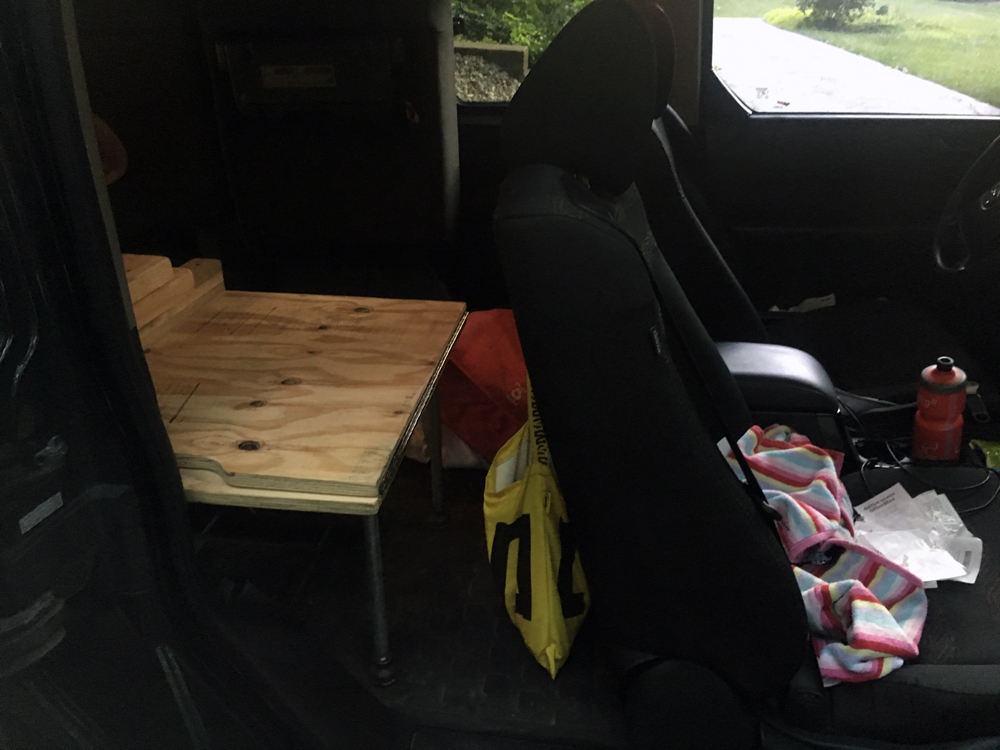
To make most of those a reality, the resulting platform needed to be hinged. That allows you to fit a full size Therm-a-Rest pad while still using the front seat. At its widest point, the platform measures 24″, while the rest is contoured to fit the inside of the element as snugly as possible. To create a template for the overall shape I used a piece of cardboard from a bike box and cut it to fit the inside of the car (seats out, no cover for the seat mount on the wall). Once you get the shape right, you can then transfer this directly to the platform for shaping.
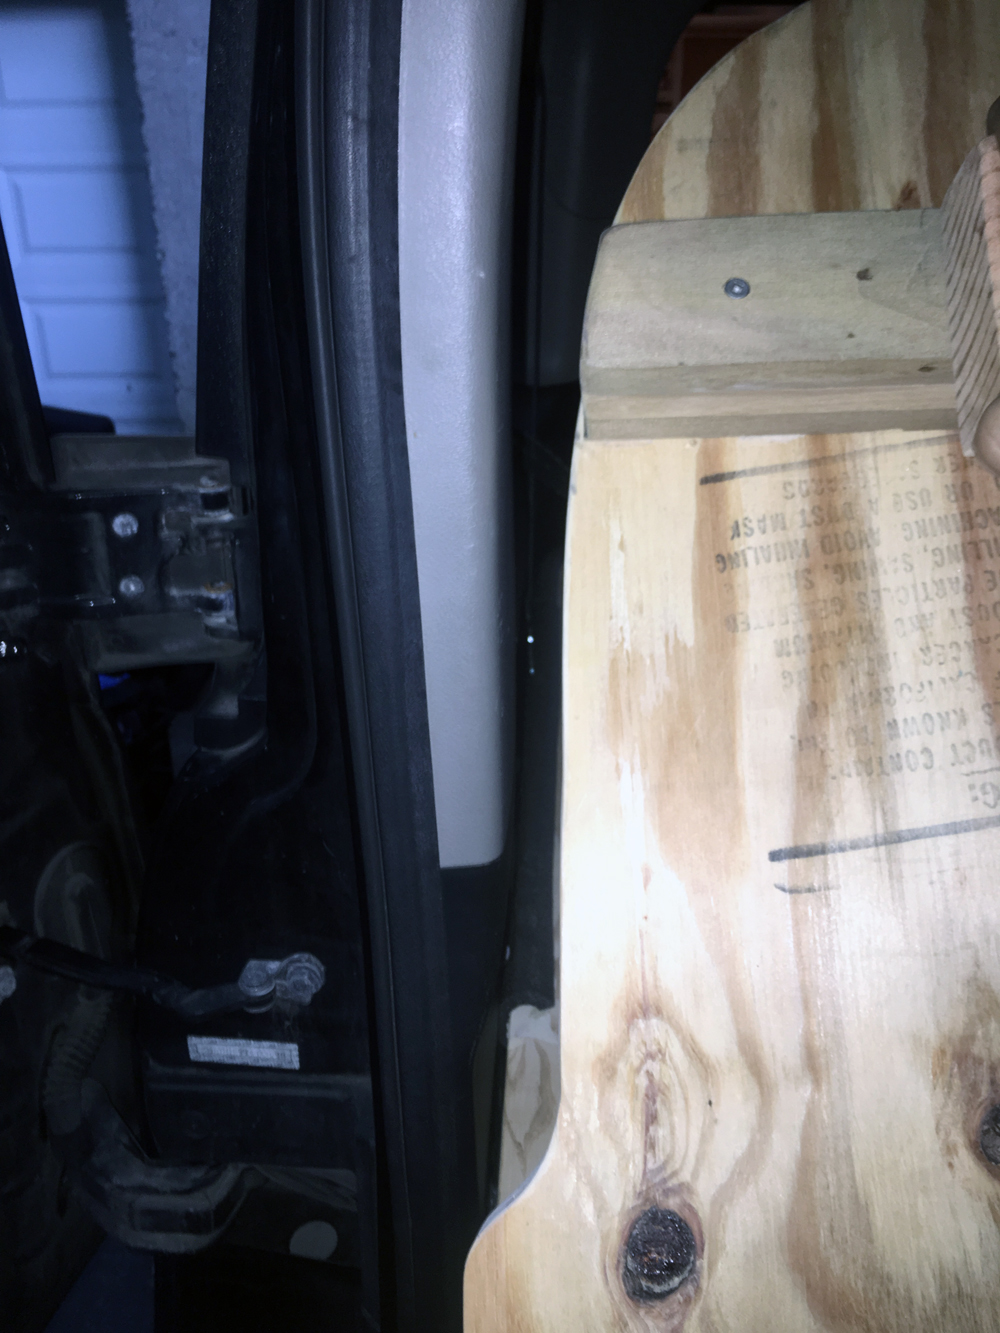
Note that the front of the platform (the side closest to the front of the car) has to be shaped to clear the door and arm rest when un-folding the platform.
The bed is made from two pieces of 3/4″ plywood (cut from a single 4′ x 8′ sheet). I chose 3/4″ to give it more structure, especially if you plan to sit on it, stack gear on it, etc. I used interior grade unfinished ply – if I did it again, I would probably choose pre-sanded. I wanted to make sure the wood wouldn’t snag on pricey sleeping bags, etc, so sanding the surface was the most time consuming part of the whole project. Pre-sanded is more expensive, but in this case, probably worth it.
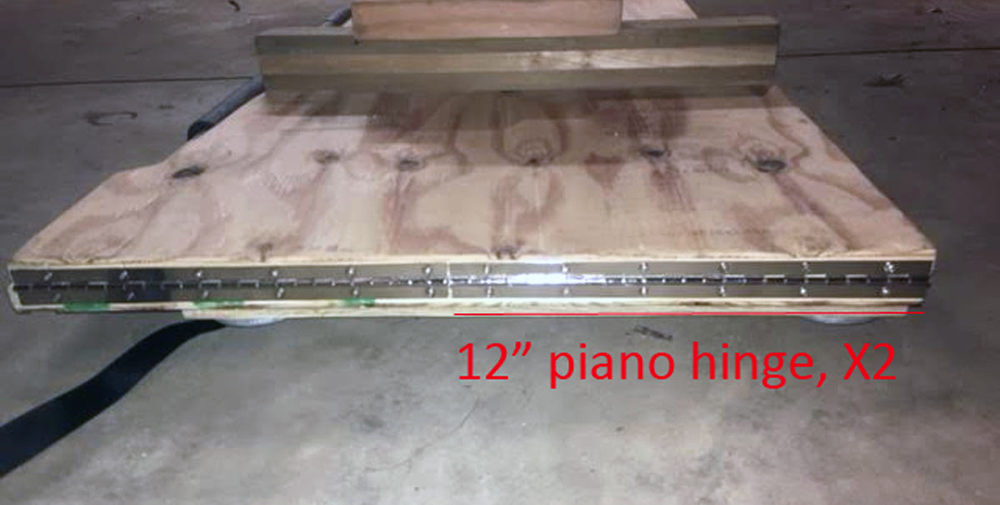
Depending on how friendly the hardware store is, you might be able to get both of these pieces cut to size before you leave. Everything can be cut from a single 4′ x 8′ sheet. The starting sizes are 49″ x 24″ and 26″ x 23 3/4″. The two pieces are held together with two 12″ piano hinges mounted side by side. This is key if you want to be able to use the front passenger (or driver) seat, yet fit a full size thermarest. These are cheap and found near the gate/fence hardware usually.
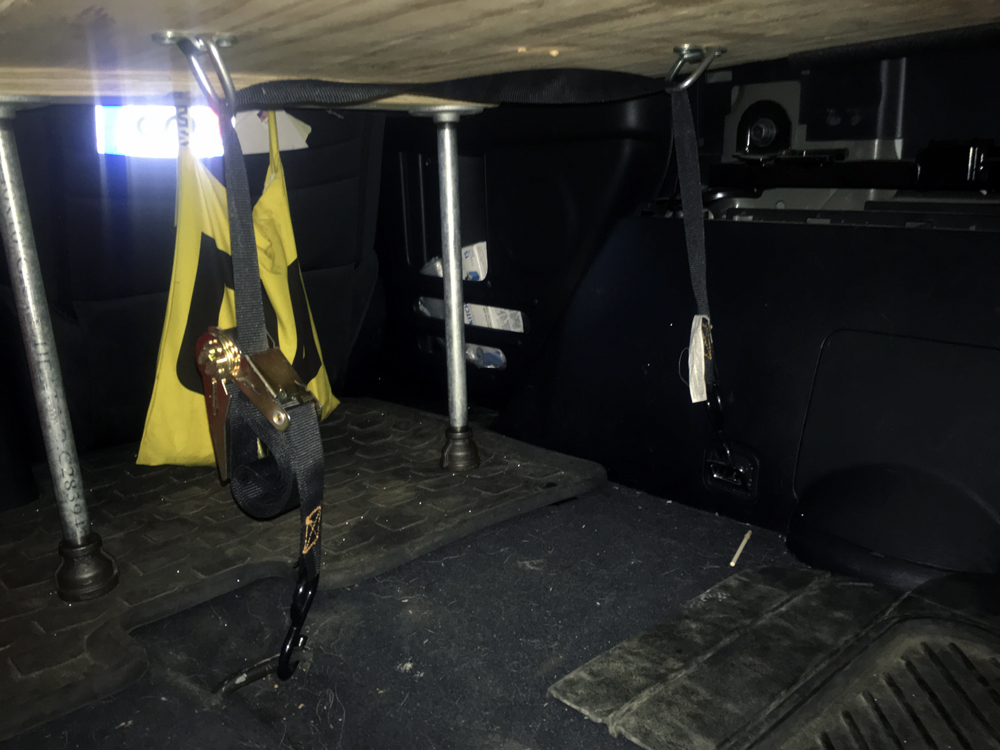
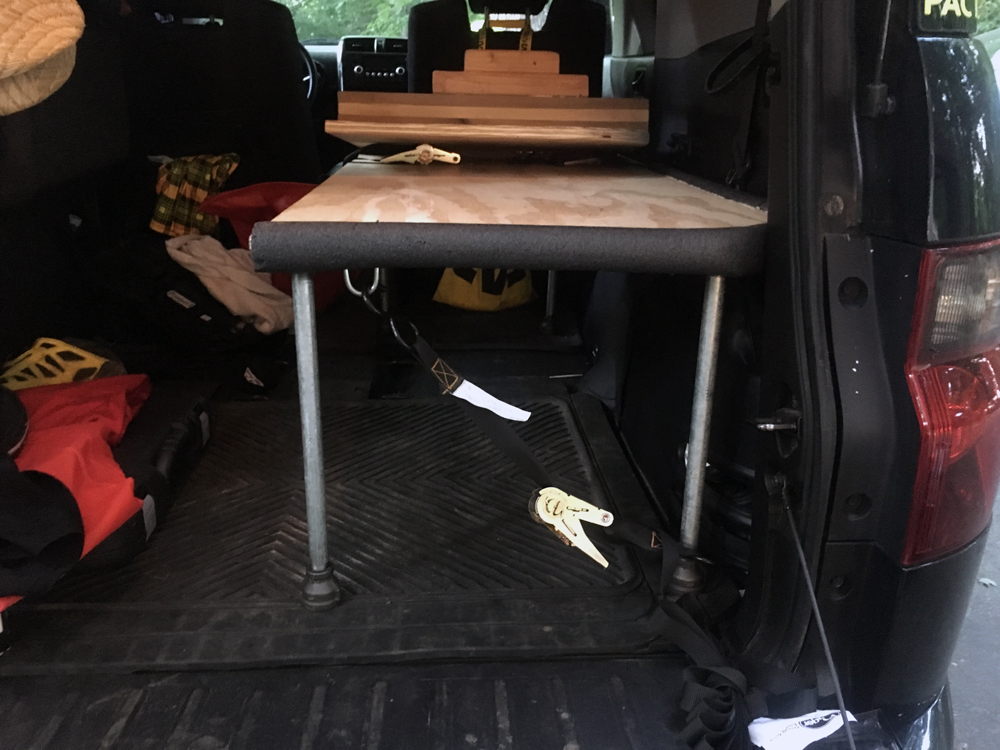
The legs are all made from steel NPT piping. You can get Home Depot to cut this to custom lengths in the store, then they’ll thread both ends for you. I used 14″ legs, with 1/2″ to 1″ adapters for the feet. They thread into the bed with the round floor flanges which attach with 4 screws (Find stubby screws with coarse threads – a few will need to be 3/4″ or less so they don’t poke out through the other side). If you’re taller, you’ll probably want to make the legs shorter for more headroom, though you’ll sacrifice storage space underneath – and you’re limited to the overall height by the height of the front seat.
The Element floor is not flat, and to get the bed to sit level I had to use different spacers – the front two I used a scrap piece of the 3/4″ plywood from the base, and for inner rear leg, I used a 1/4″ piece of scrap. You could get legs that were different lengths, but that might be more difficult to get them cut to size (they won’t be exact), and your floor may be different than mine. You’ll have some adjustment with the threads, but I didn’t have enough to level it out. These fittings are all pretty expensive (probably the most expensive part) but it was the cheapest way I found that I could adequately support the bed while allowing it to break down for storage, plus still fit a storage crate under the bed in the E.
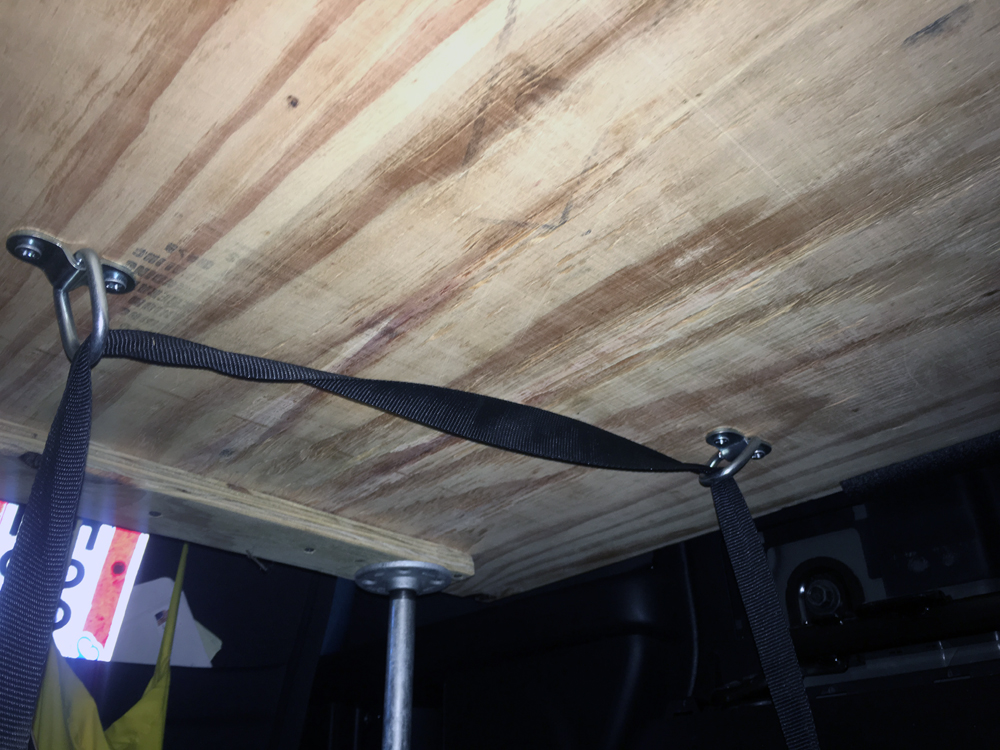
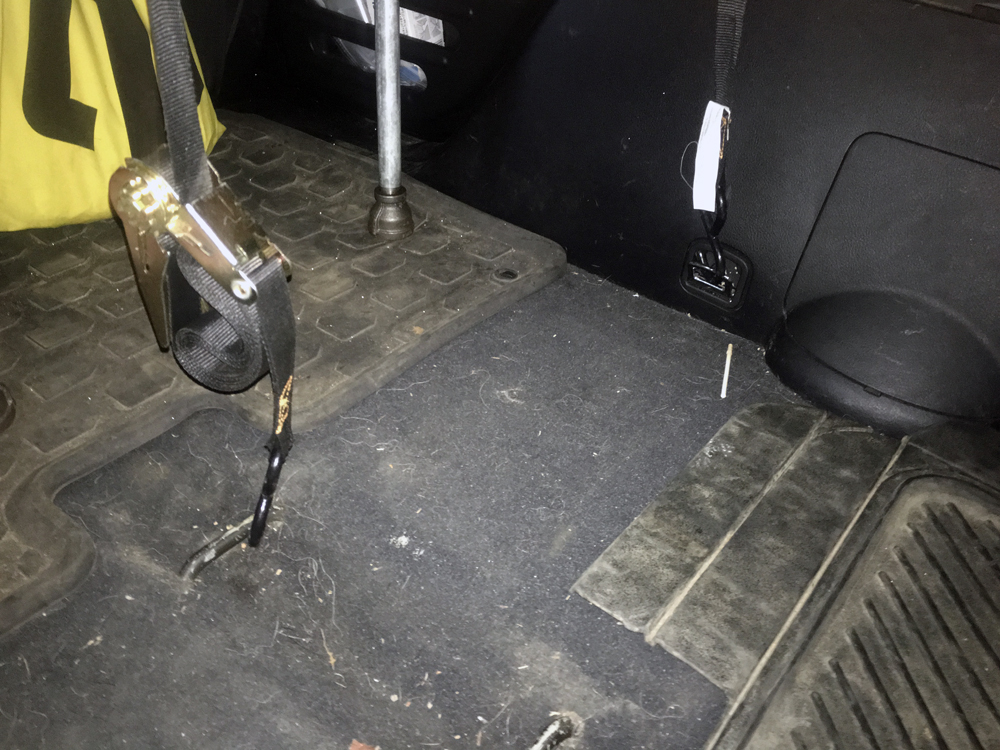
The other bits of hardware include 3 D-rings with mounting brackets. This allows you to secure the bed with two ratchet straps to keep it from moving (more importantly vibrating and squeaking) while driving. The straps easily hook to the floor and mounting rings in the car – two up front, and one rear diagonally.
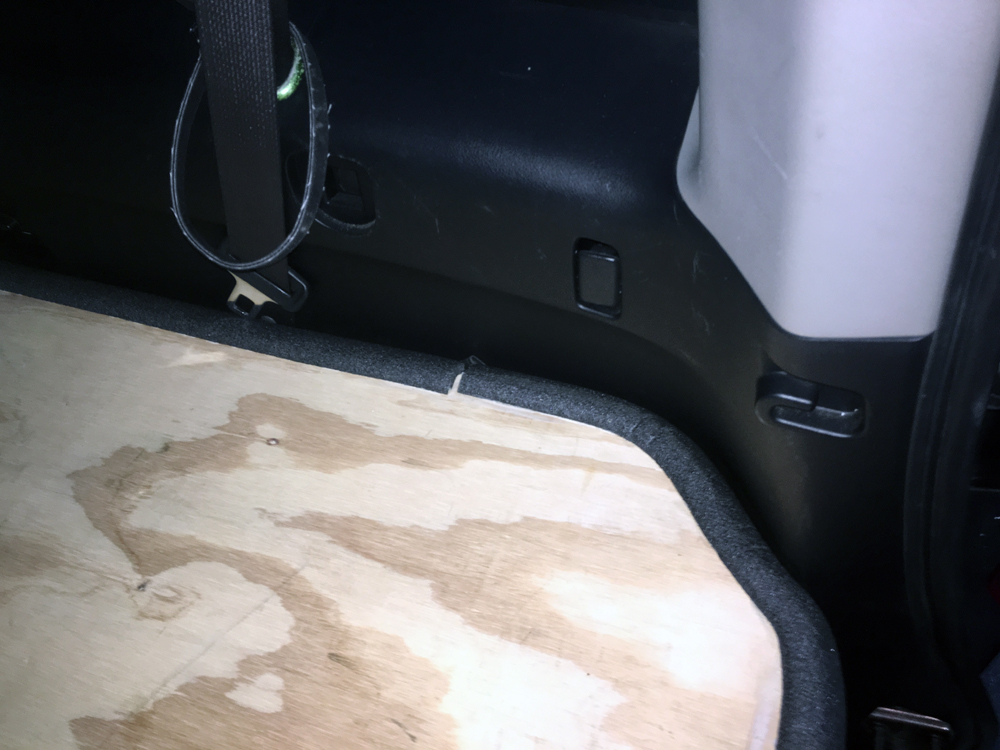
Finally, I used 3/4″ pipe insulation to make a soft edge where the bed meets the interior. Without this it will scratch the plastic a lot, and be pretty noisy. You can get packs of 4 pieces for about $0.99. I glued it on with some construction adhesive I had lying around.
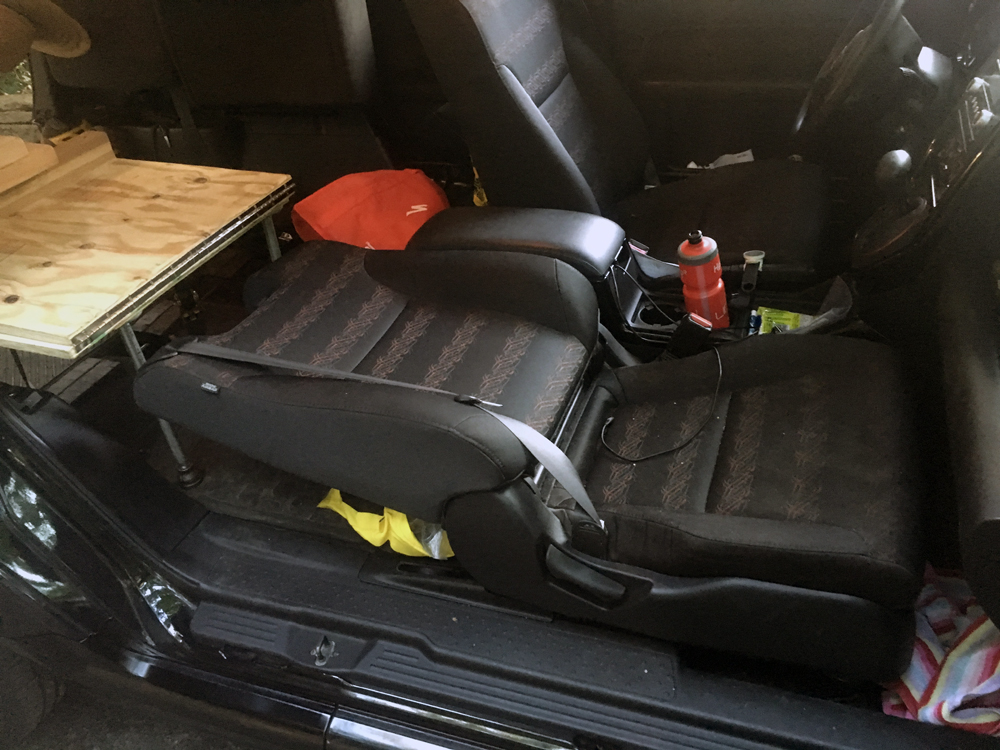
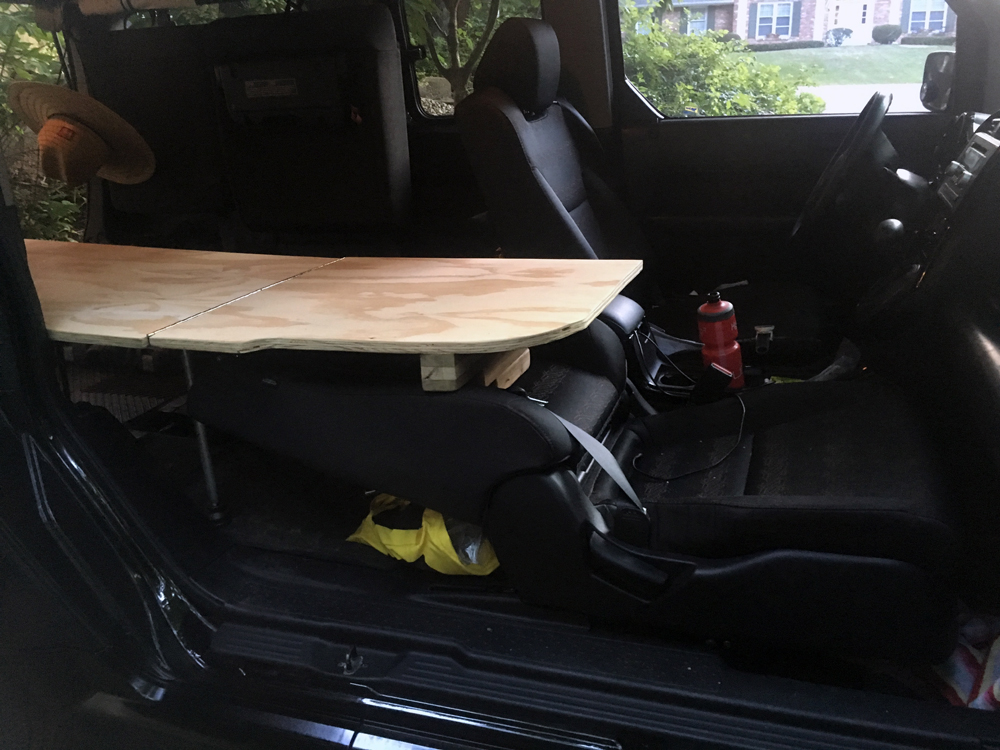
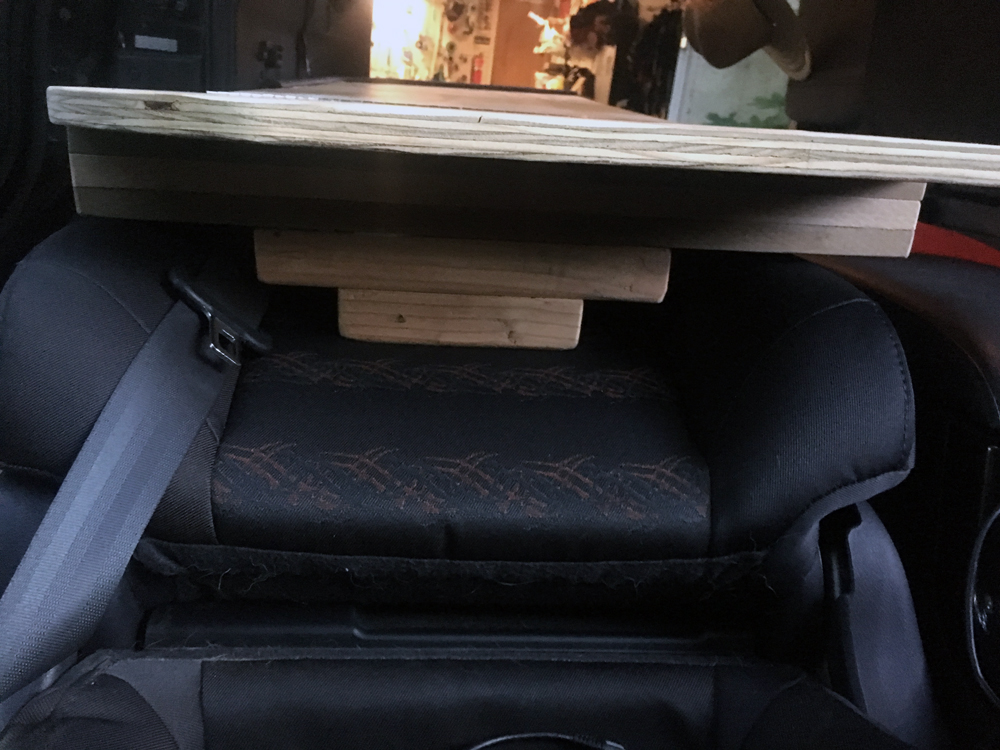
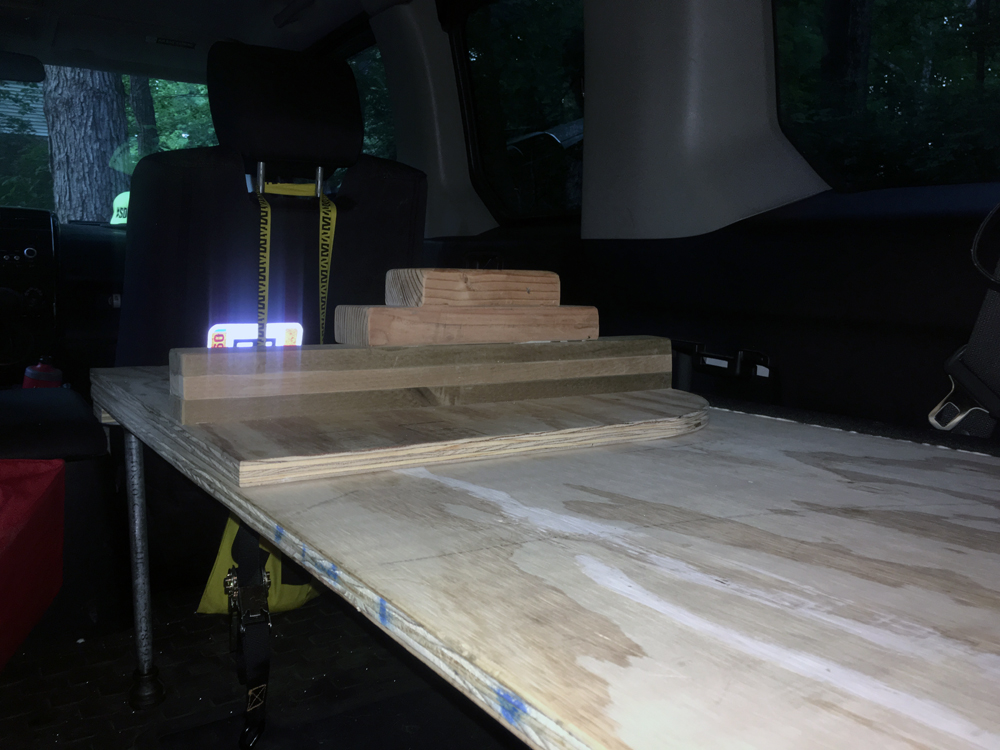
To use the sleeping platform, you start by removing the head rest of the passenger seat, push the seat all the way forward, then recline it fully, and flip the platform fully. Depending on your Element, you may need to build some sort of seat rest. I have the SC version of the Element, so my seats have thick side bolsters that I was worried about the sleeping platform crushing when unfolded. So I made sort of a tiered seat rest that distributes the weight evenly against the entire seat back. If your seats are flatter, you may need to adjust this design to fit your E.
And while it looks like the front section of the sleeping platform is tilted upwards, once you lay down on it, the foam of the seat compresses and yields a perfectly flat platform – remember to include that detail in your build.
When in the storage position, the seat rest takes up a decent amount of room, but there is still quite a bit of space on top of the platform for storage of additional gear.
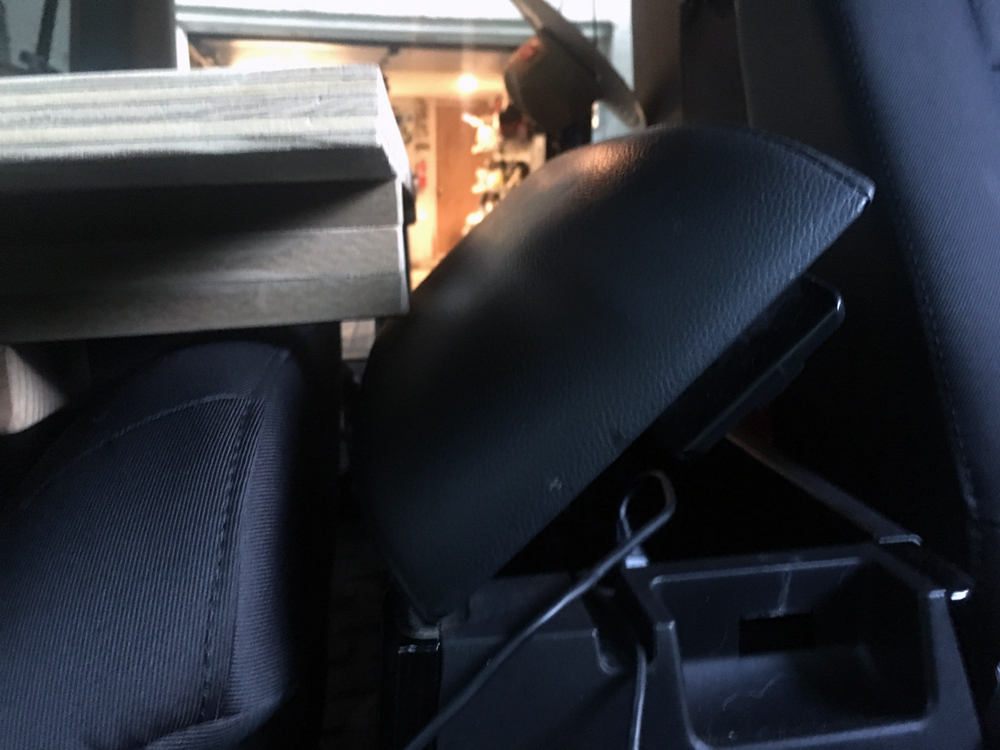
In hindsight, I should have trimmed the rest to allow for my center console to open fully, but only the SC models will have this issue.
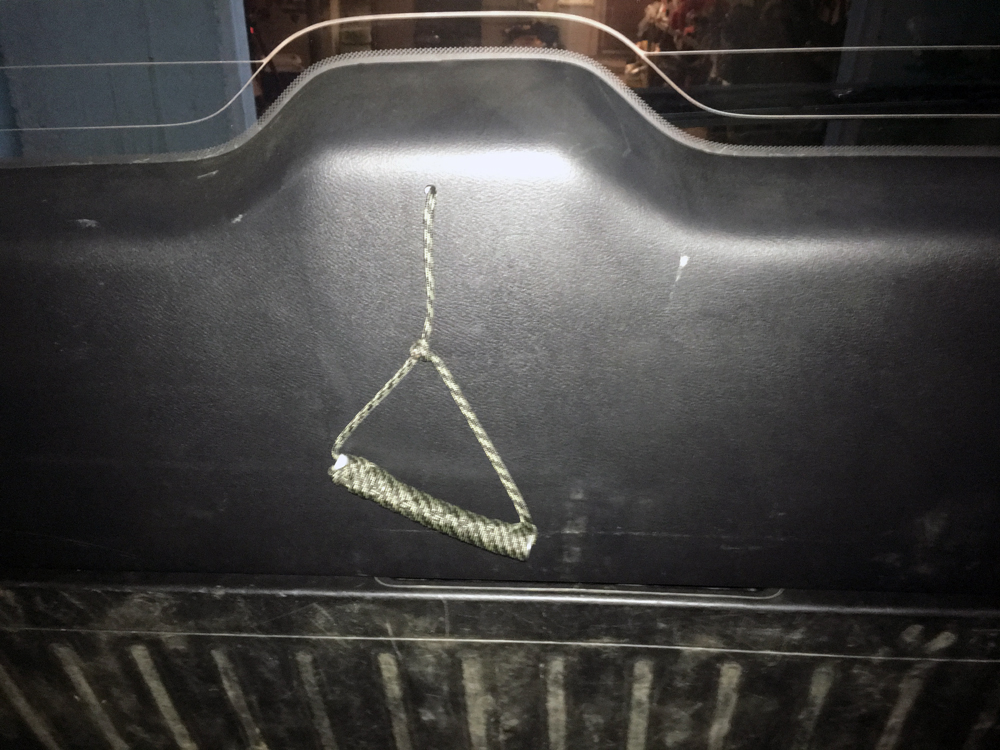
Two additional modifications that are a must for Element car camping – an interior release for the trunk, and a pull handle to close it from the inside (should I do another how-to on these in the future?).
Overall, my DIY sleeping platform has been one of the best things I’ve built to make car camping a little more comfortable. I can’t remember the exact price of the materials, but I believe it was under $100, and has more than paid for itself in hotel and campsite fees while motoring across the country and sleeping in various Wal-Mart parking lots. But it’s also been equally useful while solo camping at various spots across the country, race weekends, etc. As mentioned, you could double the build and make this into a two person sleeper platform with the bikes outside to double your fun!
