The Unior 2-in-1 Pocket Spoke & Cassette Lockring Tool is one of those little gadgets that you pick-up for bike touring once and then don’t use for years at a time. But because of its small size and light weight, it hopefully travels with you & your bike on most trips, just waiting for its chance to get you out of a jam.
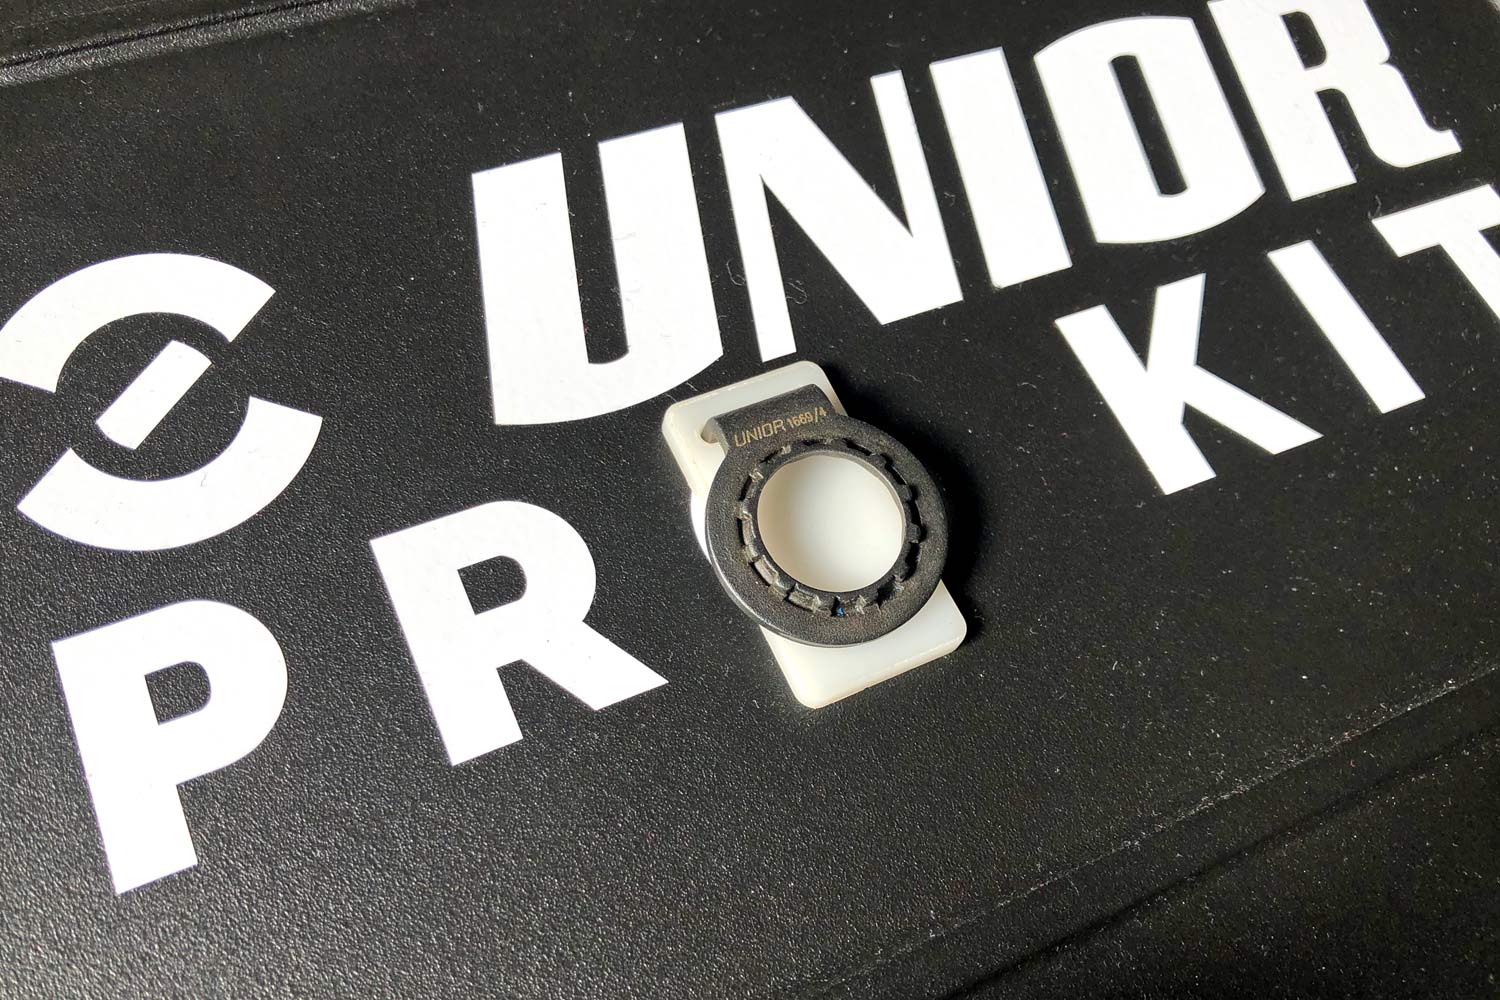
Unior 2-in-1 Pocket Spoke & Cassette Lockring Tool

I’ve had my $9 / 6€ made-in Slovenia, Unior 1669/4 tool for probably about four years now. (You could have glimpsed in my tool bag from a Unior tool test I did several years back, even though I hadn’t used it yet.) And while I have never really had cause to put it to work, that changed a couple weeks ago. When its time came, the little gadget truly saved the ride, plus I also realized that I will be putting it to more use as I pack & repack my S&S coupled bikes for travel going forward.
For a quick overview of what the tool actually is, Unior developed the 2-in-1 Pocket Spoke & Cassette Lockring Tool to allow cyclists on extended bike tours to be able to replace broken spokes. If a driveside rear spoke breaks, you need to remove the cassette to replace a spoke. And the Unior tool replaces the need for both a separate chainwhip & a standard cassette lockring tool, plus it adds in a spoke wrench.
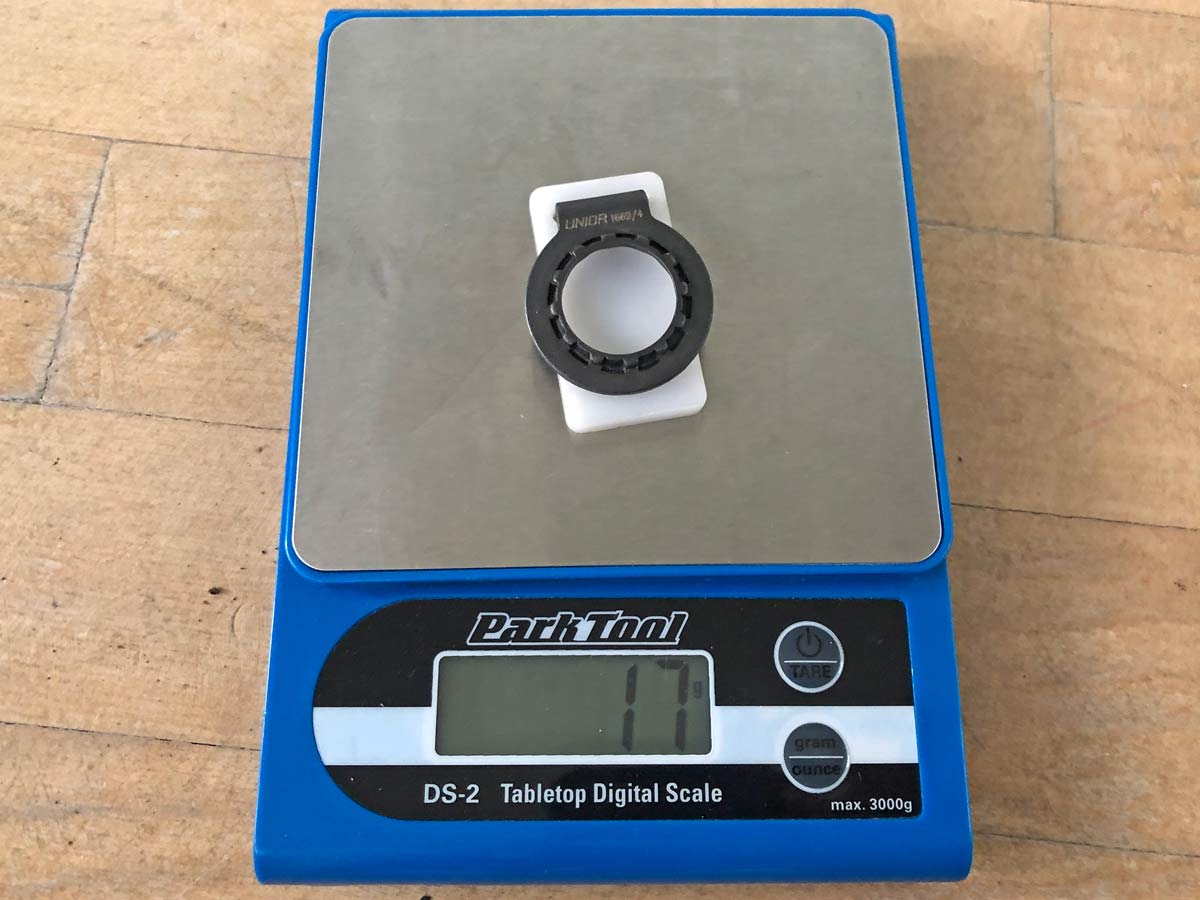
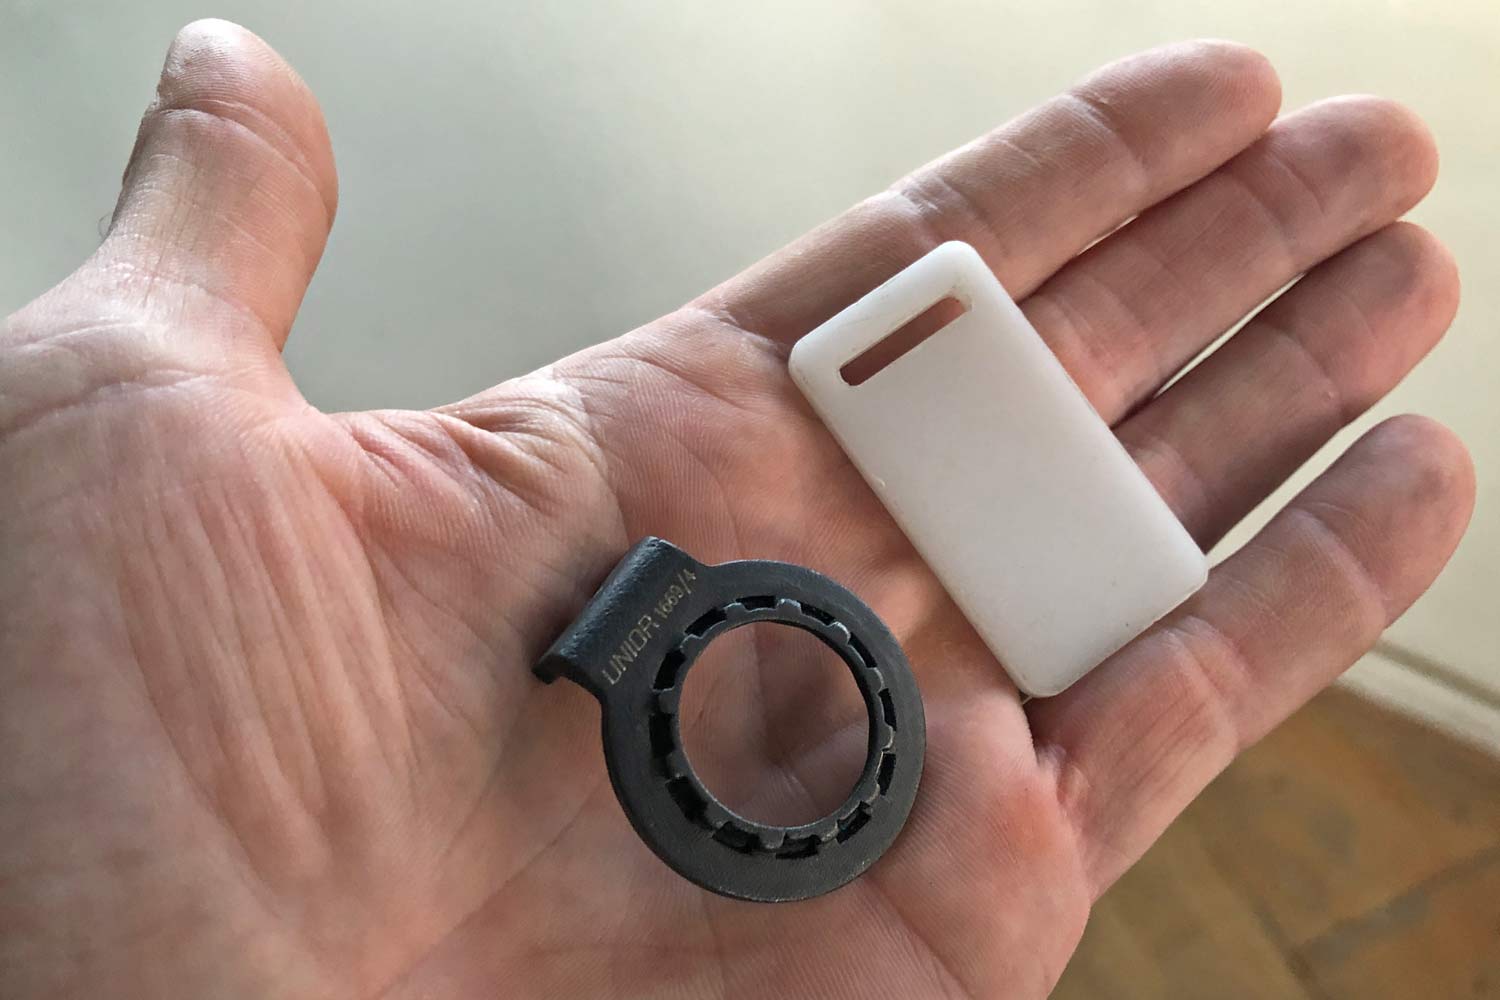
All that fits in the palm of your hand ~3x5cm (or buried in a saddlebag) at just a 17g insurance penalty. The tool itself consists of a low profile steel lockring tool, and a removable plastic plate to protect your frame.
Review: Removing or tightening a cassette
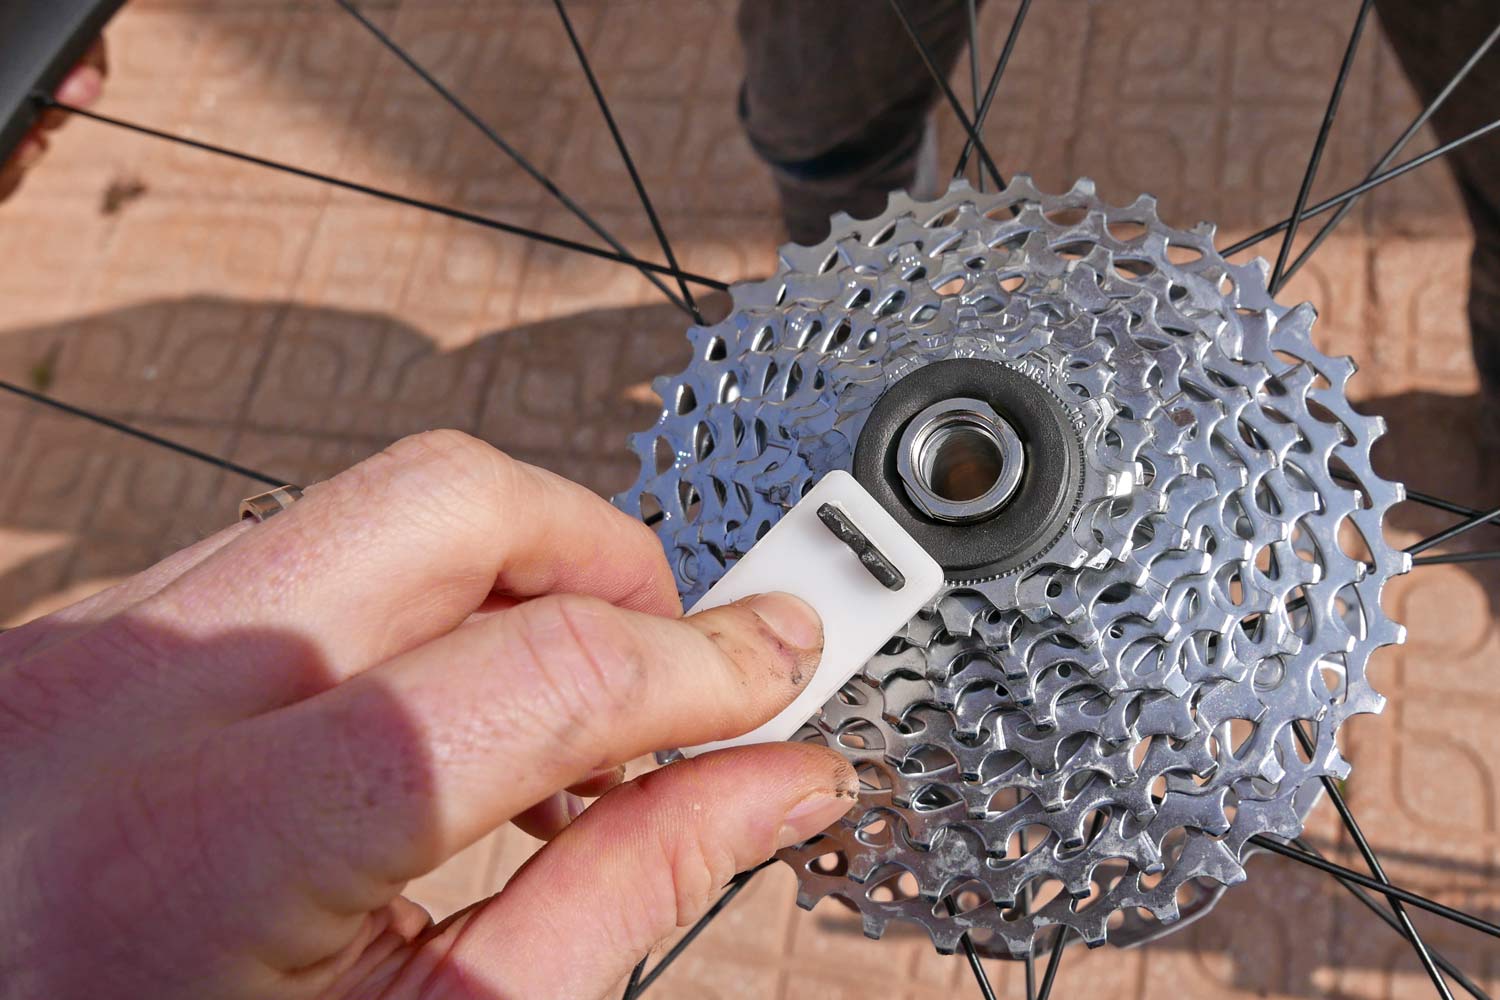
To use the Pocket Lockring Tool, you remove the wheel from your bike, slide the tool over the wheel’s axle, and engage the teeth into the cassette lockring. Then you reinstall the wheel into your bike, with the Pocket Lockring Tool sandwiched between your frame & cassette.
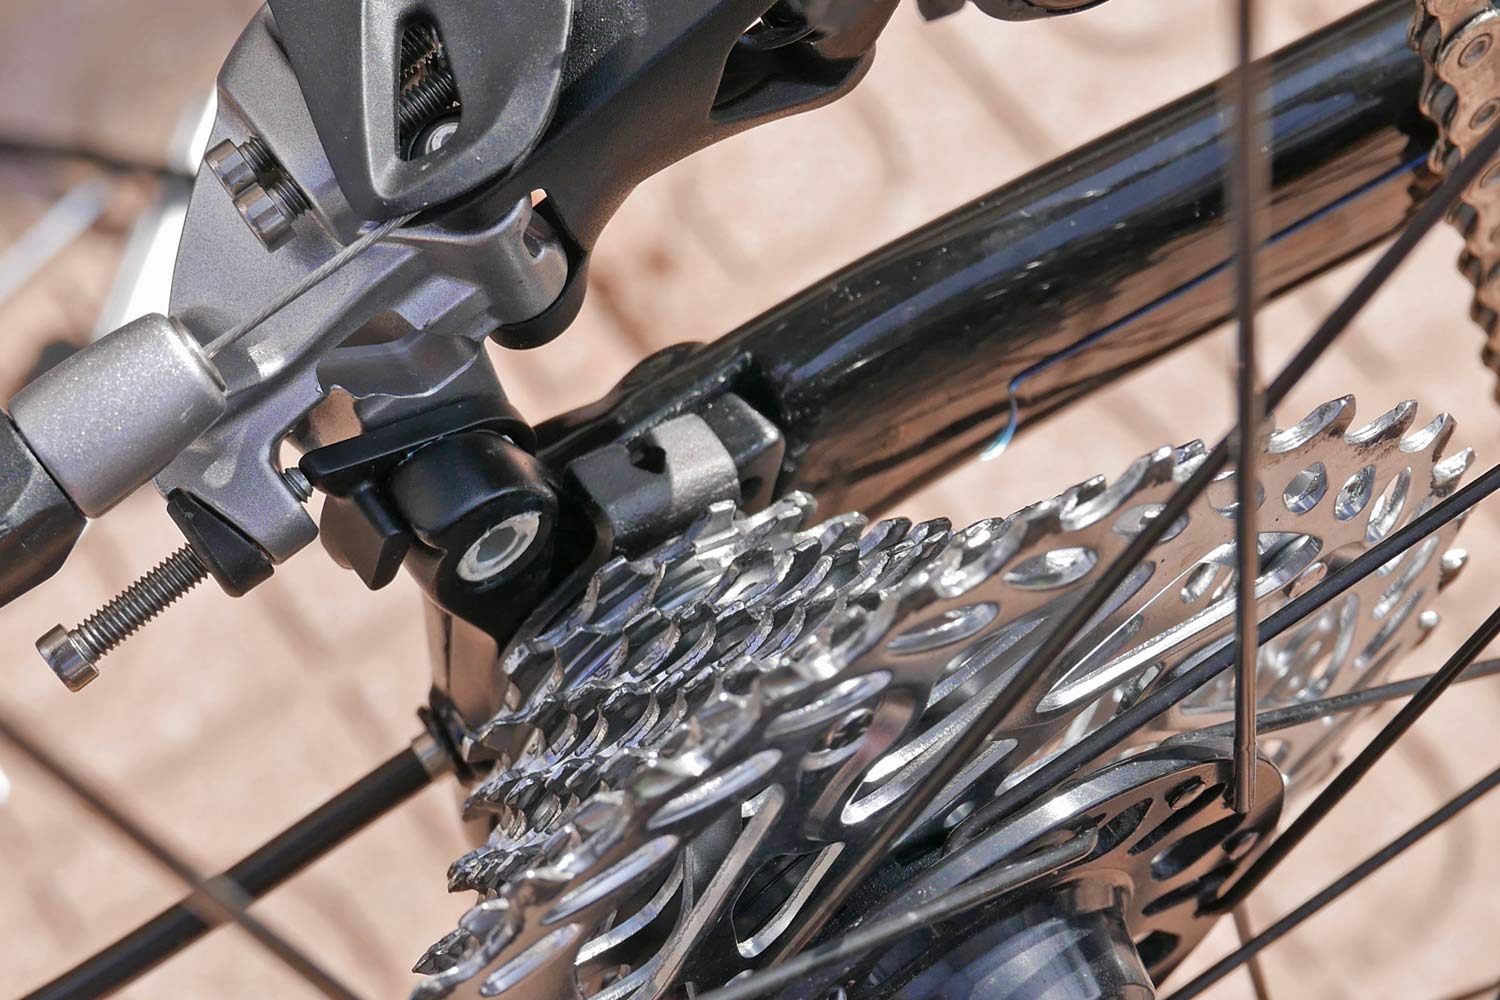
Here you have to pay careful attention to where you align the 90° bend (the square edge of the tool) relative to your derailleur hanger and frame. You want the tool to press against the dropout or hanger (not against any part of a carbon frame.) Generally, you want the tool behind the hanger when you are tightening a cassette, or in front of the hanger when removing the cassette. But it will vary bike-to-bike. The white plastic piece is not always a necessary part of the setup, but is there to be used as needed to protect more sensitive parts of your bike from contact with the steel tool. Tighten a cassette by simply spinning the wheel backwards, loosen a cassette lockring by using the pedals & chain to rotate the wheel forwards.
The reason the Pocket Lockring Tool saved our ride was because one of the guys I was heading out with was riding a borrowed bike and was having big problems with intermittent ghost shifting. Any time he put any power down in the easier half of the gears on a SRAM 1x gravel bike, the chain would jump and make a terrible noise. The culprit was a loose cassette. It is an easy thing to fix, but without a complete tool kit (or a nearby bike shop) there isn’t much you can do.
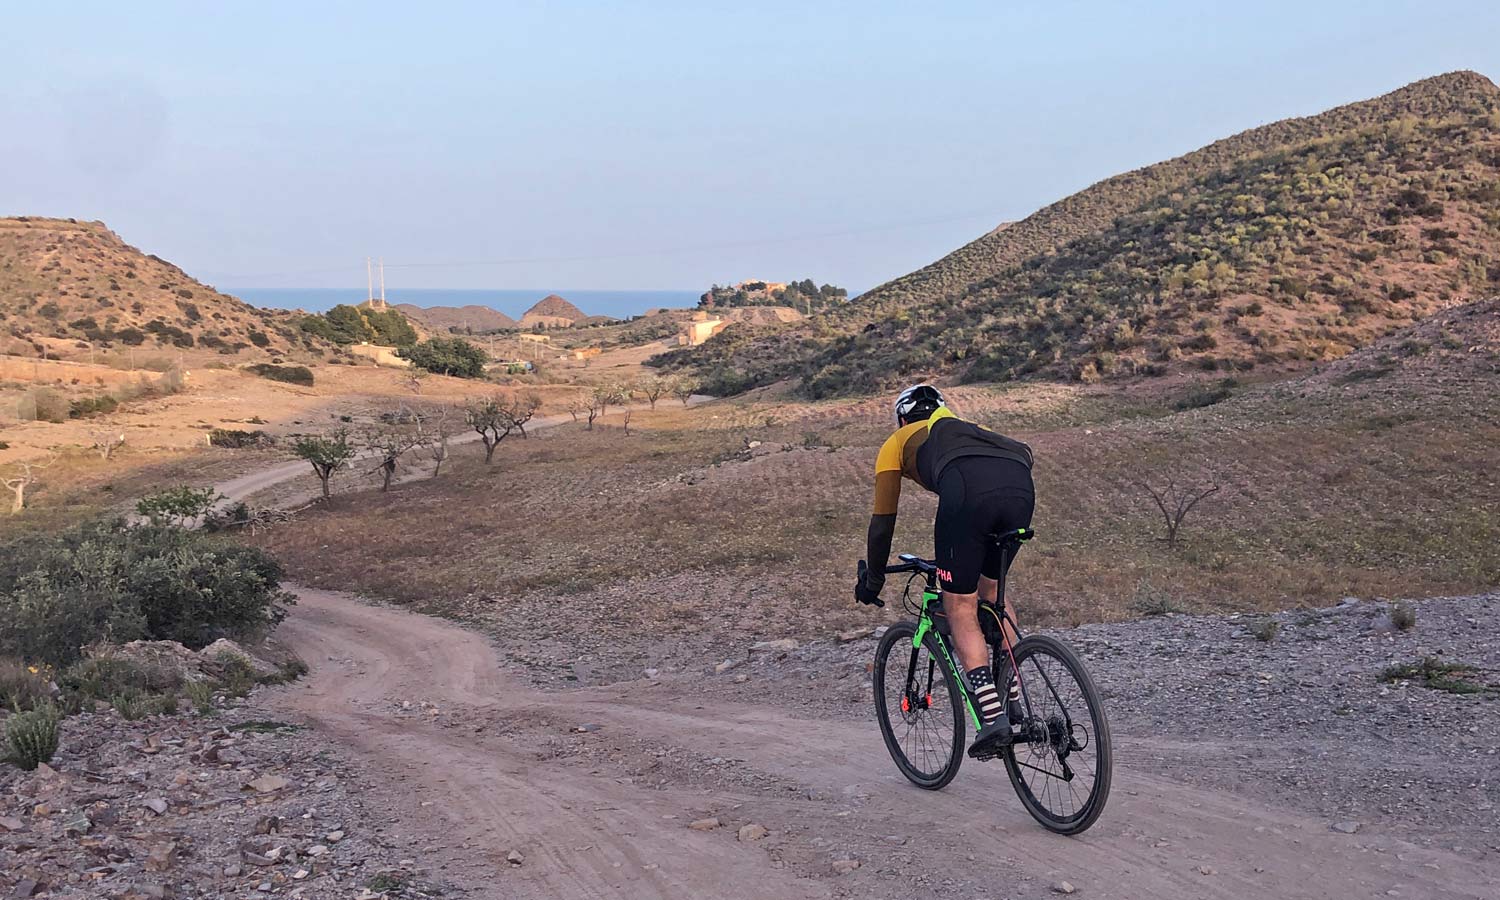
But with the Pocket Lockring Tool, less than 60 second later – wheel off, tool on, wheel on, spin, wheel off, tool off, wheel on – and we were good to go. Crisis averted. Perfect shifting and a beautiful day on the bike in Murcia, Spain.
Other roadside/trailside fixes – spoke adjustment & rotor removal
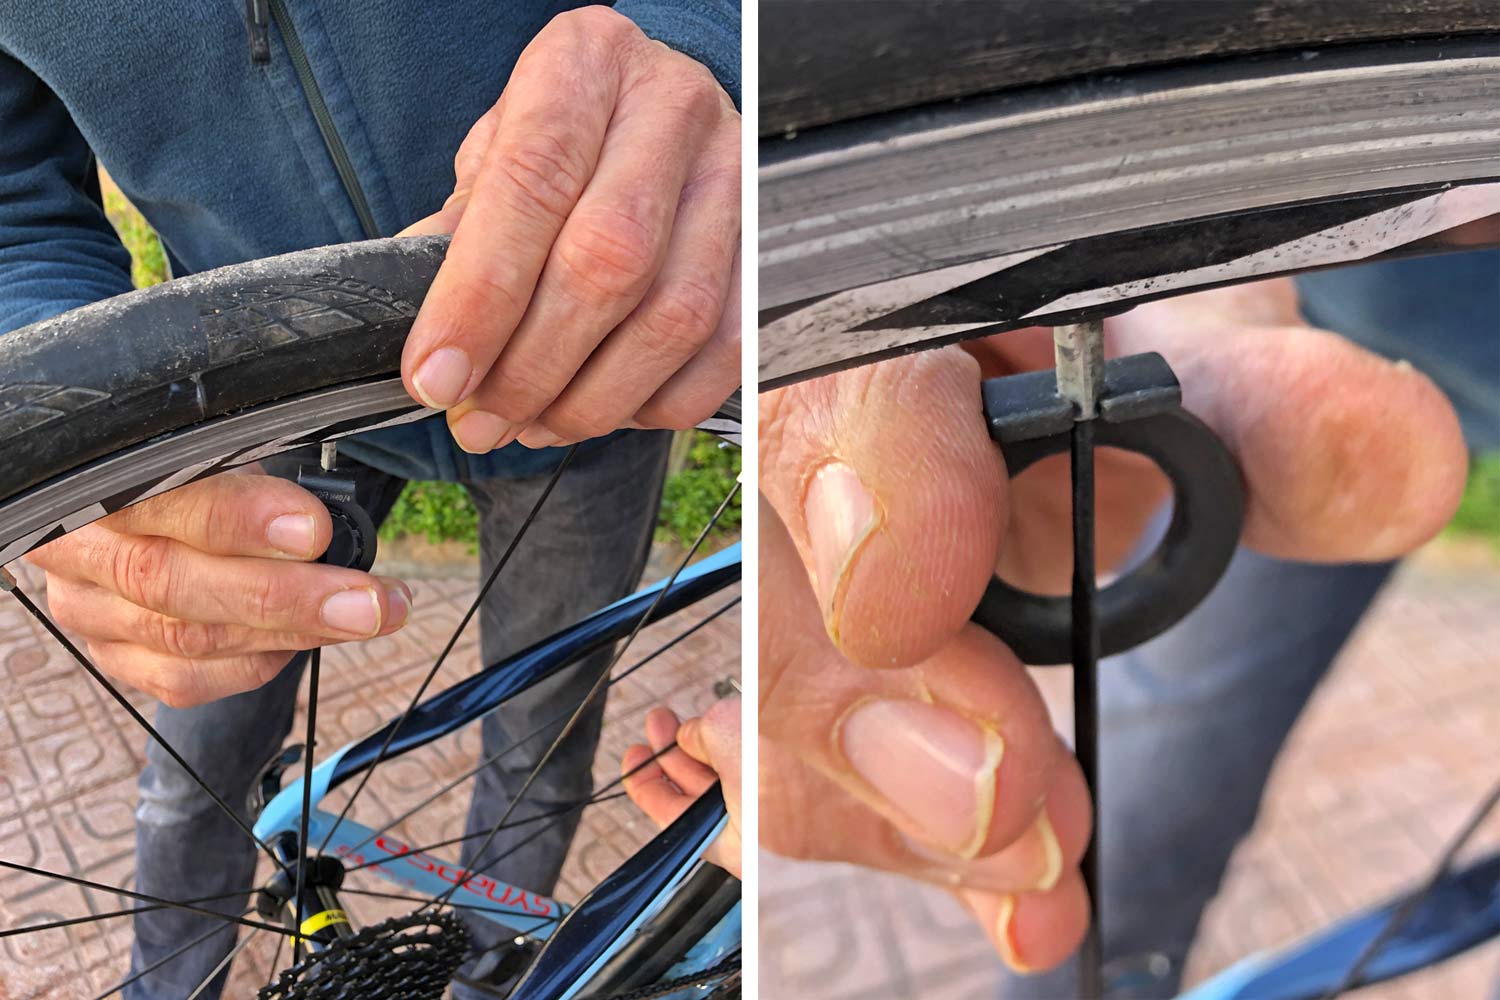
Unior calls the tool “2 in 1”, and interestingly the day after I tightened a cassette on one gravel bike, it got used on another road bike for spoke tightening. On the bent square edge of the tool, Unior includes four-sided spoke wrench flats for a typical 14 gauge nipple. (Unior calls it 3.4mm, which is oddly between the usual 3.3 & 3.45mm sizes, but it worked fine with a secure fit on a set of mid-level alloy Mavic wheels.) We put bigger tires on a rim brake Synapse and needed to do a tiny bit of on-the-fly redishing to avoid tire rub. Crisis number two averted, in two days.
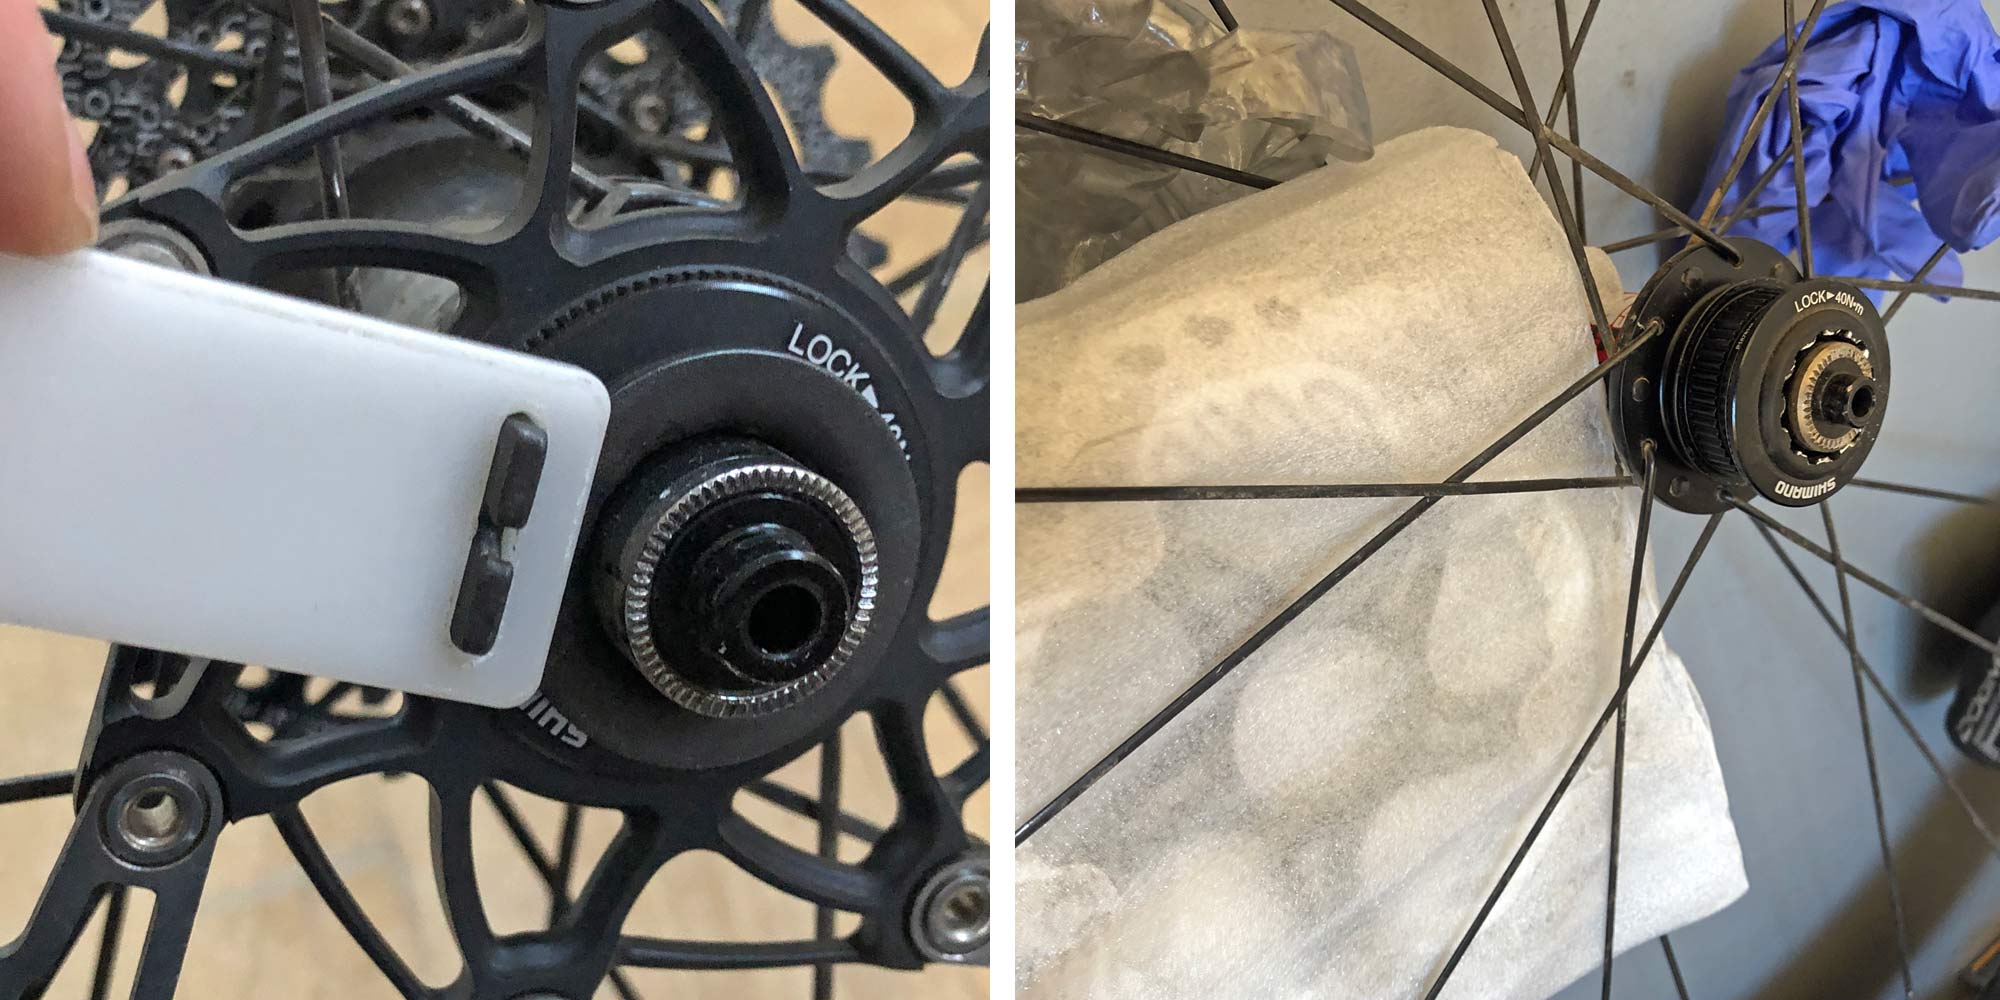
Lastly, I found use three while packing my bike up in its S&S case to fly home. Always being more difficult to pack for the return trip, I was able to use the same technique as removing a cassette to remove my centerlock disc rotors from the bike. Remove the wheel, engage the tool on the lockring, reinstall the wheel, spin, and the lockring & rotor could be removed.
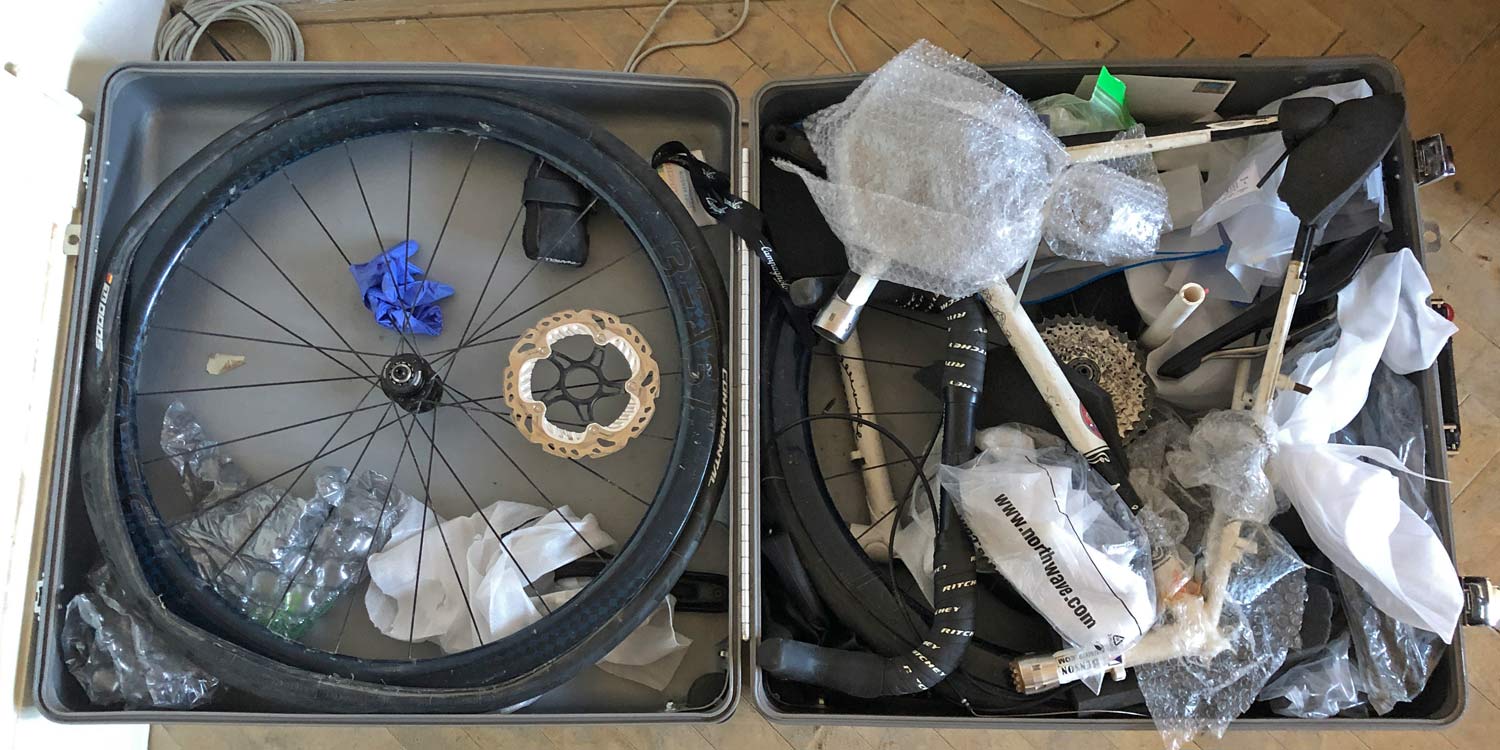
This let me stuff a bunch of extra goodies into my checked bike box (pretty much just boxes of Colombian bocadillos, plus dirty cycling kit) without worrying about bent rotors.
I’ve been carrying around the Unior Pocket Lockring Tool in my travel case for a few years, but now it looks like I will be putting it to more use than ever. Maybe I don’t need to haul around all the super fancy tools I have stuffed inside that Unior Pro Kit tool travel case at the start of this review. It’s a wonder what you can do with the multi-purpose tools that fit in a small saddlebag.
And at just $9 or 6€, I would recommend every bikepacker, backcountry rider, or anyone who travels with a bike far from home should add one to their saddlebag tool kit.