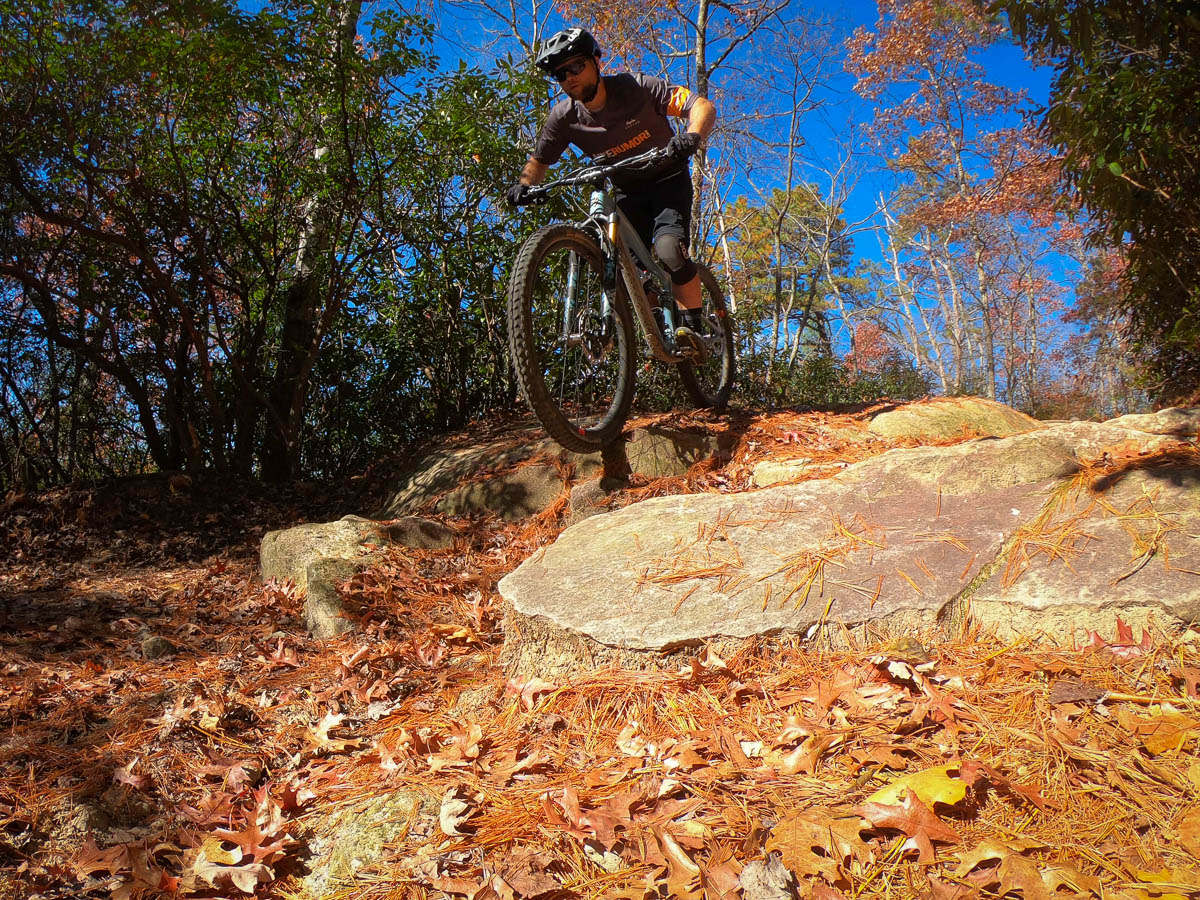
“I must have this.” It wasn’t long after my first spin on the newest Ibis Ripley that this thought crossed my mind. Over the course of the year, we get to try a lot of different bikes. Some of those models eventually end up coming in for a longer term review, but it’s rare that I hop on a bike and feel like I immediately need it in my life. But every once in a while, there are bikes like the Ripley v4. Bikes that demand a closer look.
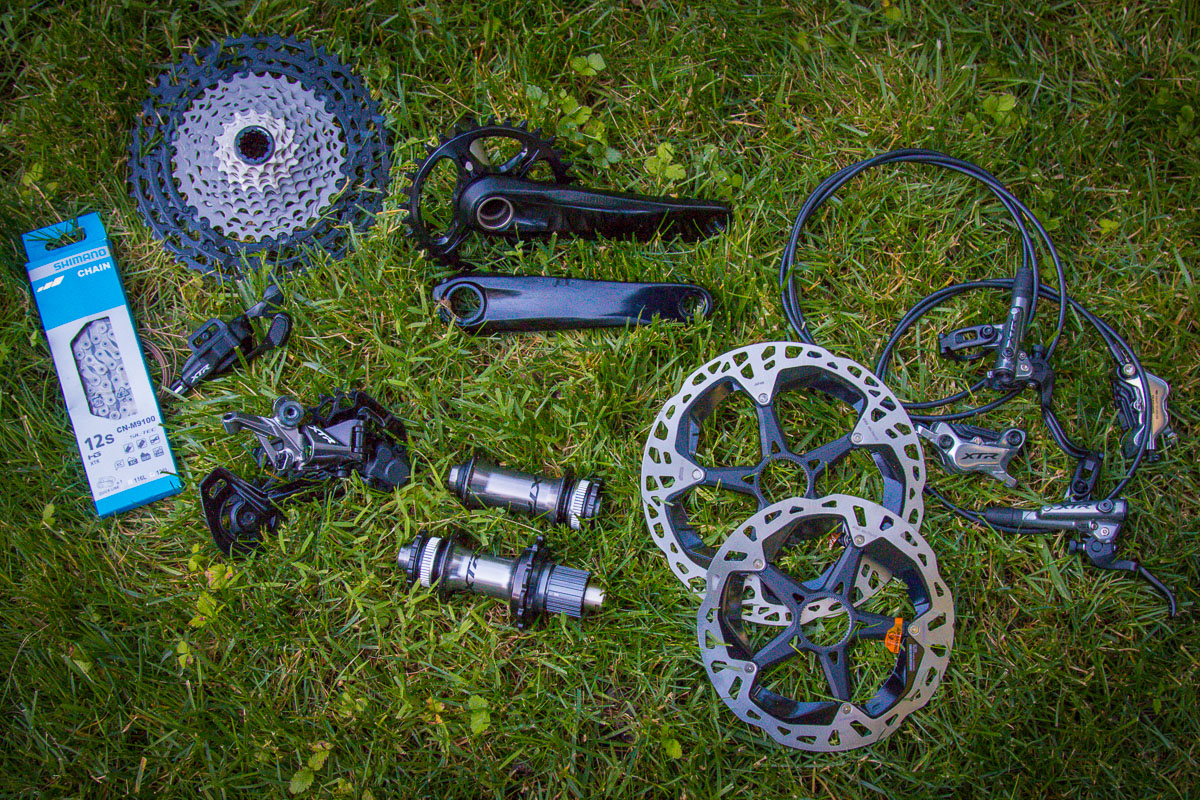
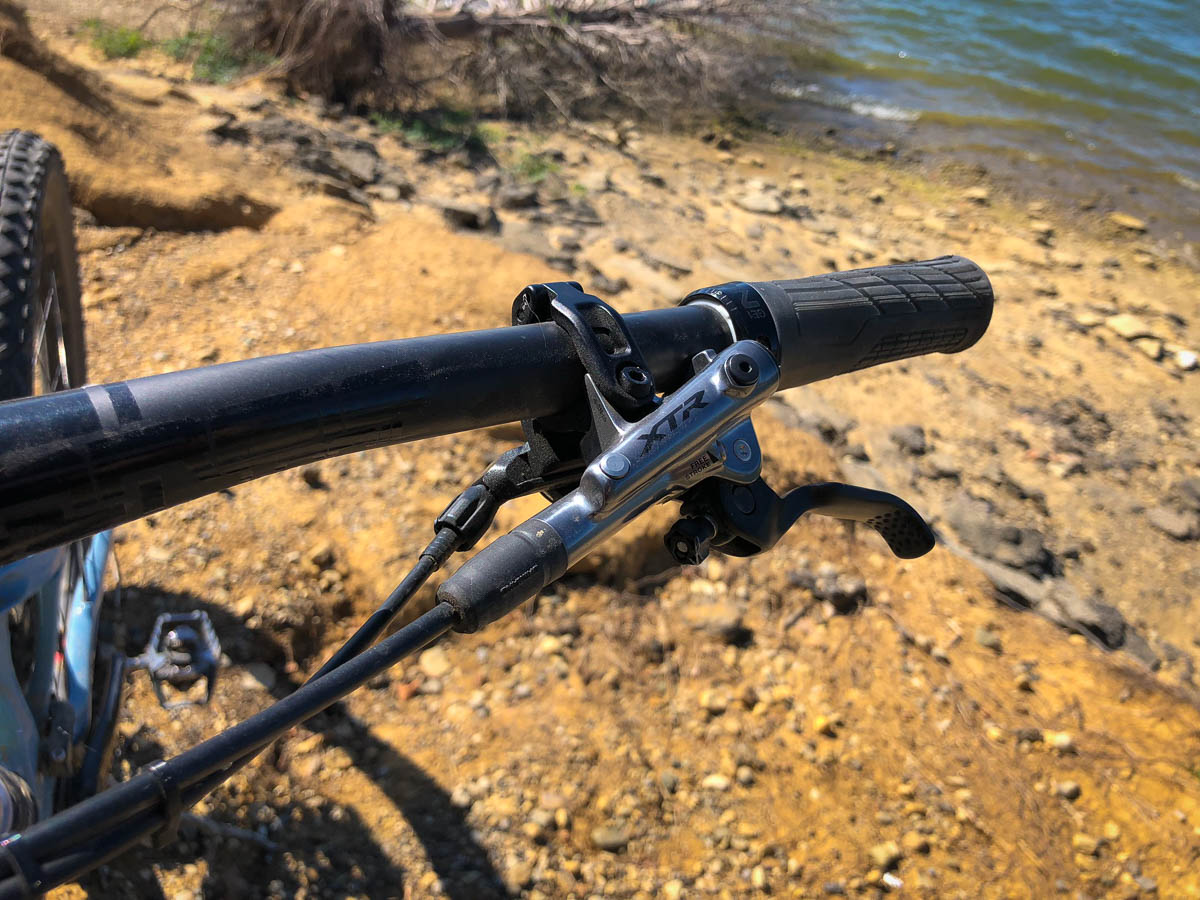
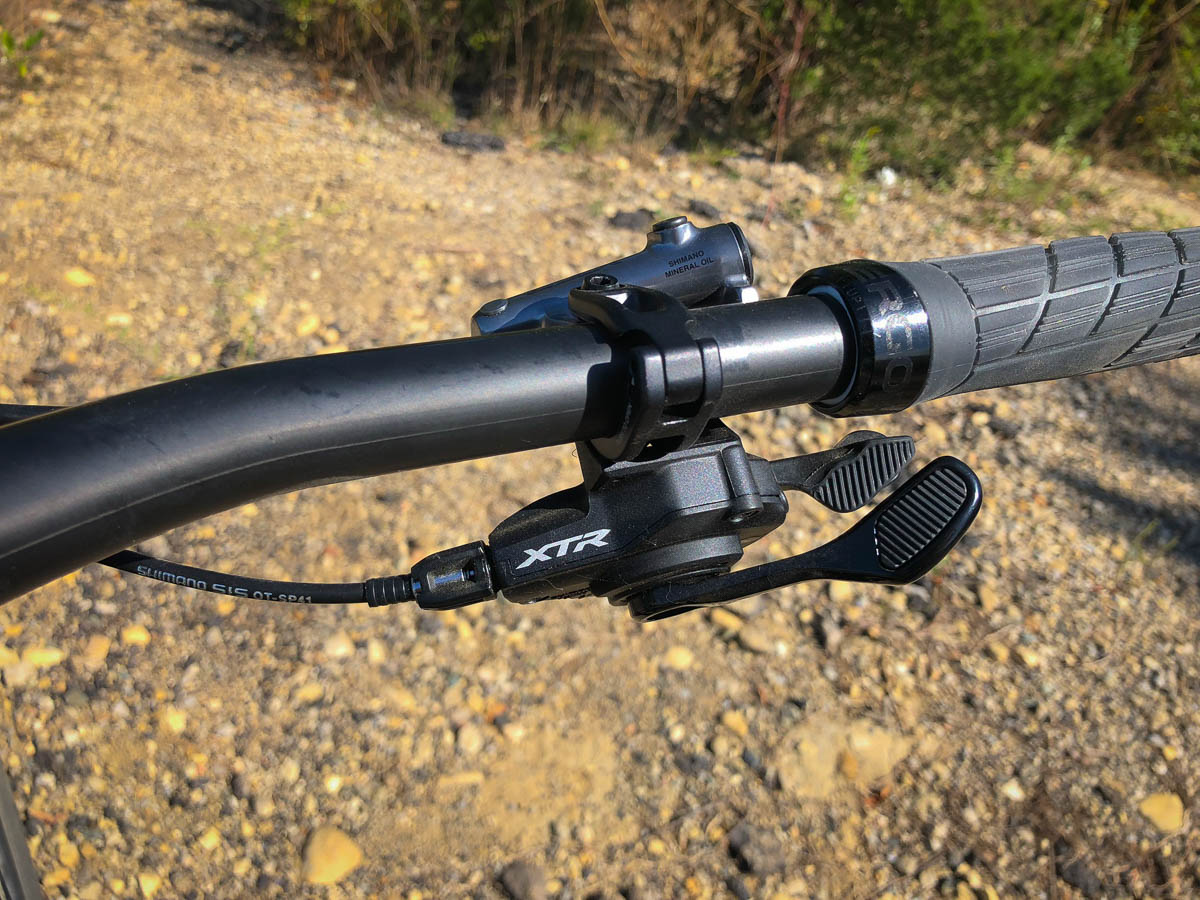
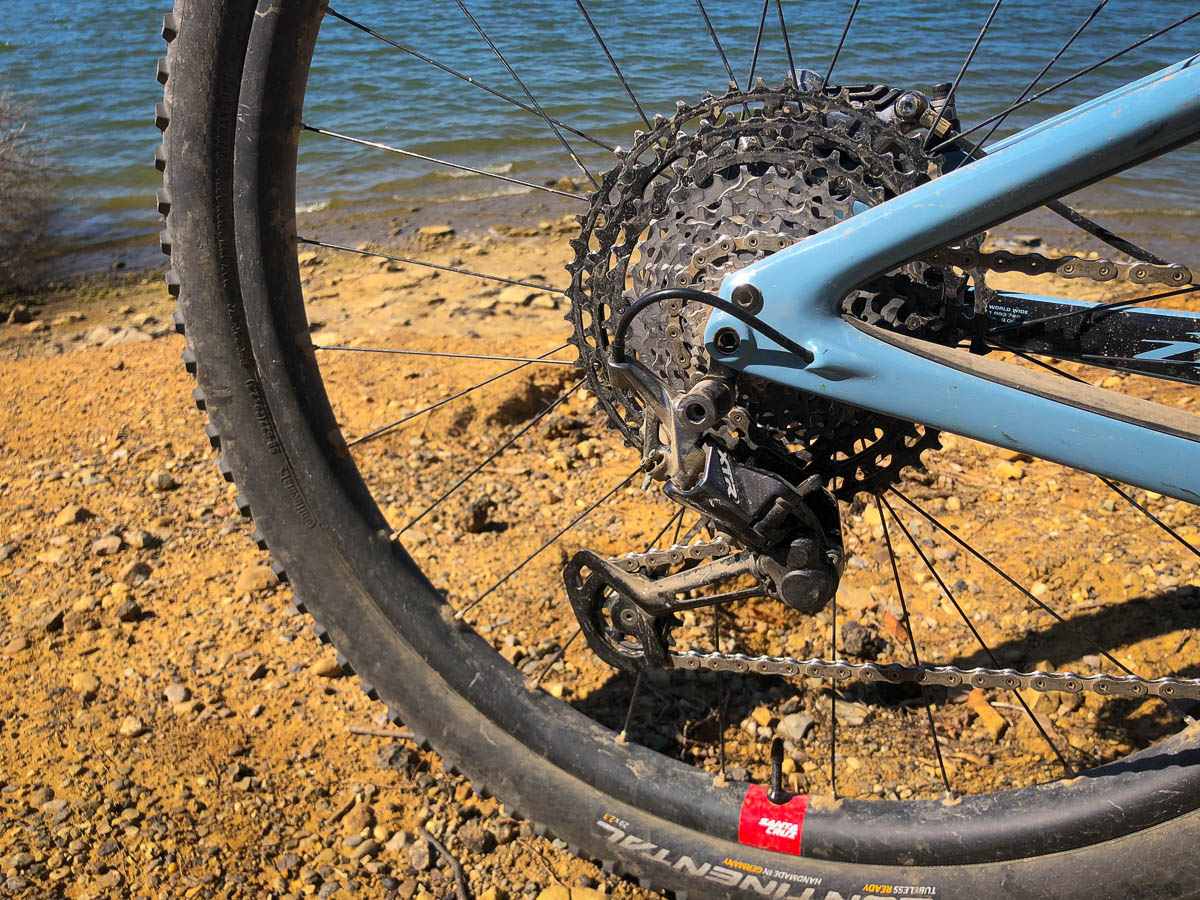
XTR M9100 1 x 12
As luck would have it, I happened to be in the middle of piecing together a build to test out the new Shimano XTR 1×12 group. It wasn’t long until my original plans were scuttled, and a Ripley frame arrived to become the centerpiece for the build. Due to a number of factors, it took a while, but eventually I had all of the parts needed for one dreamy build. I had hoped that this bike would serve as the perfect platform to highlight the newest XTR group while also giving me plenty of saddle time on one of the year’s hottest bikes, and I wasn’t disappointed.
Complete Weight
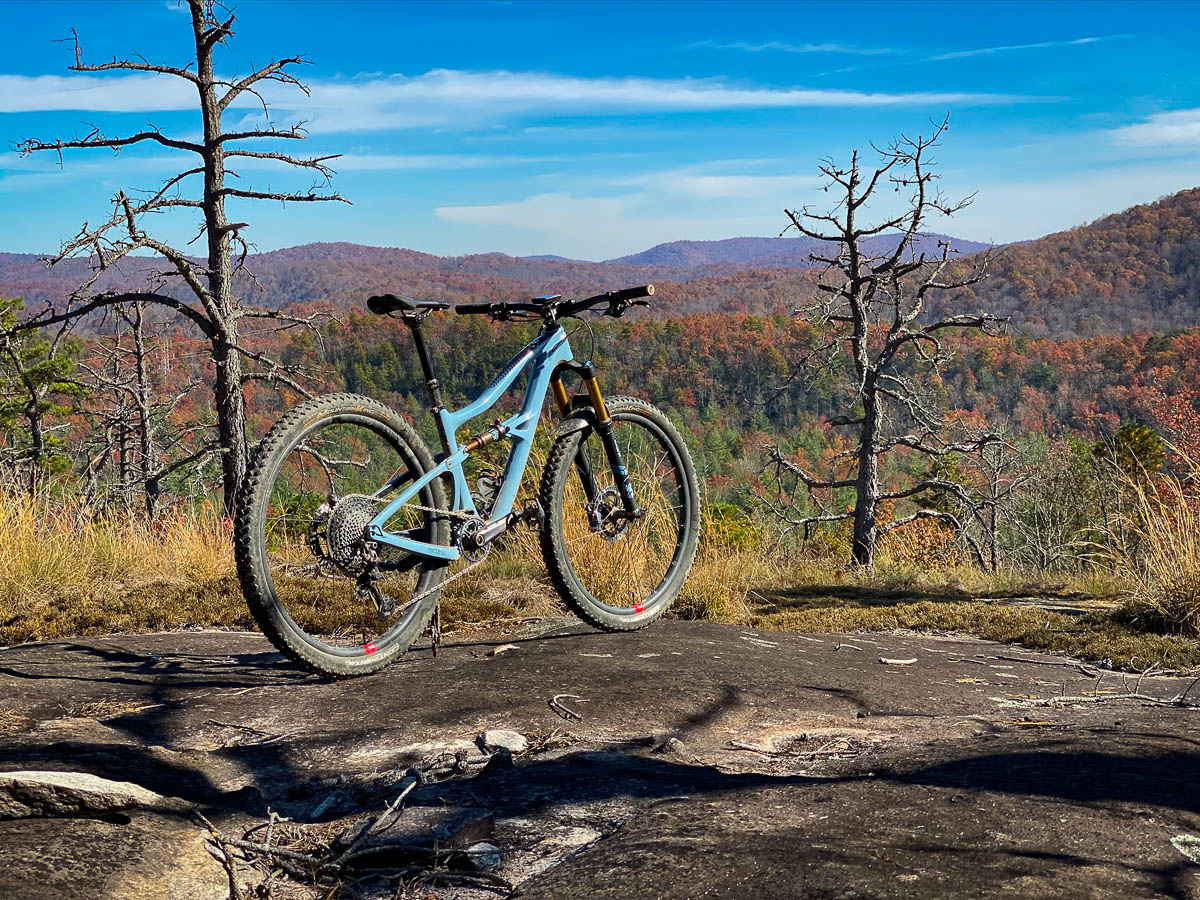
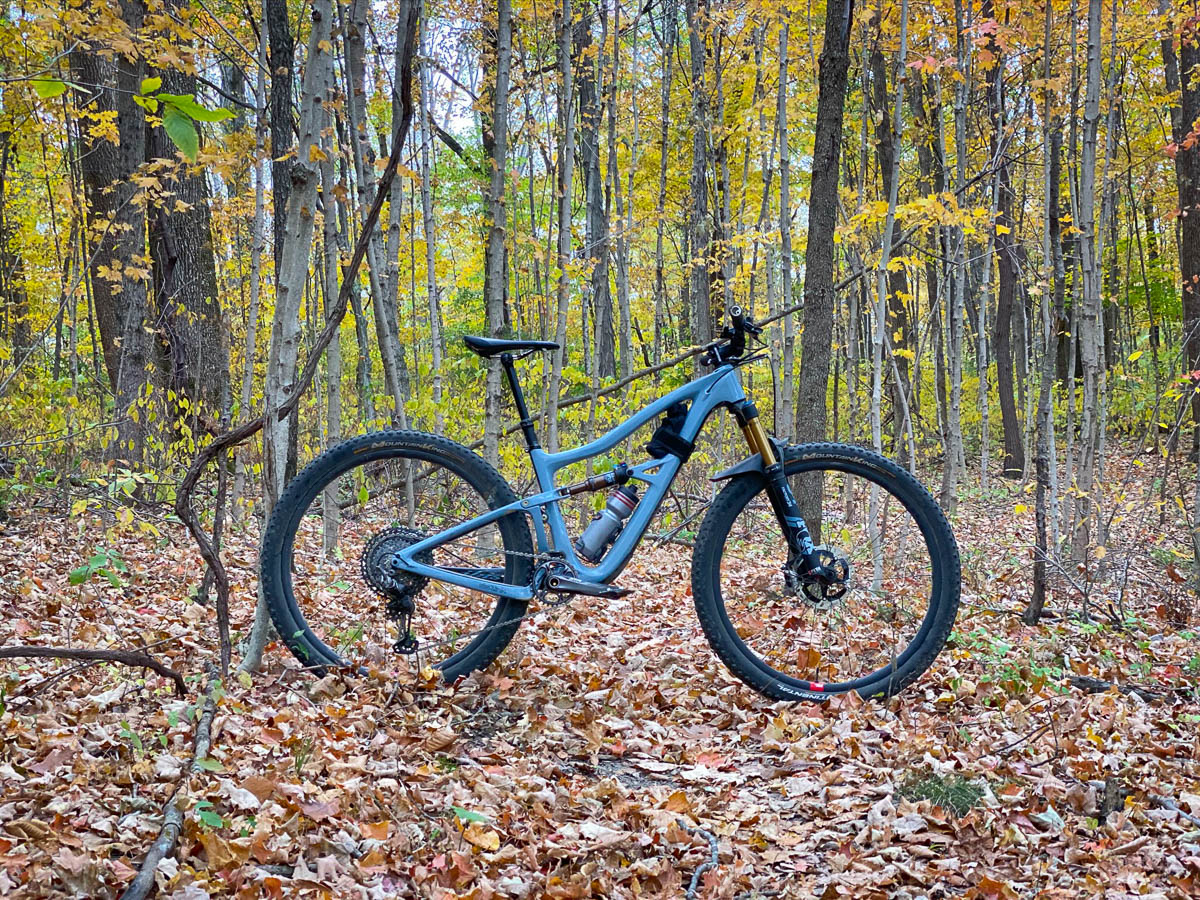
At this point, if you’ve been following along, you’ve already seen the build. Start with the Ripley v4 frame, add in Fox Factory level suspension at both ends, custom Santa Cruz Reserve 30 carbon wheels with Shimano XTR hubs, and a complete Shimano XTR M9100 1×12 group and then finish things off with a smattering of PRO Components. Follow that recipe and you’ll end up with a supremely capable XC/Trail bike with 130/120mm of travel that weighs in at 26lbs 15oz (12.22kg). Depending on your tastes in components, that could be built lighter or heavier, but my build felt like it was the sweet spot between light weight without sacrificing traction, braking, or durability.
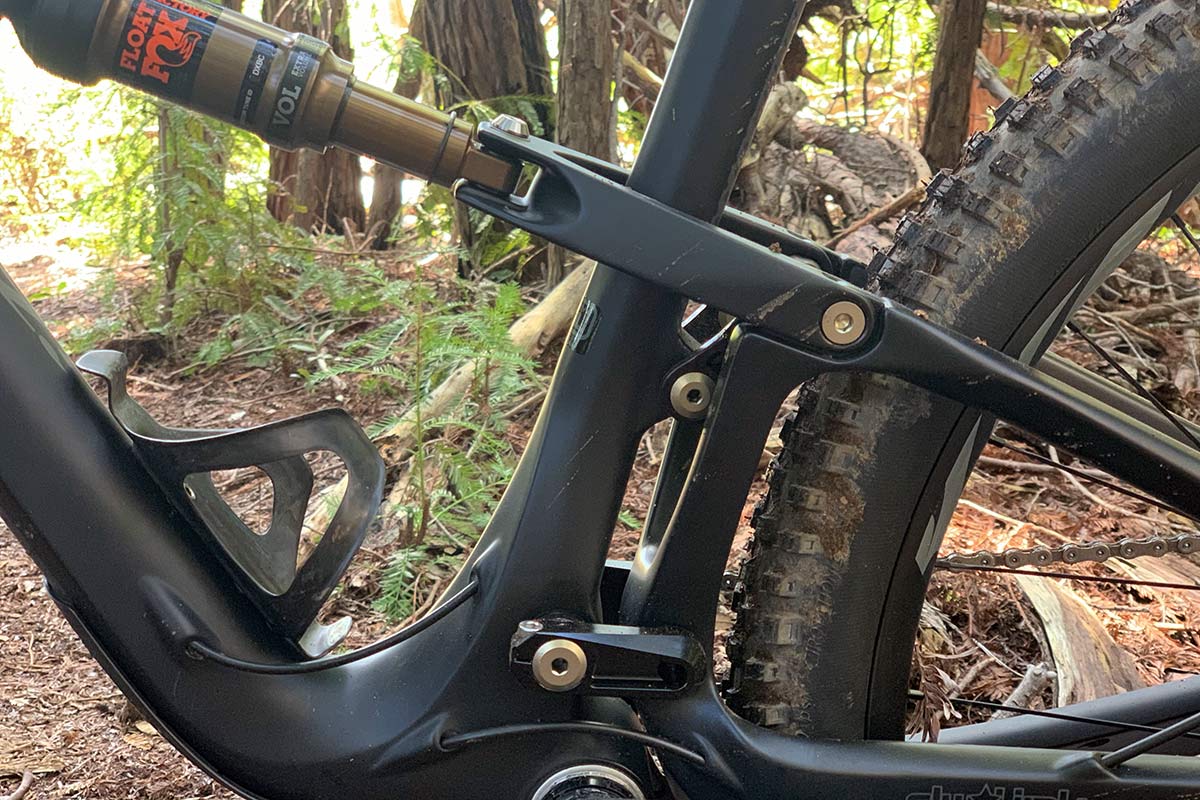
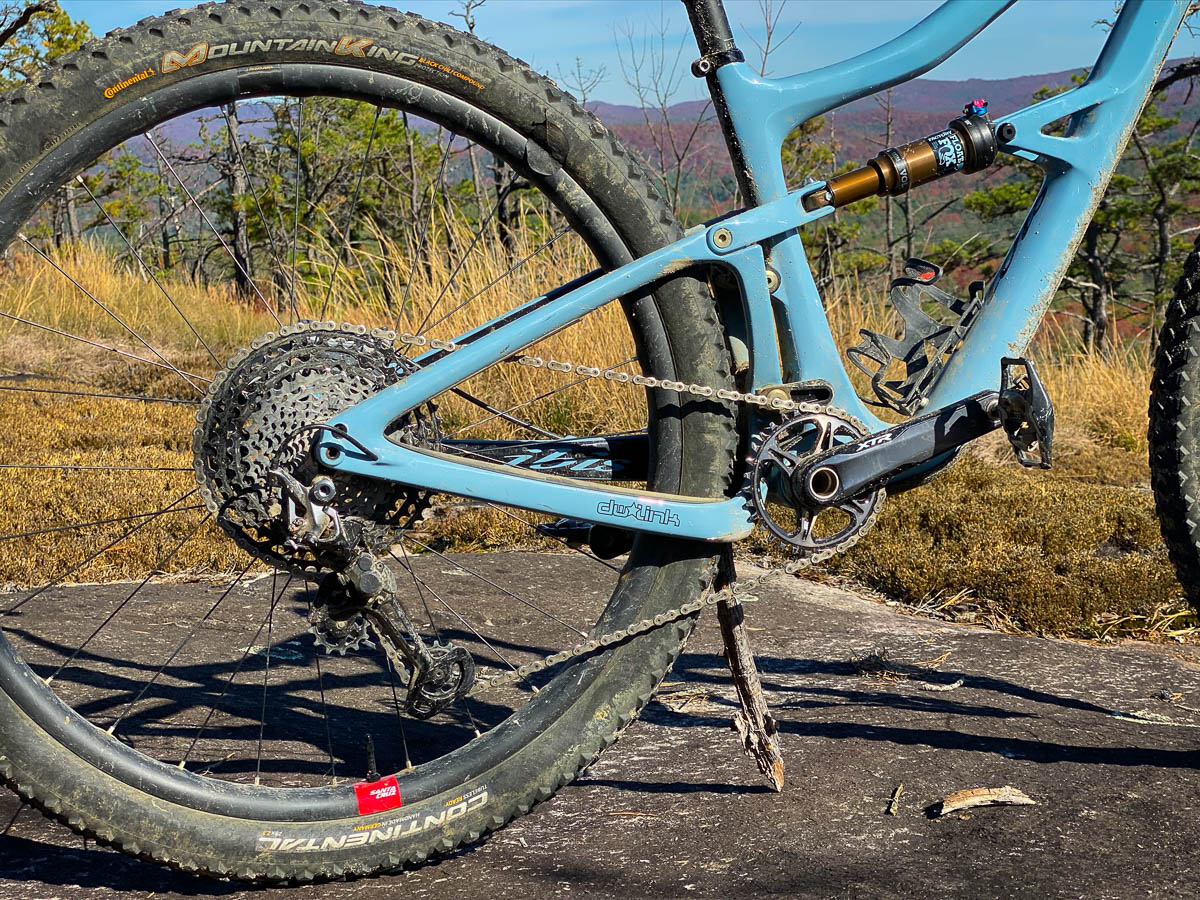
One of the big differences to the new Ripley frame is an all new suspension layout that eschews eccentrics for more traditional short links and the dw-link suspension system’s v5 kinematics. Ibis says they were able to lighten up the frame thanks to the new hardware while making it more durable as well. At the end of a season, there are certainly no concerns coming from the frame in terms of durability – everything is completely silent without so much as touching a bolt (after changing out the shock).
Standard Tune vs. Light Tune
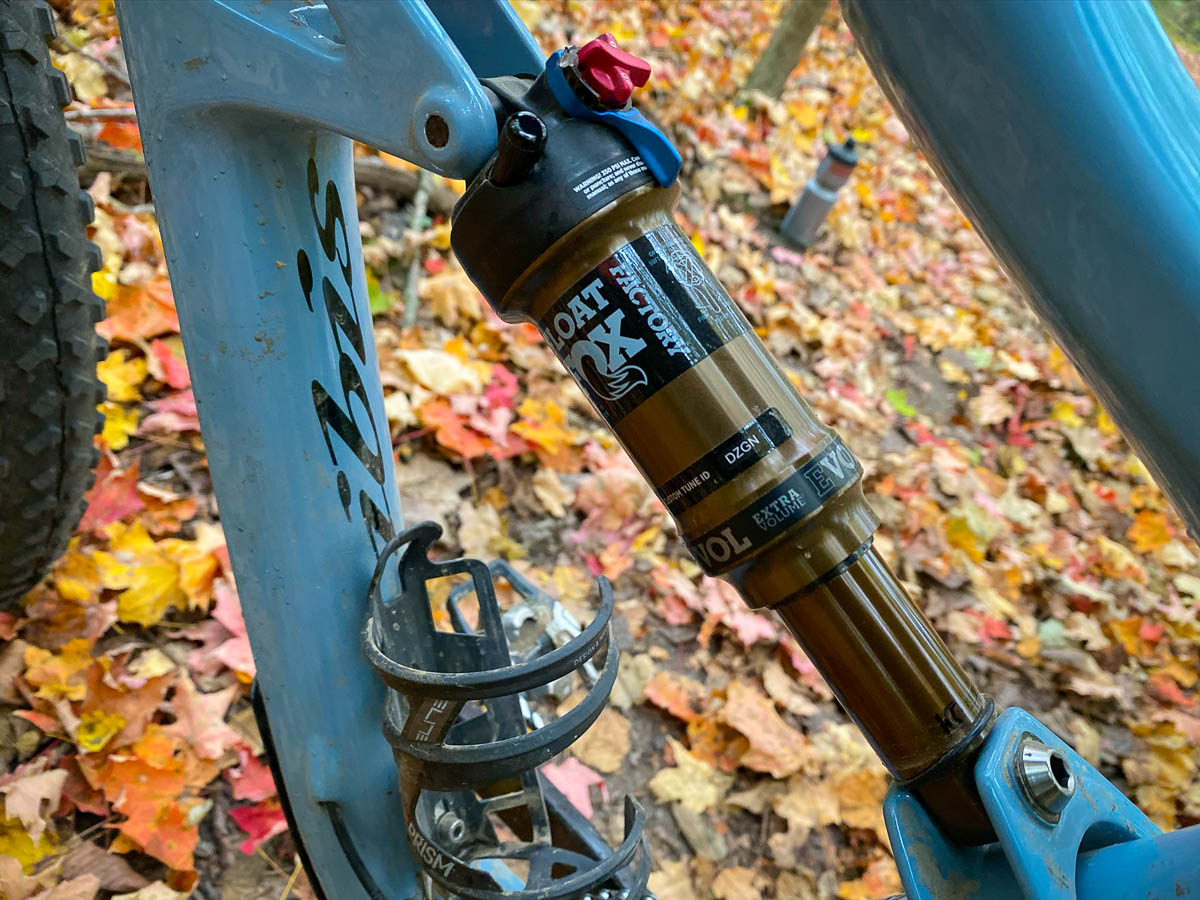
Initially, my test medium frame was sent out with a standard tune shock – but after August 2019, Ripley began shipping small and medium frames with their light tune. Stating that “nearly everyone under 160 lbs should use the light tune,” it makes sense that I felt the damping was a little heavy for my liking as I’m under 160lbs. Ripley then sent out a light tune, and while the difference wasn’t huge, splitting hairs I did like the ride a bit more with the lighter tune. But I’m also right on the edge of the weight limit between the two tunes, so if you’re farther to one side than I am, it should make a bigger difference. More importantly, the newest kinematics seem to result in a Ripley that is XC racer efficient but still ready to rally at a moment’s notice.
Geometry
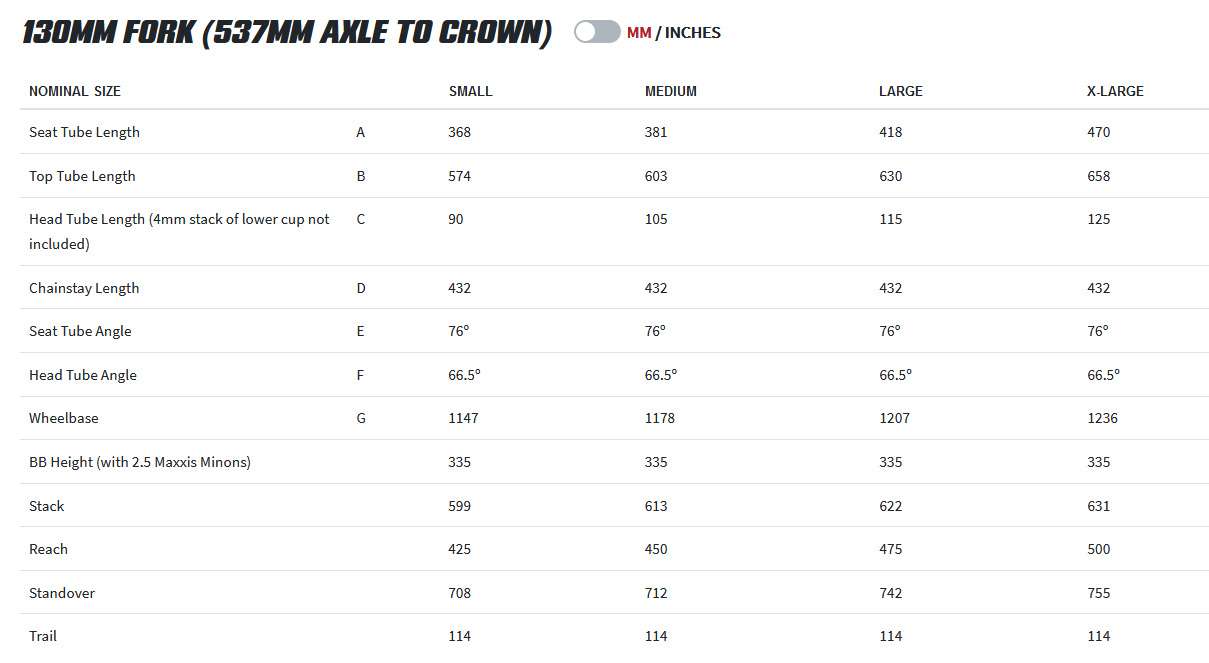
This category has been gaining steam for a while now, and for good reason. Just because your trails could primarily fall under the ‘XC’ category doesn’t mean you don’t like to have fun. Using a relatively steep 76° seat tube angle with a slack-ish 66.5° head tube angle with a 44mm offset fork, the Ripley falls into this rare category where it’s efficient enough that I still love to ride it on some of our more XC trails, but it’s fun enough that I also like to ride it on trails where I would normally reach for the enduro bike. More importantly, the Ripley possesses this incredibly confidence-inspiring ride quality that makes you feel more comfortable than you probably should.
While I’ve frequently surprised myself by the technical challenges that I’ve cleared on the Ripley, it’s also been crashed a good bit as the bike would be telling me to go for it, but my body or skills weren’t quite there. In spite of that, the frame is still in perfect shape with barely a scratch. Trust me when I say that I’ve ridden this frame hard. And other than a few scuffs from my winter boots and plenty of mud and dust, it looks almost brand new.
Details, Details
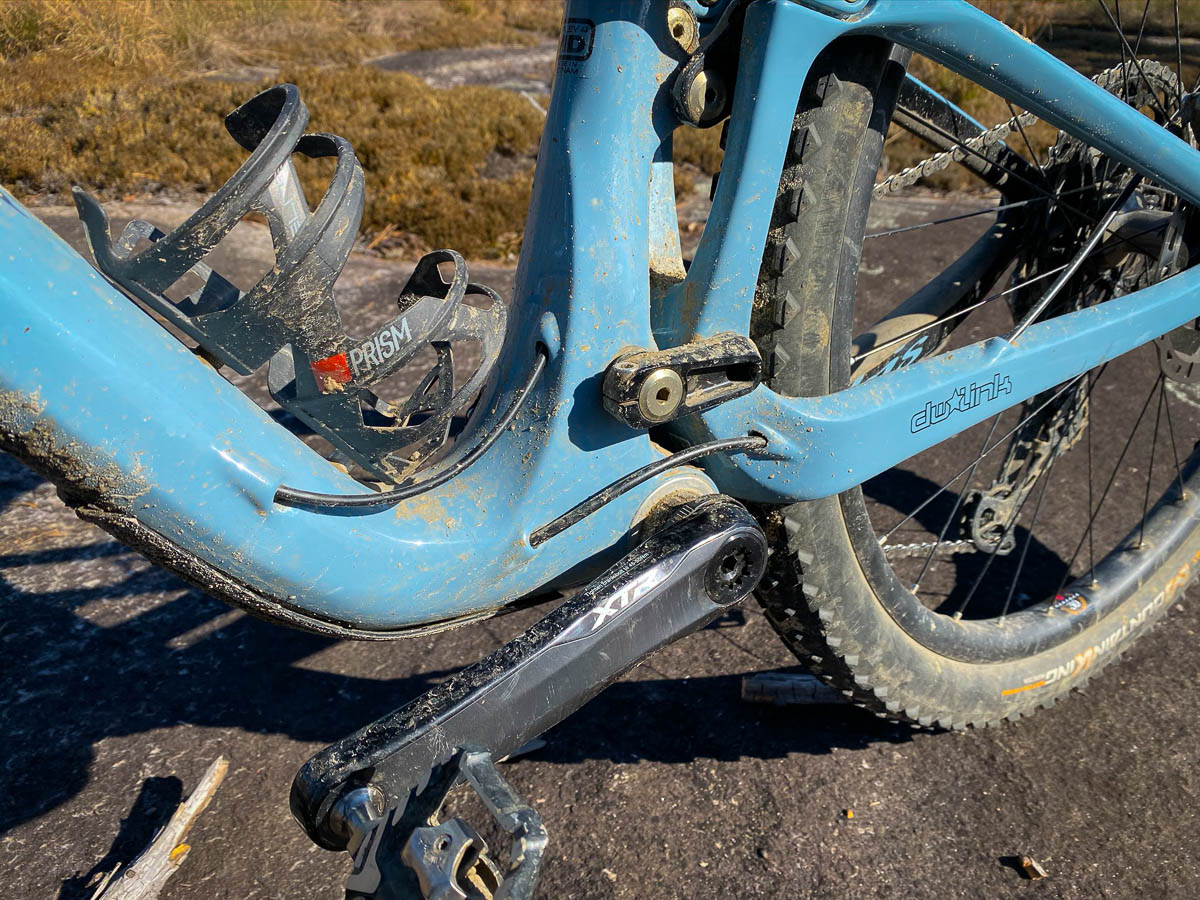
I touched on it briefly during the build post, but for me the perfect bike builds as well as it rides. That means sweating the details which are often overlooked as soon as the bike is built. Small things like the fact that the inside of the seat tube was perfectly smooth and required zero sanding to allow for a smooth seatpost insertion. The cable routing on the Ripley is nearly perfect – push it in one end, and it pops out the other. Cable gracefully follow the contours of the bike popping out of the front triangle only to reenter the rear triangle in a way that doesn’t interfere with the bottle cage (or anything else for that matter). Overall, the Ripley was a joy to build without any surprises.
While we’re on the topic of small details, the ability to carry a (large) water bottle is something that’s often overlooked on full suspension frames these days. Not here. The Ripley will fit a 26oz Specialized Purist bottle on every size except small – the little bikes will still fit a 22oz bottle though. Ibis did make a running change with the position of the bottle cage bolts though. On my frame, they’re 2mm lower than they are for current production models, which means new frames won’t need the spacer I had to use to keep the bottom of the cage from touching the frame.
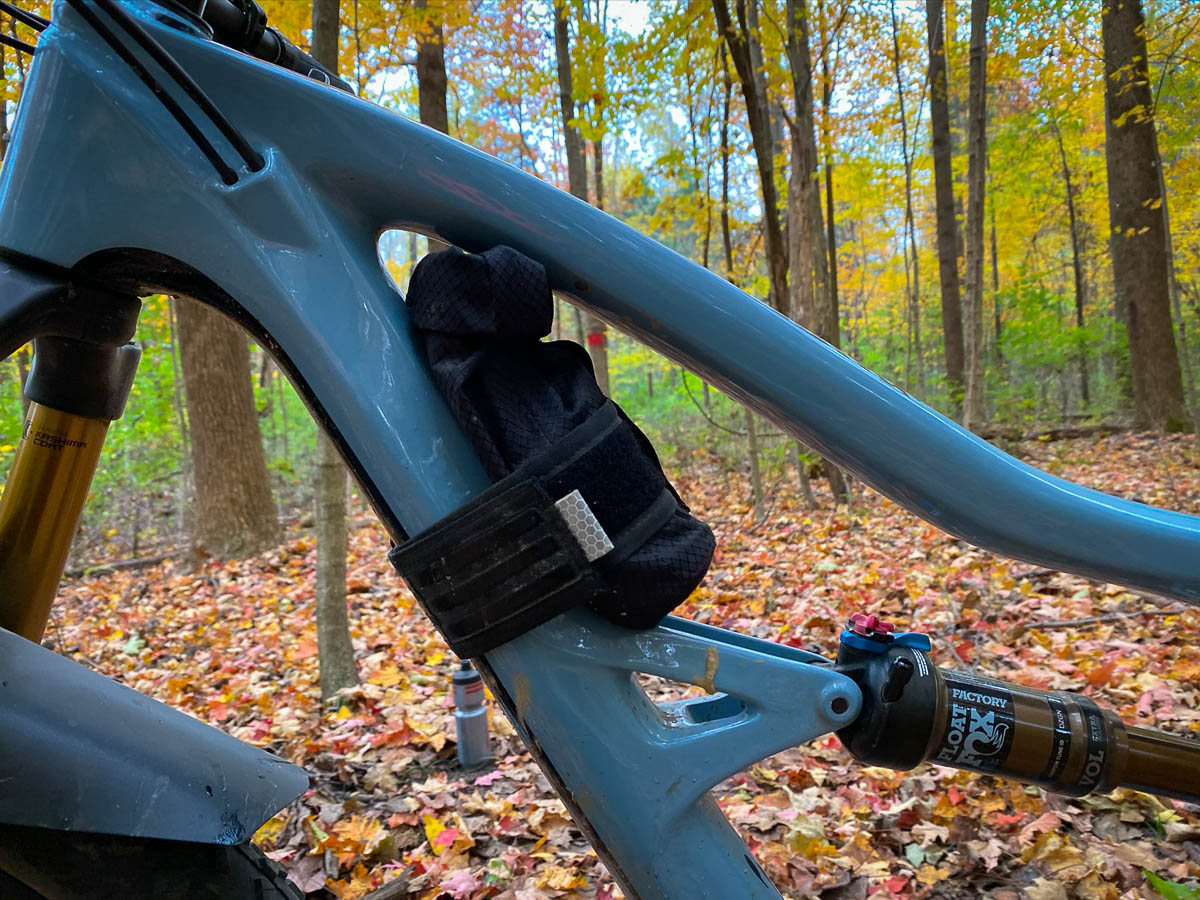
With plenty of room for the bottle below, the space above the shock mount is perfect for something like a Wolf Tooth Components B-RAD Mini Roll-Top bag or a large battery for night riding.
So Much Room for Droppers!
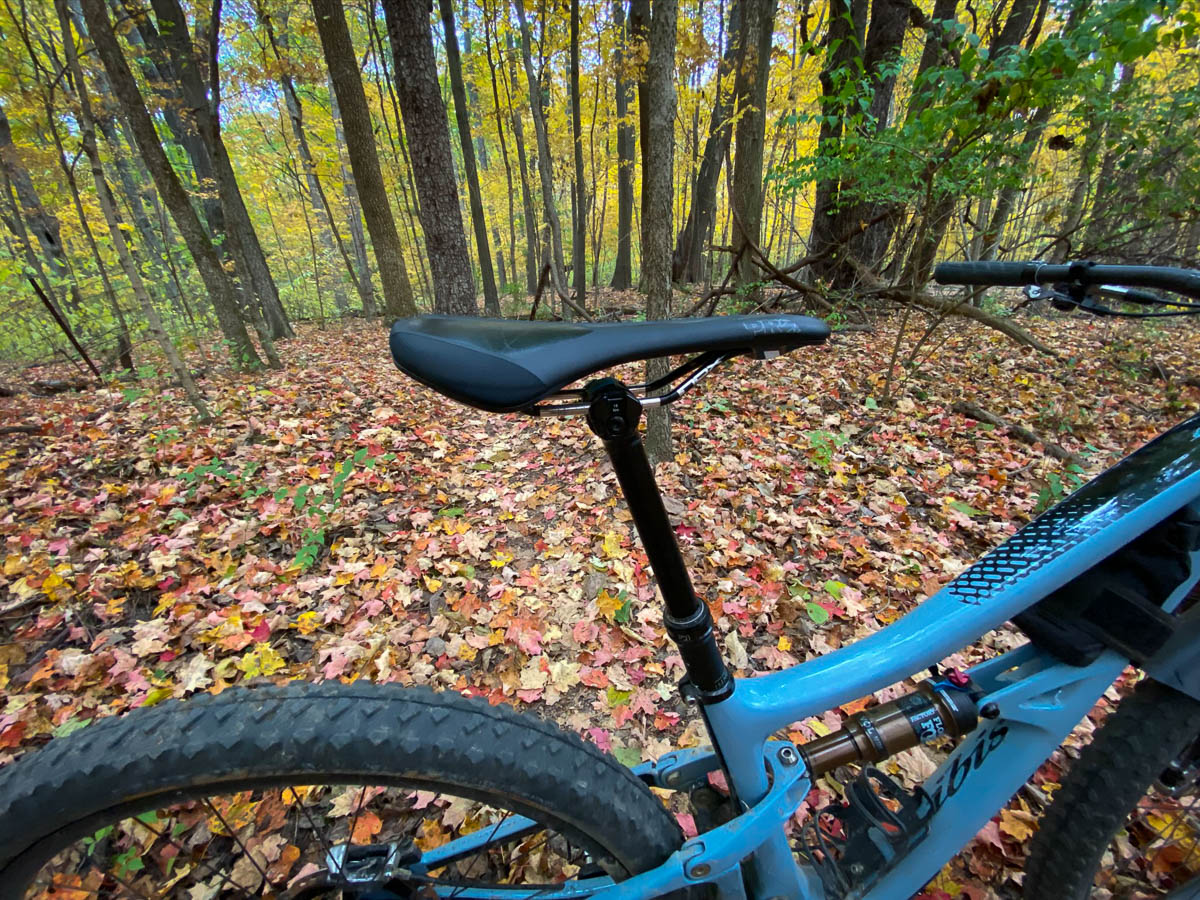
Across their range of bikes, Ibis has been dropping the seat tubes to allow for longer dropper posts and the Ripley is no different. I’m running a 150mm PRO Koryak Dropper post on this build, and there’s still more exposed seat post than I’ve ever had on a medium frame with a dropper of this length. Also, the seat tube extends straight down so longer dropper posts fit internally as well.
In terms of the dropper post itself, there is a lot to like about the Koryak – provide you set it up correctly. Like just about every seat post that I’ve used with a single horizontal bolt used to clamp down on the saddle rails and hold the saddle angle in place, the saddle has a tendency to slip if you land on it hard enough. I’ve found that adding some carbon paste to the conical faces of the clamp helps quite a bit and makes it workable.
I also managed to break one of these droppers, but I’m certain that any other dropper would have suffered the same fate. In the process of trying to clear a tricky section that required some trials-type moves, I screwed up and fell down hill. Upon hitting the ground unable to unclip, my thighs against the saddle twisted the seatpost which broke something internally allowing the upper tube to rotate about 90 degrees inside of the lower tube. To the post’s credit, it still worked and moved up and down while holding position through the rest of the ride. It just would rotate to the left if I wasn’t careful. Also, this post retails for about $290 (and can be found much cheaper), so if you were to have the same crash, you could buy a replacement and still be under the cost of one post from many competitors.
Build Notes
This should come as no surprise, but the XTR group was nearly perfect throughout the test. We’ve come to expect this from Shimano’s top MTB group, but it certainly took long enough for 1×12 to arrive from big Blue. Fortunately, it delivers on nearly all accounts. Personally, I feel that the group really comes alive once you ratchet up the pace. It’s at these higher speeds where fast shifting becomes more critical (and noticeable). Here, the Hyperglide+ really shines with sports car like precision when shifting gears. Shifting either up or down the cassette, the chain just pops into gear without protest. This is something that may be harder to appreciate at slower speeds, but when you’re going all out it’s beautiful.
One tip though – I would definitely recommend adding carbon paste under the clamps for the brake levers on carbon bars. Without it, you may have to over torque the clamps on carbon bars to keep them from slipping.
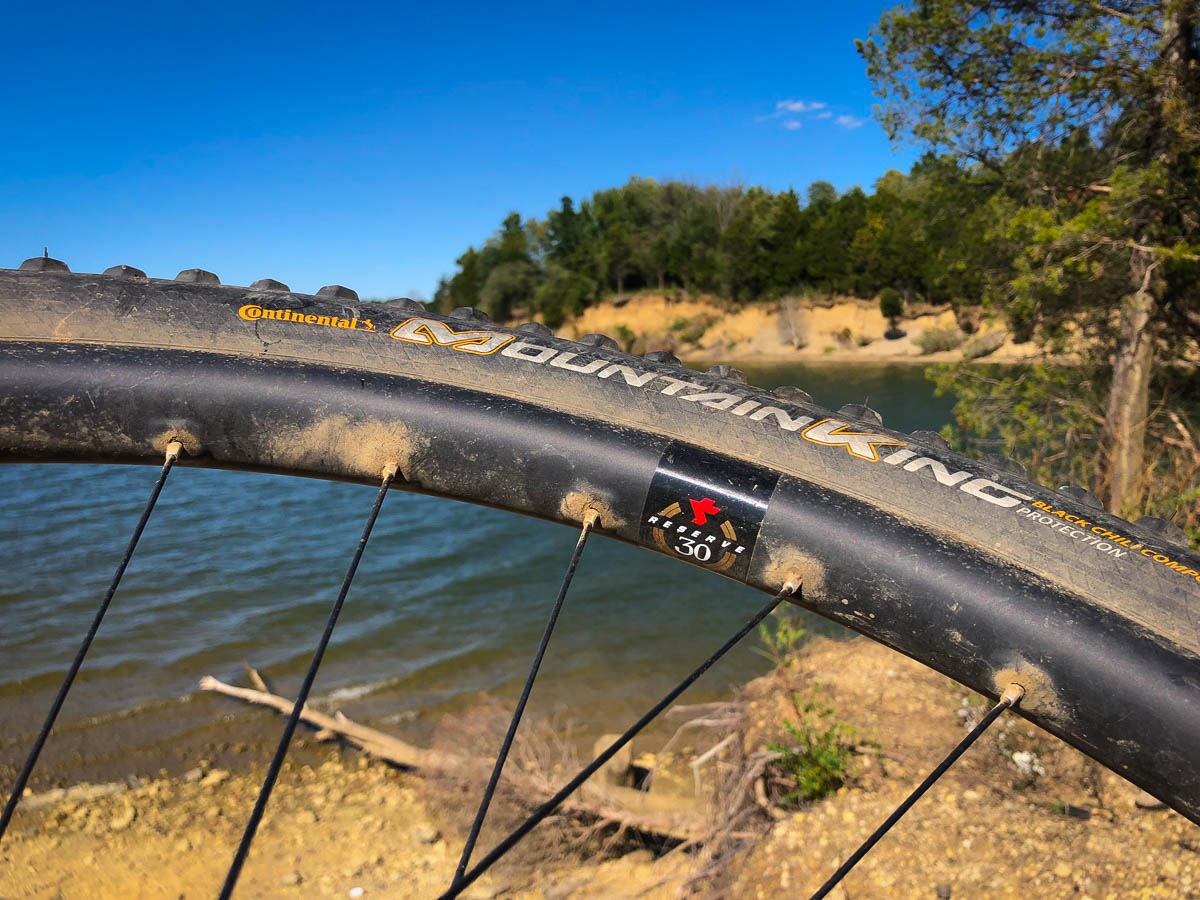
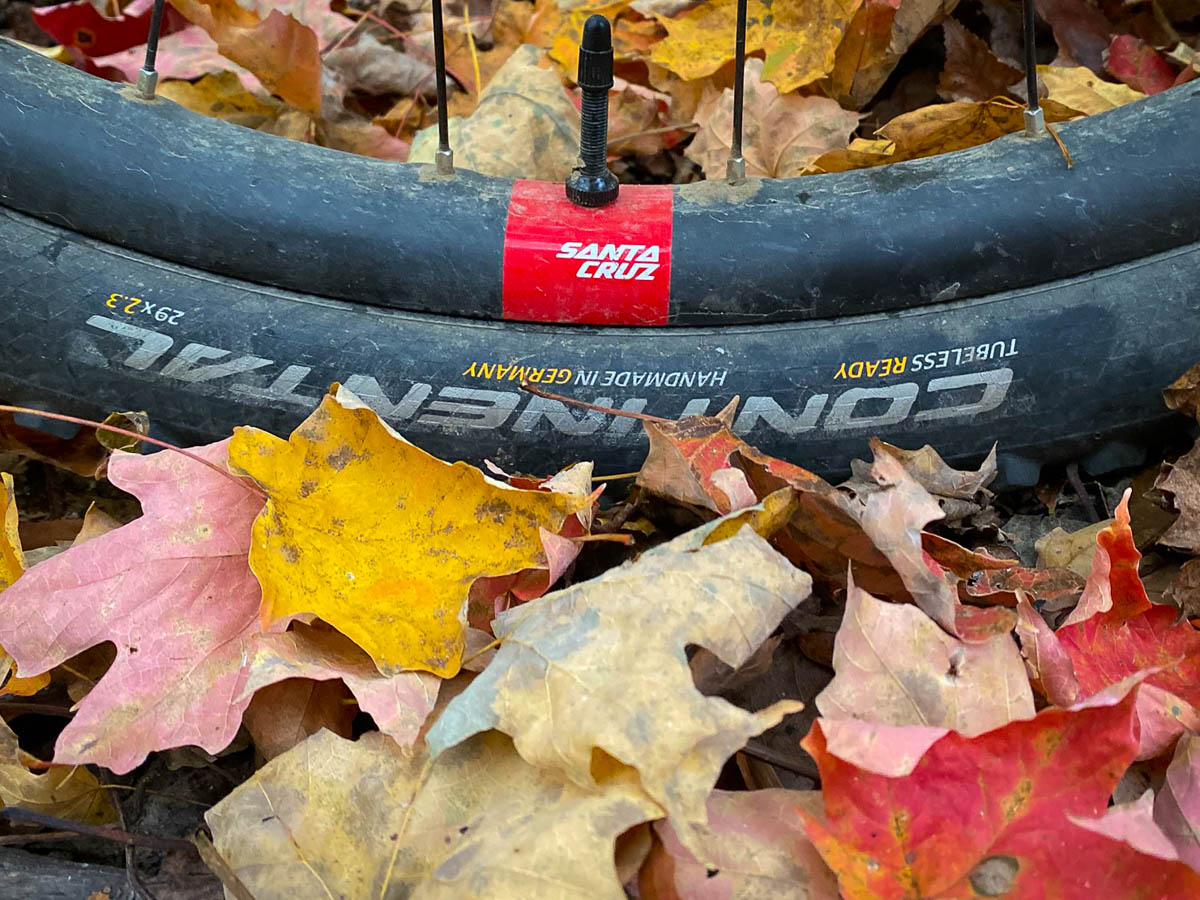
There are a lot of options when it comes to rolling stock for the Ripley. For me, it started at the hubs with the Shimano XTR hubs in 28h. That meant finding a matching 28h rim, which I wanted to be wide and carbon. There are fewer rims in this category than you would expect, and Ibis’ excellent S35 carbon rims with a 35mm internal width are only offered in 32h. You can purchase the XTR hubs in 32h, but I had requested 28h since my favorite carbon wheels often have few spokes. That meant looking for an alternative wide carbon rim, with the Santa Cruz Reserve 30s being the winner. Honestly, I think the added width of the Ibis rims made the tires ride a bit better when I rode them in California, but the next step up for the SC rims was a 37mm inner width which I thought might be too much. Overall though, the SC rims with XTR hubs have been bullet proof throughout the season.
Tire Choice
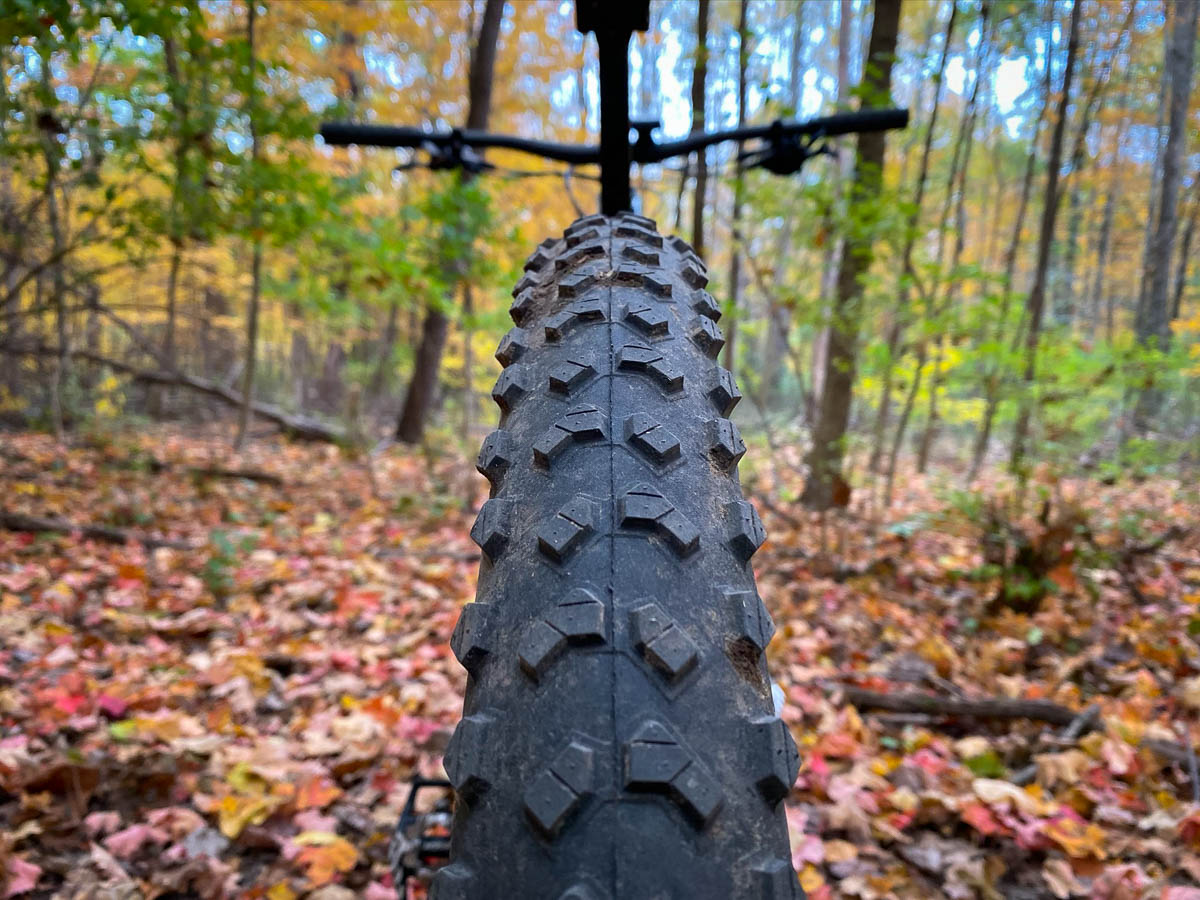
I ended up riding a few different tires on the Ripley, though all of them were in the 2.3-2.4″ category. The Ripley is capable of riding much larger tires, but I actually liked the smaller tires on wide rims which made for a bike that felt very light and fast, but still had plenty of traction. After sitting on a shelf for a while, I found myself surprised how much I liked the Continental Mountain King Protection tires. The tread block design doesn’t look like it should work, but the tire seemed to claw its way through just about anything. It also proved to be exceptionally durable – the playful nature of the Ripley meant that I pinched a Schwalbe Nobby Nic 29 x 2.35″ the very first ride. I’ve since had a number of similar impacts on the Continentals, but without issue.
Ride Review
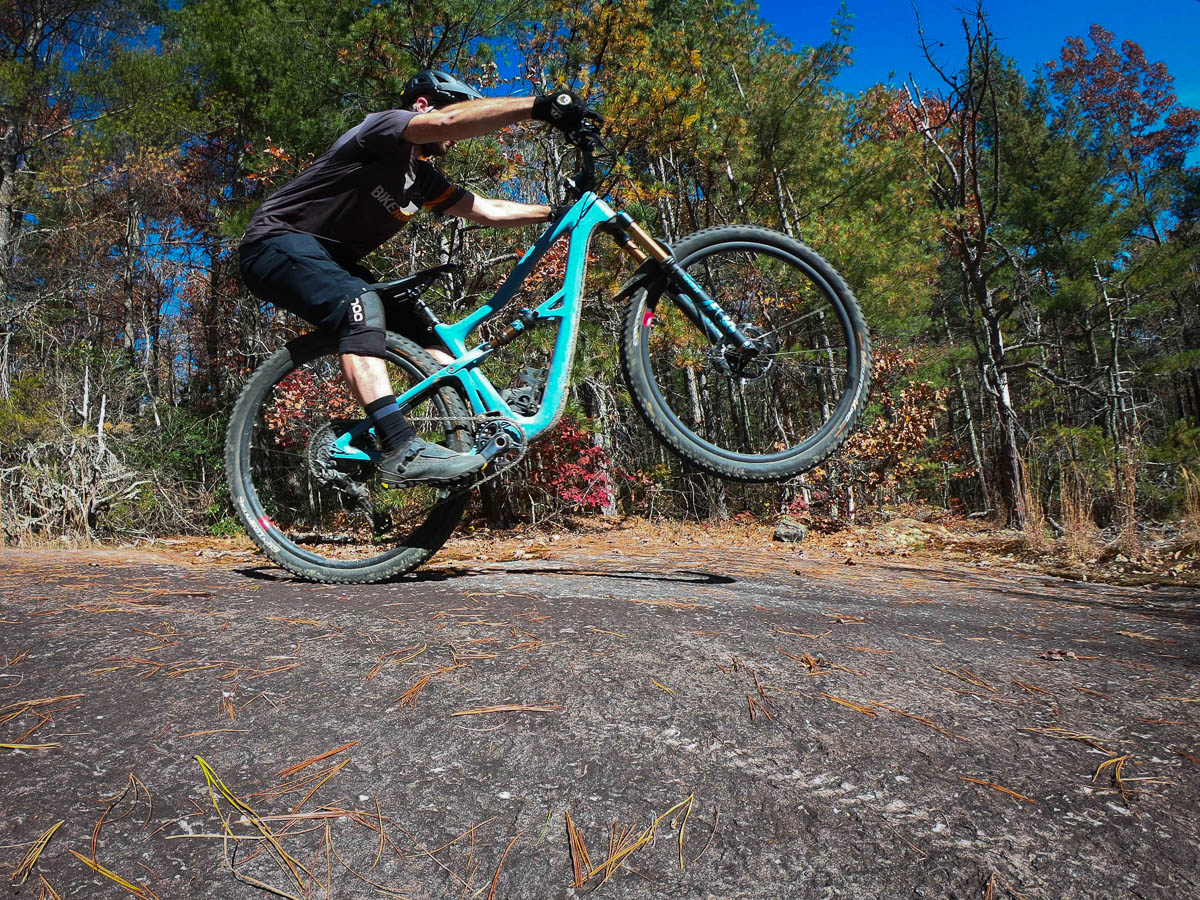
Wherever I went with the Ripley, it attracted a lot of attention. But that’s easy to do when you have a bike that feels as playful as it does efficient. My manuals are crap, but the Ripley manages to make me seem better than I actually am. Likely a result of the short chainstays, the front end is easy to loft in the air which makes bunny hopping large obstacles easier. The Ripley seems to punch well above its travel in terms of willingness to tackle technical trails, almost to a fault – it’s easy to get overconfident on this bike and bite off more than you can chew.
On one hand, the Ripley feels like a play bike that’s ready for wheelies, stoppies, jumps and gaps. But at the same time, it also feels like a bike that’s ready to tackle a long XC ride. Because of that, it’s the first bike that I’ve had in recently that made me reach for it regardless of the trail (here in the Midwest). To me, that is the mark of a damn good mountain bike. The Ripley is certainly still an XC/Trail bike at its core, but it’s one that blurs the lines between short travel categories and makes a compelling argument for it being the ‘one’.
