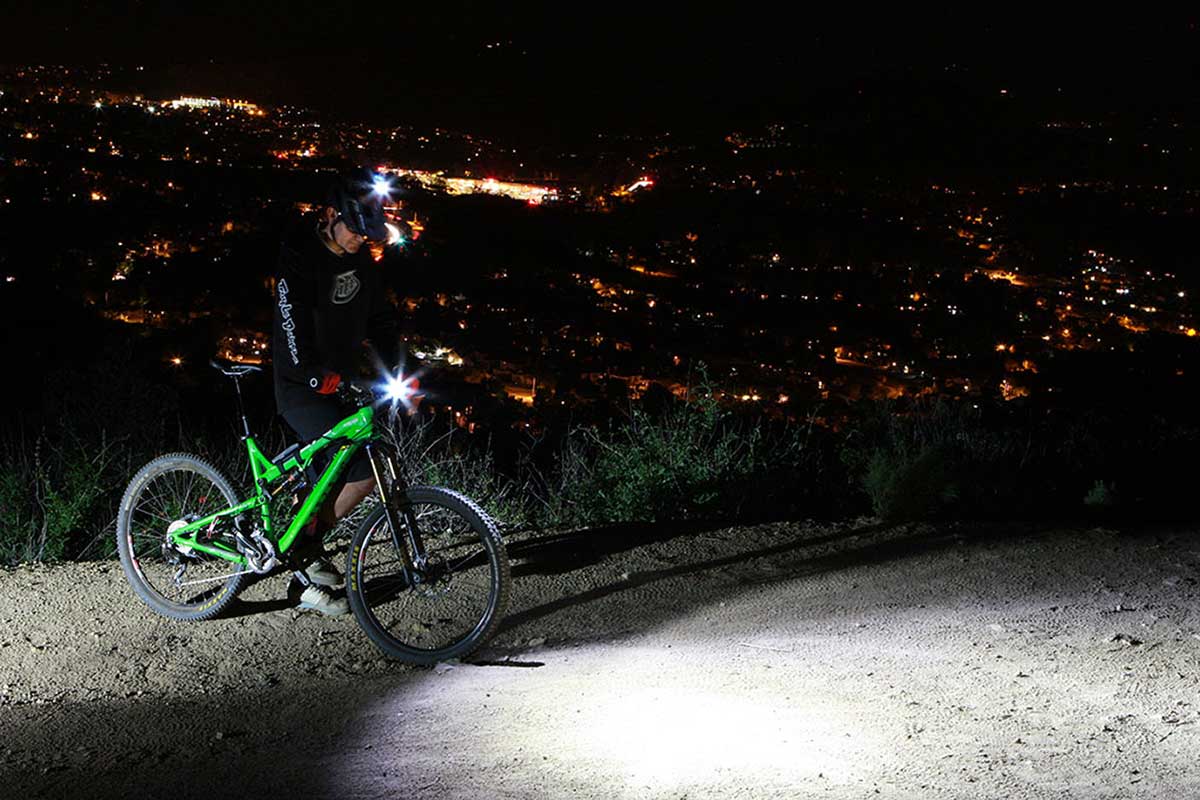
We know, there’s no such thing as a stupid question. But there are some questions you might not want to ask your local shop or riding buddies. AASQ is our weekly series where we get to the bottom of your questions – serious or otherwise. This time it’s all about MTB lights for night riding! Hit the link at the bottom of the post to submit your own question.
It’s that time of year again! In the Northern Hemisphere, if you’ve aspirations of getting out on mid-week rides after work, you’re going to need to invest in a decent set of MTB lights.
The question is, which ones do you get? Do you need a helmet mounted lighted as well as one on the handlebar? How can you charge your lights on the go, and is it possible to charge them using your e-bike battery? Also, is it possible to ever have too many lumens?
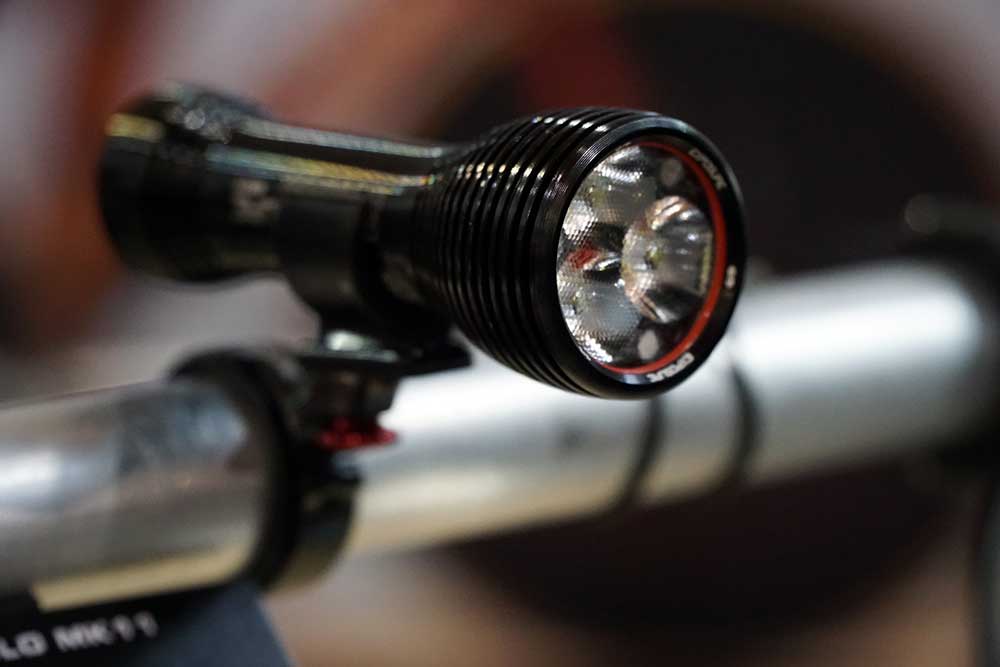
To shed some light on the matter, we sent these questions and more to the experts at Exposure Lights, Light & Motion, Lumicycle, Lupine and NiteRider. Those guys knocked it out of the park, so much so that we had to turn this one into a two-parter! To geek out on other topics including beam shape, beam color, and depth perception check out last week’s Ask A Stupid Question here.
Q&A: MTB Lights for Night Riding
How can I charge my MTB lights using my ebike battery?
Exposure Lights: Exposure Lights has a range of specific eBike lights compatible with most motor manufacturers. They use the power directly from the bike’s battery, so there’s no need to charge two things, bike and light, just charge one and go.
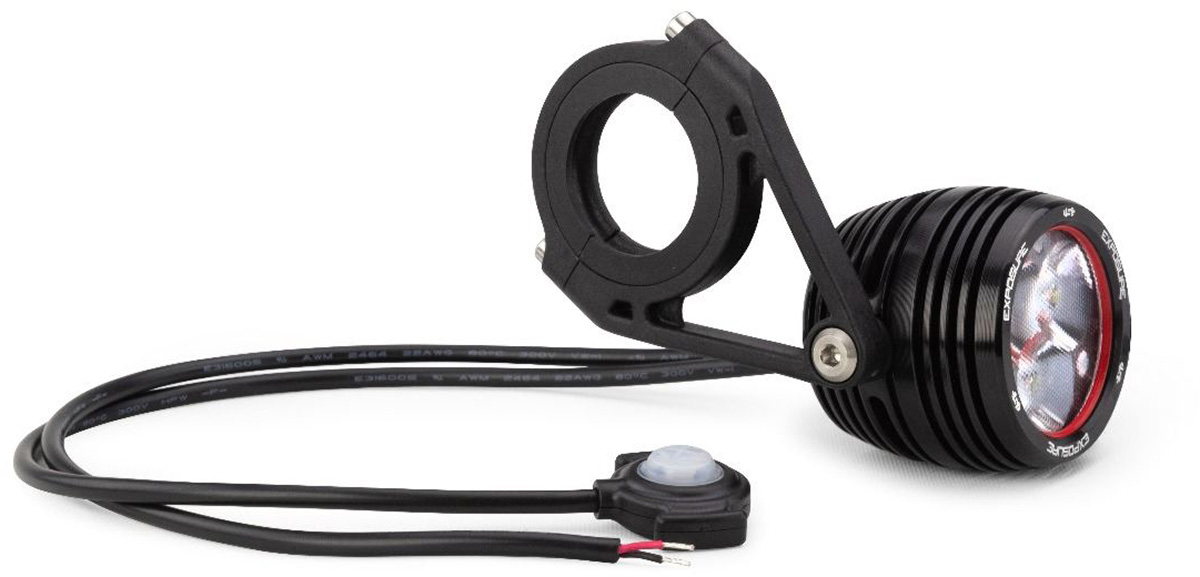
Light & Motion: E-bikes can be wired with lights, but they usually don’t have ports to plug in to charge other electronics. It is usually better not to draw from your e-bike’s battery to maximize your ride time and power, especially with the great light options out there with integrated batteries.
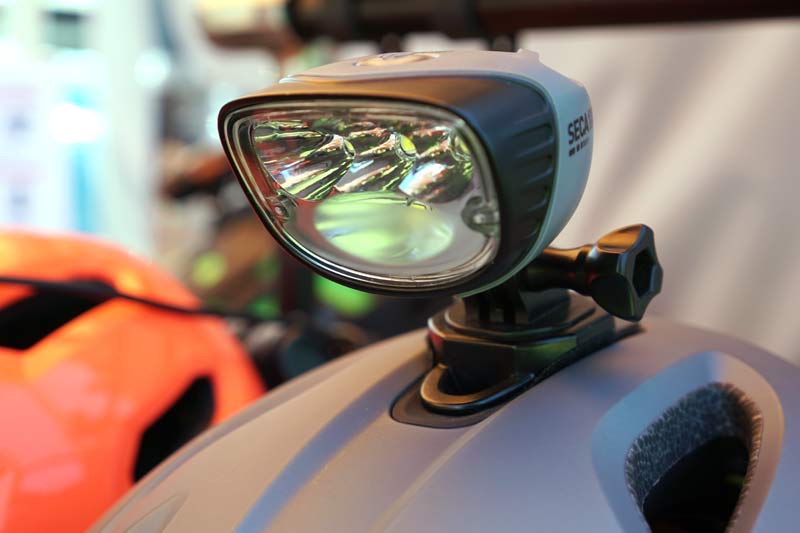
Alternatively, we make a line of e-bike lights designed to integrate into Bosch and Shimano 12V systems delivering from 800 to 1800 lumens, depending on the power the e-bike makes available on the tap. Typically, that info is available on a wire that can be fished out of the downtube.
Lumicycle: As we allude to later on, e-bike power accessory ports have been designed to charge low power devices such as smart phones etc., not the higher powers required by high performance bike light batteries (plus of course there is no charge control either). Again, on lower power lights that do accept charging from USB outlets, these could be charged in this way, but larger capacity bike light batteries cannot.

Many bike light manufacturers, ourselves included, offer e-bike compatible lights that can be powered from the bike accessory port. But again, as the available power is much lower than can be provided by our external battery the light’s output is also limited to what the bike can deliver – in our case up to 1400 lumens maximum.
So, at this level of light we class our light as more suitable for commuting or road riding. It can be used off road, but if you have read this far, you will probably have got the idea by now that with only 1400 lumens (as opposed to say our Apogee light at 4500 lumens) it is not as matched to off-road riding (although we are working on that!).
Lupine: If you have an e-bike with a USB output, yes. If not, it makes more sense to connect a lamp directly to the motor of the e-bike.
Nite Rider: By voiding the warranty of our lights and your e-bike warranty for sure. You need to tap off 12V at 3A (48V to 12V 3A buck-converter). It will take five hours to charge a depleted battery.
I am looking for a set of mountain bike lights for night riding on singletrack in my local forest. Is it absolutely necessary to have a light on the helmet as well as the handlebar, or will just one suffice?
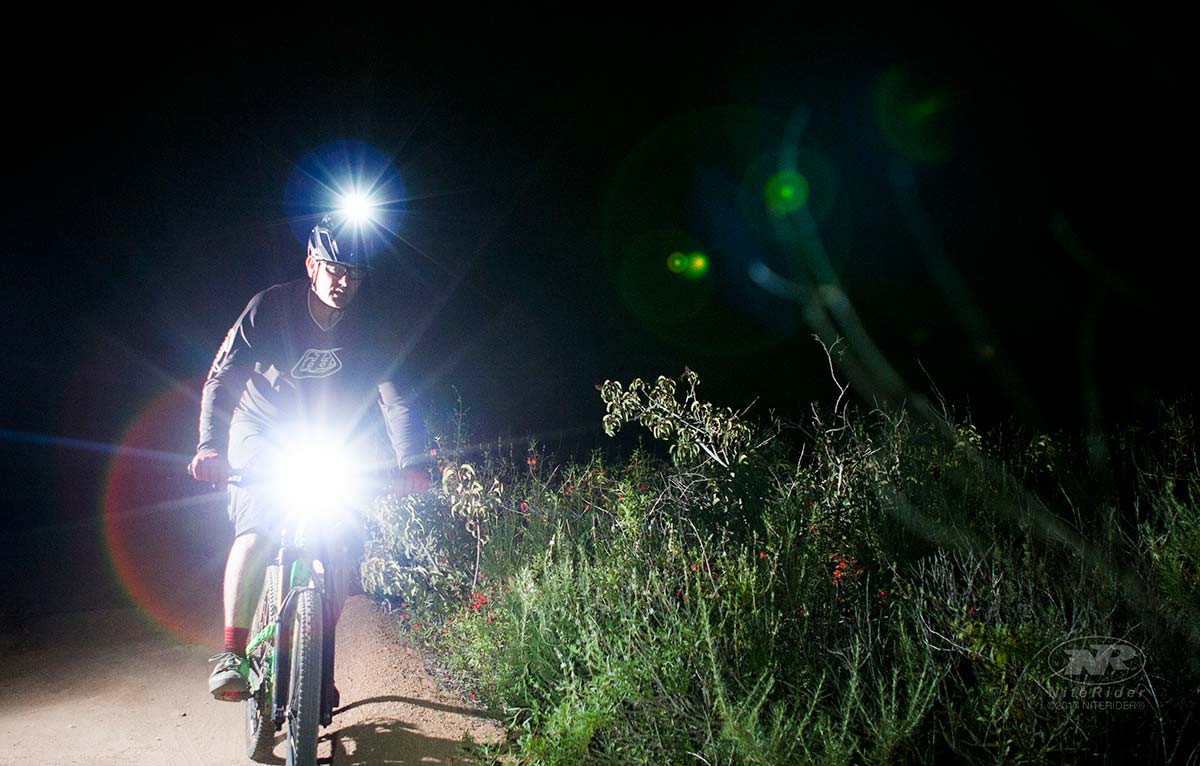
Exposure Lights: To have the best visibility and view of where the rider and the bike are going the ideal set up is a bar and helmet light, especially on single track with tight, twisting trails. The bar light shows you where the bike is pointing while the helmet shows you where you want to go or highlights hazards you need to focus on.
When cornering, in the day time the rider would look around a corner or switch back to see where they were going and what was coming. With a bar light alone the rider will only see straight ahead until the turn is completed. With a helmet light alone the rider would only see around the corner and not what was under the tyre. The two together give complete visibility.
Light & Motion: Certainly a single light is reasonable for most night riding if it delivers a well designed beam pattern. Our Seca Series with ETS eliminates the snowball effect and allows you to ride confidently with one handlebar light, delivering a wide flood of light near the front tire and for corners, gradually transitioning to a powerful spread spot down the trail ahead. Our Seca can also be helmet mounted to allow more beam control.
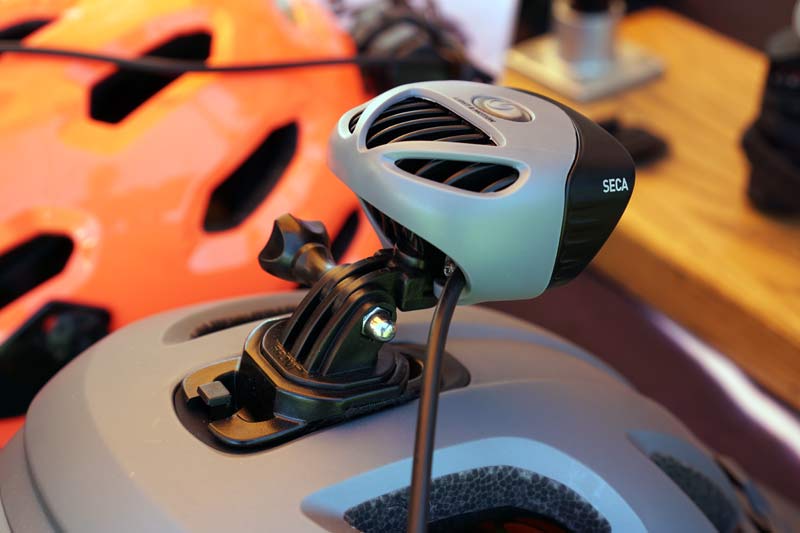
Lumicycle: No, it is not absolutely necessary to have lights on both your helmet and bars for singletrack night riding provided that the one light you do have has good performance both in terms of output and beam spread.
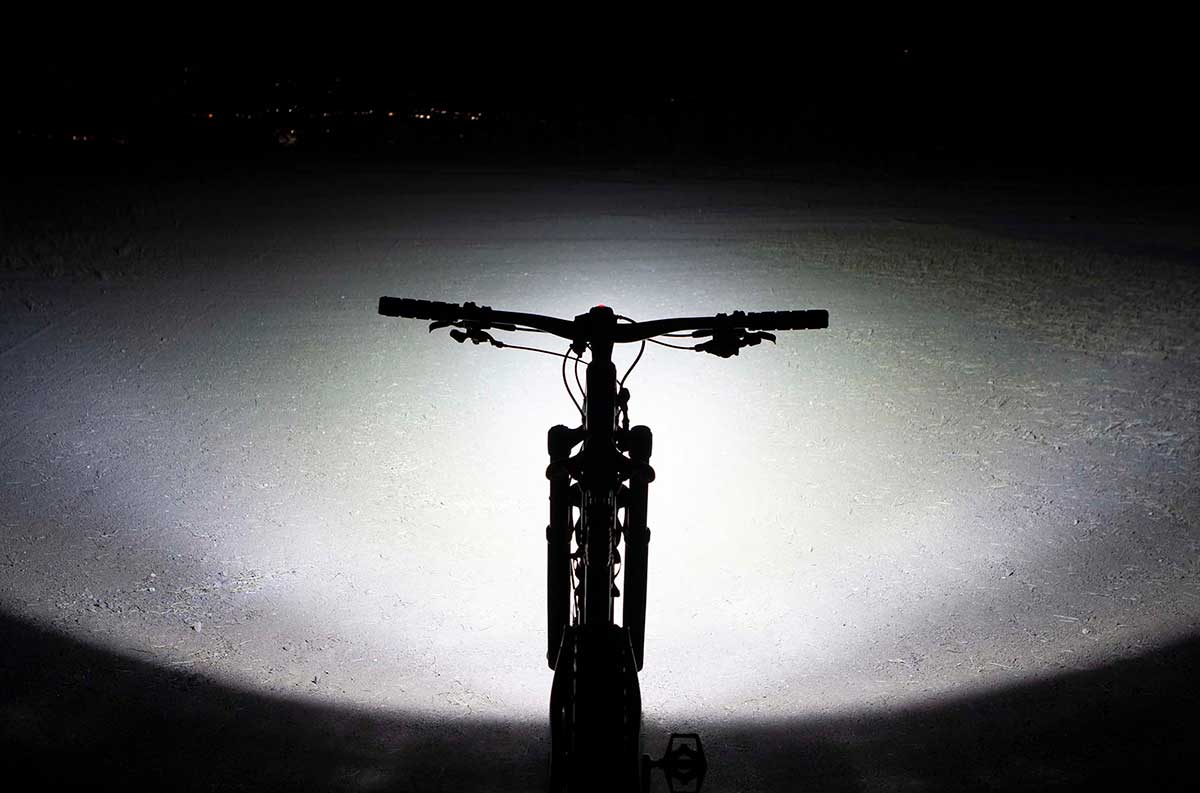
What we would recommend is a light that is bar mounted and has an output of around 3000 Lumens and a beam that is relatively wide; certainly, at least 4x the width of the handlebar, that starts as close to the wheel as possible to make sure there are no dead spots. This then gives you a good amount of visibility both in front and especially to the side when cornering.
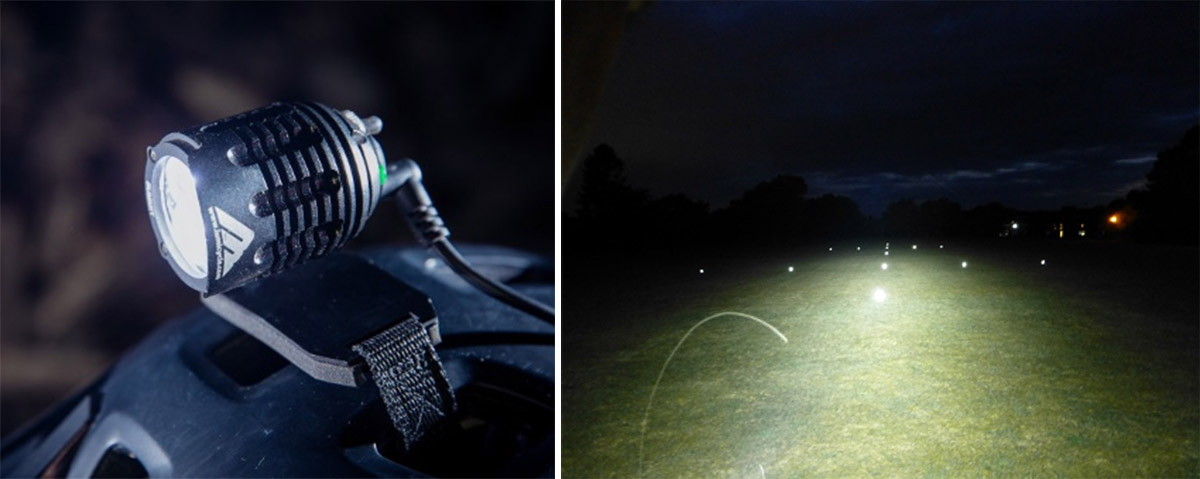
Riders can then augment the lighting by adding a helmet light that has a narrower spot beam that extends further down the trail, but is always pointing where you are looking. These two together can enhance the ride further, but can of course be purchased over time as well.
When adding to a system it’s important that the output of each light can be matched relatively closely. A super bright bar light will over power a low powered helmet light rendering it less useful. So, look for a light pairing that provides approximately the same output and run times as again you wont want one light to run for half as long as the other!
Our lights have a proprietary RF communications capability, meaning that if subsequent lights are purchased these can be linked to a single master. So, for example, the handlebar light master can control any number of slave lights connected to it. Whatever control input is made, all the lights in the system follow. This is very handy if you have a helmet light or indeed two lights on the bars.
Lupine: The lamp at the helmet is definitely the more important one because of the view guidance in curves. Just like when you jump, a handlebar light would look up in the air at the moment of the jump. Of course, both are optimal.

Nite Rider: My personal preference is handlebar only. That said, having a helmet light is beneficial for looking around corners. Keep in mind that too much light will kill your night vision. When I use a helmet light in conjunction with a bar light I set my helmet light at a lower power than my handlebar light to keep the shadow detail up. Remember, the farther away the light source is the better perceived depth perception is.
How many lumens is too many lumens?
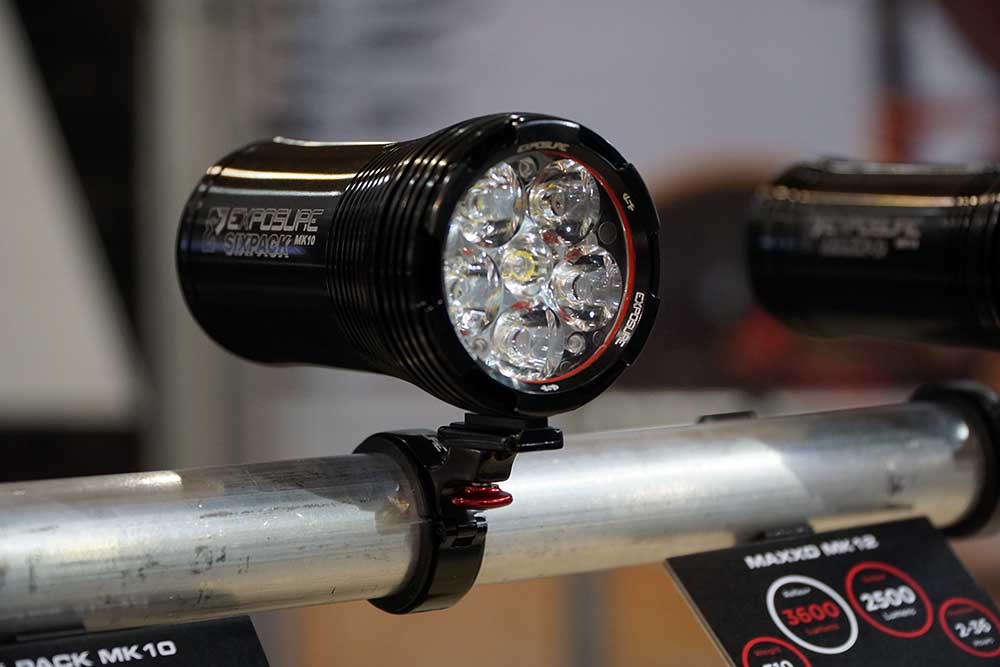
Exposure Lights: Lumen output is important and can govern the speed that a rider travels at. The right amount of lumens gives the rider more confidence and more control. Exposure have a limit of 5000 lumens on the Six Pack to ensure that the trails ahead are not bleached out and then throw back dazzling light into the rider’s eyes.
But, lumens are connected to light colour, beam pattern and to speed. As mentioned, Exposure Lights have specified Kelvins and REFLEX technology to ensure that the riders get the right lumens at the right time on their ride.
Light & Motion: It isn’t an issue of too much light, it is more about battery conservation. Do you need to climb at 5 MPH blasting 2000 lumens? Nope, actually 300 lumens will suffice. You have a finite amount of battery life for each ride, so it is important to conserve it when you can.
Many lights with integrated batteries will run up to 1.5 hours on high, 3 hours on medium and 6 hours on low. Lights with external battery configurations offer more time. We built in what we call “Race Mode” into our lights, so you can easily toggle between “High” and “Medium” with one touch of the button; you don’t have to cycle through all the modes, which is very convenient on technical singletrack. Go for Medium for climbs and toggle to High for descents.
Lumicycle: This is a good question, and one that provides endless arguments on forums! And just to make things more complicated, it is really Lux that is the important figure here. That’s defined as Lumens per square meter.
It is not as big a number as the overall lumen output (which is great for bragging), but it does give a better indication of the light’s performance over the illuminated area you require. The bigger the area the lower the lux for a given fixed point source (it is illuminating a bigger space).
Obviously, higher lumens tend to result in a higher Lux too. But, as per our previous answers, it very much depends on the performance of the light to be able to convert all of those lovely high lumen numbers in to useful and usable Lux figures.
But, let’s assume that we stick with the question over Lumens…
It really comes down to where you are and what you are doing, as well as the performance of the light itself. So, for example the requirement when riding slowly in a well lit urban environment with multiple pedestrians and traffic approaching is very different to shredding down steep single track in the dead of night!
If you are a commuter in a city, it is potentially more important to be seen than it is to see. So, high visibility clothing as well as a light (or lights) that has a range of flash modes as well as steady modes is recommended, but these don’t necessarily have to be extremely high power.
Small size, long battery life and good beam management are key, rather than absolute range. Flashing modes, especially if they are not just a recurring on/off pattern but have an element of randomness, will get you noticed much easier in these sorts of areas, than a light that simply blends into the background. Also for commuting a degree of side visibility is recommended. This gives greater safety when crossing junctions for example.
Conversely, as we have already mentioned, for off-road riding much higher outputs are generally recommended, but as a lot of us still ride on roads to get to the trails, the light should also have some low power and strobe modes as well such that oncoming cars and people aren’t dazzled by the light when used in this way.
Again, as we have mentioned before, good optic and LED coupling to this is vital, as well as beam shape and spread.
If we were pushed for an answer we would say that assuming a “high performance optic and LED pairing”; for commuting, a continuous output of between 200-1200 Lumens (selectable) and additional strobe modes between 50-300 Lumens (selectable) would be our recommended sweet spot.
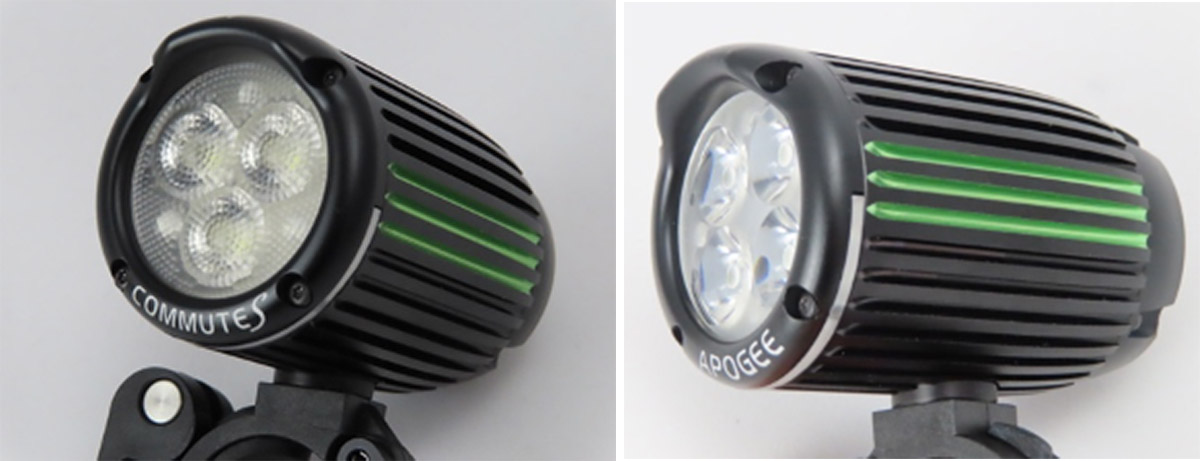
For off-road riding where demands are higher we would recommend 2000 – 4500 Lumens per light continuous output. But, we’d also recommend the light also having the ability to reduce its output to similar levels to the commuting lights when required, as well as strobing modes for when it is being used in the city.
Lupine: It’s not only about lumens but also about how the light is distributed. But. there is never too many lumens.
Nite Rider: As low as you can go and ride safely. I ride a tandem with a Pro-1200 on medium and have reached speeds of 54mph comfortably. Yes, my wife the stoker, always asks, “Can we go faster?”).
Each rider has their own preference on what a comfortable lumen output is so they should not be hindered by too many lumens.
How can I charge my mountain bike lights on the go?
Exposure Lights: Exposure Lights cannot be charged on the go but they can be run with a support-cell that can double or, depending on the light, even lengthen burn times by more than 4 times the original run time. What Exposure lights also have the ability to do is program the burn time to to suit the ride, some lights can last up to 36 hours for the true endurance rider.
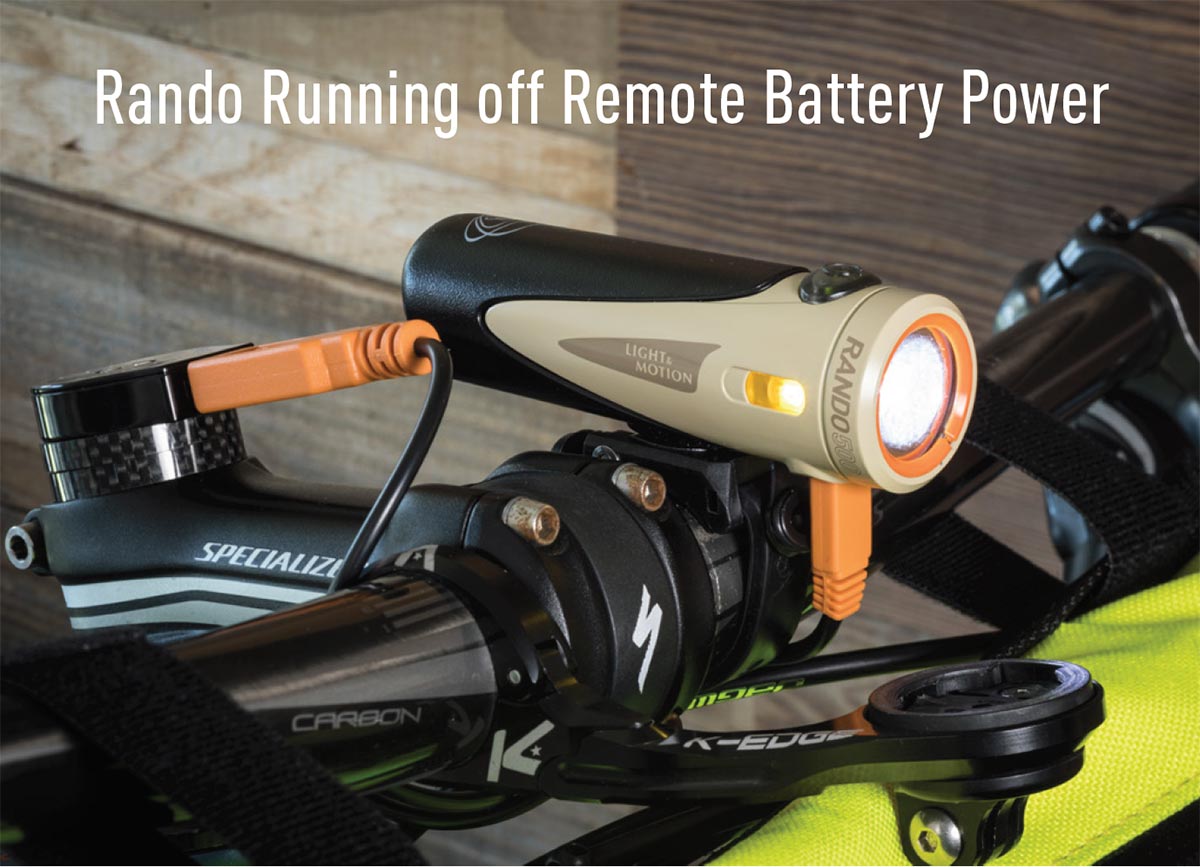
Light & Motion: This has been one of the drawbacks of the Lithium Ion battery systems: you can’t charge and light simultaneously while you are riding, until now. We have three lights that allow you to charge off external battery sources while still providing light on the trail: Rando 500, Vis Pro 1000 and the Vis Pro 1000 Trail. You can use any portable battery source to charge these lights even while using them.
The other challenge with Lithium Ion batteries is they take a long time to charge because of their volatility. Most batteries take 4-6 hours to fully charge. We have four lights that have “Fast Charge” functionality, cutting the charging time down to as quick as 2.5 hours.
Lumicycle: We offer a fast rate in-car charger that accepts 10-30V DC input from the car or truck’s accessory port (used to be called the cigarette lighter). This will charge our batteries when you are driving to a trail, or indeed are camping etc. This unit is a very useful addition in that respect.
If you are asking whether the bike can charge a light battery… most bike light batteries use what’s known as Lithium Ion (or in some cases Lithium Polymer) batteries, and the higher the light output is, the more current is required and the larger the battery capacity (or power) will be.
Low power “Torch” like lights may come with a simple charger that charges the battery via a USB connection, or the light itself may have a charger circuit built in. High capacity batteries require a matched charger that can output not only the correct amount of charge for the cell pack design, but also actively manage the way in which the battery is charged.
Li Ion cells require two basic charge stages that need to be accurately controlled by the charger to maintain both long service life and safety. The current required to charge these cells is relatively high – in our case around 16.8V and either 0.9A or 1.6A.
Even ignoring the charge control element, the best bike hub dynamos out there generate maybe 10% of this power and even then only at high speeds, and equally e-bike accessory ports only deliver 5.6 or 12V at maybe up to 1A. So, again they aren’t not suitable. Our recommendation would be to either take an in-car charger with you or a spare battery just in case!
It is very important that only the approved charger is used for any given battery pack to avoid any safety issues!
Lupine: You can take a second battery with you.
Nite Rider: The best solution is to “hot swap” battery packs.
I have and love the Nite Rider Pro 2200 Race light. I would like to mount it on my new electric bike; however, the Magnum Metro e-bike sends 48 (52 volts) to the factory supplied weak light that just failed. My question about the Pro 2200 Race is 2-fold.
- What is the maximum voltage that could be sent to the Pro 2200 Race light (head only). I already know what the supplied battery pack voltage is.
NiteRider: Maximum voltage is 12V, but that is running the light at the max voltage of the internal components, and is not advised. Best to run at 7.4V.
2. In order to get a longer run time on “high” 2200 lumen output, can I use a battery pack from a 4200 Race dual-beam light? I only get the advertised 1:30 runtime from the supplied battery. Are the connectors and battery voltage the same?
Nite Rider: Yes. You will get a third longer runtime with the 6 cell Enduro pack and double with the 8 cell Enduro pack. The sure-lock plug is on all of our pro systems.
Got a question of your own? Click here to use the AASQ form to submit questions on any cycling-related topic of your choice, and we’ll get the experts to answer them for you!

