We know, there’s no such thing as a stupid question. But there are some questions you might not want to ask your local shop or riding buddies. AASQ is our weekly series where we get to the bottom of your questions – serious or otherwise. Hit the link at the bottom of the post to submit your own question.
Welcome back to our weekly series, Ask A Stupid Question! This week, the good guys at Cotic, Norco and Nukeproof join us to answer your questions on rear wheel suspension technology, and how to measure sag properly and reproducibly. Grab a cuppa!
What’s the best way of measuring sag on a rear shock? I’m a very light rider. With my FOX DPS shock pressurized to the recommended pressure for my weight, I don’t see complete extension of the shaft when the bike is unloaded. Is this normal? Do I need to take this into account when measuring sag?
Norco: We generally don’t use sag measured at the rear shock as our primary reference for rear suspension setup. Sag at the rear wheel is more relevant to rear suspension performance so we tend to use this as a reference when developing our Ride Aligned setup guides.

It can be difficult to measure sag consistently due to factors including friction in the rear shock and the sensitivity to rider position and weight distribution. So, instead of providing customers with a recommended sag value we have developed our Ride Aligned bike setup guide to calculate rider weight distribution based on height, weight, and body type and recommend optimal fork and shock settings for the rider’s weight distribution.
Nukeproof: The best way is a repeatable way, so no way is wrong as long as you do it the same each time. We recommend around 28-30% sag when seated in the riding position. I would lift the RT to extend the shock and measure from the fully extended position.
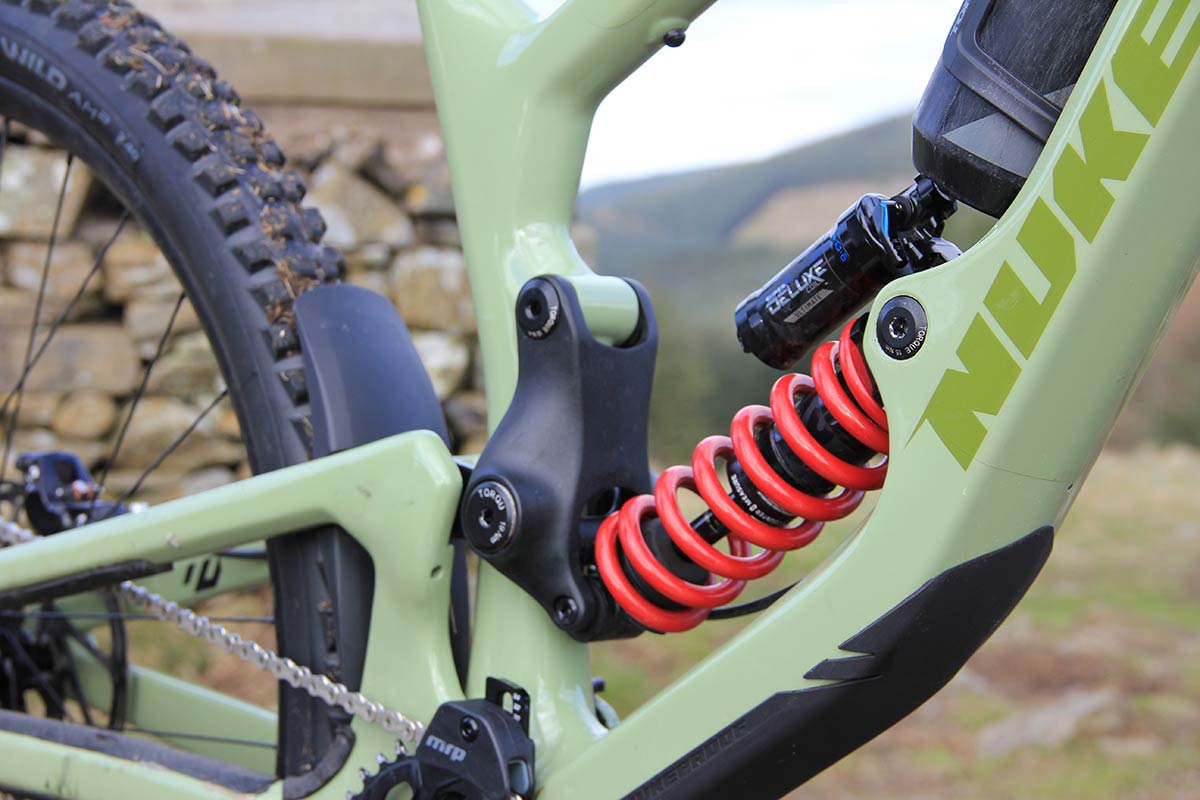
Cotic: This is why we never recommend air pressures. Air pressure is completely dependent on shock stroke, leverage ratio, progression rate, shock volume, seat angle, seat height, even saddle position and bar height. There are just too many variables.
The best way to do it in my opinion is to put your riding kit on, including pack with water if you use one. Find a quiet, flat area with no traffic, give your suspension a few bounces then come to a stop.
Lower your saddle until your feet are flat on the floor (so the saddle won’t be at it’s lowest drop for this), move the o-ring up to the seal on the shock, then sit down on the saddle with your feet dangling. All your weight on the saddle. Gently put your feet down and unload the bike. Get off, and measure the distance from the seal to the o-ring.
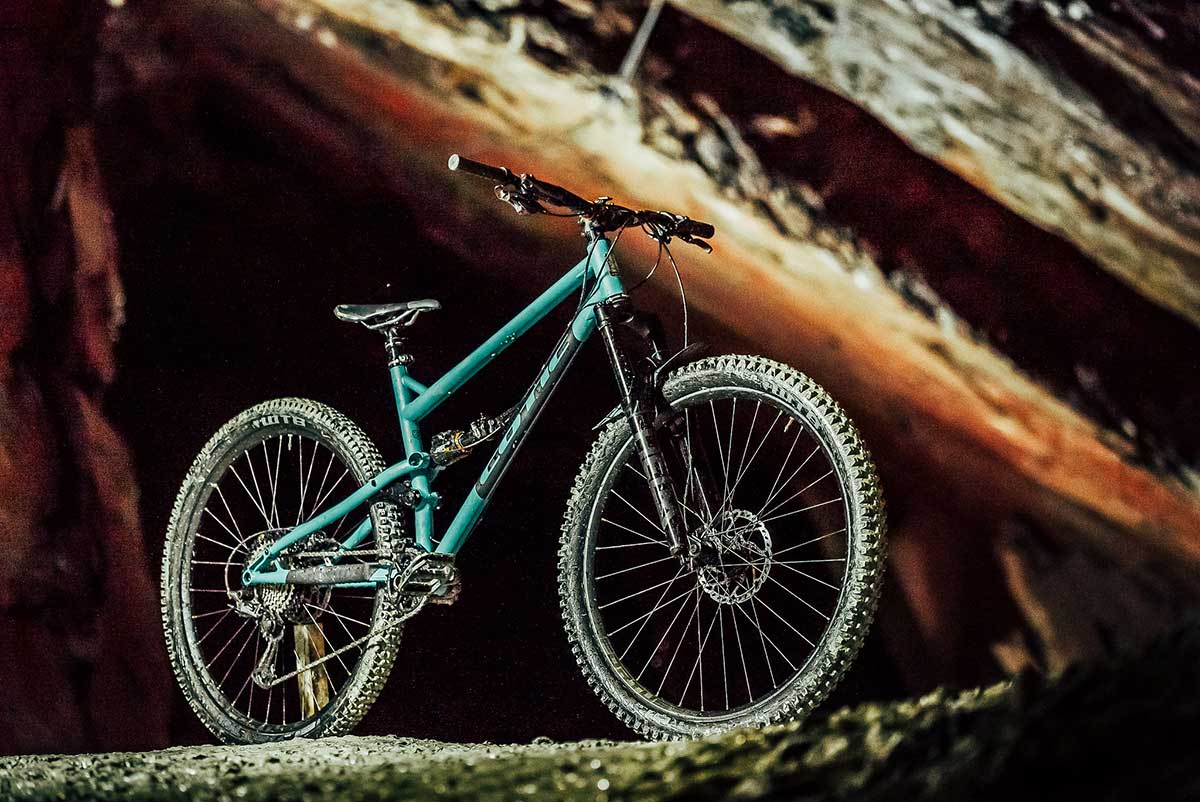
That’s your sag. We design our bikes to run 30% sag, so for a 50mm stroke shock, that’s 50 x 0.3 = 15mm. Alter the air pressure until you get the sag right for what the manufacturer recommends. That’s a good start.
You can usually go a couple of mm either way without too much issue if you want the bike to sit lower or ride a bit more firm. For forks, roll around on the bike, bounce, then (this is tricky) whilst still rolling, slide the o-ring on the stanchion down to the seal.
Now gently stand up into a balanced position as if you’re going to do a downhill. Now gently sit off the fork without bouncing it, slowly roll to a halt (gently use the rear brake only if you have to brake, again so as not to dive the fork), and measure sag. We go for 20-25% on our forks. So, for instance, on my 160mm forks I run 36mm sag which is 22.5%.
I see the high pivot suspension manufacturers going on about how a rearward axle path is excellent for bike handling but, what are the advantages of a forward axle path over a rearward? Are there any at all?
Cotic: Most bikes don’t have a forward axle path, they have a gently rearward followed by gently forward path. The main advantage is that this layout doesn’t exhibit a huge amount of chain growth with a conventional drivetrain, so your suspension actually works properly! A fairly large advantage! This means you don’t need long chains, idler gears and all that other gubbins and extra weight.
Norco: It’s not black and white, and generally axle path is neither just one or the other. A predominantly rearward axle path better manages square edged impacts and contributes to a more stable chassis. This presents a significant advantage in ride quality.
However, there are limitations to a full rearward axle path such as shift of a rider’s center of gravity within the wheelbase as the bike cycles through its travel. In testing we have found that a full rearward axle path presents a distraction to the rider that is less than optimal.
Nukeproof: Advantages of forward axle path bike:
- Greatly reduced brake squat % – High Pivot bikes have very high amounts of squat meaning you need to email the rear brake weeks in advance to pull a skid, and braking will also affect the suspension performance massively. The advantage of the high pivot is that the wheel moves away from the obstacle.
- Direct drive to the rear wheel – no loss of power transmission because of the idler wheel
- Predictable chainstay length – more pre-loading for jumping. High Pivot bikes increase in chainstay length as you compress for a jump. This is a very strange feeling but something that you can get used to I think.
Disadvantages of forward axle path bike:
- What goes up must come down! Into the face of the next bump! A rearward axle path also means forward return path, swinging like a baseball bat into the next bump. I could be wrong but that can’t be good for your rear wheel.
How is rear wheel travel measured? Is it vertical displacement, or length of the path tracked by the axle?
Norco: There is no real standard to measuring rear wheel travel. Generally, manufacturers will measure vertically, and we do as well. From a design perspective, to create a balanced riding bike at all points of the travel, we design our bikes to match vertical wheel travel front and rear.
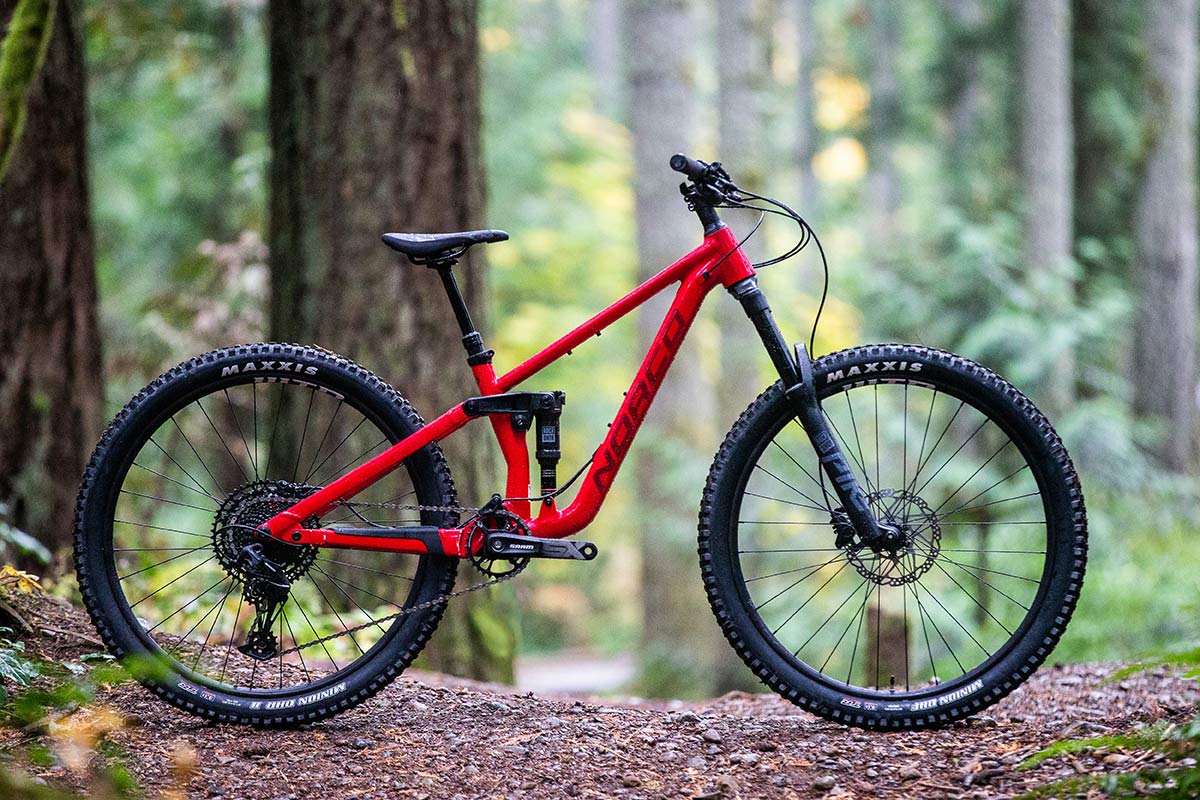
This usually results in more fork travel than vertical rear wheel travel. The difference between total wheel displacement and vertical wheel displacement is generally quite small but as the axle path gets more rearward the difference between the two measurements does grow due to the greater horizontal displacement of the rear axle.
Nukeproof: Vertical as this is easier to check on a bike with a tape measure.
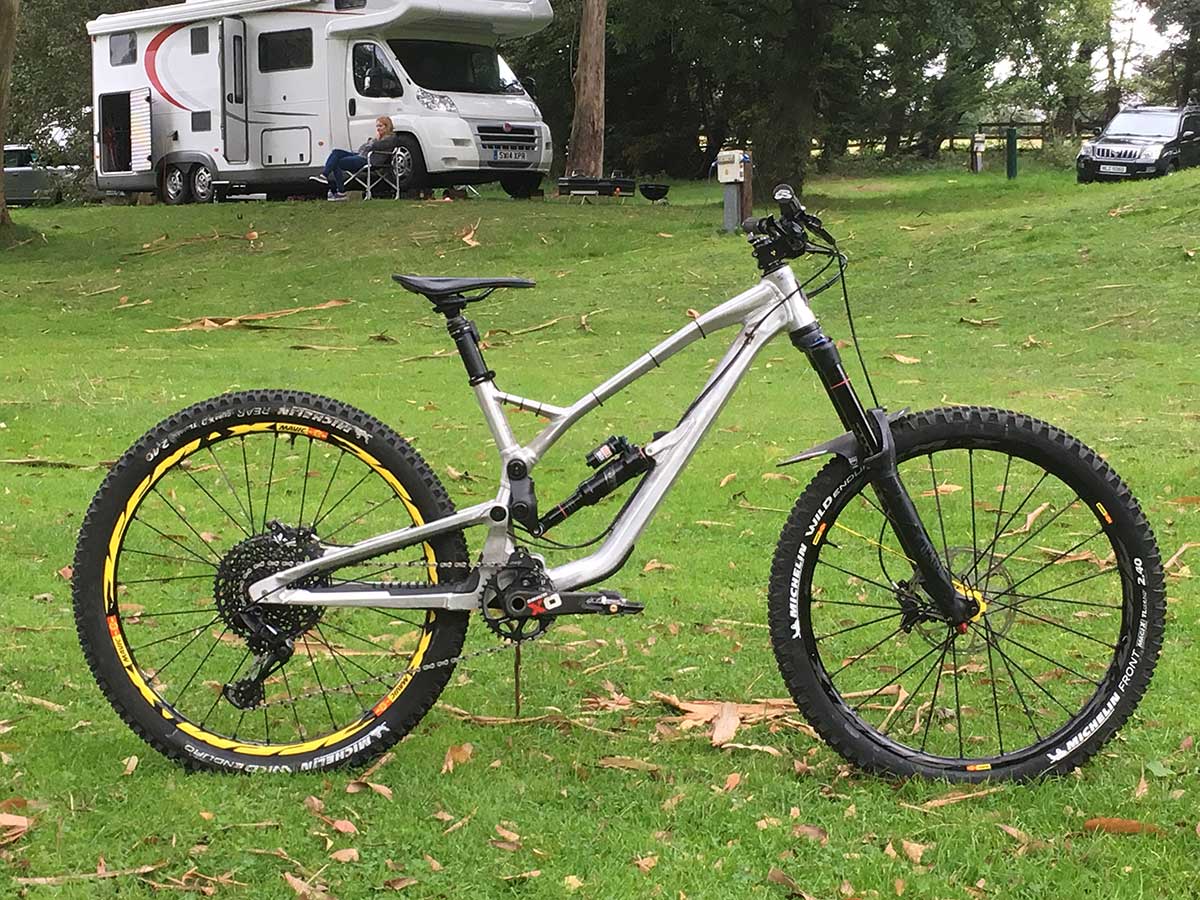
Cotic: We measure it as vertical displacement. The difference between that and the tracked path on our bikes is negligible.
Why do most brands use bushings instead of bearings on shock pivots?
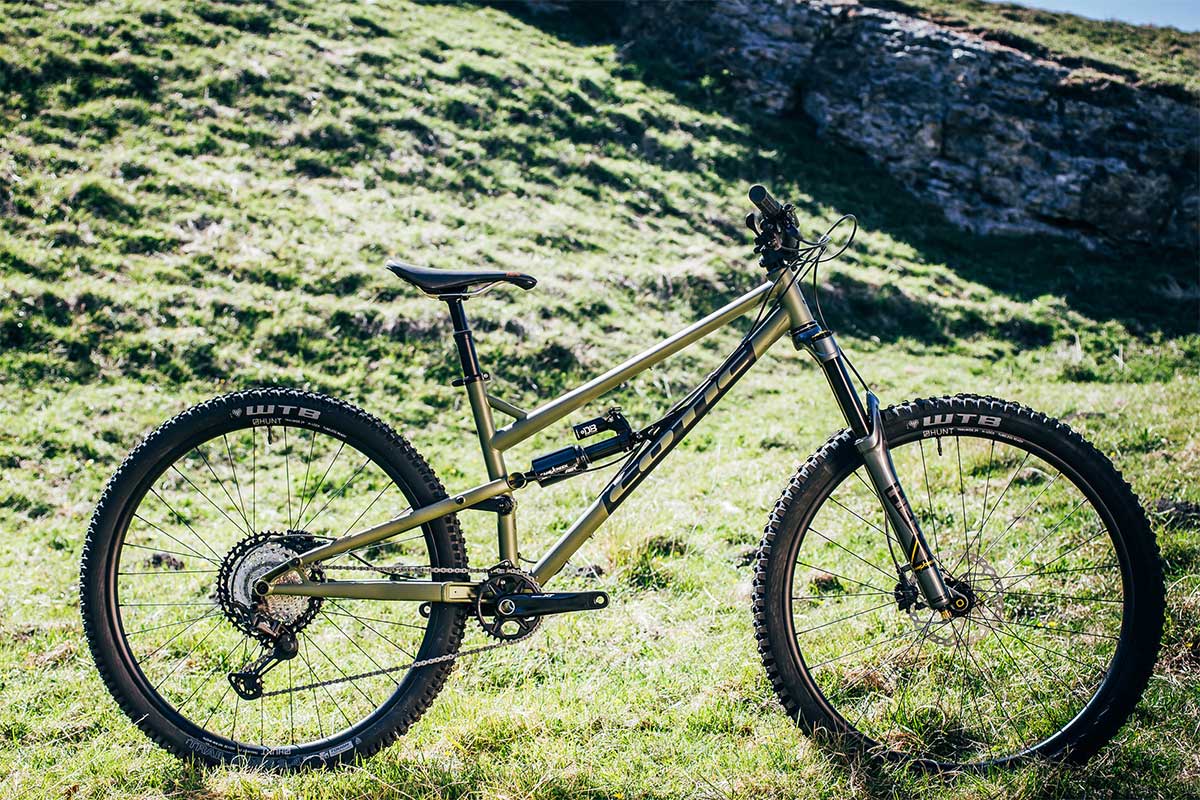
Cotic: It’s mainly driven by what’s available from shock manufacturers, and that’s bushings. That’s fine for Cotic DropLink bikes because the inline shock actuation only moves the bushings through about 5 degrees of angle, so bushings work well. They’re light, cheap and easy to replace.

For something like a rocker bike with up to 90 deg of motion, bearings are definitely better in the rocker end, but most of these bikes have Trunnion mounts these days which run on bearings anyway. Any bike with a trunnion shock runs on bearings at that end at least.
Rockshox also have a bearing mount option for their OE shocks, and if your shock runs on a yoke supplied by the bike brand, that will probably run on bearings at the yoke end too, so I think there are actually lots of bikes with bearings on the shocks out there now.
Norco: Depending on frame layout there will be more or less rotation at the shock mount as the bike cycles through its travel. A bearing will allow for less friction, which means a wheel that is better able to track the ground. For where we live and ride, tracking on surfaces with questionable traction (roots, rock, slime, off camber, loose, etc.) is paramount for the ride quality we are after.
As a result, we seek to remove as much friction from the system as possible. Even though bearings at a shock mount add manufacturing complexity, from a maintenance point of view for the owners of our bikes, not having to frequently change the bushing and/or hardware due to wear is convenient.
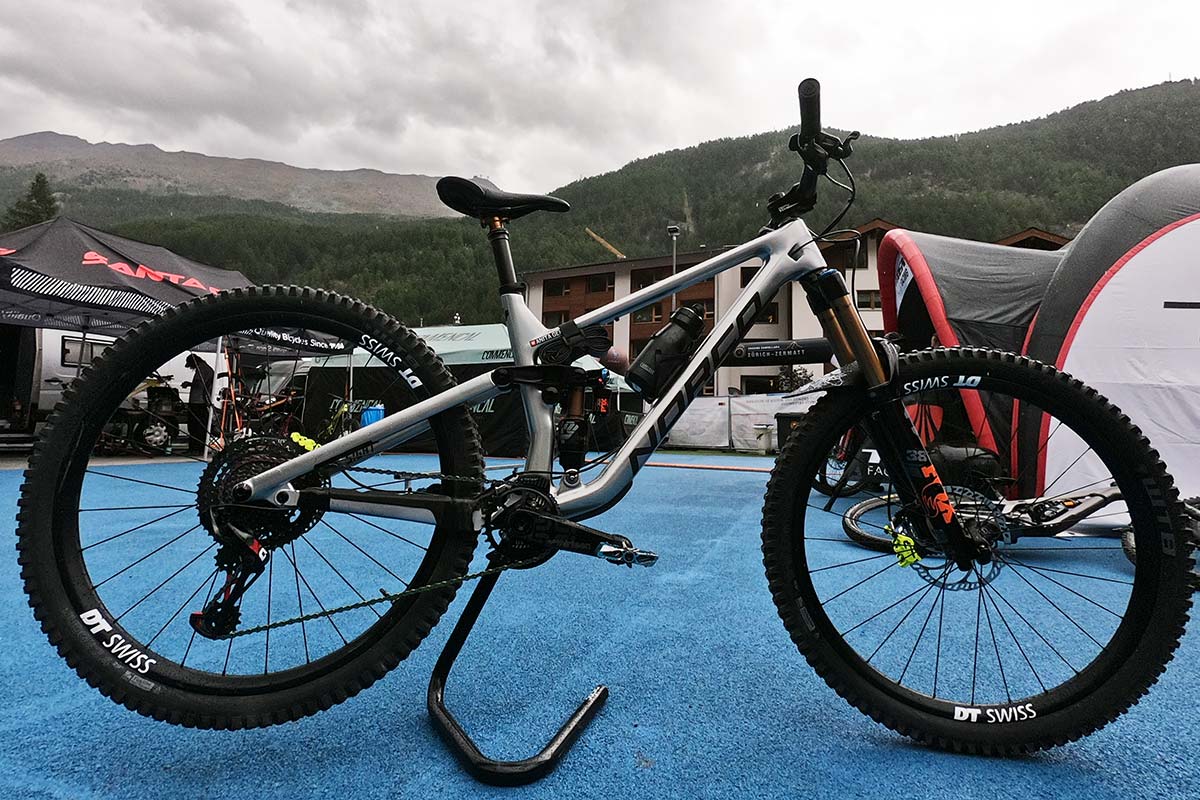
As long as the frame is designed to not side load the shock, the bearings at the shock mount will have a similar lifespan to the bearings at the suspension pivots. We design our frames with bearing shock mounts when a certain level of rotation occurs, yet there is a price point consideration for this.
As such, our more value priced frames see a bushing interface, where the dollars saved are best spent on other component specifications to maximize bike performance for the rider. In most cases, aftermarket bearing eyelets for shocks can be added.
Nukeproof: Actually I don’t know? Bushings work well in low rotational pivots when the tolerances are perfect, but bushings in high rotational pivots (e.g. linkage end) tend to be very tight with lots of friction/stiction or develop wear pretty quickly because of incorrect tolerance. We now use bearings in all high rotation applications.
When I lift up my bike my rear suspension makes a sound of hitting something, like a knocking. What is this and do I need to get the shock serviced?
Nukeproof: It’s probably play in your shock bushings. Or, it could be that your shock is at the low end of the air pressure range meaning you have a little dead spot at top out.
Cotic: Something is loose or worn. Check all your pivots. Knocking is often a shock bushing though.
Norco: We asked Sam Blenkinsop’s mechanic, Darren Burns this. He said, “It’s your DU bushings!” Seriously though, this could be caused my many things from a frame, components, or shock perspective: best to talk to your local suspension service center that will be able to assess your bike in person.

Thank you much to the following contributors for making this week’s Ask A Stupid Question possible:
- Dale McMullan, engineer at Nukeproof
- David Cox, Design & Engineering Manager at Norco
- Cy Turner, founder and bike designer at Cotic
Got a question of your own? Click here to use the Ask A Stupid Question form to submit questions on any cycling-related topic of your choice, and we’ll get the experts to answer them for you!

