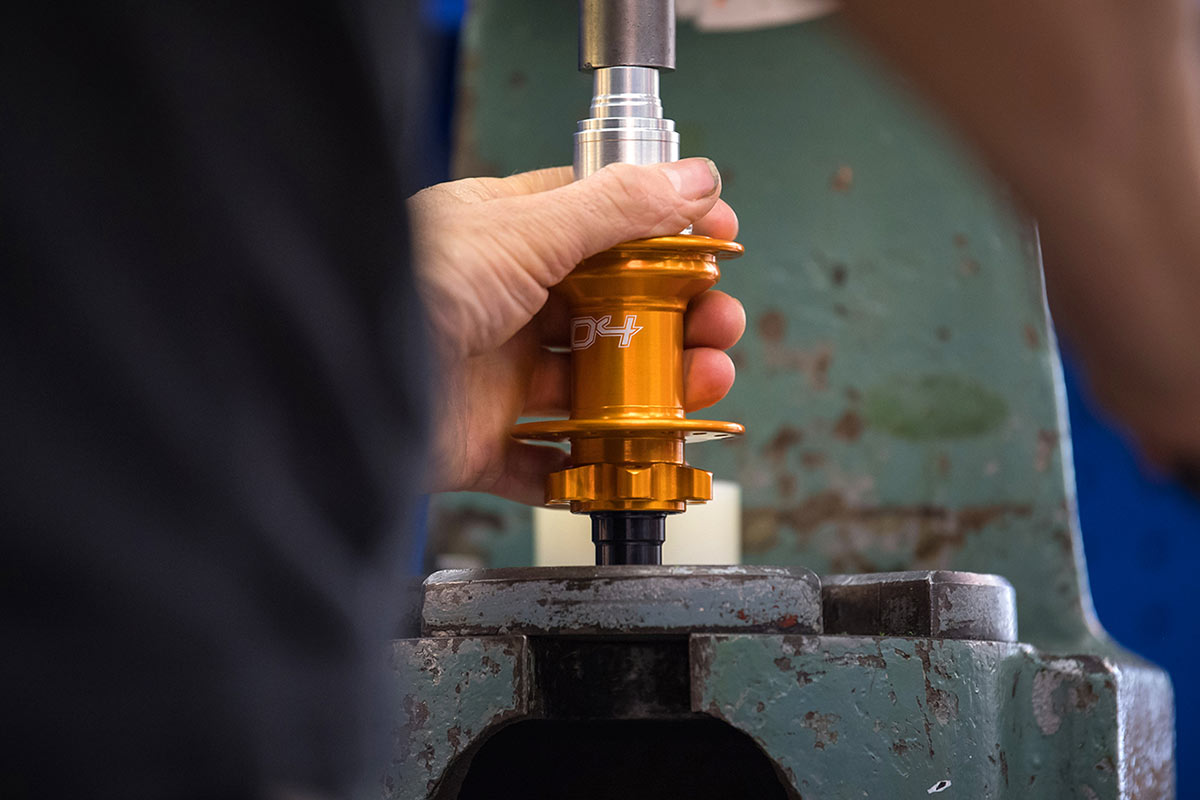
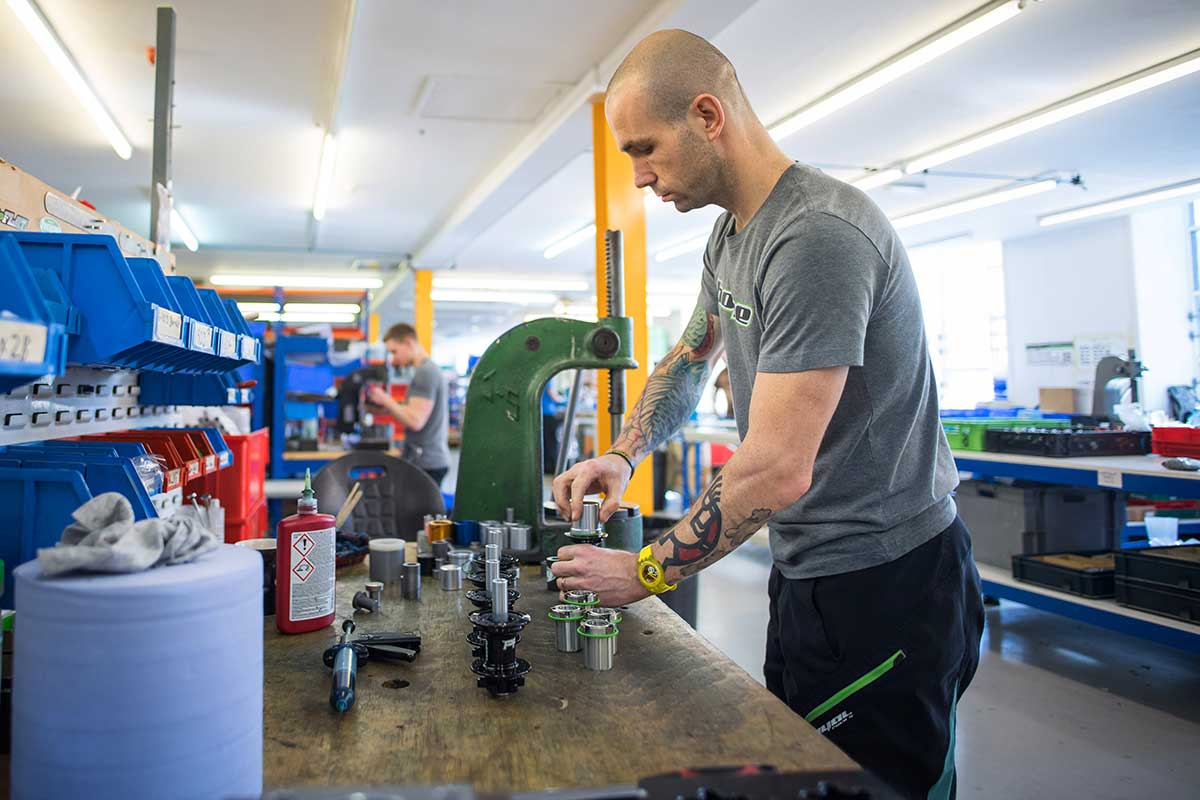
We know, there’s no such thing as a stupid question. But there are some questions you might not want to ask your local shop or riding buddies. AASQ is our weekly series where we get to the bottom of your questions – serious or otherwise. This one covers the fine micro and macro details of freehub technology, including hub engagement and spring/pawl versus ratchet systems. Hit the link at the bottom of the post to submit your own question.
Bicycle industry marketing has, and likely always will be, full of jargon technical terms that mean a lot to some consumers, and absolutely nothing to the majority. Brands are especially guilty of this when it comes to freehub technology. We hear them boast about the super fast hub engagement on their new wheelsets, often without them explaining what that actually means in terms of ride quality.
Do we even know that we want super fast hub engagement? While it can be awesome in some technical climbing situations, it’s not all it’s cracked up to be for many other riding styles.
Thankfully, Hope, Industry Nine and Tune have taken time to explain these jargon technical terms so that you can make a more informed decision when browsing for your next wheelset.
What do brands mean when they talk about hub engagement? PoEs, degrees of engagement, fast pickup… it all sounds like marketing speak. What does it mean for the customer in real terms?
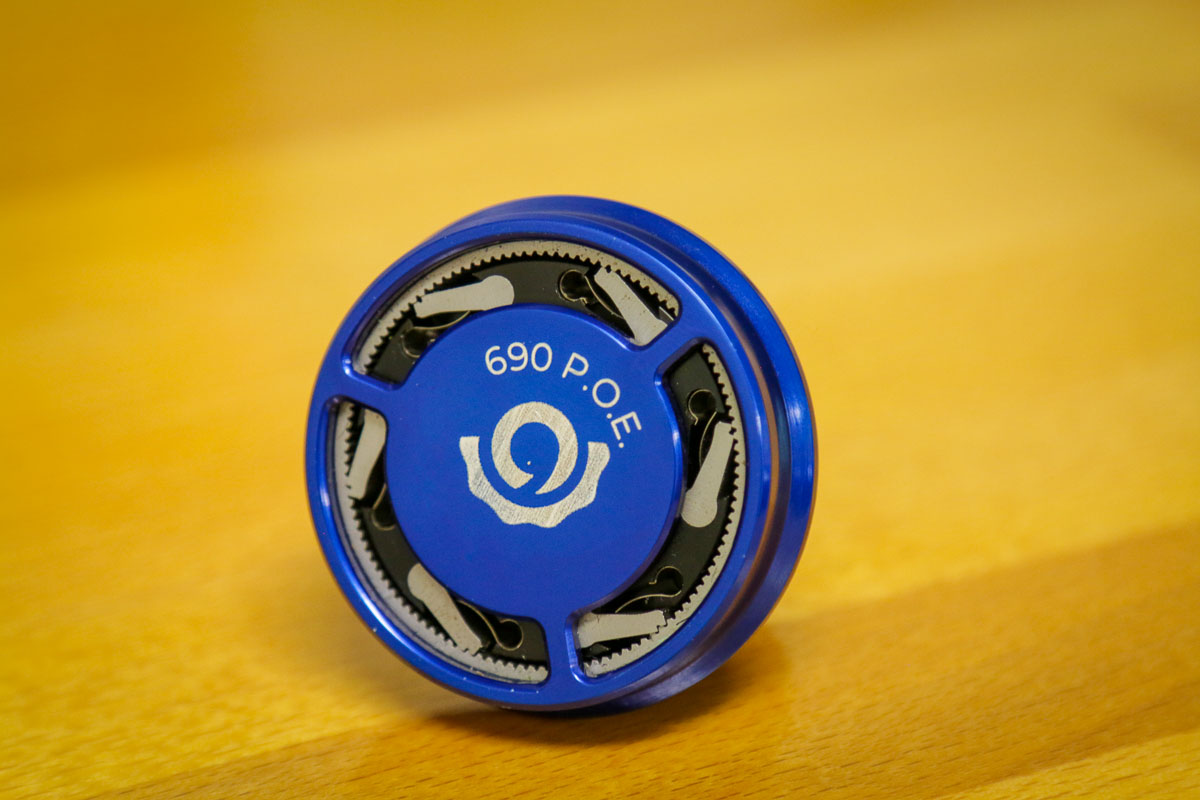
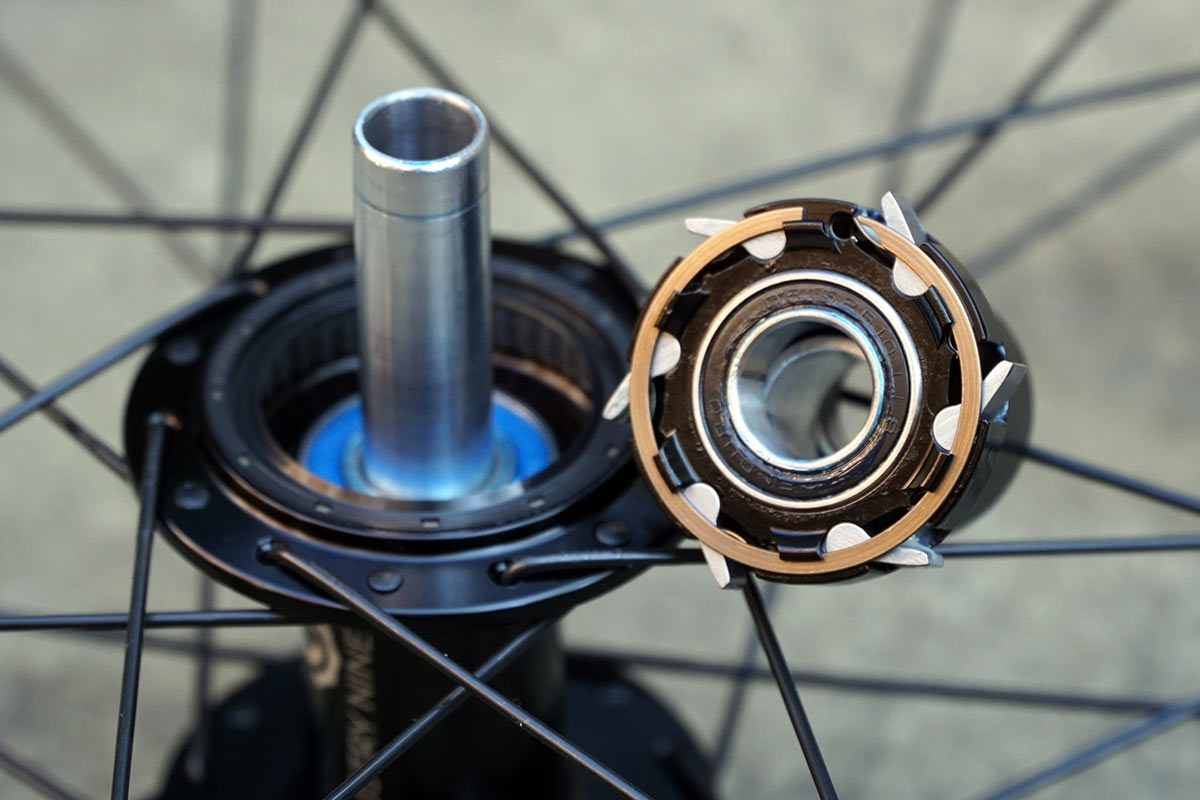
Industry Nine: From a mechanical standpoint, PoE refers to the number of possible engagement points for a freehub in 360 degrees of rotation. For ratchet-ring type hubs or a pawl driven system with simultaneous engagement, this can be calculated by counting the number of teeth on the drive ring.
If the drive ring has 60 teeth it has 60 points of engagement. 360 degrees divided by 60 yields 6 degrees between engagement points. For a phased pawl system you need to multiply the drive ring tooth count by the number of phases to get the POE.
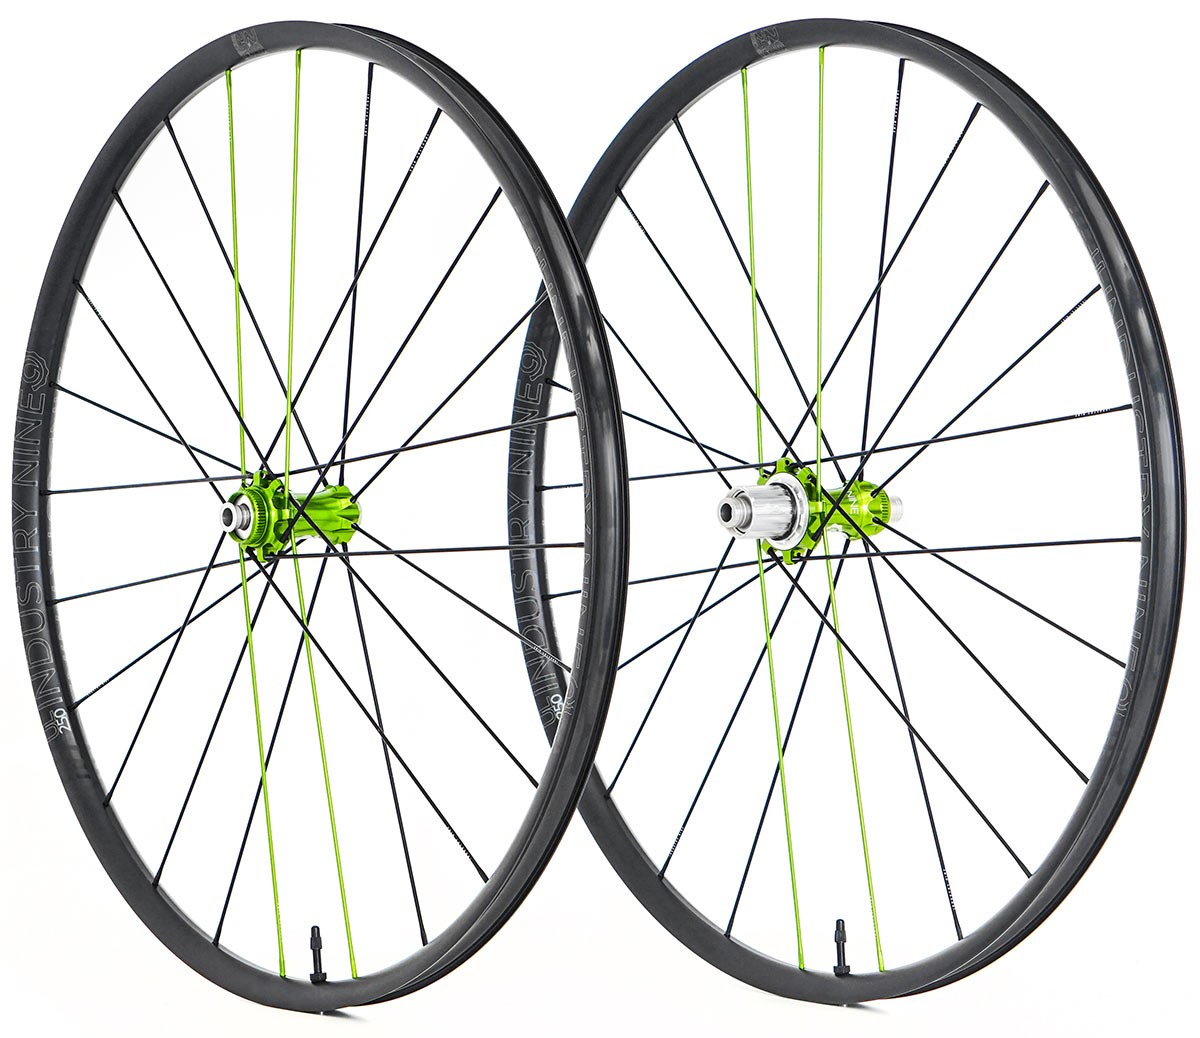
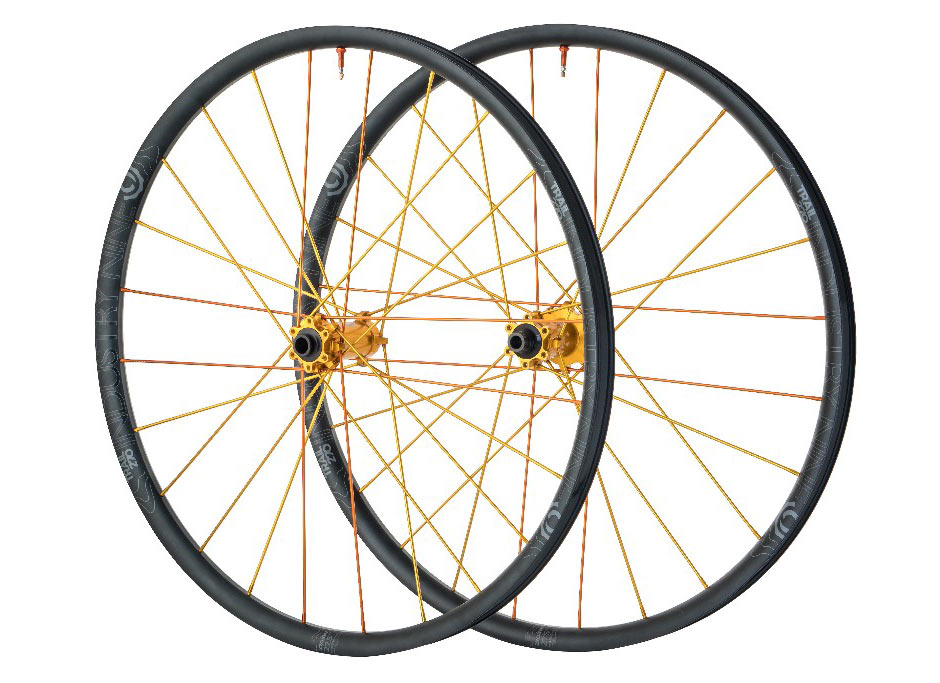
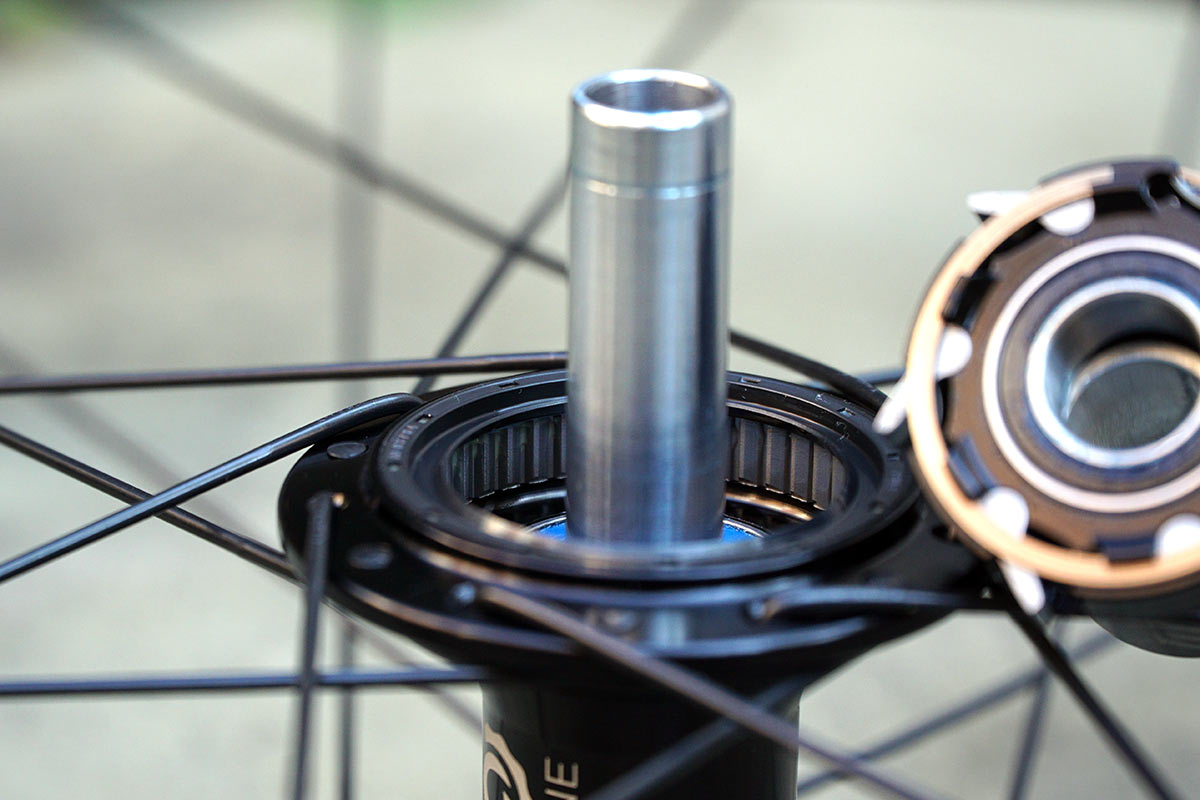
In the case of our Hydra hubs, we utilize a 115 tooth drive ring and 6 pawls that are independently phased, so there are essentially 6 engagement points for each tooth of the drive ring. 6 x 115 yields 690 PoE. 360 divided by 690 yields 0.52 degrees between engagement points.
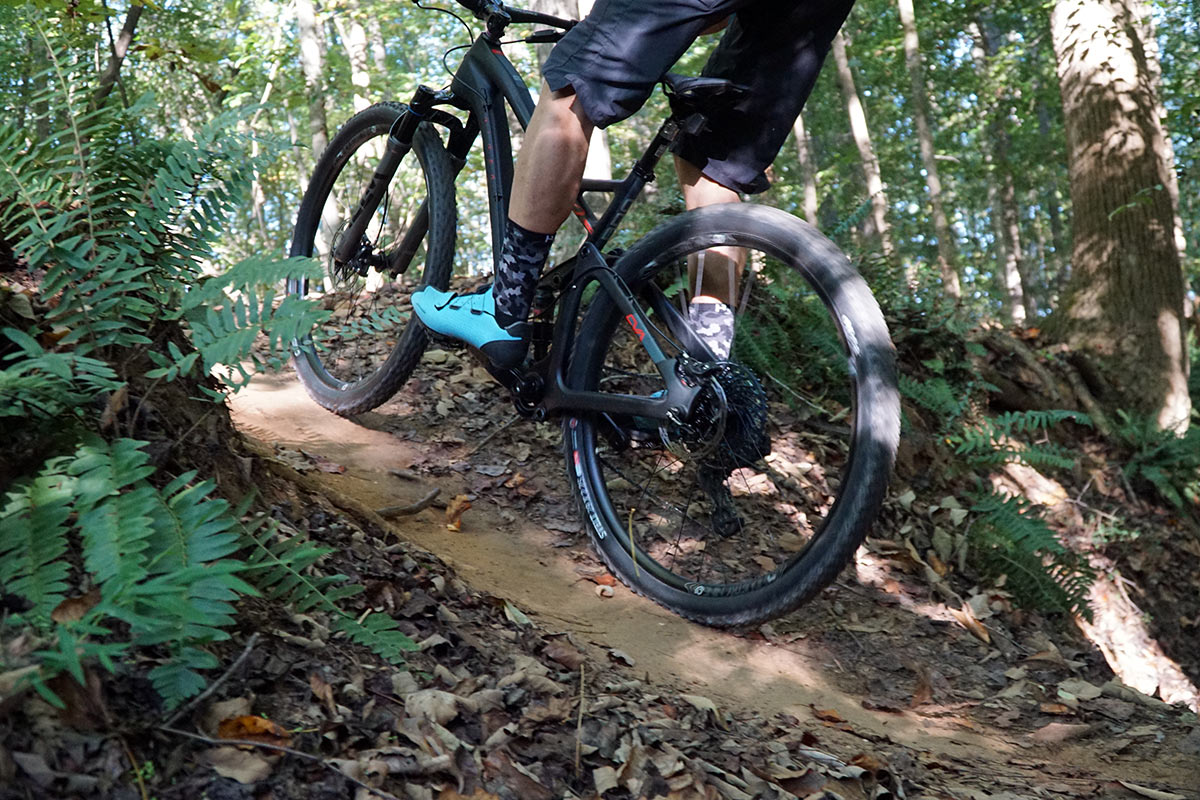
Translating what a high engagement hub does on the trail means each time you start to pedal after coasting your drive system will immediately engage. This means faster acceleration out of corners, an improved ability to quickly transfer power if you need to accelerate into a trail feature (such as a drop or log hop), and it offers a huge advantage on technical climbs.
For example, where you frequently need to ratchet your cranks in order to clear obstacles, step up onto or over large rocks, roots, and logs, etc., with very little speed. On a steep climb, once you have performed a maneuver where you have to coast for even a split second to clear an obstacle you have lost almost all of your momentum.
With a high engagement hub, as soon as you initiate forward pedal movement, the freehub will engage, allowing the rider to re-accelerate and continue the climb. With a low engagement system, there can be significant lag as you initiate the forward pedaling movement. In many cases, by the time the freehub has engaged, the bike has already come to a stop and the rider has to put a foot down to avoid falling.
Tune: Every overrunning clutch (the technical term for the mechanism inside a rear hub) has a certain amount of free travel before the mechanism engages when the direction of the rotation changes from overrunning to engaging.
When riding this is the travel your cassette can rotate freely before re-engaging if chain tension is applied. The more individual points of engagement a hub offers the shorter this free travel becomes.
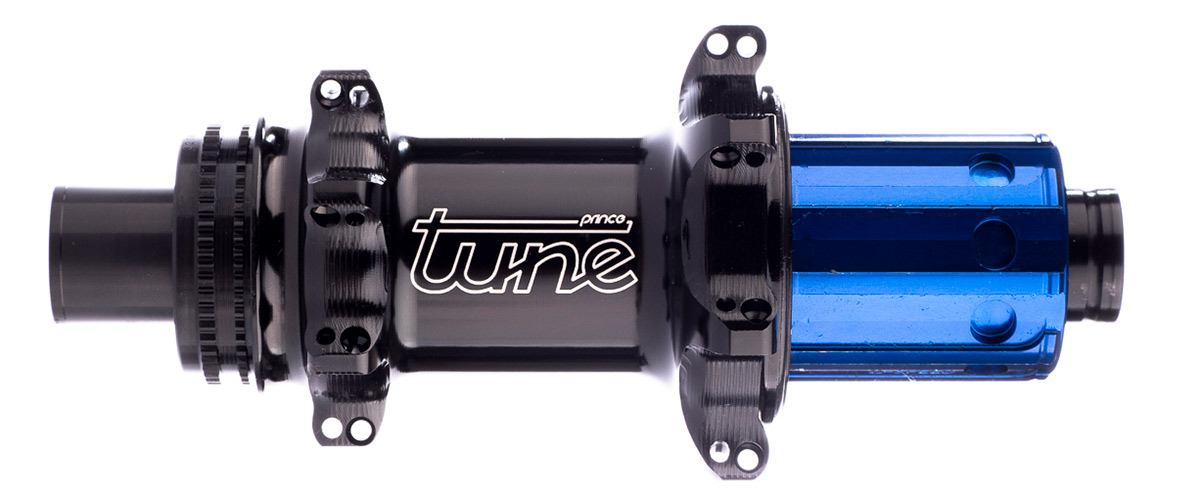
Basically, this translates to how far can you rotate your crankset before you start applying torque to your drivetrain. For some riding scenarios less free travel can be beneficial (think Trials riding. For others, slightly more free travel might be a plus (i.e. due to pedal kickback forces).
Hope: There can be quite a bit of confusion using all these different terms. The true measure is the degree of engagement and this can be compared across all types of hub and manufacturers as it takes into account all factors.
However, one other factor usually forgotten is the tolerances of manufacture which can also affect the angle. Generally there is a trend towards reduced degrees of engagement. This has advantages in some situations, usually on slower technical terrain.
It should be weighed up against some potential side effects such as increased drag, decreased reliability and an increased chance of pedal kickback. It all depends on the type of riding and personal preference.
Are ratchet hubs more reliable than spring and pawl engaging hubs?
Industry Nine: As with most mechanical products, there are very reliable examples of both freehub types and there are products that are less reliable. In either case, the reliability of the freehub is based on design. There are many different pawl and ratchet designs. It’s also based on the materials used, manufacturing tolerances, quality control measures, and – once in the field – proper service.
Over the last 15 years, we have worked hard to continually improve our designs. We are also in a unique position since we manufacture all of our own hub components. All of the parts that make up our hubs are QC’d multiple times during the manufacturing process, during intake to our production department, and subject to final QC and inspection once assembled into a complete hub or wheel. We feel very confident that our pawl system will meet or exceed the reliability of any other freehub system on the market.
Tune: When we (Nicolas and myself) started working in the bicycle industry for Tune, we heard this bike-rumor (;-)) a lot. Naturally we wanted to find out if it was only a marketing stunt or whether it holds up to testing.
It seemed strange that there were numerous manufacturers offering pawls in their freehubs without any issues – everybody should have been using a ratchet system if it was technically superior. For us, it was crucial to know in which direction we should push our R&D.
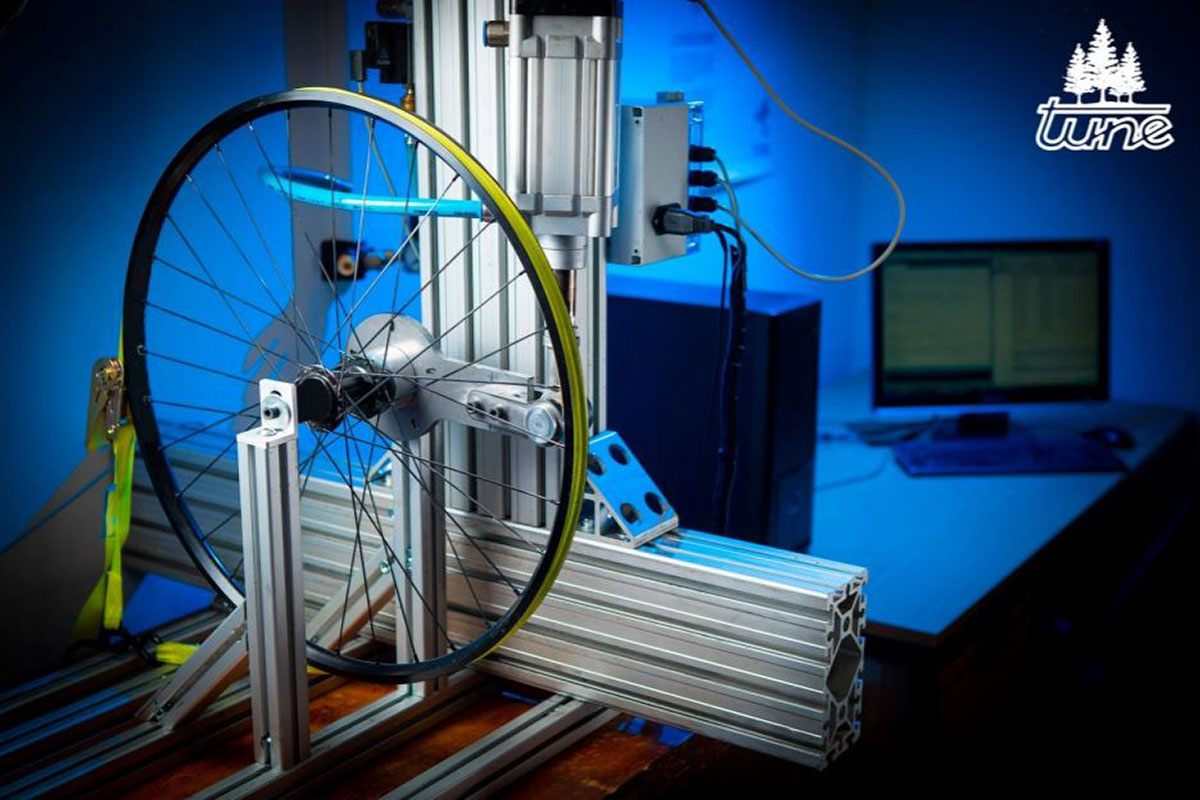
We started bench-marking both systems using Finite Element Analysis (FEA) and then we decided to build a test bench to simulate the torque transmitted from the cassette to the rear freehub body. Our testing is conducted with repeated torque as high as that coming from an AUDI 2.0 TDI Engine.
When we tested our pawl-driven hubs against the ratchet-driven hubs from our competitors we could neither conclude that the ratchet system lasts longer nor that it is more reliable.
The assumed greater reliability of ratchet driven freehubs is often justified with the fact that all teeth are transmitting the torque. In our testing, some ratchets showed failure through ratchet teeth shearing off. This fault indication shows that on a ratchet not all teeth are contacting at the same time due to manufacturing tolerances and asymmetric deformations.
This last point has been demonstrated thanks to the FEA results.If only a few teeth are in contact the stress on these individual teeth can be higher than the materials’ strength which leads to failure.
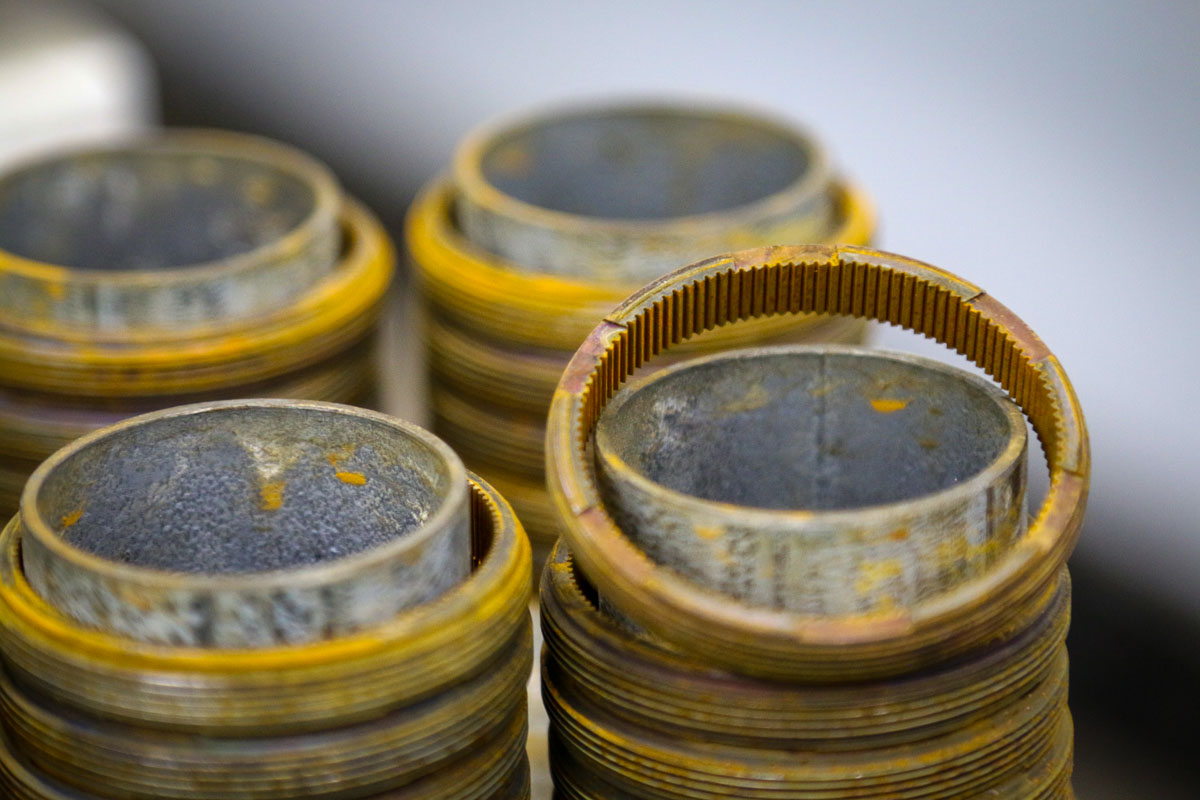
On the other hand, on a pawl-driven freewheel mechanism the freewheel body is often the part that is damaged. We decided against offering a ratchet system and went with developing a special reinforced freewheel body version for gravity and e-bike use.
Our Endurance freewheel gets a special design in the high-stress areas and offers superior durability – even in comparison with ratchet systems.
Hope: There are several things to take into consideration between the two systems. The positive with face ratchet hubs is that all teeth are engaging so they will take high loads.
There are a couple of negatives – any contamination within the ratchet will stop engagement. They also result in higher friction when freewheeling due to all teeth sliding over each other. How well the hub is manufactured is usually more of a reliability factor than the particular engagement system.
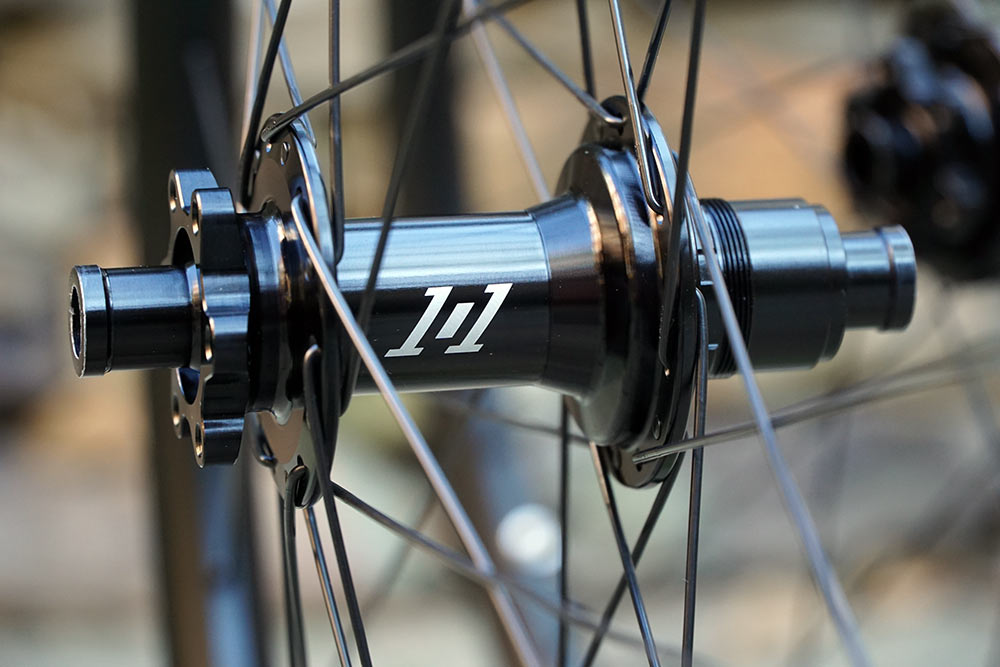
In hot riding conditions, my Industry Nine 1/1 hub which is normally obnoxiously noisy becomes almost silent. Why is this?
Industry Nine: Changes in temperature can have an effect on the freehub noise for several reasons. However, the primary cause is that the grease or oil viscosity in the freehub changes with temperature, which can change the noise level of the hubs.
Which parts of a free hub need to be greased?
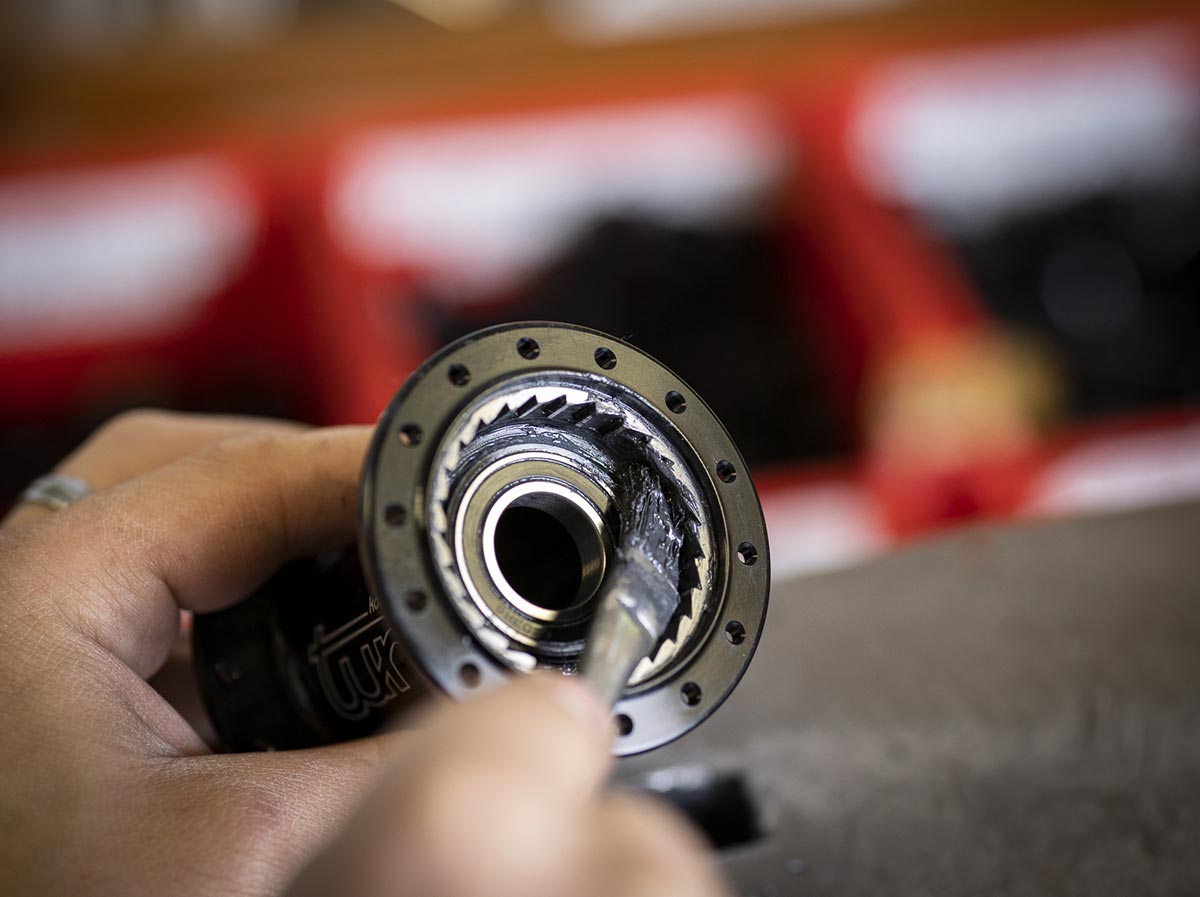
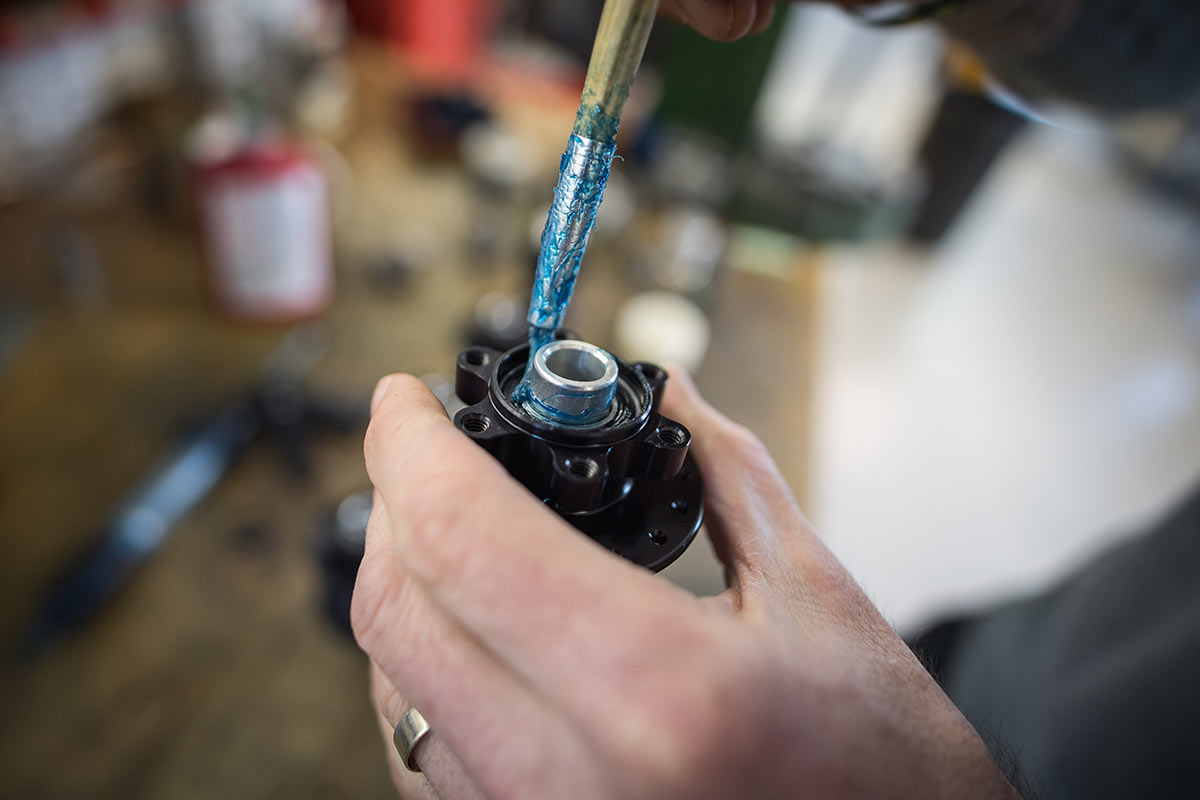
Industry Nine: The primary area of our hubs that will require occasional service and grease application is the freehub mechanism – specifically the pawls and drive ring. We recommend Dumond Tech Pro-X freehub grease, which is the product we use in-house.
However, we do also recommend a very thin film of waterproof grease between the bearings and axle (if the hub has been disassembled) and a thin layer of grease on the outboard bearing seals as this helps prevent water infiltration.
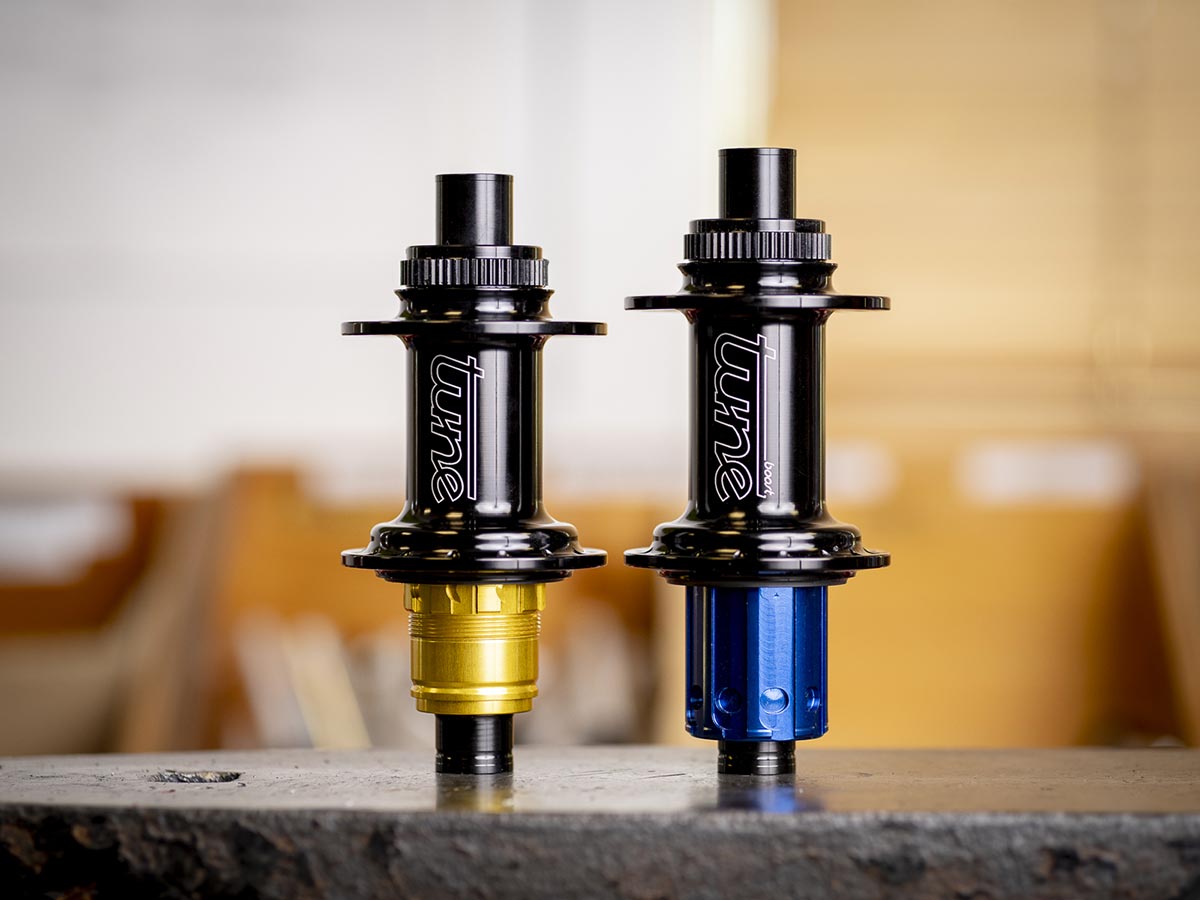
Tune: You have to differentiate between the freewheel mechanism and the freewheel body.
For the mechanism: lightly grease the toothed outer ring of the mechanism. Be careful not to get grease between the pawl and pawl spring as this may lead to the pawl not returning to the engagement position.
For the freewheel body: the body should not be greased. In order to prevent galvanic corrosion between the cassette and freewheel body you can use an assembly paste on the contact surfaces.
Make sure to not use any grease on the threads as this changes the coefficient of friction. The manufacturers recommendations for torques are mostly based on ungreased threads. If the thread is greased the applied torque might be a lot higher than it would be without grease. This can lead to defects because the parts are over-tightened.
Hope: Any surface that moves relative to another should be greased. This will ensure efficient operation, reduced wear and a long life.
What type of grease is best for use on the the pawls of a free hub?
Industry Nine: As mentioned above, we recommend Dumond Tech Pro-X freehub grease. If this is not available, most thin liquid-type freehub greases or oils specifically formulated for freehubs are good options in a pinch. However, never use heavier traditional grease or tenacious oils as these can cause the pawls to stick and damage the freehub mechanism.
Tune: We use specific lubrication products for our hubs containing inorganic compounds. For the rotational movement of the freewheel mechanism we use a grease for high-load applications that is rated up to -25°C. Due to its excellent adhesion a small amount is sufficient to permanently grease the mechanism.
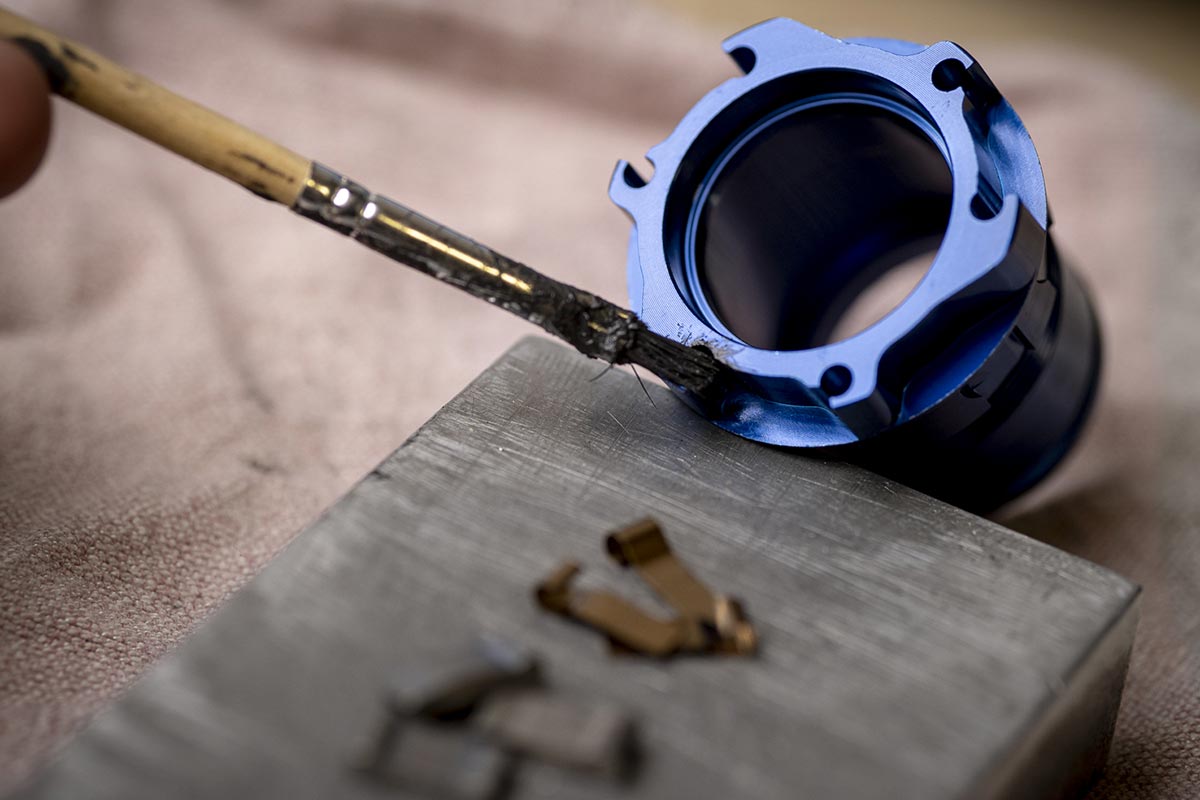
Inside the pawl pockets we use a special paste with a high percentage of this inorganic compound that was especially designed for oscillating loads and offers low friction up to -35°C. Tune’s founder, Uli Fahl, is a chemist by trade and worked for a lubrication company prior to founding the company. We incorporate his first-hand knowledge when it comes to lubrication.
Hope: Any lubrication is better than none. Make sure to properly clean components before re-lubricating. Just adding grease on top of dirt creates a nice grinding paste that will accelerate wear and cause problems. Poly-urea based greases are a good bet as they have good resistance to water.
For XC racing, is a faster engaging hub always better than slower engaging one?
Industry Nine: In our opinion, a high engagement hub is always an advantage. Whether gunning for a holeshot, accelerating out of a corner, or trying to clean a technical climb (after all, riding is always faster than walking) every second can count in an XC race, and a fast engaging hub will ensure you can maximize your efficiency during every moment of a race.
Tune: The market is clearly leaning towards a higher number of Points of Engagement (PoE). More PoEs can be beneficial in certain situations but also a disadvantage in others. The more PoEs the greater the pedal kickback. This becomes a problem for the rear hub on a full suspension bike.
The kickback forces are more likely to be introduced to the rear hub mechanism if the travel to the next engagement point is shorter.
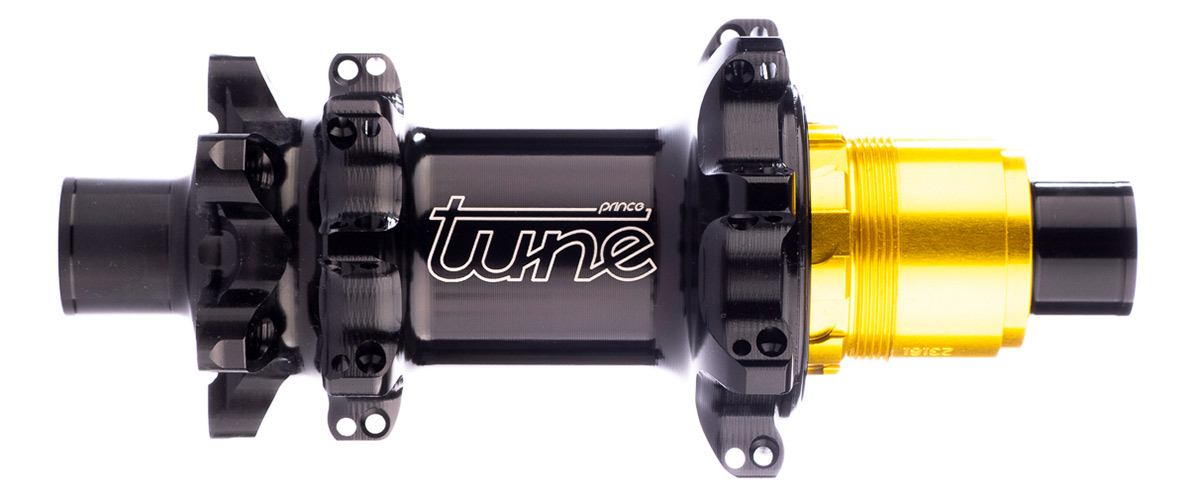
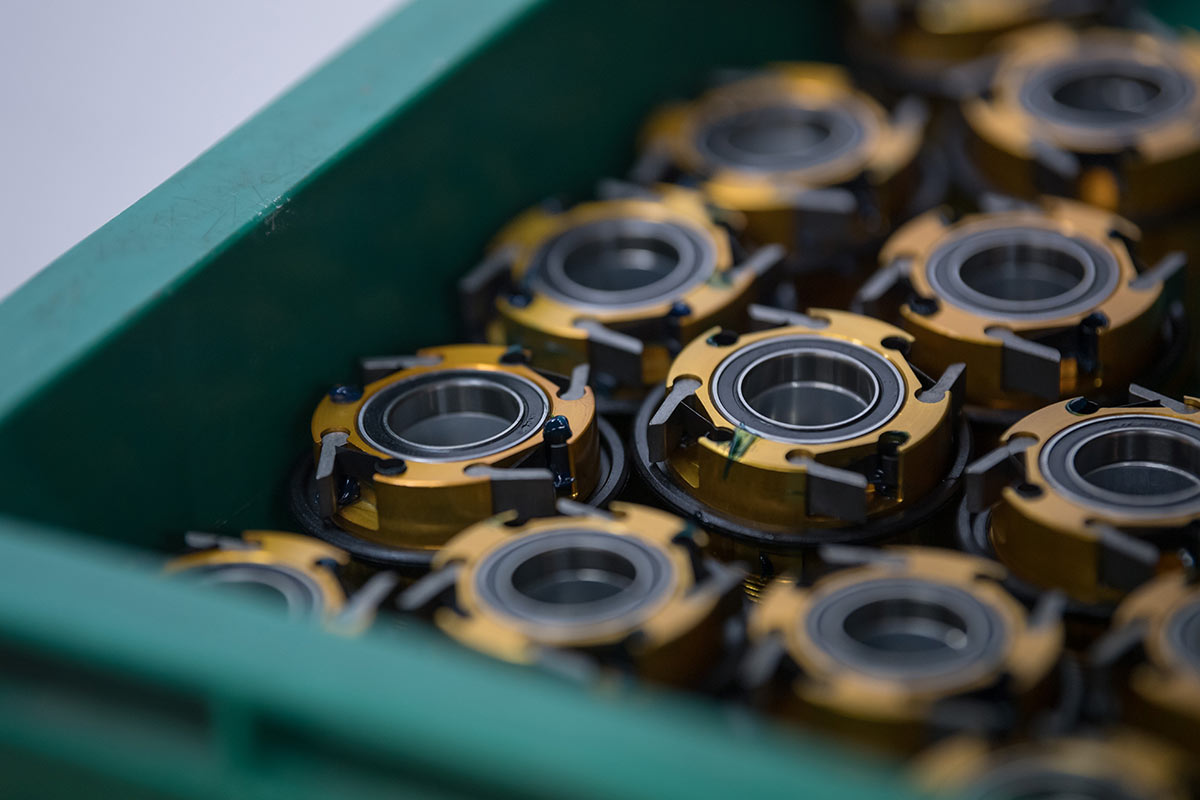
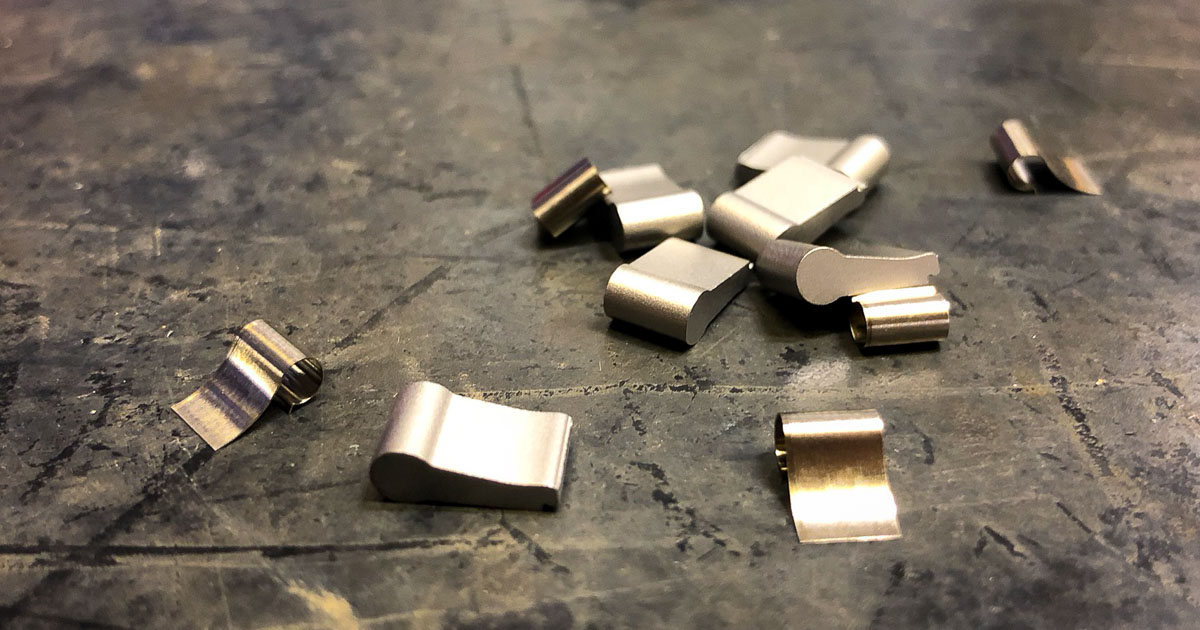
Additionally, more PoEs usually means the individual teeth are smaller and therefore weaker. This is often partially mitigated by using pawls with multiple teeth per pawl. A high PoE mechanism can have more friction as a stronger spring is needed to ensure proper contact with the smaller, more fragile teeth.
In modern XC races, reduced travel to the next engagement point can help the rider to have more control by enabling drivetrain input while standing. We are currently working on a backwards compatible high torque higher PoE freehub version for our hubs to meet this popular XC demand. For road and gravel we already offer a freewheel version to double the engagement points. It’s called 6 teeth.
Hope: Not really since you’re hardly ever free-wheeling. You would only notice in slow speed sections where you are pedaling intermittently. The big negative for XC racing for faster engagement hubs is that they produce more drag.
If a wheel’s spokes aren’t under proper tension, does it place more stresses on the hub? Would hub wear be expedited if the wheel is ridden out of true?
Industry Nine: From a mechanical perspective, a wheel built with really uneven tensions or tensions that are too low can accelerate the fatigue cycle on the spokes, nipples, rims, and hubs. If a wheel is built with really high tension it can exceed the load capacity for these components as well.
While we intentionally overbuild our flanges to accommodate a high range of loads and long term fatigue cycles, we recommend our hubs be built by an experienced wheel builder utilizing a calibrated tensiometer to ensure the correct spoke tension.
With regard to a wheel being ridden out of true, this won’t normally damage a hub. In theory, if the wheel is badly out of true and as a result is ridden for a long period of time with incorrect spoke tensions, it will accelerate fatigue on the hub, but this isn’t a common issue we see.
Tune: As long as the spoke is not unloaded completely during riding the wear on the hub should be the same as on a properly tensioned wheel. As soon as the tension is so low that individual spokes are untensioned it can become problematic as the spoke head might wear out the spoke holes of the hub.
The same applies to an out-of-true wheel. As long as no spoke is untensioned the wear will be the same. Often when a wheel is damaged after hitting something, individual spokes will lose all their tension. A wheel that shows this defect should only be ridden home and repaired before any further riding.
Hope: Very minimal. There are other much bigger things to worry about if it’s out of true than the hub bearings wearing out.
On a BOOST 148mm hub, are the flanges further apart and thus the spokes braced at different angles as compared to a standard 135mm spaces hub?
Industry Nine: For our boost hubs, the flanges are 6mm further apart than they are on our 135/142 width hubs, and our 157mm hubs feature flanges an additional 9mm apart vs. our 148 hubs.
In each application, for the high tension sides of the hub/wheel we target the widest flange spacing we can accommodate without interfering with the real estate required by the cassette, spokes, and derailleur on the rear wheel or disc caliper on the front wheel.
For the low tension sides of the wheel (non-drive side rear spokes and drive side front spokes) the flanges are placed as far out as we can go while still maintaining high enough spoke tension. If the flange is placed too far from the centerline of the wheel in these locations it will yield inadequate spoke tension, which can lead to premature wear to the spokes, nipples, or rim on the lower tension side of the wheel.
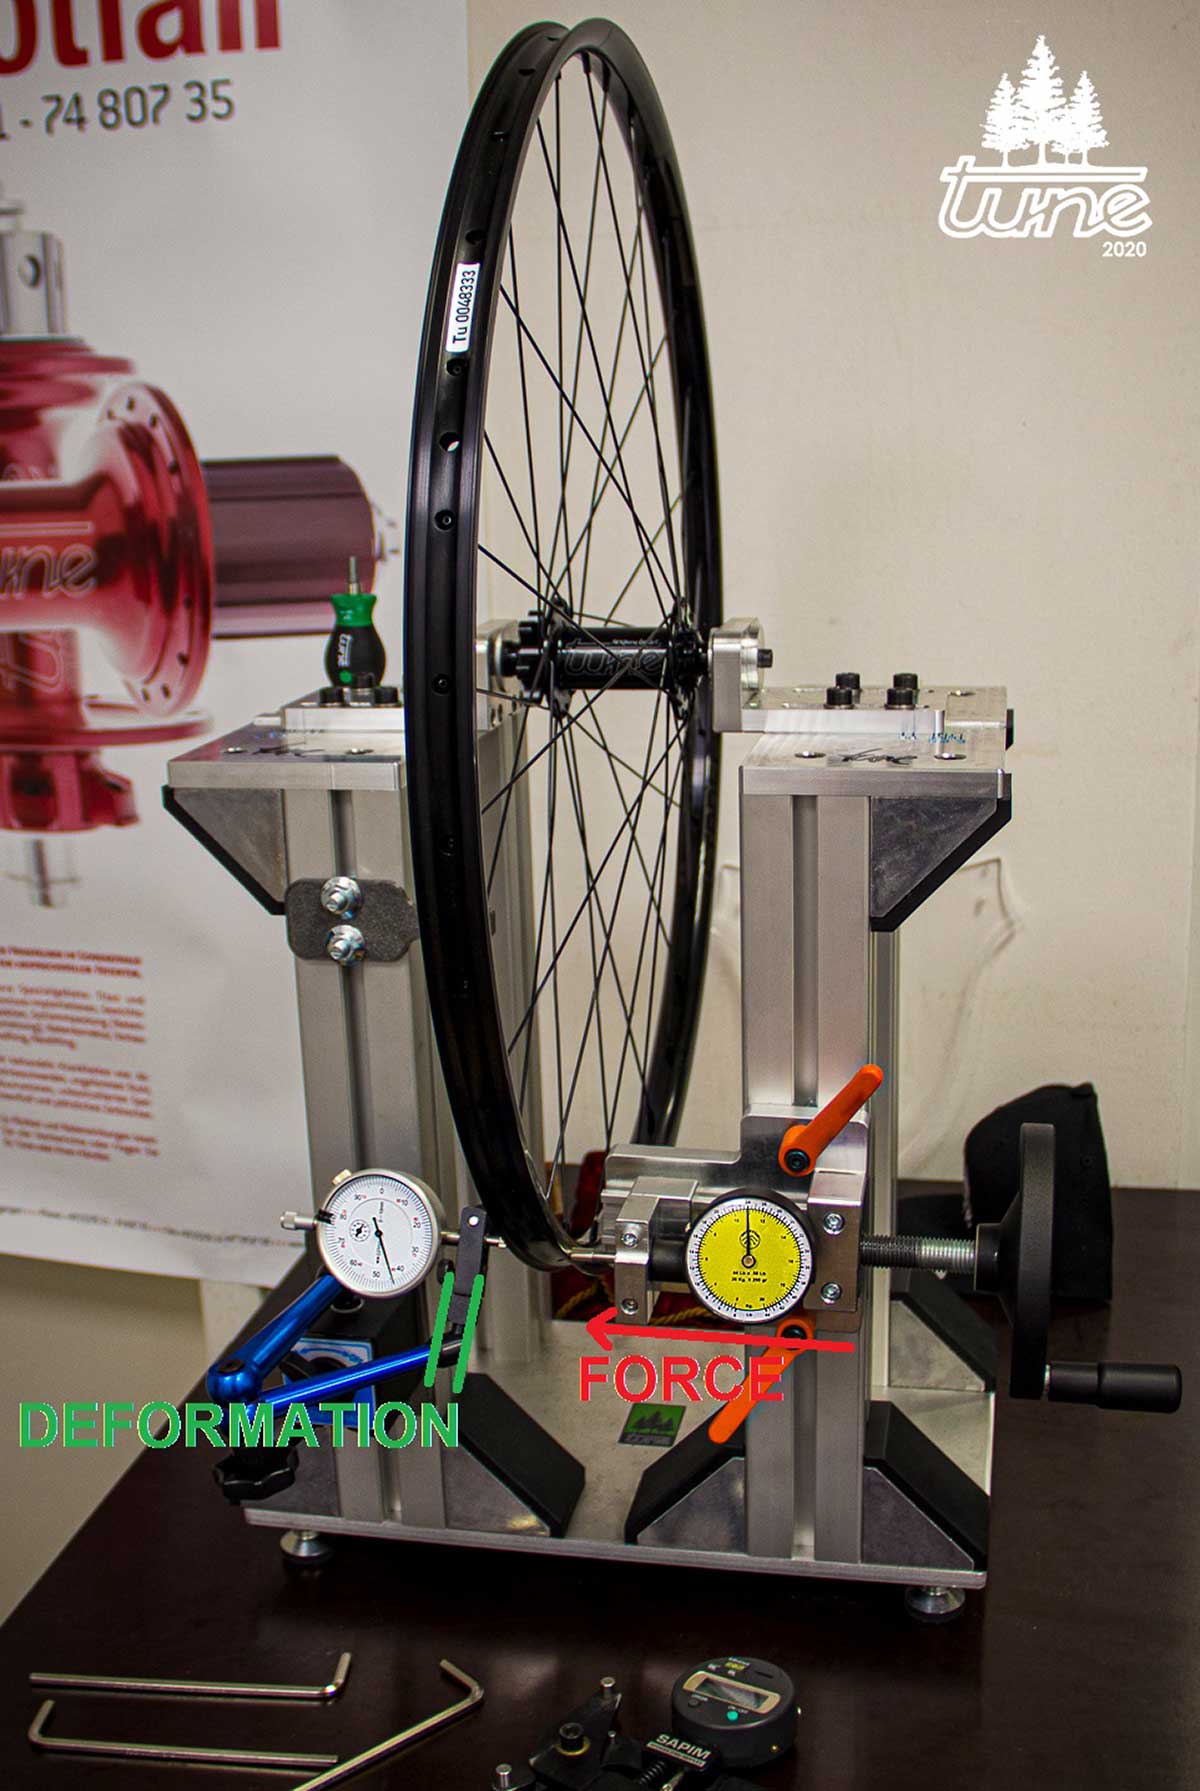
Tune: Yes, the flanges are further apart. On our lateral stiffness test bench we measure around 20% higher lateral stiffness on a boost wheel compared to a non-boost wheel.
Hope: They’re 6mm further apart, so they have a wider bracing angle. The standard doesn’t reduce the offset in the wheel build, (although % dish is slightly reduced due to the wider flange spacing), so the uneven spoke tension in the wheel remains.
This standard would have been better designed if the wheels were built central to the flanges and any offsets accounted for in the frame design. However, we generally have to work with imposed standards.
Do you have any pro tips for easily reinstalling a spring/pawl free hub without losing the pawls? I don’t have the dexterity to do it with just two hands!
Industry Nine: For our freehub system the pawls and springs are captured in the freehub body so don’t need to be manually held in place as you reinstall the freehub. However, we do recommend rotating the freehub counter-clockwise as the pawls contact the drive ring as this process will depress the pawls and allow them to slide easily into the drive ring.
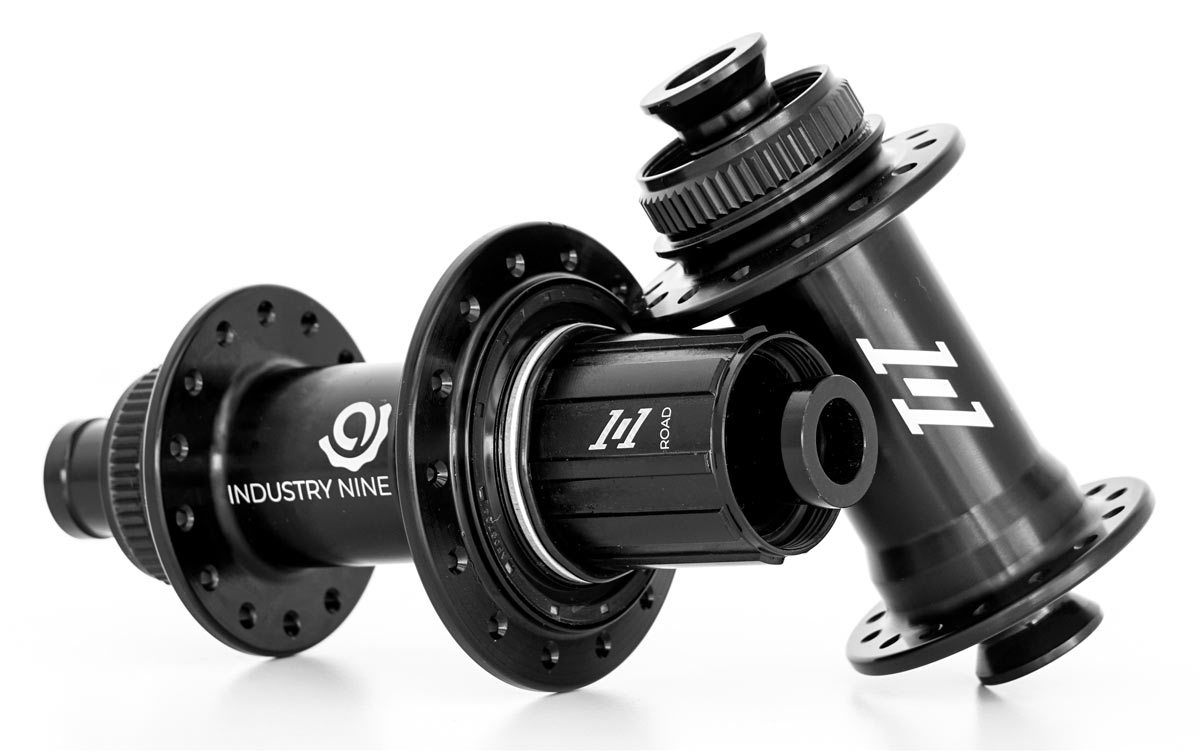
For our 1/1 hubs it is also important to remove the freehub seal before reinstalling the freehub as this will ensure the lip seal does not get caught between the pawls and drive ring, which can damage it. Once the freehub is installed you can slide the seal on by hand.
Tune: On our hubs the pawls and springs are pushed into position when mounting the freewheel on the hub so they cannot be lost. Just push gently and turn anti-clockwise to engage the mechanism.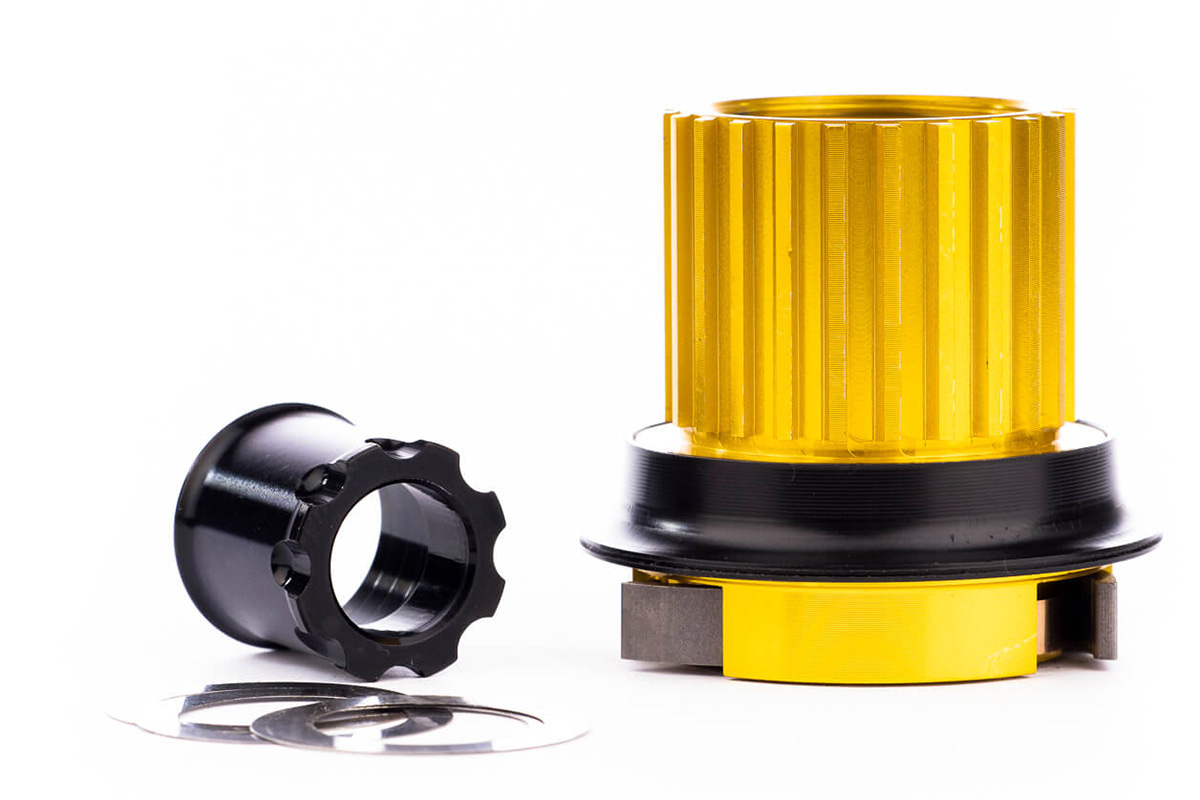
Another trick we have seen: take a thin piece of string and put it around the pawls to fix them in the disengaged position – slide the freewheel on halfway – remove the string – voilà the pawls are engaged and are held in place by the springs’ tension during assembly!
Hope: Twist in the direction of the ratchet and they will lead into the hub. Use grease to hold things in place on assembly.
Thank you to Jascha Harbusch-Hecking and Nicolas Eguemann of Tune, Paul Oldham and Sam Gibbs of Hope Tech and Jacob McGahey of Industry Nine for contributing to this week’s AASQ on hub technology.
Got a question of your own? Click here to use the AASQ form to submit questions on any cycling-related topic of your choice, and we’ll get the experts to answer them for you!

