We know, there’s no such thing as a stupid question. But there are some questions you might not want to ask your local shop or riding buddies. AASQ is our weekly series where we get to the bottom of your questions – serious or otherwise. This time it’s all about your drivetrain, and what you can do to make sure it lasts all winter long! Hit the link at the bottom of the post to submit your own question.
It can be really easy to let your drivetrain fall into a state of disrepair over the winter months. Keeping it well-maintained can often feel like you’re fighting a losing battle, with the salt on the roads and mud on the trails. Don’t despair. It is possible to keep your drivetrain well-maintained with a little due care and attention.
Yes, it means washing your bike after every ride, and re-lubing your chain like a pro-mechanic. But, for a smooth running drivetrain, it is worth the effort. Winter miles are hard enough, without the added difficulty of a grinding, crunching drivetrain.
We got in touch with the guys at Shimano and Rotor who have fielded your questions on drivetrain maintenance.
Will my cassette and chainring last longer if I change my chain often?
Shimano: Generally speaking, your chainrings and cassette should outlast your chain by a few cycles. Shimano doesn’t offer an official number of chain replacements per cassette because it varies so much based on riding conditions.
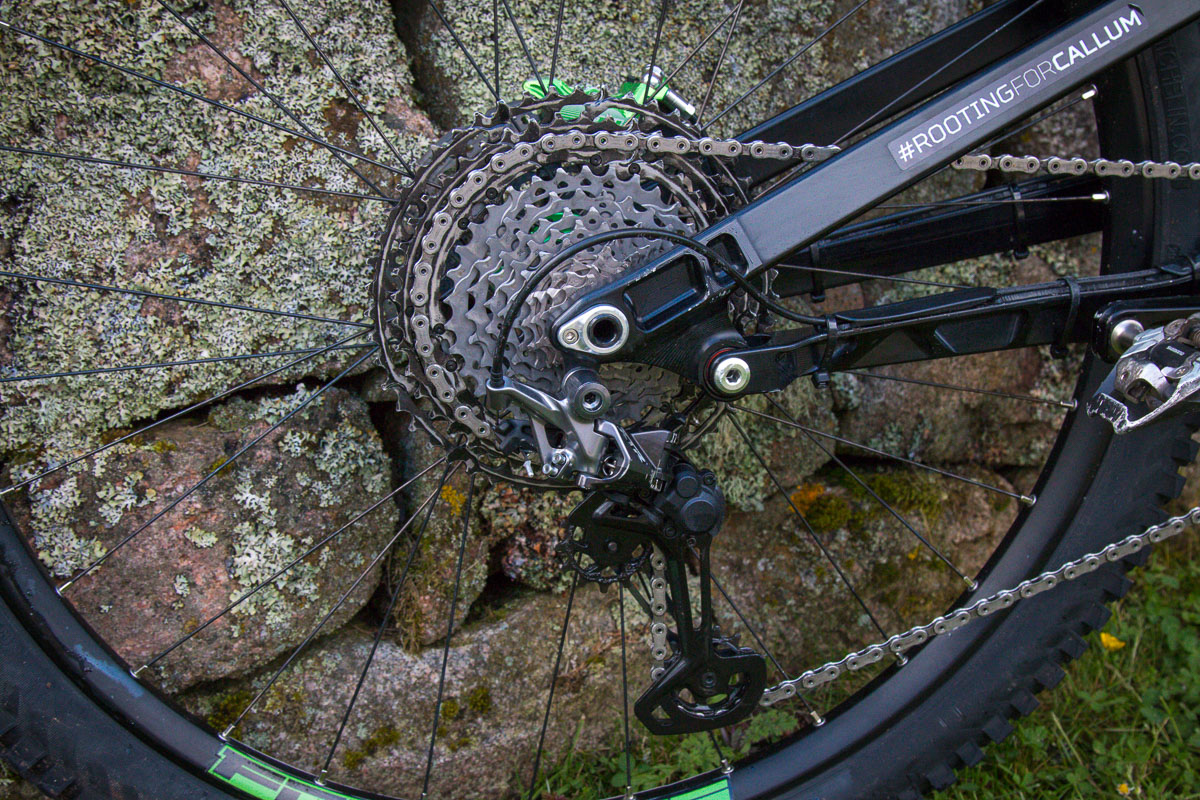
Depending on the maintenance and general care of your chain and drivetrain, I typically see three to four chain replacements before cassette or chainring replacement might be required. This is, of course, conditions and weather dependent, as rain and grit are typically drivetrain killers.
So, perform regular maintenance in maintaining a clean and happy drivetrain, and you should be able to extend the life of your cassette and chainrings.
Rotor: There are many factors that impact the wear of rings & cassettes:
- Is the drivetrain 1x or 2x?
2. What material is the cassette and/or chainring? Even within aluminum there are different grades that have different wear properties.
3. Has the drivetrain been lubed regularly? What conditions are you in? More dirt, sweat etc. equals more wear.
4. Riding style impacts wear: do you only use a couple of gears on the cassette? Bigger riders putting out more power will create more wear & friction than smaller riders, and would likely need to replace chains more often to keep the same level of wear as a smaller rider.
All that being said, generally speaking, a worn-out chain will deteriorate the ring & cassette at a more rapid rate, but exact timelines will vary due to the above considerations, amongst others.
Does flipping a chain extend its usable lifetime?
Shimano: When it comes to extending the life of a chain, flipping the chain doesn’t make a big difference and can end up causing poor shifting in some situations. Some chains are designed to glide up or down a cassette by creating certain cuts/facets in the faces of the outer links that assist in the shift.
Editor’s Note: Tyler explains Shimano’s HyperGlide+ shifting on the 12 speed XTR group in this video – we’ve pegged it at the slow motion shift video so you can see how the chain wraps around the cassette during a downshift.
So, flipping a chain and orienting it so that the left side plates are now the right side plates might very well defeat their purpose and would lead to poor shifting performance.
Rotor: We had never heard this as a solution! It stands to reason, however, that the primary indication of chain wear is stretch, which would remain consistent if the chain was flipped or not.
What percentage chain wear is acceptable before I should I consider replacing it?
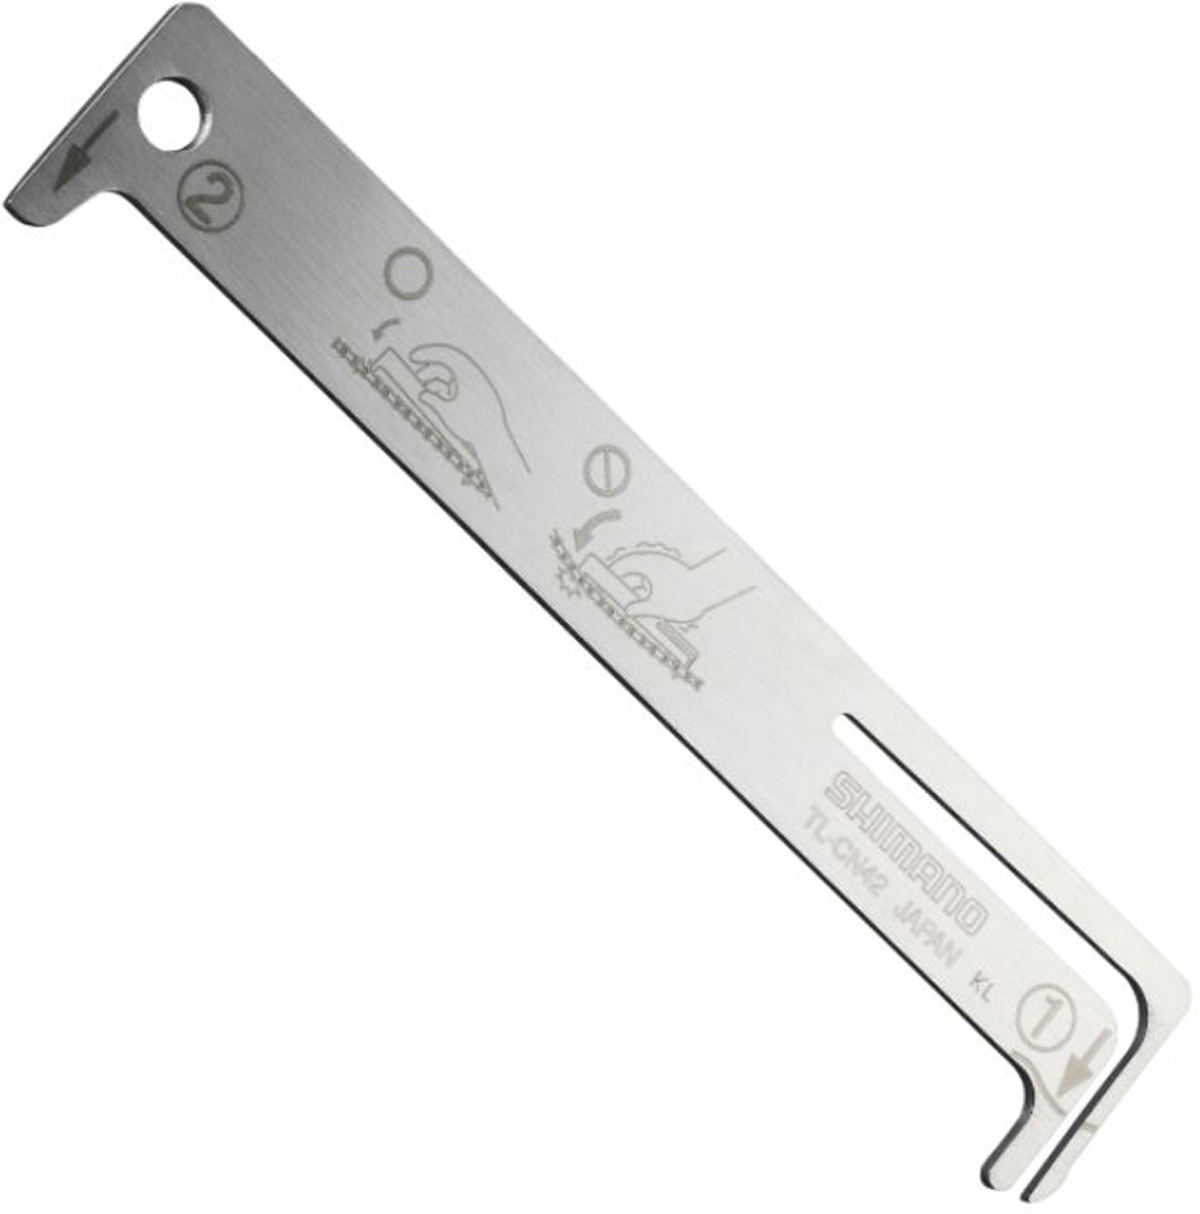
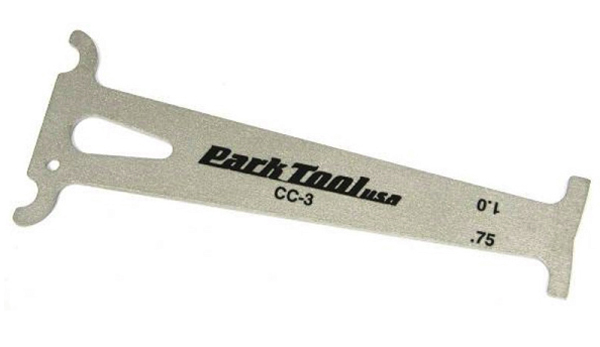
Shimano: Percentage chain wear can be difficult to measure unless you’re able to use a a high quality chain checker like the Shimano TL-CN42. This tool uses a sprung tab to ensure the rollers are pre-loaded for the most accurate measurement possible.
A good rule of thumb that I use is that a chain should be replaced once it has worn about 1% (0.5″->0.55″ or 12.7->12.87mm, depending on your units of measure). 1% is all it takes to begin wearing your drivetrain rather quickly.
Rotor: Chain wear requiring replacement is very specific to different manufacturers; 2x chains are fairly consistent but with the increasing popularity of 1x drivetrains, manufacturers’ recommendations take into account a variety of factors, including gear range on the cassette and evolution of chain design. A chain checker compatible to your speed chain will be important in determining the proper time to change your chain.
What’s the best way to re-grease a chain after degreasing it? Should I simply reapply chain lube or is there a way to grease it up to the standard of a brand new chain?
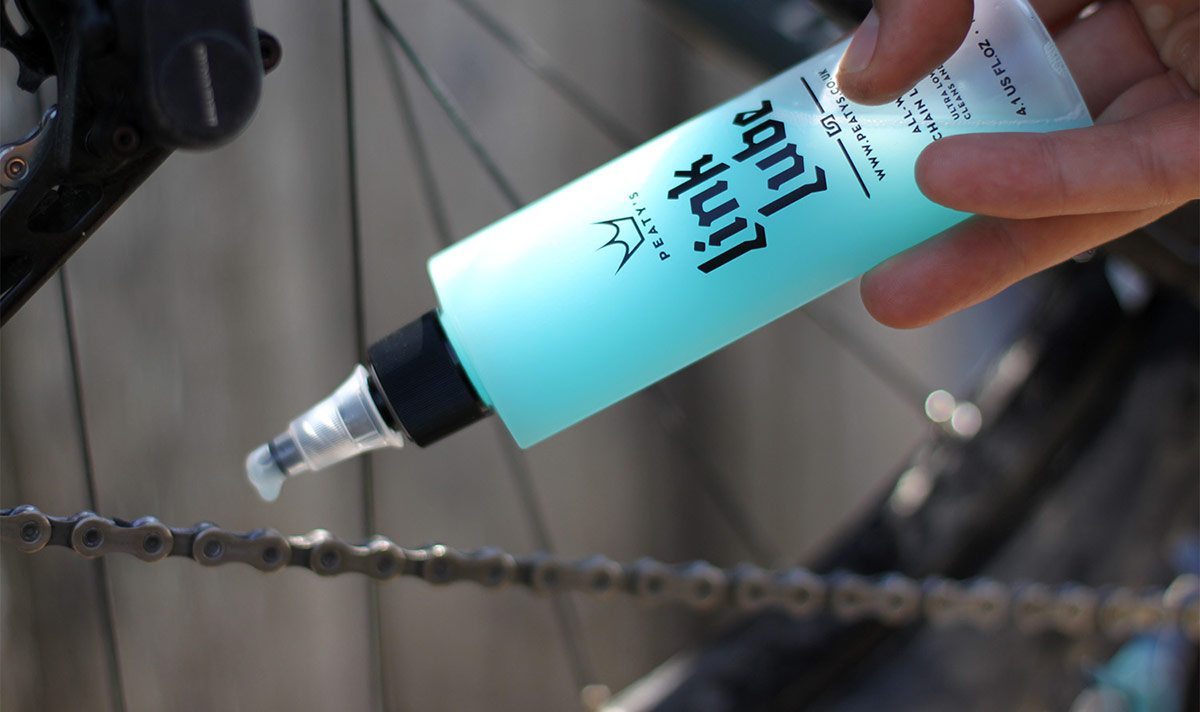
Shimano: This is a tricky one, as there is no right or wrong way to re-lube a chain. The only way to muck it up (pun intended) is by over-lubricating a chain and not wiping off the excess.
However, consider that a professional mechanic will only apply 1 drop of chain lube at each roller. Before you go dousing your drive train, remember that less is more. Too much lube could attract dust and other contaminants that could reduce the lifespan of your drivetrain.
Rotor: New chains generally come with a wax coating that provides a base protection & lubrication. Spraying a normal degreaser on the chain with a quick wipe down shouldn’t remove this, nor do we really want to. However, if you put your chain in a sonic bath with degreaser for a deep clean, you should definitely apply a base coat of your favorite lubricant afterward. Some people get really into this part and use a crock pot or other method to get the chain fully anointed.
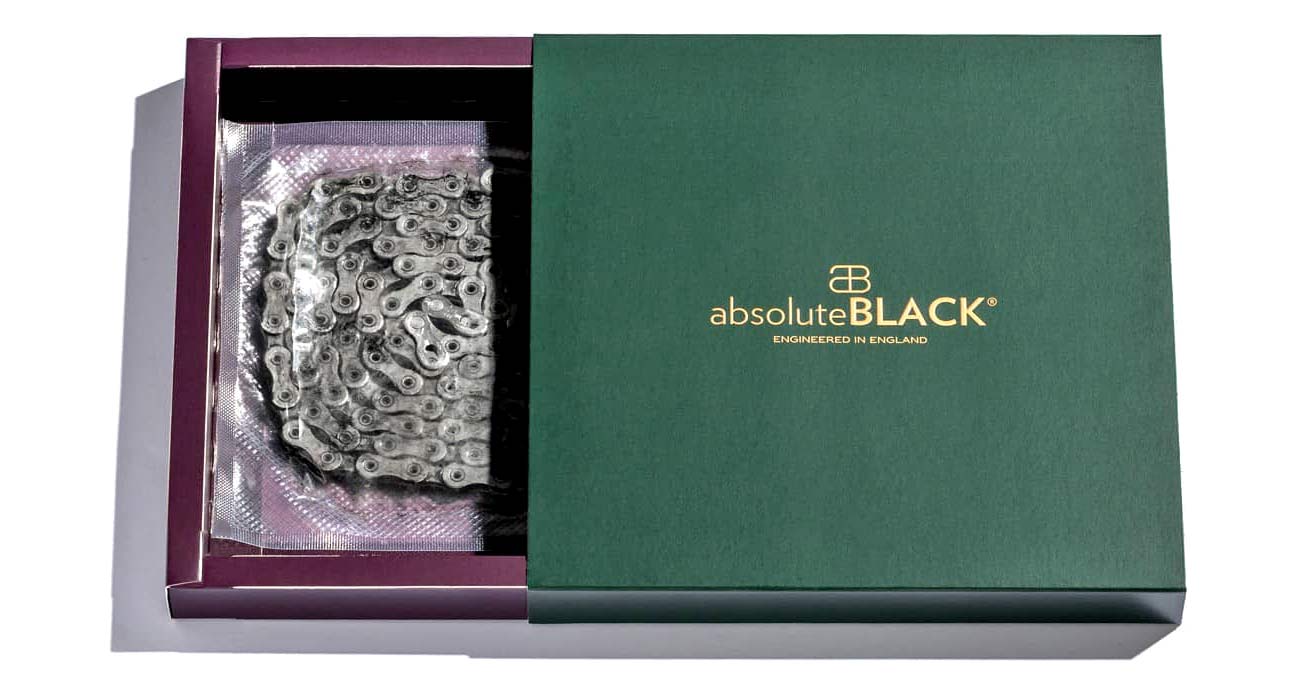
What are the constituent parts of chain made of on the different price point chains you sell?
Shimano: Shimano chains are differentiated by their surface treatment and whether or not they use a hollow pin. Special surface treatments extend the life of the chain by making the surfaces tougher, slicker, and corrosion resistant.
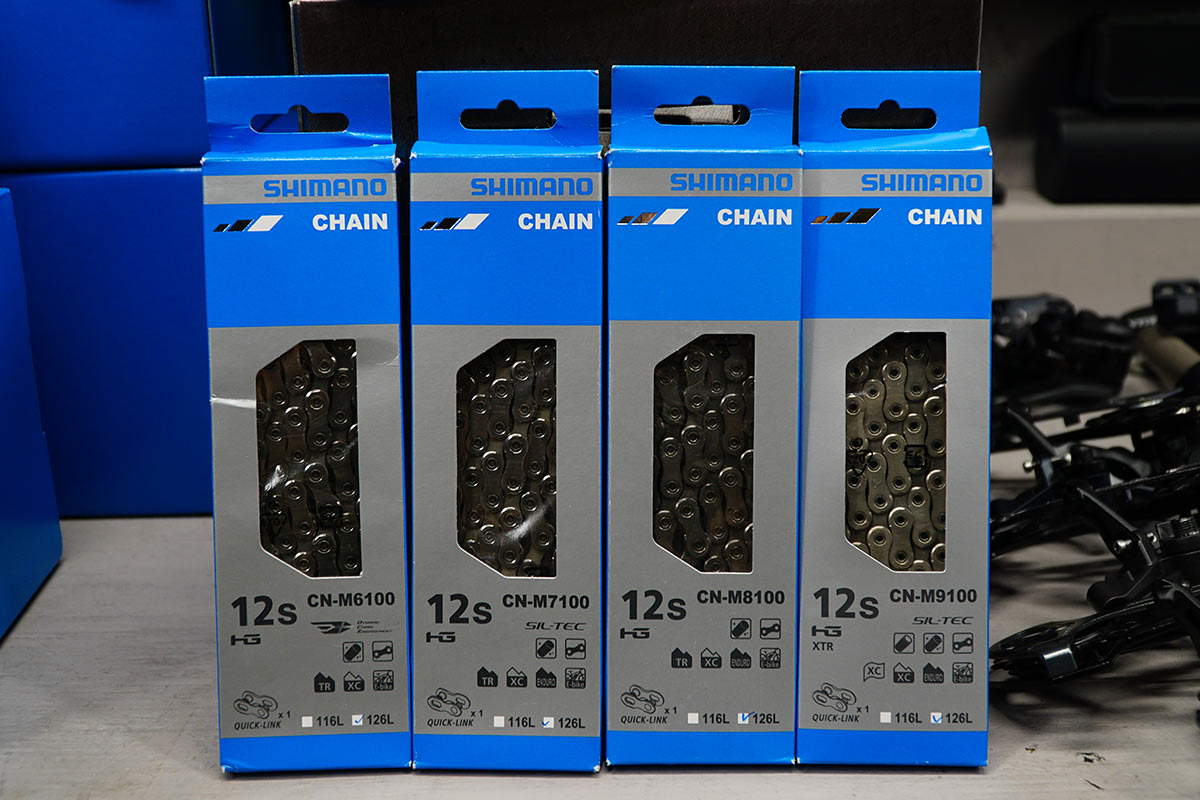
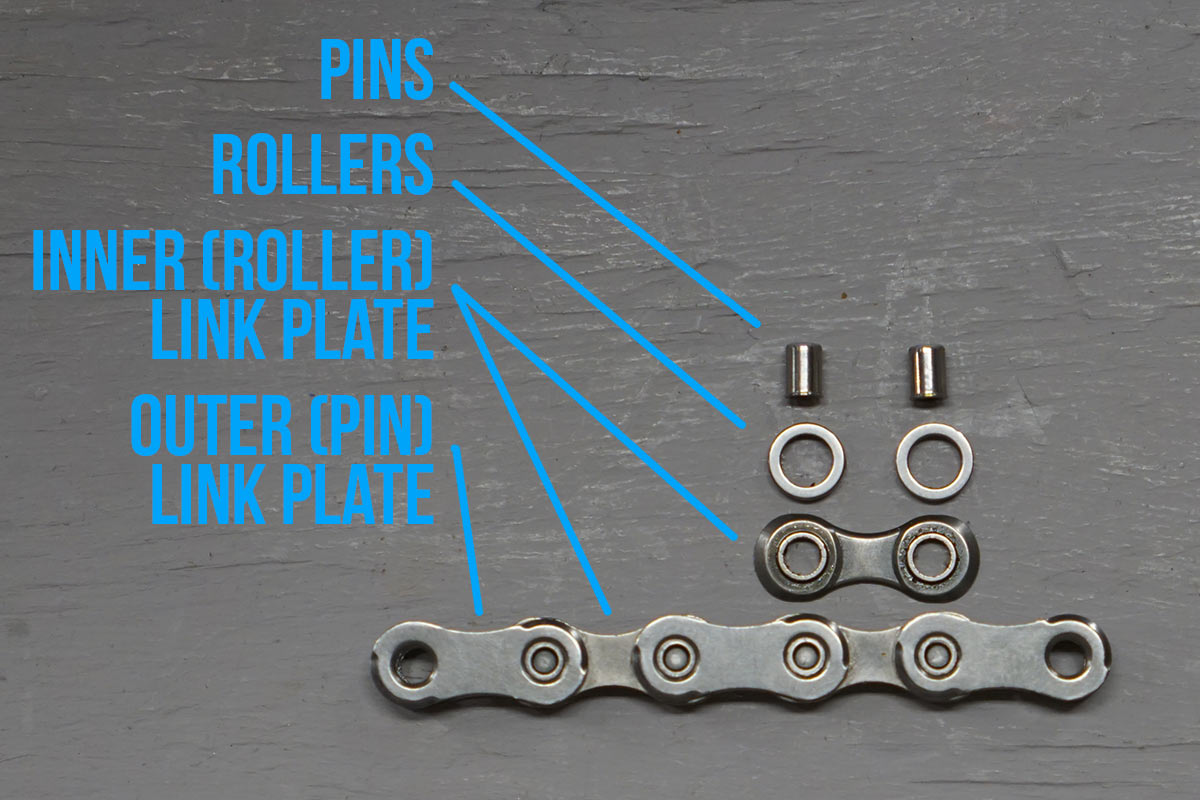
There are four parts to a chain, and surface treatments can be used differently for each piece to make a catalog of multiple price points. The chain’s pins are under the most stress so you’ll find the best surface treatment there.
Next are the inner plates, which rotate directly on the pin. Inner plates also have a bushing built into them that rides on the chain pin and gives the roller a surface to roll on. As the name implies, the roller can spin freely and allows the chain to roll onto the teeth of the gears.
The outer plates have the pins pressed into them so there is no movement between these pieces. However, the inner and outer plates do slide against each other as the chain articulates to wrap around a gear. Wear between the inner and outer plates doesn’t contribute to chain stretch, but it does affect shifting performance.
These are the surface treatments used by Shimano:
Chromizing – A process that’s been used on chain pins for years is now making its way to some inner plates. Chromizing makes the material tougher and helps it stand up to the friction in the chain. The pin is under the most stress, which is why we’ve used this surface treatment there traditionally. The inner plate rotates on the pin, so that was the next most important part to get this treatment.
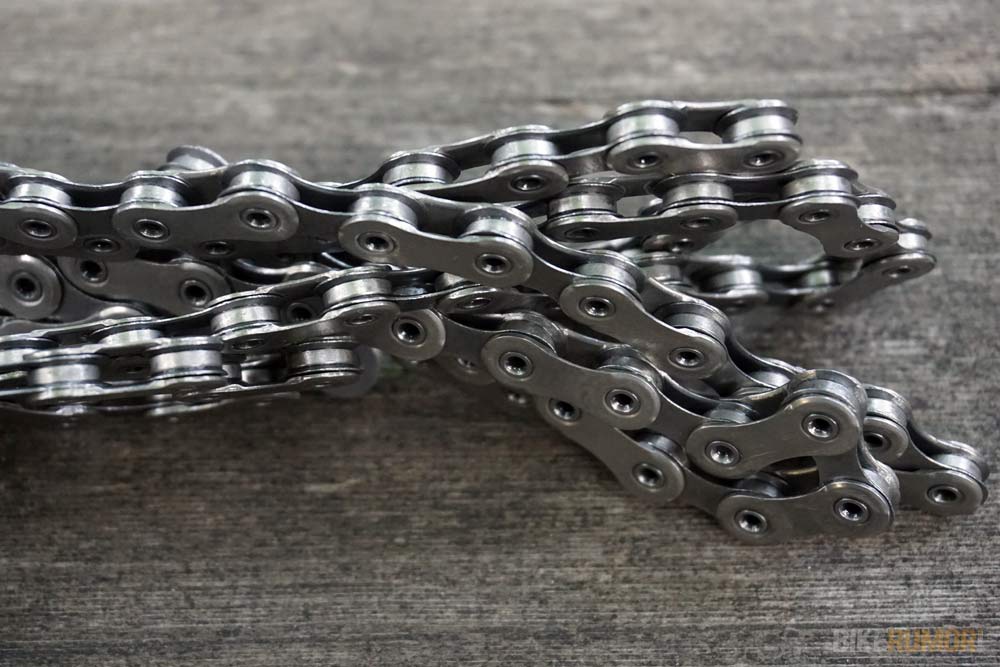
SIL-TEC – This surface treatment is a special nickel plating where the nickel has first been infused with fluorine molecules. It makes the surface quite tough, but not as tough as chromizing. It also reduces friction because of the embedded fluorine. Because the fluorine is in the nickel plating, it is very durable and can last the entire life of the chain.
Other surface treatments are more cosmetic, adding corrosion resistance and a bit of color.
Rotor: We sell only KMC X12 chains; constituent parts include rollers, pins, & inner & outer plates.
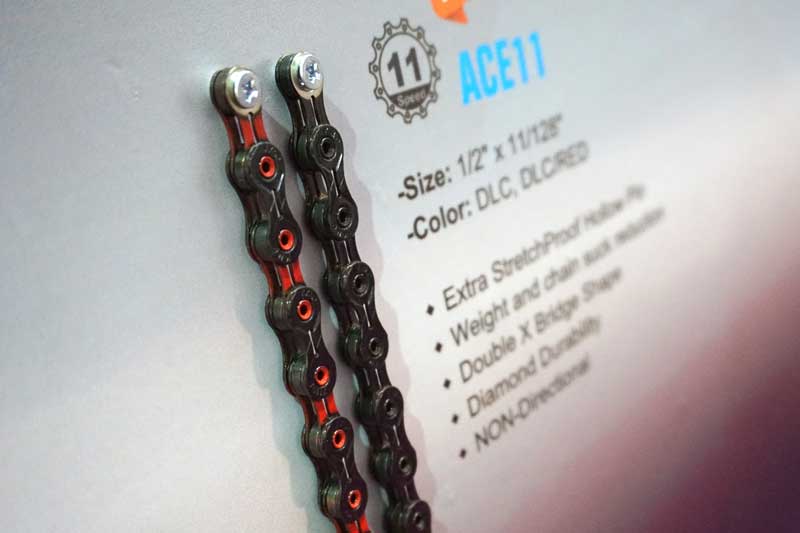
Is a 9 speed chain stronger than an 11 or 12 speed chain? Which would tolerate the most torque before snapping?
Shimano: Our chains are designed and manufactured to withstand the hardest efforts and highest torque riders of any level could produce. Consider that the very best cyclists in the world are producing over 2000+ watts in an effort and their chains hold up to these forces as long as the chain is installed correctly and in good shape.
Rotor: Chain strength is determined by design & materials used. The ISO governs minimum breaking strength of bicycle chains, regardless of speed or intended usage. Beyond that, we will let our friends that manufacture chains speak to potential for breakages.
How can I keep my derailleur jockey wheels running smooth throughout winter?
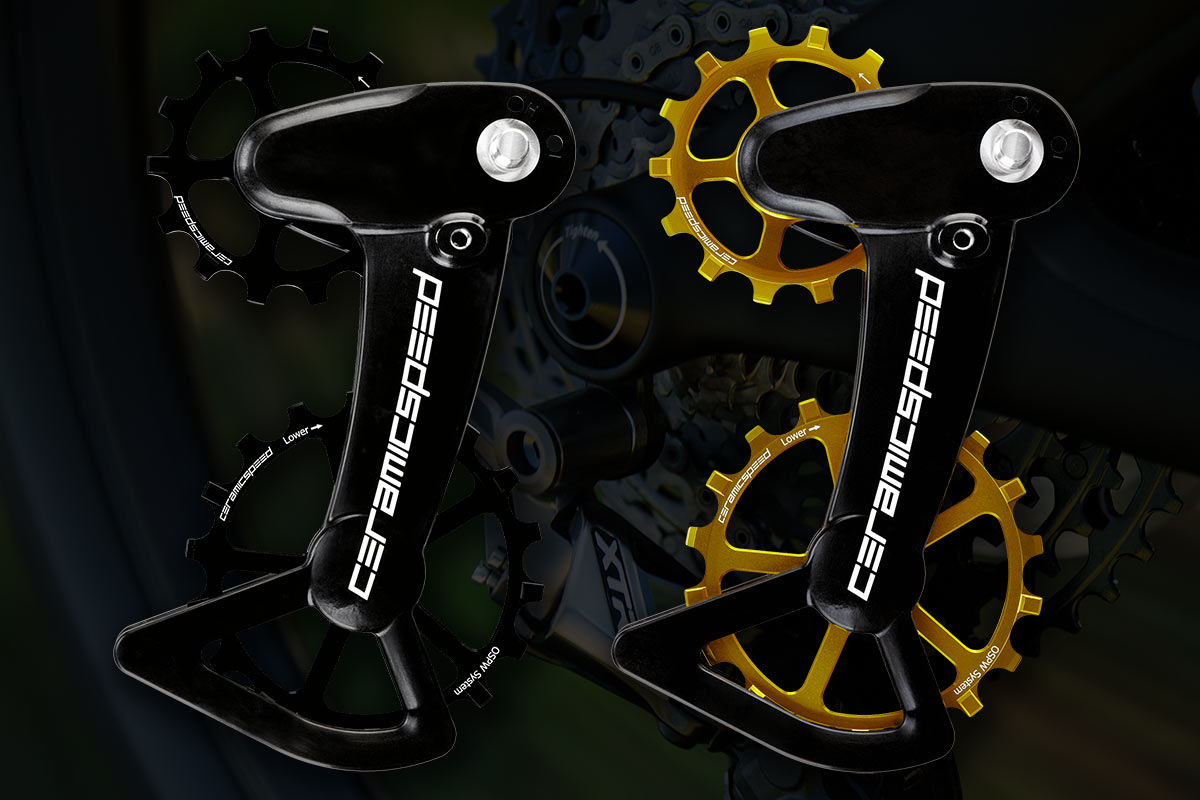
Shimano: Keeping a chain happy involves cleaning and re-lubricating. This improves the shifting quality and longevity of your drivetrain and jockey wheels are no exception. Clean off the old muck that tends to build up from both the trail and from over-lubricating the chain, and apply a few drops to either the bushings or bearings (depending on what your jockey wheels spin on). This ensures smooth operation under most any conditions.
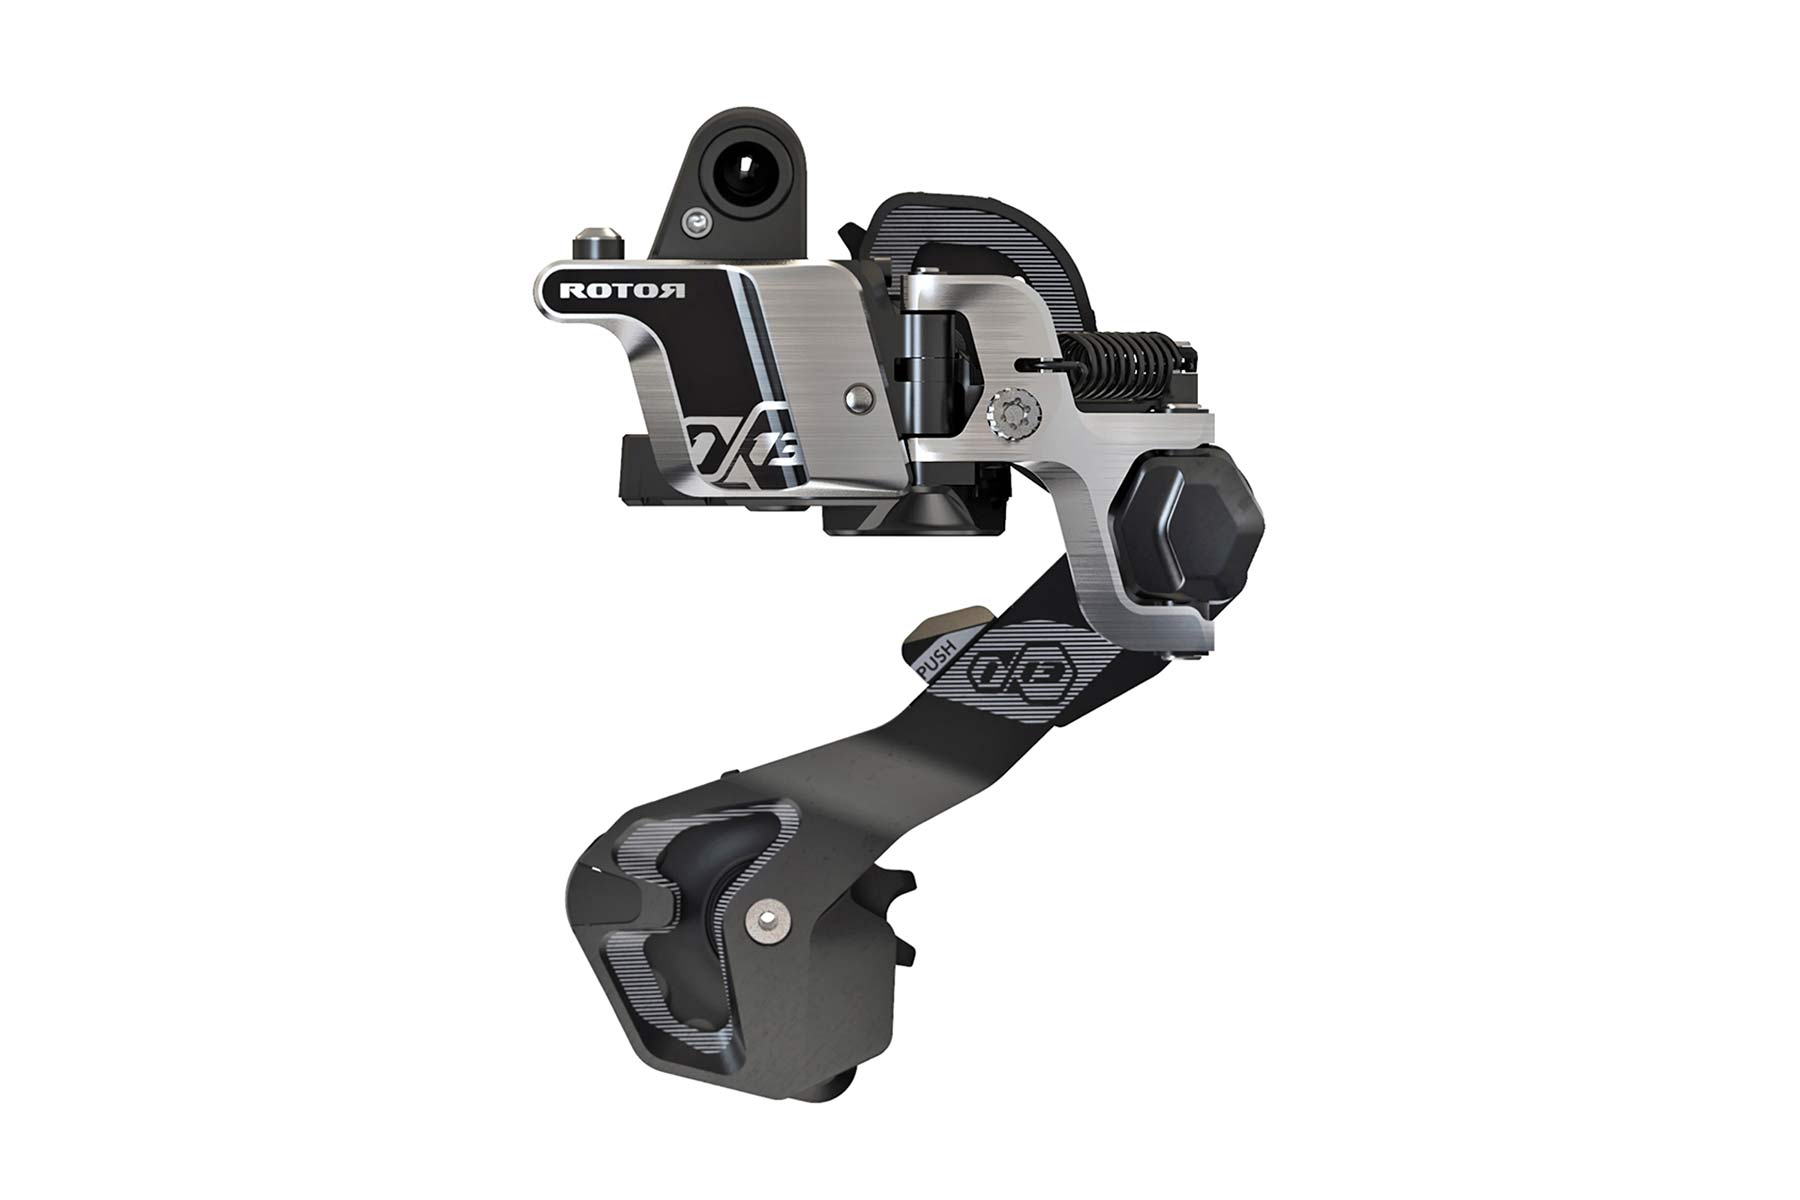
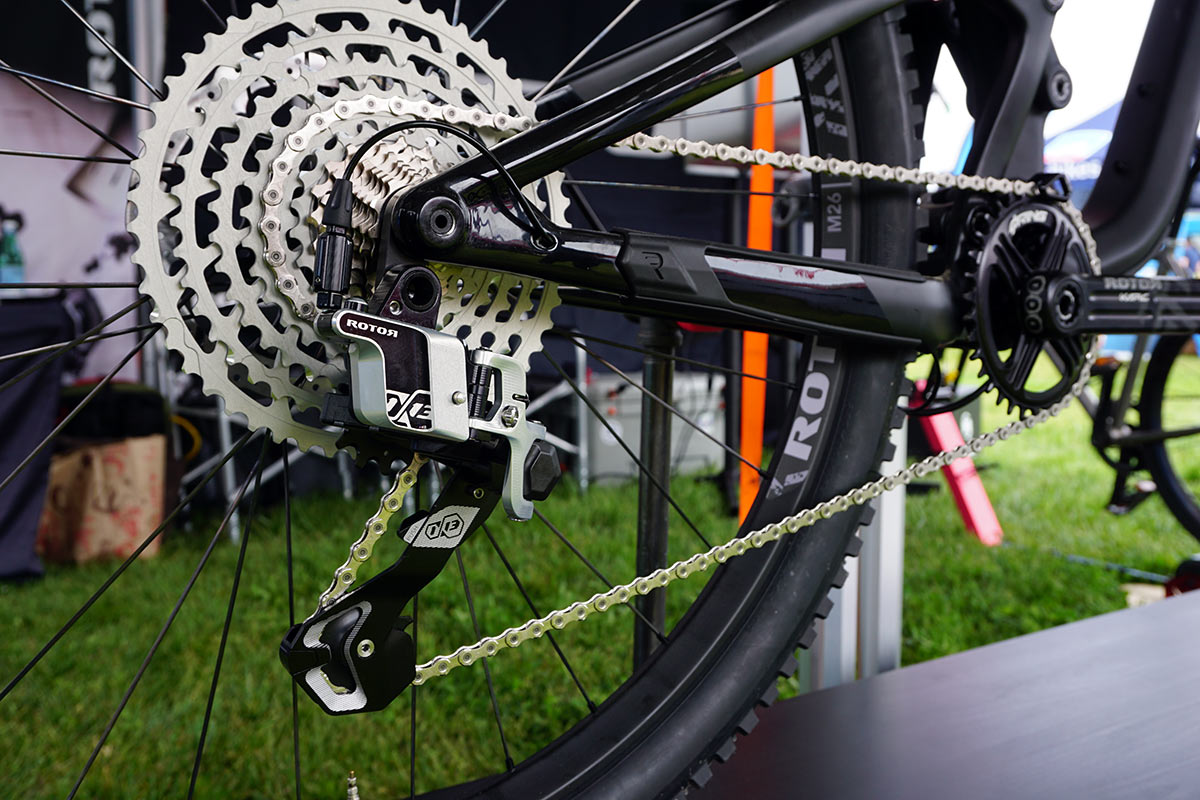
Rotor: Our 1×13 pulleys spin on cartridge bearings. We do suggest cleaning and lubing the bearings every few months depending on ride time and conditions. Higher mileage and wet or excessively dirty conditions will necessitate more frequent cleaning and lubrication of the pulleys.
What’s the easiest way to clean my cassette thoroughly without removing it from the hub?
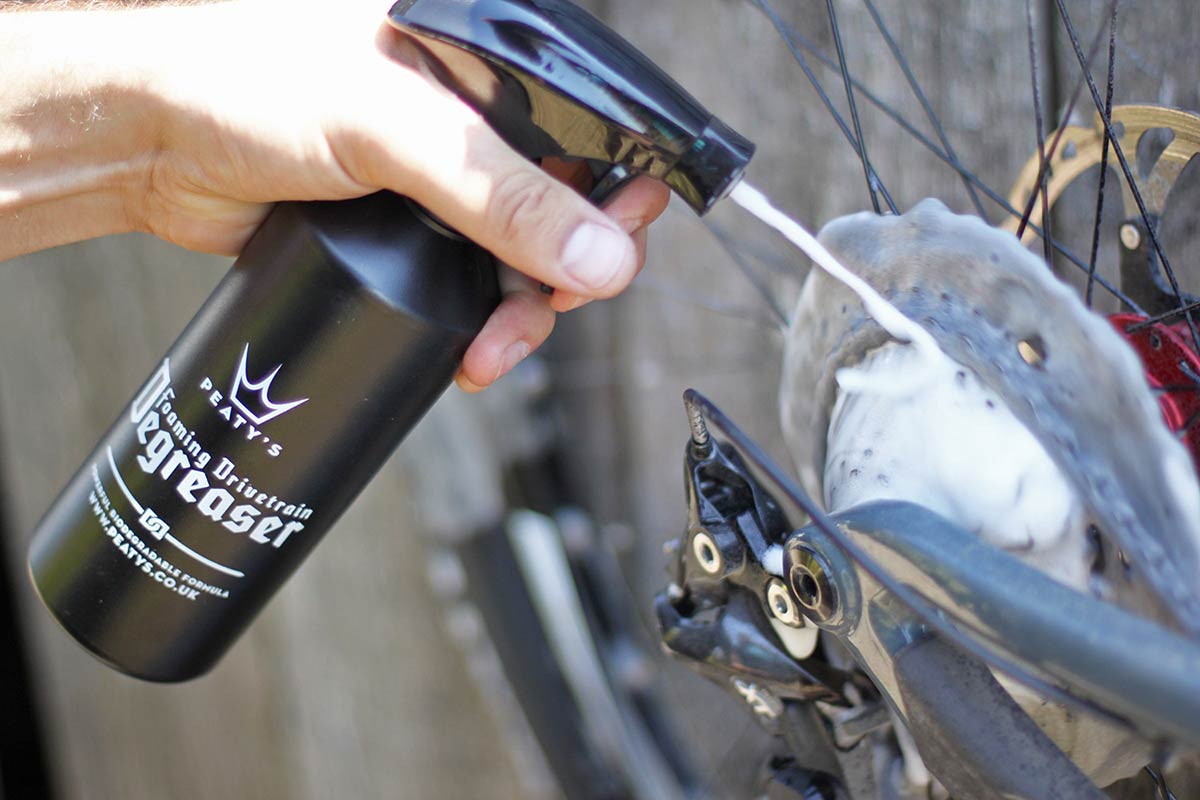
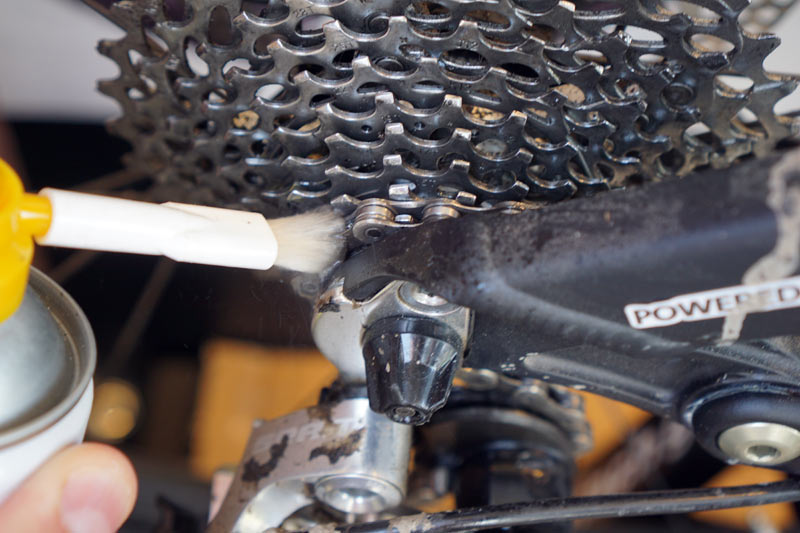
Shimano: The easiest way can also be the messiest way, so prepare both your area (not on a white rug/carpet) as well as your cleaning supplies ahead of time. I typically use a bio or citrus degreaser and a paintbrush or a coarse Tampico bristle brush to “paint” the degreaser onto the cassette while either “pedaling the cassette” backwards, or simply turning the wheel rearwards by hand to help the cassette to spin.
This helps you brush the cassette evenly. Depending on how dirty or caked the cassette might be, you might want to let it sit for a minute and then spray it off (taking care to not spray towards the brake rotor). Once rinsed, repeat the “painting” procedure to coat the cassette carefully. Once painted, using a coarse brush (i.e. old toothbrush) brush the individual cogs in a sort of swirling motion to help remove any additional deposits of old lubricant.
From there, give it a little spray (ensuring you don’t spray the brake rotor) to rinse off all the muck. You’ll typically see oil and muck splattered on the wheel and tire surface, so use a soapy sponge or wash cloth to wash it all off, or consider using the degreaser brush (taking care as some degreasers are known to remove anodizing) to clean the surfaces.
If you’ve dirtied the brake rotor, which can happen, use a clean lint-free towel and isopropyl alcohol to wipe the surface of the rotor clean.
Rotor: For really getting into the crevices of your cassette while not taking it all the way apart from the wheel, our mechanics recommend a piece of rope or string that’s approximately the same diameter as the spaces between cassette cogs and essentially flossing your cassette.
Using that in conjunction with various brushes and your preferred non-caustic solvent; anything from Simple Green, isopropyl alcohol, to an actual degreaser, will get your cassette sparkly clean.
Thanks to Lori Barrett from Rotor Bike and Sam Elenes, the Shimano multi-service Tech Lead, for contributing to this week’s AASQ. Got a question of your own? Click here to use the AASQ form to submit questions on any cycling-related topic of your choice, and we’ll get the experts to answer them for you!

