We know, there’s no such thing as a stupid question. But there are some questions you might not want to ask your local shop or riding buddies. AASQ is our weekly series where we get to the bottom of your questions – serious or otherwise. This time it’s all about mountain bike lights for night riding! Hit the link at the bottom of the post to submit your own question.
It’s that time of year again! In the Northern Hemisphere, if you’ve aspirations of getting out on mid-week rides after work, you’re going to need to invest in a decent set of mountain bike lights.
The question is, which ones do you get? Do you need a helmet mounted lighted as well as one on the handlebar? How many lumens are sufficient? What beam shape is optimal for singletrack? And, what’s the best lighting setup for solving that loss of depth perception you get while night riding?
To shed some light on the latter, we sent these questions and more to the experts at Exposure Lights, Light & Motion, Lumicycle, Lupine and NiteRider. Those guys knocked it out of the park, so much so that we have decided to split this week’s Ask A Stupid Question into two parts.
This week, we’re covering the topics of beam shape, beam color and depth perception. All important factors to consider when purchasing your next set of mountain bike lights for night riding!
Q&A: Mountain Bike Lights for Night Riding
Does anyone offer directional beam lighting solutions for mountain bike night riding? I find the stadium-style lights show me far more of my surroundings than I need to see. I just need to see what’s in front of me, rather than the surrounding trees and shadows they produce – they are merely a distraction. Does anyone offer lights you can tune the beam shape of, for example?
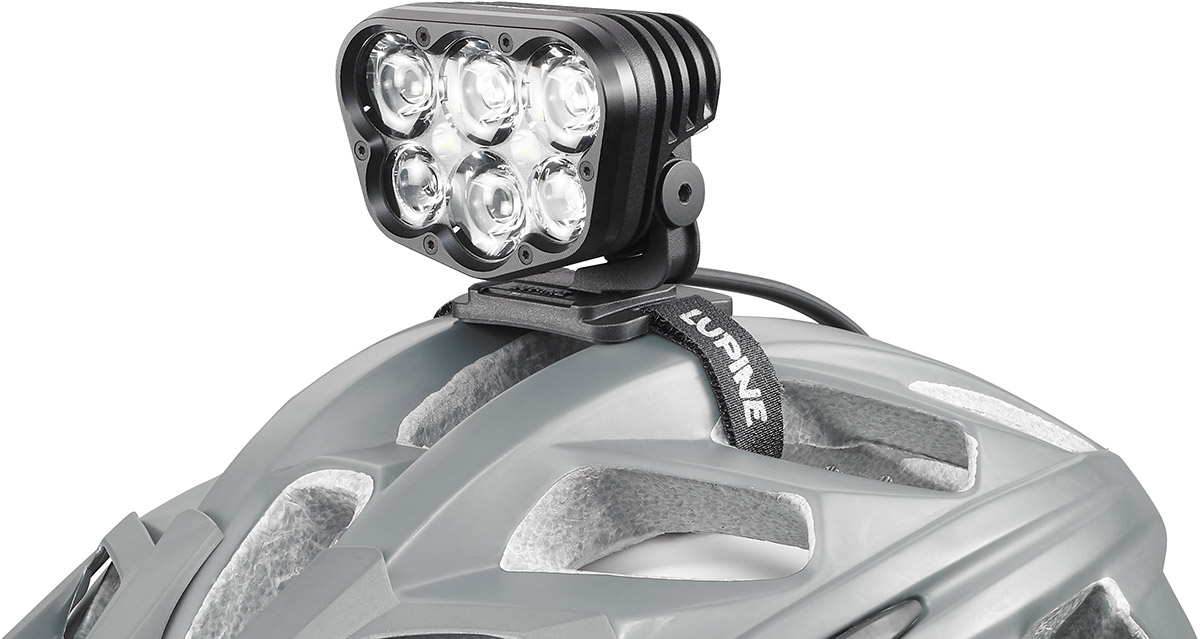
Exposure Lights: At Exposure we have various ways to ensure that the rider has the right beam pattern and lumen output. Four main bar lights with different beam patterns and lumen outputs, Six Pack, Maxx D, Toro and Race all feature REFLEX technology so that the light automatically adjusts to the rider’s speeds. So, at a slower pace the rider will see the detail of the trail in front of them and not surrounding details.
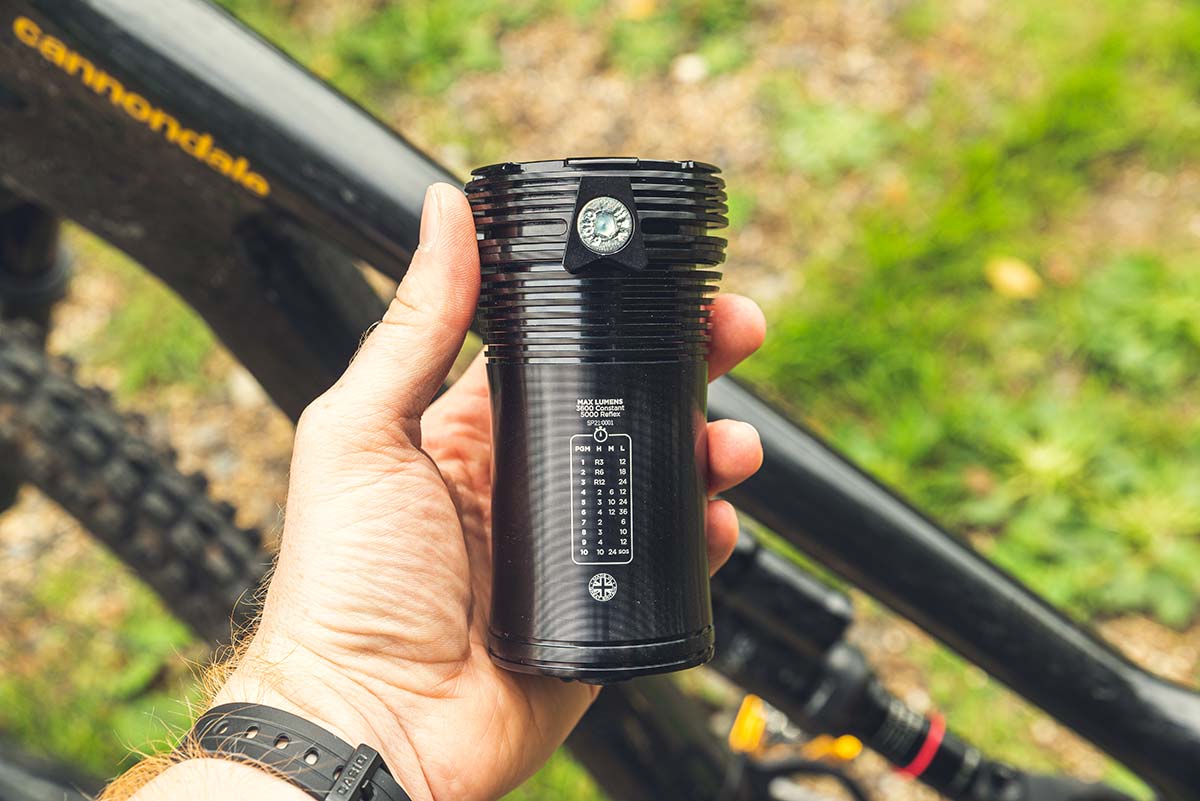
For the helmet lights Exposure has TAP technology on three models. Zenith and Diablo have wider beam patterns (2000 and 1800 lumen output, respectively). The Axis (1250 Lumens) has a tighter beam pattern. TAP Technology simply means that the rider taps the light or helmet to go through the modes.
With all of these lights the lumens and beam patterns are adjusted automatically or on the move to suit the speed and terrain the rider is on at that time. It saves on power and output for when it is really needed.
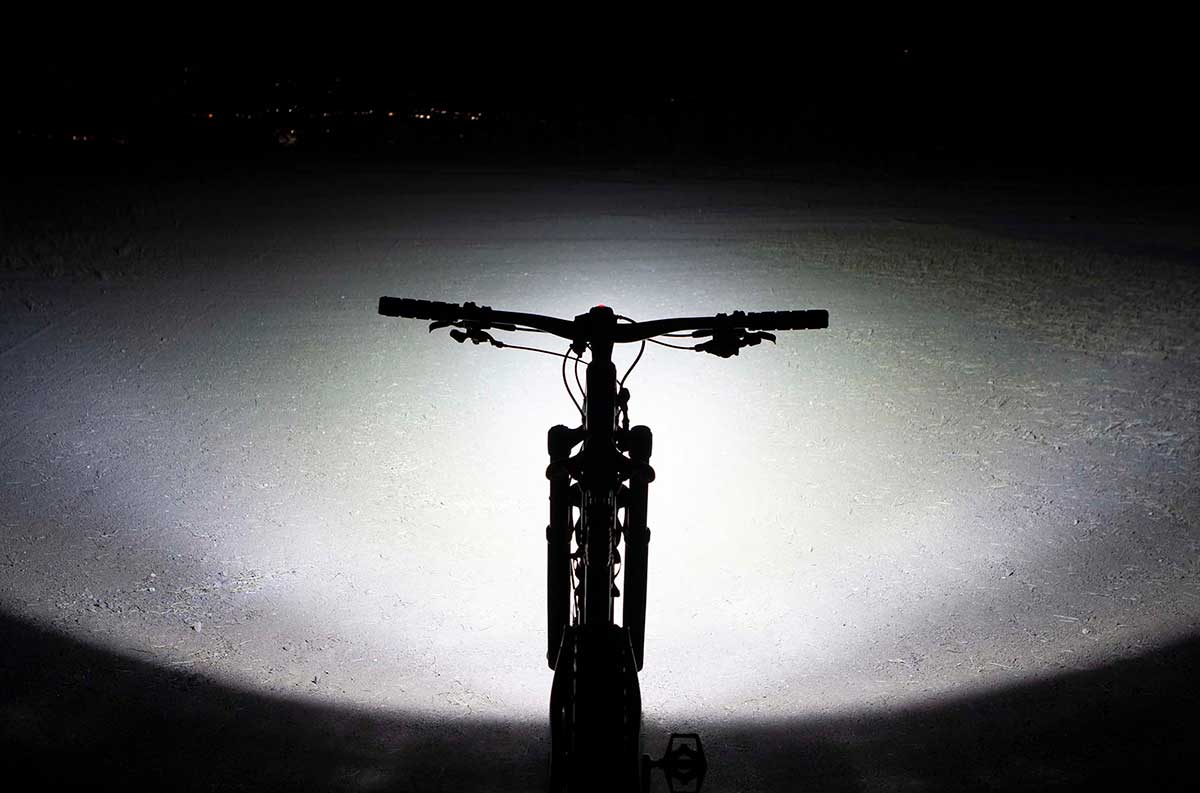
Light & Motion: No one offers a tuneable light system. We solved this issue with our Enhanced Trail Sight (ETS) beam pattern, which combines a flood of light low, lighting up from the front tire forward and out to the sides to illuminate entrance into corners, partnered with powerful spot beams up high to illuminate far down the trail so you can easily anticipate upcoming terrain. The result is a very natural, like-daylight riding experience.
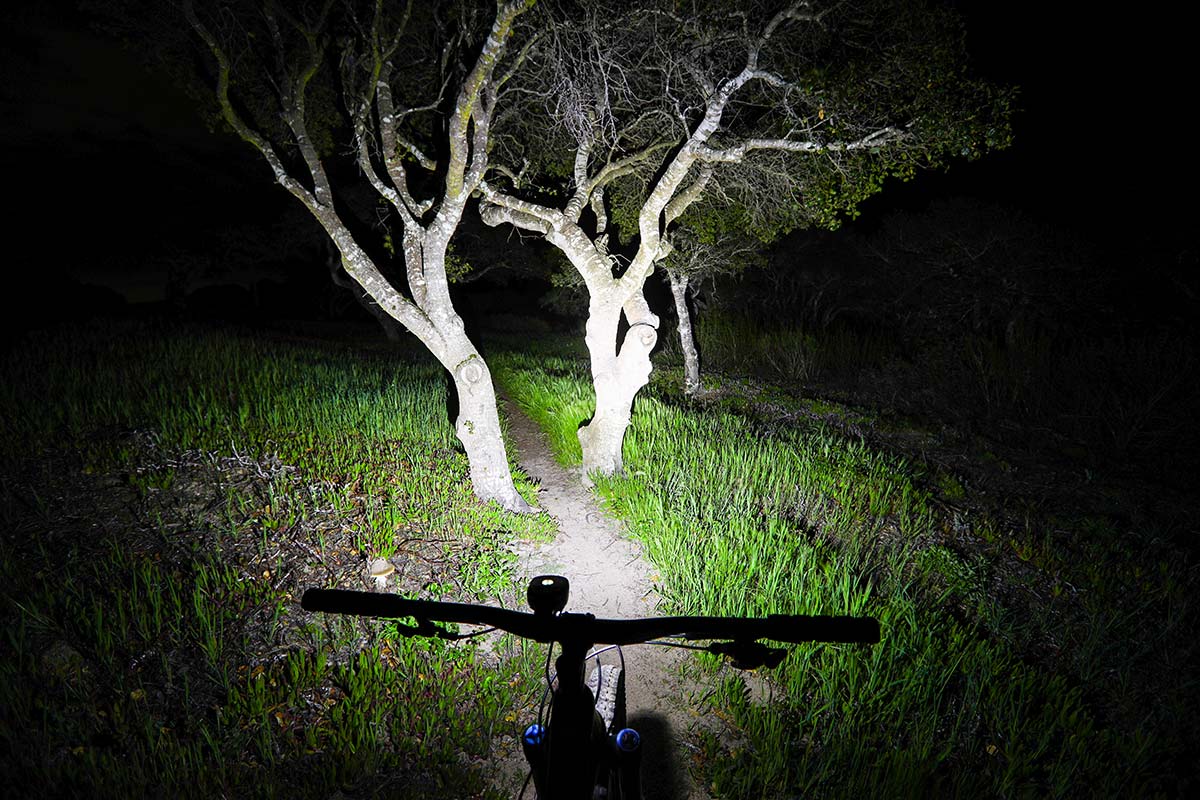
Riders often think they want a snowball of light down the trail and there are companies that deliver a very powerful beam that punches deep like the well designed Lupine lights, but in our experience these powerful lights are not the best solution for effective trail riding as your eyes adjust to the bright light which means you only can see the snowball.
Lumicycle: If we assume the question is targeted at dedicated mountain bike lights, as opposed to torches (some of which do have a “zoom” feature built in), the answer is “not that we are aware of”.
And, once again, it comes down to the light performance. If the light has a wide beam, but relatively low power, you will not get the penetration in front of you that you need. Higher output lights will punch further down the trail for you, but generally these do have a wider beam side to side as well. Certainly from our experience, this is much more beneficial when riding down twisty trails. So it could be that your current light isn’t powerful enough to achieve what you need.
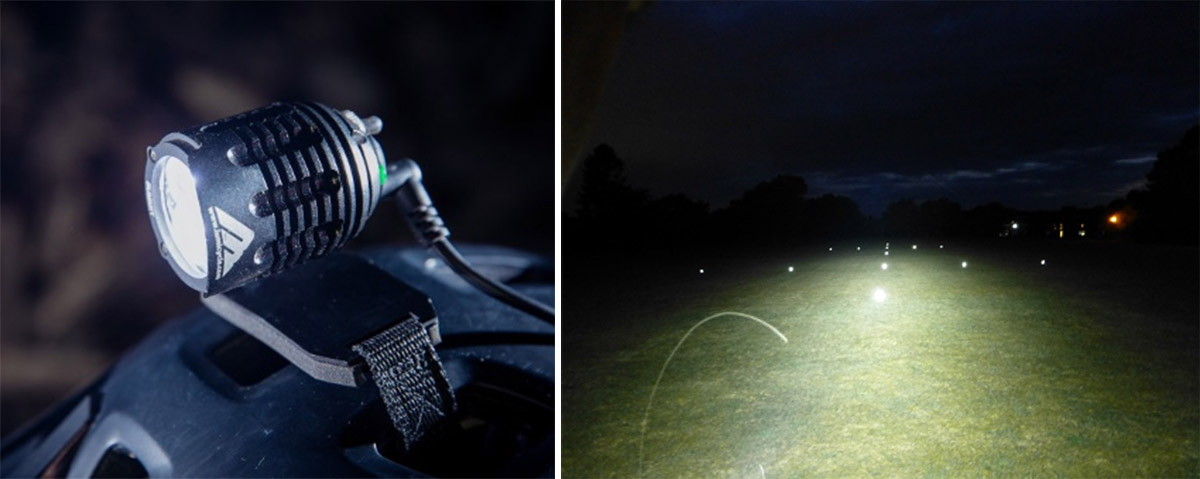
In your particular case we would be recommending a two light set up – a bar mount and a helmet mount, with different optics fitted to each. Wide beam on the bars, tighter narrow beam on the helmet. This way you benefit from the “in fill” from the bar light, and can pick out longer range detail from the helmet mount. Of course you could just opt for the spot beam on the helmet alone, but you may find that this is a bit limited depending on the speed you ride.
Lupine: In the past we offered different radiation angles. In practice, it has been shown that a smooth transition from close-up to spot is the best solution. Our Alpha, for example, has different lenses and LEDs to create a soft illumination directly in front of the bike, while at the same time providing enough range to allow for fast rides.
Nite Rider: Loaded question. NiteRider lights try to provide the best light possible combination, combining a spot with fill light around the spot. I cannot speak for our competitors, and again it is personal preference.
What color beam is most effective? I see most MTB lights for night riding use LEDs thus deliver a very white light. However, I do wonder whether there would there be any advantages to a warmer yellow-ish light or a blue light?
Exposure Lights: At exposure lights we are all riders which means we have done masses of research and testing and then even more testing on the bike. LEDs can be specified to be a variety of temperatures; most that are produced are between 2700 – 5000 Kelvin.
Exposure lights are at 6500 Kelvin which is comparable to a bright summer’s day; day light is between 5500 and 6500 Kelvin. It is a natural tone of light but whiter than winter light. We see by the reflection of the light bounced back from objects into our eyes.
If the light is yellow, more of that colored light is absorbed into the trees, ground, leaves and rocks because they are made up of that natural yellow tone. But, if the light is more white, like on a summers day, more of the light is reflected back making it easier to focus and see the detail of the trails or hazards in the way.
To ensure Exposure Lights’ LEDs stay crisp and white we have ITM (Intelligent Thermal Management) Technology which monitors the LEDs’ temperature. If the LEDs are getting too hot power is reduced to ensure that the LEDs do not get too hot, burnt and then go yellow or burn out. That is why we guarantee our LEDs for life.
Light & Motion: LED lights are traditionally produced with an output of 5600 Kelvin or higher which is like noon day sunlight. This more “blue-ish” appearing light delivers more contrast, making it easier to see shadows and trail details.
As you move to warmer – equal or less than 4000 K, yellowish – we find that it takes more light to see contrast. More contrast means you can better distinguish trail details and ride accordingly.
Lumicycle: This is a very good question, and gets to the heart of what makes a bike light “great” as opposed to “good”! It is also a very “technical” aspect of bike light design. The simple answer is yes, the overall spectrum of the LED output does provide an advantage.
In tech speak its called Color Rendering; generally, most LED component manufacturers are targeting the mass market of household and commercial lighting applications with their LED component offering. That’s is great for your home or office, but not necessarily as good when out on the trails.

Color Rendering is related to the Color Temperature or spectrum (or in LED parlance the Binning) of the LED component. These range from very yellow biased (Warm white), to blue biased (Cool White). Think candles (warm) to Arc Welding (cool).
So, basically if the light is too warm the light will be very yellow and your eyes will not pick out detail (Contrast) as well. Too cool and colors will look washed out and differences in terrain are difficult to spot.
We work very closely with the LED manufacturers we use to specify LEDs that are outside of their usual commercial product offer. We make sure that there is a high peak in both the green and yellow element of the light spectrum.
This is unnoticeable to the eye (it just looks like a crisp white light), but when riding through leafy trees for example, the green peak in the spectrum makes the plant leaves “pop” from the background, enhancing your visibility.
Lupine: Blue light is not really more effective, but it is generally perceived by the eye as brighter and keeps you awake better when night riding. Warmer light, on the other hand, is perceived by many as more pleasant and offers a slightly better view in fog and snow. A very good value for us is 5500-6000 K. But, we also offer our lamps in “warm white”.

Nite Rider: The color of the light is a consumer preference. The lumen output is the same. The white/blue-ish color tricks the eye, therefore it looks brighter.
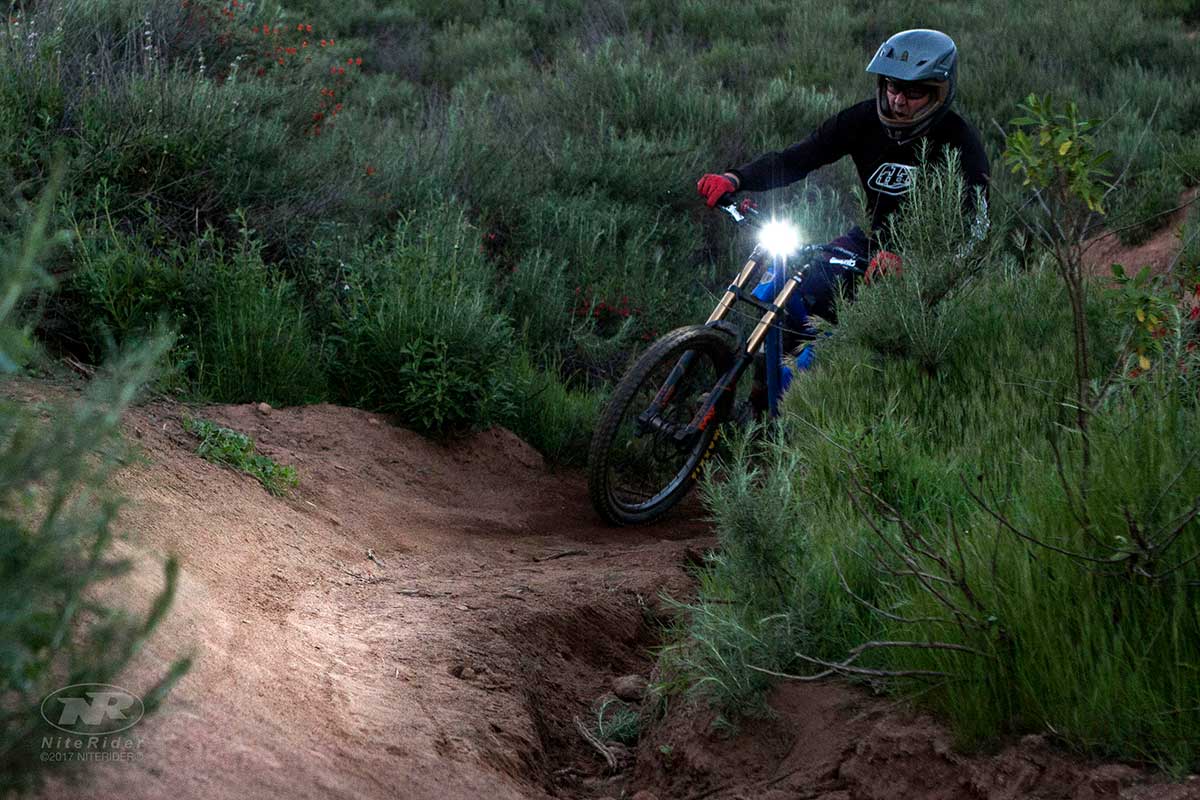
Loss of depth perception is a common issue with night riding. I seem to lose an understanding of how fast or slow I’m descending trails. What lighting set-up is best to rectify this “depth perception” problem.
Exposure Lights: Ensuring that the rider is running the correct number of lumens for the terrain, and that those Lumens are of the right colour temperature to give the right level of detail.

At Exposure lights we have REFLEX technology that ensures the rider has the right lumen output for the right speed the rider is travelling at. REFLEX does this with a combination of different types of accelerometers and thermistors constantly talking to each other to determine the level of movement and the outside temperature every micro second.
The combination of this data compiled then determines the speed the rider is traveling to give the right lumens for that time. there are no buttons to find. It is all automatic and builds a artificial intelligence of the ride. When you can see what is needed the rider’s perception of speed is at its peak.
Light & Motion: Most lights project a beam down the trail like a glowing snowball that riders are constantly chasing with no connection to what they are experiencing on the bike at the moment. This snowball of light can be disorienting as it effectively blinds the rider when they look to the sides. The narrow pattern creates the feeling that you have no depth perception as everything else is dark.
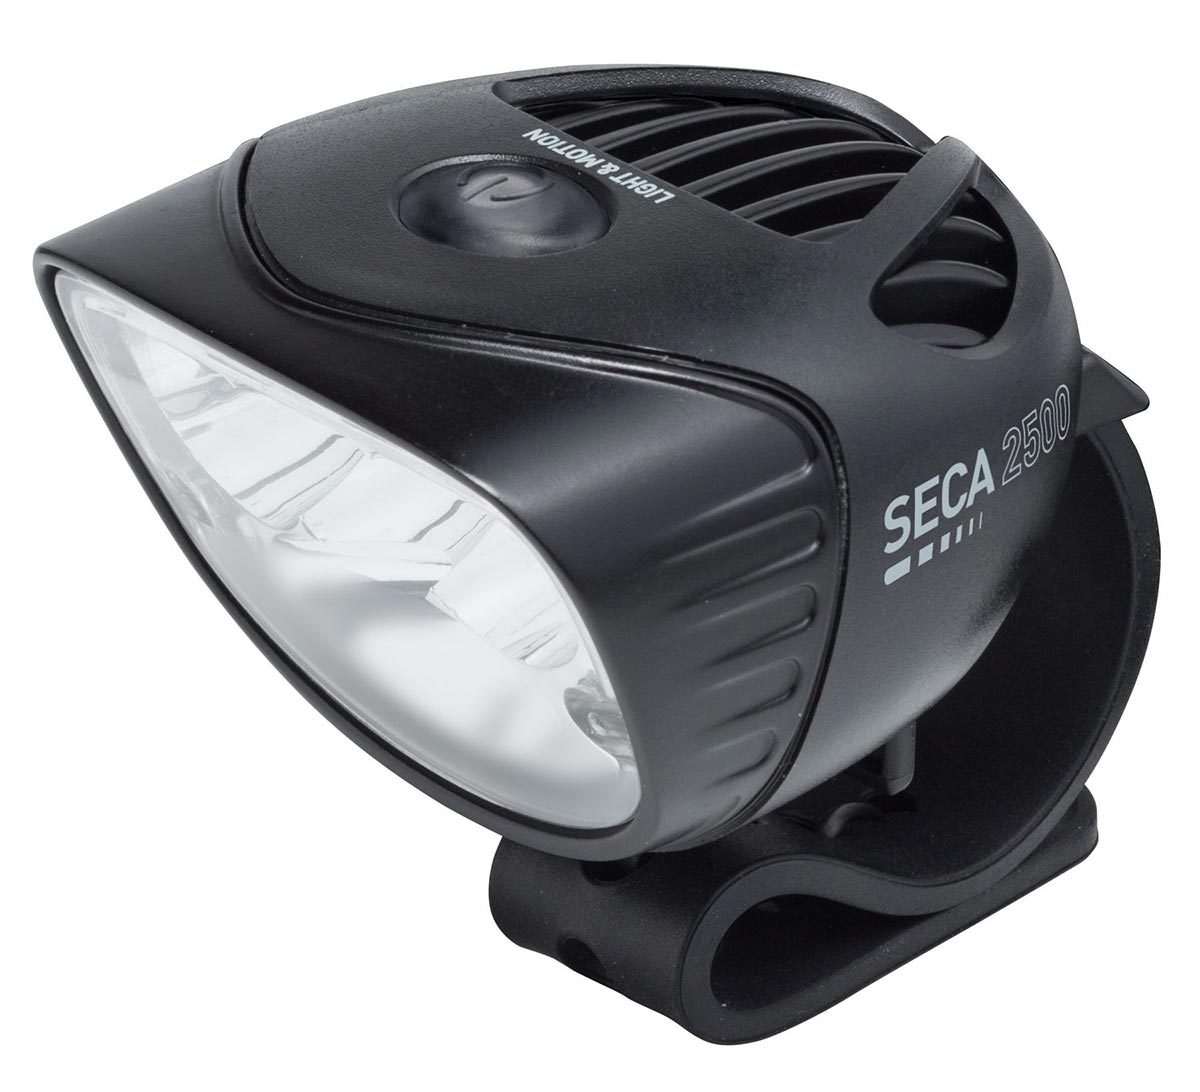
Our Enhanced Trail Sight (ETS) beam pattern in the Seca Series combines a flood of light near field, lighting from the front tire forward and out to the sides with a gradual power increase to the center of the beam driving down the trail. The gradual tapering of the beam and its wide fill provides far better depth perception by allowing you to see your surroundings and not over-driving the center beam.
Lumicycle: This is another good question, but is potentially even more technical than the previous one! Light output power is certainly a factor in this. High power lights when coupled correctly to a high performance optic will project an accurately focused beam a good distance in front, as well as to either side of you when riding. The faster you ride, or the more twisty the trail, the more power and spread is advised.
The way that the LEDs are controlled is also a contributor. LEDs are solid state components, meaning that they don’t have an “element” like traditional bulbs, so you can’t simply reduce the input voltage (as in a household dimmer) to achieve a lower output.
What you need to do is switch the LED on and off very quickly (at least faster than the human eye can react to – read up on Flicker Fusion Threshold for more details!). This “frequency” of switching when compensated for by your eye generates the overall “brightness” of the light as you perceive it.
Low cost light circuits just use this on/off sequence to control the LED, generally these are fairly low frequency. What can happen is that the vibration of the handlebars when riding can “shake” the light and this can interact with the switching frequency to generate almost a “strobe” effect (as in a 70s disco!). Then, as you ride into the trail this can manifest itself as a strange effect, which could impact depth perception.
At the heart of our driver boards is a high power ARM core processor. This has extremely high switching frequencies for the lower level LED control (digital control) and then reverts to current drive (analogue control) at higher outputs that dramatically reduce the strobe effect impact.
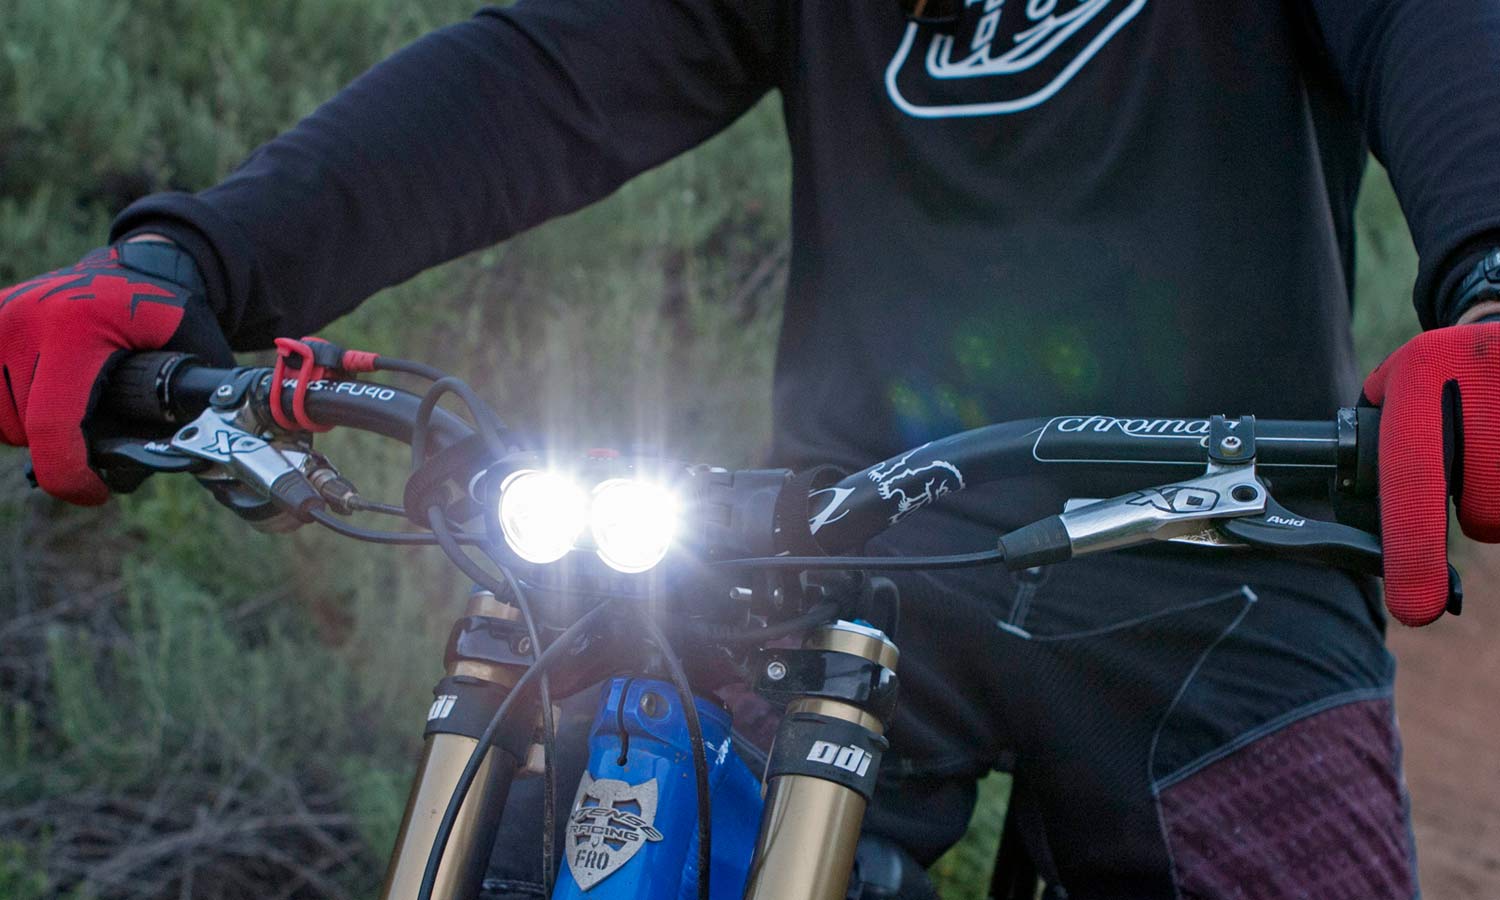
Lupine: Depth of perception varies according to the angle at which the light falls on the ground. If you want to reduce this problem you should ride with one lamp on the handlebars and (ideally) with an additional one on the helmet, which should be a little weaker than the lamp on the handlebars.
Nite Rider: Tricky question. Depth perception is actually not lost. It is a combination of light position and night blindness. The farther away your eyes are from the light source, and the lowest power setting that you feel comfortable using will enhance your night vision, thus enhance your depth perception.
Got a question of your own? Click here to use the AASQ form to submit questions on any cycling-related topic of your choice, and we’ll get the experts to answer them for you!

