Welcome to the Bikerumor First Aid Series, where we explore common cycling injuries and what to do if you or your riding partner wreck. In this installment, we look communication options for when you’re exploring outside of cell phone range. Followup stories will provide in depth solutions to help you get back on the road, recommended first aid equipment to carry with you, and more. If you have specific questions, leave them in the comments and we’ll answer those in future articles.
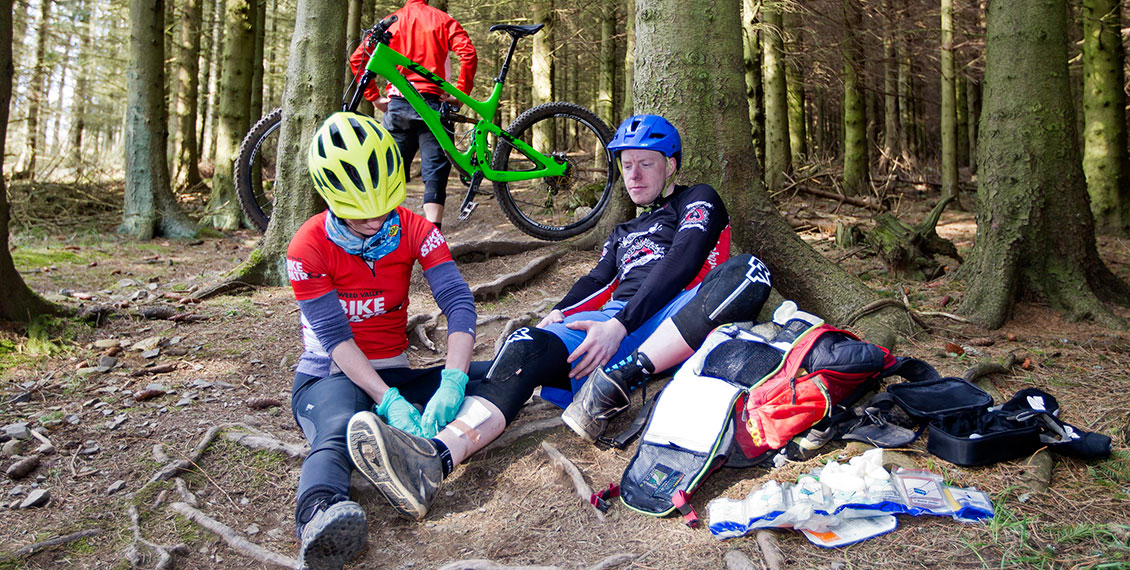
In a previous installment of our First Aid Series, we outlined the five most common mountain bike crash injuries. Absent from the list was a category of less severe boo-boos, albeit no less painful. It’s nearly impossible to escape a hard dismount without a few cuts and scrapes. This week we cover the basics of trailside treatment and how to tend to a wound as it heals.
Trailside treatment
Abrasions are described as layers of skin scrapped away by aggressive force. When they occur on the pavement, the layers of skin are often removed somewhat evenly with the deepest part of the injury at the center. Given the surfaces on which mountain bike crashes occur, the injury pattern often includes additional cuts, skin tears, and enough embedded dirt to plant a potato.
The first order of business is to assess the damage to ensure the injury is only skin deep. Most abrasions are shallow and result in nominal bleeding with some bruising and swelling. Some bleeding is to be expected and can help expel dirt and particulates. Assuming no action is needed to stop or slow the bleeding, the next step is to clean the wound. It’s tempting to postpone the unpleasantries and ride back to the trailhead, but the longer you wait, the worse it’s going to be. If you have the means to clean the wound on the scene, that is best.
There are differing opinions on how aggressively an abrasion should be scrubbed. In the Adventure Medical Kits first aid book, A Comprehensive Guide to Wilderness and Travel Medicine, they suggest scrubbing vigorously with a surgical brush or cleansing pad. Other first-response experts recommend less invasive cleaning by rinsing the area with clean water and lightly dabbing it with a sterile gauze pad. Be careful with your dabbing as it can drive dirt into the wound. Regardless of the method you use, the end result must be a scrape which is free of dirt, debris, or detached tissue.
It may be necessary to irrigate deeper cuts with clean water. A zip-lock bag makes for an effective tool to flush cuts. Fill it with clean water and poke a small hole in the corner. Squeeze it to shoot water into the wound. Tweezers are helpful when removing small rocks or other pieces of non-human. Touching any fresh abrasion hurts worse than teenage heartbreak, but your efforts to clean the wound should not cause additional tissue damage. Expect to see additional bleeding.
With the area sufficiently clean, or as clean as you can get it on the trail, add a thin layer of Neosporin or other triple-antibiotic cream. Never use peroxide as it causes more tissue damage. Add a sterile pad and secure it loosely in place with tape.
Follow Up
When you get back to your car or house, remove your field dressing and assess the cleanliness and severity of the injury. If the wound is deep enough you see blobs of fatty tissue, or if it continues to bleed excessively, go see your doctor. If you still see dirt missed during the initial cleaning you will have to clean the area again. If covered in dried blood, soak the area in warm water before cleaning. Some leading sports physicians recommend taking ibuprofen to mitigate pain and swelling.
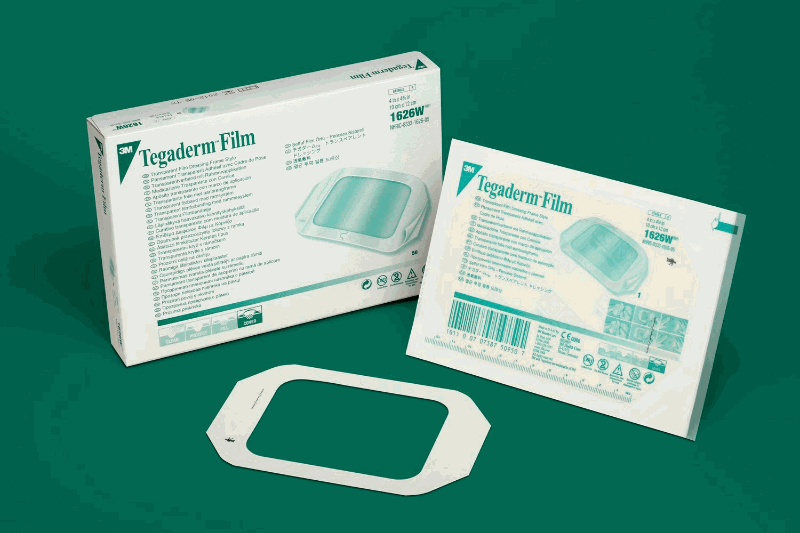
There are a number of products on the market to help protect your injury while it mends. Tegaderm and DuoDERM are high-tech dressings designed to allow your injury to breath and thus heal faster. The dressing you use will determine how frequently it should be changed. A traditional gauze pad must be replaced daily. Tegaderm can last for 36-48 hours in some cases, and DuoDERM can last twice as long. Most people will want to inspect their fresh injury more regularly. If your gauze pad sticks to the wound, soak it in warm water for a few minutes.
During dressing changes, look for telltale signs of infection. Puss, swelling, excessive redness and red streaking adjacent to the wound are all signs of infection. Fever is a giveaway as is increased pain and tenderness around the area.
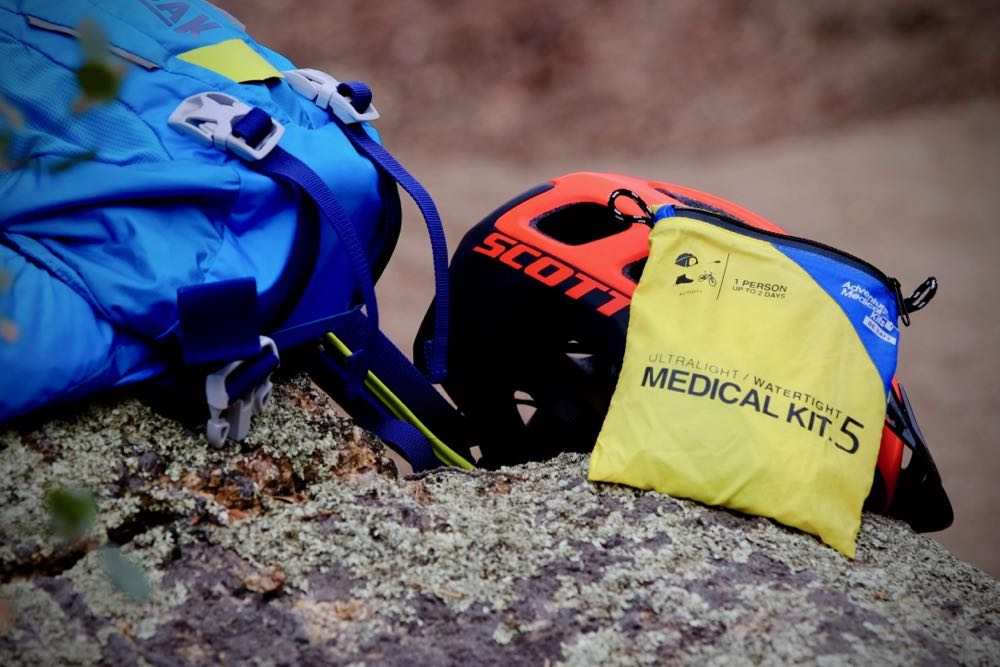
In a coming installment, we will take a look at pre-assembled first aid kits and small systems you can build at home. And one last thing—while I’m not a doctor, I would prescribe two shots of whiskey before hopping in the shower with your fresh trail rash.