
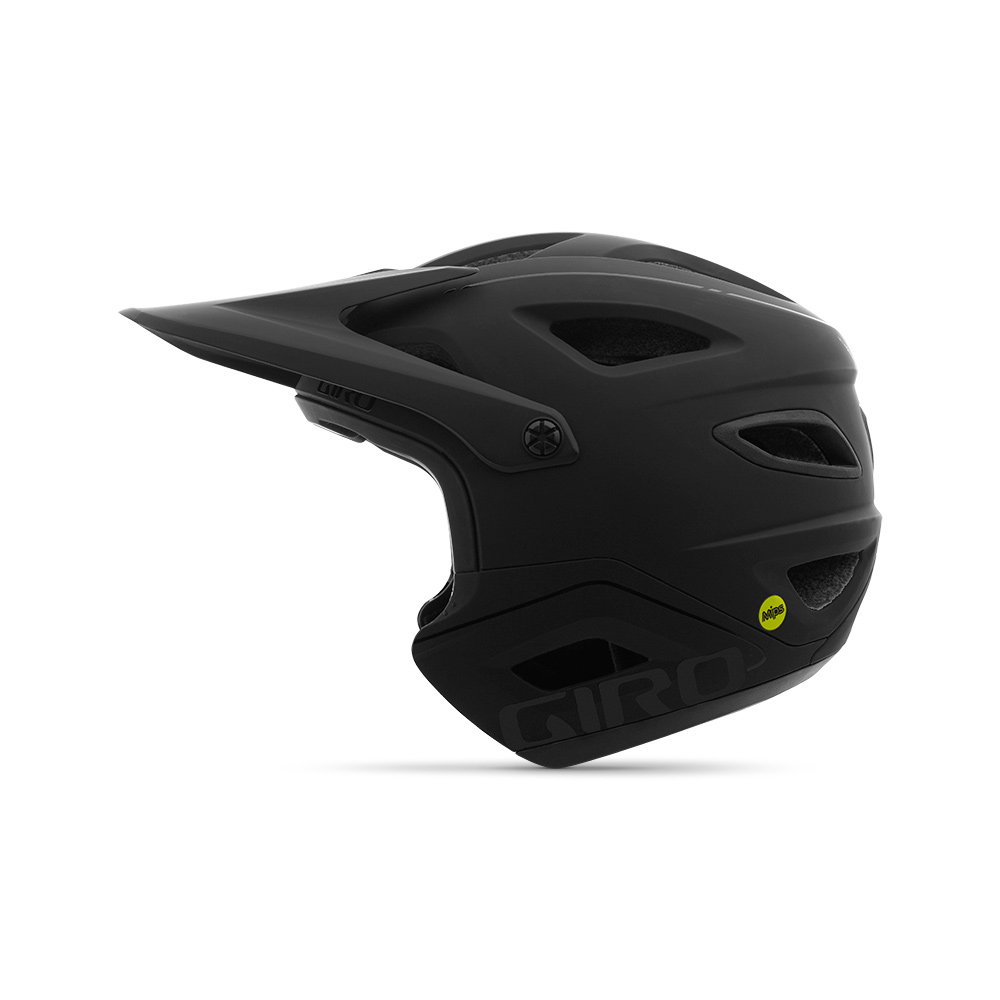
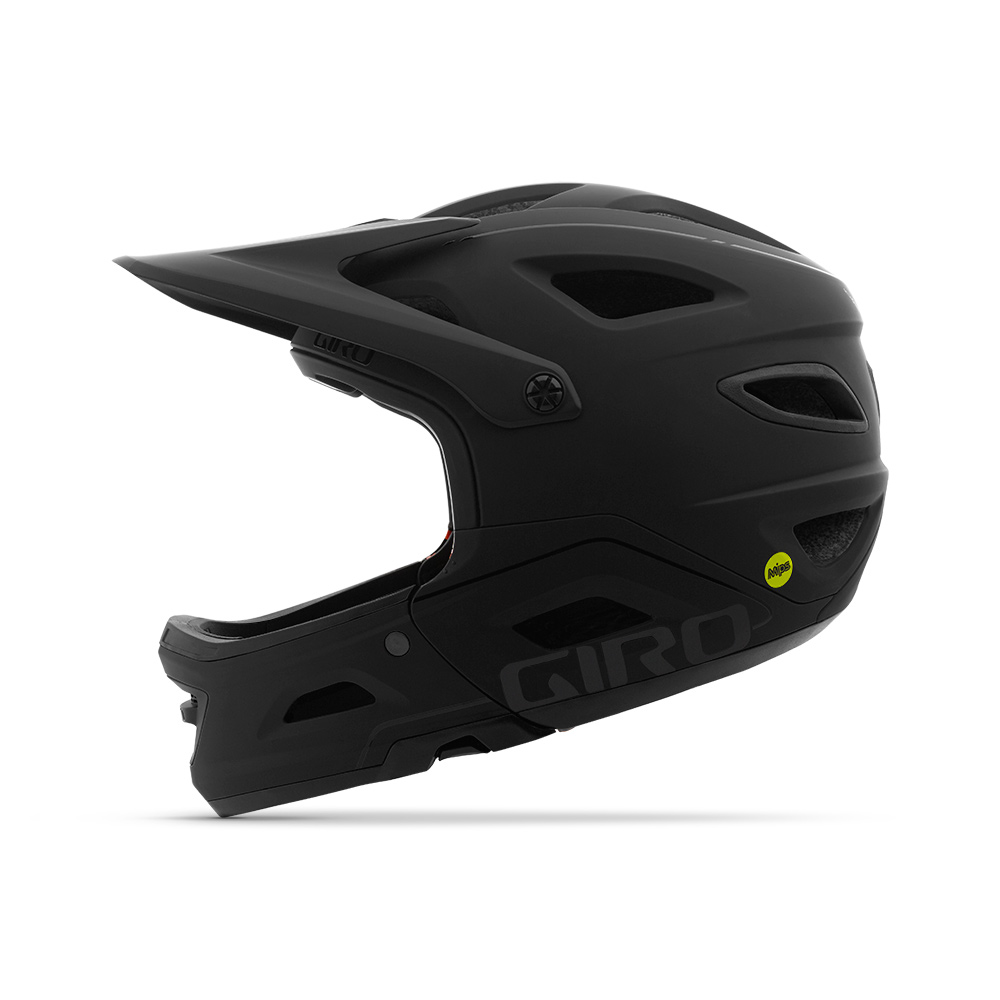
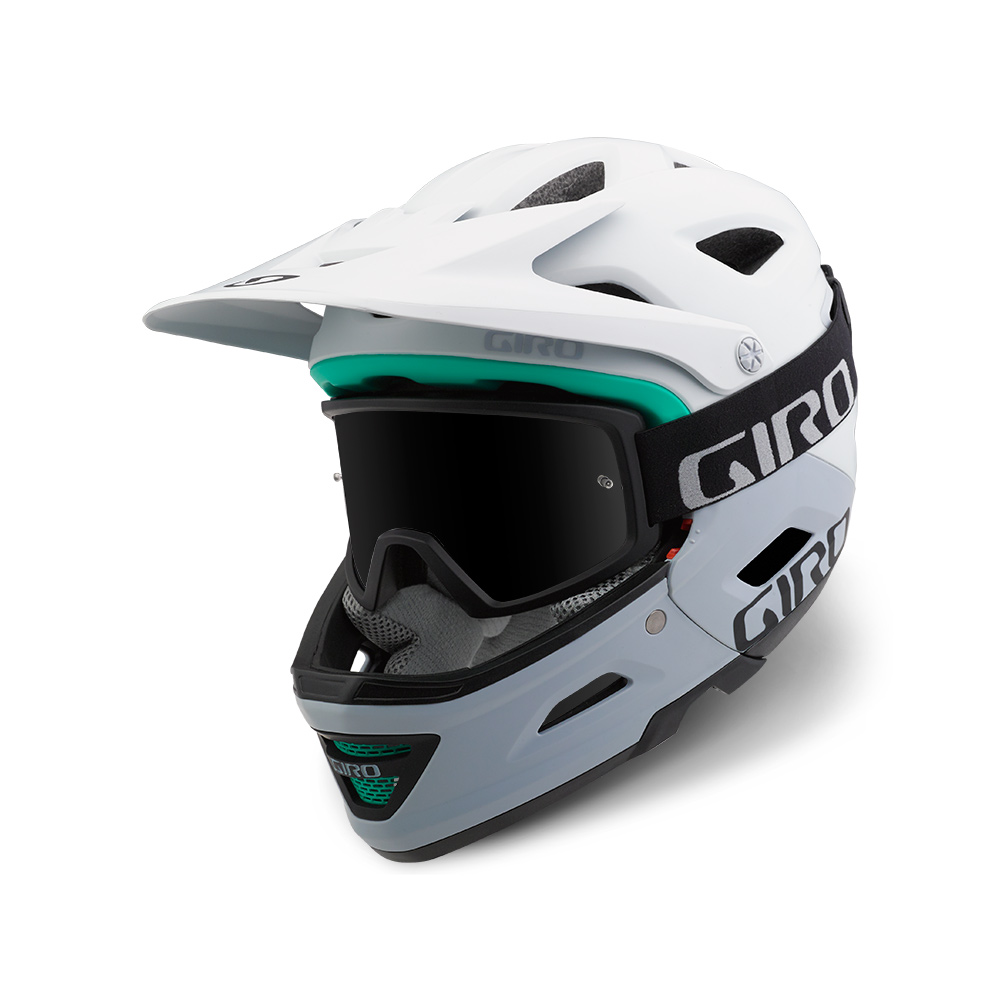
The Switchblade lives. Technically, Giro’s newest helmet has been in the works for almost three years now, but it’s been almost 18 years since the original. For those that have been introduced to mountain biking recently, the original Switchblade was the first production XC helmet with a removable chin bar. In many ways the Switchblade was way ahead of its time, and while not all memories of the infamous lid are fond, it set the stage for things to come.
Like the original, the newest Switchblade has a removable chin bar, but the similarities stop there. Giro points out that the philosophy behind the helmet has changed. The original was an XC helmet that you could add a chin bar to in order to make it “suitable for DH,” whereas the new Switchblade is a DH helmet with a removable chin bar to make it suitable for trail use.
It’s taken a while for the Switchblade to finally make its debut the second time around, but it was worth the wait…

The most obvious difference between the Switchblade and the original, or the competition for that matter is that the helmet is a full fledged DH helmet. Both the helmet and the chin bar pass full ASTM-1952-DH certification (also certified for CPSC and EN-1078). In case you’re wondering, ASTM DH certification involves a higher drop test at 1.6m instead of 1.2m, and also includes a variable mass head form to test how the helmets will work with different sized riders. More impressive is that the helmet is still ASTM DH certified without the chin bar.
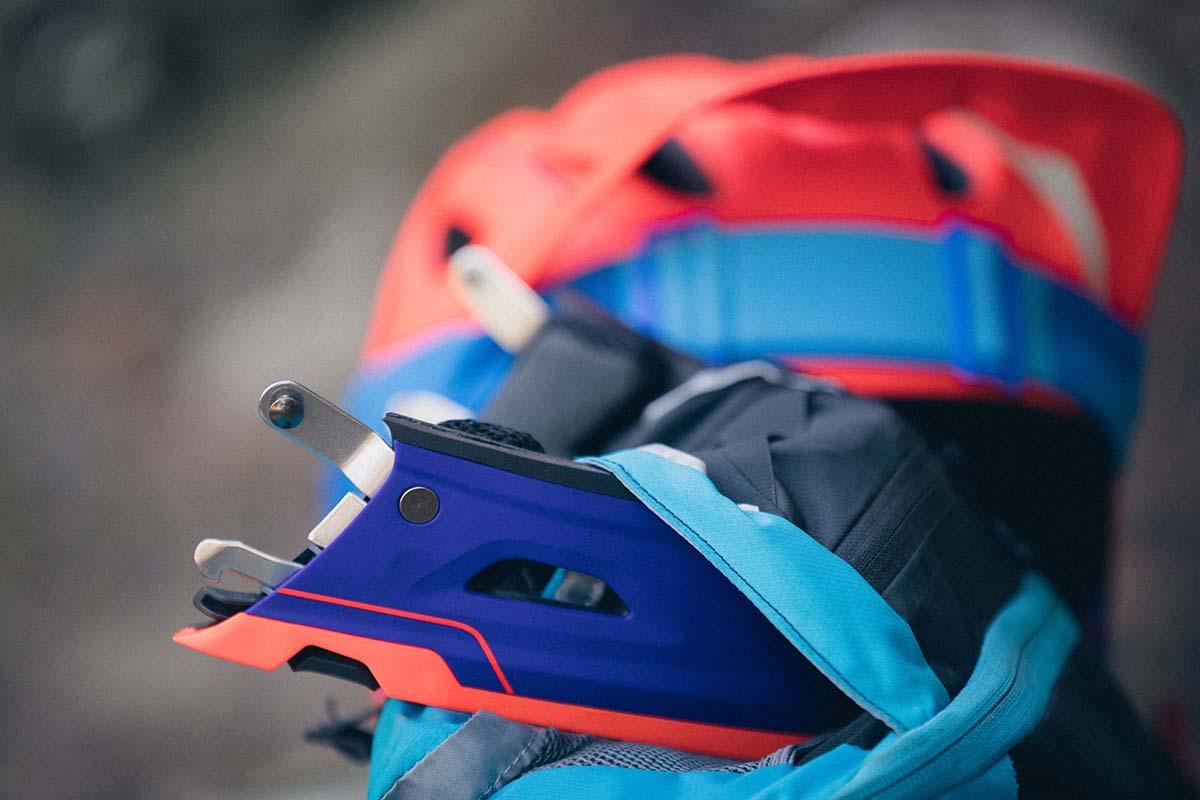
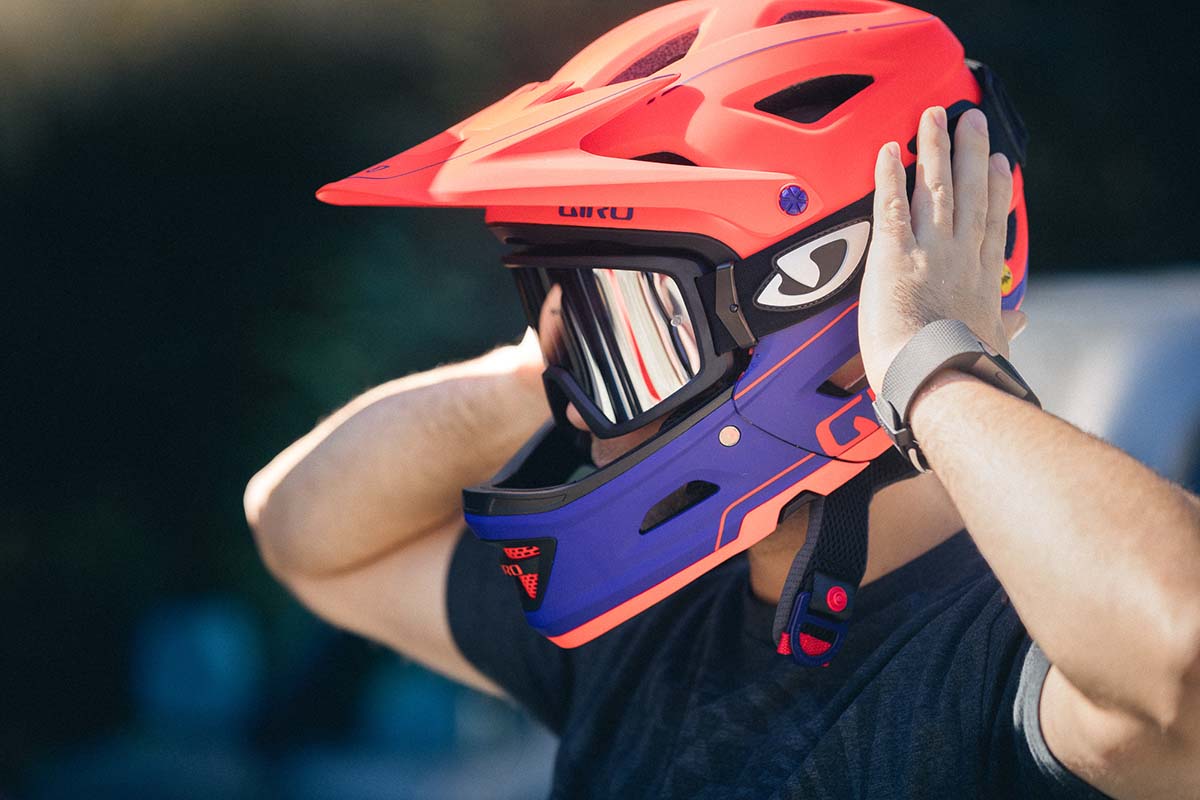
Much of that has to do with the way the chin bar attaches to the helmet. Rather than using a wrap around design, the Switchblade uses stainless steel hardware and a push button release system that leaves the helmet with additional coverage over the ear.
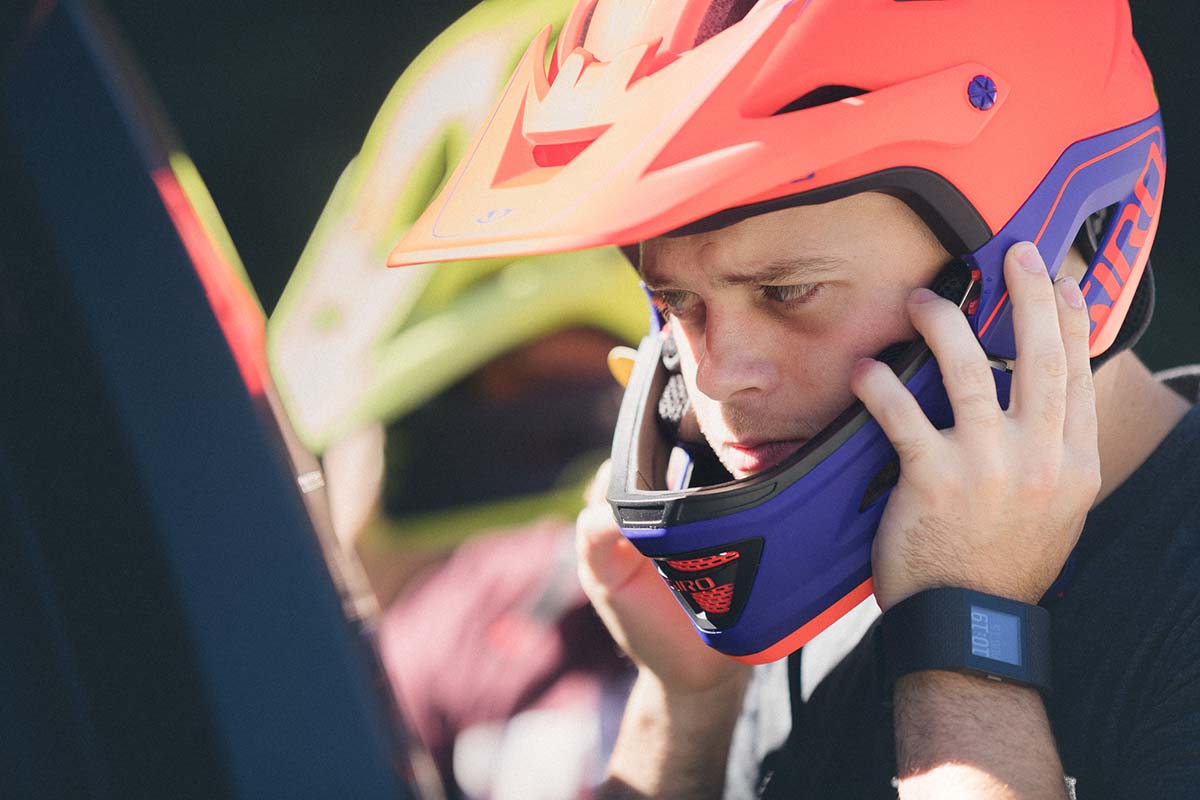
Installing and removing the chin bar does involve a learning curve, but by the end of the ride I went from fumbling around with it for minutes, to snapping it in and out in seconds. To remove, simply press the two bottom release buttons with your thumbs, push up, push the bar up, then pull out. Installation is the reverse, guiding the upper pins into their slots and then pushing the visor down into place with a click. It is much more difficult to install than to remove, but once you learn it, it’s the fastest transition we’ve seen.
By utilizing four connecting points for the chin bar rather than two, the helmet resists bowing out under impact at the attachment zone which was key to the design. This hardware includes anchors that are internally molded directly into the foam which provides the necessary strength without adding a lot of weight.


When asked how the Switchblade would compare with a DH helmet like the Giro Cypher, David Thompson who is Giro’s Industrial Designer said the Switchblade would be just as capable and meets the same standards. When asked how they were able to make a helmet with all of the features of the Switchblade, while keeping the protection high and the weight low, David said it comes down to the construction. The three piece polycarbonate structure around the lower portion of the helmet helps add rigidity, and the helmet uses an in-molded design with PC shell.
Even with the full DH helmet certification, and removable chin bar with an impressive locking mechanism, the helmet still comes in at a claimed 975g for a medium. On my scale, the preproduction medium sample I was given has a weight of 1030g with the chin bar and 748g without.

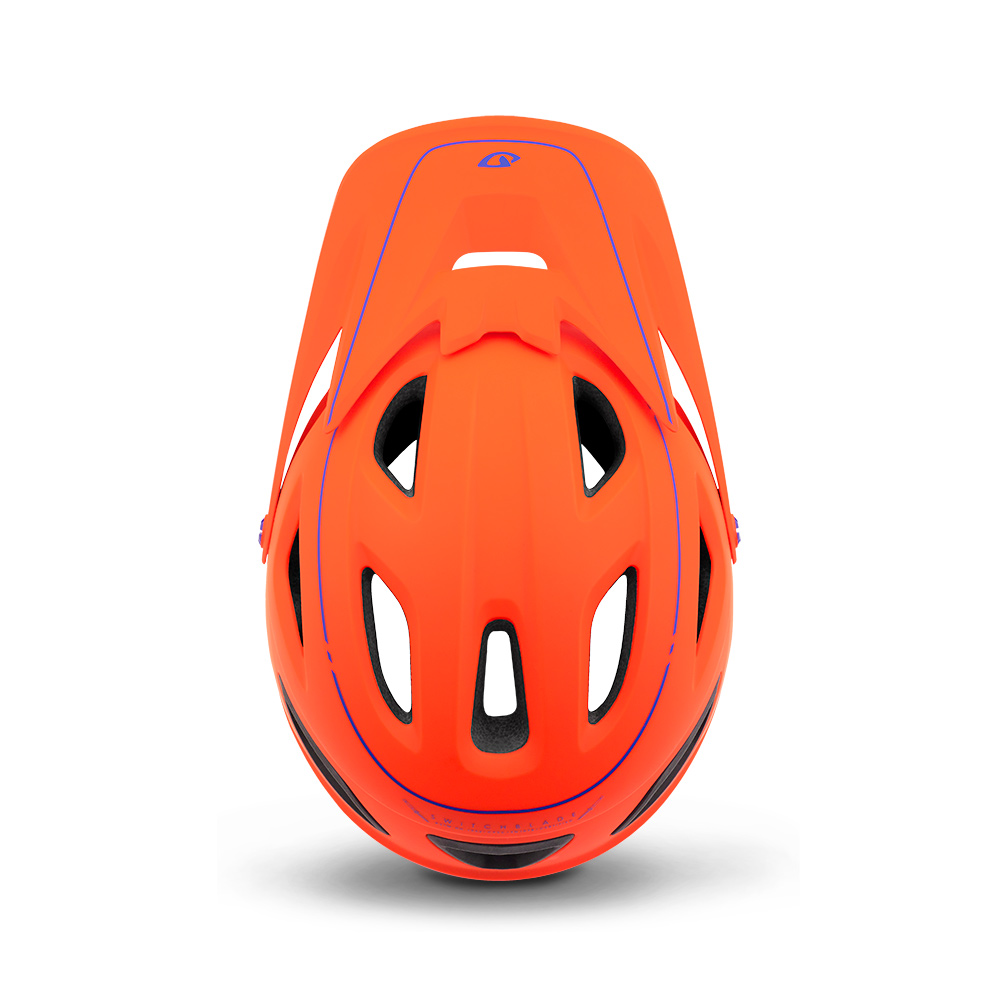
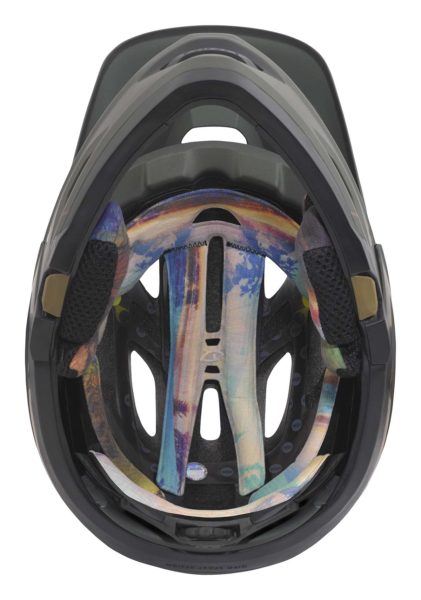
The Switchblade may be strong enough for DH, but that doesn’t mean Giro forgot about enough ventilation for trail riding. Built with 20 vents with internal channeling, even the cheek pads have what Giro is calling Wind Tunnel ventilation which really helps to cool things down. Additionally, the Roc Loc Air DH fit system which leaves a gap between the shell and the cradle for increased air flow.

Even on a hot ride out in Pemberton yesterday, the Switchblade ran surprisingly cool – especially for my head which tends to run warm. When things do heat up, Giro used the same Hydrophilic X-Static anti microbial padding on the Switchblade as the Montare which means it soaks up buckets of sweat. I usually have run a SweatHawg liner in most of my helmets, but the Switchblade padding absorbs so much liquid that if you finish your ride by back flipping into a lake with your helmet on, you’ll have to wring out the pads for them to dry!
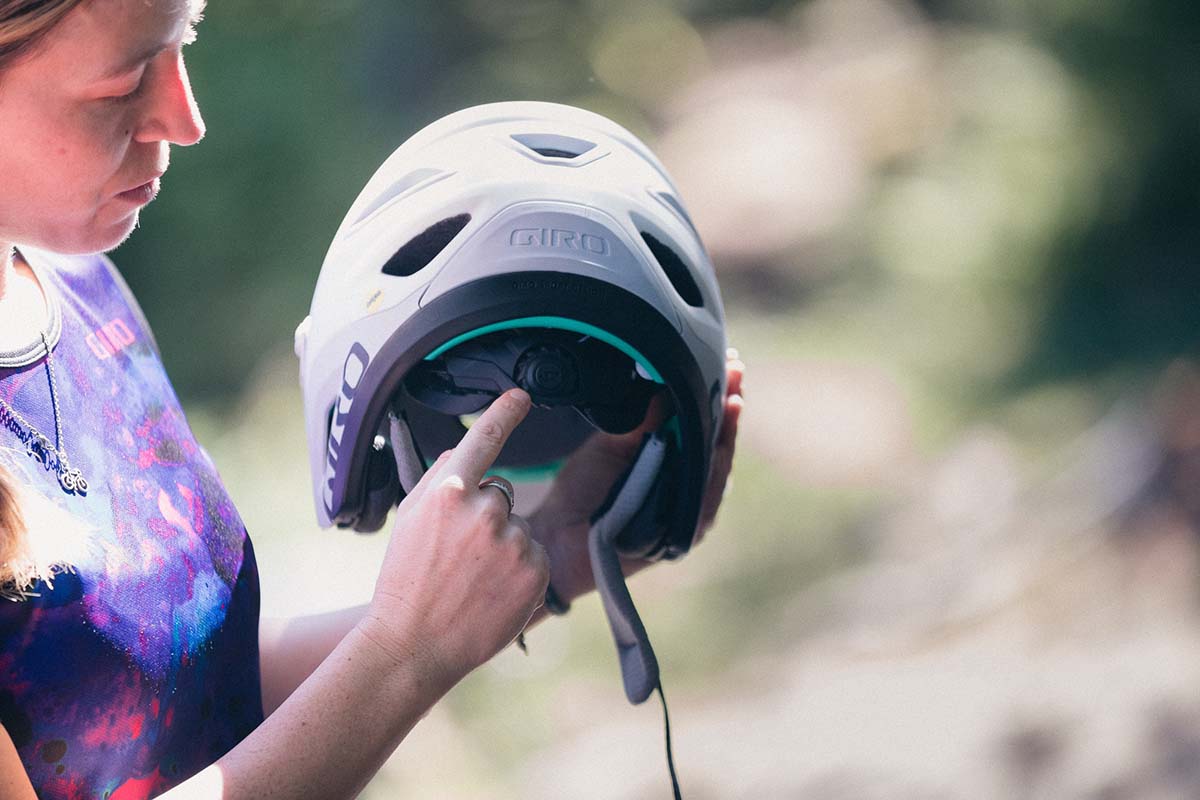
The Roc Loc dial protrudes a good bit from the back of the helmet, but once the fit is dialed in, it disappears from your thoughts. The dial also includes a new bumper that should keep unintentional adjustments from bumping it on your backpack or neck brace at bay, and the mechanism has been improved to prevent accidental damage if overtightened.
If the DH certification and chin bar weren’t enough, the helmet also includes MIPS (Multi-directional Impact Protection System) to add another layer of safety. Giro points out that they haven’t launched a helmet recently without MIPS which speaks to the safety story but also to Giro’s parent company BRG’s stake in MIPS. However, they invested in MIPS because they believe in the technology which is why it has been so prevalent in their product line.

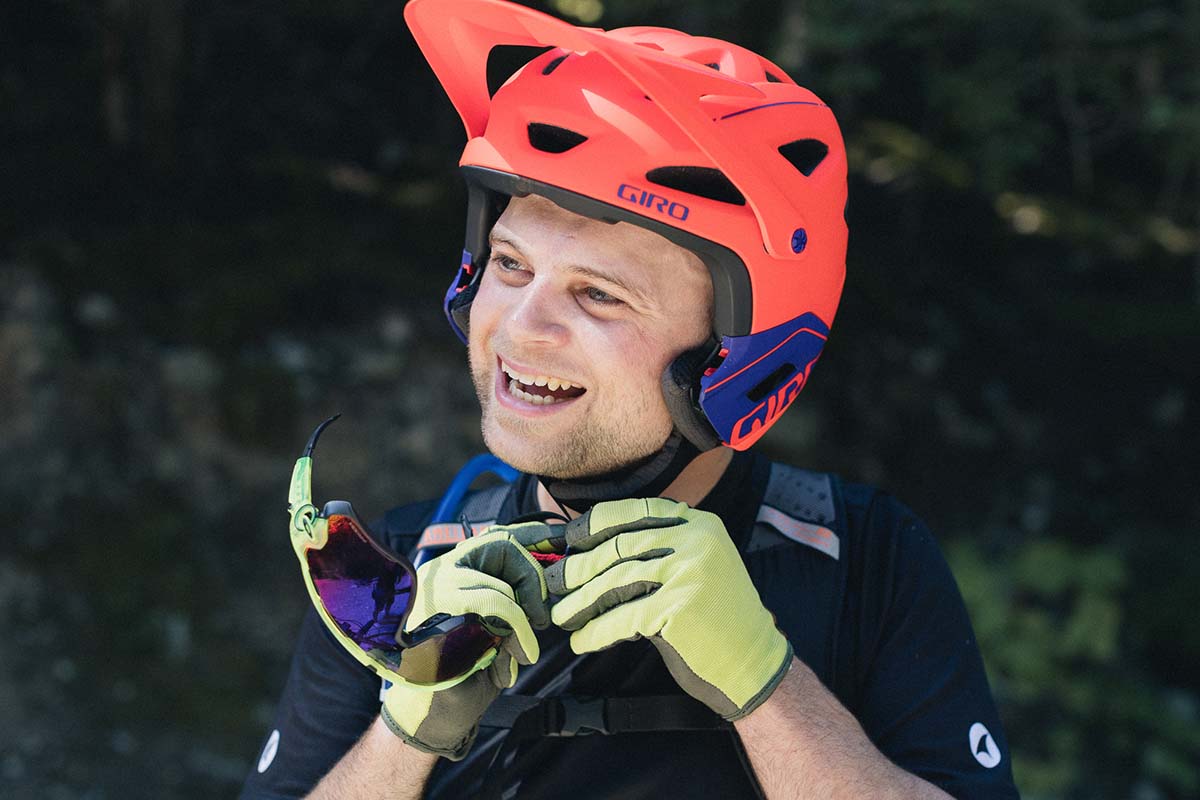
Of all of the removable chin bar helmets I’ve been able to try on, the Switchblade is by far the best fit for my head. My head has always fit well with the Giro headform and this is no different. I did have to change out the cheek pads, though this may not be uncommon which is why two different thicknesses will be included with each helmet. The stock medium pads were too thick and really pressed into my jaw, so swapping out to the thinner pads made it a perfect fit. The only consideration is the additional coverage of the helmet without the chin bar compared to other convertible helmets, but I was surprised how much I didn’t notice it once on the trail. The Wind Tunnel cheek ventilation really does seem to work, and the additional coverage is probably a good thing to have. Riders looking for more of an XC helmet with additional facial protection may want to look elsewhere, but riders looking for the protection of a full face with just one helmet for trail/enduro duty, the Switchblade seems like a winner.
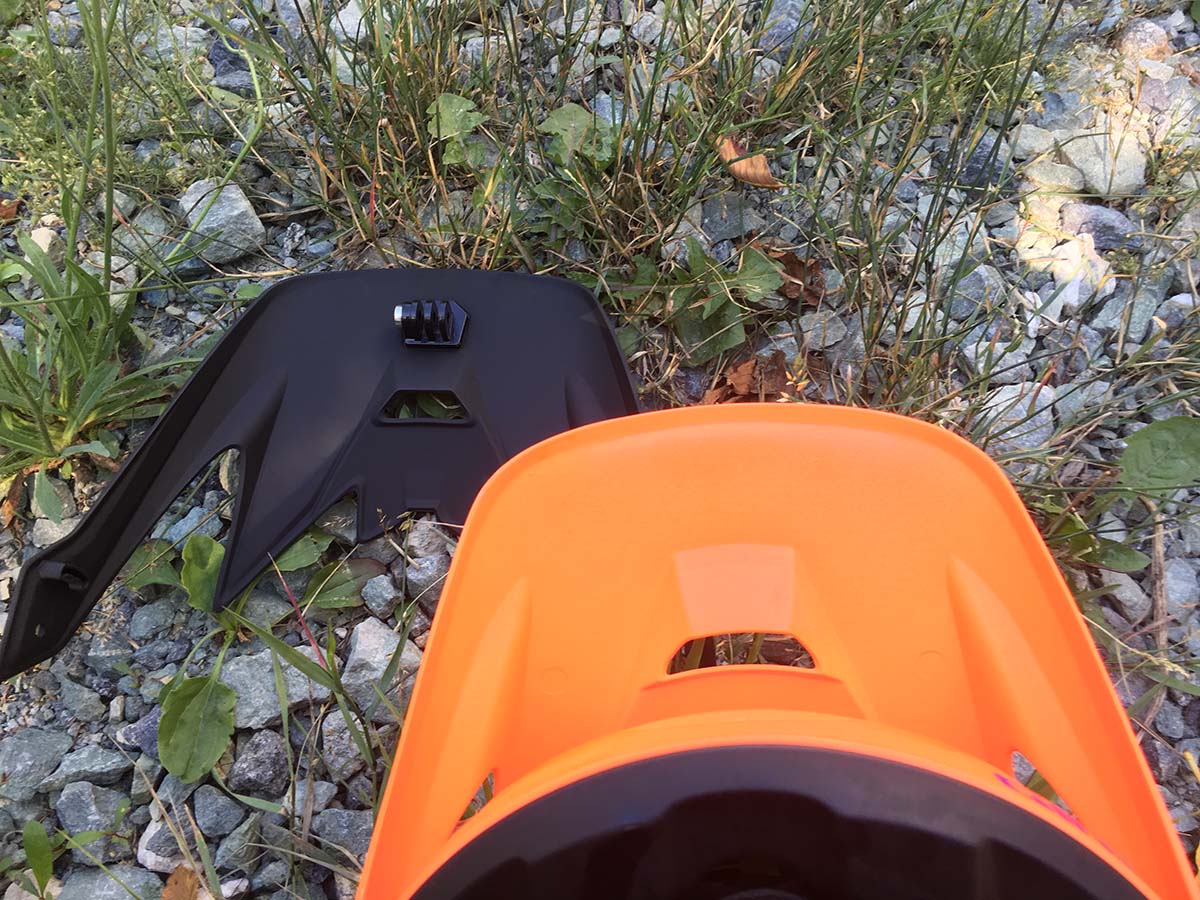
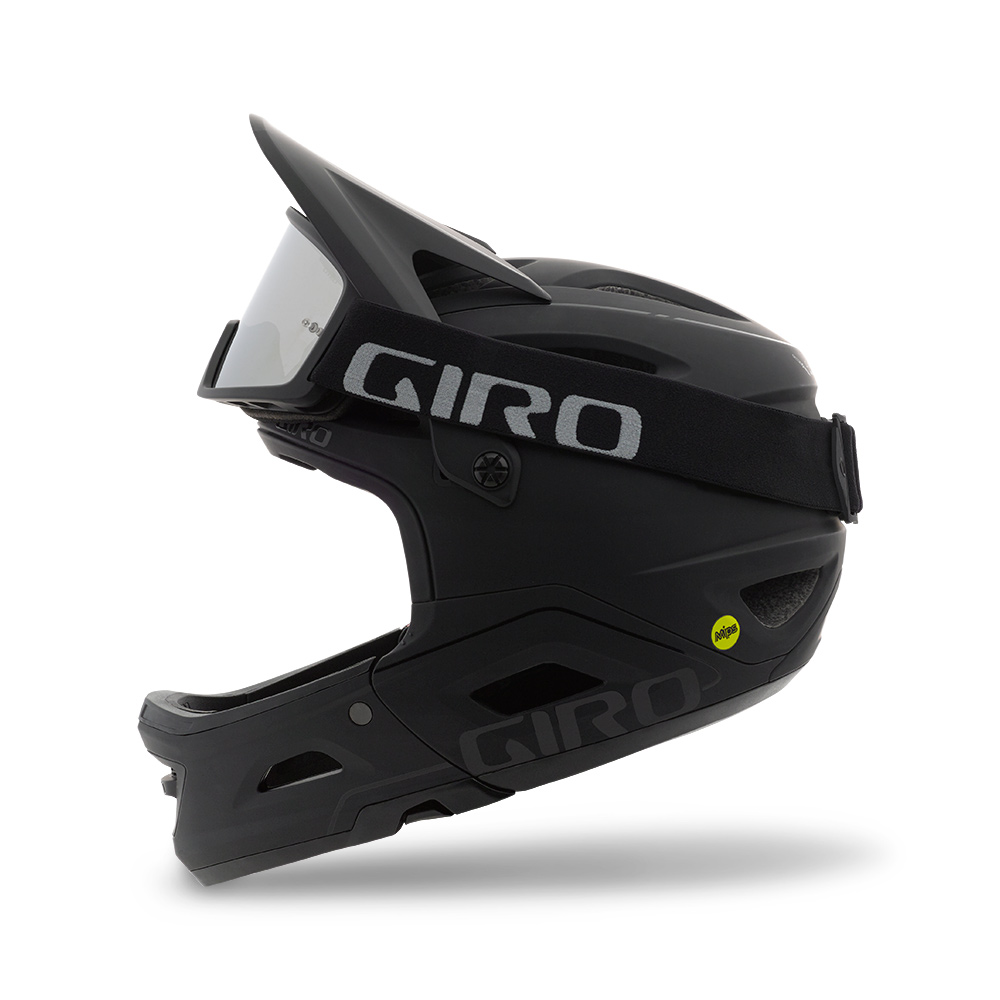
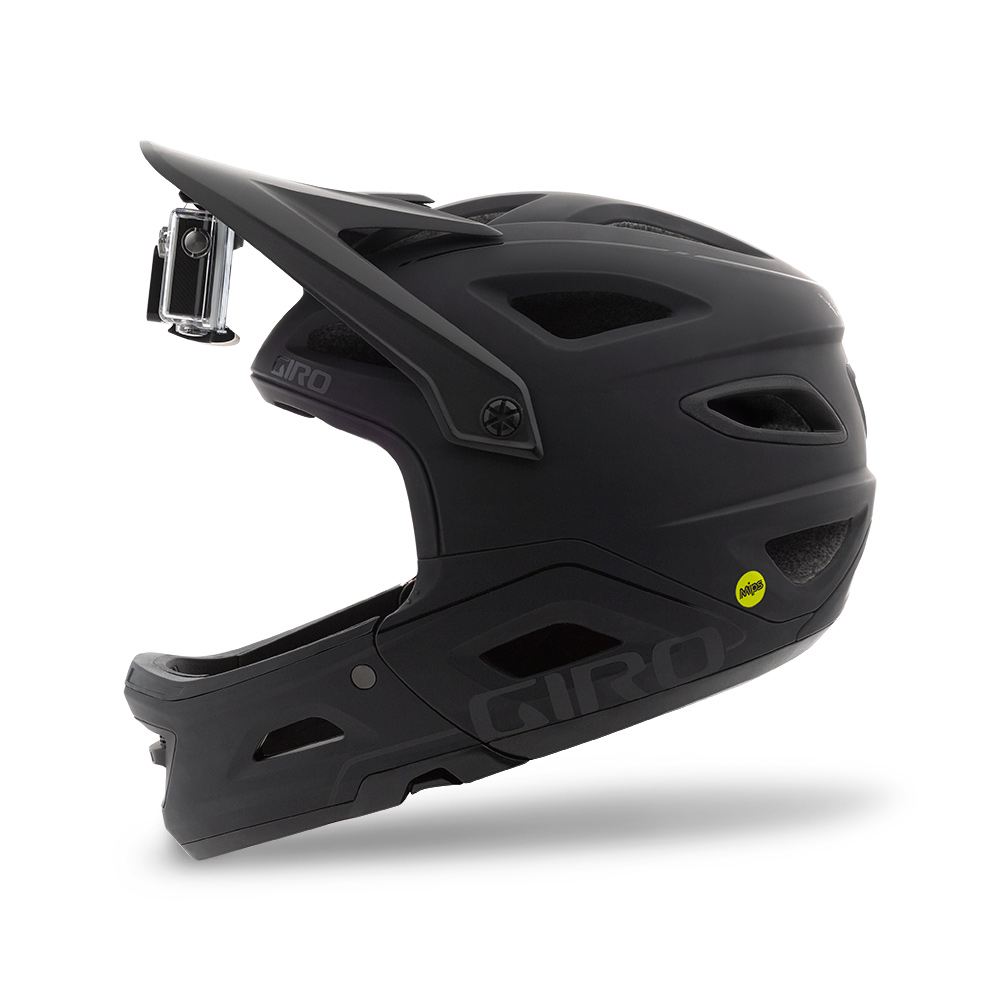
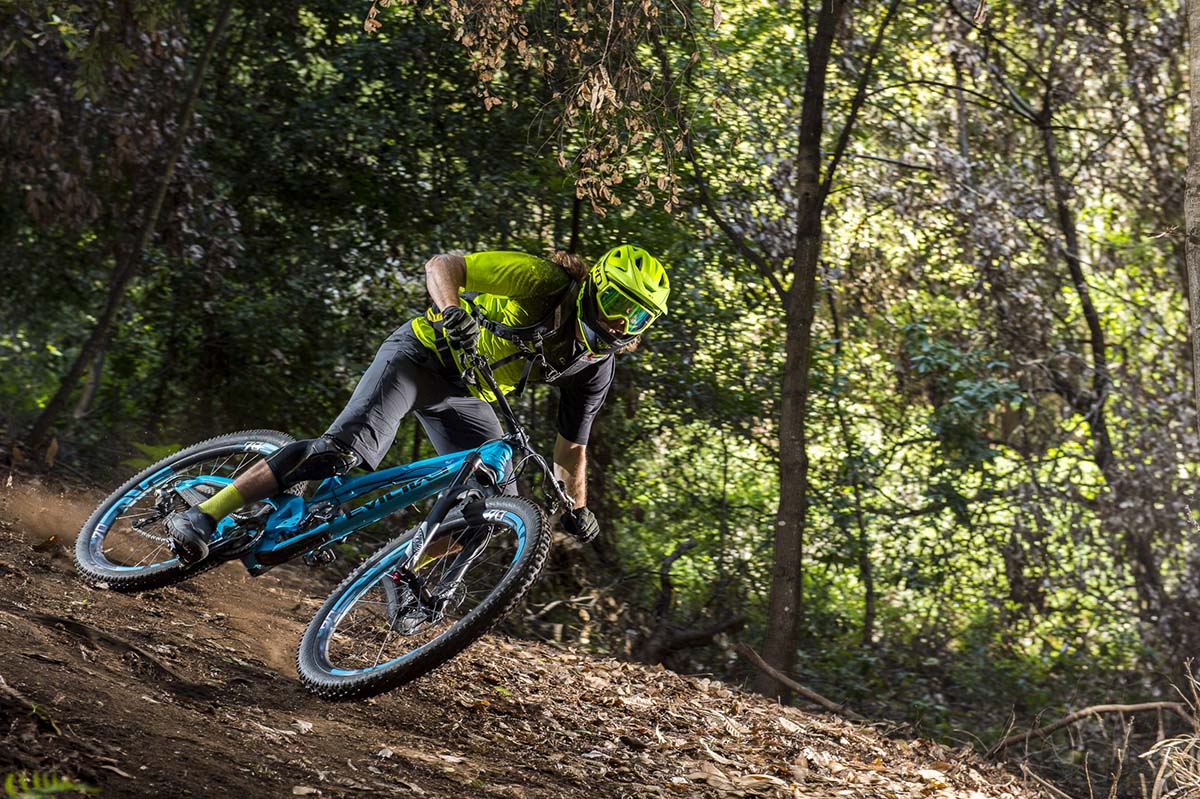
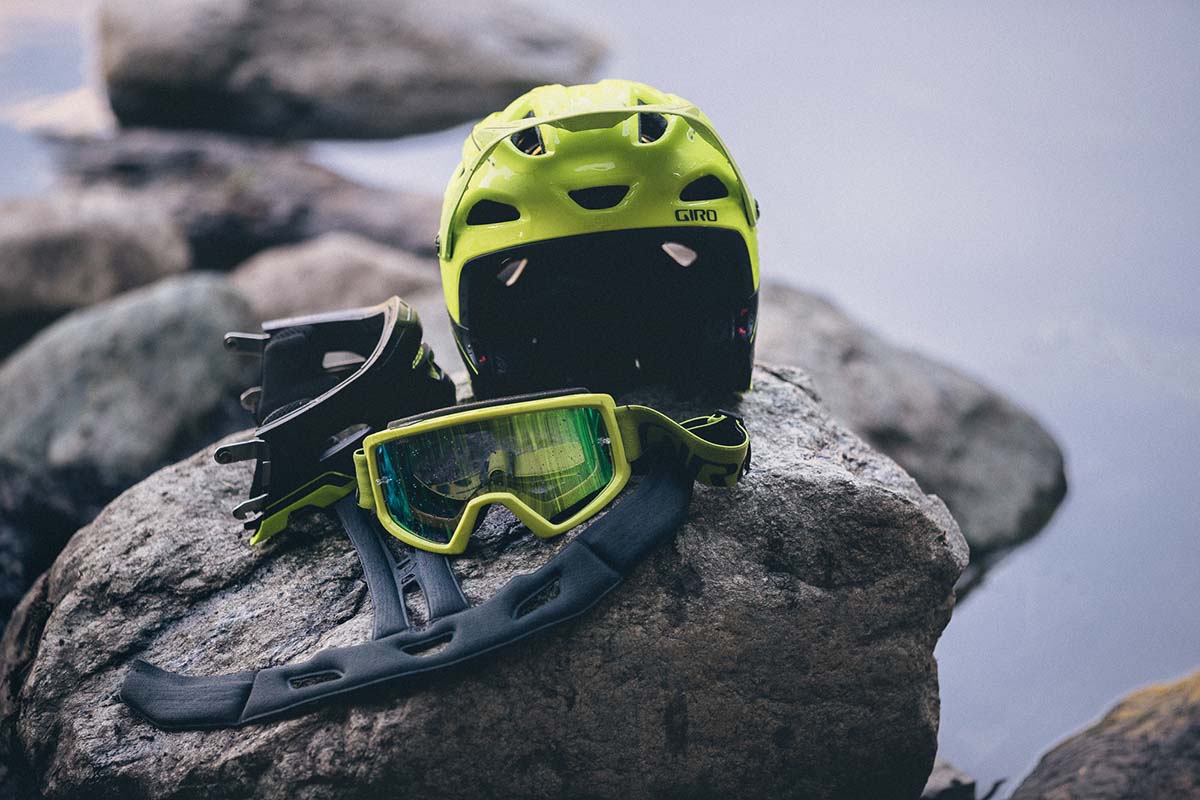
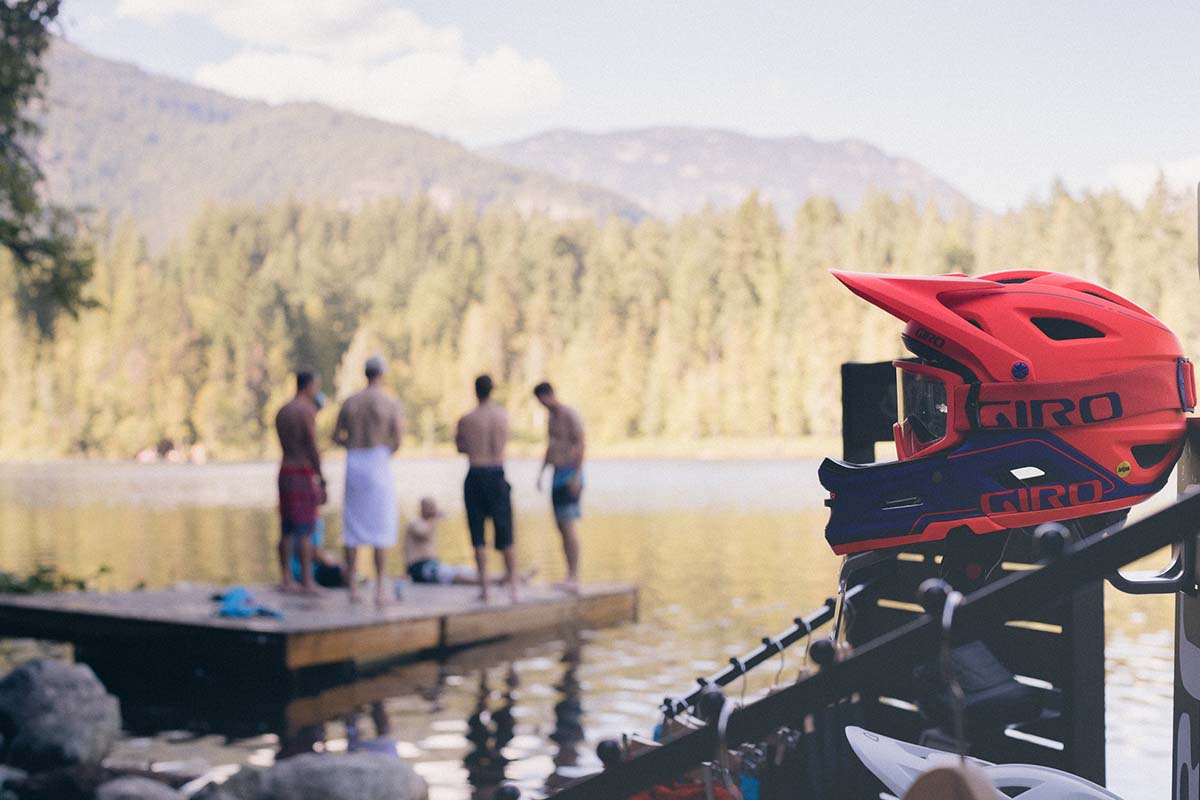
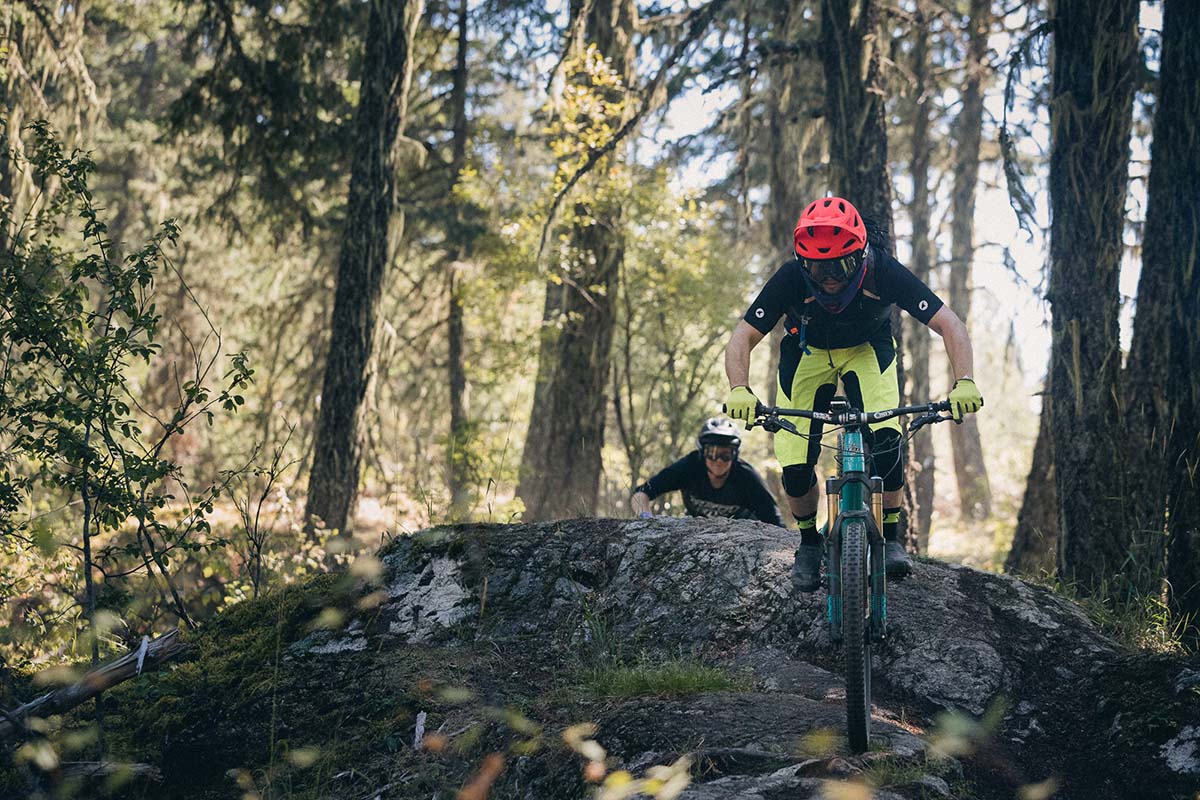
Where there is a DH helmet, there are goggles. Of course that means goggle integration similar to the Montare with rear goggle strap grippers, and room to stash the goggles under the P.O.V. Plus visor. The adjustable visor includes three positions which can be adjusted without tools or thumb screws and the helmet will also include a spare visor which will include a camera mount under the visor. This one is not adjustable in order to make the attachment more rigid for better footage. Yeti/Fox Shox racer Cody Kelley (very top image, getting rowdy) mentioned that in his testing he likes the fact that the camera visor positions the camera so you can’t see it at all in your field of vision. Cody also vouched for the impact protection of the helmet having tested it three times already.
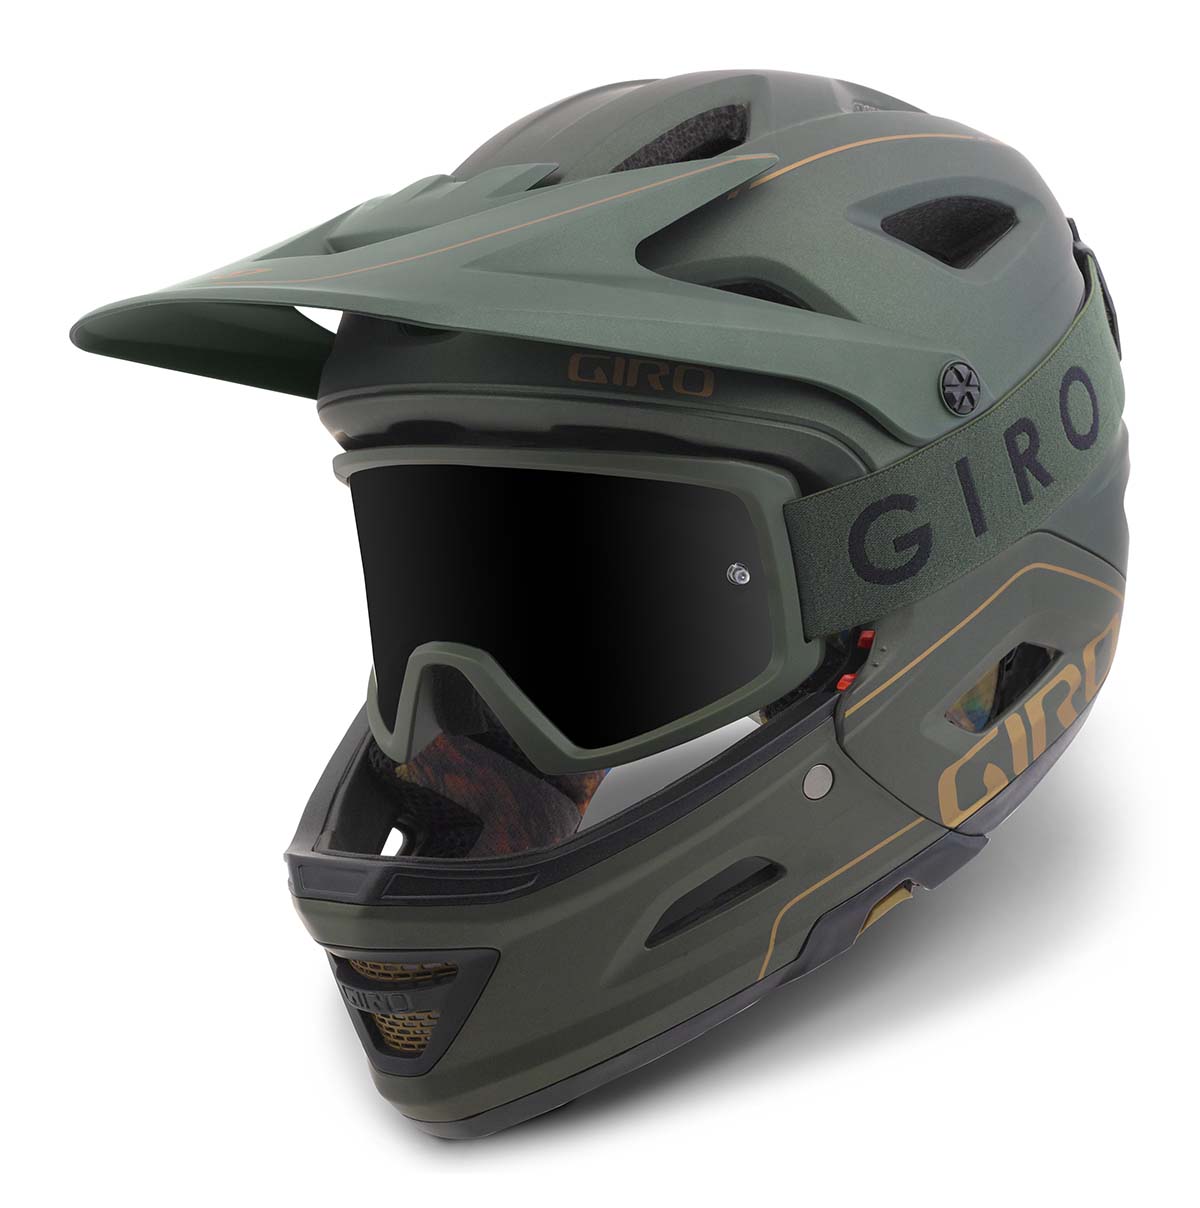
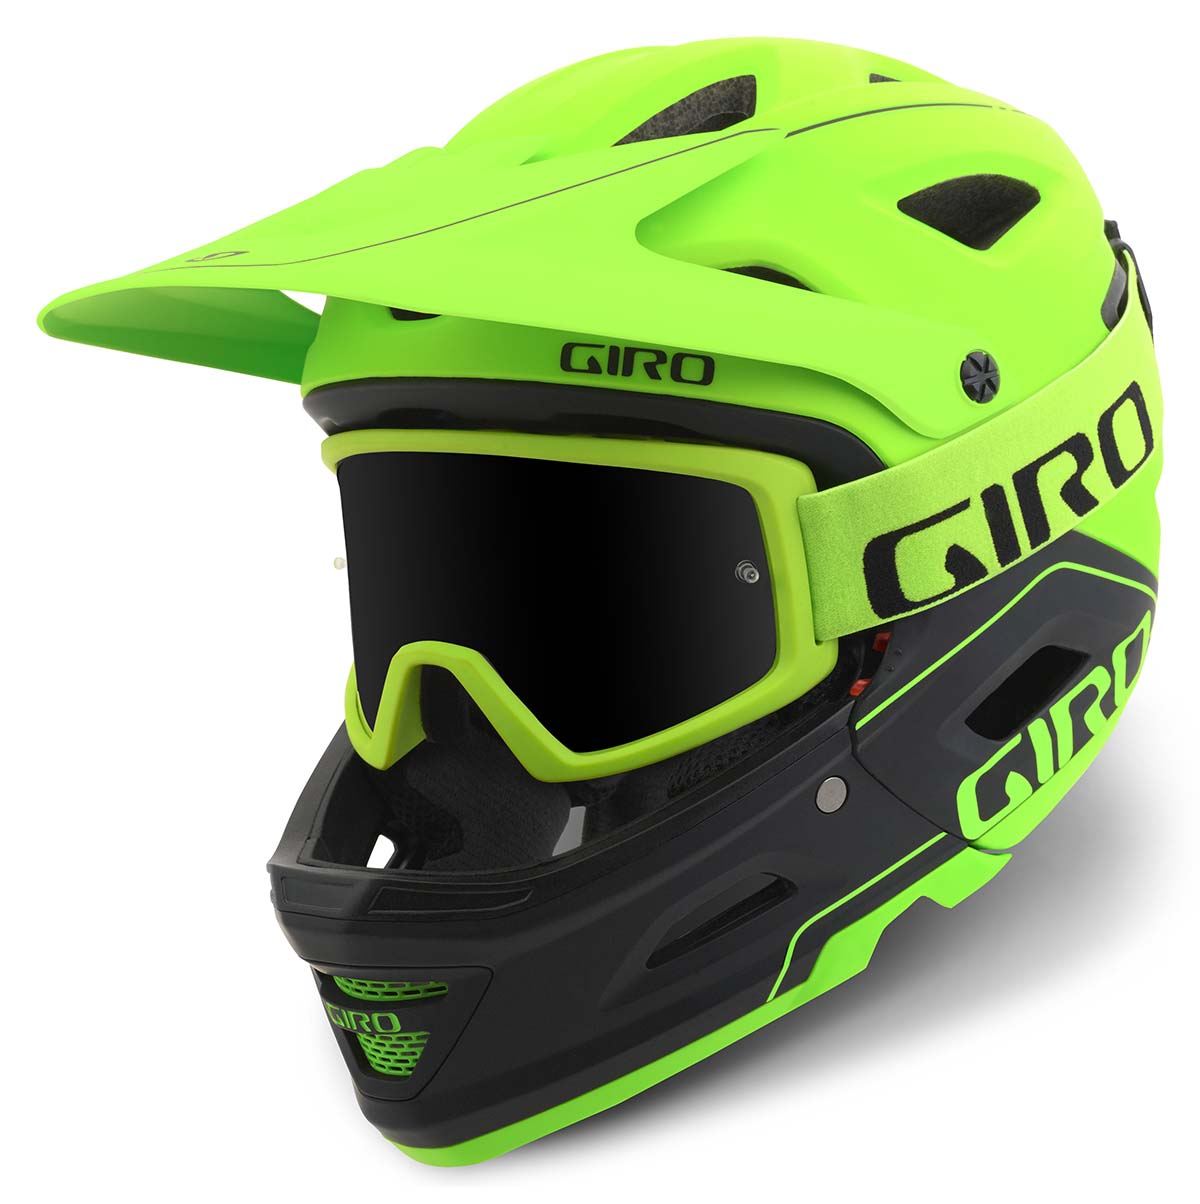
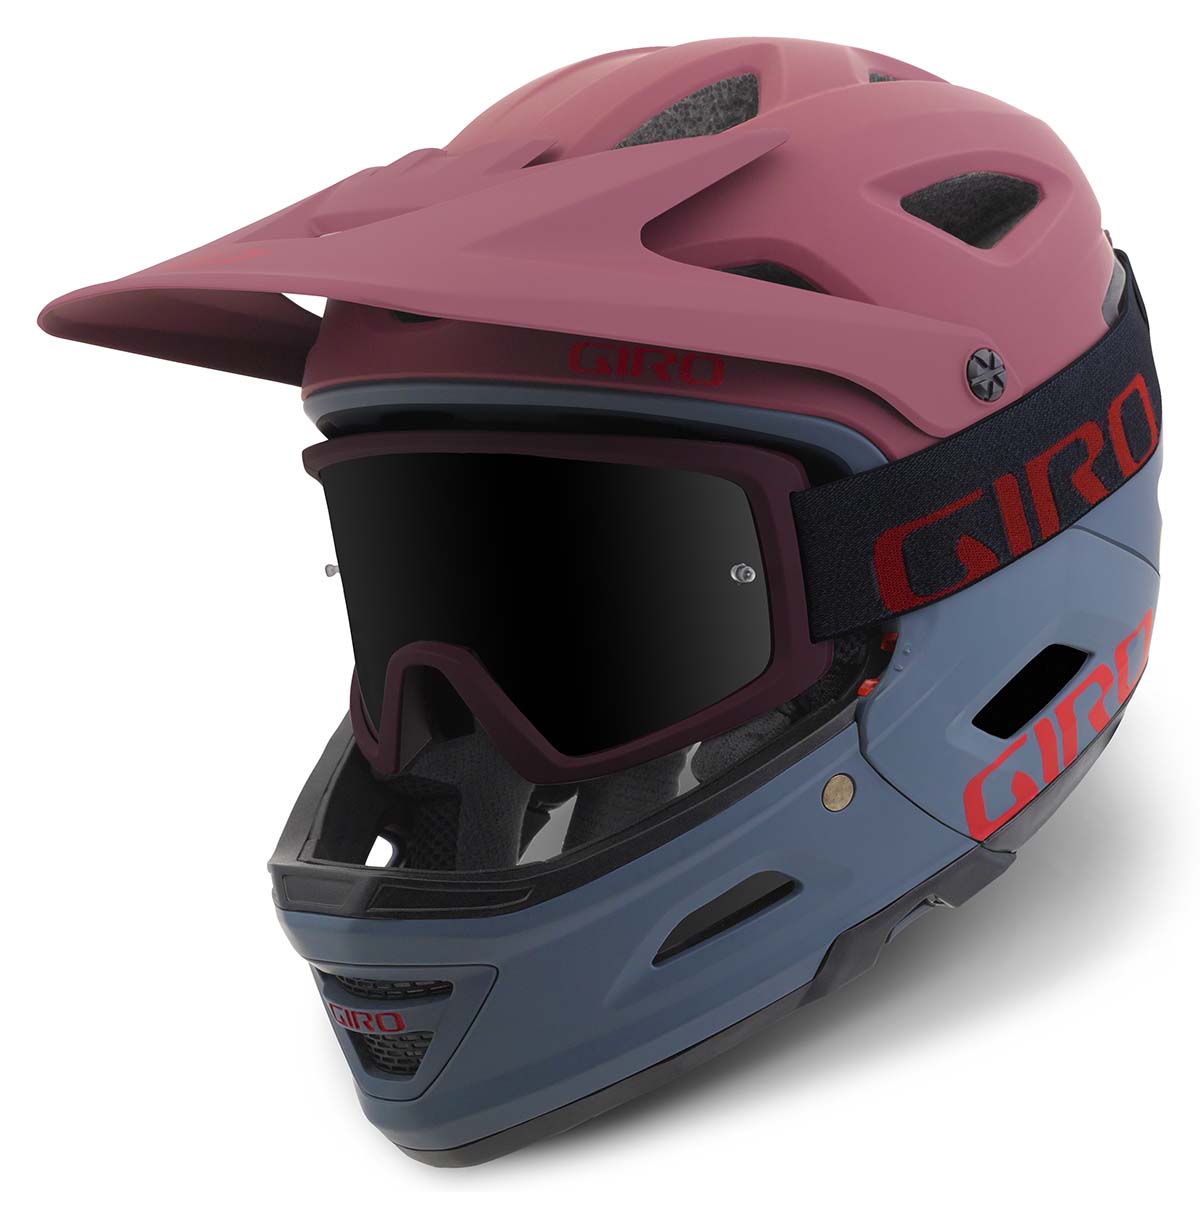


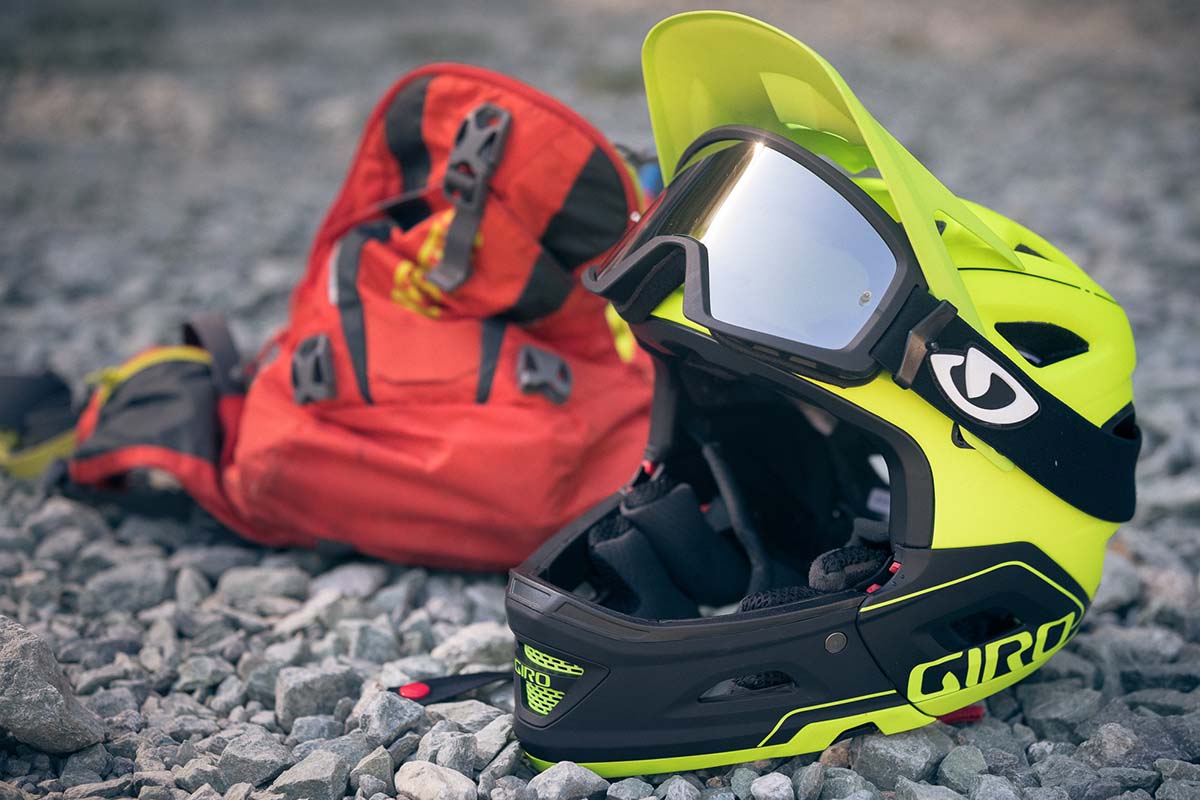
All said and done, the Switchblade is a very impressive helmet with an almost as impressive price tag at $250. Offered in Small (20” – 21.75” / 51 – 55cm), Medium (21.75” – 23.25” / 55 – 59cm), and Large (23.25” – 24.75” / 59 – 63cm), they will be sold in 6 matte colors, each with matching Blok goggles. The Matte Olive might be the sleeper in the line with a deep finish, gold accents, and wild padding on the inside. It looks a lot better in person than photos let on.
Switchblades are in the warehouse now and should be in shops by next week.