Having been a mechanic in other industries, it is a bit strange that cyclists are so attached to only purchasing and using tools made by bicycle tool companies. There are lots of great tools out there that may do the job better, cheaper, or different than the more specialized tools available from Park, Pedros, Lezyne or other cycling-specific tool companies.
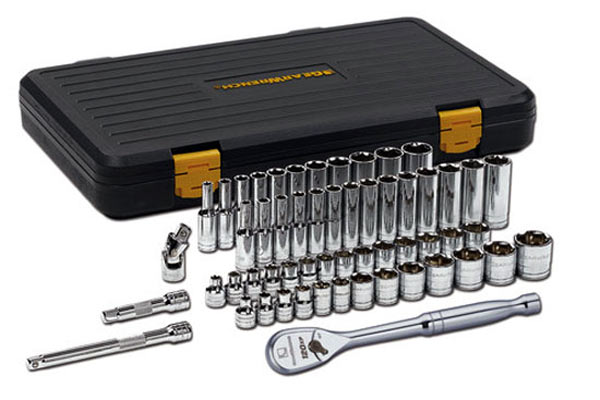
One thing we all agree on, everyone should get a simple ratchet and socket set. Available for insanely low prices at places like Harbor Freight or other discounters, they are a great tool to have around, and most bicycle-specific fitments such as bottom bracket tools will have a fitment to be driven by a standard 3/8″ ratchet.
Take a look inside to see what other things we have adopted from outside the cycling industry to get our bikes on the trail…
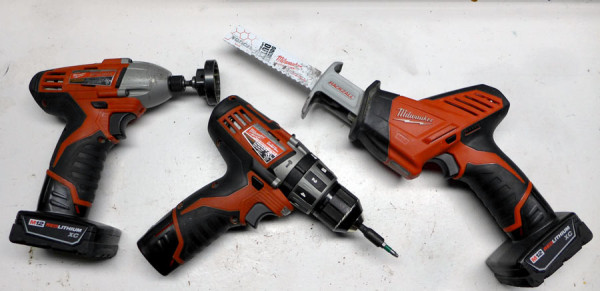
TIM: Coming from working on motors and houses, I am a big fan of power tools. There is a strange attachment in the bike industry to doing everything by hand, and I personally believe it is because there are a lot of untrained mechanics, and you can simply wreck something faster when you are untrained and in the possession of a power tool. There are some good rules to using power, such as always hand-starting all items for the first few threads, but as long as you know what you are doing, they save a ton of work and time. Over time I ended up moving into the Milwaukee Tool M12 system, which has a huge array of tools, one of my favorite being the Hackzall, which is a small hand held saw that uses Sawzall standard blades.
ZACH: I’ll have to check out that Hackzall, that looks like it could be pretty useful. I agree on the powertools, as I use my little Craftsman 12-volt Lithium Ion drill quite a bit – especially for attaching or removing rotor bolts. Now that drills are smaller with powerful Li-Ion batteries, they are easier to use in tight quarters making them useful for bike work. But as you mention there are some considerations when using power for certain tasks. With the rotor bolts, I always start them by hand and then have the drill set to a torque setting lower than full torque and finish them by hand as well. But it certainly speeds up the work.
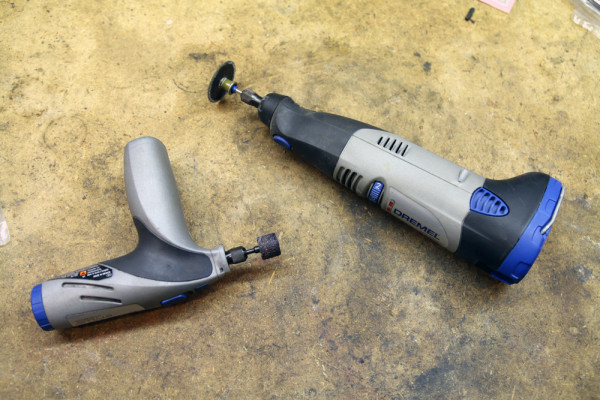
Depending on the task, a Dremel tool can be extremely handy as well. The reinforced cutting wheels are great for making precision cuts in metal, while bigger less precise cuts may call for my angle grinder. I tend to use the larger Dremel more since it has more power for cutting purposes, but the smaller tool is easier to handle in tight spaces.
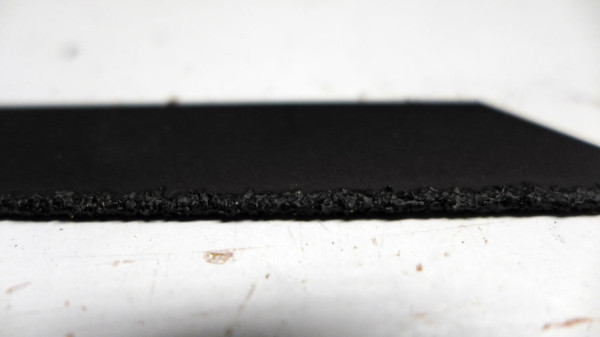
TIM: Rather than spending an enormous amount of time with a hack saw, the Hackzalls go through steerer tubes like butter, and the blades are cheap, and available at the any hardware store. Even better, they have a composite-specific grit style blade that is about 1/3 the cost of the “carbon specific” hack saw blades available from the common bike tool makers.
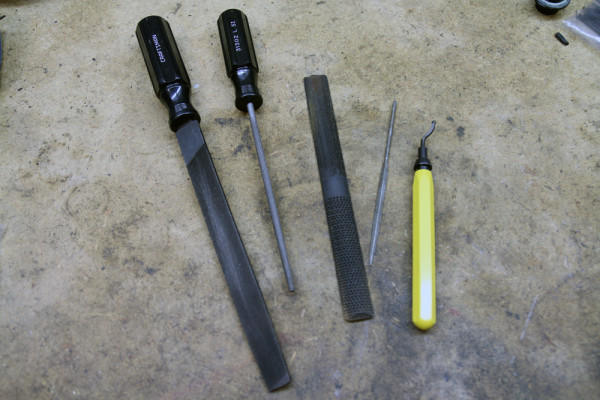
ZACH: Going back to the power tools vs hand tools debate, a good set of files and a deburring tool are staples on my work bench. After you finish the cut with that Hackzall, cleaning up the rough edges is pretty important.
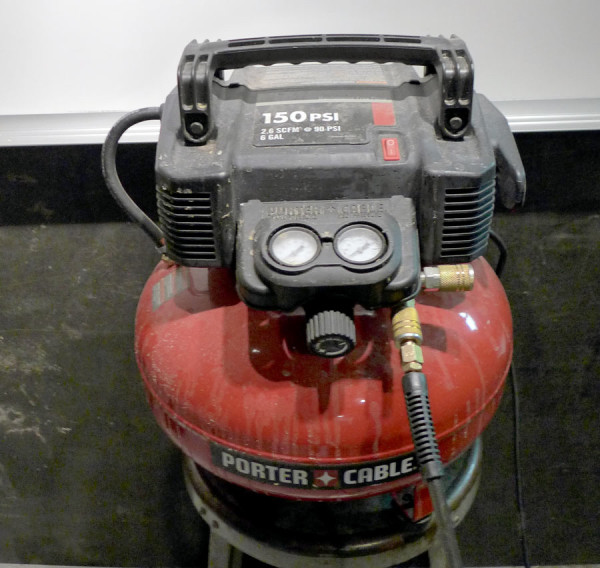
TIM: An air compressor seems like a standard thing for some, others may not have considered it. Basic ones work just fine for bike work, and cost less than even some mid-range floor pumps. This simple “pancake” style compressor cost $99, and has been around long enough to become covered in many layers of Stan’s oops.
ZACH: Compressors are something that I grew up around, so I figured that most everyone had one sitting in their garage. Clearly that’s not true, but they are great to have around. Not only are they great for seating tubeless tires, but they offer other options for things like installing and removing rubber grips, inflating your car tires, and working power tools. Most cyclists will be fine with the smallest, most affordable air compressors but if you think you might ever need it for air tools, nail guns, etc. pay attention to the CFM rating, PSI, and other factors like portability. Personally, I’m still using my dad’s old compressor with a broken fan blade and housing. As long as you remember to empty the drain valve on the bottom of the tank on a regular basis to release accumulated moisture, they will last a long time.
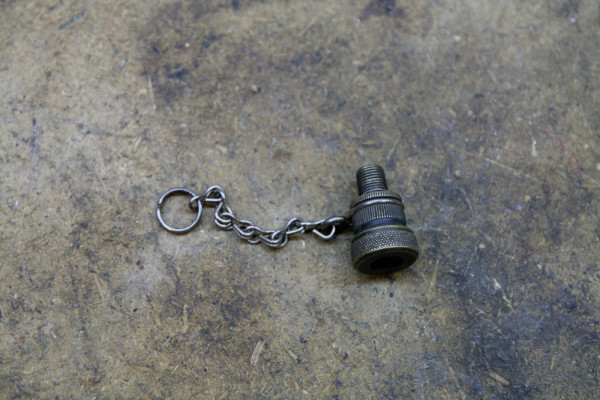
Also, if you plan to use your air compressor for inflating bike tires you will need the correct attachments. At the most basic you’ll need a schrader chuck (probably included with compressor) and a brass thread on style schrader adapter that you can find at most bike shops. I much prefer the larger brass adapters shown above, but they can be hard to find. The larger adapters simply slip onto the valve making it easier to inflate, and also seem to allow better airflow which is important for seating tubeless tires. Not to mention they are physically bigger making them harder to lose and usually have a chain attached which allows you to hang them next to your compressor. I should point out that all adapters are not created equal. For whatever reason, I’ve found that the aluminum or silver colored adapters of the same design don’t work with certain valves.
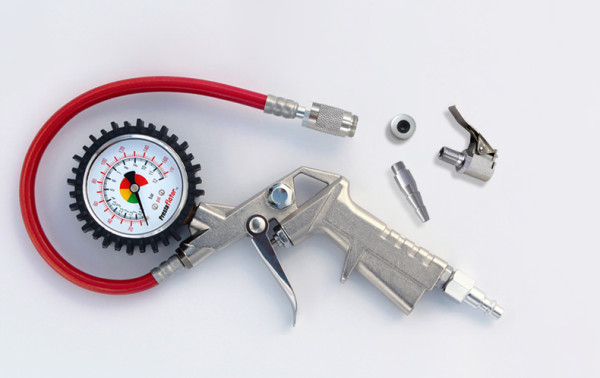
If you want to step it up to pro level, the Prestaflator is hard to beat. This isn’t a tool you want to skimp out on though – I’ve tried many similar, but cheaper products which use a lot of plastic in the construction which all ended up broken. The Prestaflator makes quick work of accurately inflating your tires, has a number of attachments for different uses, and should last as long as your compressor.
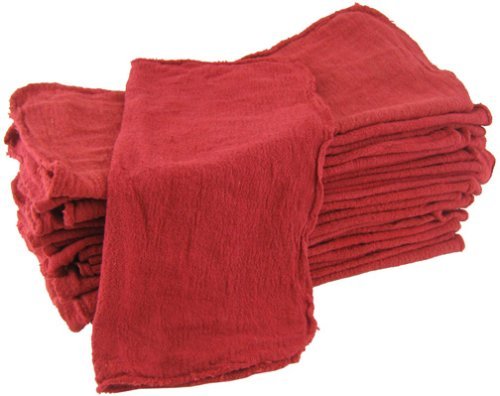
TIM: Get some rags. Red shop rags available at hardware stores are cheap, washable, and the greatest at taking up grease and oil.
ZACH: I know it’s not as environmentally or wallet friendly, by I’ve always preferred disposable shop towels over rags. Probably because the rags at the shops I’ve worked at were never clean which meant they always left residue on whatever you were trying to clean. Cloth rags are definitely useful though for heavy duty cleaning where the paper shop towels won’t hold up (like threading a rag through a shock eyelet to fix a stuck down shock), but for leaving bikes with a beautiful shine I prefer the paper towels and Finishline Bike wash and Pedro’s Bike Lust.
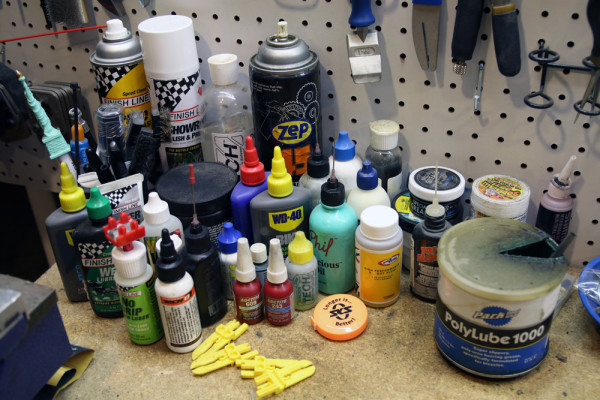
ZACH: Speaking of liquids, they’re not really tools, but when you’re using tools you want to be sure to use the right prep. That means a good all purpose bike grease like Park’s Polylube 1000, carbon prep, Shimano’s SP-41 special grease, oils like Phil Tenacious, Speed Clean, and more. Obviously we get sent a lot of stuff to test so you don’t need as many options, but I would still have at least half of these on my bench otherwise. Essential non bike brand potions include Loctite 243 (blue Loctite that is ok to use for oily surfaces) and 609 (green Loctite for bearing bores and other cylindrical press fit applications), and Zep 45 which is the spray lubricant for freeing stuck shifters and other uses as far as I’m concerned.
If you haven’t seen them already, make to check out all of the other installments from our Home Workshop Series!
- Part 1: How To Build A Home Workshop To Match Your Skills
- Part 2: Lighting, Tool Storage and Work Stands
- Part 3: Basic Tools & Kits To Start Working On Your Bike
- Part 4: Getting into the Big Tools
