When building your dream bike, everyone has a tendency to simply pick all of the most expensive gear in existence. While it is a show bike too, I am making sure it is purpose built for riding. NAHBS can be a place of bikes that start at $10,000, so this bike which will come in around $6k retail might just be the most affordable on the show floor. And that is because it is made to be ridden.
In this article, we go through all of the components chosen for this build, and the reasons why.
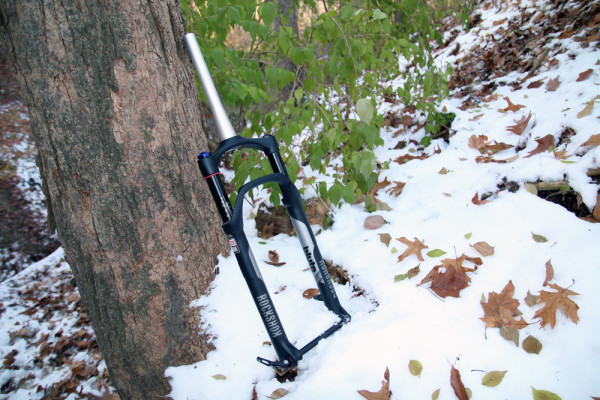
The first product chosen was the Rockshox Bluto RL. Truly pushing the envelope for fat bikes, the Bluto is the only legitimate suspension fork, and it is really changing how the builders themselves start to create fat bike models. Even though it goes to 120mm of travel, and this bike is going to be made for getting rad, I stuck with 100mm to keep the front end from getting too high.
Take a look inside to see what makes my list for the ultimate fat bike for riding dirt…

To start with, I have become so accustomed to dropper seatposts, that it is a requirement for any bike that has more than normal XC duty. We started the frame build knowing that the Rockshox Reverb Stealth would be used, so the frame was custom built with an internal routing port, and a 31.6mm seatpost ID with the Reverb in mind. Like mentioned in Part 3, it is crucial to know your intended parts ahead of time, so your builder can accommodate any fitments.

For the wheels and tires, the Surly Nate and Surly Marge Lite were chosen. The narrower 65mm width of the Marge Lite does a great job turning the fat bike tires into a domed profile that rides better on dirt, and rolls fro m one banked turn into another without feeling like it is pushing back hard with traction steer.
The Nate has some of the most aggressive knobs of any fat bike tire, always insuring traction, especially through the hard corners. A lot of fat bike tires skimp on the side knobs, but Surly, having been doing it longer than anyone else, knows how to make the tire grab the ground, and not give any of the negative feedback of such a large contact patch.
Even though most people would go with a carbon fiber rim for a dream bike of this magnitude (and I would agree for a regular 29er), fat bikes have such extreme wheel stiffness due to the width of the hub, that a single wall aluminum rim with holes in it can ride just fine. Not to mention, they weigh 690 grams, which is only 100 grams more than the carbon counterparts from sister brand Whisky, yet they cost less than 1/3 as much. When building a bike meant to be ridden, you have to consider the cost vs benefit, and in this case the Large Marge is the winner.
Finally, with these rims and tires will be paired with a colorful Surly rim strip to match the motif of the bike, and Michelin’s AirComp DH 2.8″ tubes that expand nicely into a 4″ fat tire, and save several hundred grams per wheel over the thicker Surly tubes.
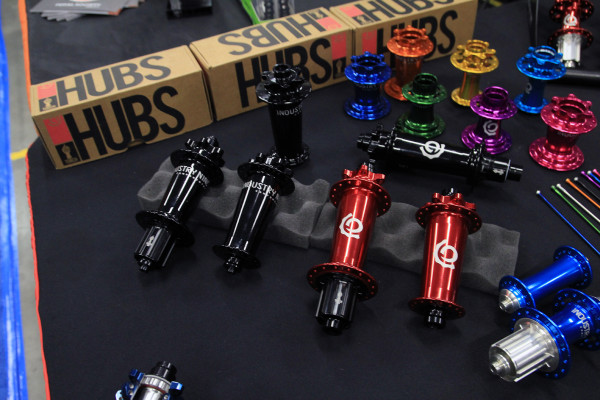
I’ve always been a sucker for anodizing, but that was not the reason I chose Industry Nine’s Torch fat bike hubs. There have been tremendous unsettled arguments amongst mountain bikers about hub engagement points, and I am from the camp that more points is better. Maybe it’s the tight singletrack of the upper midwest, where we are constantly making small pedal movements to get around tight corners, I know that I can feel the performance gains of a hub that engages quicker. So, my choice for Industry Nine’s excellent hubs is entirely because they have the fat bike hub with the most points of any other hub, with their excellent system of 6 pawls that alternately engage 3 at a time to get a super fine 120 points.

To match the hubs, and stick with some of the Made-in-USA goodness, a Cane Creek 110 headset will take the place up front. Headsets are another place I tend to put in a little more money, as the stainless steel bearings go a long way. You can pay $50 for a headset and replace the $40 in bearings every year, or you can just pay $150 once, and have it last a lifetime.
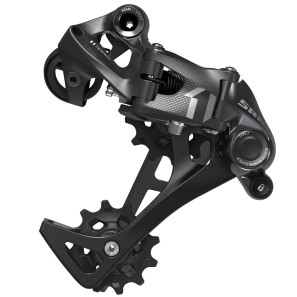
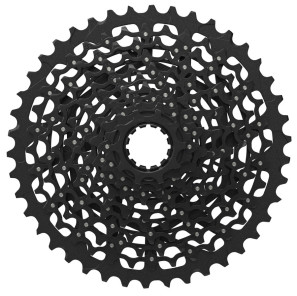
For the drivetrain, I chose the Sram X1 kit. This is another place where the components and the frame go hand-in-hand. I was initially attracted to Matter Cycles due to their super short chainstays, but those can only be built with single front chainring and no front derailleur. That was an easy choice, because it is my personal opinion that SRAM’s 1×11 groups are the 2nd most revolutionary thing for the bike industry in the last 10 years (dropper seatposts being #1). I have been riding the X1 group all winter on my Surly Ice Cream Truck, and I feel that without looking down, or counting grams, you cannot tell whether you are riding X1 or XX1. This might end up a problem for SRAM if everyone just buys the cheaper product instead of the flagship group. But for consumers, that is a huge benefit, and I would rather replace the lesser expensive of them after ripping a der off on a rock, so for that reason, I put the X1 group.
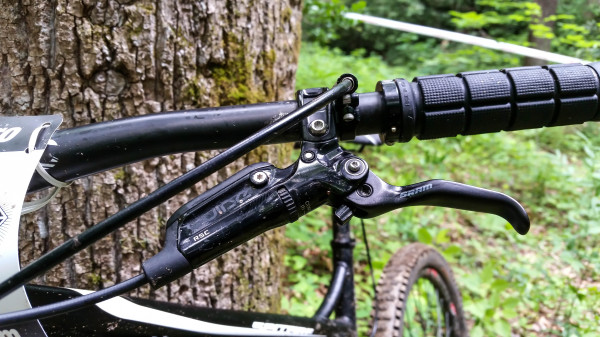
For the brakes, I chose SRAM’s new Guide RSC. Sure, people like to hate on SRAM brakes, but these are honest to goodness competitors to the Shimano XT, the adjustability is easier to manipulate with gloves on than others, and they integrate so well with other SRAM things such as shifters and Reverb levers. One little mod I do to my personal bikes is to purchase a Reverb with a Right side lever, but run it upside down and mated to the brake lever on the left side, in the place of the missing front shifter.

Finally, saddles and grips are such a matter of personal preference, its barely worth discussing. For a reason no more important than they simply agree with my butt, I use Ergon SM3 saddles, and GX1 grips.
Check next week as we start to see it come together, with builder Collin takes it down to Spectrum Powderworks, and gives us a glimpse of their operation, and the painting of the bike.
Prior posts in the series: