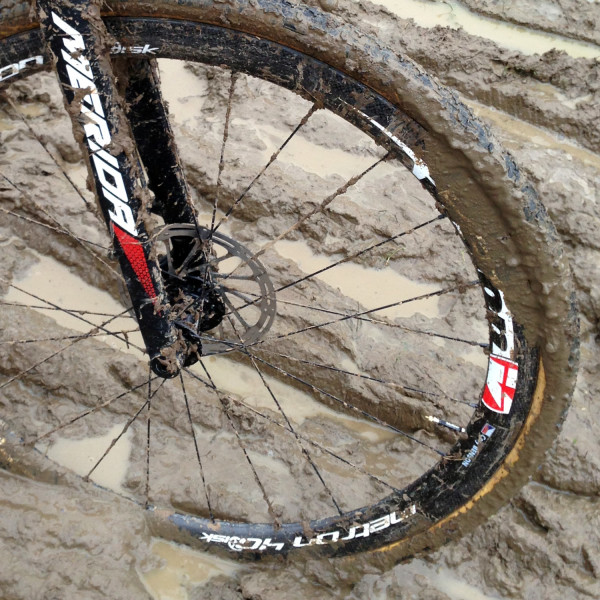
A big part of getting in the spirit of cyclocross for me each fall for the last decade has been the smell and mess of gluing up tubulars. Even with the advent of more tubeless tire options for cross, and wider clincher rims that perform better than ever, nothing really competes with the performance and ability to run ultra low tire pressures for maximum grip like a set of good, supple tubulars.
So as each season approaches, it has been time to inspect last year’s tires and get ahold of a couple pairs of new tubulars to fill in whatever gaps in tread patterns I found the previous season, or to try out something new. This year, part of that something new has been new ways to stick the tubulars to the rim. While Vittoria’s Mastik1 had been the go-to glue for a reliable and secure bond for many years, this year we’ve taken to experimenting with some alternatives so our readers don’t need to go blindly into these sticky waters. We were cautiously interested to hear that Effetto Mariposa had a new adhesive tape option that eliminated the gluing mess. Their Carogna tape has been specifically developed to overcome the limitations (and failures) of past tubular tape. And as it is rated specifically for the low-pressure, high-leverage conditions of cyclocross and mountain biking, we knew we had to give it a try. We’ve been racing on Carogna tape since the beginning of this season in both Europe and the US, so join us after the jump to see how it has treated us so far…
So the big question about Effetto Mariposa’s Carogna tape is does it work? and if so, how well?
Effetto Mariposa has tested their new tape on alloy and carbon rims, with a wide range of tubular types for road, cross and MTB. We’ve only just started to use it ourselves, and only for cyclocross tubulars so far. That said we’ve been using it with brand new Hutchinson file tread tubulars in dry conditions on a season old aluminum wheelset (that had seen glue and road tires with another manufacturers tape), a new set of carbon rims and a Challenge tubular that had been previously glued with Mastik1, and new Xentis carbon wheels with brand new Challenge Baby Limus tires. We didn’t want to only use brand new setups, as that seemed like the easiest solution, and we are kind of trying to find flaws, to be honest.
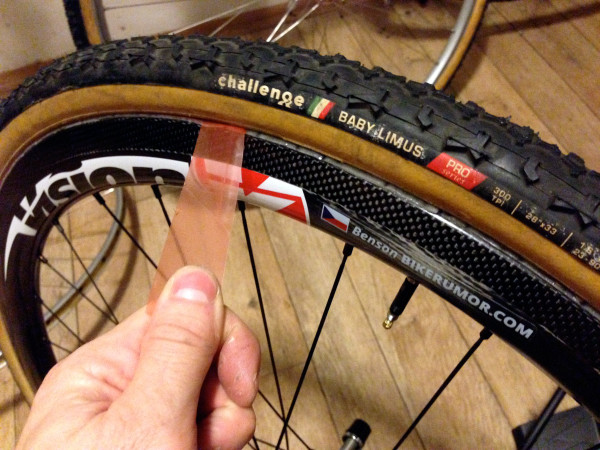
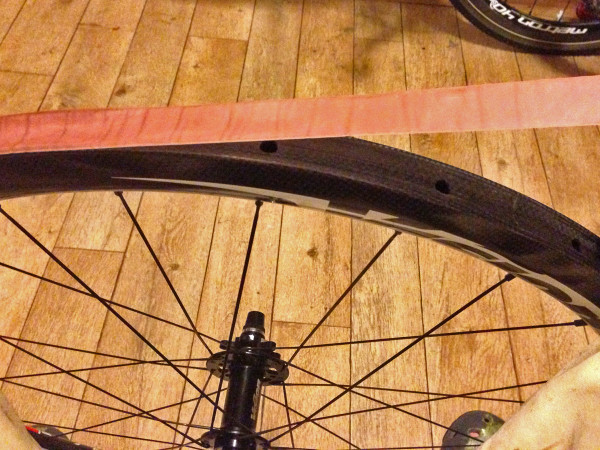
The tape itself comes in several widths, and it is important that you match the width to your rims so you don’t leave exposed edges which can allow moisture and debris to get in between the bond between the tape and either rim or tire. On this Vision Metron wheelset we’ve used the 25mm wide size M tape which is right at the edge of fitting without overhang. The tape is pressure activated, which we don’t entirely understand the chemistry/physics of, but it does work in practice. Applying the tape to the new rim, it was a little disconcerting how little it actually stuck to the rim. Pulling it taut around the first rim, I had to be careful not to pull it off completely, but it was easy to readjust as I went, centering it on the rim and pressing it down into the center channel.
If the tape is too wide for the rim it will need to be trimmed to match. To trim it, mount the tape to the rim with one side matching the width of the rim. The other side of the tape that is over hanging the rim can then be trimmed. Use a very sharp, well, new razor blade and trim the tape as close to the edge of the rim as possible. It’s a bit tedious, but once you get a good strip going you can pull it at an angle and the sharp blade will easily slice through both the tape and the plastic backing for the tire side.
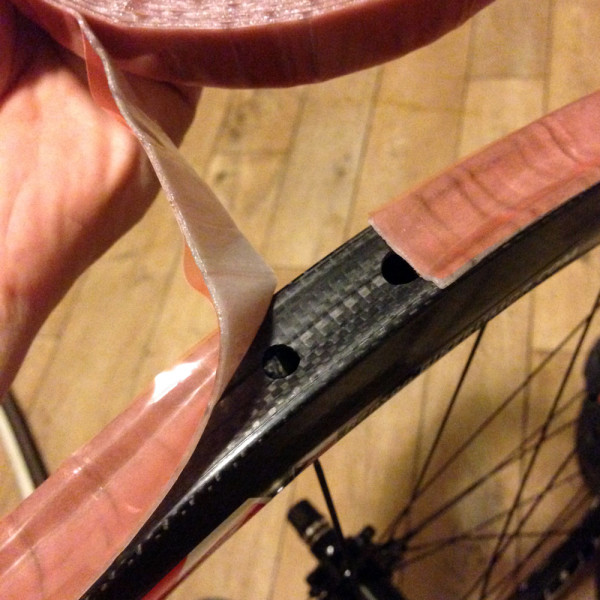
It’s important to follow the directions and leave both sides of the backing poking out from the rim as you install the tubular. The backing is supposed to be tear proof, but on one install we had the backing start to split lengthwise which caused part of it to get stuck under the tire. If this happens, you can start on the other side of the backing strip and work the opposite direction around the rim. Since there were two ends exposed, all of the backing strip was able to be removed, but if only one end had been exposed we would have been in trouble.
The rim-side of the tape is called semi-structural and is removable. It seems to be specifically developed to not hold so tightly that it can’t be removed with targeted effort. The tire side however is called permanent, and we have yet to really see if it can be removed to reuse/remount a tubular tire. (I quickly tested it on a small section of an old tubular and rim – not ridden, but pressurized – and I was able to get the small section of tape off of the tire with a knife and a pair of pliers.) A detailed look at reusing the tire will be part of our long-term reviews. The tire side adhesive is thicker too, so while it can deal with a bit of remaining glue residue from previous use, the rim needs to be pretty much spotless, with an isopropyl alcohol wipe-down highly recommended.
Effetto Mariposa rates the glue up to 150°C for hours of braking and down to -40°C for cross once it is set. As it is pressure cured, it’s important to inflate the installed tubular to its max pressure. Road tires and 120+psi tend to cure it to 99% in a full day, but cross tires at half that max pressure might take at least 2 full days to reach full strength. Just for reference we were riding these Challenge Baby Limus tubulars after 12 hours at 90psi with no bond issues.
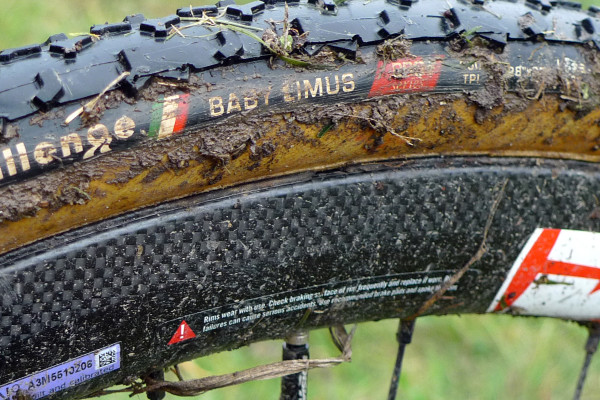
We’ve been racing on Carogna-adhered tubulars for the better part of two months now. I’ve spent the most time on the multi-purpose but mud-friendly Baby Limus and have certainly put it through the wet and sloppy ringer. At no point have there been any adhesion problems so far, and I keep lowering pressures to see if it will cause any trouble. While I normally race around 25-28psi (I weigh 75kg) with tubulars, this past weekend in the slick and sloppy mud on the right I raced at 18/20psi to try to cheat out the last bit of traction possible. I probably bottomed out the tire 5x per lap on the slow slog of a course, and two corners and one off-camber climb were especially squirrely pedaling through the turns at such low pressure, but I was able to pedal up some steep runups that others were walking and at the end of the day both tires are as firmly attached to the rim as when I started.
Stateside, the Xentis Squad Xbl 4.2 carbon with the same Challenge Baby Limus tubulars were mounted up for some racing action before the season ends. After some test rides earlier in the week, the wheels were promptly placed into duty for the OVCX Kings Tofurkey race. In below freezing temperatures, our test dummy rider (and good friend) Robert managed a win without any tire issues.
So far so good.
