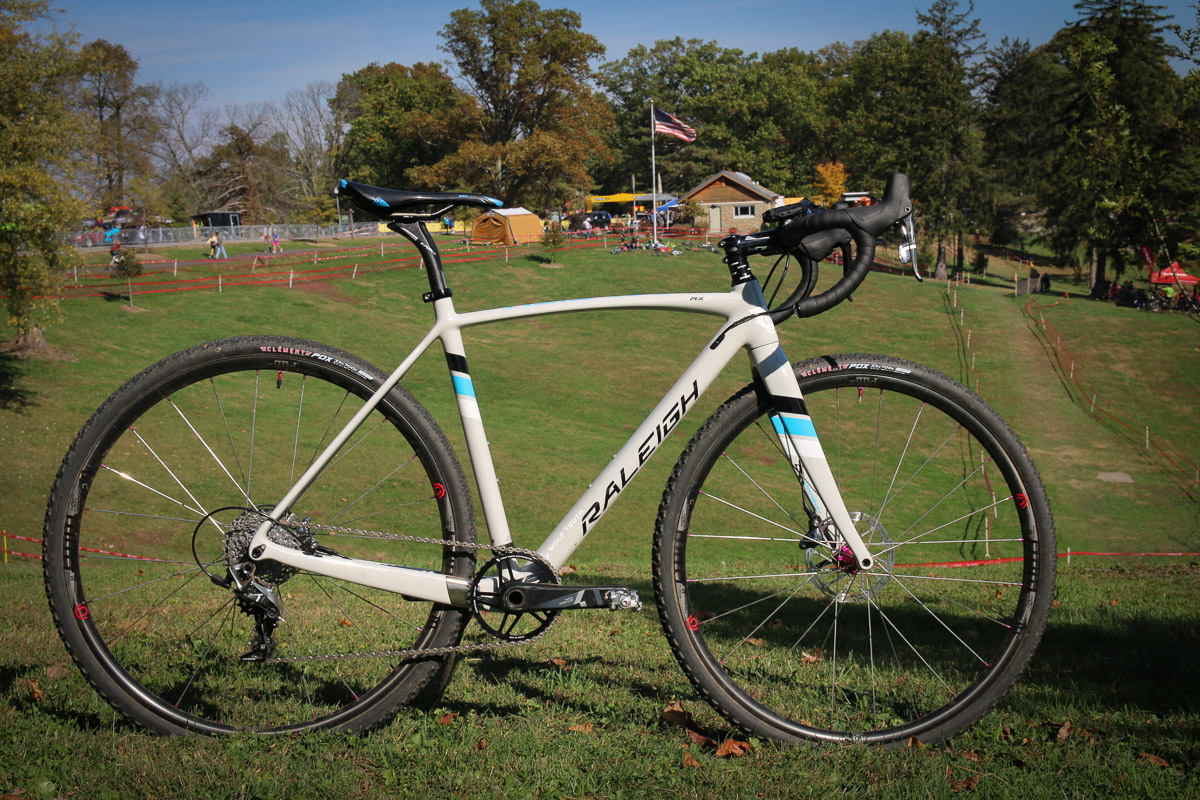
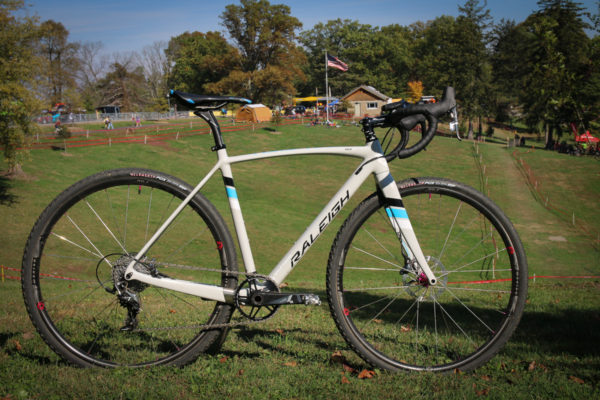
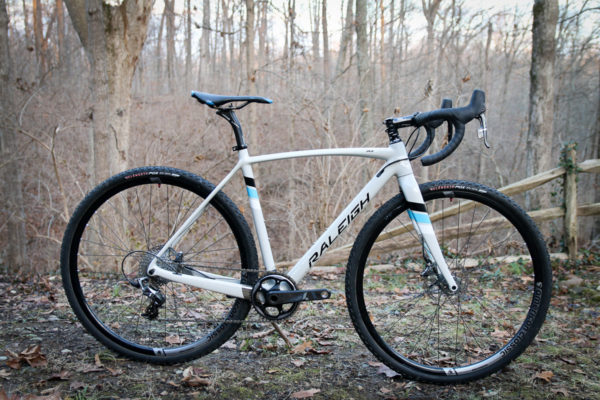
Most cyclocross racers do not start out on high end carbon bikes. Instead, it’s more often something cobbled together from race worn spares, an affordable alloy bike, or even a mountain bike. Regardless of how it starts, many reach a point where they’re either tired of spending money on entry fees, only to push themselves to the point of vomiting for 30-45 minutes, or they’re hopelessly hooked and doomed to spend the majority of their fall weekends on the CX circuit. Those who fall in that second category are the ones who eventually will be looking for bikes like the Raleigh RXC.
There’s quite a range when it comes to carbon fiber cyclocross rigs, but true to form, the Raleigh seems to pack a high level of value to dollars. At this level you don’t want to end up buying something you’ll need to immediately upgrade, but you also want to leave enough funds for those entry fees, travel expenses, and post race frites. Fortunately, the Raleigh comes incredibly well spec’ed – though there’s still a bit of room for improvement…
Raleigh doesn’t give many details when it comes to the specifics of their carbon frame and fork, other than labeling it as Direct Connect Carbon. Direct Connect is a term Raleigh has been using for years which at the time of its introduction meant a tube to tube construction using high modulus carbon fiber. Over time the shape of the carbon tubes have changed but it still has the same result – a light weight frame that offers plenty of stiffness for a race bike.
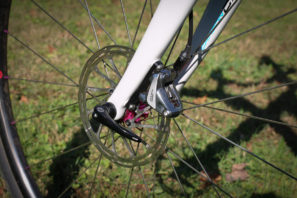
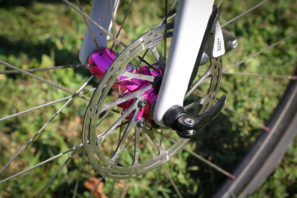
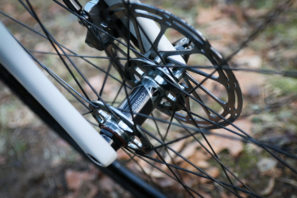
At the front, the carbon fork leaves little to be desired with a tapered 1.125-1.5″ steerer, flat mount disc brake, and a 15x100mm thru axle. We’re starting to see a number of cross bikes transition to 12mm thru axles in the front, but the difference between the two will be negligible for most consumers. That, and most wheels that will accommodate 15x100mm thru axles will also accommodate 12x100mm thru axles with the right end caps. I also find myself more willing to accept the flat mount standard on the front than the rear – mostly because the bolts that hold the caliper to the adapter aren’t the same that provide adjustment for the caliper. You just mount the caliper to the adapter, then mount the adapter to the fork like you would any other brake.
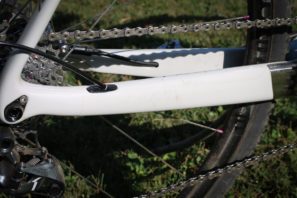
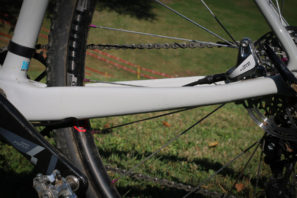
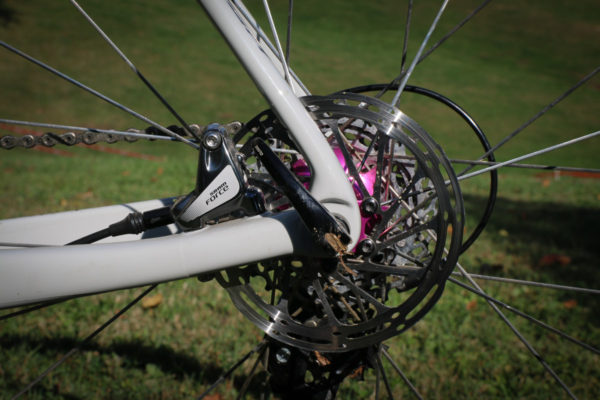
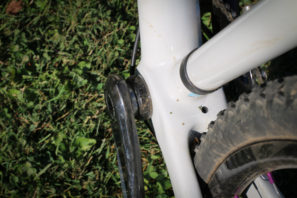
On the rear, it’s a different story since the bolts thread up through the chainstay and into the caliper. In the case of the Raleigh, this made it pretty tricky to dial in the adjustment since tightening the bolts makes the caliper ‘walk’ or move upon tightening. It could be an issue of facing the bolt holes, but each are completely free of paint so facing them would require cutting into the clear coat or surface of the carbon. Flat mount calipers look good on the rear, but I’m not convinced their worth the extra hassle at this point in their development. It’s worth pointing out that I got the brake adjusted perfectly, it just took more effort than a standard post mount.
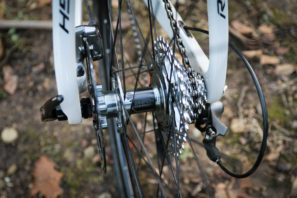
To match the front end’s stiffness, the rear of the bike also has a thru axle with a 12x142mm axle. Both the front and rear are no name thru axles, but the quick release style with levers that can be positioned wherever you’d like get the job done just fine. They also hold tight when you low-side going full tilt after taking the hole shot and building a massive lead. Oops.
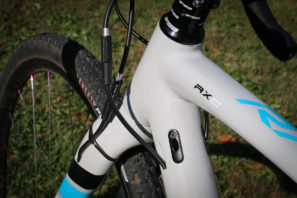
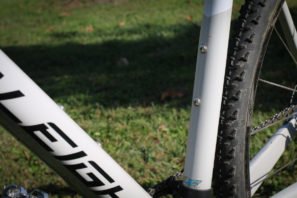
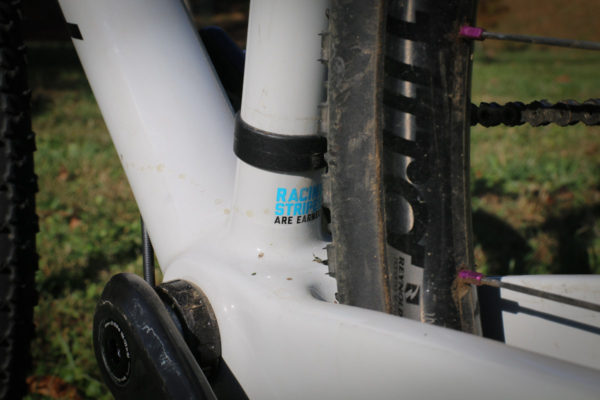
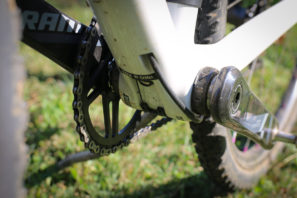
Elsewhere on the frame, you’ll find a number of desirable features. In addition to the curved, flat top tube for comfortable shouldering, the seat stays have been flattened to aid in compliance. Dual bottle cage mounts are offered because, let’s face it, it’s nice to have bottle cages if you decide to ride this bike the other 8 months of the year. Also, in spite of being a high end carbon frame, a threaded bottom bracket is used which should be a relief after multiple pressure washings. Sold as a 1x, the frame does have the ability to run a front derailleur with a bottom pull routing and provisions for the cable in the internal routing. Built with almost completely internal routing, the rear derailleur cable makes an appearance under the bottom bracket before tucking back into the chainstay. This seems like a bit of an oversight as it introduces the opportunity for gunk to build up and affect the rear shifting, but so far it hasn’t been an issue. Even though it would add more weight, I’d prefer to see full cable housing to the rear derailleur.
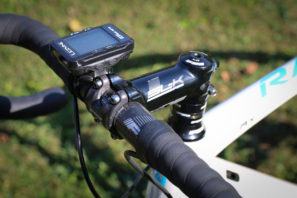
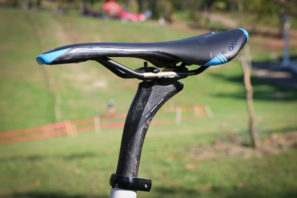
Without breaking the bank, Raleigh has appointed the RXC with an impressive cockpit set up from FSA and Prologo. An FSA SL-K Compact carbon bar is held in place with an SLK stem while the K-Force carbon set back post in 27.2mm holds a surprisingly comfy Prologo Nago Evo saddle in a 141mm width. On this handlebar, I’d prefer a wider 42 cm (40cm stock on size 52) especially since FSA measures outside to outside instead of center to center, but I also tend to run a slightly wider bar. Also note that little details like the headset haven’t been overlooked with a quality sealed cartridge integrated headset from FSA.
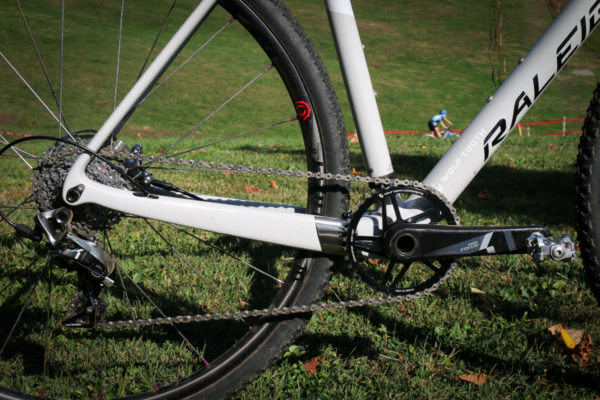
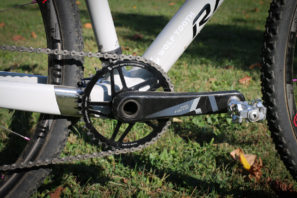
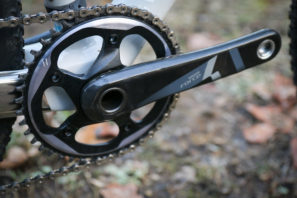
The other spec number I would chance is the chainring. The RXC is sold with an excellent SRAM Force 1 drivetrain, but the stock chainring is a massive (for me) 42t. Our courses are pretty hilly, so the 42t got ditched almost immediately in favor of a 38t.
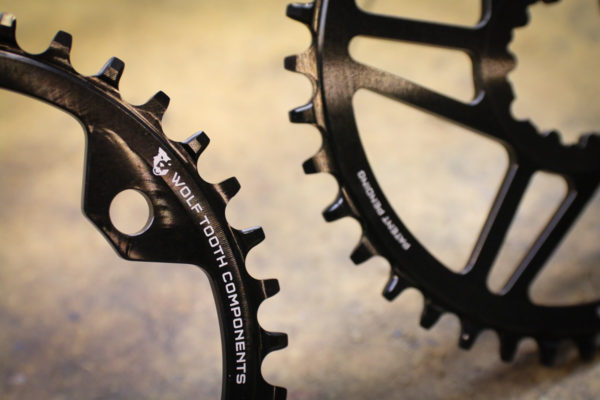
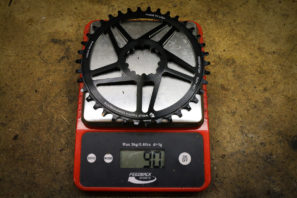
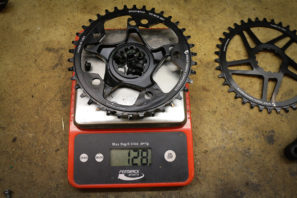
The beauty of the SRAM Force 1 crank is that you have the option to replace the 110 BCD X-Sync chainring with another 110 ring, or you can remove the spider completely to install a direct mount chainring. The same rings are available in the stock SRAM X-Sync models, but there are a number of after market options as well like those from Wolf Tooth Components. In this case, the direct mount ring will not only save you a few bucks, but will also save you almost 40g as well. The 5 bolt ring alone weighs slightly less at 65g, but with the added hardware of the spider and bolts, you’re up to 128g. Compare that to the 90g SDM ring which is $4 less, and it’s a pretty clear choice – if your crank is compatible. However, if you have the legs for it, the 42t X-Sync ring will work just as well.
The full 11 speed SRAM drivetrain is paired with the PG-1170 11-32t cassette which gives you a pretty solid range once you have the chainring dialed in. On the cross courses, I never found myself wishing for different gear spacings or more or less range.
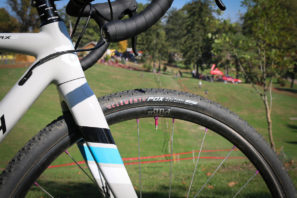
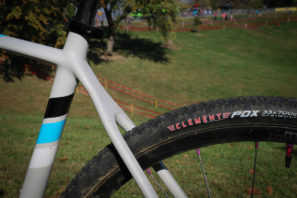
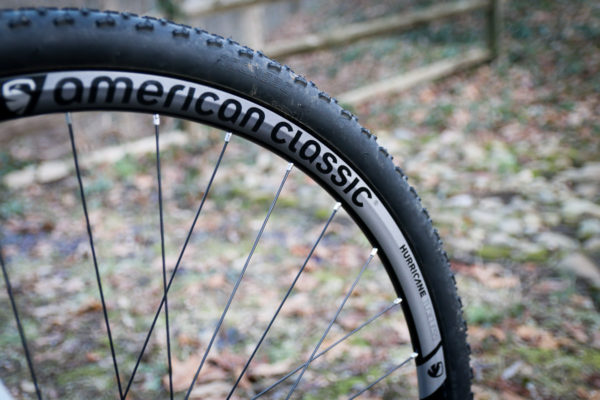
Even though I swapped the wheels out for race day, I still consider the RXC completely race ready out of the box. That’s because it ships with everything you need to set up the bike tubeless, short of the sealant. Clement PDX 33mm tubeless tires are mounted on American Classic Hurricane wheels that are pre-taped and include the tubeless valves in the box. I’m not going to say that tubeless is for everyone when it comes to cross, but I’ve had great luck with a number of set ups including those from American Classic. However, at 150lbs I’m on the lighter side of things and can probably get away with lower tire pressures without damaging the rim or rolling tires, so keep that in mind.
Honestly, the Hurricane wheels are very nice for stock hoops – I just had lighter and wider (24mm vs 18mm internal) Industry Nine carbon wheels at my disposal, and I couldn’t resist fitting them for race day. The i9 wheels are so wide that had I been racing a UCI category, I’m not sure they would have passed tech inspection. Note that this set up is as wide as the frame will allow. Even if you decide to do the exact same thing and upgrade the wheels on the RXC, the Hurricane wheels will make an excellent set of pit wheels… or commuter wheels… or whatever.
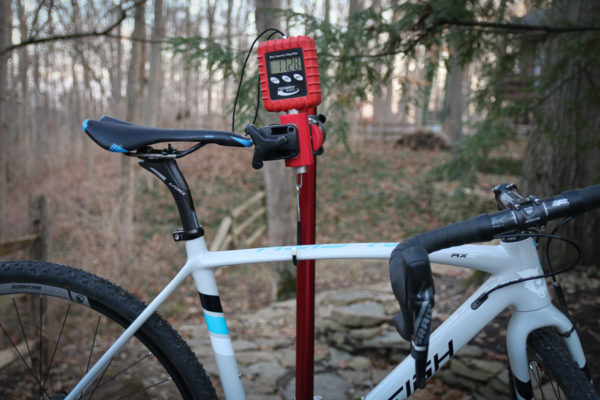
Bone stock and set up tubeless with sealant in the tires, this 52cm RXC came in at 17.28 lbs (7.84kg). Not bad for a $3,800 bike.

When it comes to actually racing the thing, as noted in the Foundry review, my 2016 season was hampered by travel conflicts but I still managed to race the RXC in the Category Slow race at Devou Park for the Pan Am CX Championship weekend. Cross Results had me predicted to win, but I blew that chance on the first lap after taking the hole shot, building a big lead, and then just losing it around an easy turn due to lack of attention (yes, I am a failure – don’t worry mom, that’s a Cross Results joke).
Even after that huge blunder, I was able to pick myself up and hang onto third which made me pretty happy. In spite of the bumps and bruises acquired on the first lap, I felt pretty good on the RXC throughout the race. The course turned out to be extremely bumpy due to the above average temperatures and lack of moisture so the ride felt a bit more harsh than the previous day when I was pre-riding the course on the titanium Foundry Flyover, but the trade off is that the bike feels extremely efficient, converting every watt into forward momentum.
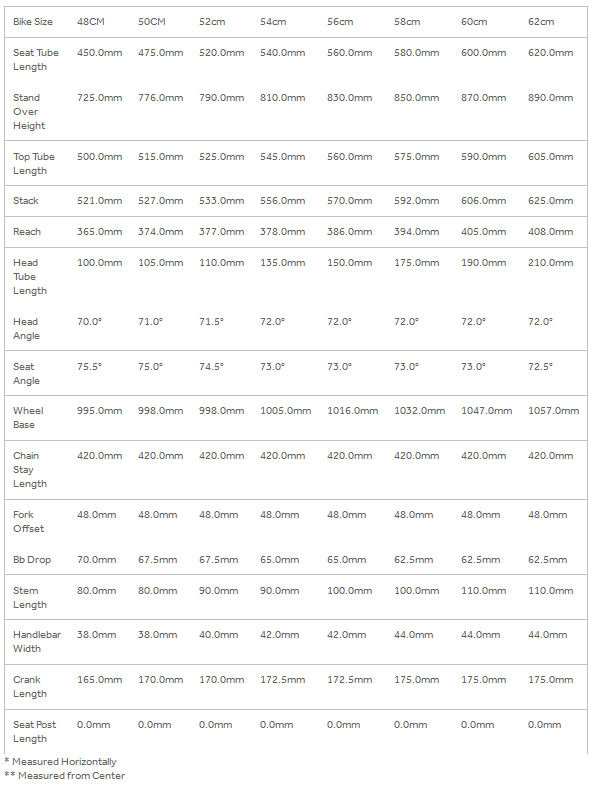
Built with fairly typical cyclocross race geometry, the RXC runs a 71.5° head tube angle, 74.5° seat tube angle, and a 67.5mm BB drop with 420mm chainstays. This combination seemed to excel on the technical course at Devou offering quick handling for the tight turns and keeping the BB high enough to pedal through nasty off camber sections.
Final Thoughts
While there is plenty that I could improve when it comes to my engine, there was little that left me feeling dissatisfied on the 2017 Raleigh RXC. It’s pretty often that I find myself wishing for a different size for one of the cockpit components, so the want for a wider bar doesn’t really strike me as a negative. Really, the only thing I felt that I had to change was the 42t chainring. Considering how easy that is to fix, I’d consider the build Raleigh chose for the bike to be worth the price of admission. It’s still a fair chunk of change at $3,799.99, but if you’re looking for a well appointed carbon cross bike that’s race ready out of the box, the RXC is a good place to start.
