Once Shimano introduced their BTR2 internal battery for Di2, it seems that nearly every manufacturer with a Di2 model is taking advantage of the new found ability to hide the battery out of sight. Campagnolo joined the internal party when they announced a new battery platform around July of last year. More than just an internal battery, the new EPS V2 power unit allows for 4 different mounting options while also reducing the weight.
We got a first hand demonstration of the use and installation of the Power Unit, check out the details next.
Campagnolo lists the V2 power unit as a 4 way fit – externally mounted, in the seat tube either facing up or down, and in the down tube. The external mounting is pretty self explanatory – instead of the rather large original EPS power unit the sleek V2 includes a removable cradle that bolts into the internal mounting holes and provides and adjustable fit when mounted externally to the preexisting mount standard.
Like the original Power Unit, when mounted externally the V2 power unit uses the same magnet to put the system on 6 month standby without having to recharge the battery. Since the battery is mounted externally, it can be installed and removed as normal.
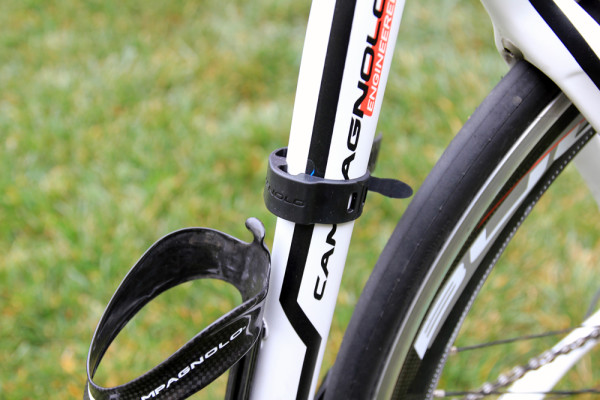
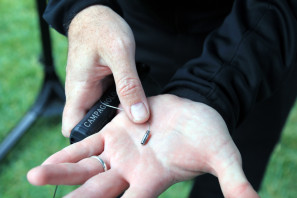
However, when the battery is mounted internally, there is obviously no way to place a small magnet in the battery when it’s stuffed down your bike’s tubes. For internal use, Campagnolo is including a magnet band that is strapped to the tube where the battery resides to place the system in standby. It should go without saying, but this is for when the bike is in storage or being serviced, so you won’t be riding with this on your bike.
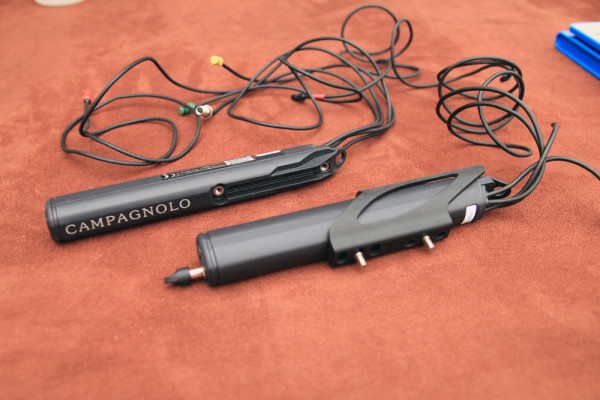
So just how do you go about bolting a battery to the inside of your water bottle mounts? What sounds like an incredibly tedious process is actually surprisingly simple thanks to a few ingenious tools devised by Campagnolo. While Campy NA’s Dan Large has done this many times, the fact that he was able to install a V2 Power unit in about 10 minutes in both the downtube and seat tube was pretty impressive. That’s with the Campy tool kits though, without them you would probably be out of luck.
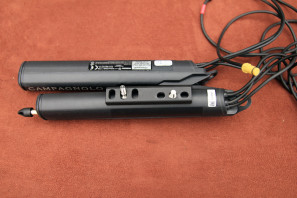
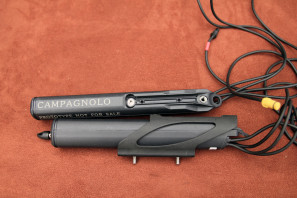
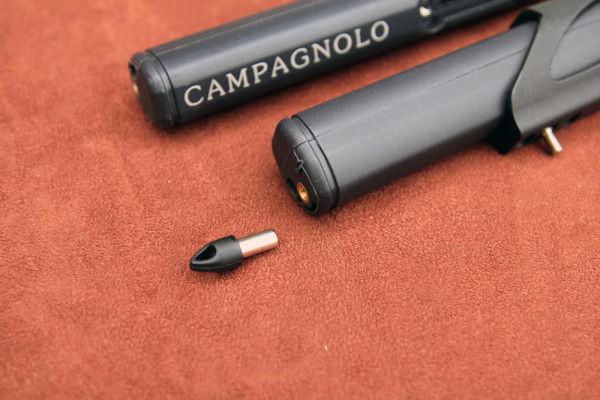
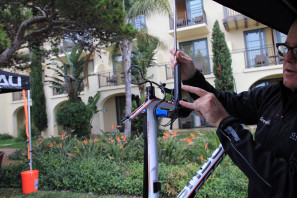
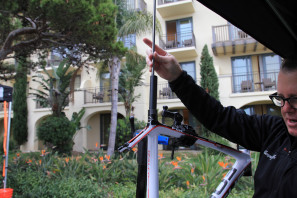
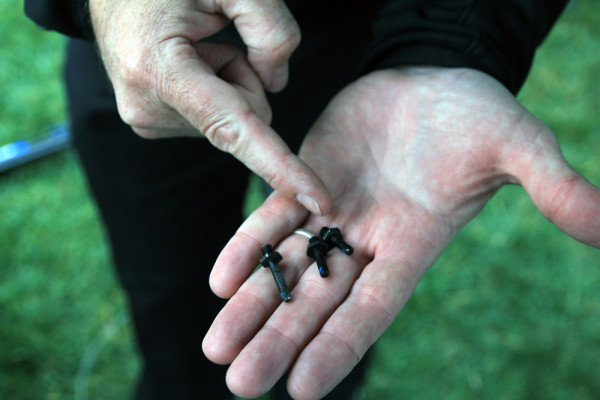
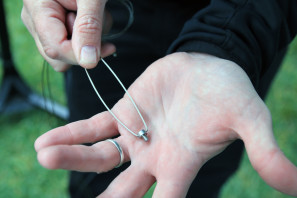
In order to mount the battery in the seat tube Campy has a long rod that is threaded on the end to screw into the battery. The Battery itself has a slot that guides itself onto the threaded studs that a inserted though the water bottle bosses. In order to pull the wires through the frame, there is another tool kit that has a magnet on a wire that plugs into the wiring loom. In order to pull that through the frame there is a shift cable with another magnet shrink wrapped to the cable which when pushed through the frame easily connects with the magnet on the wiring loom allowing you to pull it through the frame to where it needs to be. Apparently, the magnet/wire technique comes from F1 where it is used to pull the wires through the carbon chassis. Pretty clever.
Mounting the battery in the downtube is similar, but because of the angles of snaking it through the head tube, a steel rod can’t be used. Instead, there is a system of two steel wires with the smaller one to the left threading into one of the mounting bosses on the battery, and the one on the right threading into the end of the battery. The process is probably too abstract to explain, but after seeing how it is done, it is incredibly easy with the tool kit (different kits for Athena EPS and Record EPS). The dual wires on the second tool allow for it to be unthreaded from the battery once it is bolted to the frame.
Since the V2 Power Unit is bolted in place, there is no way it will move, rattle, and it will be better sheltered from the elements. On the bottle bosses where the battery is mounted, water bottle cages are attached with a nut instead of the standard bolt.
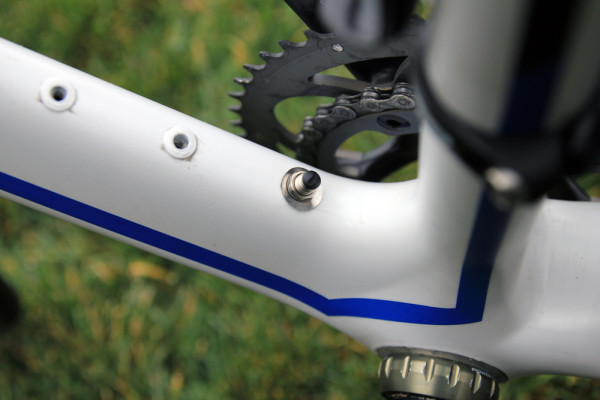
Since the battery is now internal, the question of charging becomes an issue. On the EPS system, the Power Unit is the battery but it is also the heart of the electronics for the system including the diagnostics and charging port. Now, instead of plugging into the battery, there is a new charging nipple that must be installed in the frame somewhere. Campagnolo says that most frame manufacturers are already on board with mounting holes and will accommodate the system going forward. What about upgrading your current system? Dan mentioned that most frames have some kind of a hole (many times on the BB shell) that can simply be widened to 7mm to allow for the charging port.
The V2 Power Unit is fully compatible with previous EPS systems, and will run around $1000 for the upgrade. That price includes the interface, Power Unit, and the charger which are all specific to the internal battery. As far as pricing for the battery with a new EPS drivetrain, the pricing remains the same as the previous power unit. With the new interface, diagnostics are still performed without the need for a computer with everything done through the bike with a system of LED lights to indicate performance or errors.
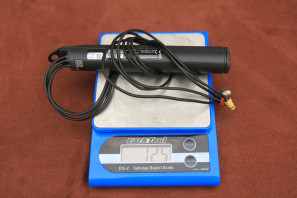
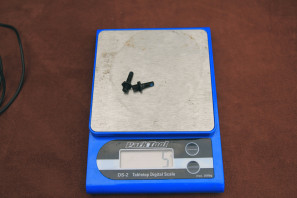
Running about 15% lighter than the previous power unit, the battery weighs 125g and about 5g for the mounting hardware. Because of the smaller size though there is a slight decrease in battery life – from about 2200km to 1700km or about 1200 miles.
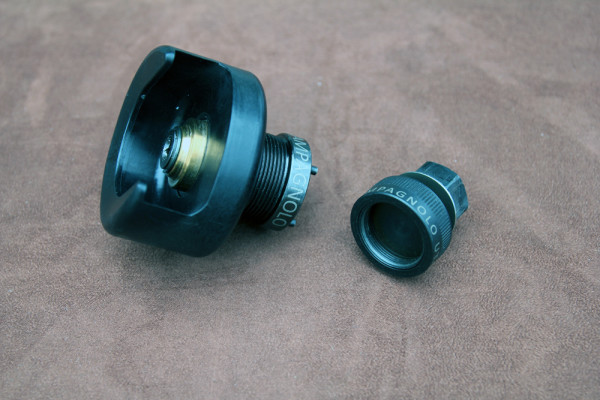
While we’ve already had the chance to check out the Campy Over Torque BB30 crankset which is their lightest crank with the narrowest q-factor, for those of us who get excited by tools, especially Campy tools, we had a chance to check out the new Over Torque installation and removal tools. As Dan puts it, these proper Campy tools make the installation and removal of the cranks a breeze and actually aren’t too expensive for a shop to purchase. The tools install the crank, install the spindle nut, and remove the crank without leaving a scratch.
