You may have just seen the news, but Wolf Tooth Components now has their own dropper post called the Resolve. Representing one of the brand’s biggest launches in recent years, WTC gave us behind-the-scenes access to the development including the ability to fully test not one, but two samples ahead of the launch.
Thanks to plenty of testing, and even some crash testing (oops), it seems that the Resolve lives up to its claims – even if it can get squishy.
Starting Small(er)
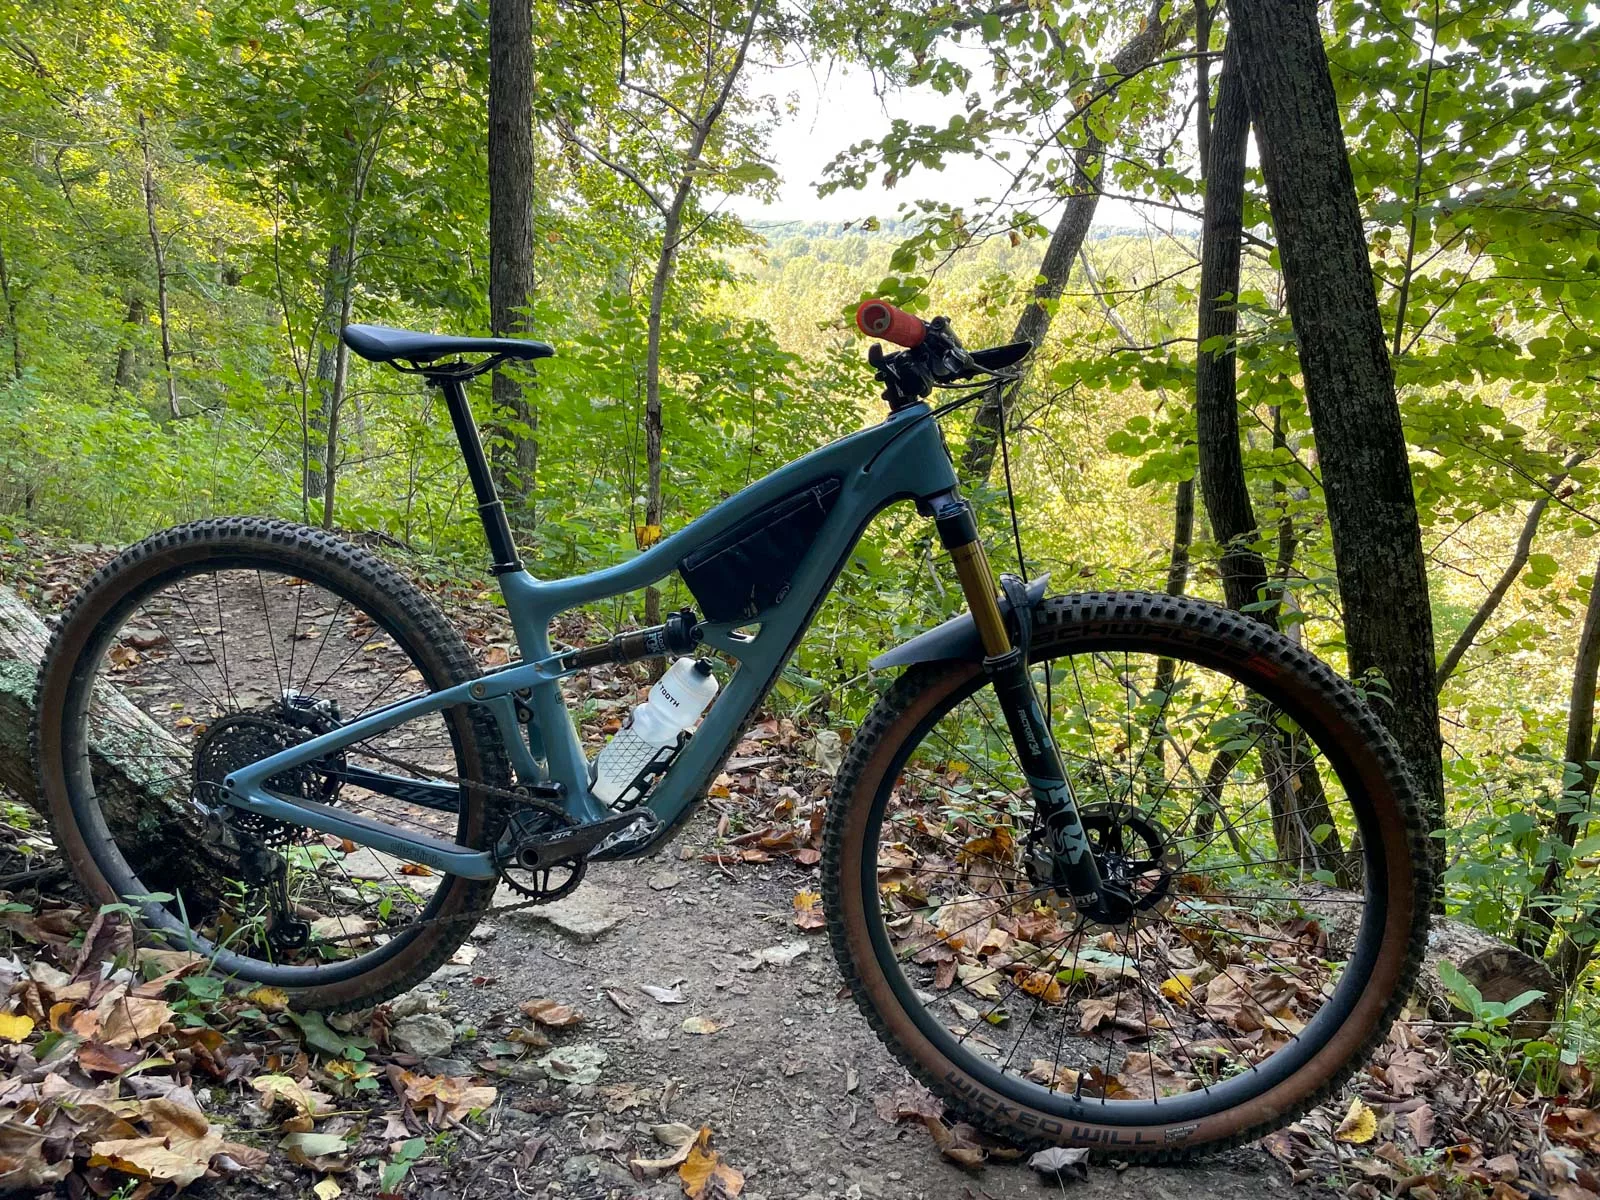
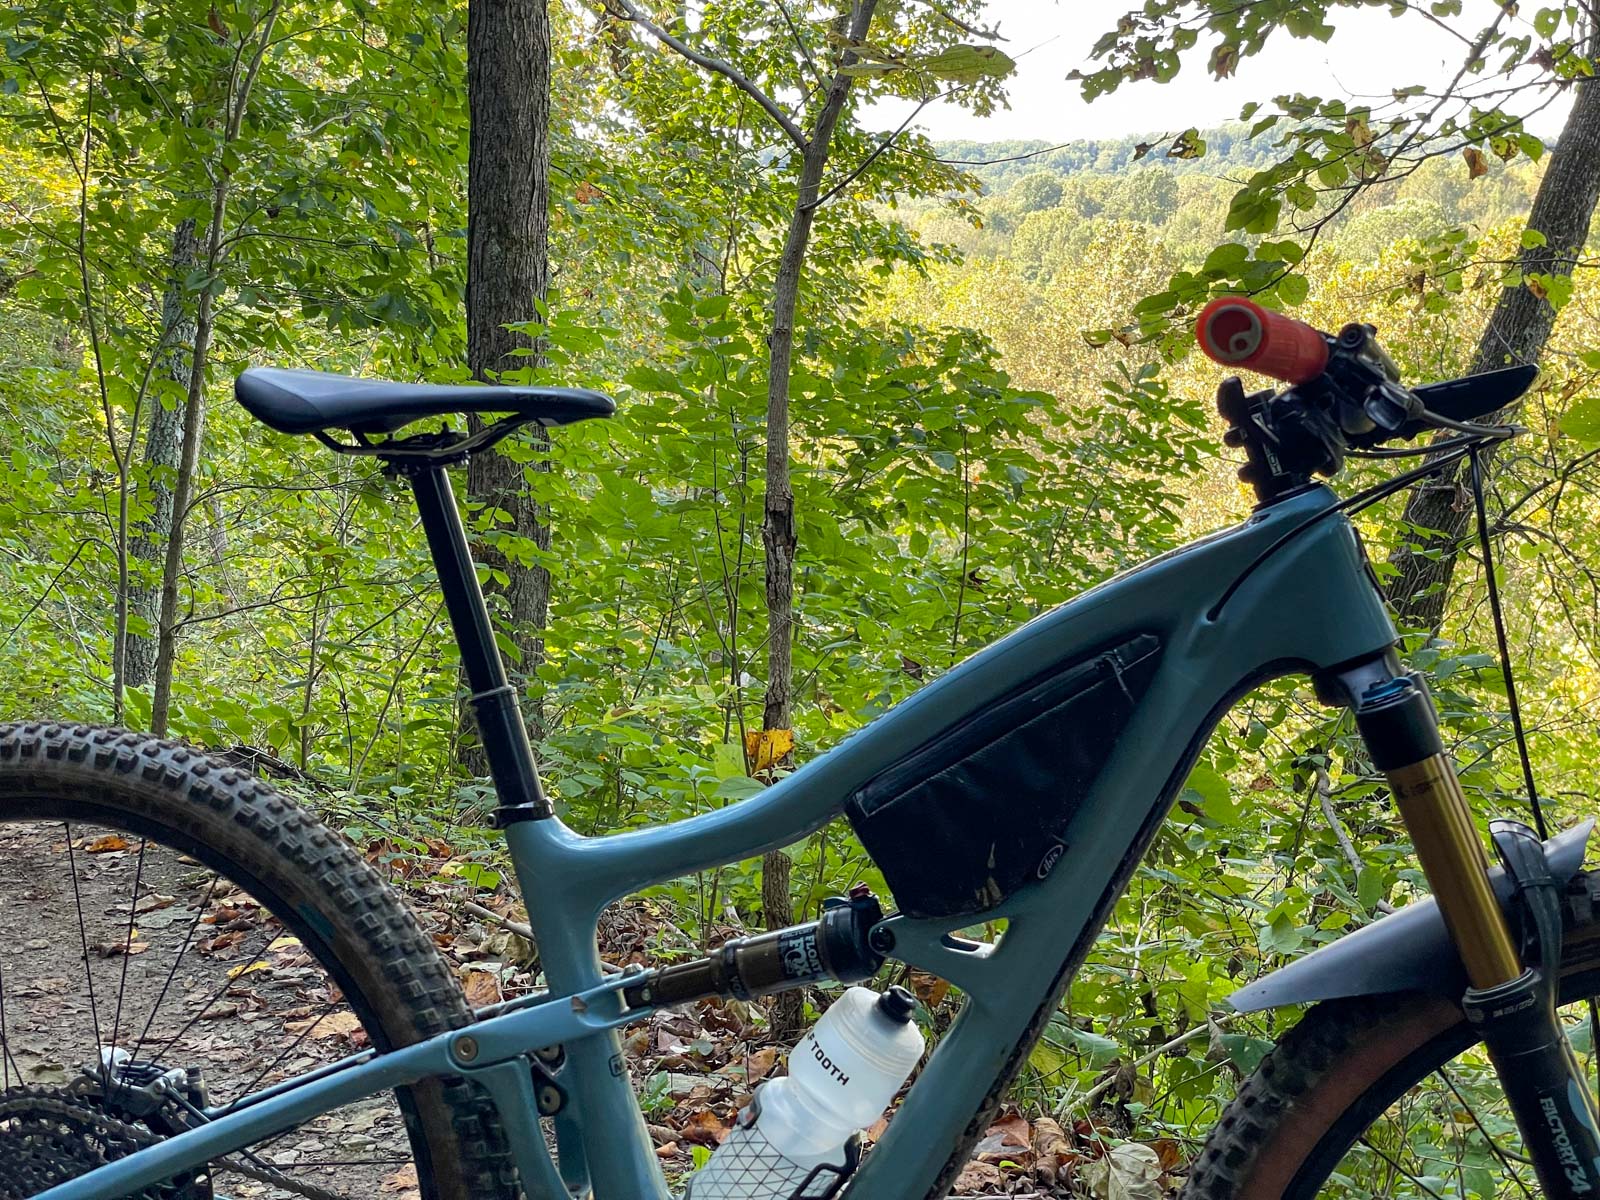
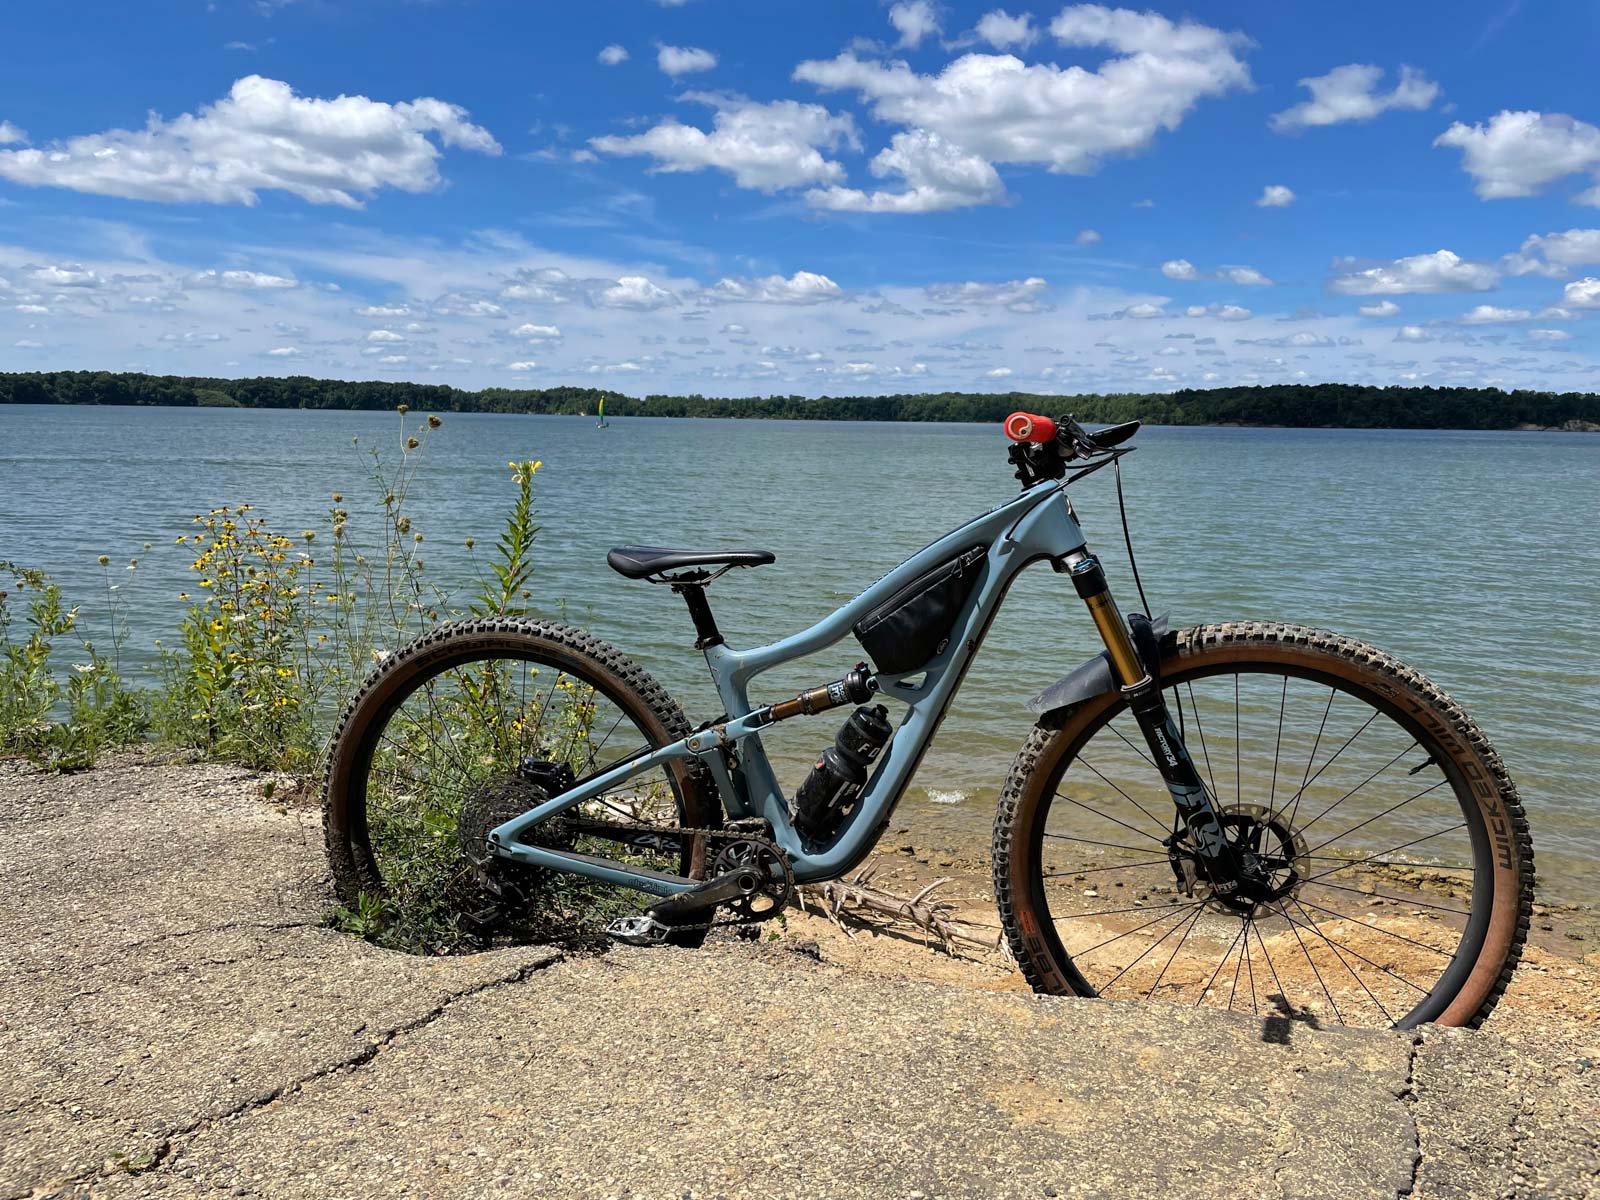
When WTC offered up a Resolve seat post for review, I figured I’d throw it on my Ibis Ripley v4. It was the height of the summer, and I figured that this bike would get the most use. Given that I previously maxed out other brands’ posts at around 170mm travel for my saddle height on this bike, I opted for the 160mm travel Resolve.
Had I used the WTC Dropper Post Calculator, I would have realized that was a mistake.
Thanks to the incredibly short 32mm stack height of the Resolve, the 160mm post left me with a substantial amount of room below the collar – more than enough room to run a full 200mm travel version.
What? A 200mm travel dropper post on a medium XC/Trail bike for a 5’8″ rider? It’s kind of insane. But welcomed.
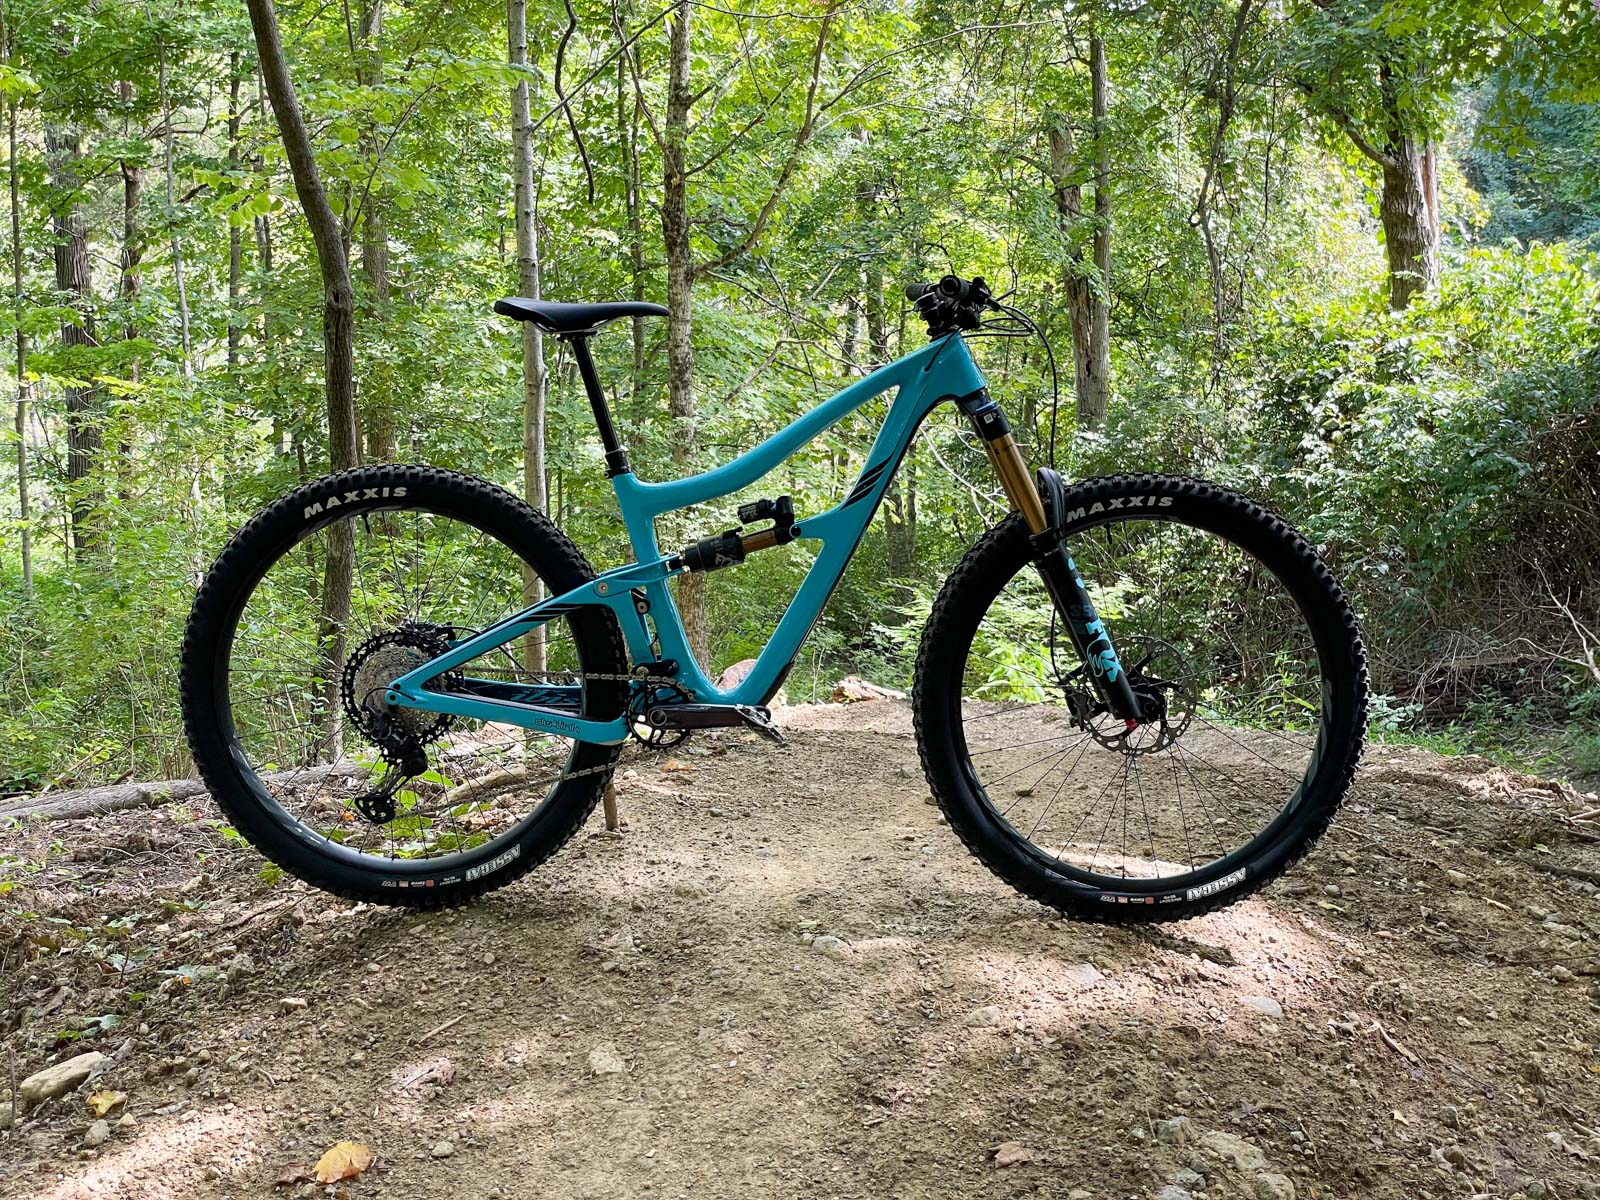
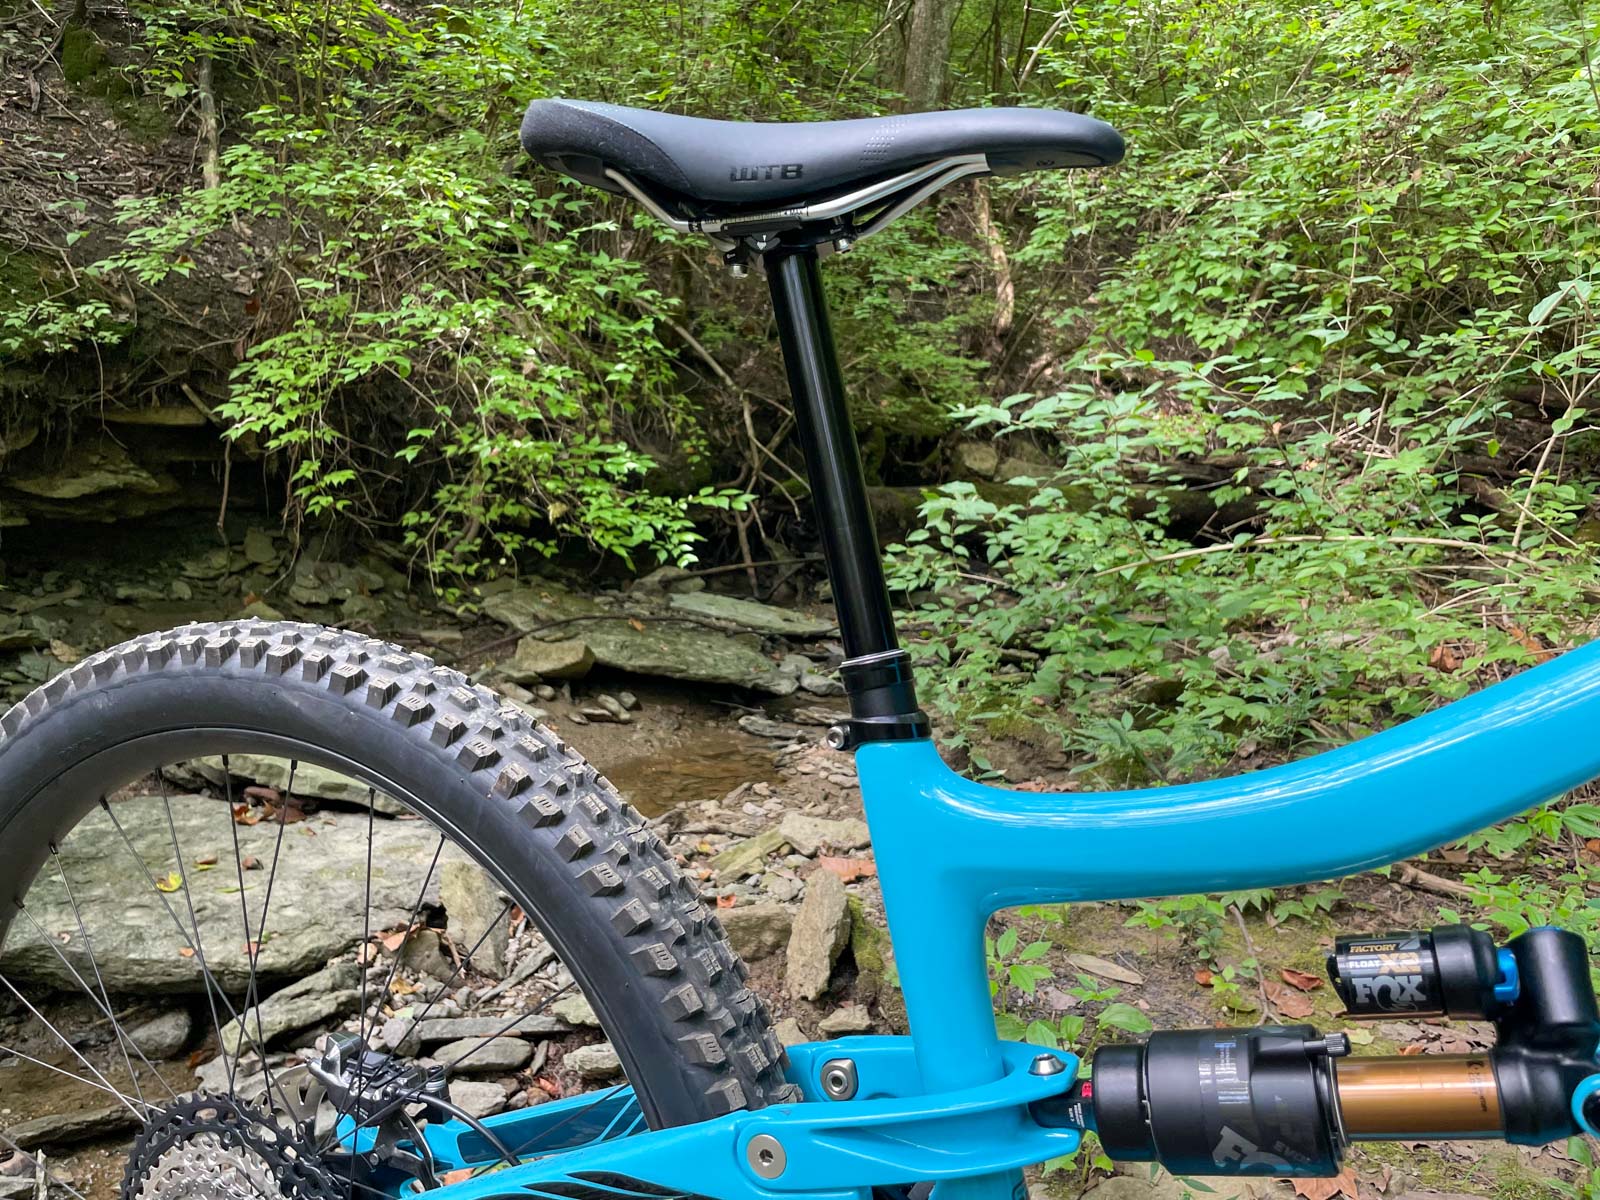
A while later, I had lined up this Ibis Ripmo V2 for a Moab trip (which sadly didn’t happen), but it provided another chance to check out a different Resolve post, as it is the same bike that WTC used for some of their photography for the new post.
As it turns out, the Ripmo actually has a slightly longer seat tube than the Ripley, so I was only able to run a 200mm post travel adjusted down to 190mm here. Realistically, there’s actually room for at least 195mm of travel though. And as a short rider, the ability to run even a 190mm dropper post on a long travel 29er is incredible.
What Size Dropper Will Fit My bike?
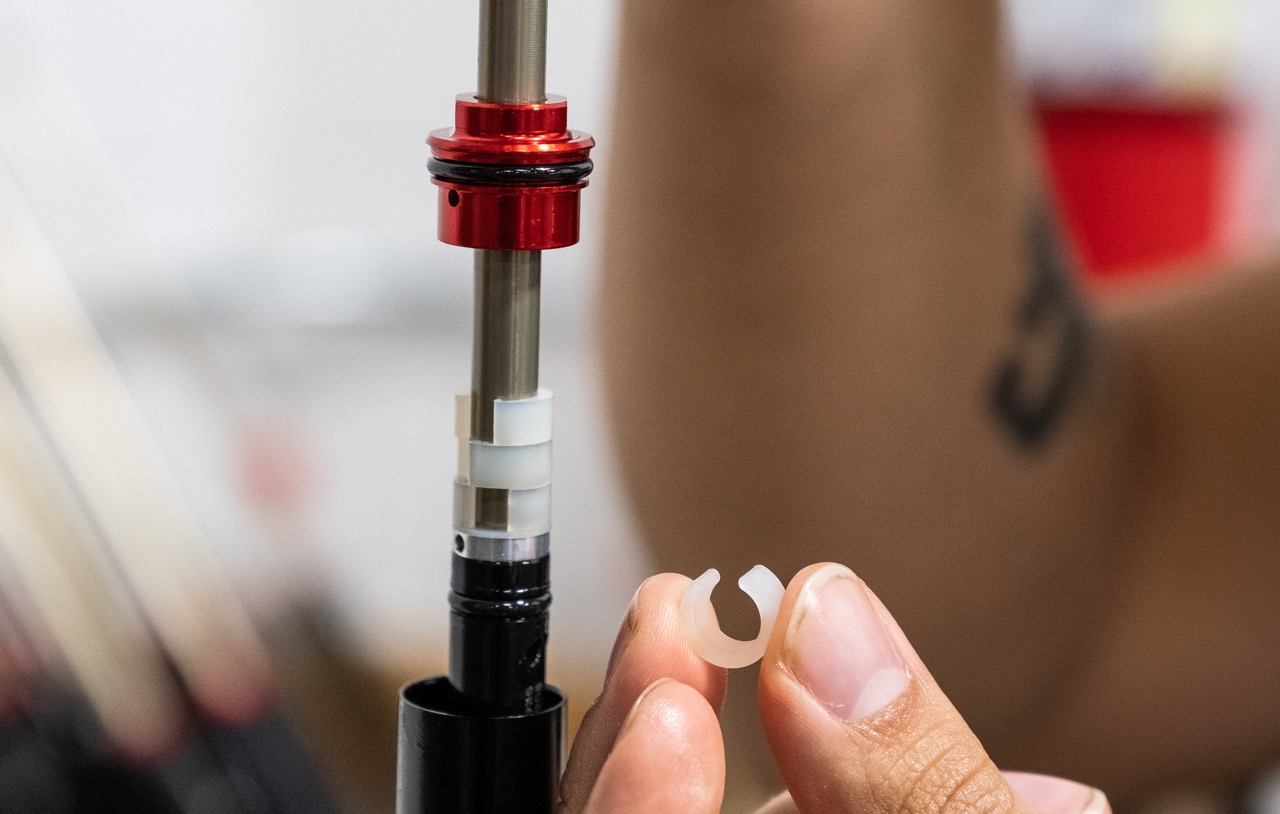
While WTC offers the ability to purchase a dropper post with the travel reducing spacers already installed, my experience suggest that riders may find that they can run more travel than they initially expect. As mentioned, check out the Dropper Post Calculator Tool to start.
Because of that, I’d recommend buying a longer travel version if you’re right on the edge. In the case of the Ripley, I went with the 160mm version because it’s all I thought I could fit. But in reality, I could run the 200mm version. While the 200mm post could be adjusted down to 160mm of travel with 8 spacers, you can’t add any height to the smaller travel posts.
While the shorter travel posts will be a little lighter (there is a 50g difference between the 31.6mm 160mm and 200mm posts), if your aim is maximum travel, that extra weight is probably worth it.
On the flip side, if you want the lightest post and don’t need much travel, go with the 125mm dropper and shim it down if you need to.
Testing the Resolve
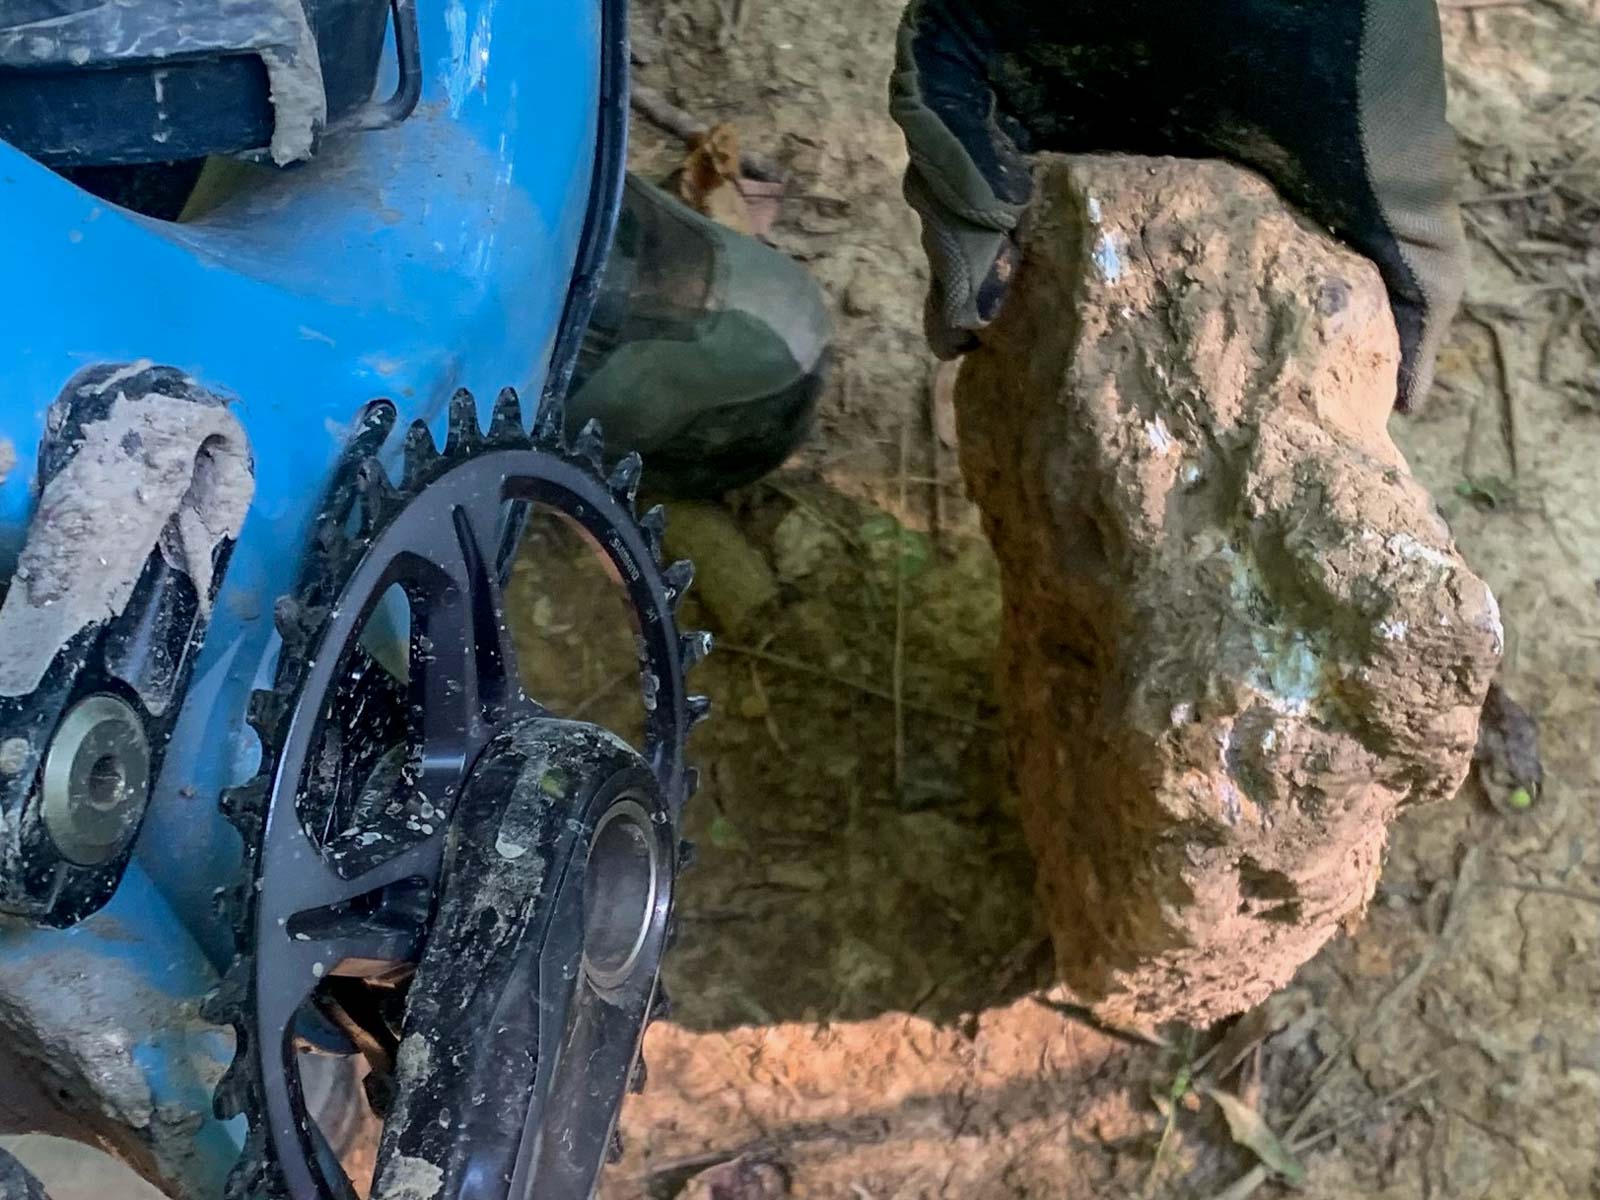
Remember when I mentioned in the Ibis Oso post how a crash took me out from riding the new eBike? That was on my Ripley while testing the Resolve. The crash was a result of a freak occurrence where a loose rock popped up from my front wheel, and then wedged into my chainring and frame, with the other end sticking in the ground, all at a high rate of speed. The resulting impact was strong enough to smash the XTR chain in two, and fold over the XTR chainring, while leaving a chainring ‘bite’ in the rock itself.
It also catapulted me over the bars, leaving a 20′ skid mark on the rock hard trail surface. In the process, the bike tomahawked behind me, eventually chasing me down and leaving a tire impression bruised into my back.
Needless to say, it was a violent crash.
After pushing the bike back to the car, I hung it up for a few weeks without doing anything as I tried to heal up. Eventually I healed up enough to replace the broken components, but it wasn’t until about a month later that I grabbed the bike without thinking about the fact that I hadn’t test ridden it yet since the crash.
Fast forward to me showing up to Hassmer Fest in Indiana, and finding out just as we’re about to go ride that the self-bleeding Resolve was squishy after all.
After consulting with WTC, they agreed that I had probably frothed the oil inside the post as a result of the jarring crash. Then I was instructed to drop the post fully, let it sit for 20-30 seconds, and then raise the post fully.
After doing this a few times, it was like magic – the post was 100% back to normal, as if nothing had happened. The team from WTC mentioned that under normal circumstance, you would never even notice a post getting to this point since it self-bleeds every time it drops. But in this rare case where the bike tumbled, rested upside down for a bit, and was then hung up without use, it needed a bit more time to fully bleed itself clear.
TL;DR? The Resolve technology works.
Custom Saddle Clamp
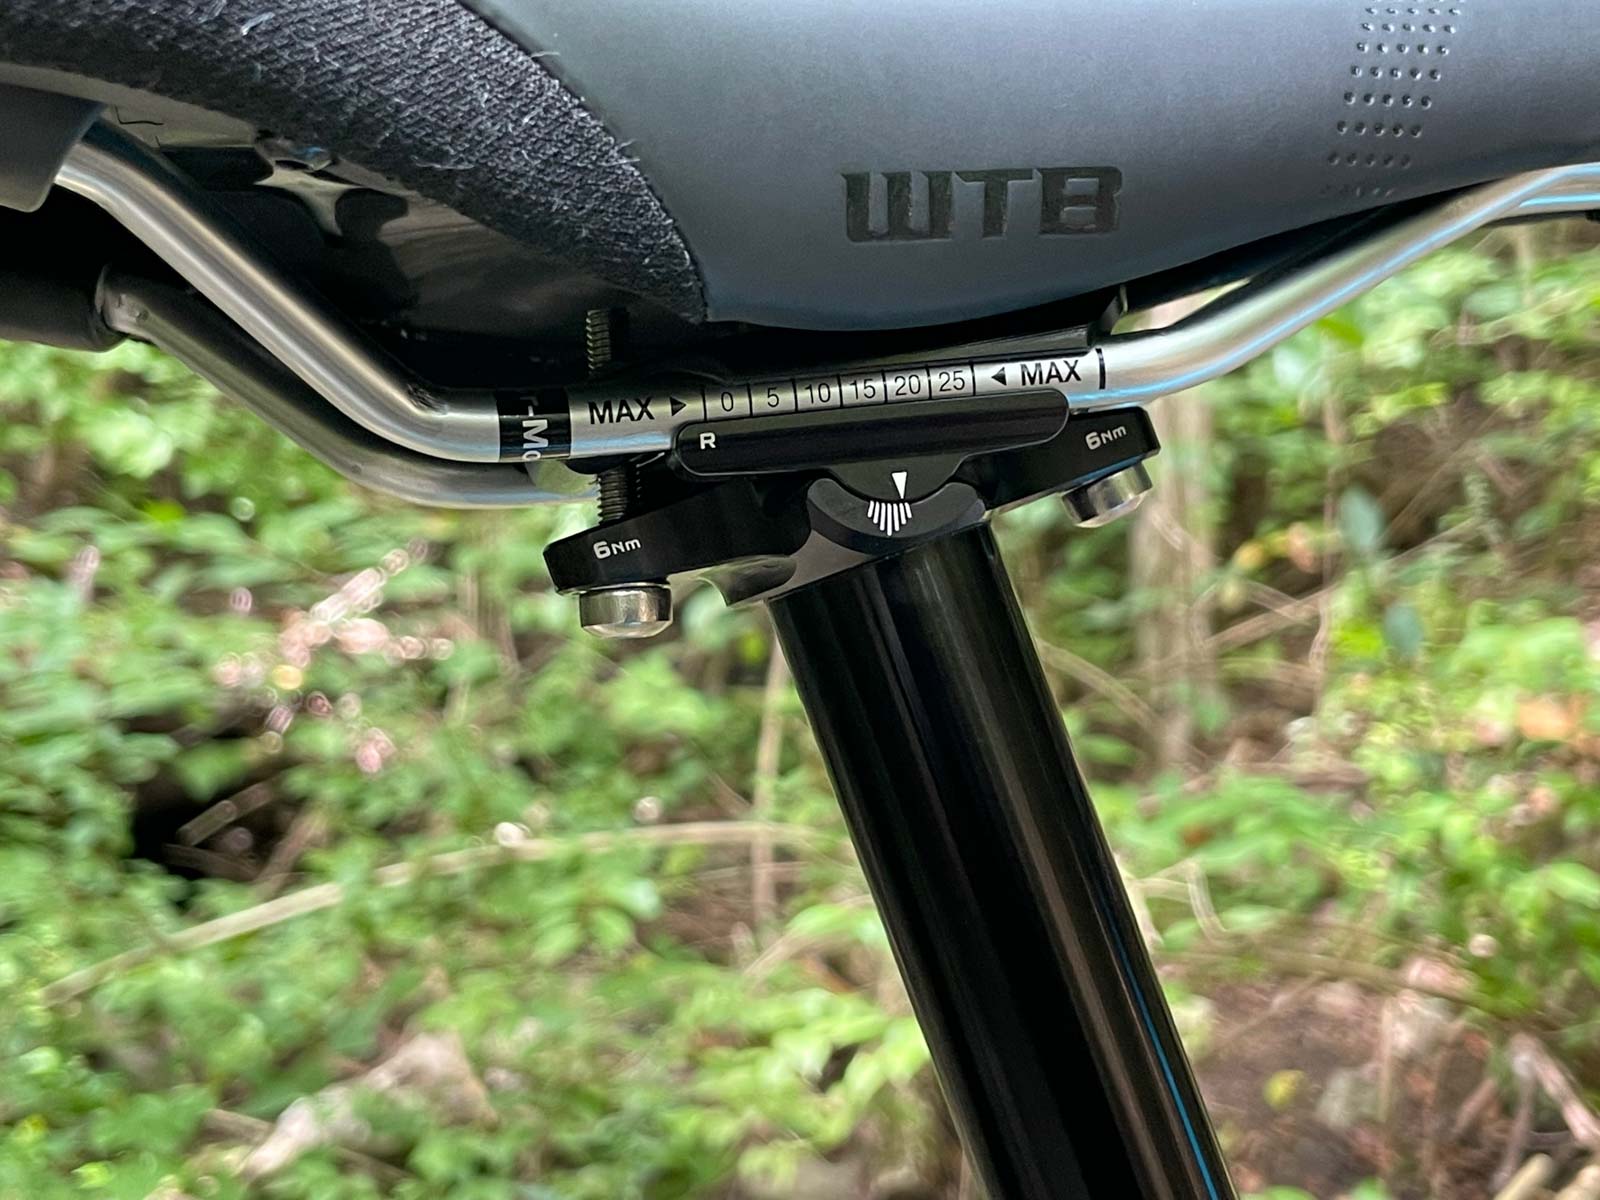
We touched on it in the tech post, but WTC managed to get the stack height down to just 32mm with the design of a new saddle clamp head. The design uses a captured lower clamp surface, which means that you have to completely remove the upper clamp surface to install or remove a saddle. It’s not a big deal, but does make the process of swapping saddles or adding/removing air a bit more time consuming.
However, the clamp is expertly designed, and easily adjustable – seemingly even easier than other twin bolt clamps.
One Complaint
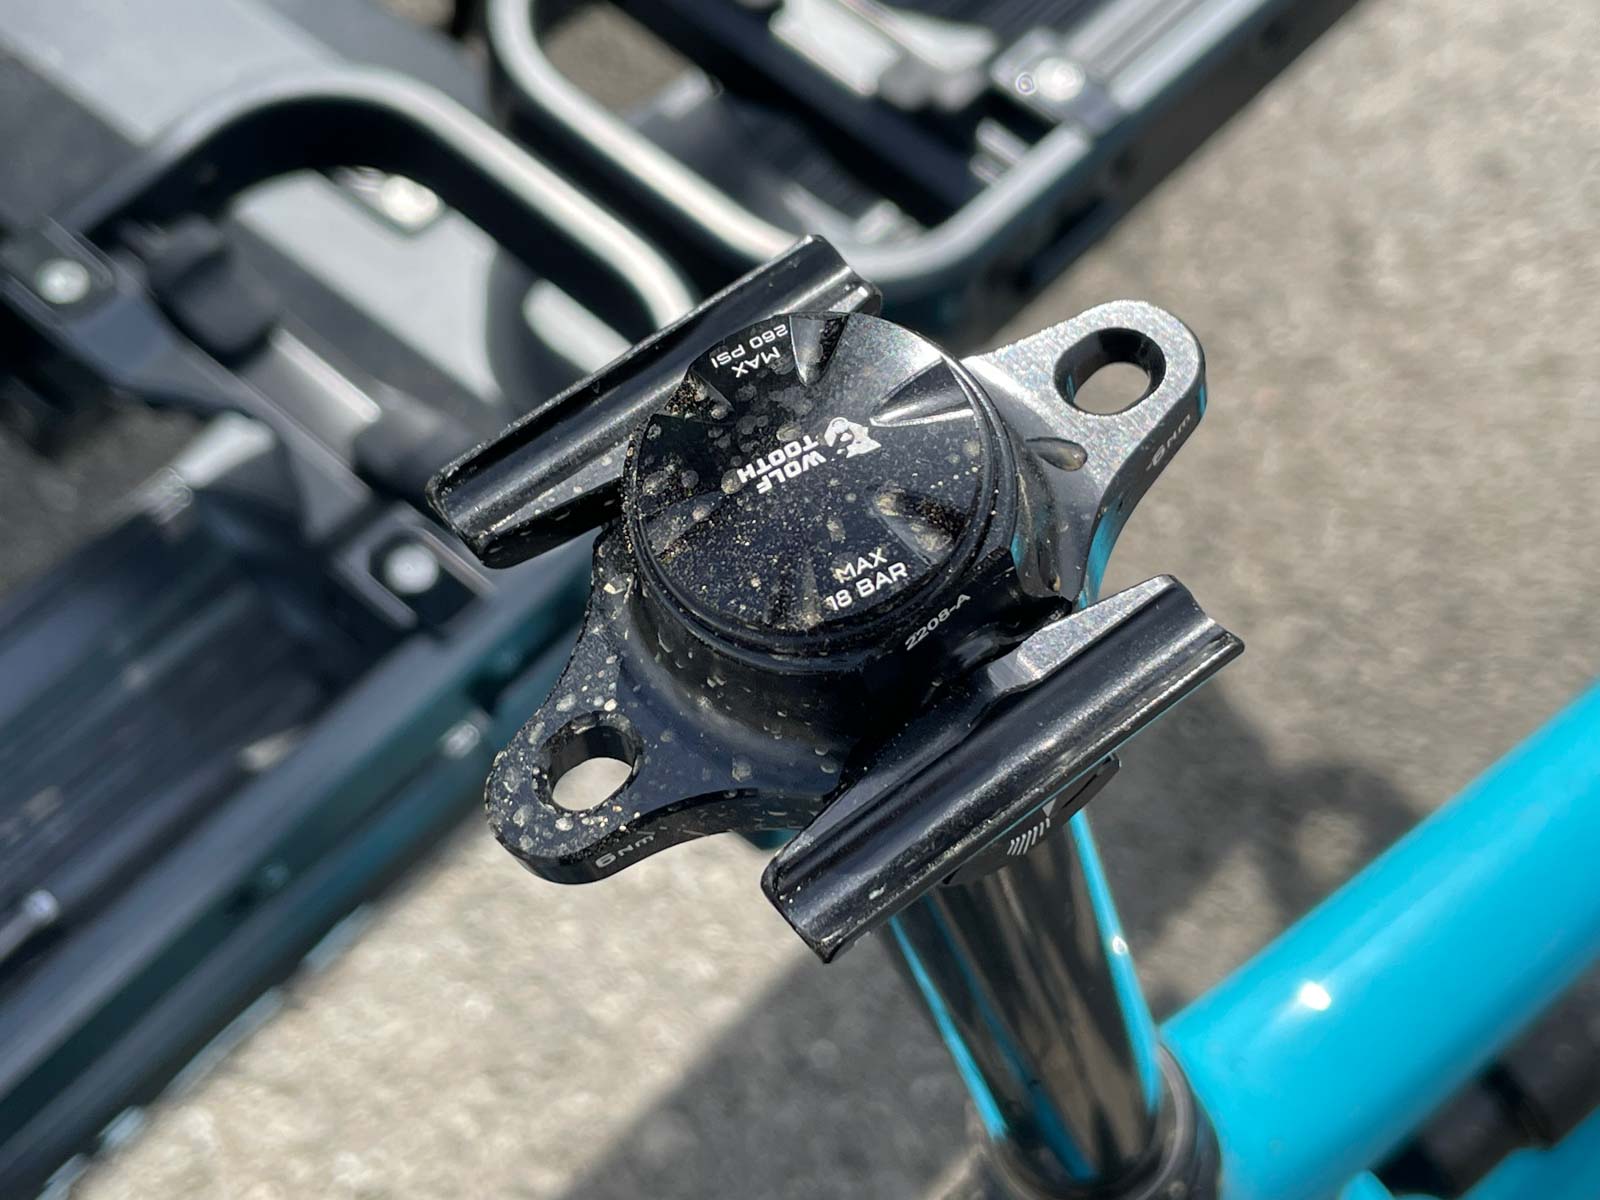
I love everything about the Resolve, with one exception: the air cap. As mentioned above, the extremely low profile design of the saddle clamp means that the air cap itself has to be a low profile design. Meaning, there isn’t much to grasp with your fingers if you need to remove it. On one post, I tried to remove it (for the first time) to add air to the post in the field, and I simply couldn’t get it to budge.
In hindsight, I figured out that Park MLP-1 master link pliers, or even the WTC 8-Bit master link pliers work fairly well for grasping the cap and getting it to turn. Had I known that, I probably would have been able to air up the post.
Still, my recommendation would be to remove it at home before using the post, and reinstalling it very gently. Ideally, maybe the cap could be redesigned with more of a ‘wing’ tab to provide some more grip to turn it with your fingers. Overall, it’s a small complaint on an otherwise excellent post.
Positive Clunks
When it comes to fully up, or fully down, there’s no mistaking the end of the Resolve’s travel. That’s because there is an audible clunk at either end, which is there for a reason. When you’re riding at the limit, it’s nice to know that your post is fully extended or compressed. The Resolve offers a reassuring little ‘clunk’ that lets you know it’s at full extension and you can let go of the lever. It’s hard to explain, but it just feels better when you hit the lever and the post clunks into place.
ReMote Lever
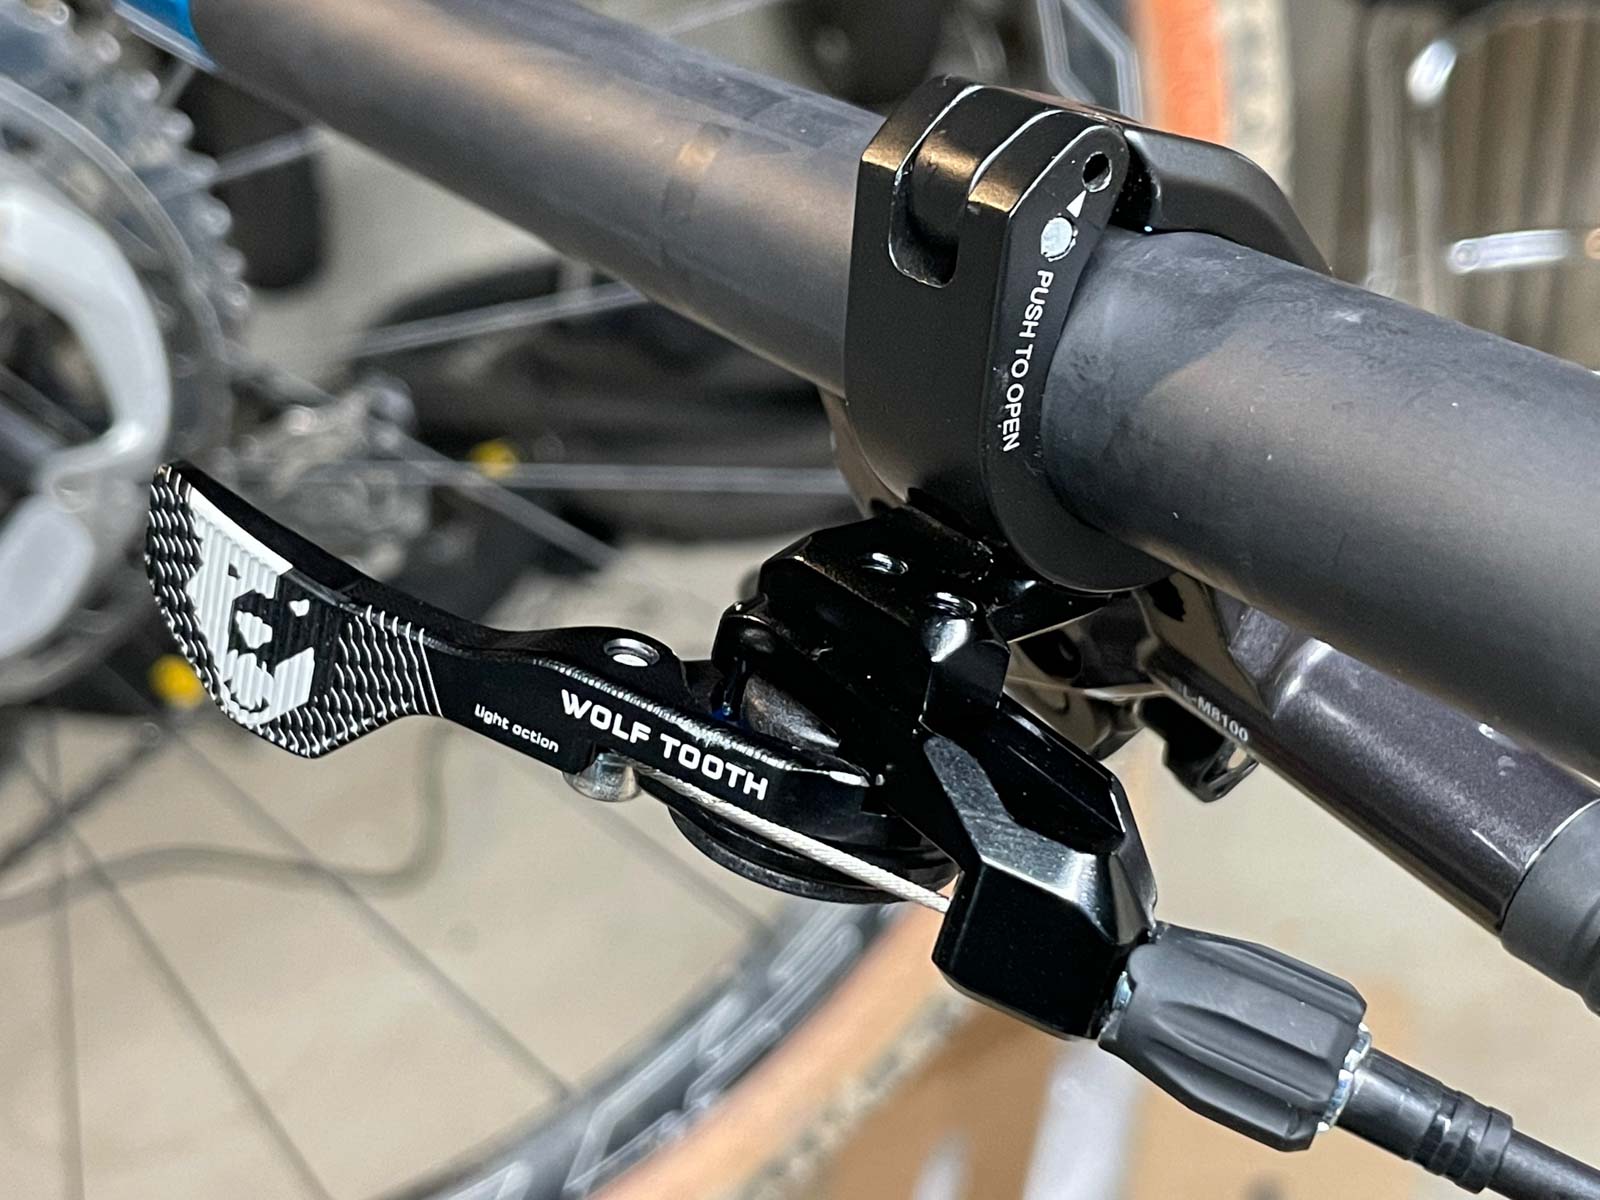
The WTC ReMote dropper levers were already one of the best on the market. The large bearing and long lever of the Light Action gives it silky smooth operation, and the adjustments allow me to put it right where I want it. Now, those levers have an equal partner in the Resolve dropper.
Actual Weight
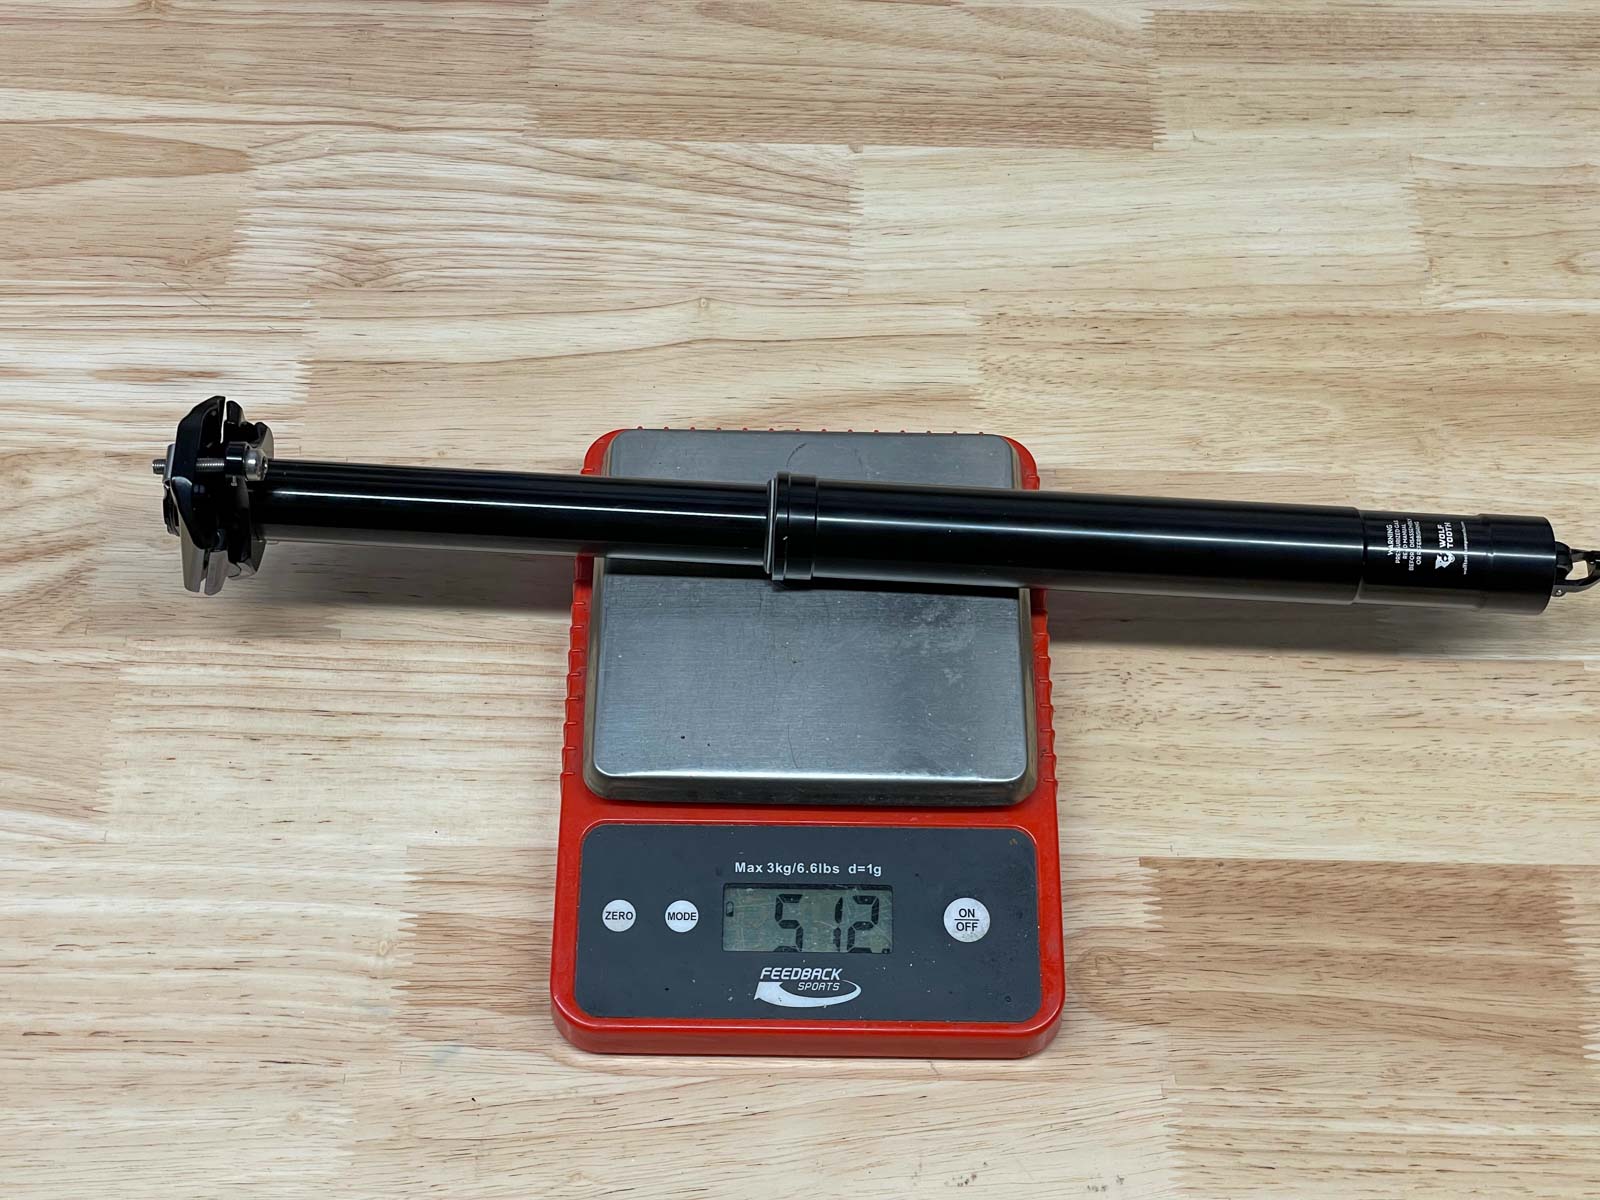
We touched on this in the tech post, but the actual weight of the 160mm travel, 31.6mm diameter post came in at 512g, or 1g less than claimed.
Overall Review
I’ll be honest… I expected this dropper post to be good because it has the WTC logo. Those expectations can often lead to disappointment though as something is overhyped in my head.
Not here. The WTC Resolve dropper post is just as good as I had imagined. Better, really.
With the one exception of the air cap design, it performs as advertised and checks all the boxes of a high end dropper post. More than anything, I am still amazed that it allows me to run longer travel droppers on my bikes. And at the end of the season, I have quite a few miles (and crashes) on the Ripley while the Resolve seems no worse for wear.
Knowing that WTC offers multiple video tutorials on maintenance and full rebuilds, along with plans to offer the full range of replacement parts makes this dropper post an easy recommendation. And with the posts starting at $349.95, it’s a well-priced recommendation at that.
For more tech details, check out our first post here.
