This coming weekend marks many of the individual countries’ Cyclocross National Championships as the international race calendar winds down to the remaining two World Cups and then the World Championships in Luxembourg at the end of January. If you’ve made it this far in the season (competing at Nats) you’ve probably already dialed in your tires. But for the remainder of us who will be watching from the sidelines (or at home) we thought we’d reach back to a discussion we had with 9-time British Champion Helen Wyman about how she ensures she has the right tires and pressure dialed for race day…
Wyman’s Tire Pressure Rule of Thumb
Unfortunately Helen is out of the this year’s race with a still healing collar bone (which she got in the European championships), but she had plenty to share when we caught up with her earlier in 2016. We’ll start off with tire pressure as we generally see amateur riders and racers who aren’t really taking full advantage of the extra grip you get from low pressures. Sure running tubulars will let you go the lowest, but a well-fitting tubeless tire can be run quite low and even with tubes you can go surprisingly soft once you know your course (and with the added pinch resistance of latex tubes.)
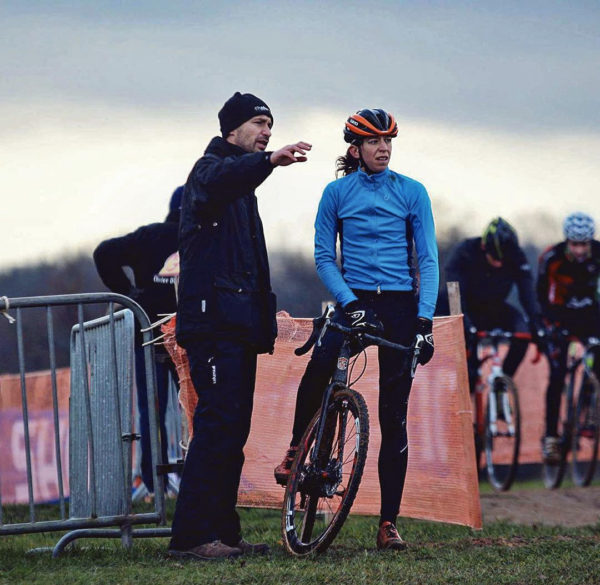
We got these pressure tips from her tire sponsor Challenge and her husband/mechanic Stefan Wyman who helps dial her tires in to compete.
“Helen carries out many cross clinics in a season and has a ‘rule of thumb’ on pressures. It’s her guide, and of course every rider should try things for themselves. Even though it’s not going to work for everyone it’s a way to get a starting pressure. From there you need to go up in 1psi increments (if you are hitting the rim or folding the tubular) or down (if you’re slipping in corners or hopping over the surface) in 1psi increments.”
The idea is simple; start from a low pressure, then go out and take an easy paced lap on the course you are going to be racing on, or just on a familiar track if you are doing it for the first time. It is OK with a tubular or even tubeless setup to feel the rim gently bottom out once or twice in a lap, as long as you don’t feel like the tire is about to roll off the rim in hard corners or off camber sections. Even with tubes, it is best to try and work down to the point where you are almost bottoming out on the rim once per lap (that’s why this guide starts low), and then you can add more pressure to get back up and away from pinch flat territory. If you are more comfortable not hitting the rim at all, bring the pressure back up 1psi at a time until you can complete a fast lap without feeling the rim. Our advice is also to start with 2psi more in your back tire, as cyclists tend to put more of their weight over the back wheel and have better luck with lifting the front over obstacles.
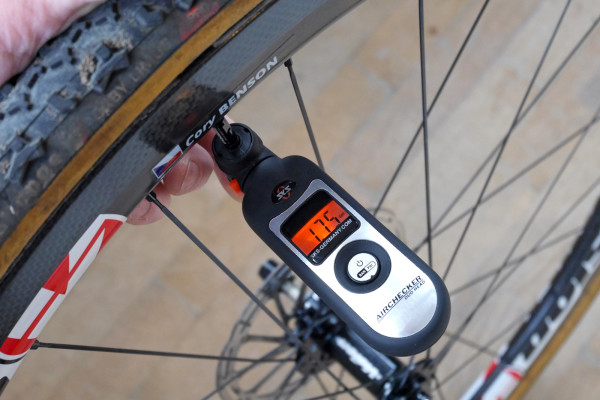
Of course you are going to need more than the gauge on your pump to get those small increments. We recommend starting with a floor pump with a low pressure dial, maybe even something like the SKS Twentyniner that we tested last year. Then you can roll around the course during practice with a small handheld gauge and a pump in your pocket. We use the SKS Airchecker a lot as it is quick and easy to use, plus whatever mini-pump happens to be lying around.
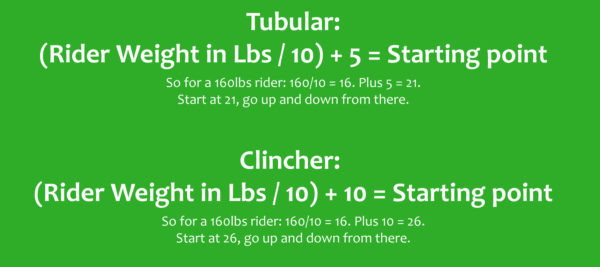
The end result is the lower you can comfortably run your tire pressure (while not having the tire roll sideways or off the rim) the more grip you will have in most conditions. Wyman’s ‘rule of thumb’ starting point for picking your tire pressure is:
For tubular tires: (Weight in Lbs / 10) + 5 = Starting point (Tubular)
So for a 150lb rider: 150/10 = 15. Plus 5 = 20. Start at 20, go up and down from there. For a 180lb rider you would start at 23psi
For supple tubeless or clincher tires with latex tubes: (Weight in Lbs / 10) + 10 = Starting point (Handmade Clincher)
So for a 150lb rider: 150/10 = 15. Plus 10 = 25. Start at 25, go up and down from there. For a 180lb rider you would start at 28psi
Those are pretty low numbers. We personally tend to race at about 4-5psi higher than that on tubulars, as it depends on each rider’s technical skill and riding style. But it is important to find the lower limits before you can appreciate what the added grip will do for your ability to rail though muddy off-camber corners, power through deep sand, or is the case this time of year safely navigate snowy & icy turns.
Join us tomorrow as we dive into Part 2 and The Wyman Method for tire selection so you’ll be sure to be racing your local cross courses on the best tread possible for the track and weather conditions…
Our thanks to Helen, follow her over at HelenWyman.com
