The 2014 Race Face Next SL cranksets with the new CINCH chainring mounting system launched last August as one of the lightest (possibly the lightest mass production) cranksets. We took a peek at how they’re made in our factory tour, then we got a set in for review.
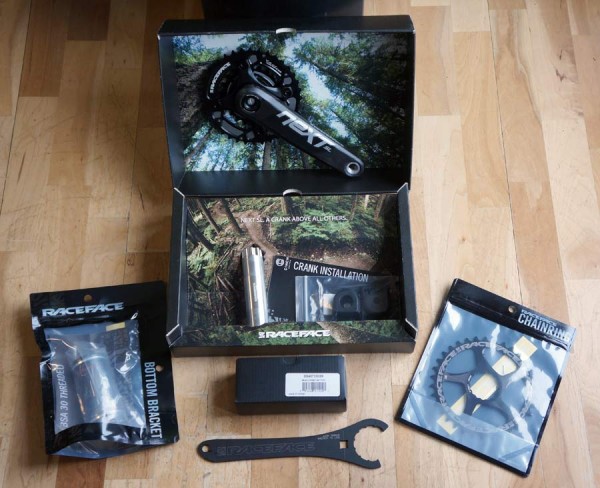
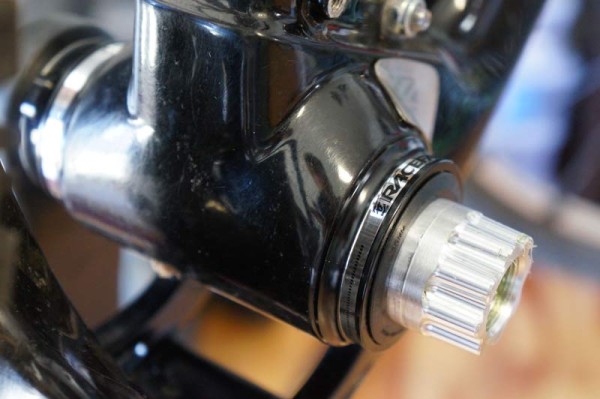
Our test pieces include both the PressFit and threaded bottom brackets, a single and double chainring setup and the 175mm crank arms. Beyond the insanely light weight, the beauty of the system is its modularity. That same crankset will work with all those other parts on standard BSA and oversized pressfit frames. Of course, you’ll have to use their threaded BB, but the point is you can get the crankset without worrying that future bike/frame purchases will render it unusable.
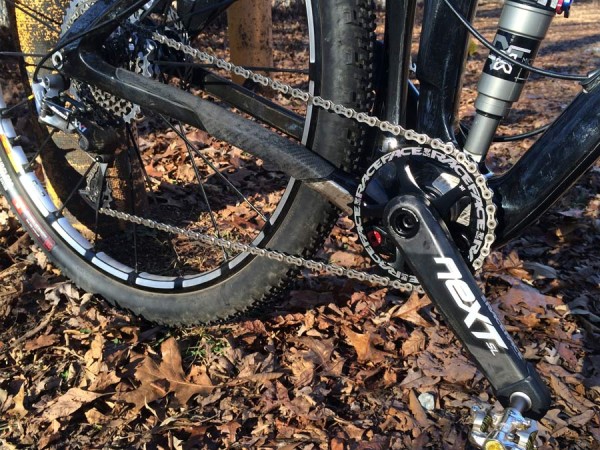
I started with the PressFit BB on a Niner JET9 RDO and the new narrow/wide single chainring. The double will start its test with the threaded BB on a Niner RIP9 RDO this spring.
Crank past the break for actual weights, install notes and first impressions…
ACTUAL WEIGHTS
Everything’s sold separately, letting you pick and choose the exact parts you need.
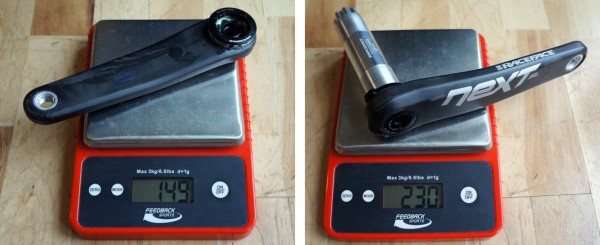
175mm crankarms (379g w/ cinch bolt)
36/22 Turbine double chainrings w/ spider (155g), 34t single narrow/wide chainring (70g) and Rubber crank boots (16g).
PressFit BB (106g), Threaded BB (92g) and PressFit BB spacers (7g).
All in, my initial test set up is just 465g for the single-ring crankset plus 106g for the BB and we’ll say 2g for that small spacer = 573g. Nice!
INSTALL NOTES
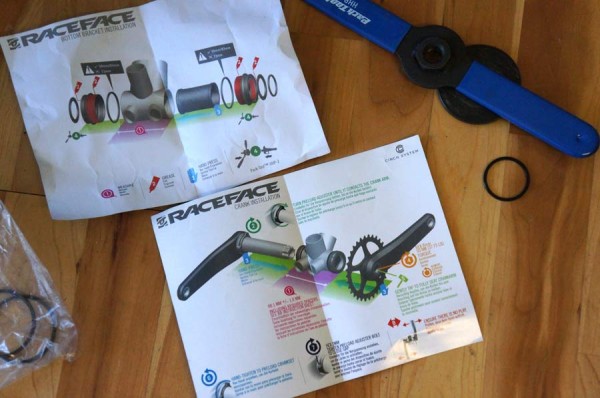
Honestly, this was the easiest PressFit bottom bracket I’ve ever installed. Each cup slid into place straight and easy, but is sitting snug. It’s also the smoothest BB I’ve ever felt. The crankset spins so freely it’s almost embarrassing. I don’t even know why, it just doesn’t seem right how smooth it is. The instructions are also among the best out there. It’s color coded and numbered and makes things all but idiot proof. As long as you can measure your BB shell and have a headset press and a few other tools, you can do it.
To fit the chainring to the crankarm, you’ll need a standard Shimano/ISIS bottom bracket tool to tighten the lock ring onto the crankarm, sandwiching the chainring on it’s grooved seat. I used the Birzman prosumer tools and it took all of 20 seconds. You do need to remove the crankset from the bike to swap rings, but since the spindle’s on the non-drive arm, this is also a quick, easy affair.
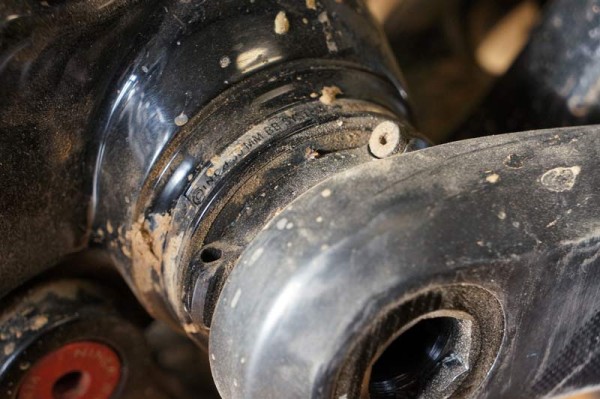
The included spacers go between the BB and frame on 68mm shells and aren’t used on 73mm shells. The small spacer goes on the drive side between the BB and the crankarm. Then just slide the crankarm on and tighten the bolt to torque spec. Once it’s tight, use a rubber mallet to gently tap the crankset toward the bike.
The tension nut, which is backed out all the way to the crankarm at the beginning of the process, is then hand tightened toward the BB and snugged into place. The entire install, excluding pounding the old BB out, took less than 10 minutes.
FIRST IMPRESSIONS
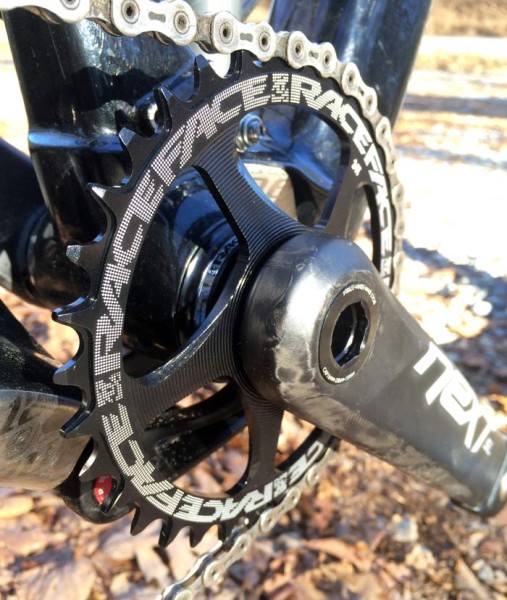
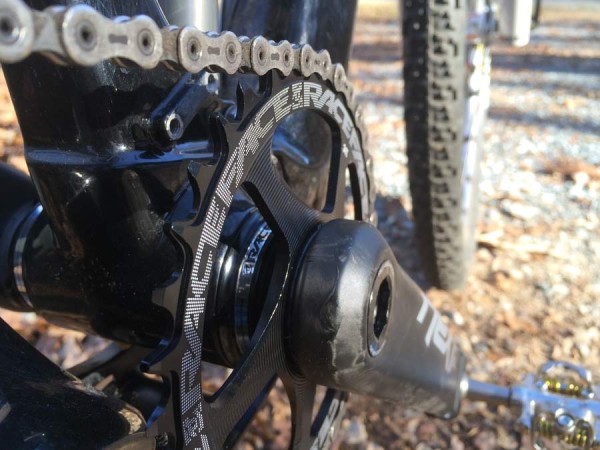
The chainrings use a now commonplace wide/narrow design with stepped thicker teeth to keep the chain on board. My test set up for the single ring is with XX1 rear derailleur and cassette, but you could run it with 10-speed setups, too. Clutch-equipped rear derailleurs are still a good idea.
The machining gives the rings a minimal appearance, even more so than SRAM’s XX1 rings since these lack a spider. Fortunately, the arms are thick enough to prevent flex. I’ve had no chain drops in the couple months they’ve been on the bike, and they run very quiet.
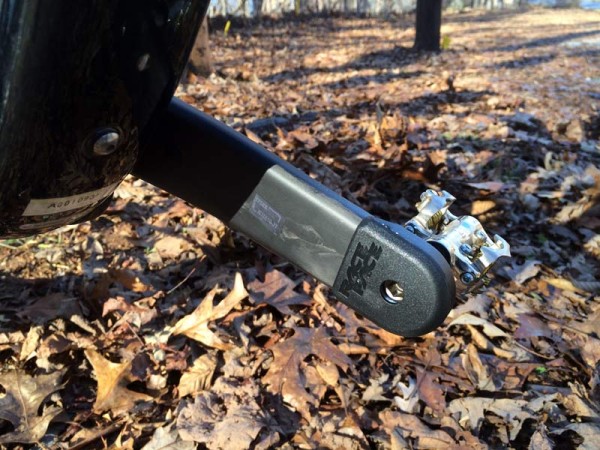
The rubber boots protect the ends of the arms from rock bumps without much of a weight penalty. They, along with the single chainrings and crank arm bolts, come in colors.
It’s still early in the test, but so far so good. The crank arms and single ring can be hammered with nary a sign of flex. Not that any major brand high end crankset is flexy these days, but that they can pull it off on such a lightweight piece is all the more impressive. Plus, with so many of the original crew still on at Race Face, there’s a pretty good chance these things will hold up to anything I’m likely to do, even on the RIP9. Stay tuned…
