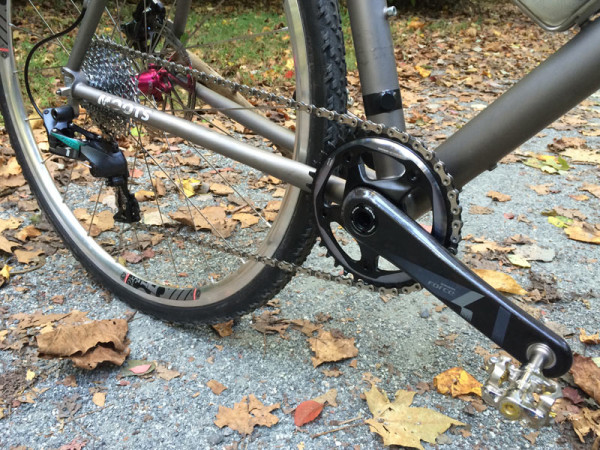
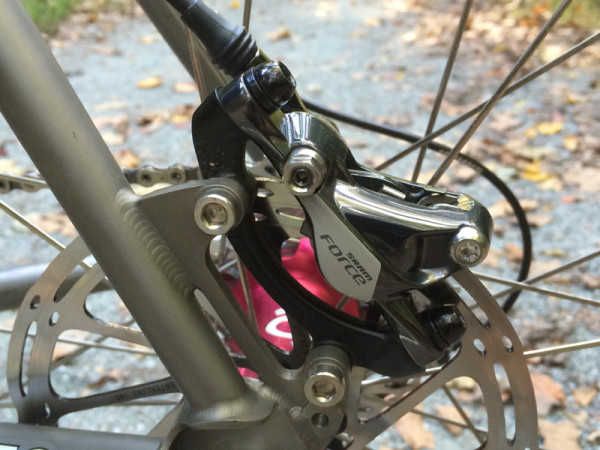
SRAM’s Force CX1 group with hydraulic disc brakes had no sooner showed up then we threw it on the scale, installed and took it to a very muddy race at Pisgah Brewing near Asheville, NC.
Introduced in March, the group just started aftermarket shipping en masse around August, with hydraulic brake versions following in September. For those upgrading their current rig, it meant a nick-of-time delivery before the season gets too far underway. Fortunately, installation is pretty straightforward, even if you have to run hydraulic disc brakes through a frame. Heck, even if you don’t, they ship with very long hoses, so chances are high you’ll need to at least trim the length and re-bleed them.
Here’s the run down of individual component weights, including a comparison to the mechanical brake counterparts, and install notes…
SRAM CX1 ACTUAL WEIGHTS
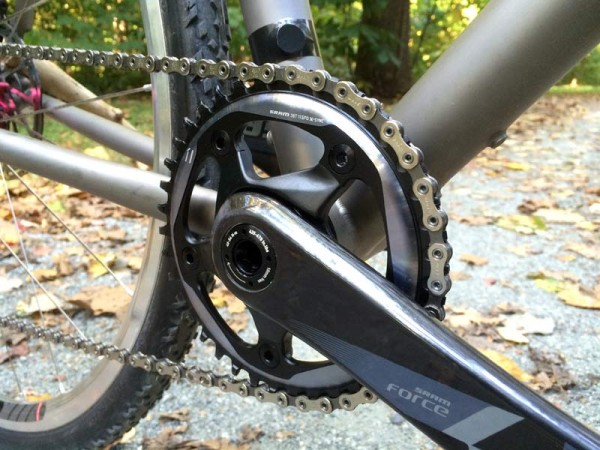
The CX1 group relies heavily on existing Force 22 components, and most are still branded as such. The Force crank arms are paired with a 110BCD spider ready for the CX1 chainring. In fact, all you need to add to make your bike a SRAM 1x is the X-Sync chainring. SRAM also recommends adding the X-Horizon CX1 rear derailleur, too, along with a fresh chain, but either will work with both 10- and 11-speed setups.
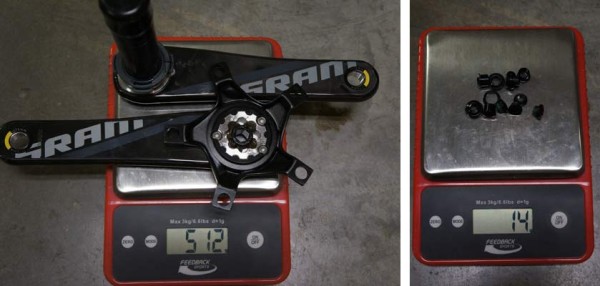
A 175mm long BB30 crankset with spider comes in at 512g. The included chainring bolts are 14g.
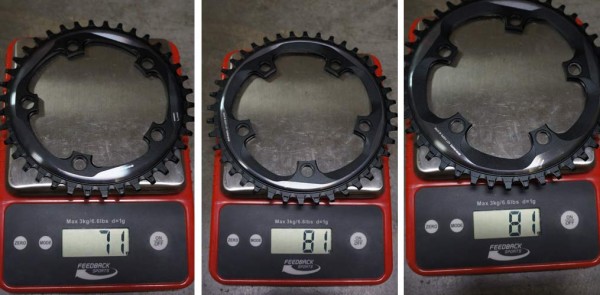
The chainrings are available in 38/40/42/44/46 tooth counts, all using their narrow/wide tooth pattern. We received the 38/40/42, which are weighed left to right at 71g/81g/81g respectively.
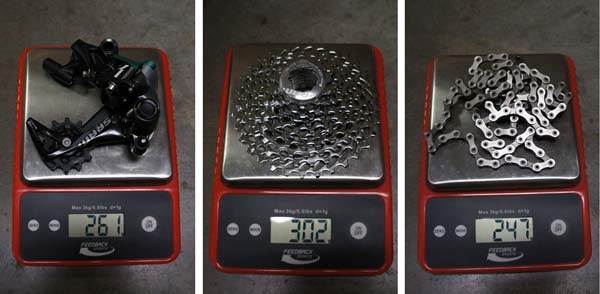
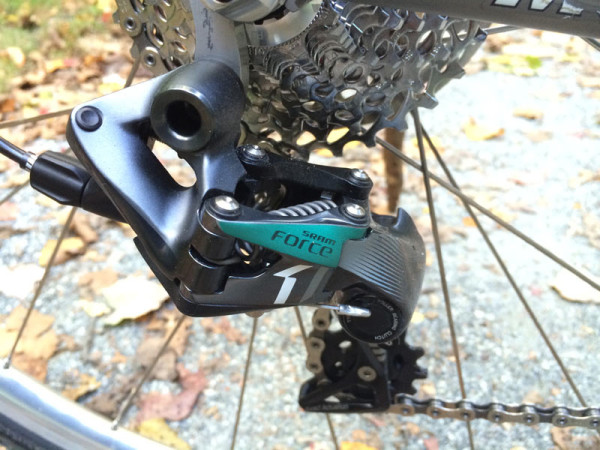
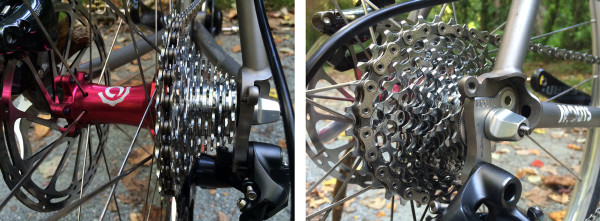
The rest of the drivetrain parts come in at 261g for the rear derailleur, 302g for a PG1170 11-32 WiFLi 11-speed cassette and 247g for the chain. I removed about six links from the chain for my install.
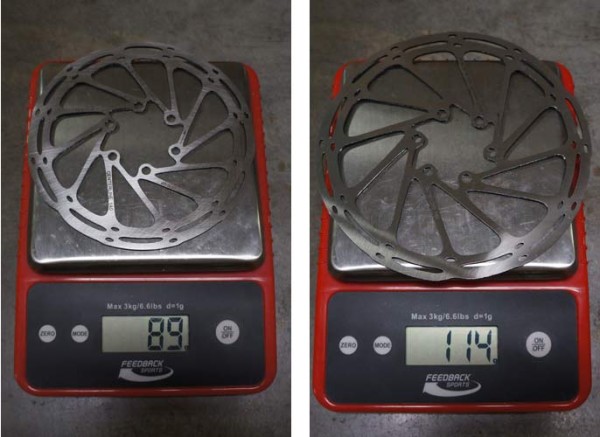
The 140mm Centerline rotors come in at 89g and the 160mm rotors are 114g.
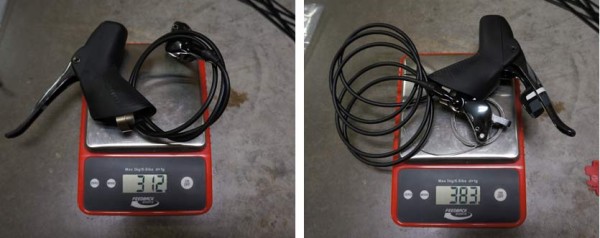
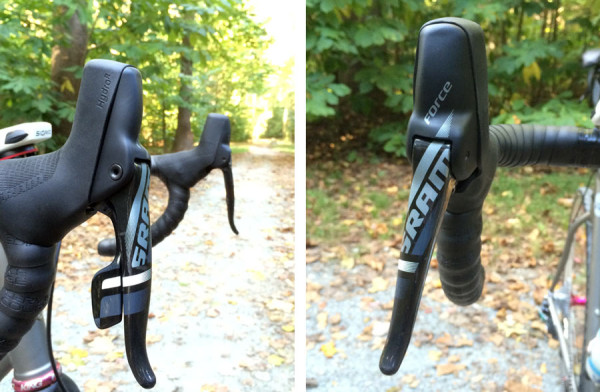
Lastly, we have the levers. The left brake lever comes without a shift paddle and internals. With a full length front brake hose and brake caliper it’s 312g. The right/rear does have the shift guts and paddle and comes with the cable preinstalled. It registers at 383g, but again, you’ll almost certainly need to trim the hose length on both.
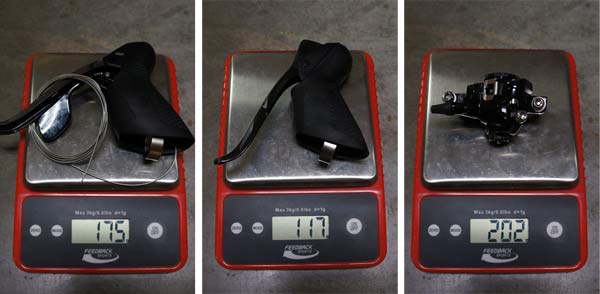
For comparison, the mechanical brake levers come in at 175g (rear) and 117g (front), and the BB7 SL calipers come in at 202g. You’ll need to add cable housing to the weights to get a fair representation, but you’ll come in lighter with the hydraulic disc brakes by a bit. And have much better braking.
INSTALL NOTES & PRODUCT DETAILS
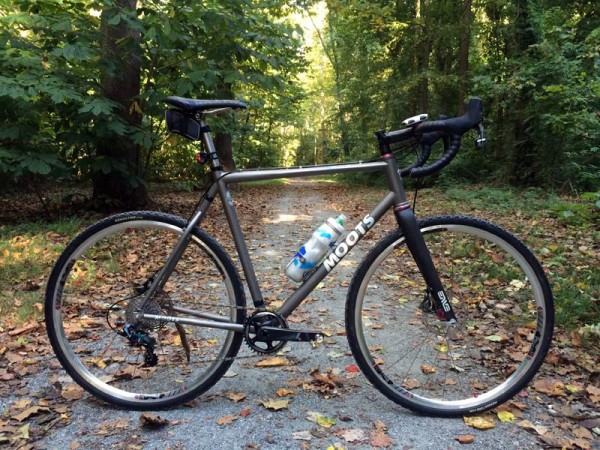
I installed the group on my Moots Psychlo-X RSL, which has closed loops for the brake hose along the top tube. This required disconnecting the rear caliper from the hose even if the length had been OK, so both front and rear brakes were bled using Avid’s standard bleed kit. Couple of notes here:
- Unless you’ve got time to kill and want to buy the bleed kit separately, pay a shop to do this.
- If you do bleed them yourself, pony up for Avid’s PRO bleed kit, it’s world’s better than the standard one.
- Give yourself at least an hour so you’re not rushed, longer if you’ve got to snake the hose inside your frame.
- Make sure you have a hose cutter.
- Push the hose down into the caliper with a good bit of force while threading it back in, otherwise the olive and barb won’t seat right and it’ll just pull right back out.
- Have an internet connected screen handy and queue up SRAM’s bleed video. It walks you through the process very easily. If you prefer printed instructions, here’s the PDF manual.
There are a number of ways to get hoses through internally routed handlebars and frames, and we’ve touched on SRAM’s basic Hydro-R install here. We’ve got a much more in depth install and bleed overview coming in a Red 22 install post.
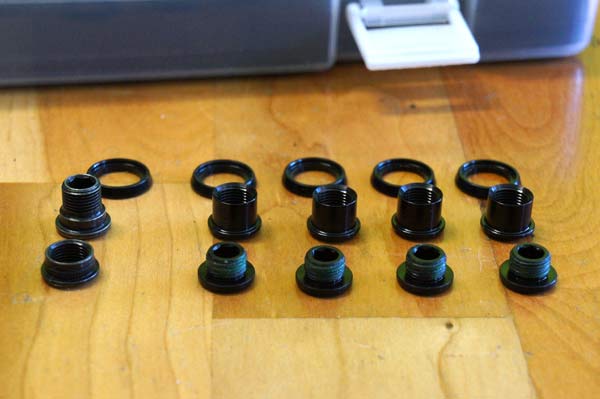
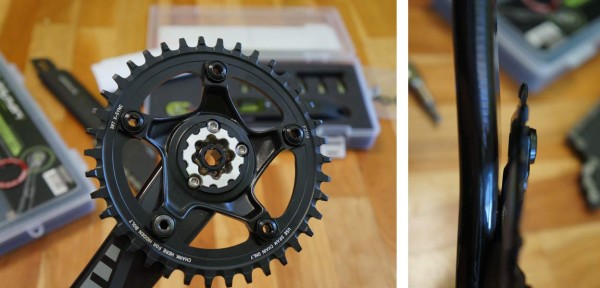
The crankset comes with five chainring bolts. Four are standard, one is for the hidden bolt behind the crankarm.
It’s easiest if you install the hidden bolt first while the chainring is loose. That lets you trap the nut between the ring and arm while you thread the bolt into place. If you do the other bolts first, you’ll have a gap (shown on right) and you’ll need to jam something in there to hold the nut in place while you insert the bolt.
Beyond that, installation is very straight forward. Like with XX1, you simply wrap the chain around the largest cog and the chainring, then add four links to get the recommended chain length. I erred on making it ever so slightly longer since I was starting with the 38t chainring and their widest range cassette but wanted it to also work with the 40 and 42 they sent.
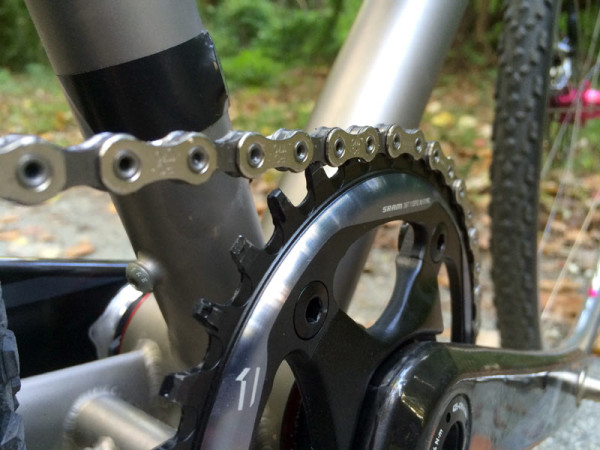
The chainring teeth are very tall, which helps keep the chain from bouncing off.
The Force CX1 derailleur has their Cage Lock to hold the pulley cage in the extended position for easier install and wheel changes.
The cassette is mostly individual cogs with separate spacer rings – it’s a lot of little parts.
Yes, the hoods are huge, but the overall shape is comfy. The rubber covers have an unfortunate tendency to flare out. As soon as I push them back in flush, they’re right back out again. They have independent reach adjust for both brake and shift levers. During the bleed process, brake fluid can drip down along the edge of the cover, so be sure to pull it all the way back and wipe clean with isopropyl alcohol before putting it all back together.
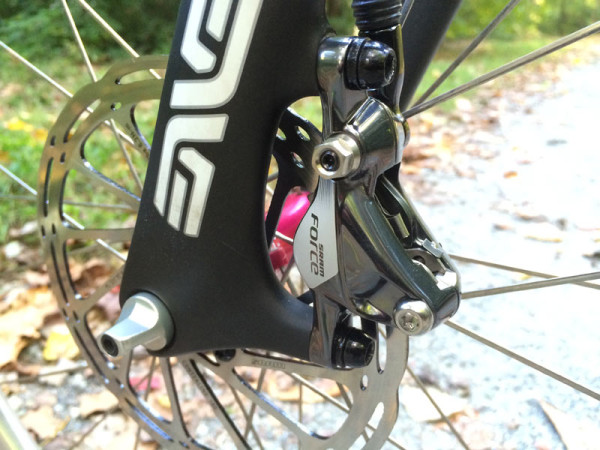
The brakes are easy to get centered over the rotor and have been very quiet so far. Compared to the first generation rotors, the new Centerline models are much quieter and smoother.
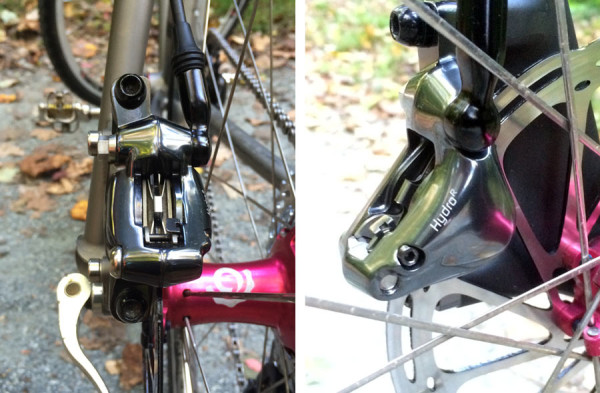
They’re the same calipers as for road bikes, hence the Force branding.
Having already done one SRAM Hydro RD install with my Red 22 group, this one was pretty straightforward, but it’s still time consuming. Drivetrain set up is much quicker and pretty standard, too. Overall, the included instructions and videos get you 95% of the way there, the rest is common sense and personal preference.
I used the amazing BB Infinite PFBB30 bottom bracket for this install, which will be featured in a separate review.
Stay tuned for first impressions of the CX1 group from the muddy finals of the AVLCX ’14 series!
