Our discovery of Rotor’s hydraulic shifting patents turned out to be well timed, teeing up the group’s public debut nicely. Turns out, our technical breakdown of the groups functioning was nearly spot on, so we’ll recap:
By using a completely hydraulic system from the shift lever all the way to the derailleurs and putting the ratcheting mechanism on the derailleurs, Rotor was able to eliminate any slack from the line that could lead to loose shifting. The side benefits of such a system included lighter weight and plenty of functional improvements that simply can’t happen on a cable-driven or mechanical system.
The key to the system is precision and reliability. Hydraulics have been proven in everything from bicycles to airplanes to heavy industry, just not for bicycle shifting until now. Their motivation was to let customers looking at Rotor’s oval rings and lightweight alloy cranksets find an entire group with the same brand. Undoubtedly, it will also give them more opportunities to put the group on pro teams that may otherwise have to opt for SRAM, Shimano or Campagnolo groups simply because of sponsorship programs dictating complete group use. And they hinted we might see some major teams on the group very soon. But that can’t be enough to justify the heavy time, energy and financial commitment the development of such a product can draw from a company. So, it needs create demand based on its merits. Of which, there are quite a few.
Check out the cutaway photos and tech details below, along with new carbon chainrings, and new 1x rings for road and mountain…
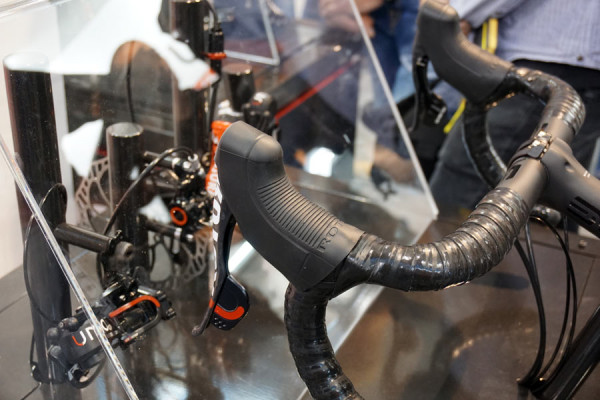
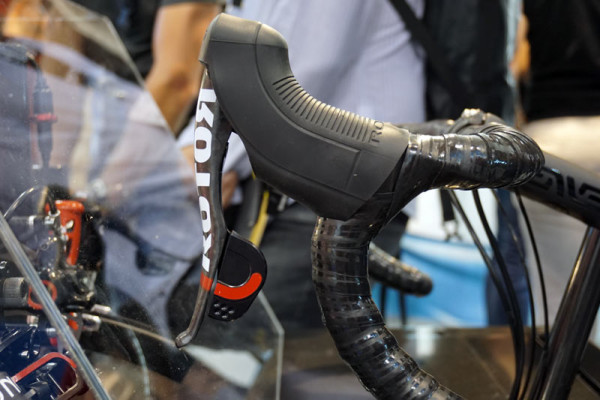
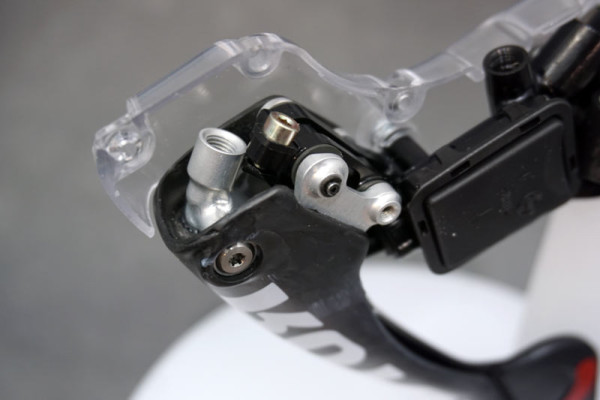
The hoods are reasonably sized, but there’s plenty of room left inside, so Rotor’s considering offering a smaller hood grip option for those with petite mitts.
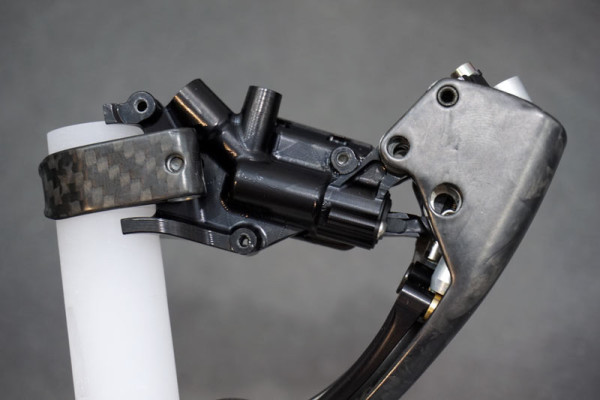
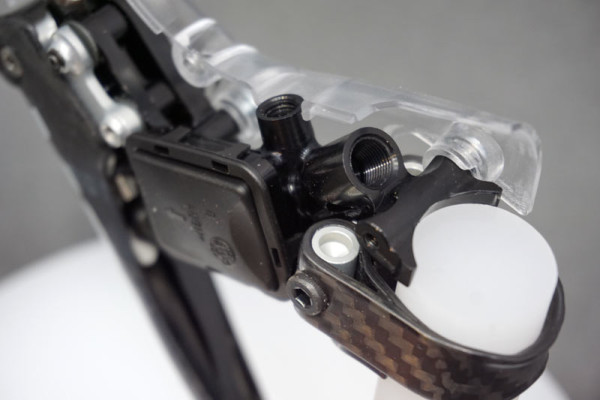
The hoods can remain small because they only need one traditional master cylinder for the brakes, shown here in dark black. Notice it’s pretty much all that’s filling the space in the hood.
The shifter’s cylinder, in silver, needs no expansion reservoir because it’s a closed system. So, the entire shifting lever assembly sits inside the brake lever.
The silver port at the top is the “bleed” port. Initial setup will require a bleed if you’re running them internally. Technically, they say it’s not a bleed because it’s a closed system, but the process will be similar to bleeding hydraulic brakes. So it’ll include an “installation” kit with Magura Royal Blood mineral oil, same as what’s used in the brakes. If you’re concerned about frequent service, they say you shouldn’t have to touch it again until you need to take the group off your bike…whether that’s one year, two or ten.
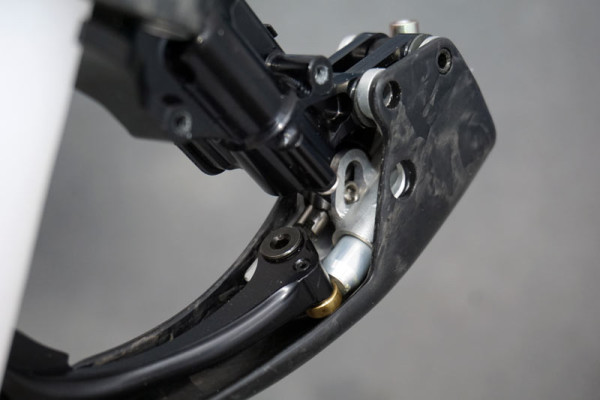
The brake levers have two pivot points, one for rim brakes on the top, and the other for disc brakes. Just behind the bleed port is the reach adjust screw.
The rear-facing port on the brake master cylinder is for the hose leading to the brake calipers. The one just in front of it pointing straight up is the bleed port.
One of the biggest challenges was creating the stopping points. With brakes, the pads hit the rotors and stop the system. With derailleurs, there wasn’t the same physical stop, so they had to create the aforementioned indexed system that would provide a virtual stop. Adding to that challenge was that each virtual stop in one direction needs to be able to be pushed through to reverse the system and shift in the other direction.
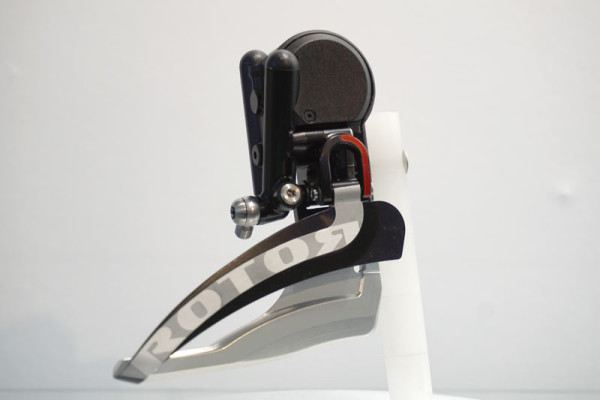
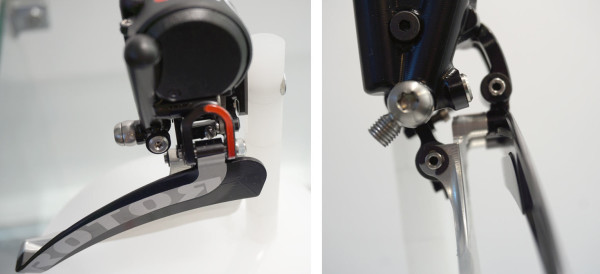
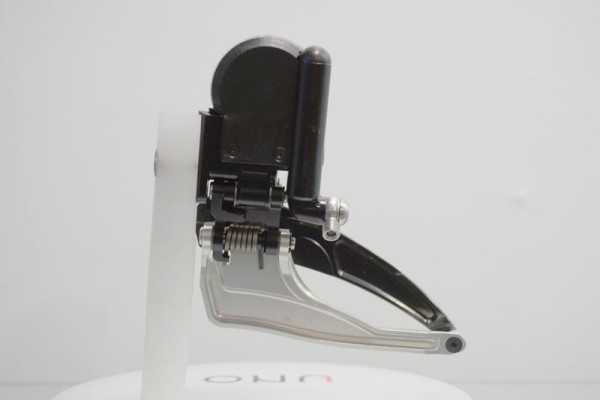
There are no limit screws on front derailleur because there’s a single positioning screw (visible through the inverted “U” on left image) to center it over the big chainring, which then automatically sets the upper and lower limits. The bleed port is the silver screw directly adjacent to the hydraulic line’s banjo.
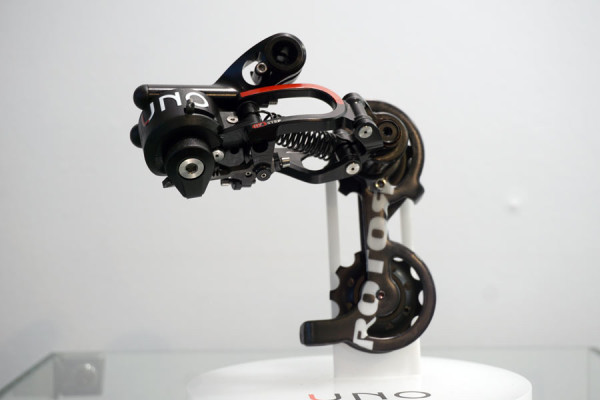
The rear derailleur has a single bolt adjustment, too. It adjusts the position over the smallest cog, which then lines everything up. Initial setup is done on the big/small ring/cog combo. There is a second upper limit screw as a backup, in case the hanger gets bent and you need to prevent it from running into the spokes, but it’s not needed for set up and could removed if you want to save half a gram.
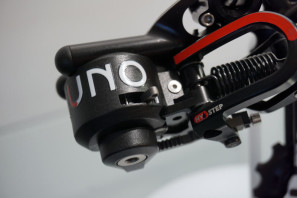
The lever is called the “Go To 11” switch. Flick it forward and it disengages the ratcheting mechanism and throws the derailleur to the smallest cog. This makes wheel changes much quicker, but it’s also a safety mechanism in case you damage the hydraulic lines. Supposing the hydraulics do fail, you can release it, re-engage it, then manually push the derailleur into whatever gear you want.
Speaking of hose damage, they say there’s only been one case of real world failures. And that was because the rider was stopped at a light and another rider slammed into him and his front wheel sliced the line into the cassette. Other than that, they’ve even seen one tester pinch the line between the stem and headset and the system still worked.
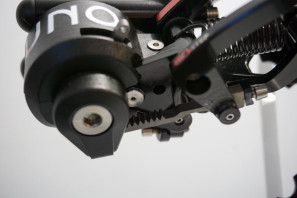
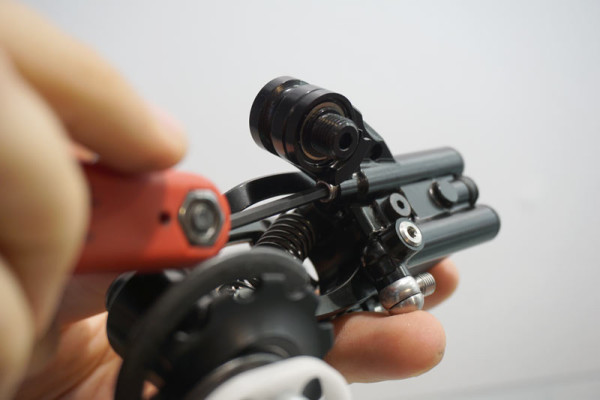
The rear derailleur can be set to upshift (to an easier gear) up to four gears at a time, or as few as one. It’s user adjustable with a 3mm Allen key. They made this adjustable because in summer, it’s easy to feel how many shifts you’re making, but with big winter gloves, you lose that fine touch, so you can limit it to just one shift per push to reduce errors.
To set the number of inboard shifts allowable per push, simply thread the silver bolt in or out. The number of rings visible tells you how many shifts it’s set for. There’s still individual “clicks” at the shifter lever, so you won’t have to shift through all two, three or four shifts, but you could.
After shifting the demo system, there was one interesting tactile sensation worth mentioning. The system effectively shifts like SRAM’s mechanical road groups, push it a little bit to go to a harder gear, push it further to shift to a harder gear (in the rear, front is opposite). As the lever is pushed past the limit for the outboard shift, it clicks to release the ratchet to execute that outboard shift, then quickly moves past the ratchet to bring it back to the original gear and then past the second click to shift inboard to the next easier gear. Pushing it slowly on a test stand felt a little odd, but we’ll reserve judgement until we can test it on a bike.
They’ve tested it from -18°C up to 40°C (0ºF to 104ºF) and seen no changed in performance. Moving beyond those extremes, the fluid volume can change, which will affect the feel of the shifting, but not the precision because it’s mechanical indexing is done behind the hydraulic fluid, directly at the derailleur, so fluid expansion or contraction has no impact on its accuracy.
Weights are TBA. These designs are close to final, but they’re not ready to claim final weights and pricing. They’re close, though. Dealer/distributor events and a press launch are planned for later this year with a retail launch in March 2016.
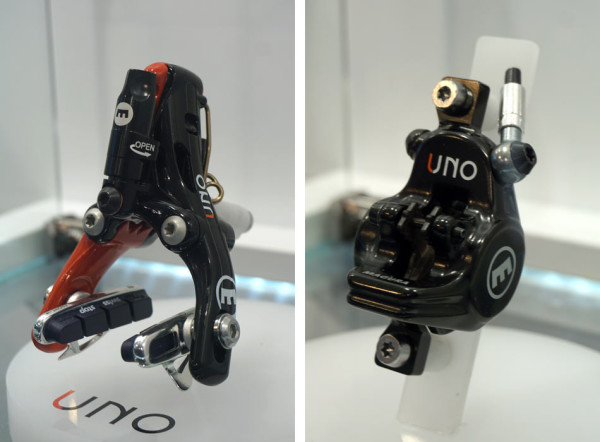
You’ll have the option of rim or disc brakes, both made by Magura but branded to match the rest of the Uno group.
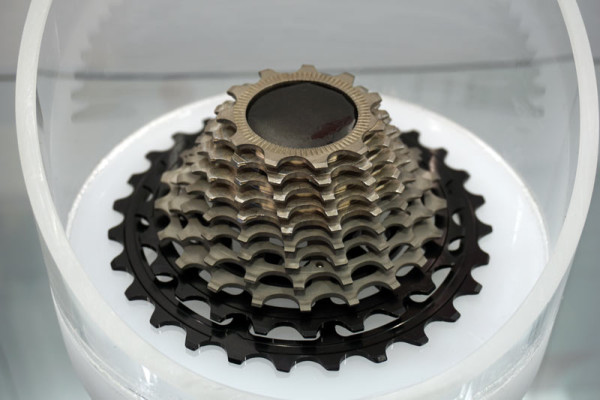
When it does ship, the complete group will include shifters, derailleurs, cassette, brakes and a KMC 11XL chain. The cassette, like the rest of the drivetrain parts, is made in Spain. It’s machined nearby Rotor’s own factory and uses steel cogs for the first nine speeds, then alloy for the largest two. They wouldn’t let us show you the backside, but the design allows for the alloy cogs to be removed and replaced, either because they wore faster or because you wanted larger sizes at the top of the cassette. The two different color tones on the the steel cogs are simply two different surface treatments they’re considering, but production units will appear uniform.
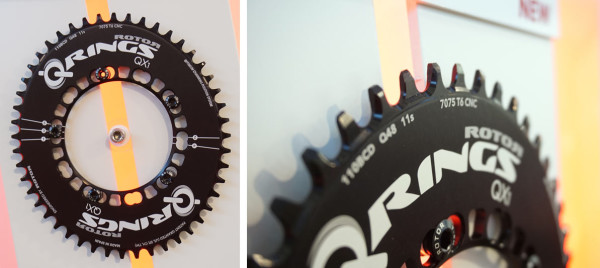
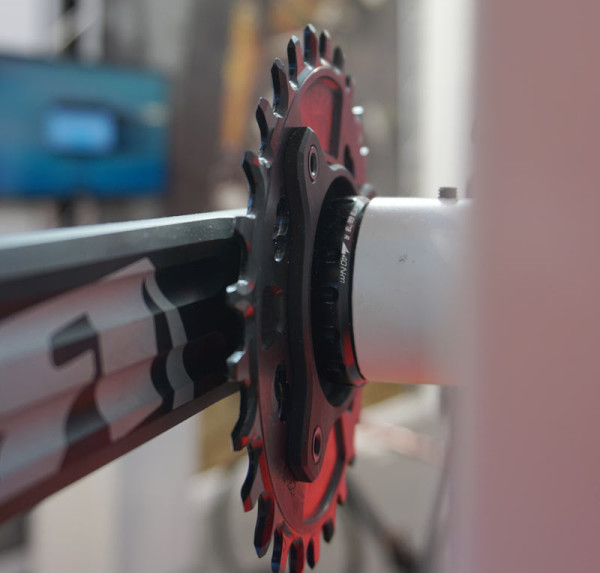
Cranks and chainrings will be sold separately, which lets you pick the sizes and ovality. Or even choose a 1x road or ‘cross set up…which they’ll be able to accommodate with their new QX1 single road chainring:
They’ve had QX1 rings for mountain bikes and cyclocross, and now they’re offering a narrow-wide version for road. It’s slightly more ovalized than their standard Q-rings, and only available in 110bcd.
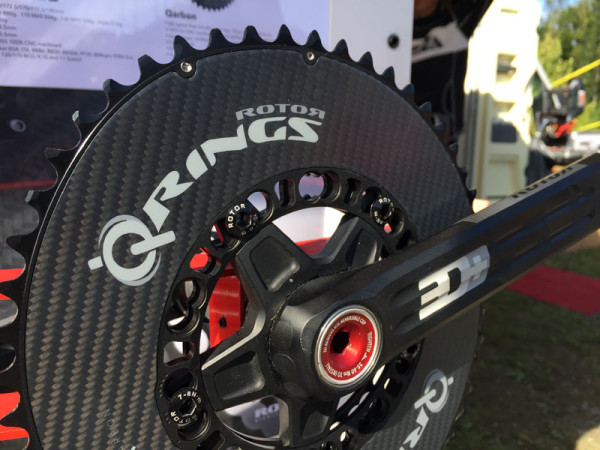
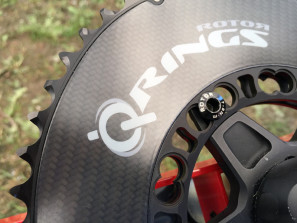
For double chainring setups, the new Qring Qarbon uses a thinner alloy big chainring with a 3K woven carbon fiber plate bonded to the outside.
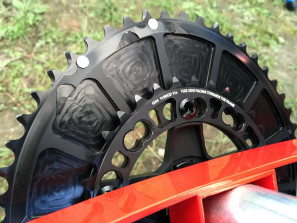
The inside of the chainring is all machined 7075-T6 alloy with ramps and pins for enhanced shifting. But the outer carbon plate makes it 20% stiffer for even better shift I g performance and less deflection under power. But it’s not too stiff, which they found could actually make shifting slightly worse, so it was about finding the right balance. They say this one hits the sweet spot.
It’s available in 110bcd only, and is shown here on their 3D+ CNC’d crank arms.
The design also saves a bit of weight, coming in 8% lighter than the standard alloy Qrings. Price is €199 compared to €145 for standard alloy big rings. The little rings are sold separately and remain unchanged.
Compatible with all of their cranksets and any others that use a 5-bolt 110bcd pattern. Available in November.
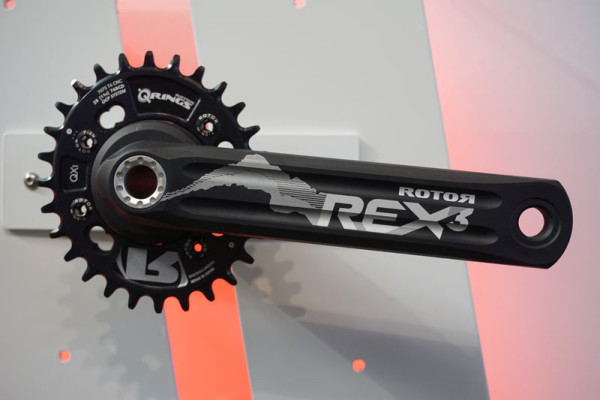
For mountain bikes, their Rex3 lineup (which is based on a 24mm spindle rather than their typical 30mm spindle) finally gains a 1x chainring option.
It uses a different spider than the others, but puts the ring in the right spot to maintain proper chainline.
