In my eyes, cyclists come in two forms. Those who eat to ride, or who ride to eat. I find myself solidly in that second category, so it should come as no surprise that I was excited to see Camp Chef at Press Camp in Park City. Sharing space with their sister brand, Camelbak, Camp Chef covers the bases with everything from cast iron cook wear, portable camp stoves and pizza ovens, coolers, camping gear, and utensils – essentially everything you might need to chef it up in the outdoors.
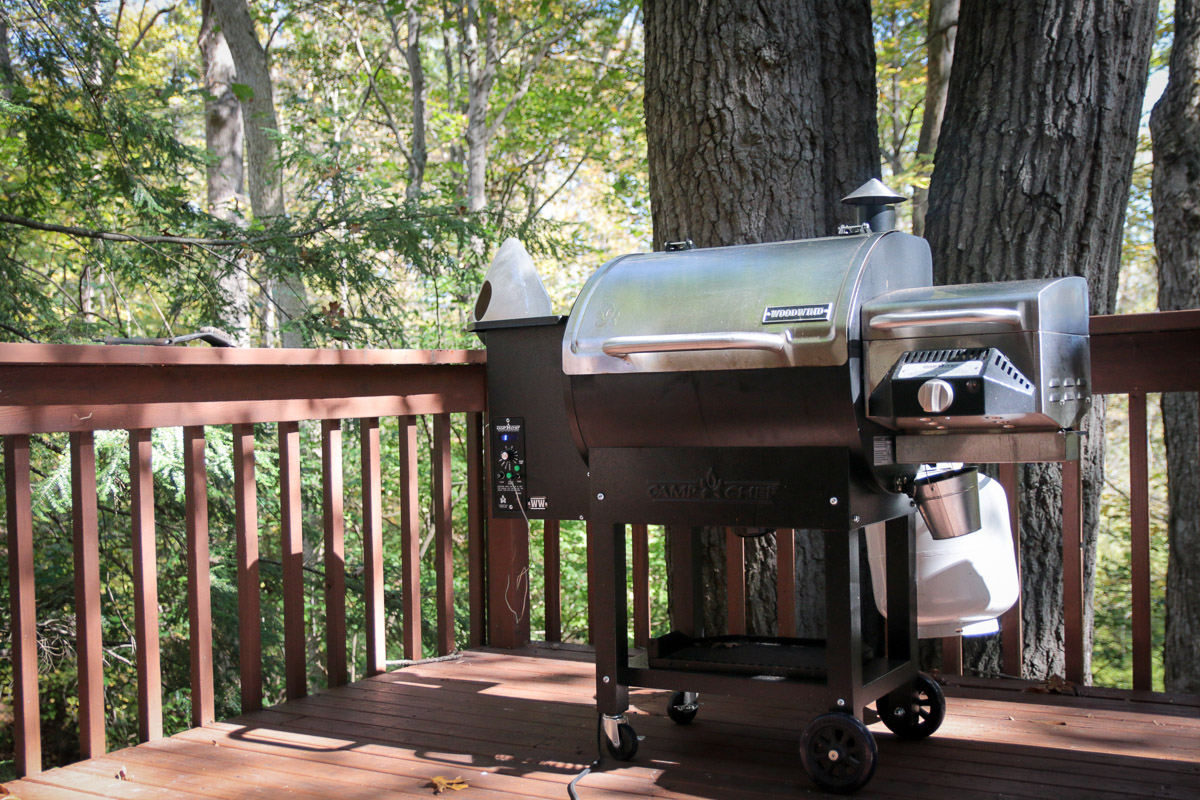
But they also have outdoor gear that will likely never leave your back yard. Things like the new Woodwind premium level electric pellet grill. Camp Chef had one of the Woodwinds going through a constant supply of pellets at Press Camp and the aromas were impossible to resist. Throughout the week, Brooks from Camp Chef was turning out hit after hit, but one menu item was a favorite – especially on the rides.
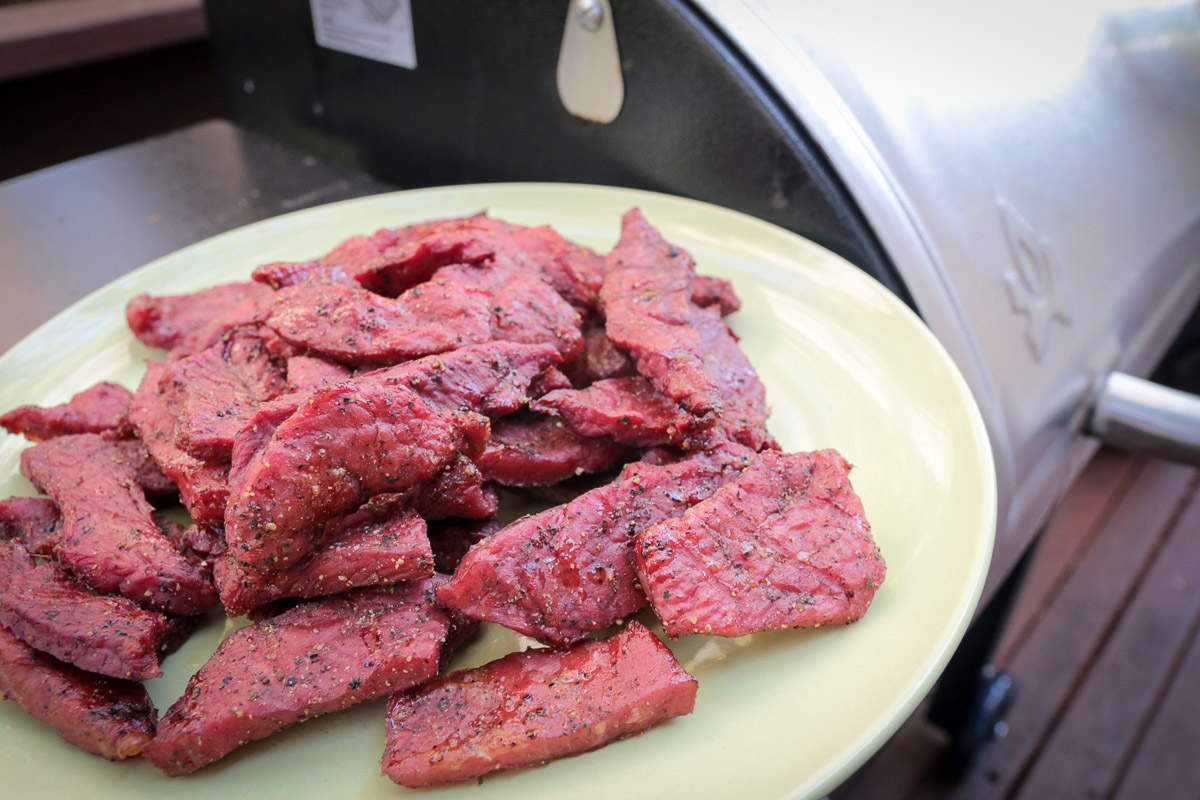
I’m talking about beef jerky. But not the type of withered shoe leather you buy from the store. This jerky was soft, easily chewable, moist, and well, delicious. It turned out to be the perfect ride food to complement dense energy bars or super sweet gels, so I wanted to figure out how to make my own. With the help of Brooks and Camp Chef, I found out the secret – the secret being that it’s actually surprisingly easy to make it yourself, and you’ll never look at ride food the same way again.
How To:
This recipe is assuming that you have access to an electric pellet grill like the Camp Chef Woodwind or SmokePro, and in this case, a bag of hickory premium hardwood pellets. You can use other flavored wood pellets if you’d like, but I found the Hickory to be a great match to the peppered jerky seasoning.
A word on pellets – there are a number of brands out there, and they all look alike, but in my experience, the Camp Chef pellets really do burn the best. So far I’ve tried pellets from Amazon, Traeger, and Camp Chef, and the Camp Chef pellets seem to burn the most cleanly leaving less ash to fill the inside of the grill that has to be periodically vacuumed out.
Step 1: Selecting the meat:
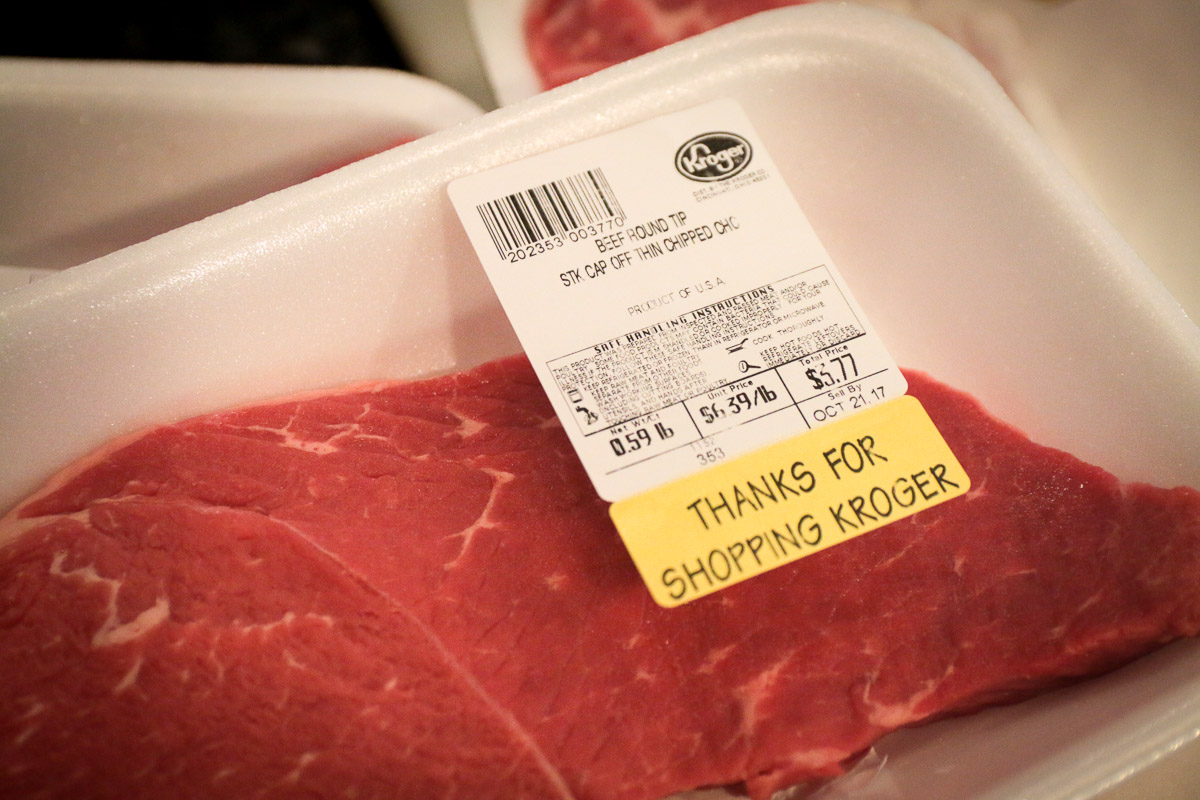
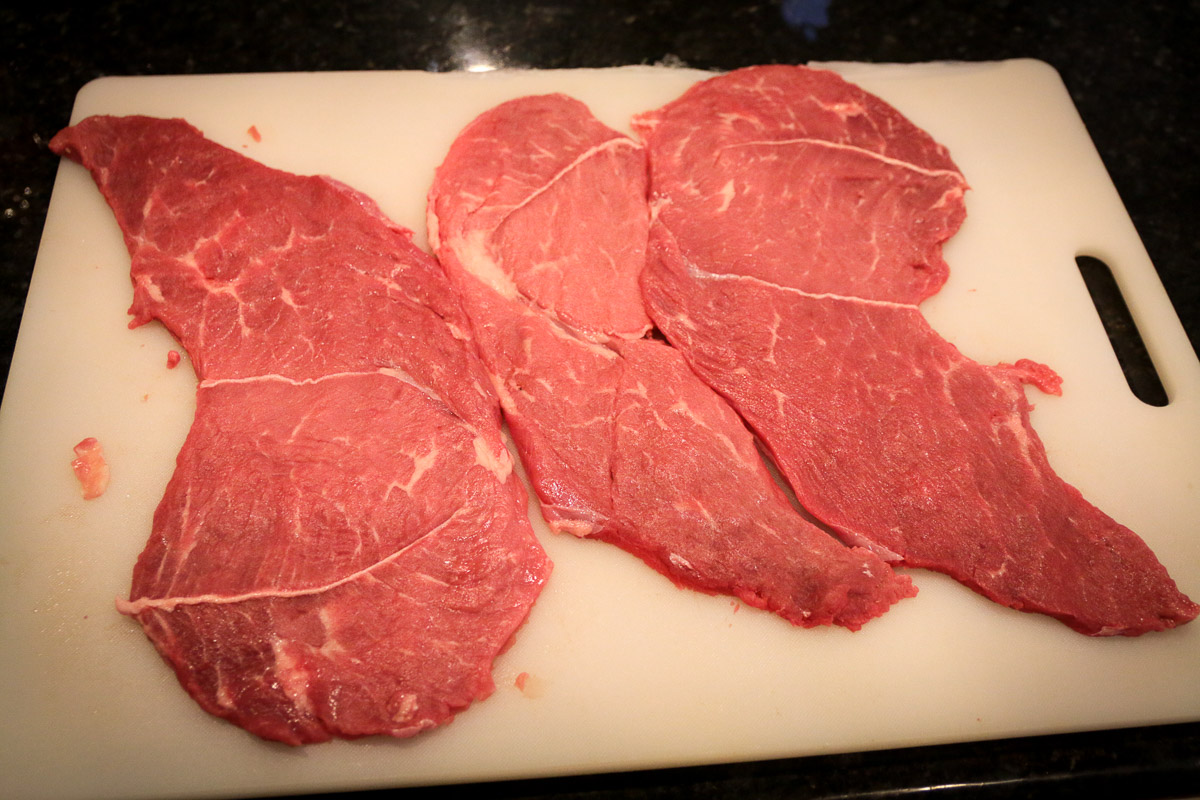
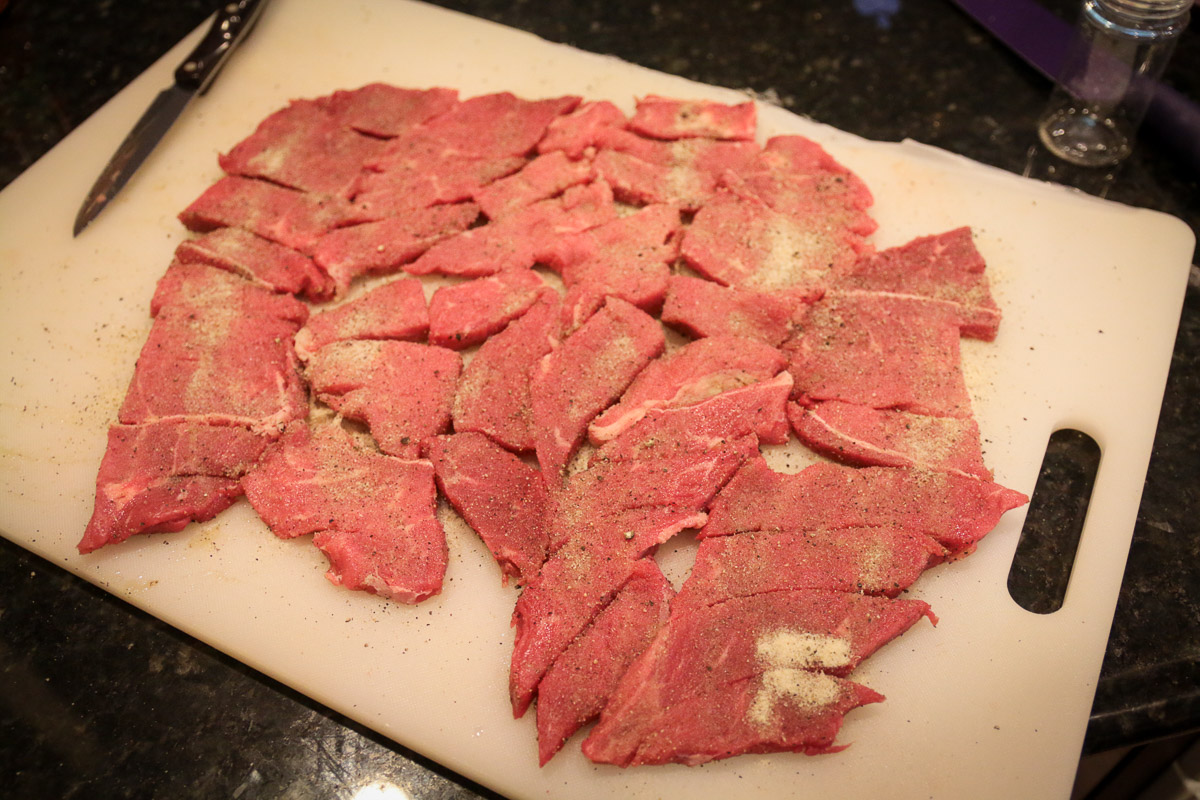
One of the best things about making your own jerky is that you can control not only the cut of meat that you use, but also the quality as well as the seasoning level, size and shape, etc. While there are countless options for meats that could be turned into jerky, I went with Brooks’ advice and started off with good ol’ beef. Brooks suggested that I look for eye of round and to have the butcher slice it to 1/4″, but at least at my local grocers that proved to be difficult to find. I’m sure if I sought out the better butchers in town it wouldn’t be an issue, but for the sake of time I ended up with some pre-sliced beef round tip. If it’s more than 1/4″, a meat tenderizing mallet works pretty well to flatten it out.
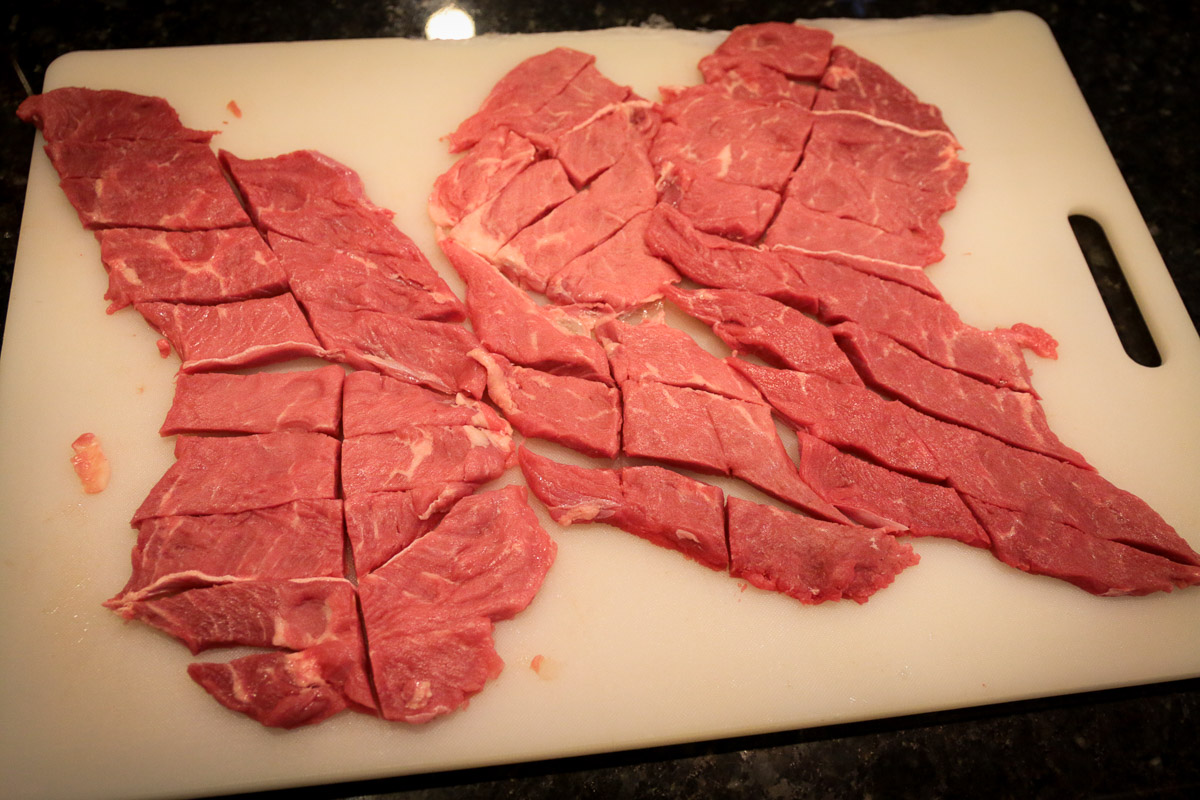
Once the meat is to an ideal thickness, you can either proceed and smoke the meat pieces whole, or cut them up prior to smoking. I’ve done it a few times pre-cut, but Brooks mentioned that smoking it whole works well too, and then is less work to flip on the grill. If you don’t pre-cut, you’ll have to cut the jerky with scissors when it’s done.
Step 2: Adding the cure and seasoning:
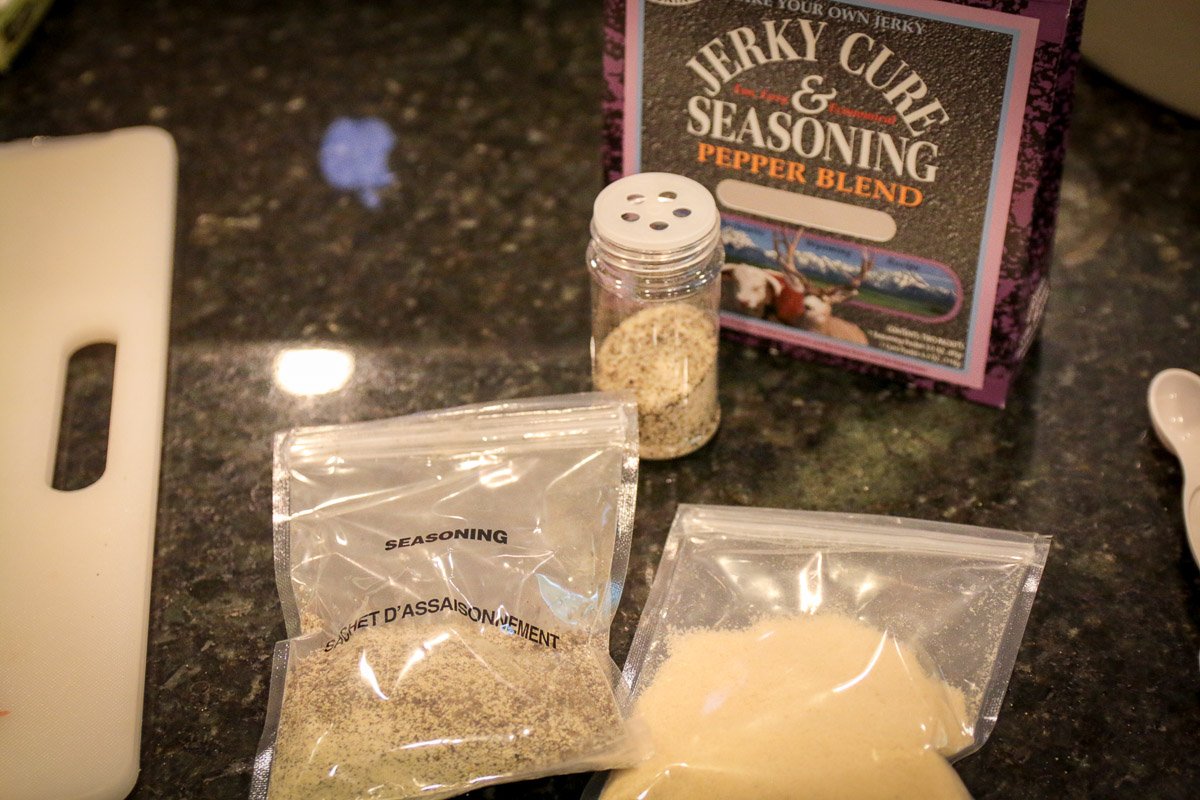
This is where the jerky magic comes in. You’ll have to source a jerky cure and seasoning mix. Once again, I took Brook’s recommendation and went with the Hi Mountain Pepper Blend. It comes in a package with both the cure and the seasoning with a shaker bottle, and you can find it at places like Cabela’s for less than $8. Inside the box you’ll find the cure and the seasoning, and you mix the two together in the shaker bottle according to the instructions. One box will make up to 15lbs of meat, so a single box will go far.
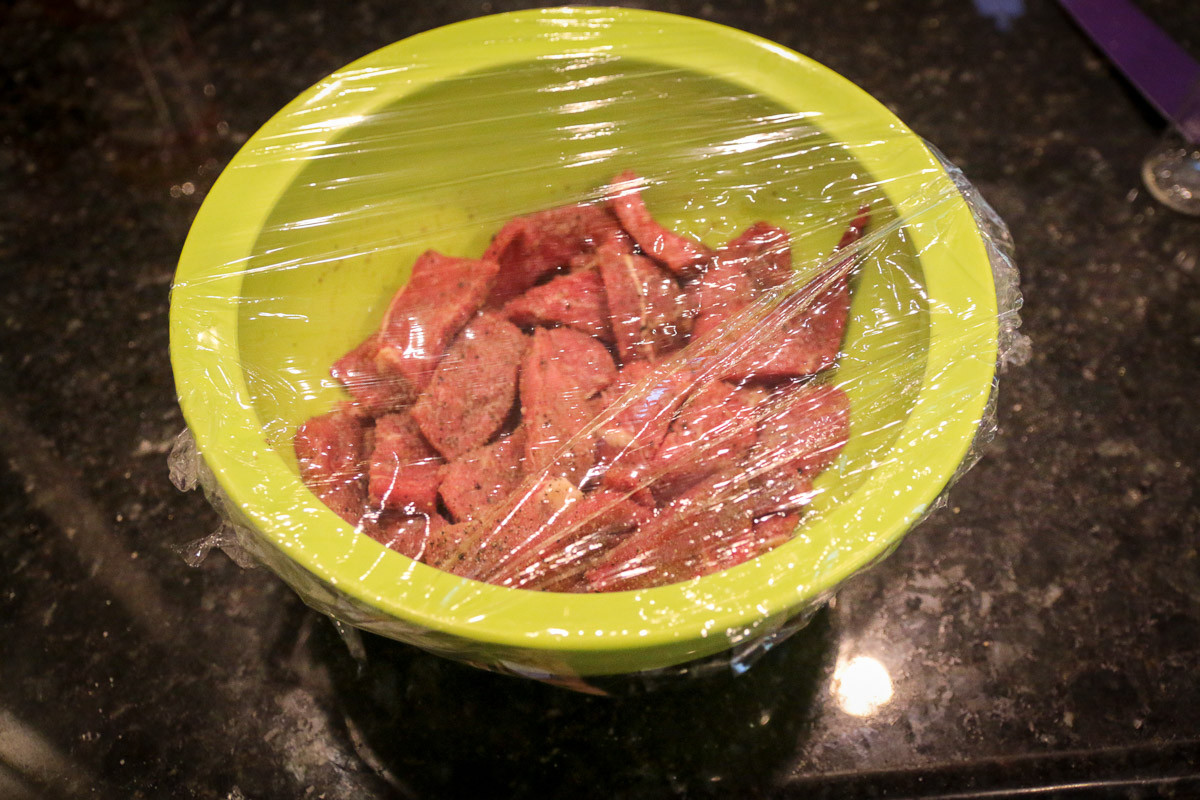
Once you have the mix prepared, sprinkle it evenly on both sides of the meat. Put in a bowl or other storage device, and pop it in the fridge for at least 24 hours. When it’s ready and the cure has done its work, the meat will appear purplish brown. Don’t be alarmed – this is normal.
Step 3: Smoking the Jerky:
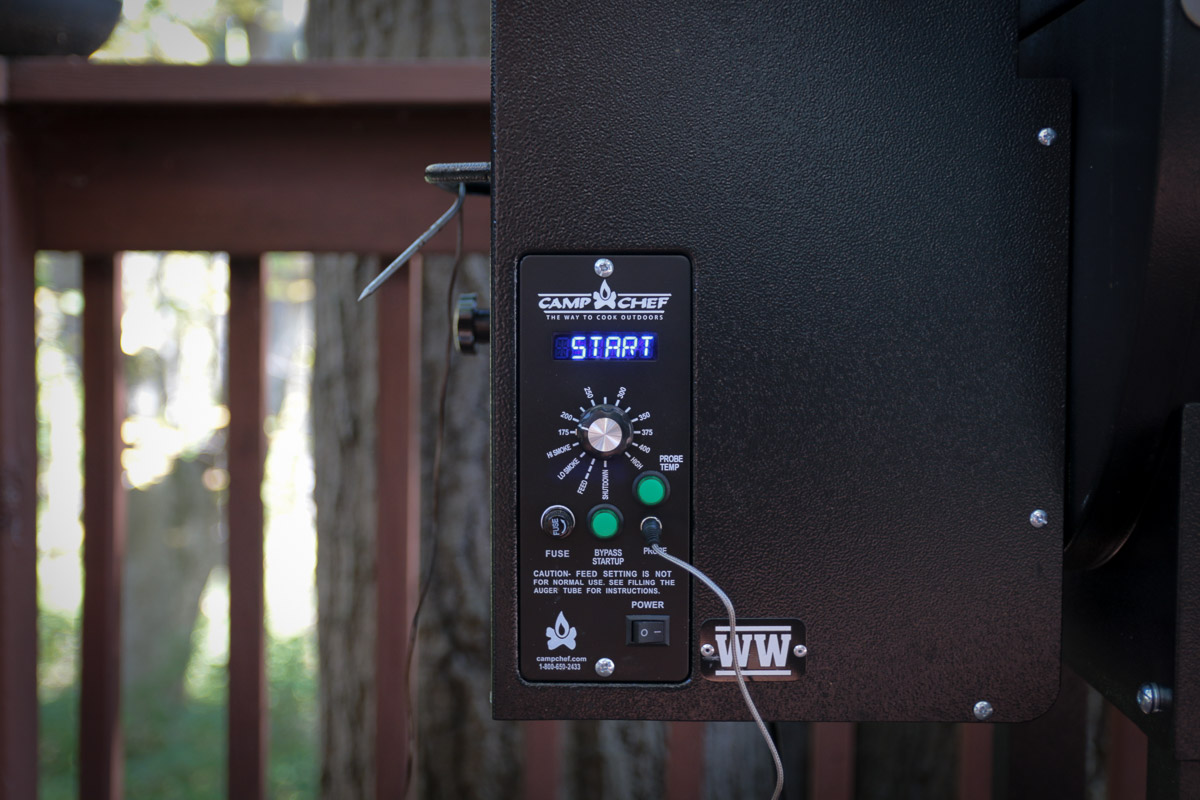
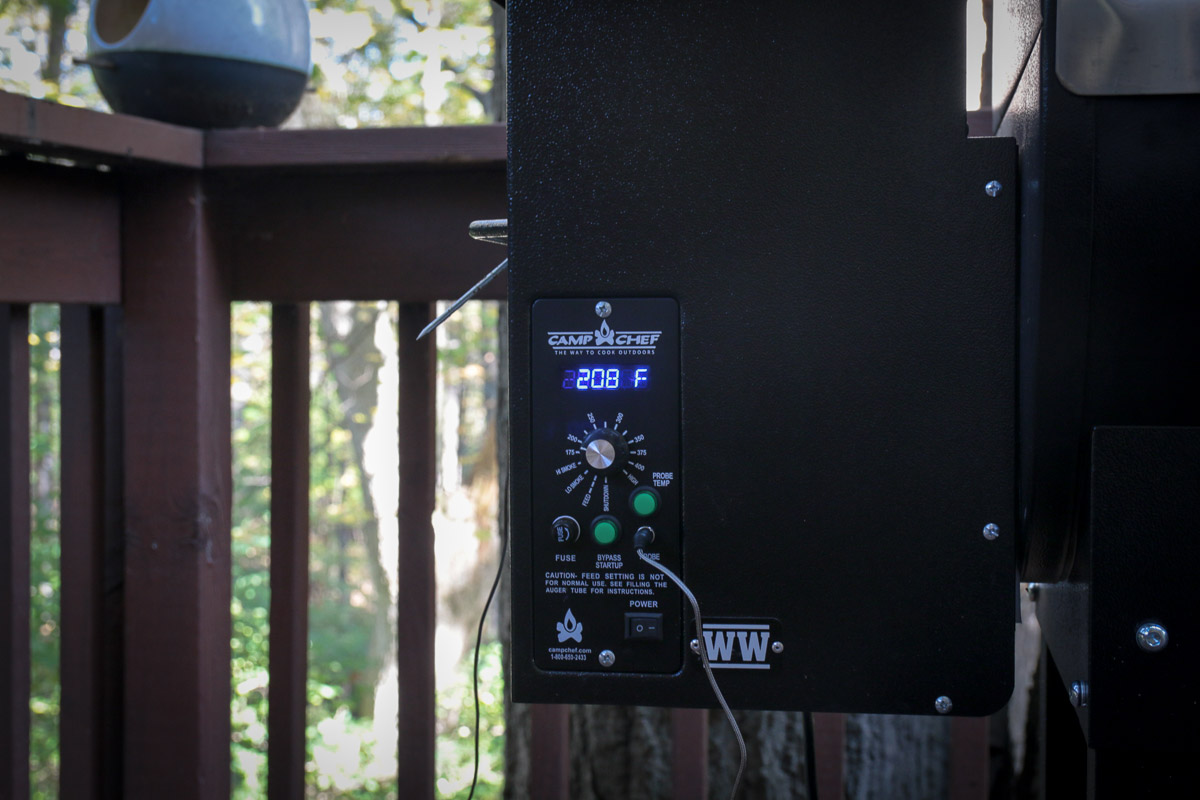
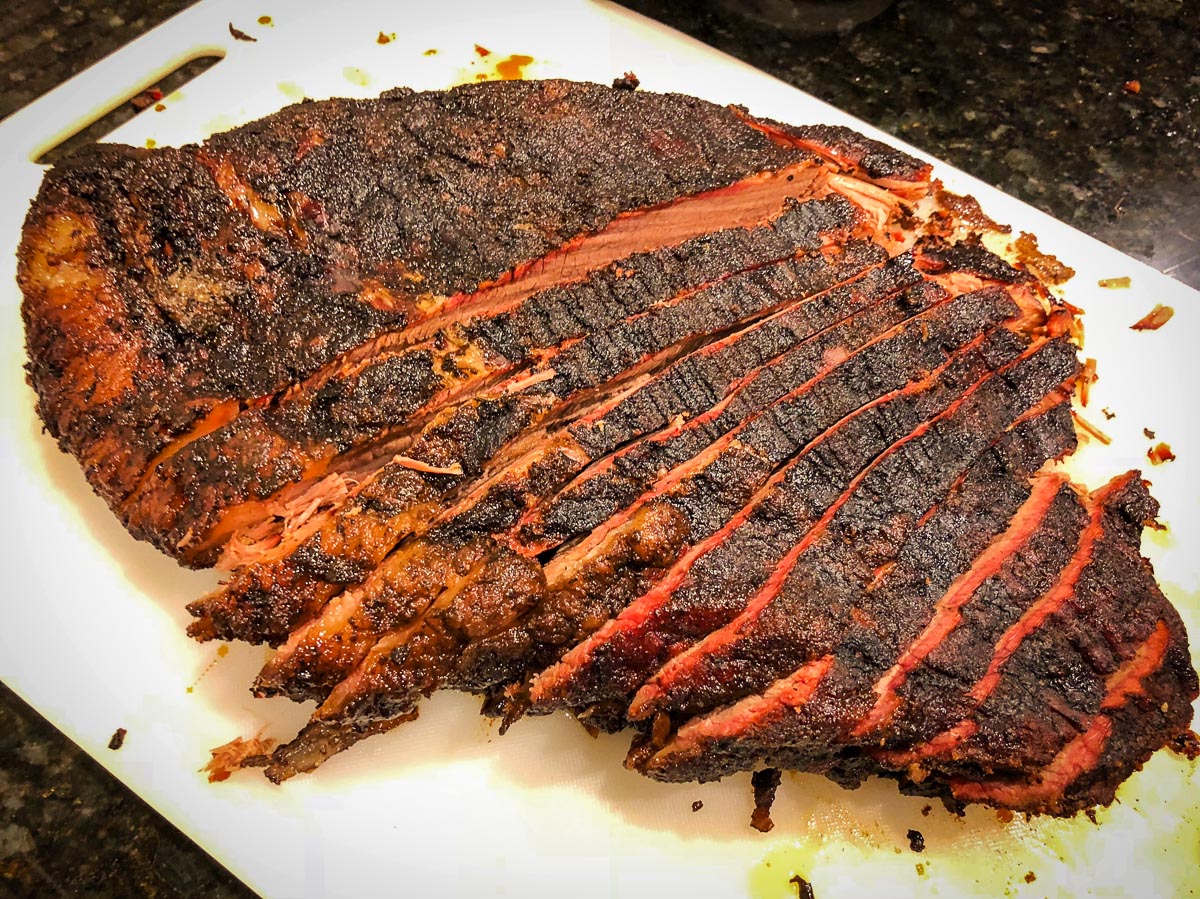
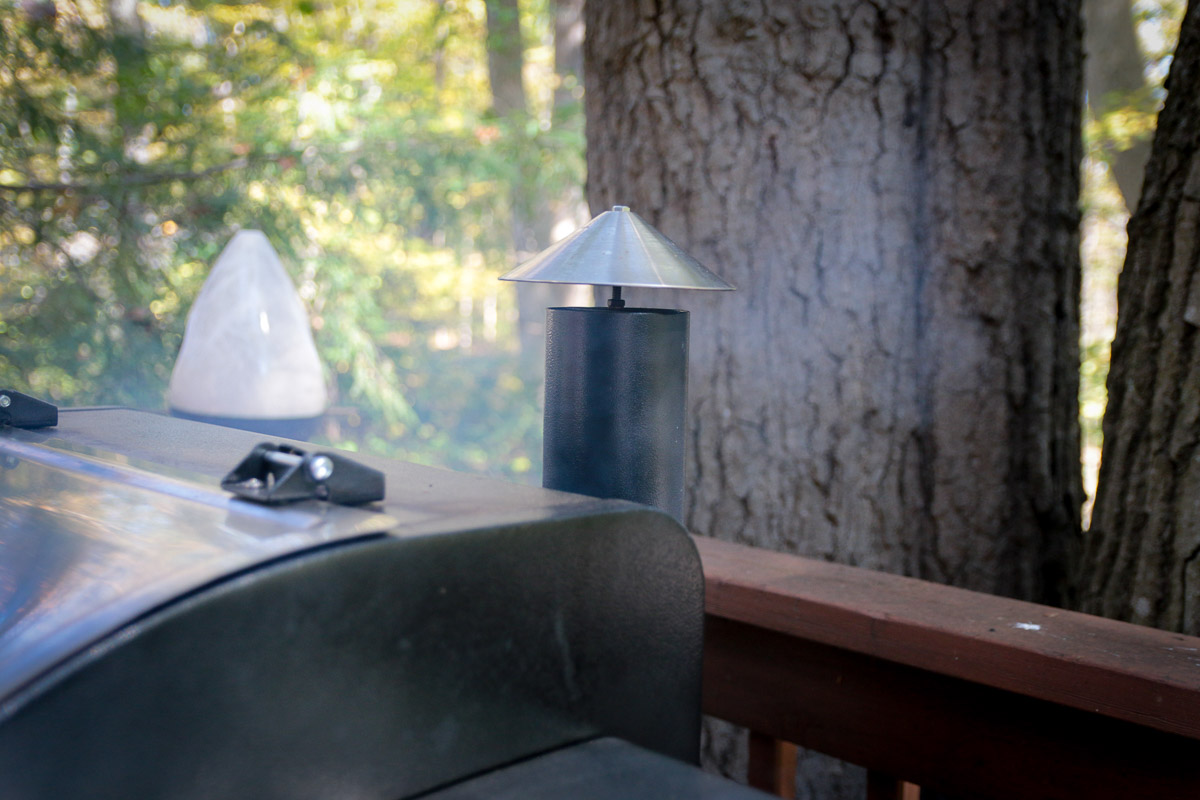
Now you get to let the Camp Chef Woodwind do its thing. Assuming you’ve already broken the grill in properly, and followed the instructions to load the hopper with pellets, it’s as simple as plugging in the grill and turning the dial to your preferred temperature. In this case, the smoker is set on High Smoke which ranges from 200-225°F. The beauty of the Woodwind is that with the electronic hopper, it automatically controls the temperature – no standing around fussing with adding wood or removing the lid to try and cool things down. Just pick your temp, and you’re done. It’s as easy as using a conventional oven – but waaay more tasty. In fact, during my last CX race, I got up at 4 a.m., threw a brisket on the Woodwind, then went and raced, and came home to a nearly finished meal (fortunately, my wife was home to watch it. You shouldn’t leave a smoker unattended).
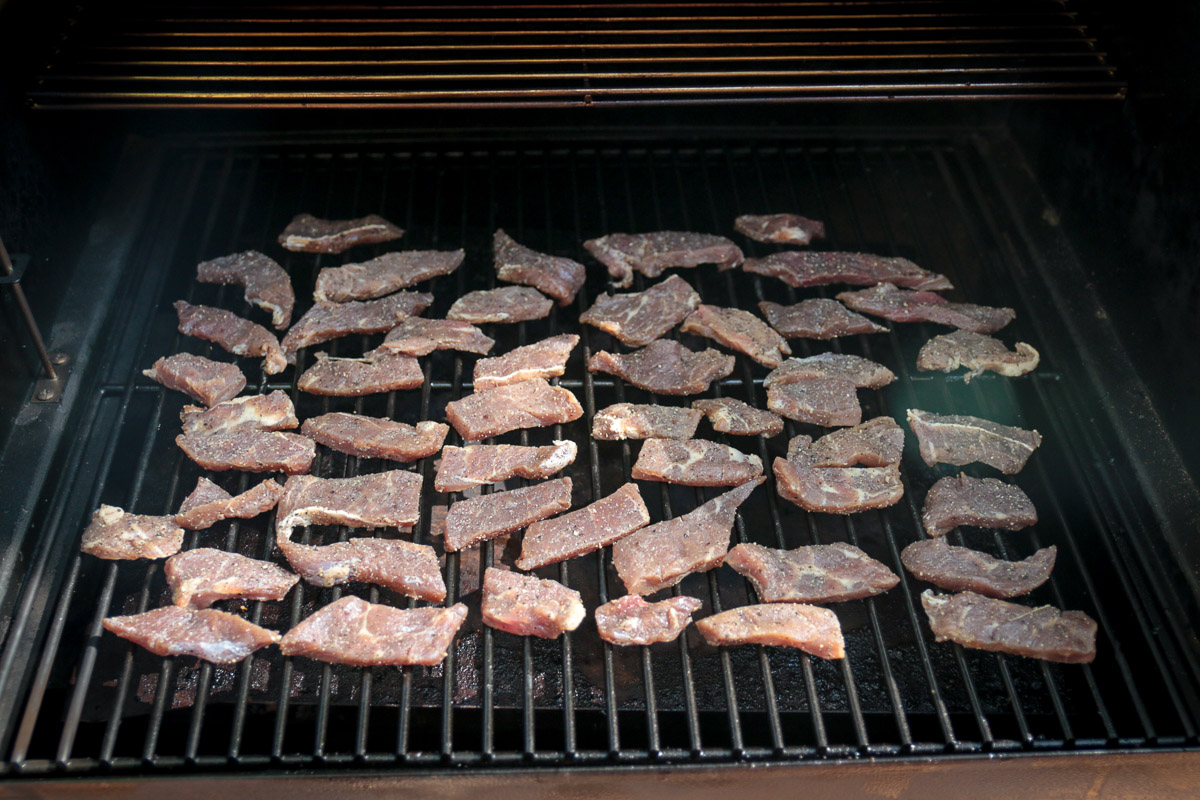
Once the grill has heated up, add the jerky to the rack. Camp Chef sells actual jerky racks which would make this a lot easier, but it is possible to use the standard grate even if you’ve pre-cut the jerky. It just takes more work. Once the jerky is laid out, close the lid and let smoke for an hour. Then flip. Smoke for another hour for two hours max.
At this point the jerky should be done and you can remove it from the smoker (remember to turn the smoker to off, and let the cool down cycle commence). I place it on a paper towel to soak up any liquid fat on the outside of the jerky, and then pop it in a bag and it’s straight into the fridge.
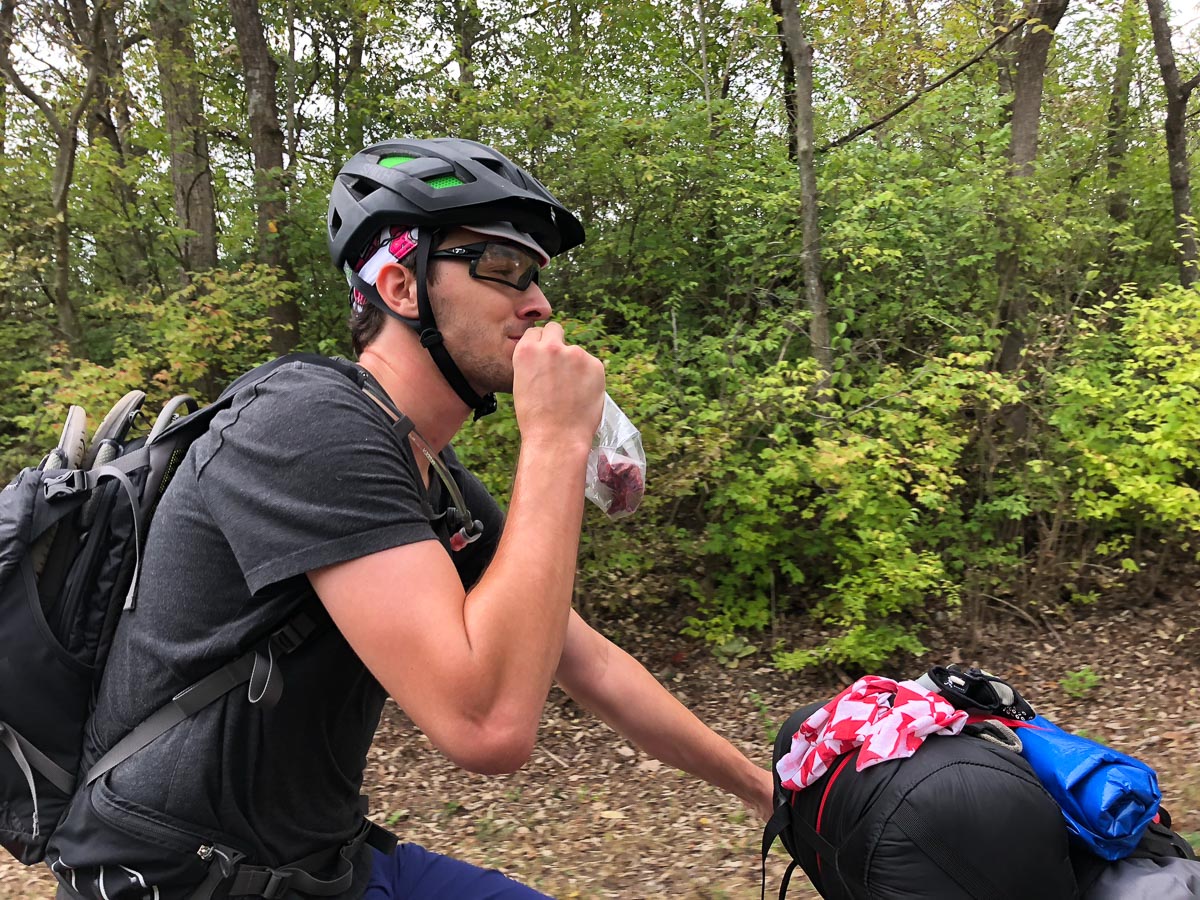
Depending on your needs, you can either just use a plastic bag if it will be eaten quickly, or you can use foodsaver vacuum bags to keep it fresh for quite a bit longer. Honestly, mine has never lasted more than a few days because everyone who tries it says how good it is, and then proceeds to eat a handful. On a recent bike packing trip, Michael was skeptical, but after taking the first bite he proceeded to tell me I needed to sell the stuff since it was so much better than store bought jerky. While I don’t think I’ll start up a jerky business anytime soon, I have gotten in the habit of whipping up a batch before any long trip or ride. It’s just too easy to make, it’s quite a bit less expensive than store bought, and the moisture content makes it far more palatable when riding.
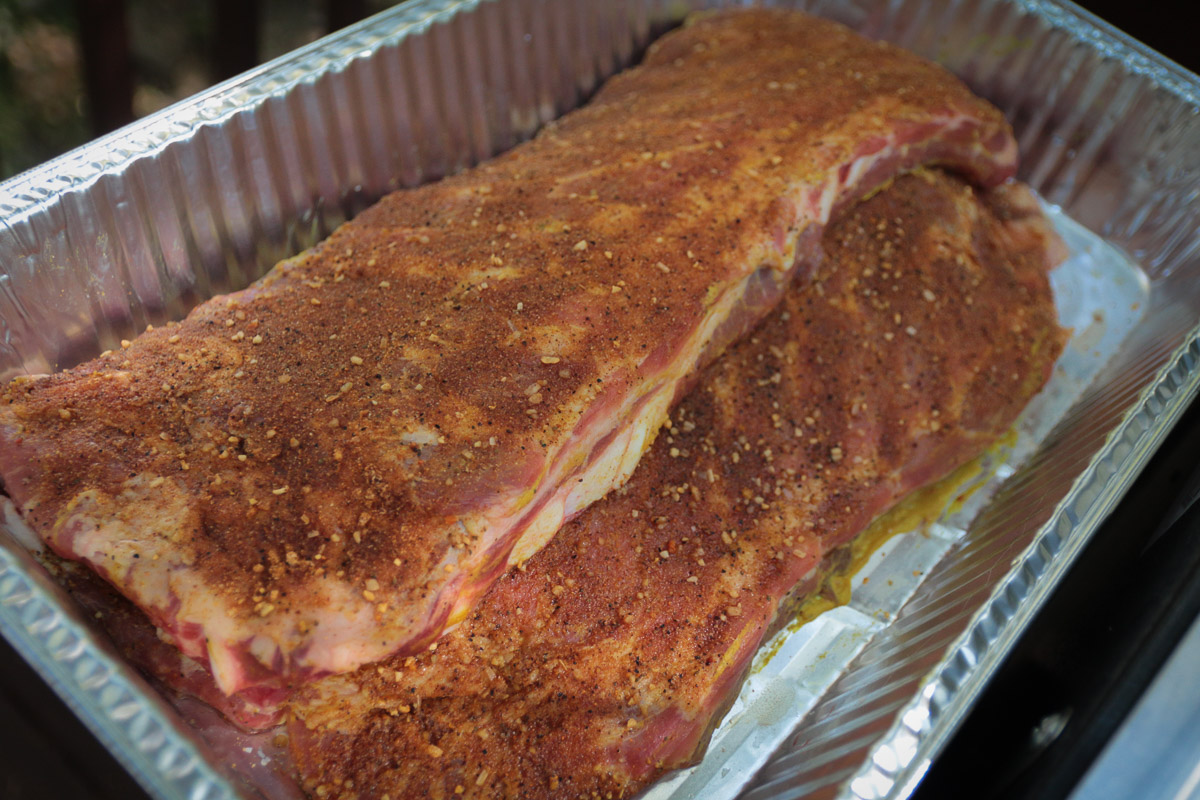
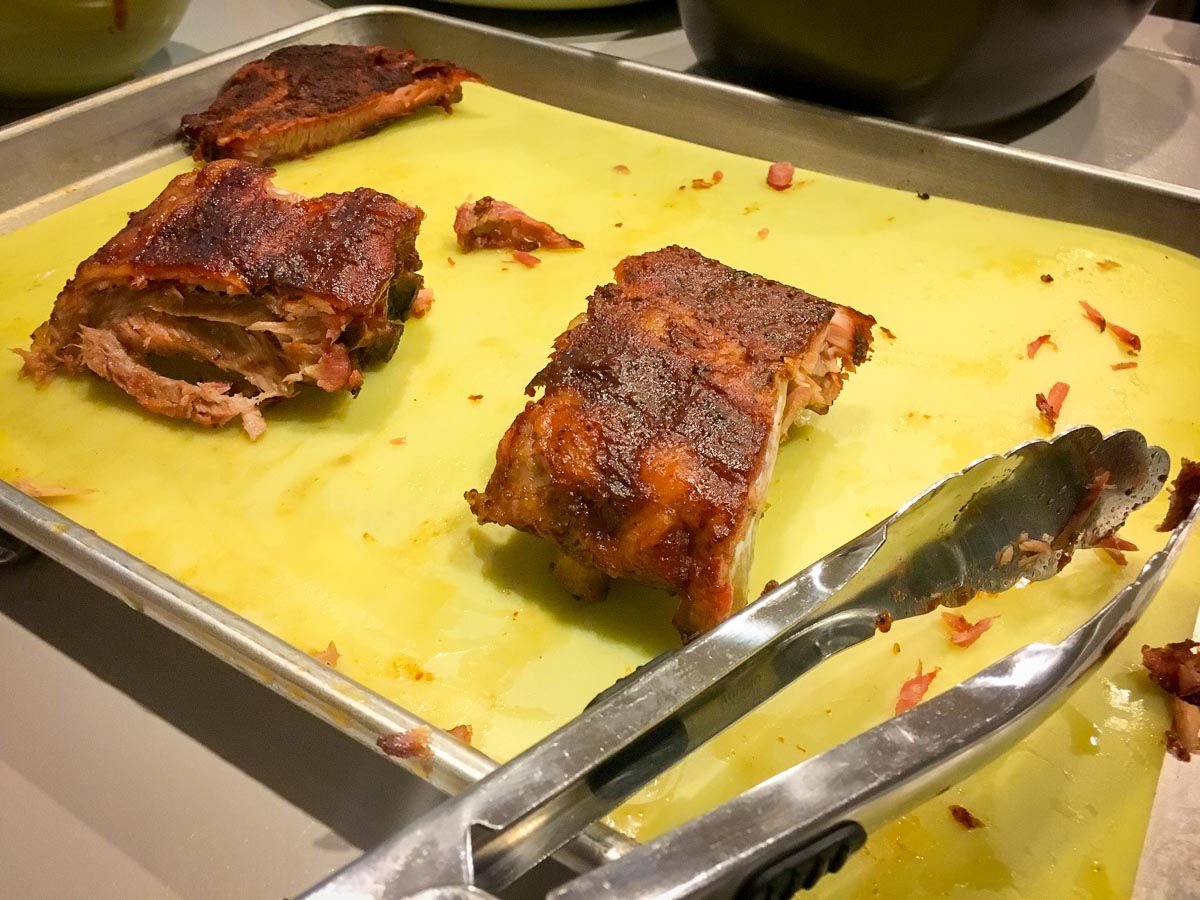
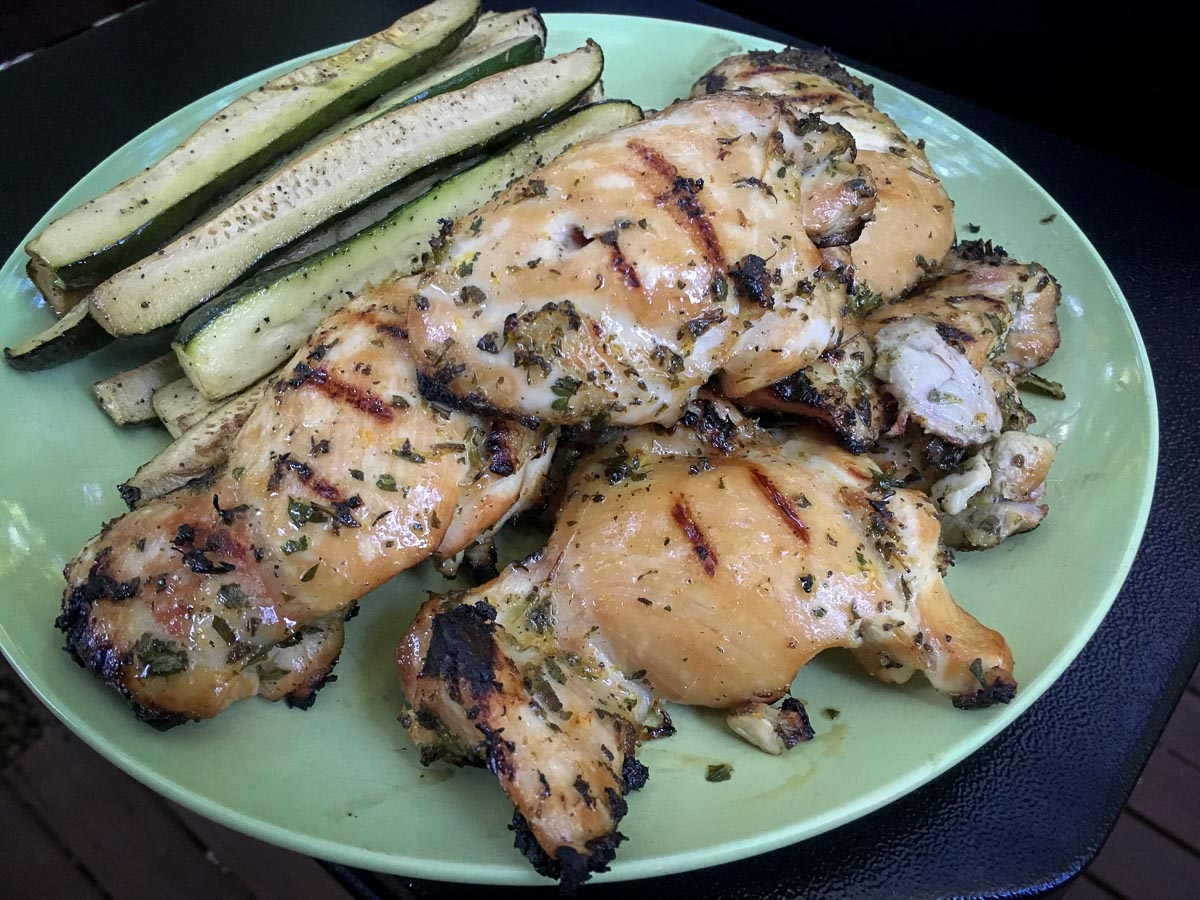
Of course, there’s far more to make on the Woodwind than just beef jerky. In the past, I would break out the propane grill to cook up a few steaks or burgers, but I was far from a BBQ enthusiast. That all changed the minute I took delivery of the Woodwind. Now all I can think about is what delicious meal I can throw together that involves some type of meat (or veggies) on the smoker. Obviously, things like ribs, pork shoulder, and brisket while delicious, aren’t exactly on a cyclist’s race diet. Fortunately, this thing makes unbelievably juicy and flavorful chicken that will help you balance out those non-riding days without getting rid of the flavor.
And this week? Well, I’m ramping up my riding so that I can eat the full Thanksgiving spread without the guilt – including the turkey that will be smoking away on the Woodwind Thrusday morning. If you’re wanting to try it out for yourself, there’s still time to pick one up before Thursday at stores like Field & Stream, and they’re even running special pricing for Black Friday on the SmokePro DLX which is the not-quite-as-fancy version of the Woodwind.
