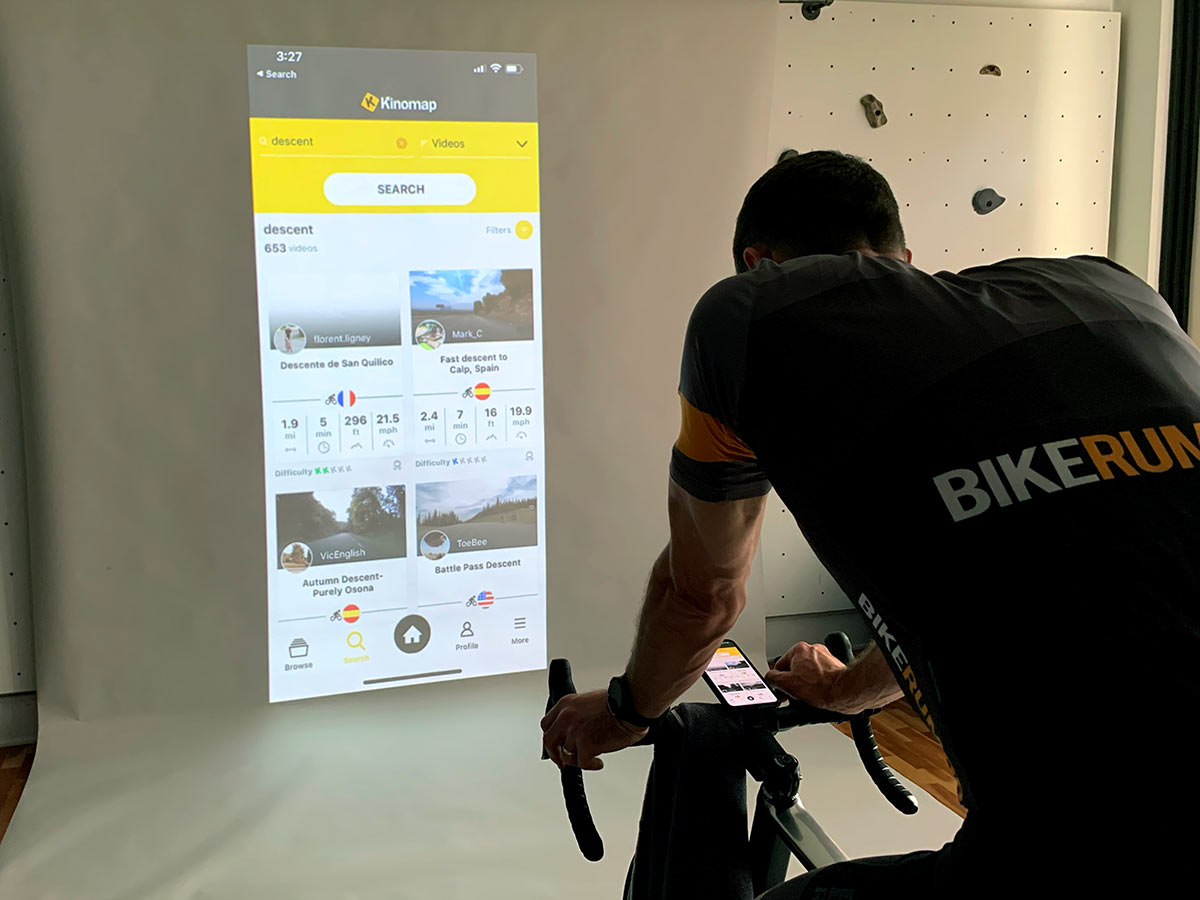
Indoor cycling has exploded lately, in no small part because of the amazingly entertaining virtual world simulators that popped on the scene. Their marketing lets envision ourselves surrounded by this digital cycling environment, but the reality is that we’re often watching on a tiny screen. This isn’t the fully immersive environment we see in the commercials!
So, we wondered, what would it take to recreate the room-filling visuals and glowing ambience to make it feel like we’ve been transported to another place? How big of a screen would we need? What else is required? Would it really feel like we were riding outside?
We partnered with Kinomap and Saris to find out, here’s how it all came together…
Designing the ultimate indoor cycling setup
From the absolute basics all the way up to wall-sized imagery, this video shows what all it takes to recreate the complete surround visuals we’ve all seen in the ads. And, at the end, we find out if it’s really worth the thousands of dollars it took to build it out. For a complete list of equipment used, and the costs, keep reading…
What’s the basic trainer setup required for virtual rides?
The starting point of any trainer room is the trainer itself. The good news is, you can use any trainer you’ve got, but you might need to add a couple of sensors to send your speed and cadence to whichever app you’re using.
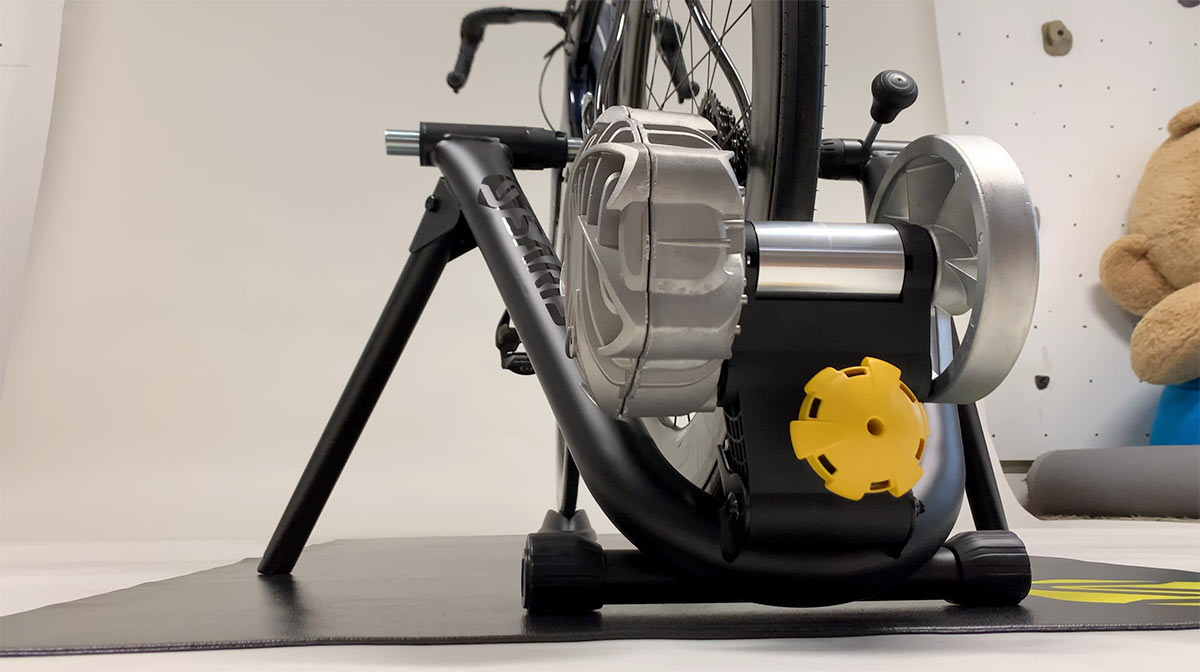
We started with the Saris Fluid2, which can be purchased as a “Smart” version that includes one of their CS sensors.
The “CS” stands for Cadence/Speed, and allows you to set it to do either, but not both simultaneously. So, you’ll need to order an extra to use Kinomap, or two if you’re just using whichever “dumb” trainer you have laying around.
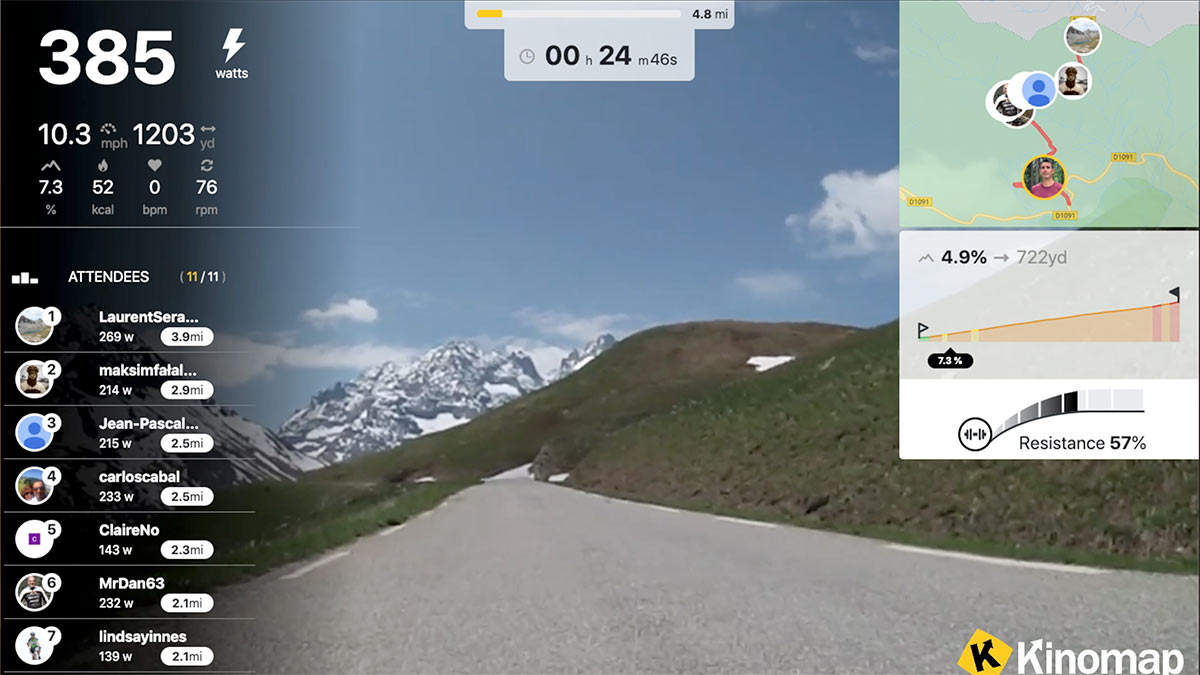
The nice thing about Kinomap is that it has the resistance data on hundreds of trainers, so it can translate your speed and cadence into a power figure. This helps you know when it’s time to shift or adjust the resistance to match what’s going on on-screen. It also helps them keep your in-world performance matched to online competitors.
Assuming you have a smartphone or tablet, that’s all you need to get started.
Great, what’s Kinomap?
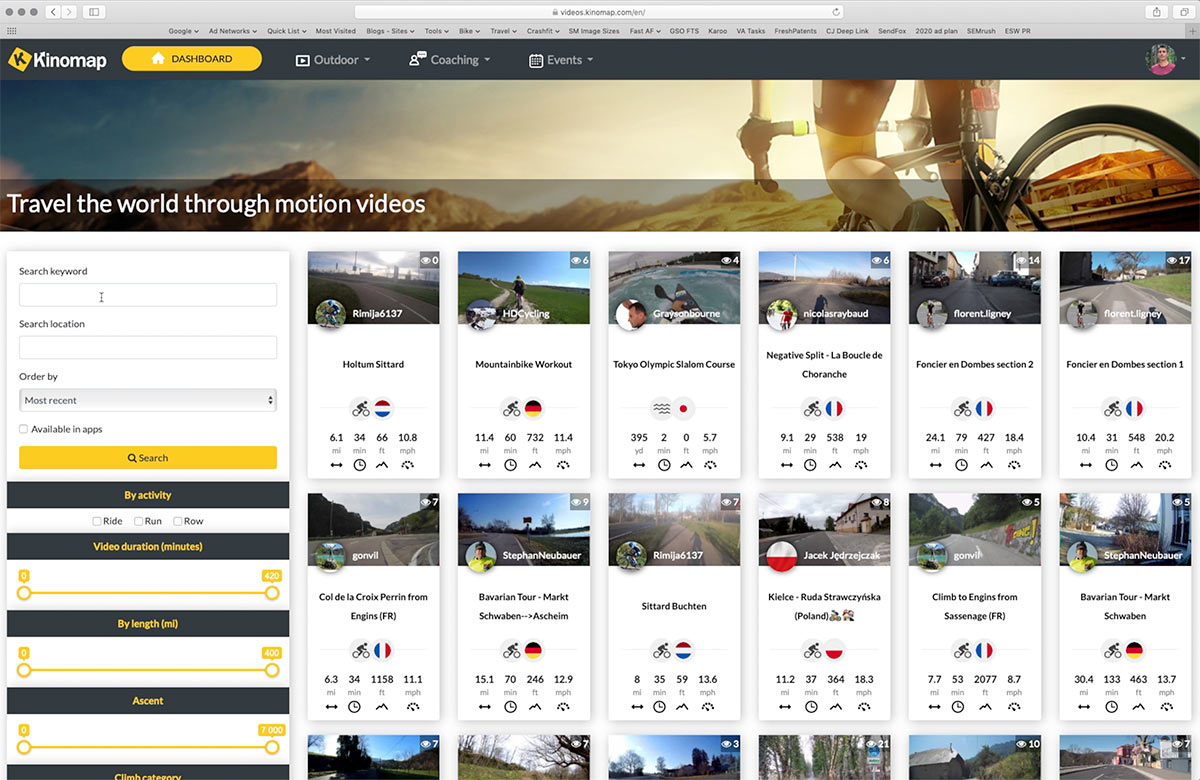
Kinomap has, arguably, the largest collection of “virtual” rides of any online training platform. They use real footage (you can even submit your own, and earn rewards for doing so) from riders around the world to let you ride real routes, road and trails. To date, they have more than 120,000 miles (200,000km) of rides in more than 90 countries.
You can try it free with limited rides, or give it a real test run for $10/month. Annual subs are $80, or buy a lifetime membership fro $199. It works on more than 900 different indoor trainers, spin bike and other fitness equipment (rowers and treadmills, too).
How big of a screen do I need?
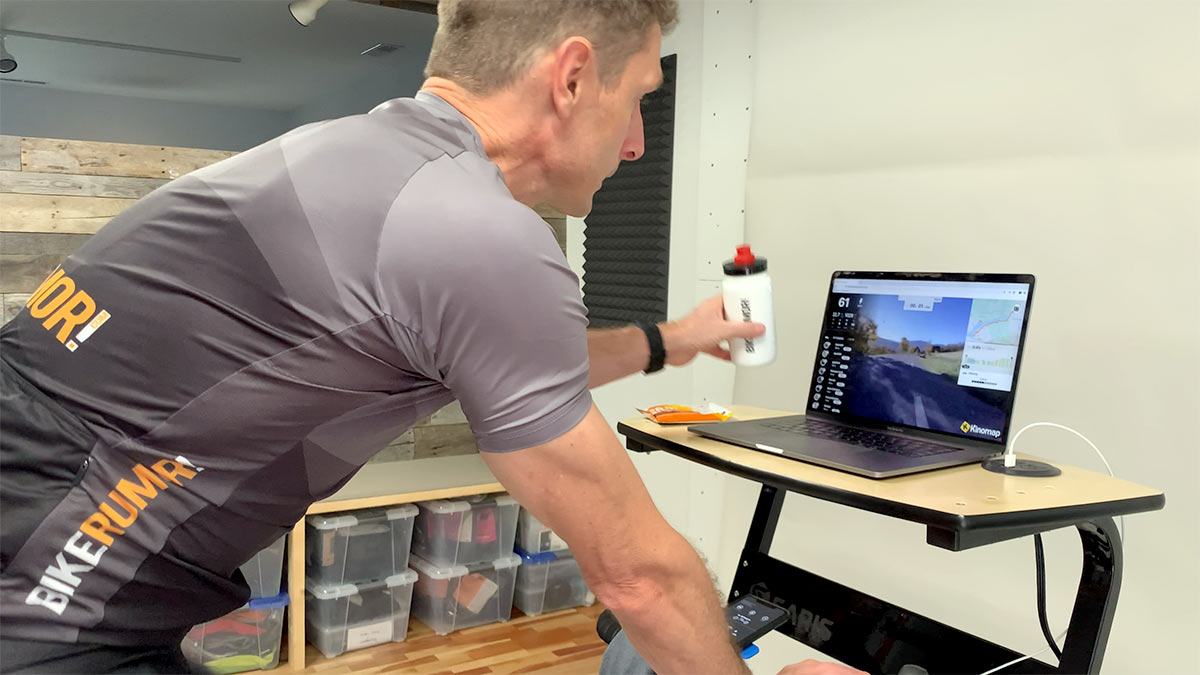
Aaaaah yes, now we’re getting to the good stuff. Assuming we’re on the same page here, your phone, tablet or laptop just aren’t big enough. Laughable, even. Sure, you could take that little 40″ flat screen and pretend like you’re riding in a virtual world. Which is cute. A for effort. But that’s not going to give us the immersive feel we’re after.
Here’s why:
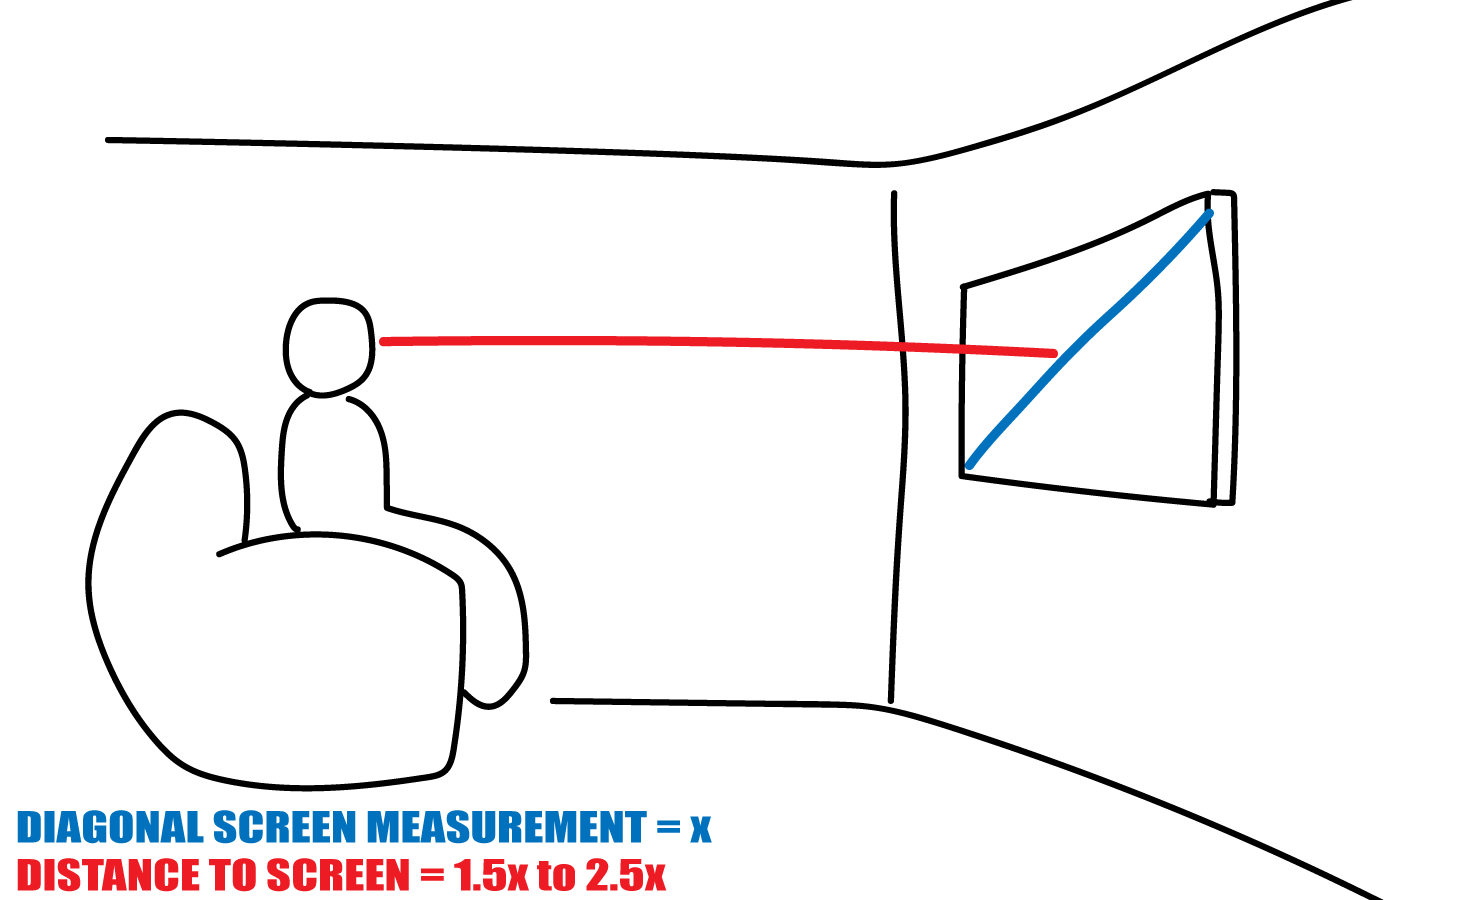
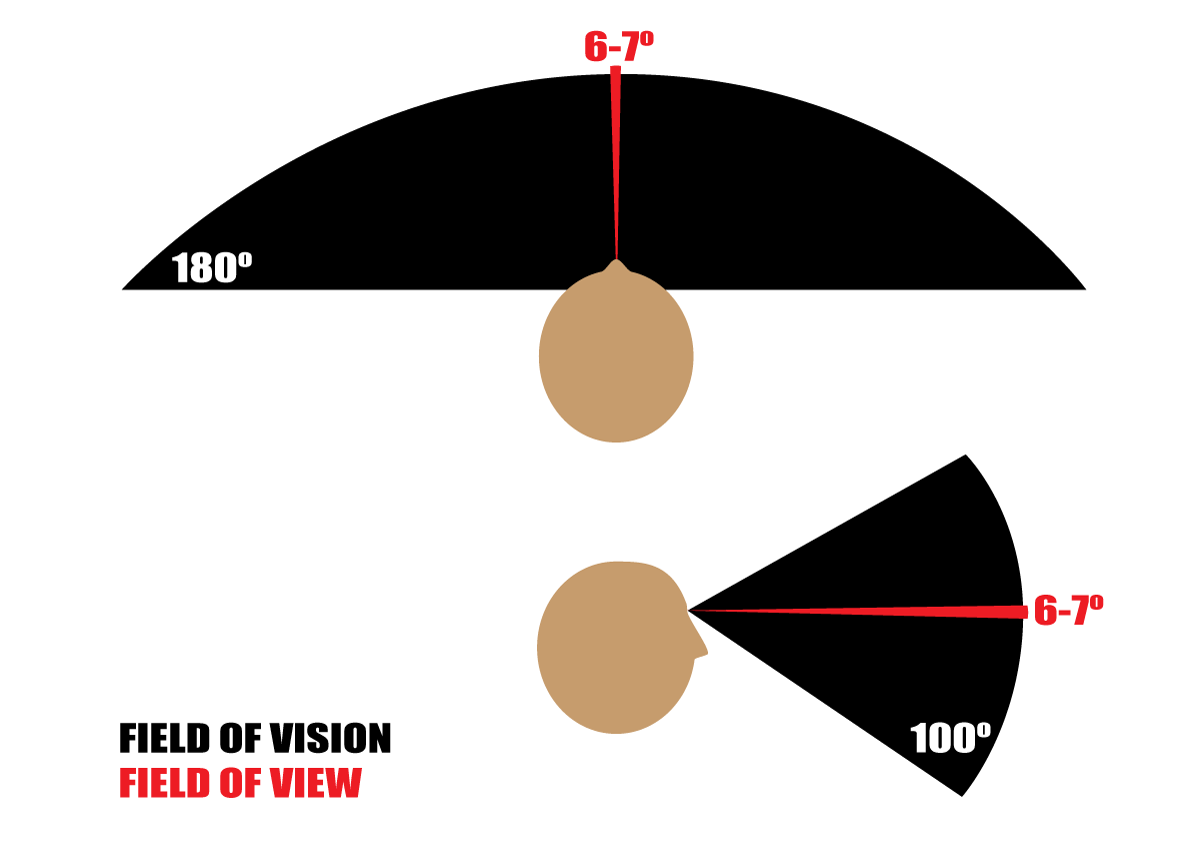
Home theater geeks recommend a viewer-to-screen distance of 1.5-2.5x the horizontal measurement of your television. This means for a 40″ television, you’d be about 80″ away, give or take. That’s about 6.7 feet, or 2m. And that allows you to see the entire screen in a glance and recognize everything that’s happening. Because this is how our eyes work:
The standard human’s Field of Vision is 180º side to side, and about 100º up and down. This is what we call peripheral vision. But our Field of View is much, much smaller, just 6-7º. This is the tiny window of complex detail that we use for things like reading and facial recognition. What this means for us is that we should be able to fool our eyes (and therefore brains) into thinking we’re surrounded by a visual if we can A) get a big enough screen, and B) put it close enough to our face.
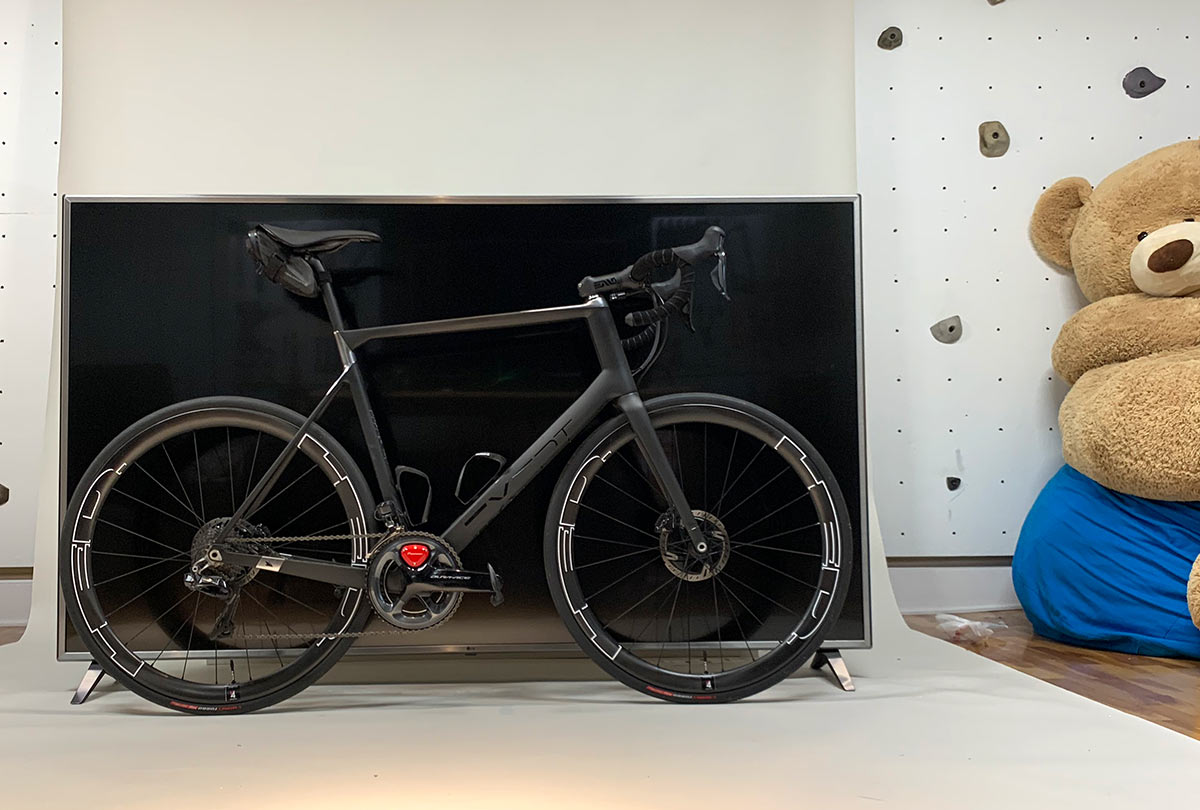
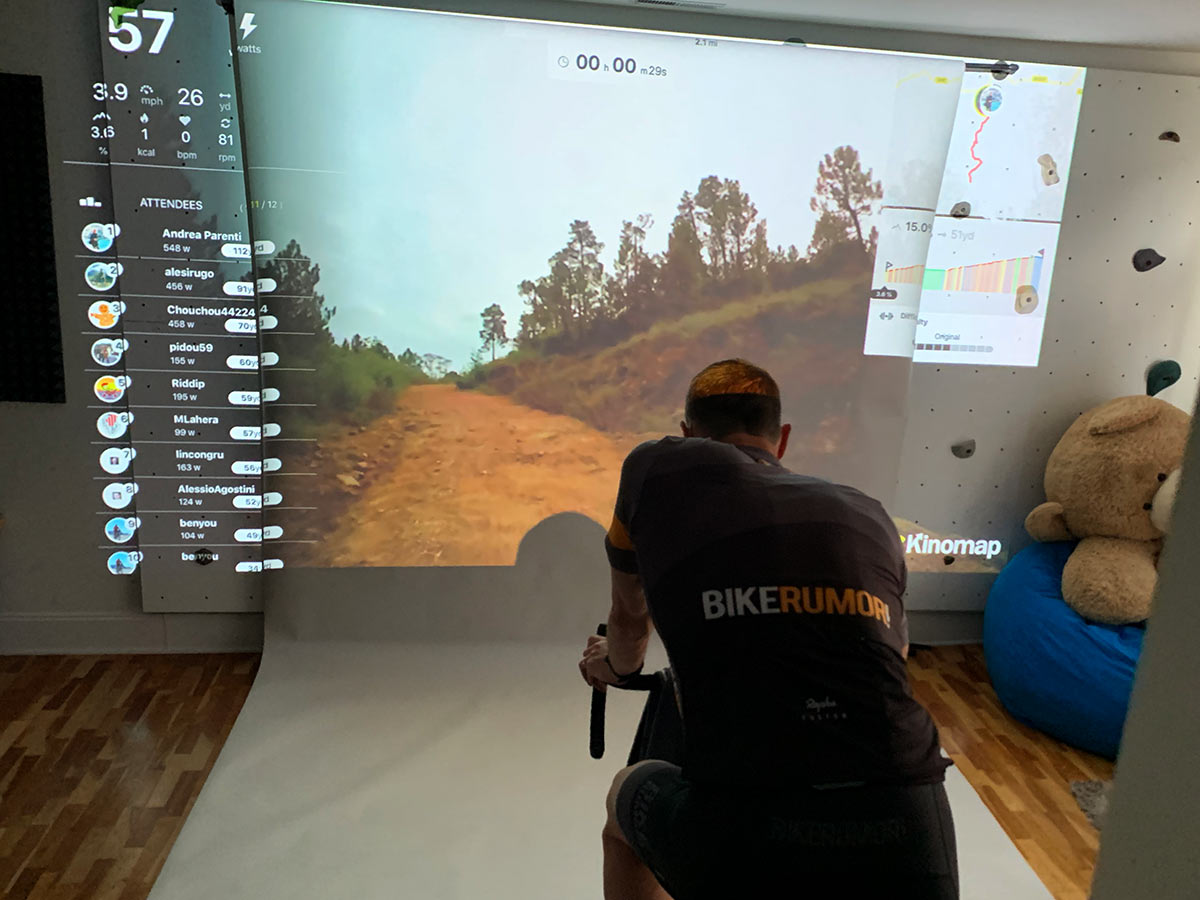
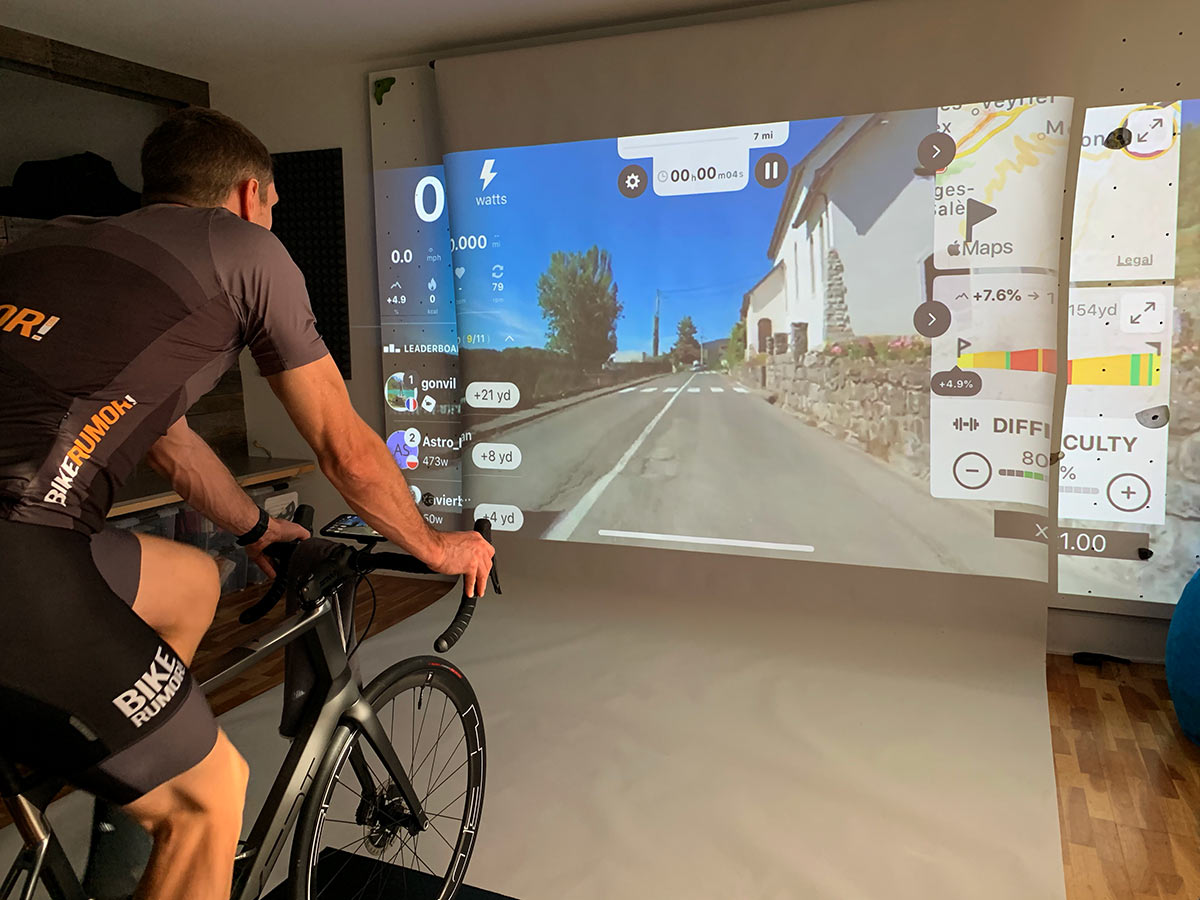
So, naturally, this was an excuse for us to get the biggest screen we could possible find: The LG 4K 86″ flatscreen – that’s 7.17′ (2.19m). At just 4.5′ (1.37m) away from my face, that’s a screen distance-to-size ratio of about 0.62. And it literally fills the part of my peripheral vision that I’m able to pay attention to, particularly when in the riding position. Check the POV angles in the video.
Couldn’t you go bigger?
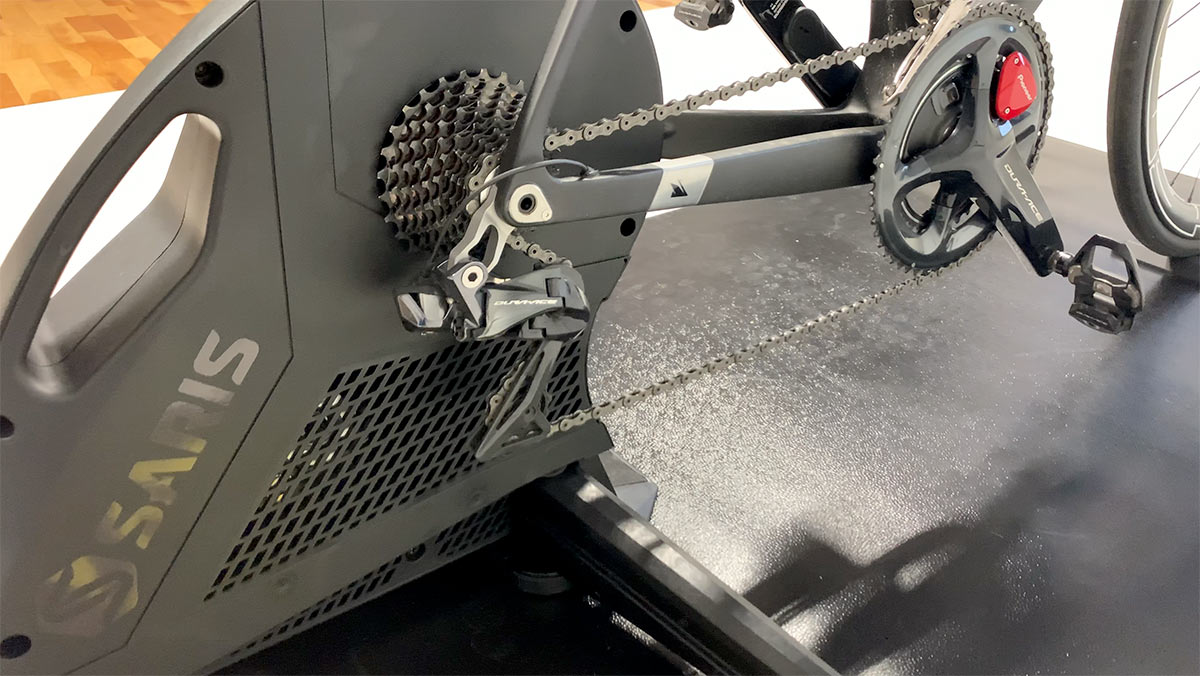
Yes, but there’s other stuff we can do to make the entire experience more realistic first. If we’re dropping $2K on a screen, it only make sense we’d want the best smart trainer we could get, right? Because at this point, we’re committed (or should be, if you catch my drift). So we upgraded to the Saris H3, their top of the line trainer that requires no additional sensors to measure power, speed and cadence.
And because it’s “smart”, it can interact with Kinomap to change resistance in real time, improving the overall experience and better simulating incline and effort on the big, famous climbs of the Tour de France. (and yes, if you notice I misspelled “Alpe du Huez” when typing into the search in the video, it was to show that Kinomap still finds what you were looking for, whether you know how to spell real good or not). The H3 has another clever feature: Not only does it come with all of the axle adapters to run QR or thru axle for both road and mountain bikes, but the hidden front tire tray pops down when you open the legs. It even has a disc brake spacer built in so you don’t accidentally squeeze your rear brake shut and have to fix it later. Very clever!
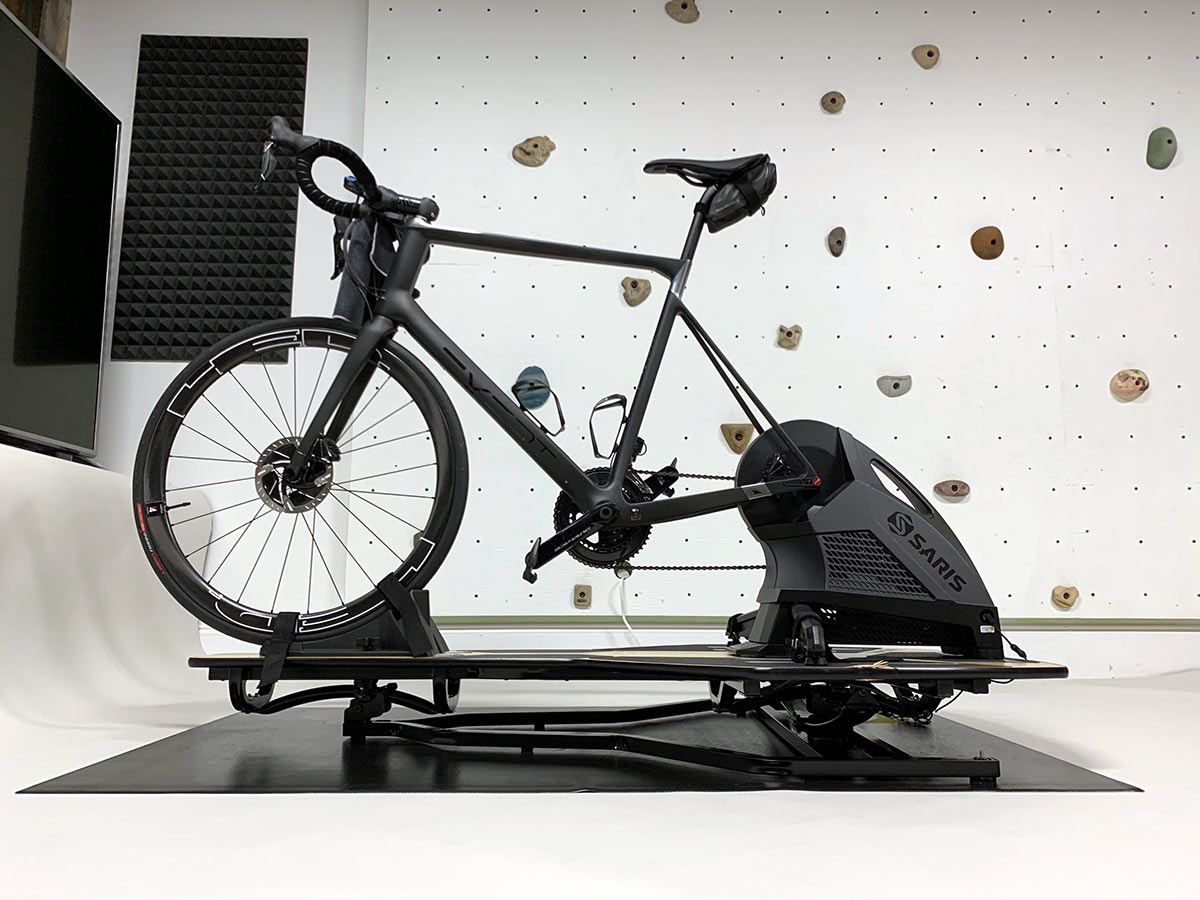
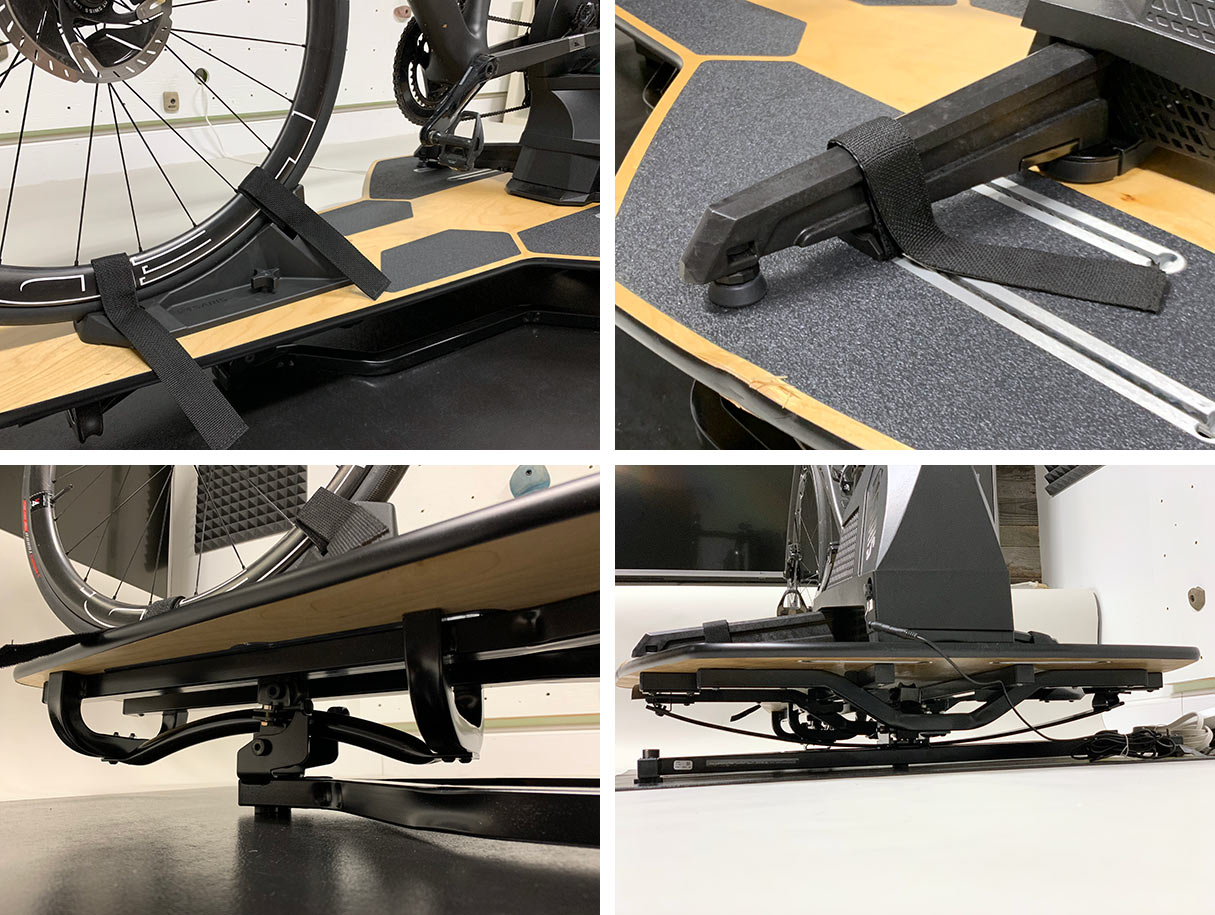
Why stop there? The next big upgrade is the Saris MP1 Nfinity Moving Platform. Honestly, this might be the most impressive part of the setup in terms of actually making indoor training feel more like riding outside. The visuals can trick your eyes, but when you can actually lean the bike, move it underneath you, and have it rock side-to-side AND fore-aft under hard efforts? That’s when it starts tricking all your senses.
The MP1 is expensive as hell at $1,199, but if you’re gunning for that top spot in Kinomap’s leaderboard, this is gonna make it easier to put in the miles. Seriously, watch it in action in the video, it’s amazing.
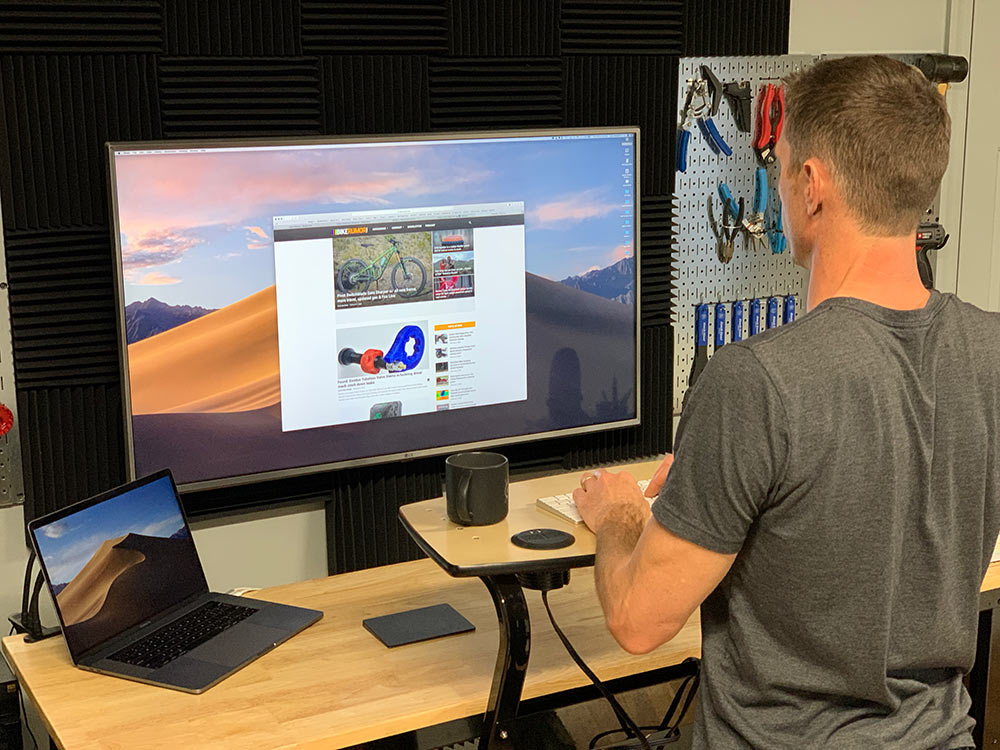
And if we lost you, and you’re happy slumming it with a tiny little screen but still want to get it closer to your face, check out the Saris TD1. Their Trainer Desk is the best I’ve used so far, and works equally well as a small standup desk. This helps it pull double duty for laptop work, justifying the $329 price, but also makes a great place to put a small screen, snack and water bottle for your marathon trainer sessions.
How do I get my training video onto the big screen?
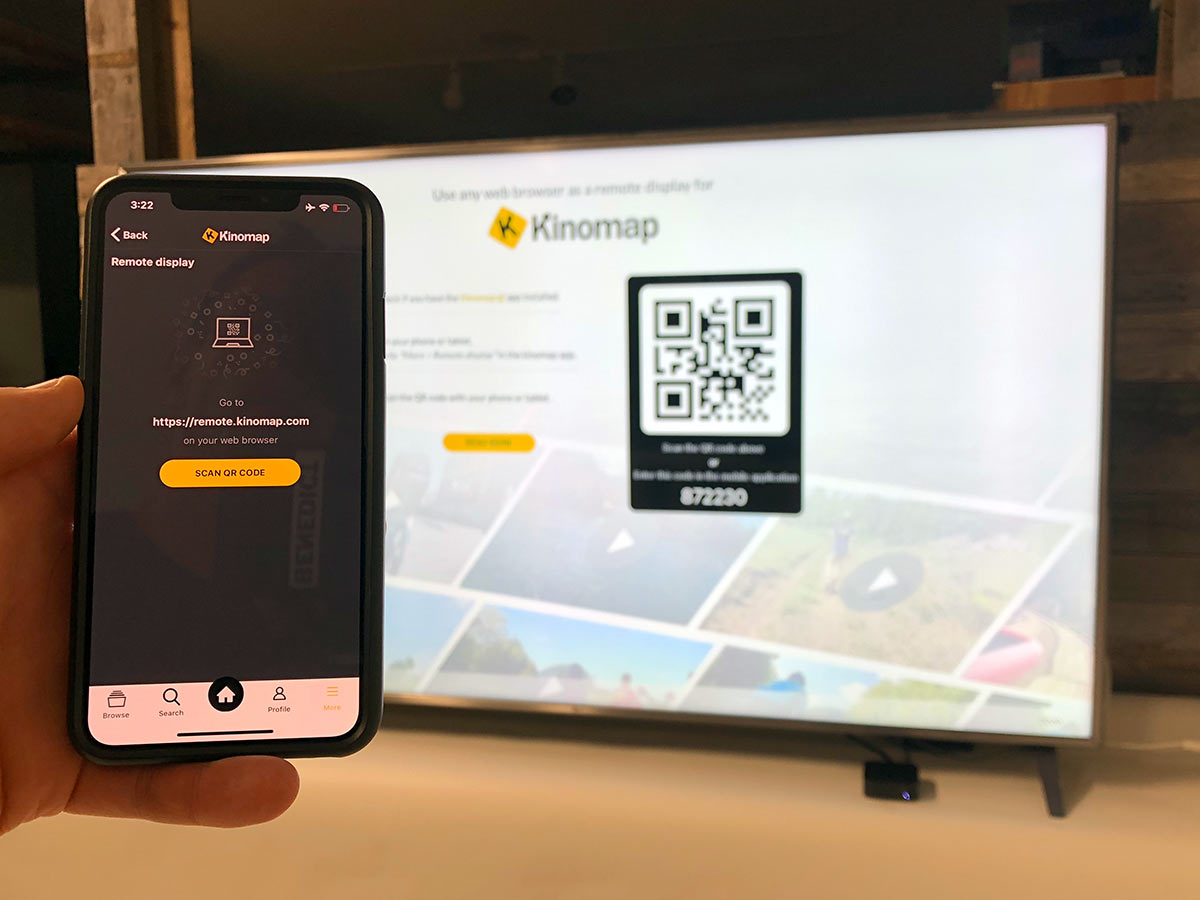
There’s a couple ways to do this. My examples revolve around Apple products because I wouldn’t even know how to turn on a Windows/Chrome machine, but you can use Chromecast if that’s your jam. With Apple, you’ll want a 4th Gen AppleTV or the AppleTV 4K. Why? Because these can download apps, whereas earlier AppleTV models can not. This lets you run Kinomap’s Remote Screen app, which is basically a browser that reads the signal off your phone or tablet and displays the main video on the big screen while keeping the controls and some data on your small screen. It’s pretty cool.
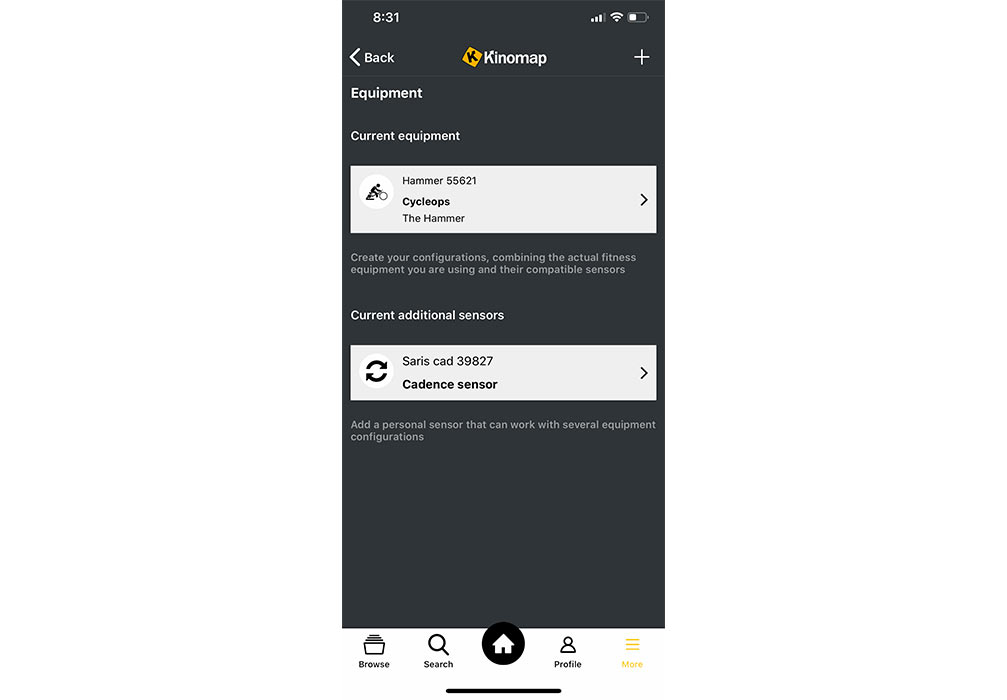
Simply go to options on Kinomap’s smartphone app, go to settings, choose Remote Display, and scan the barcode that shows on the big screen. Boom, instant connection. Then just select your ride and start riding. I did find that it took a looooong push of the AppleTV remote button to get the ride to start moving, though. They say this produces less (no) lag compared to mirroring your screen through Airplay, though that will work, too, which is good if you have an older AppleTV.
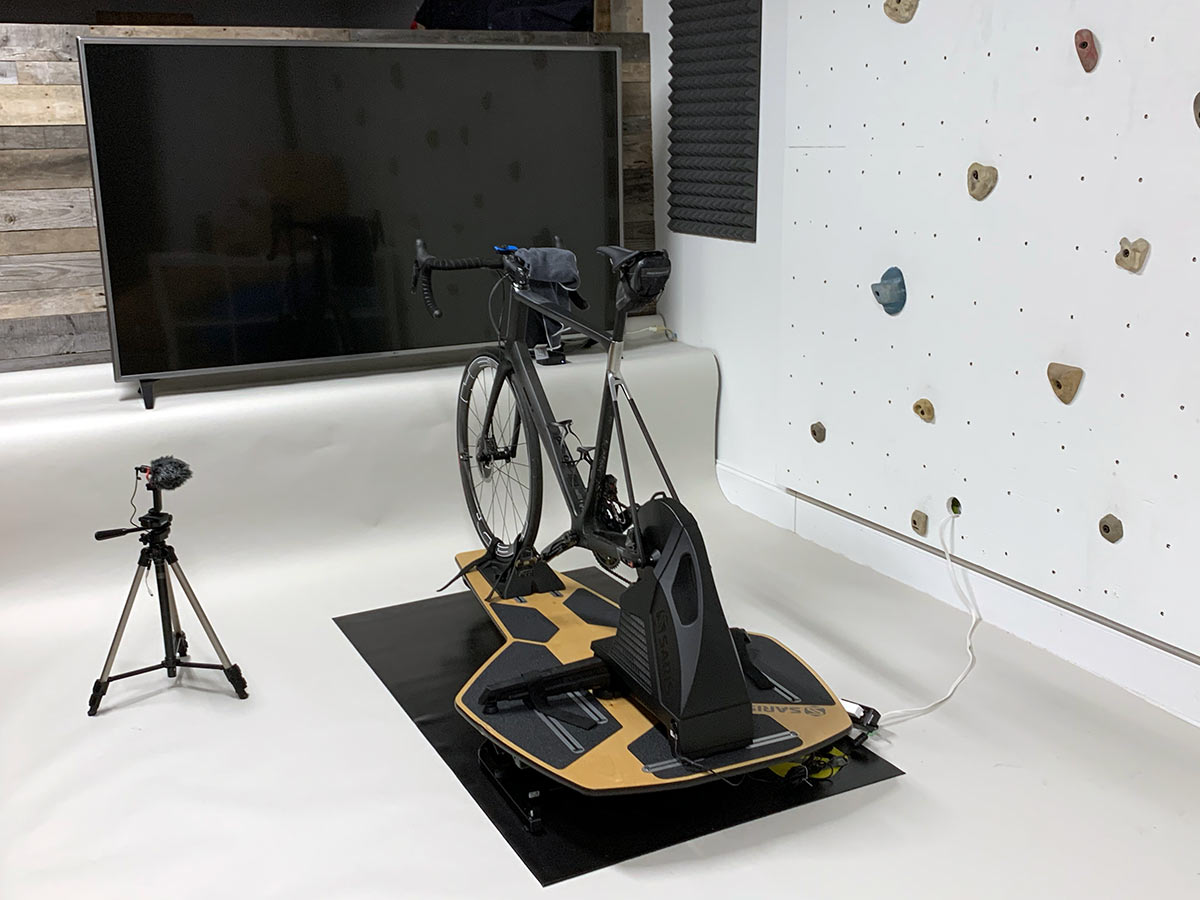
Or, you could just use the video-out port from your laptop, but Kinomap doesn’t have a desktop app, so you’d still need to pair the mobile app with your computer using the same Remote.Kinomap.com. Technically, if you have a Smart TV (like any modern TV, especially an 86″ beast), you may even be able to use the TV’s built-in browser to summon the Remote Screen.
Yeah, yeah…But I want a bigger screen!
Us, too, so we upgraded. Which was in some ways a downgrade. A projector was far less expensive than the 86″ television, and it delivered a 190″ diagonal image (!!) at the largest. That’s 2.2x larger than the flat screen!!! It literally filled my entire wall. It was awesome.
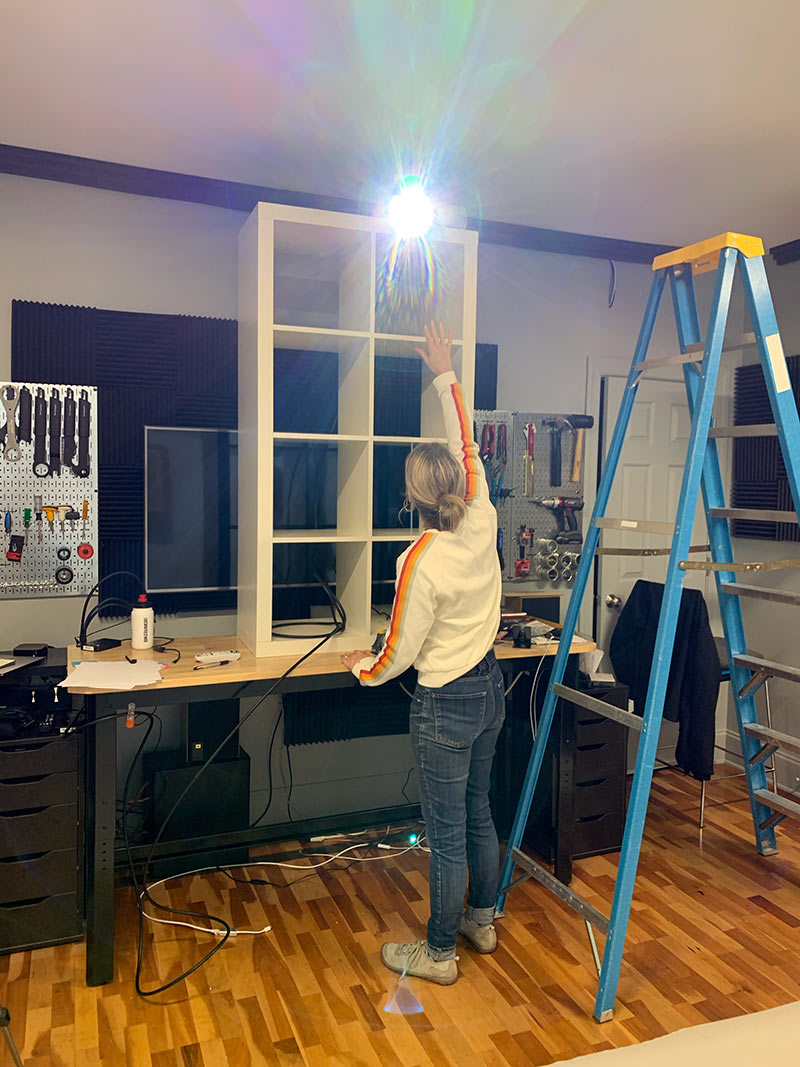
Except that I could see my shadow. And that’s the hardest part about using a project in a “normal” room. In order to get the screen appreciably bigger than 86″, you need to be able to get it very far back. In order for you to not be in the way of the projection, it then has to be set very high up. Which is hard to do if your ceilings are a standard 9′ (2.74m).
Other things to consider are brightness – you want at least 3100 lumens in order for it to be visible with room or ambient lighting. We bought a refurbished Epson Home Cinema 1060 for about $370 (new around $700), which has all of the keystone (angle) adjustments and HDMI inputs. This means you can easily run any modern source off it, like the Apple TV, which makes it easy to stream using Kinomap’s remote screen app.
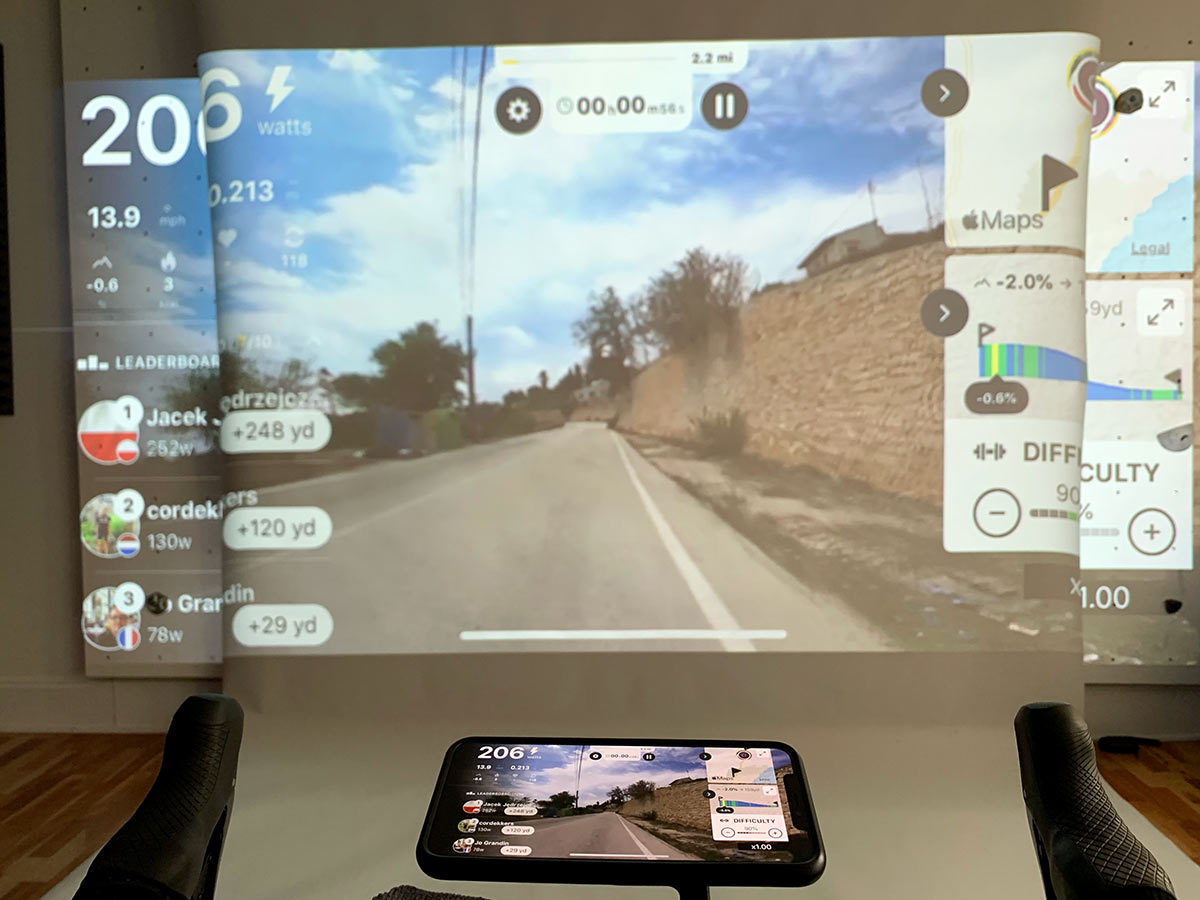
Projectors also get hot, so they have fans built in, and those can be noisy, up to 37db. Fortunately, your trainer (or dirty chain, because that H3 is nearly silent) will drown that out. As would earbuds or a good sound system. Which brings us to this:
As ridiculous as this experiment might seem, all of the A/V components can serve as an excellent home theater area, too. Or gaming room. Man cave. She shed. Whatever. Unless you’re Scrooge McDucking in gold coins, building out a proper home theater room that just happens to have space for your bike and trainer makes it much more palatable. Because none of this was cheap…
What did it cost to create this trainer room?
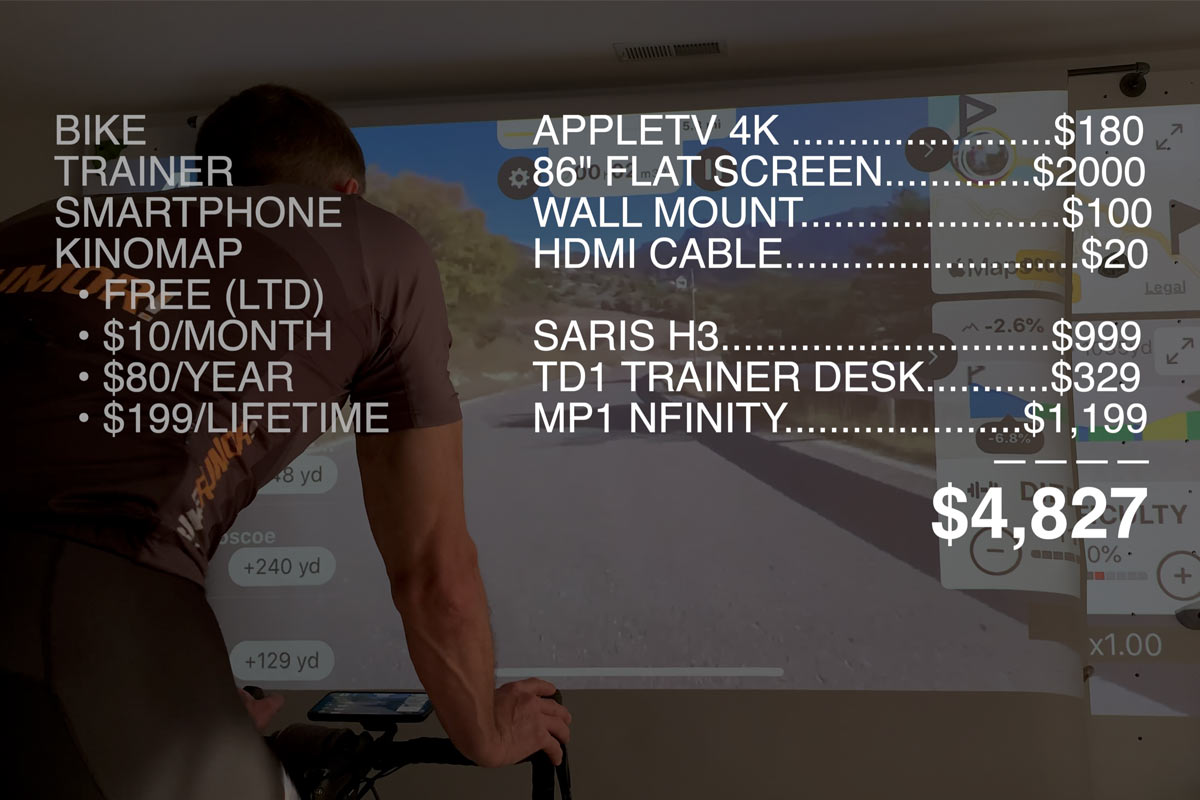
All told, a lot. But more than half was the trainer equipment itself. If you already have that, this is a good excuse to upgrade your audio/visual system. If you don’t, the complete package less Kinomap sub would be about $4,800 with an 86″ flat screen.
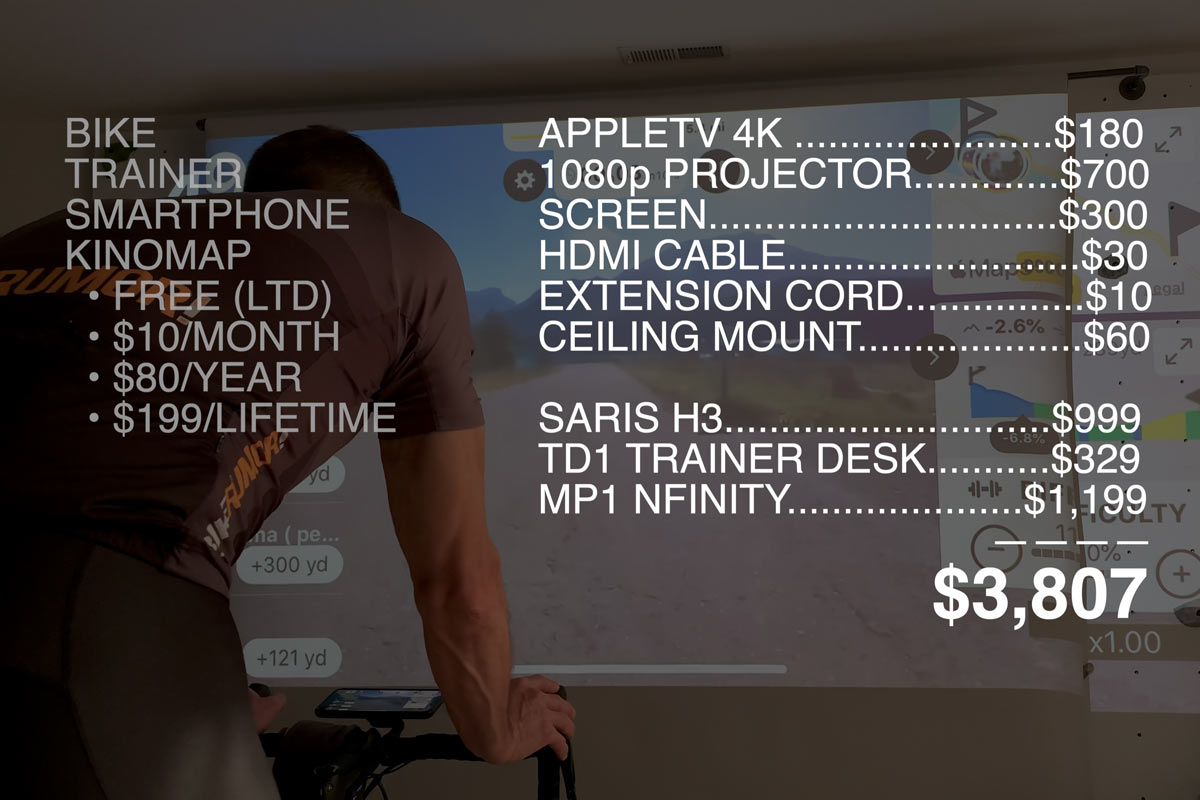
Swapping to a project drops the price by a grand, and that’s if you opt for the screen. Honestly, unless your a cinephile or really do plan on using this for a proper home screening room, the wall does just fine. Or a sheet. Or a giant 8′ roll of photo backdrop paper like we used.
What you need for your ultimate trainer room build:
Here’s a breakdown of the components, links take to you to online merchants, but your local bike shop can order the Saris bits, too. In addition to a Kinomap subscription to keep yourself from going crazy (and actually have something that’ll force your smart trainer to make you work), you’ll need/want the following trainer equipment:
- Saris Fluid Smart trainer ($349 + CS Sensor $39.99), or…
- Saris H3 Smart Trainer ($999)
- Saris TD1 Trainer Desk ($329)
- Saris MP1 Nfinity Trainer Platform ($1,199)
- Saris Training Mat ($80)
For the home theatre equipment, here’s what we used for the TV build out:
- LG 86″ 4K Smart TV ($1,849-$1,999 depending on where/when)
- AppleTV 4K ($180)
Or swap the TV for the projector and you’ll add these:
- Epson Home Cinema 1060 ($399 refurb, $699 new)
- 100″ retractable screen ($70)
- 15′ HDMI cable ($10-30)
- Extension cord ($10)
What do you think?
Big thanks to Saris and Kinomap for helping us make this happen. What do you think? Would you invest this much time (this project took quite a while to put together, but realistically if you had everything, you could put it together in a weekend), energy and money into creating a virtual velo wonderland? What else would you add? How would you do it differently? Leave a comment and let us know!

