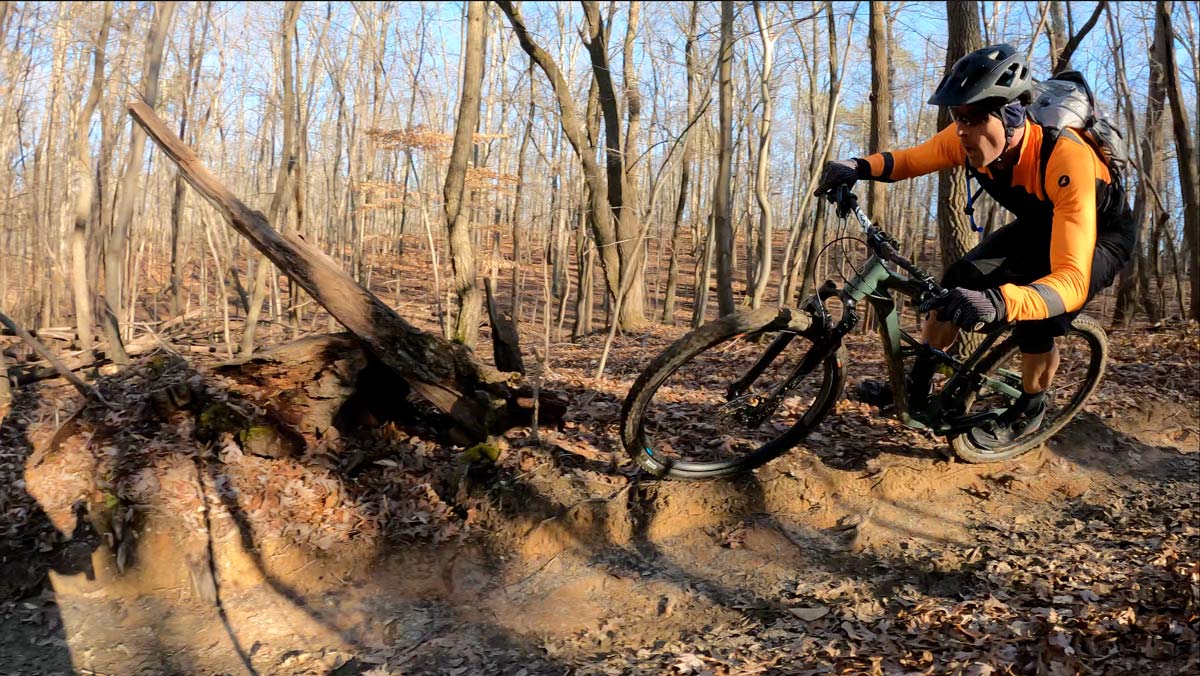
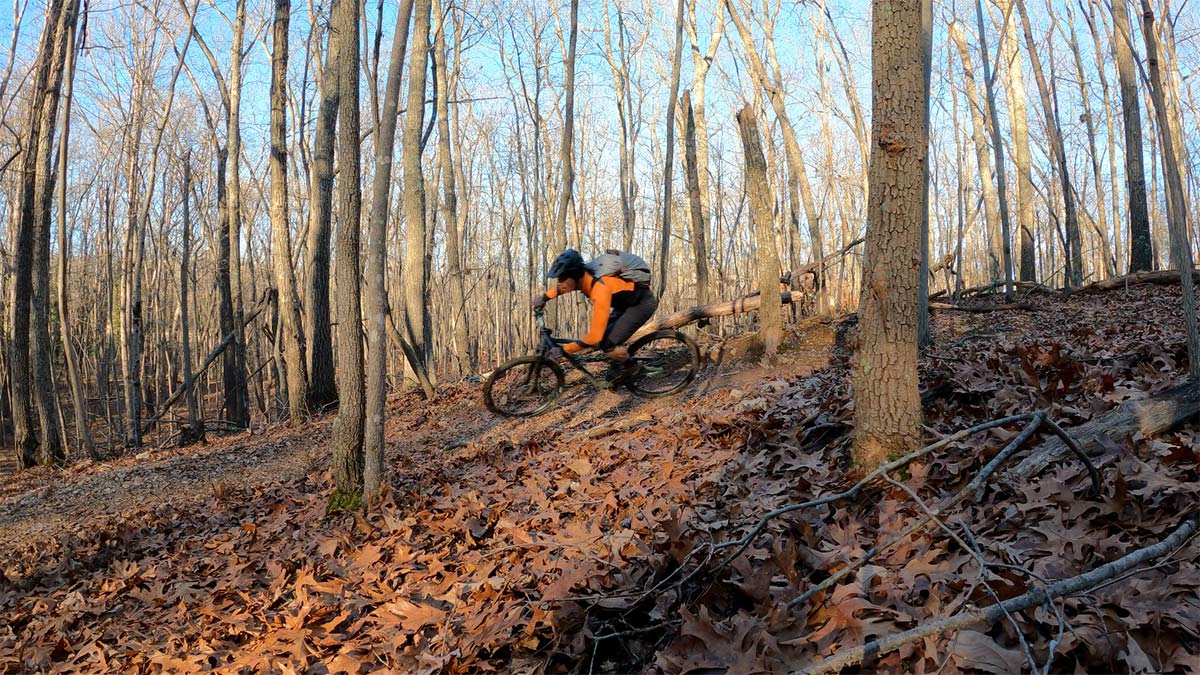
The Ibis Ripley AF brings their playful performance to a budget-friendly mountain bike that sits somewhere between XC and trail. This new alloy version amplifies the fun factor a bit over the carbon Ripley, and proved that just because a frame or bike is affordable, it doesn’t mean ride quality is diminished.
I received a frameset prior to launch and built it up with a random mix of components, all sitting on the higher end than what is available in stock builds, which let me focus on what the bike itself was doing. Here’s a look at the frame details you couldn’t see in our launch coverage, followed by build details and my ride review (with video)…
Ibis Ripley AF frame details
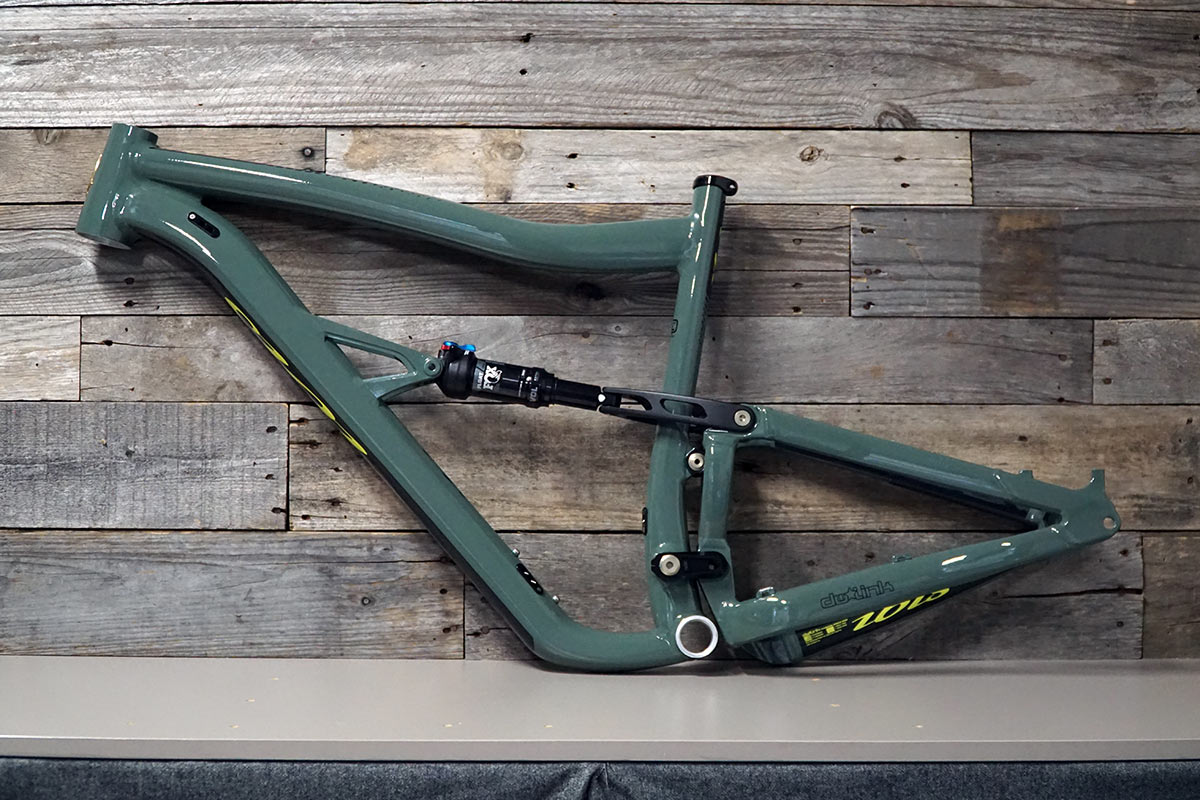
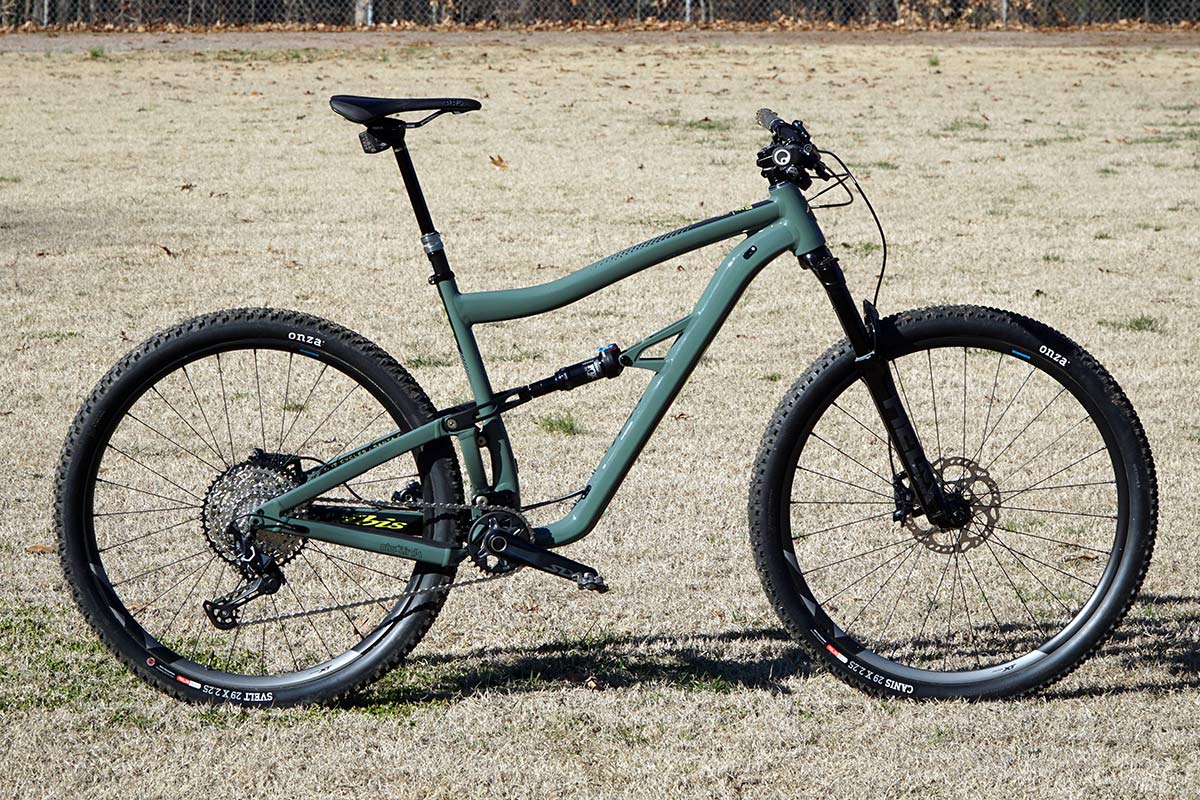
There’s nothing like getting a frameset in for review if you want to see all the little details that get covered by components on a complete bike. I tested the Ripley AF in size XL, hence the taller seat tube and standover. Note the shapely tubes…the top of the seat tube is about the only round tube on the bike.
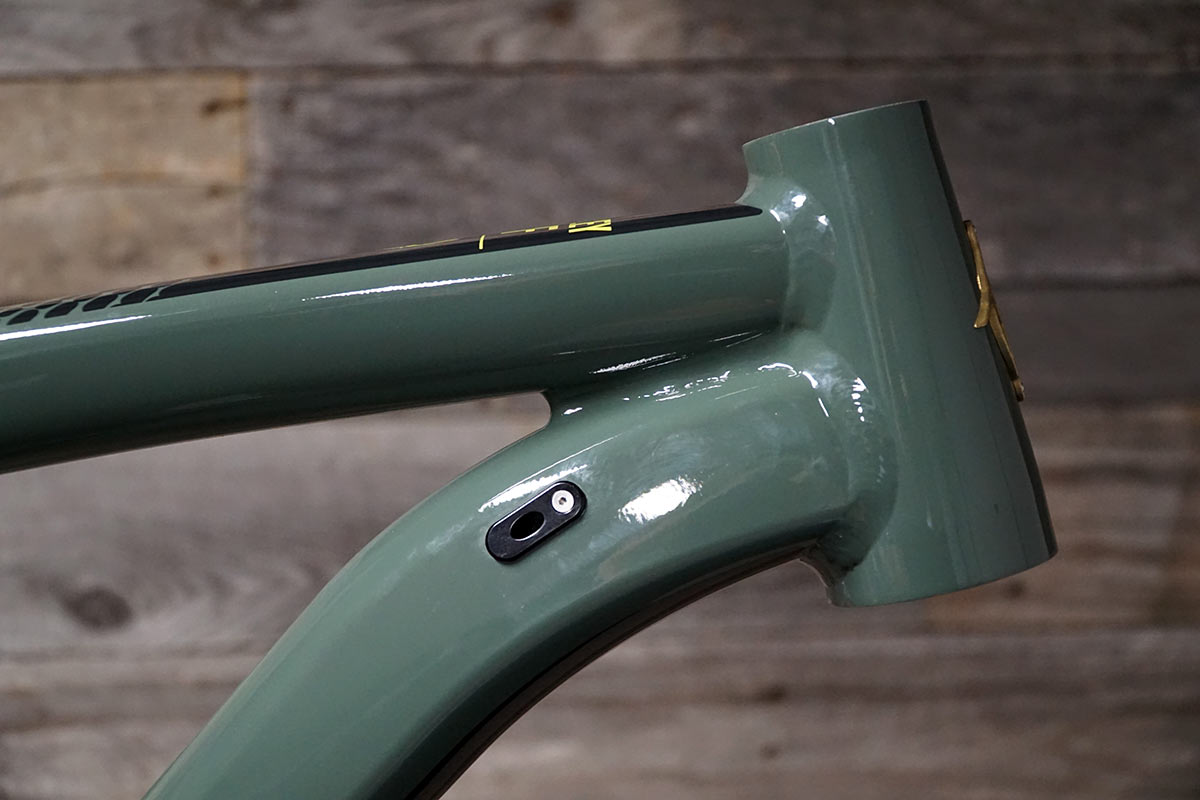
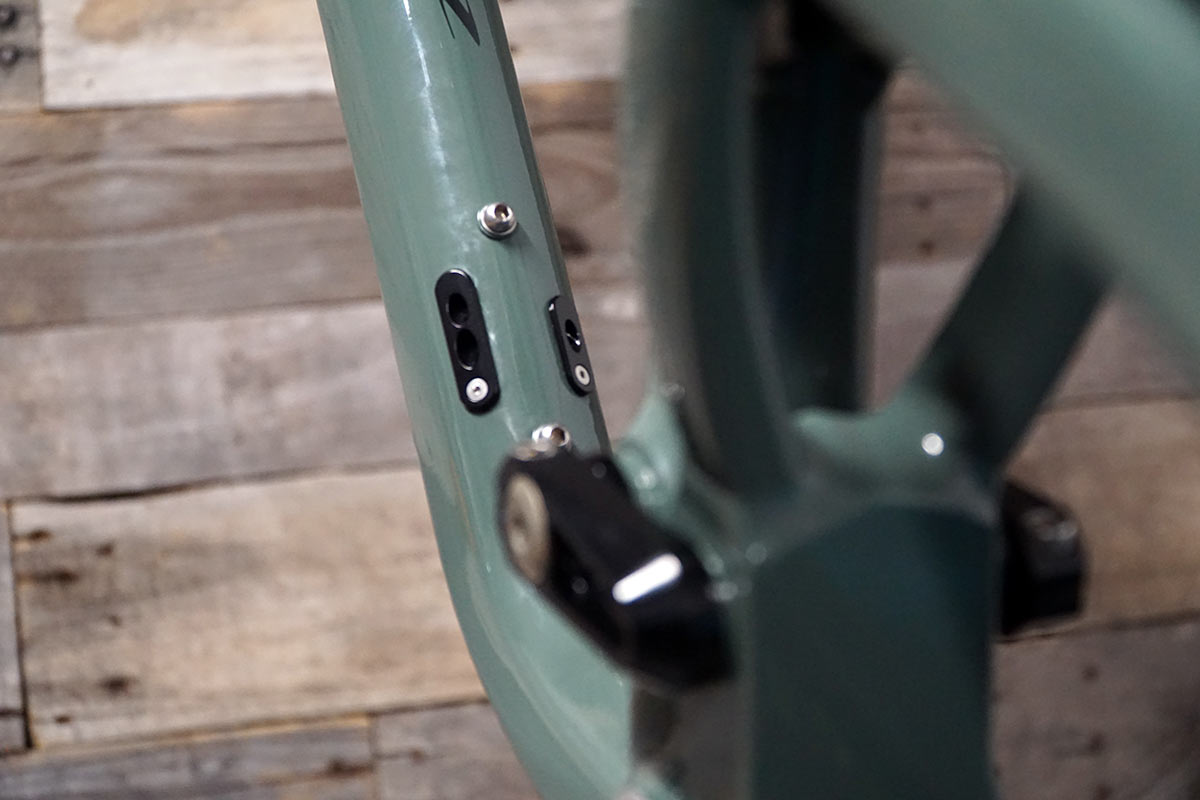
Cable ports run everything through the downtube, and hold the cables and hoses tight so they won’t rattle.
Everything pops out at the bottom, then goes in various directions:
- Brake hose runs externally
- Rear shift cable loops over the BB, then inside the chainstay
- Dropper post remote enters a port on bottom of seat tube
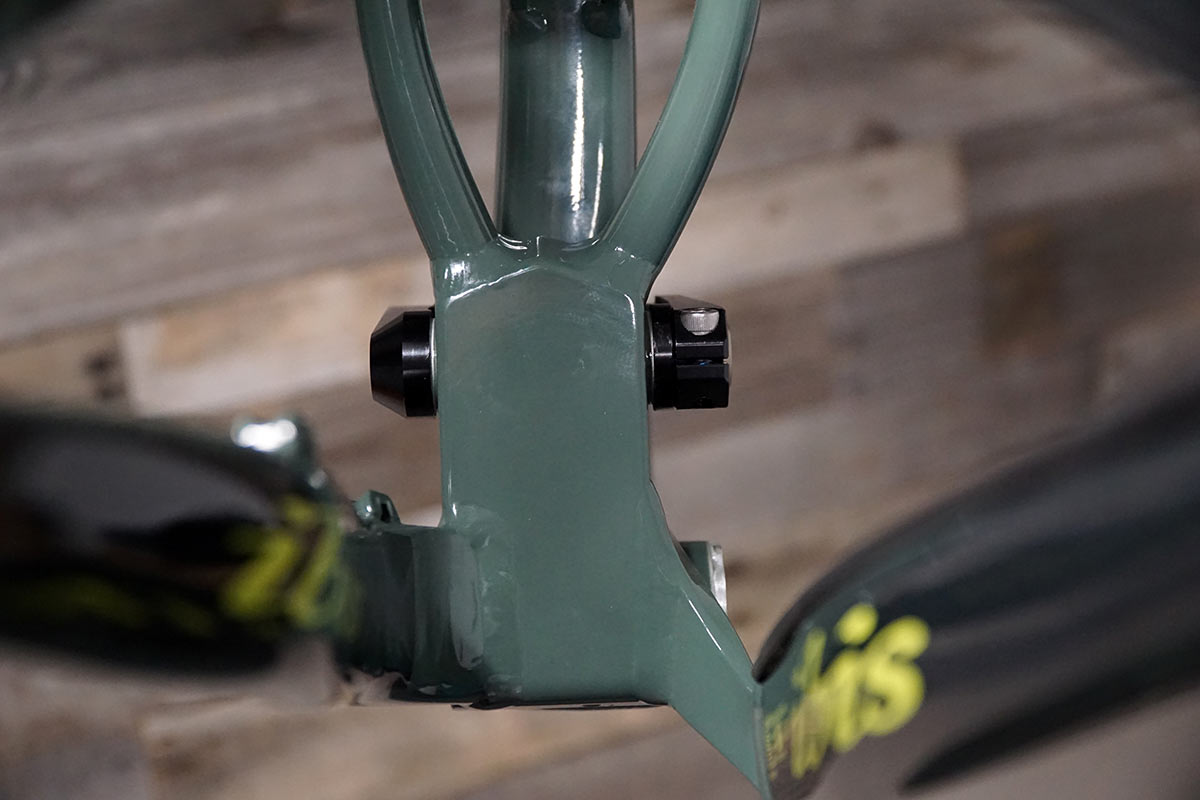
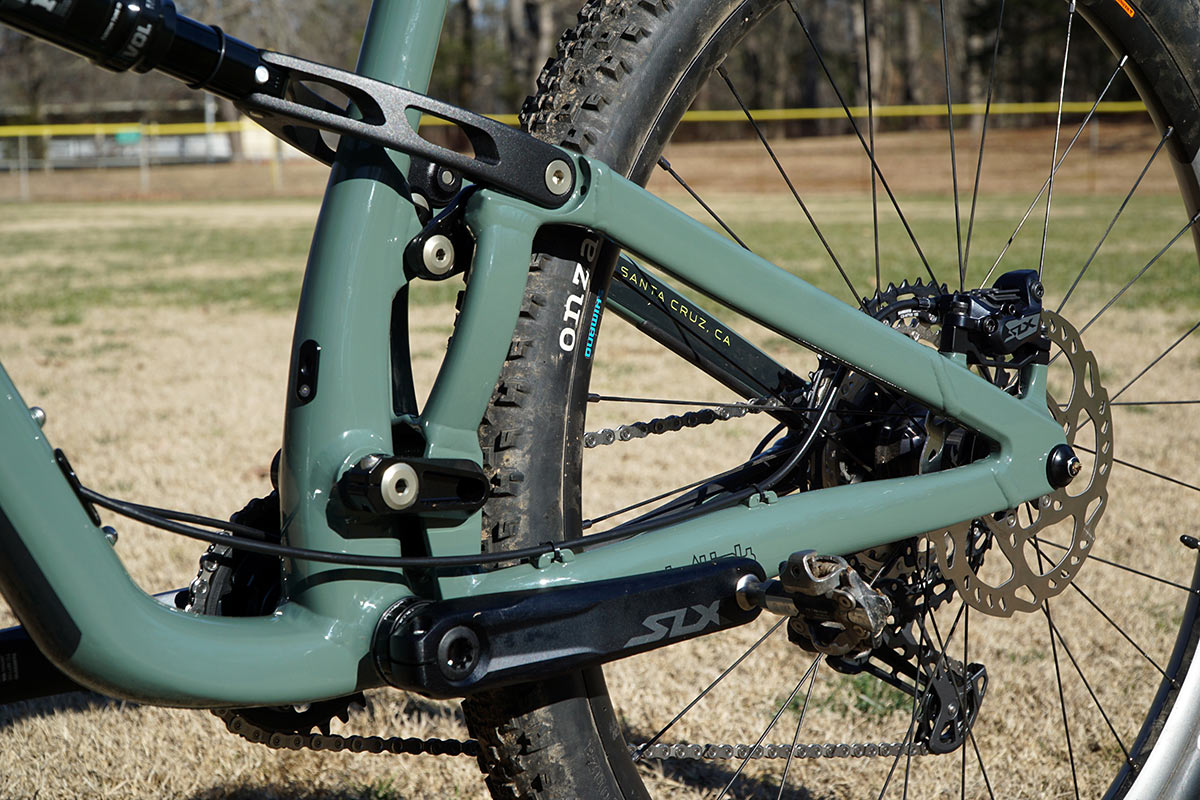
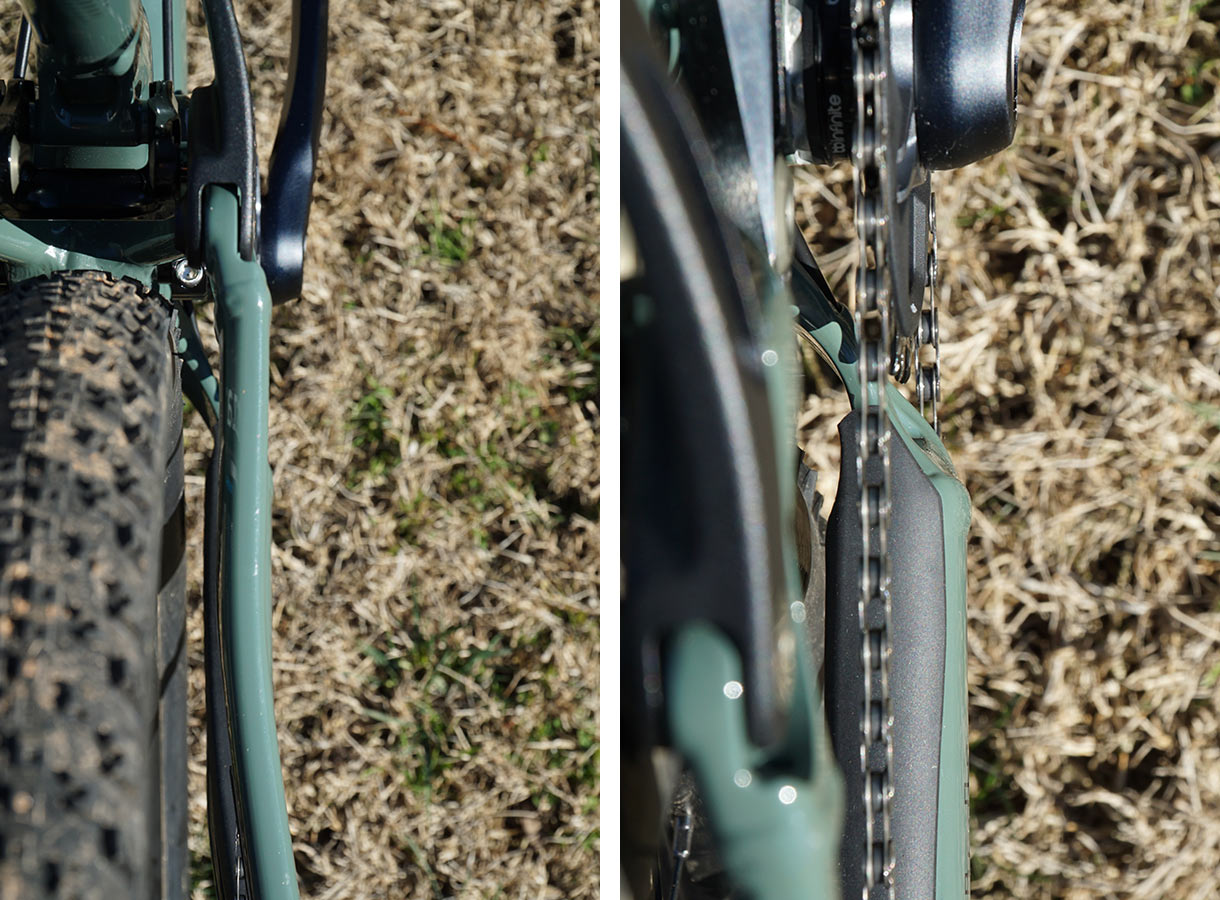
The bottom of the rear triangle has an interesting flat section that sits very close to the BB. The front side of it does have some nooks and crannies you’ll want to check for cleanliness now and then, but…
…the backside is perfectly flat. This should minimize mud buildup. One of my test rides was a little wet and had no issues with things stacking up here.
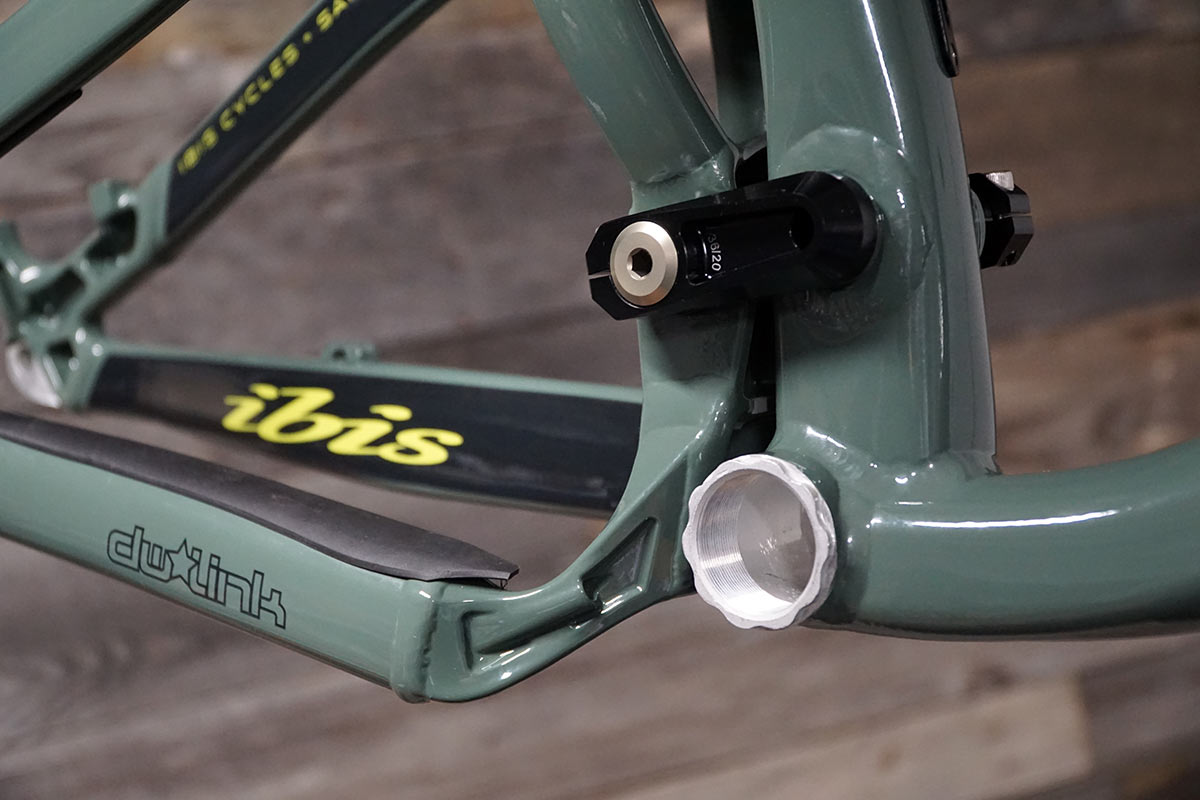
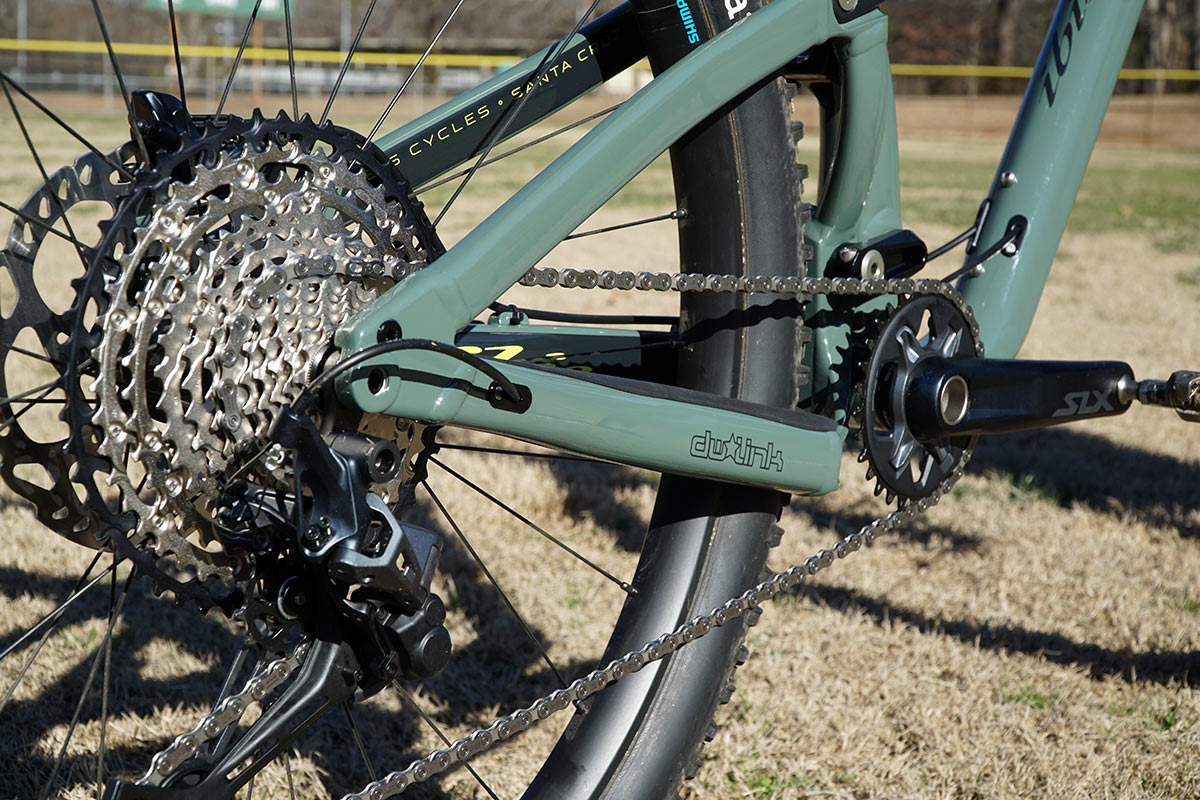
The bikes ship with a slide-on ISCG-05 mount that fits onto the grooved exterior of the bottom bracket shell. The rear shift cable loops over this and inserts into the tube that’s formed into the yoke.
This is not a continuous tube, so if you’re building the bike up from scratch, the Park Tool Cable Routing Kit is a handy thing to have. It also made routing everything through the downtube quick and easy.
The bike uses upper and lower linkages plus a shock yoke. That’s a lot of pivots, which move on a combination of IGUS bushings and sealed cartridge bearings, but they’re all covered by a free replacement guarantee should they wear out. Everything is serviceable with easy-to-access allen bolts, too.
The dropouts show off the forged shapes used to create strength without excess material. The bike is built to last, there’s nothing flimsy about it.
Ibis Ripley AF actual frame weights
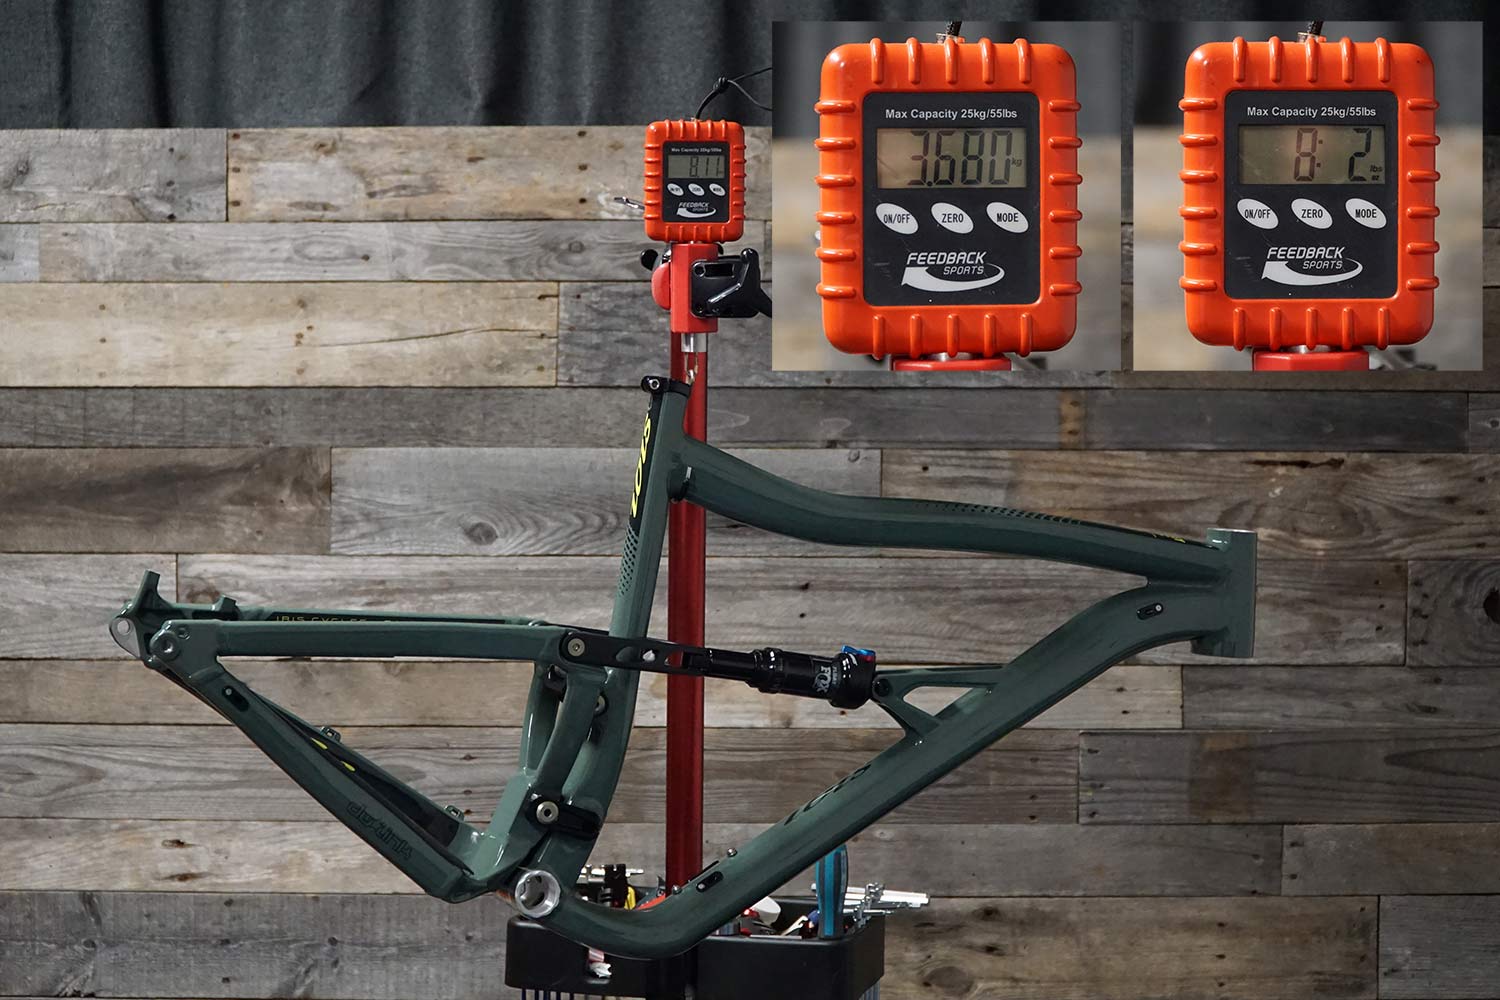
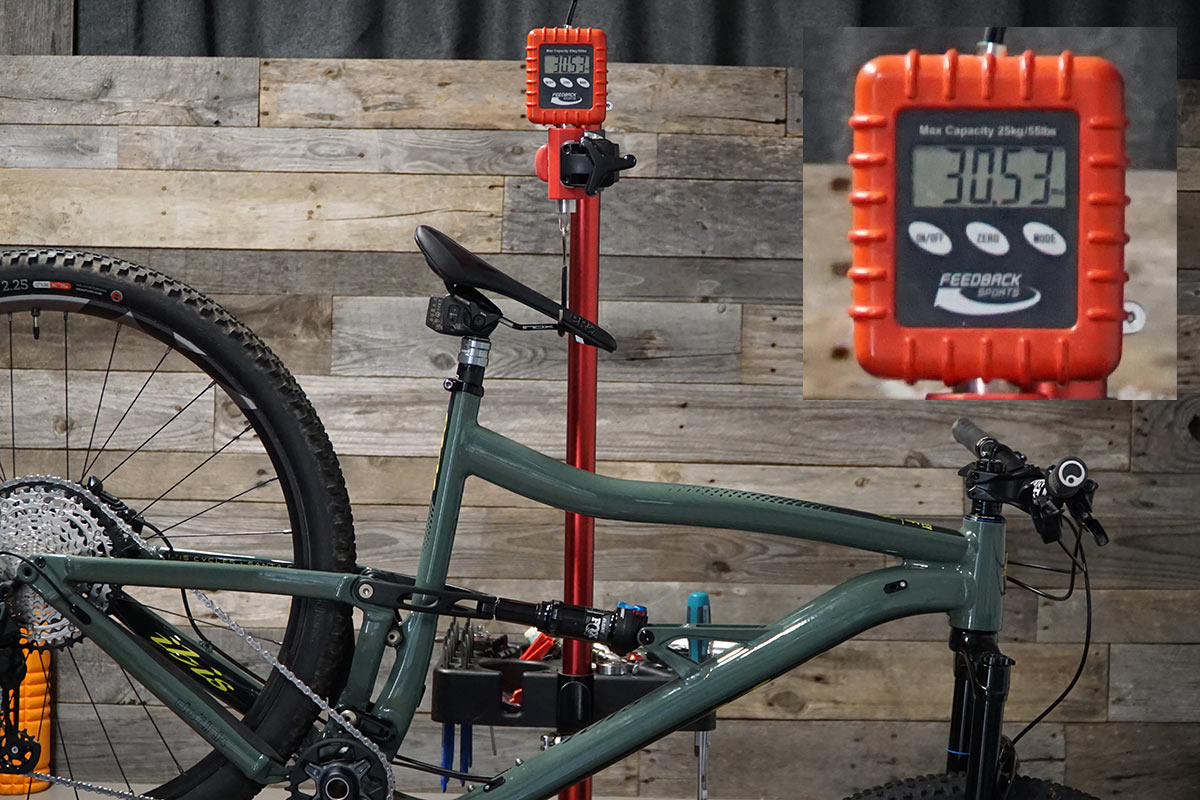
My size XL frameset with shock was 8.11lb (8lb 2oz / 3.68kg). That’s with seatpost collar clamp, all cable port covers, and bottle cage bolts.
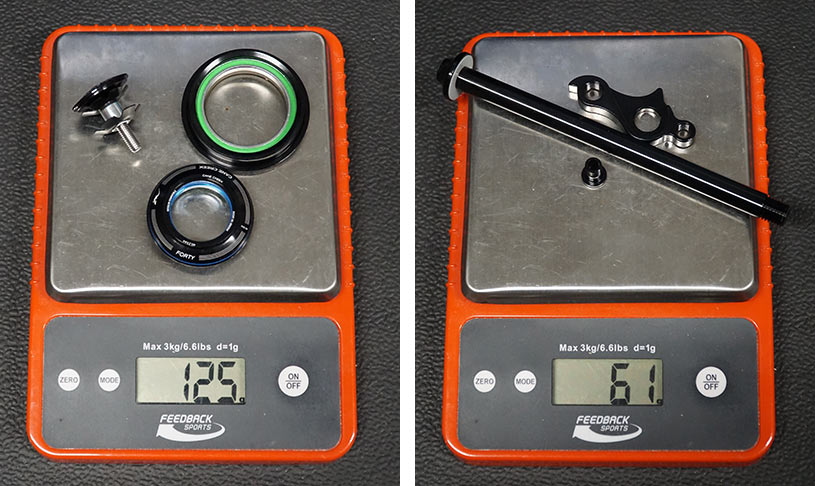
Add in the headset (125g) and rear axle and derailleur hanger (61g combined) and you get a complete frameset weight of 3,866g (8.52lb).
My test bike came in at 30.53lb complete, without pedals. Remember, this is NOT a stock build option as we only received the frameset. Here’s how I built it up:
- Shimano SLX group, including brakes
- BBinfinite threaded bottom bracket
- Rockshox Reverb AXS dropper post + remote
- FUNN Black Ace carbon handlebar + CrossFire stem
- PRO Components saddle
- Ergon grips
- Shimano XT Trail wheels
- ONZA Canis / Svelte tires
- Cane Creek Helm MKII fork
Ibis Ripley AF built notes and details
Fortunately, most everything I had to put on the bike was black or dark gray, giving it a cohesive look despite the mash up of parts. And they all worked great together, so much so that I’ll be using this bike as the test platform for reviewing most of these items, too.
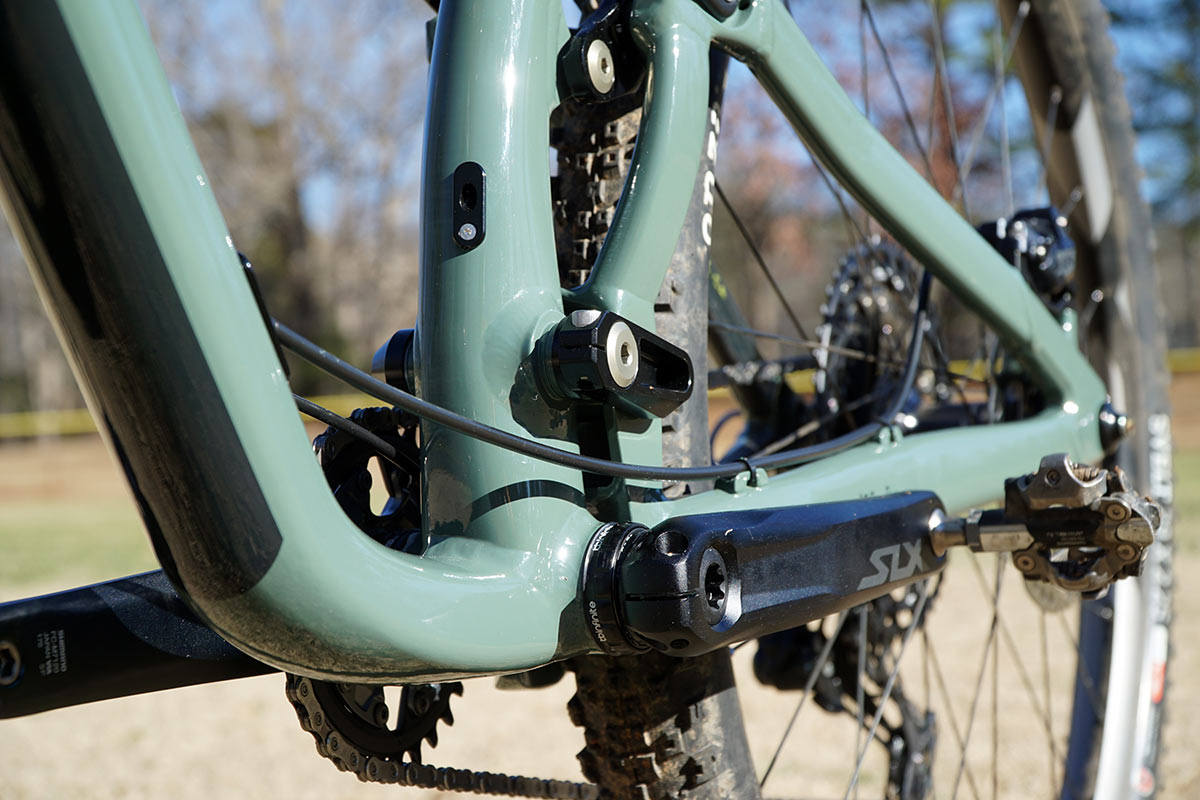
The cables exit the downtube directly next to the bottle cage bosses. Even with the lack of excess length I left in both brake and shift lines, the cage and a bottle would fit fine.
Personally, I’d recommend running them on the short side (but probably not any shorter than what I’ve done here) to avoid having them flop around or have excessive rubbing on the frame.
I used one BB spacer on the drive side, and one Shimano spindle spacer on the non-drive side to get the cranks centered.
Tire clearance with these 2.25″ tires was ample, with a 2.4″ seeming like the sweet spot if you’re going for a more aggressive build.
I mounted a 30-tooth SLX chainring and the gap was about as close as I’d like between it and the chainstay yoke.
Top down, there’s lots of room to get into the linkage area and clean up after a muddy ride. Just not so much from the bottom of the bike.
Is this the best budget mountain bike?
As boring as climbing sounds when trying to explain how shred-worthy a bike is, the simple fact of the matter is, you still gotta get it out of the way to get to the good stuff.
So that’s what I’ll do: This bike climbs really well.
I hate fiddling with rear shock knobs while riding. Not only do I always forget to switch it to open before diving down a hill, but it’s just kinda pointless when a bike’s designed well.
The Ripley AF’s DW-Link suspension is efficient enough that I could just leave the shock set fully open and rip up the hills with no problem. If you tend to stand and sprint a lot, you might want to use that knob. But seated climbing? No need to fiddle, just leave it open.
Same for those flatter XC trails where there’s lots of pedaling. Just leave it open. I did, and reaped the benefits of having it soak up all the roots while hammering along with full traction.
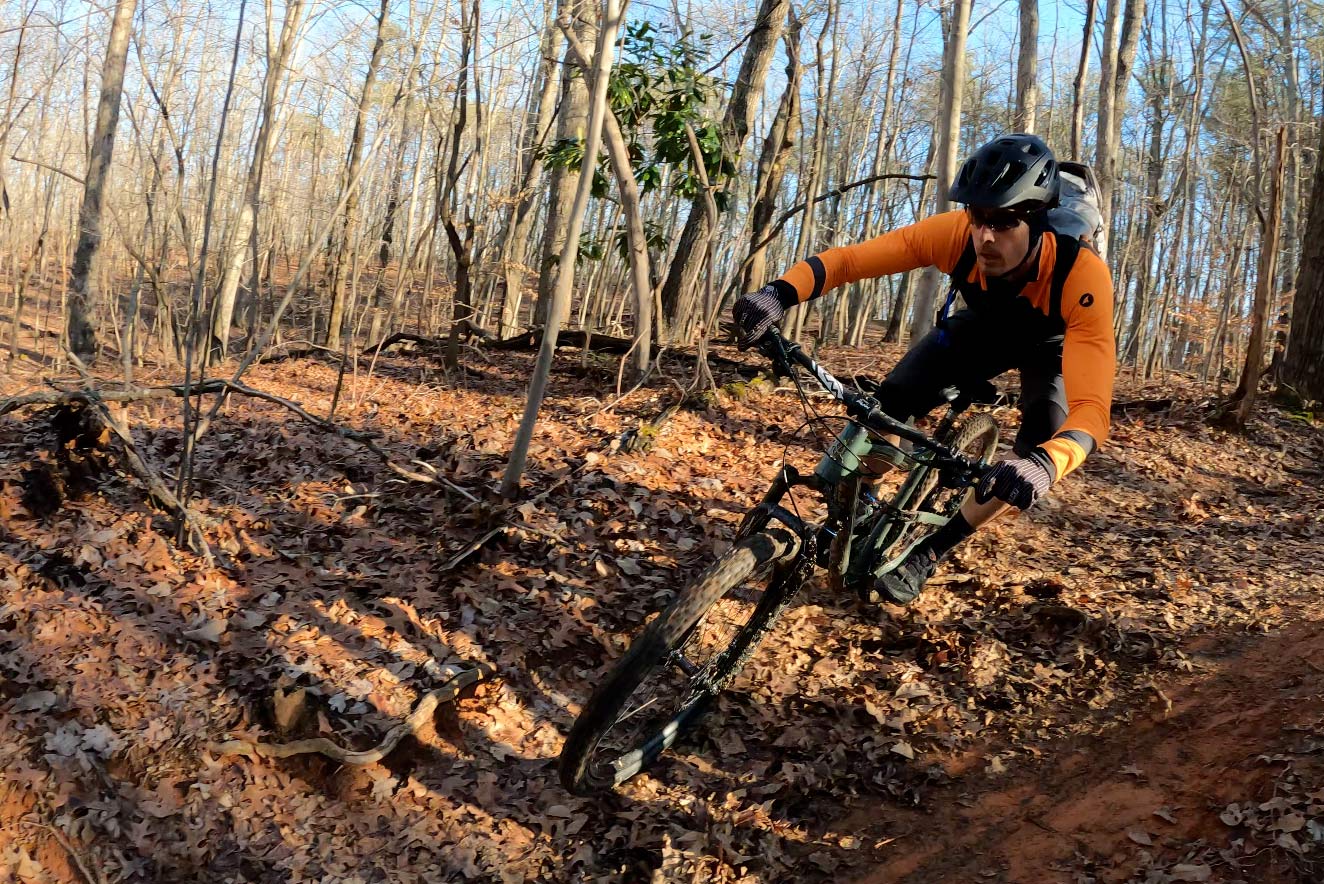
I probably had the suspension set a bit soft (though it measured around 25% sag). Which meant nicely cushioned landings on little jumps and drops, and supple bump-eating performance elsewhere. But…
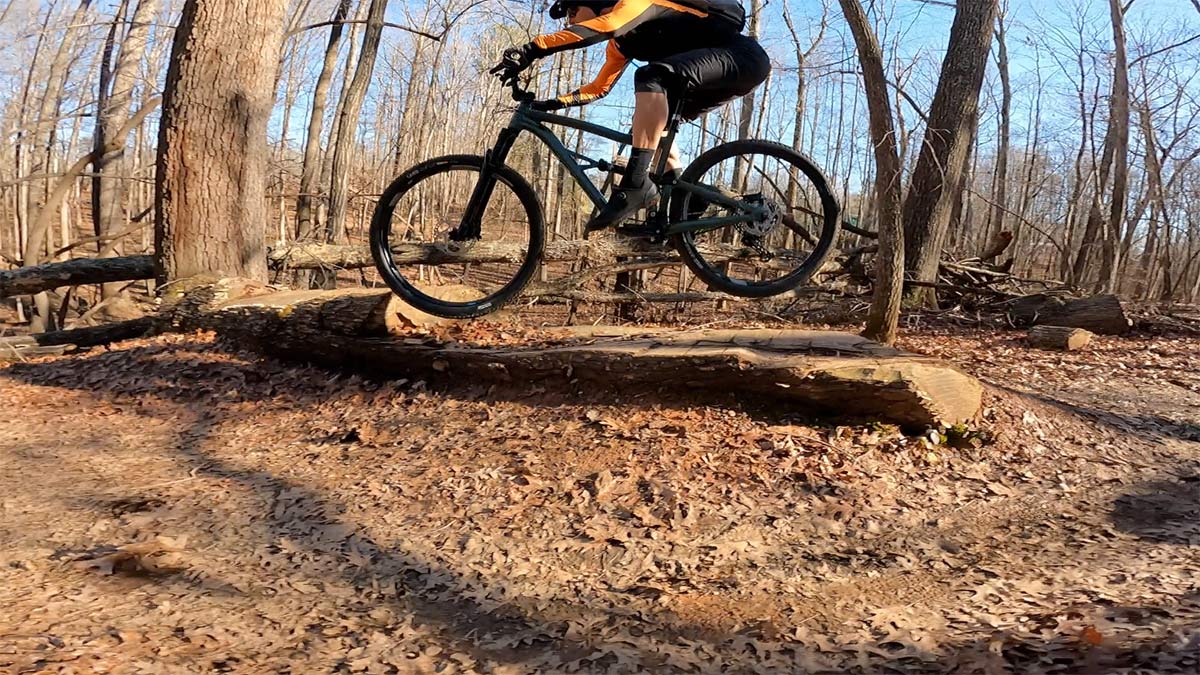
…even on bigger landings, it remained well controlled. I hit the jump above quite a few times while filming and never bottomed out, nor did it ramp harshly or pogo back up. So, I’d say run it soft and take advantage of the plush performance.
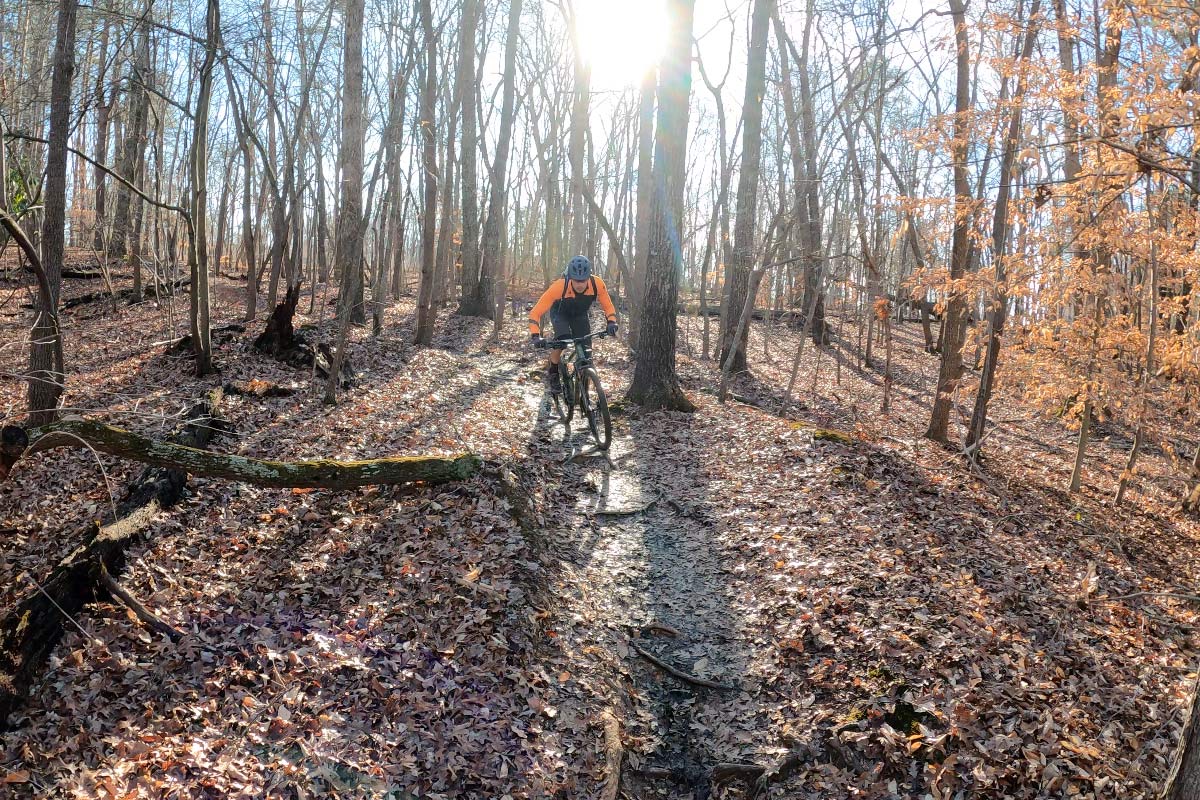
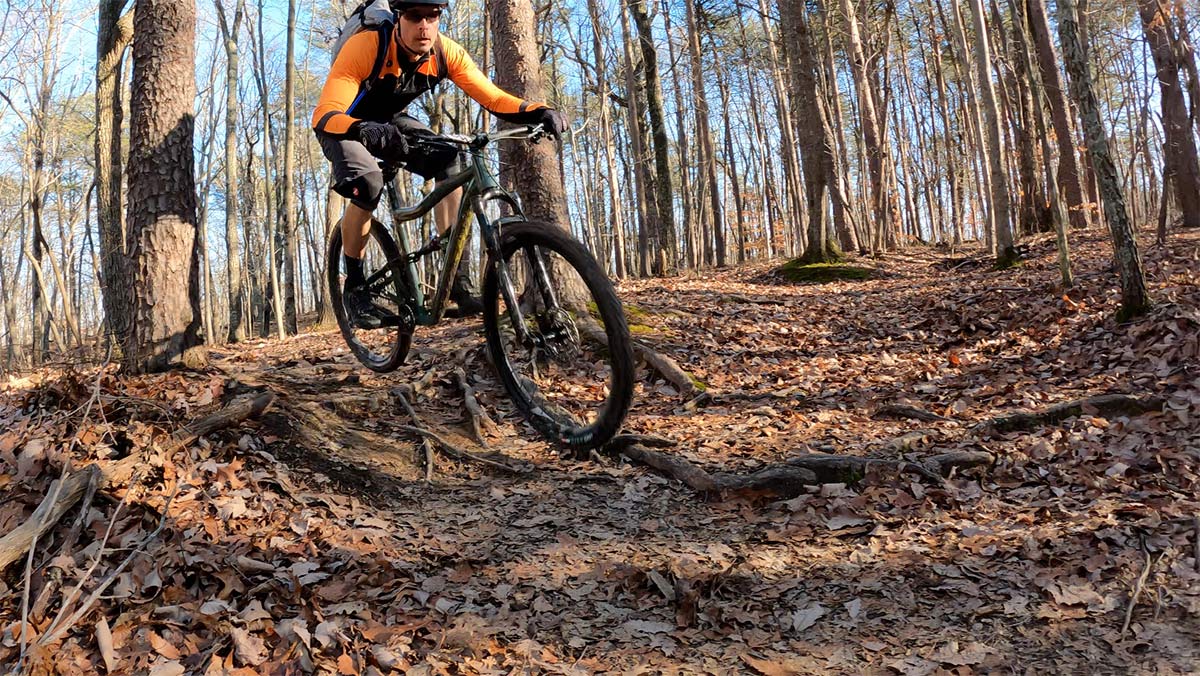
That jump feeds straight into a few fast berms, and there are other bermed sections that transition left to right to left to right, with dips and ruts between some of them. Which asks a lot of the suspension, needing mid-stroke support and the ability to take a ding simultaneously. Again, no bottoming out, and plenty of support and control.
Normally, a bike at this weight would have me grimacing a bit. But it doesn’t feel heavy on the trail. I said the same about the Ripmo AF, which we tested on some big days with lots of climbing, too. If you have the legs and lungs to power it, the Ripley AF is a fun bike that won’t ruin your credit…on a frame that’s very much worthy of upgrades.
Personally, the 120mm travel trail bike with a 130mm fork hits a nice sweet spot of speed and capability. It suits a wide variety of trails and riders, offering something fast for the XC trails but still appropriate for heading to the mountains on long weekends. The Ripley AF is a solid bike that performs as well or better than bikes costing a good bit more. Worth a look for sure.
Looking at the carbon version, instead? That’s really sweet, too. Zach’s in love with his. If we had to guess, though, there’s a chance they’ll follow the Ripmo’s path and give the carbon Ripley the same slacker head angle and tune in the near future.
