Arm pump is a true enemy of the bicycle rider; downhill, enduro, and cross-country riders will all experience it at some point in their cycling careers. I’m sure gravel riders and other drop bar cyclists have experienced the dreaded arm pump too. This evil knows no boundaries.
Over the next few weeks, we will recommend our tried-and-tested solutions to the dreaded arm pump. This week, we are starting with the a relatively inexpensive one. Here are some completely free, or super cheap changes you can make to your current brake setup that will likely improve ride comfort and help stave off arm pump for longer.
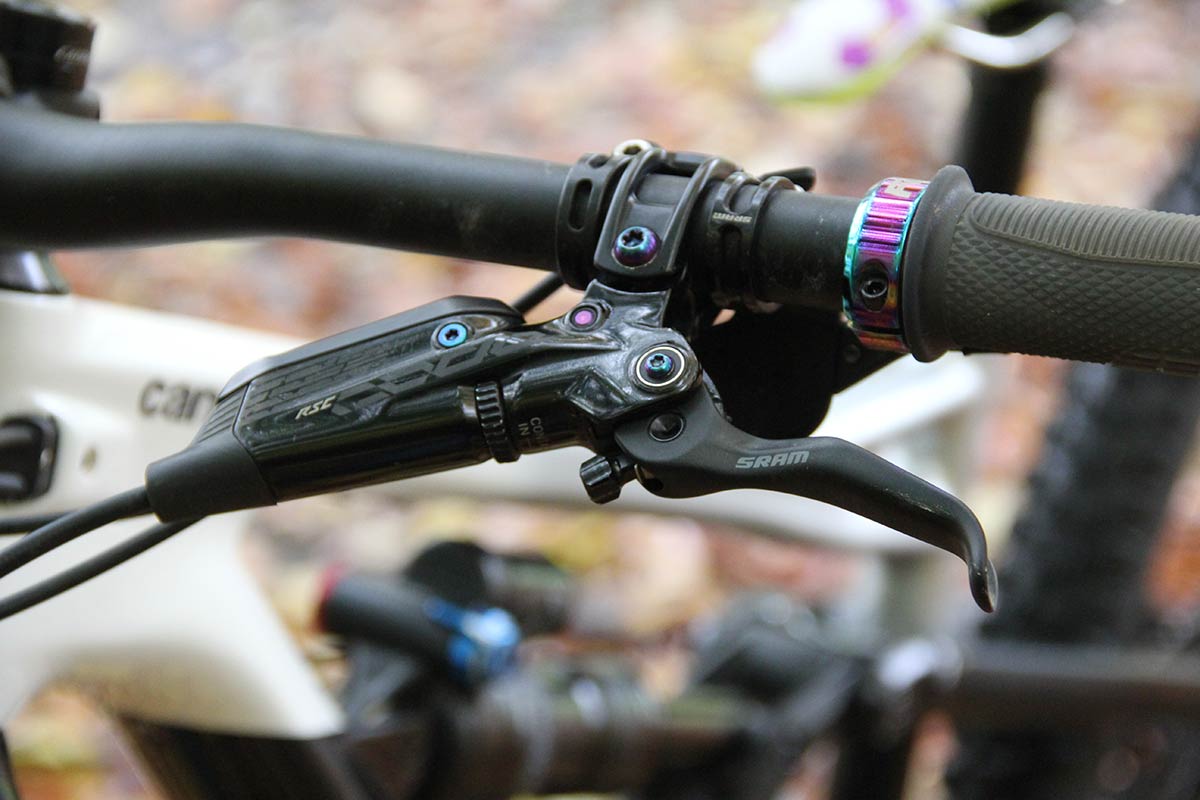
Feature Image by Finlay Anderson
How to reduce arm pump: Wait, what is arm pump?
Perhaps you’ve heard of arm pump but aren’t sure what it is, exactly. This is either because you’ve never experienced it (highly unlikely) or because you have experienced it but didn’t realize there was a name for it.
So what does it feel like? My personal flavor of arm pump comes in the form of heavy fatigue in the forearms, wrists and hands. I experience it on long, rough descents that require frequent and heavy braking.
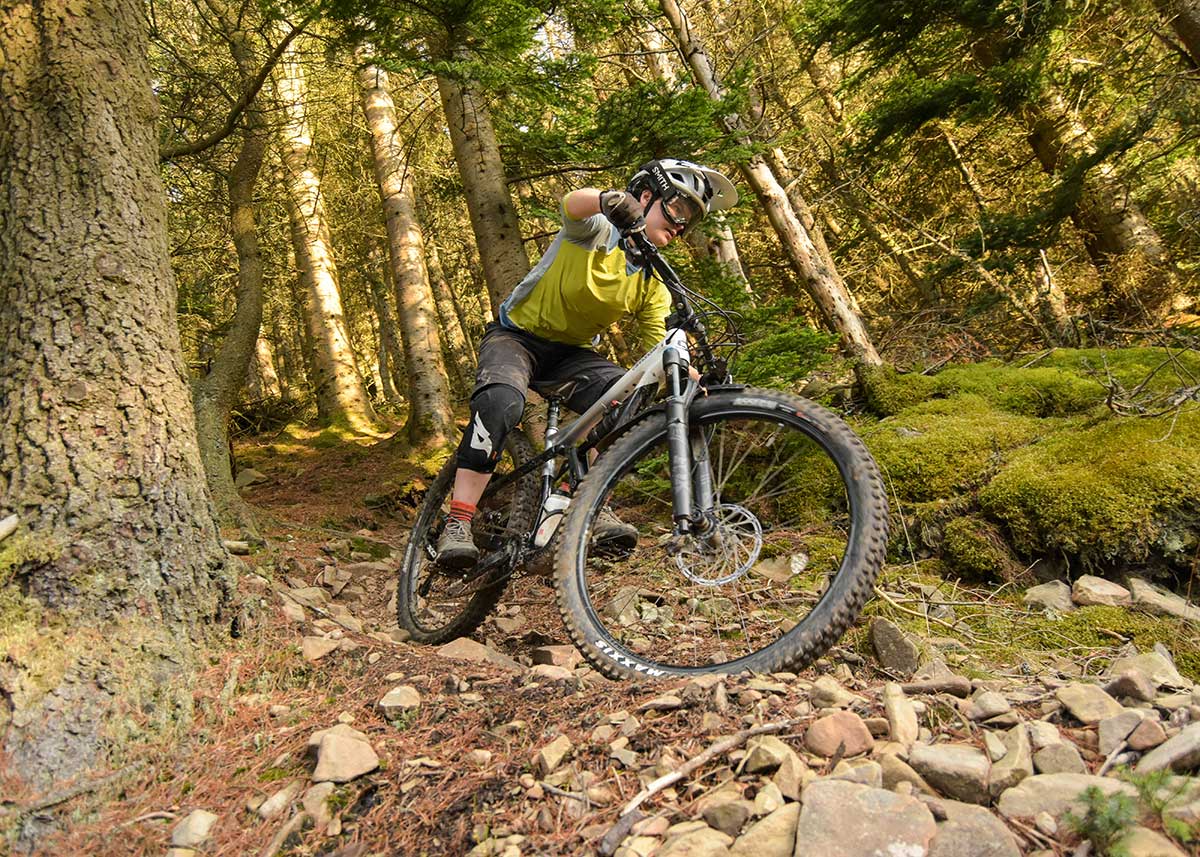
It begins as a feeling of swelling in the forearms, and progresses swiftly to excessive discomfort, bordering on actual pain. The longer and rougher the descent, the worse the arm pump. For me, prolonged arm pump reduces grip strength and reduces my ability to squeeze the brakes hard. Not ideal!
Physiologically, arm pump is actually a well-described clinical condition. Swelling in the muscles in the forearms causes blood vessels in the area to narrow. Restricted blood vessels means the muscles in that area have reduced access to oxygenated blood. This is what leads to the rapid fatigue we all know as arm pump.

Arm pump can be super distracting when you’re racing against the clock, not to mention a little dangerous if it is affecting your ability to brake effectively! As an enduro racer, I’ve put a fair bit of thought into how I can optimize my overall bike setup to keep arm pump to a minimum. Here is what I’ve learned through much trial and much error over the years.
How to reduce arm pump: Optimize your brake set-up!

This is my number one top tip for reducing arm pump. Get your brakes dialed.
There is nothing worse than badly setup brakes. If your all-important stoppers are under performing, or not optimally positioned on the bar to match your anatomy and riding position, then you are going to be suffering far more than necessary.

The more effective your braking is, the less you have to actually brake. Prolonged braking is arm pump-inducing for sure. You’ll know this if you’ve ever ridden a relentlessly steep section of trail in which letting off the brakes at any point is simply not an option.
For enduro and downhill applications, you should really be running 4-piston brake calipers. They are hands-down more powerful than two-piston stoppers. That said, it’s definitely not the end of the world if you can’t afford the big upgrade just yet. We have some top tips on optimizing brake setup regardless of how many pistons you possess.
1. Bleed your brakes
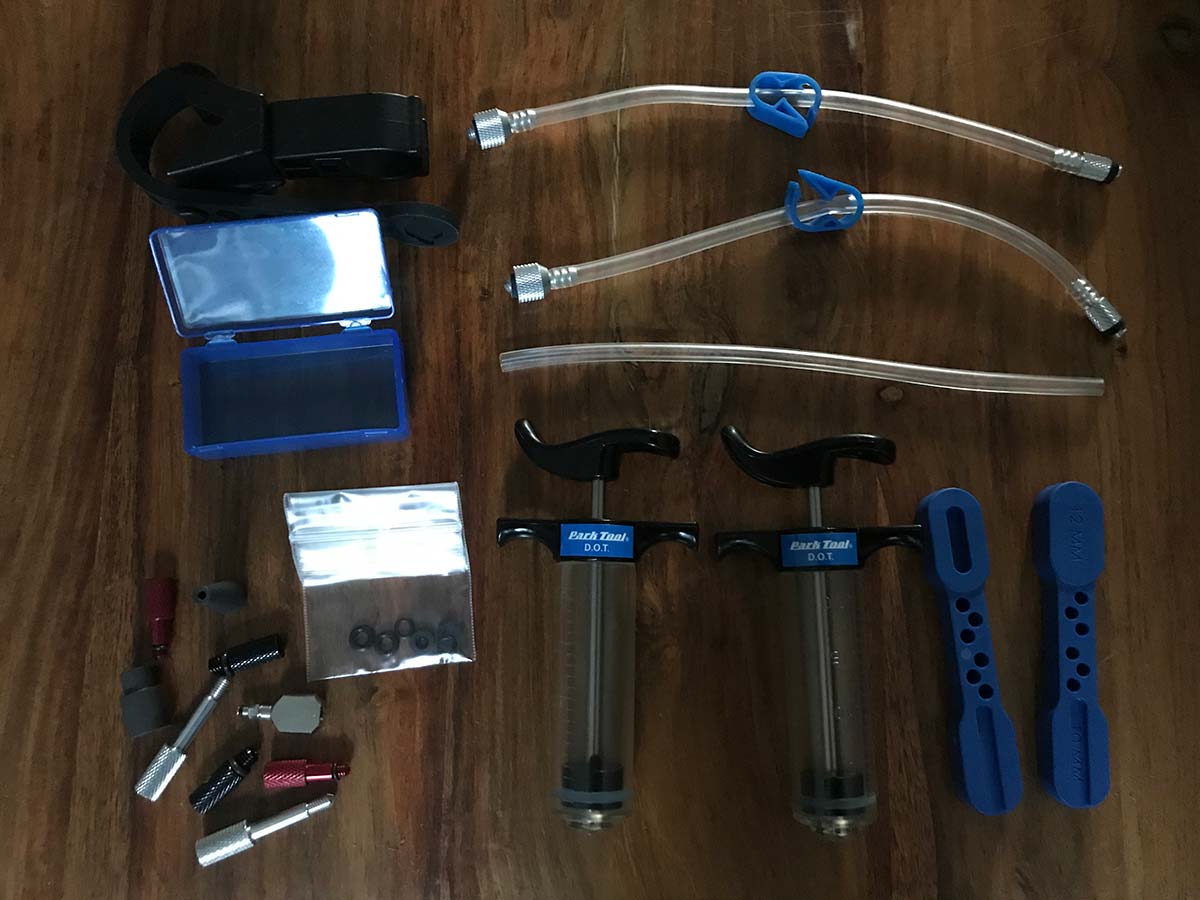
How do you know if your brakes need to be bled? Likely, you’ll have noticed your ability to stop the bike has diminished somewhat. This could be due to excessive pad wear, so the first thing to do is check that your pads have a decent amount of compound left, and that you haven’t “cooked” the surface by overheating them on a long alpine descent, for example.

If your pads are in good nick but you still feel as though braking power has diminished, it could be time to bleed your brakes. I know my SRAM Code RSC brakes are in need of a bleed when the lever starts “squashing” all the way to the grip.
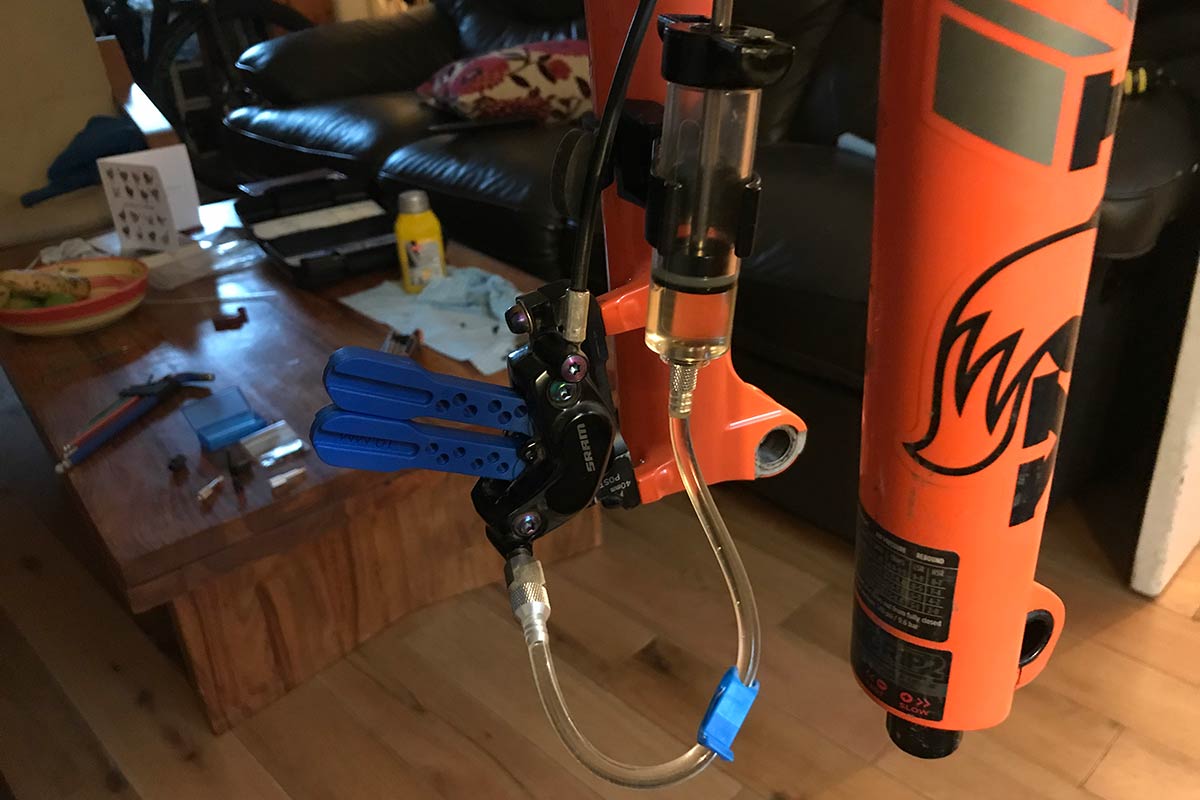
Normally, the harder you pull on the lever, the greater the stopping power. But, when air gets into the hydraulic system it doesn’t really matter how hard you pull the lever, the braking power tops out early in the stroke.
2. Upgrade your brake pads
All brake manufacturers will offer at least two, if not more, types of brake pad for their hydraulic disc brakes. Nomenclature of the different compounds depends on the manufacturer but in general, compounds can be broken down into two types: organic and metal sintered. That’s SRAM’s naming system. Shimano call them resin and metal.
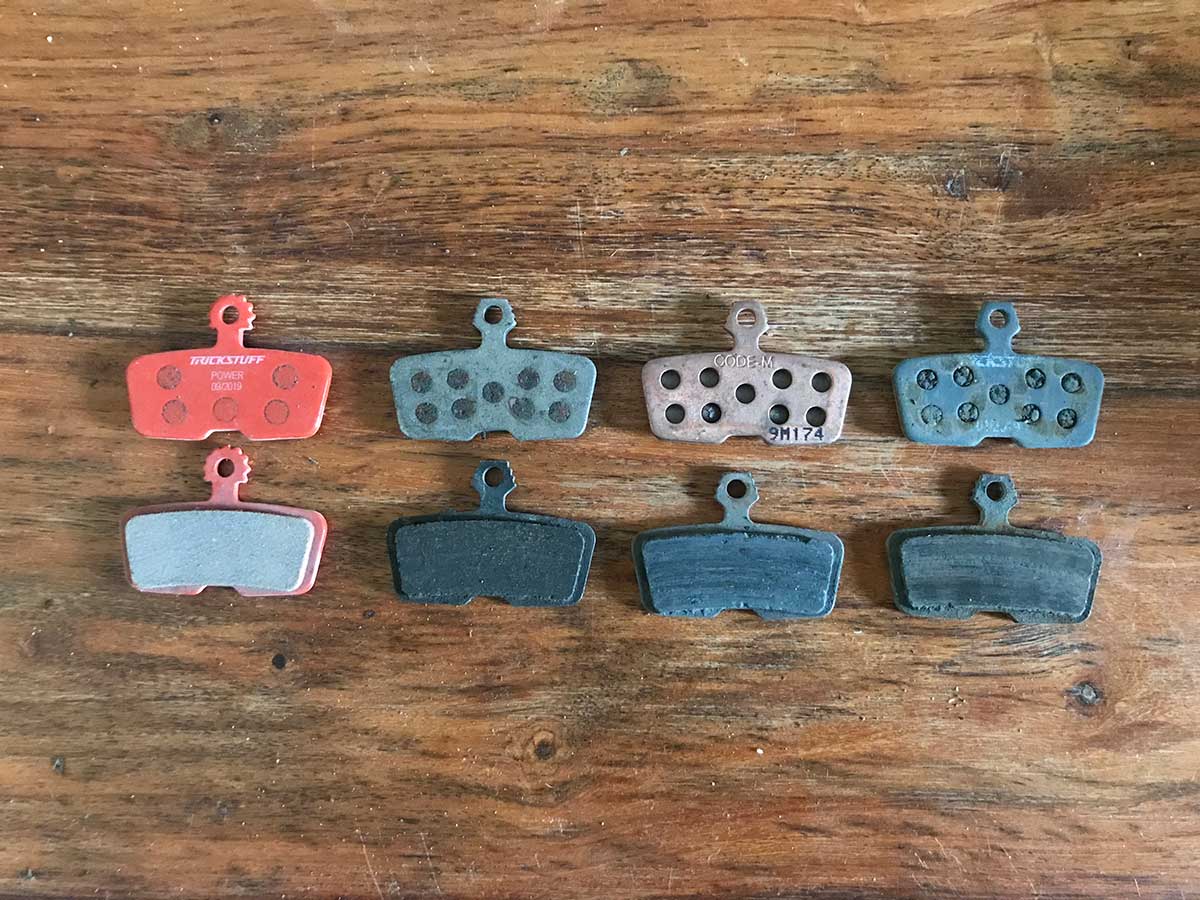
Why should you care? Because the two types of compounds perform best under different conditions. A metal sintered or metal brake pad compound is typically a little noisier than organic pads but it is the best performer under wet conditions. And, it will last longer.
Under dry conditions, organic or resin pads are the way to go. They offer more “bite” but will generally wear faster than your metal or metal sintered pads.
In terms of reducing arm pump, you want to run brake pads that will give you the most powerful braking possible. That could mean swapping out your manufacturer-made pads for some top quality aftermarket offerings.
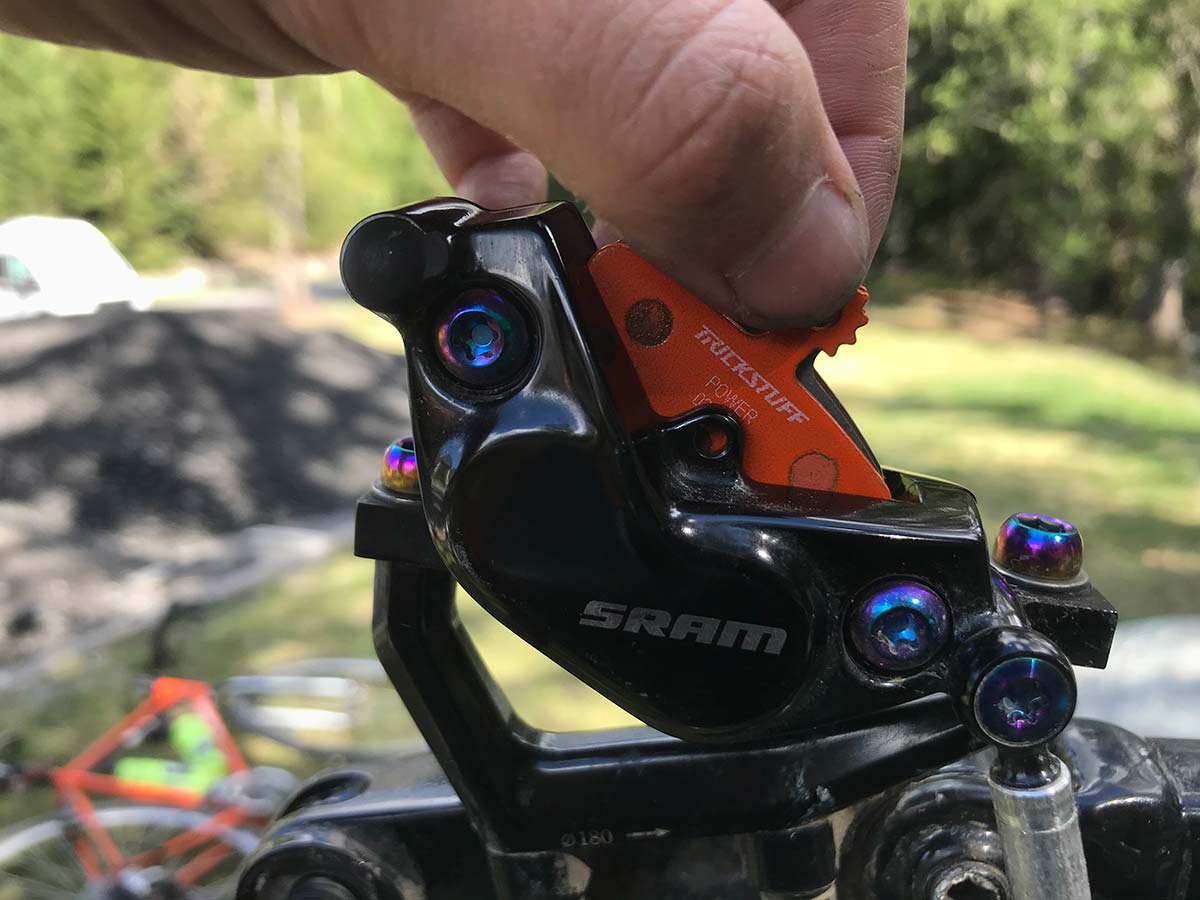
On my SRAM Code RSC brakes, I run some pretty expensive organic aftermarket brake pads from Trickstuff (yes, I pay for them!). Their 840 POWER pads are super powerful. For that extra stopping power, these £18.95 pads are worth every penny.
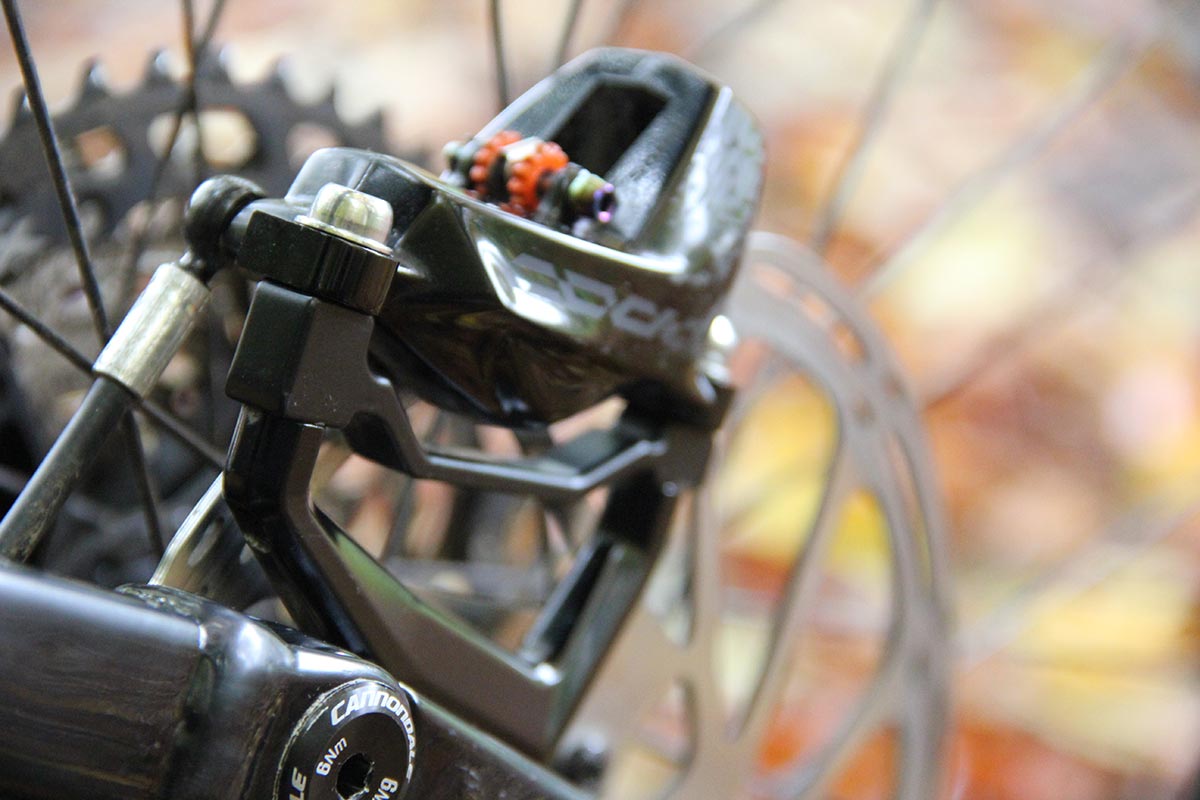
3. Up-size your rotors
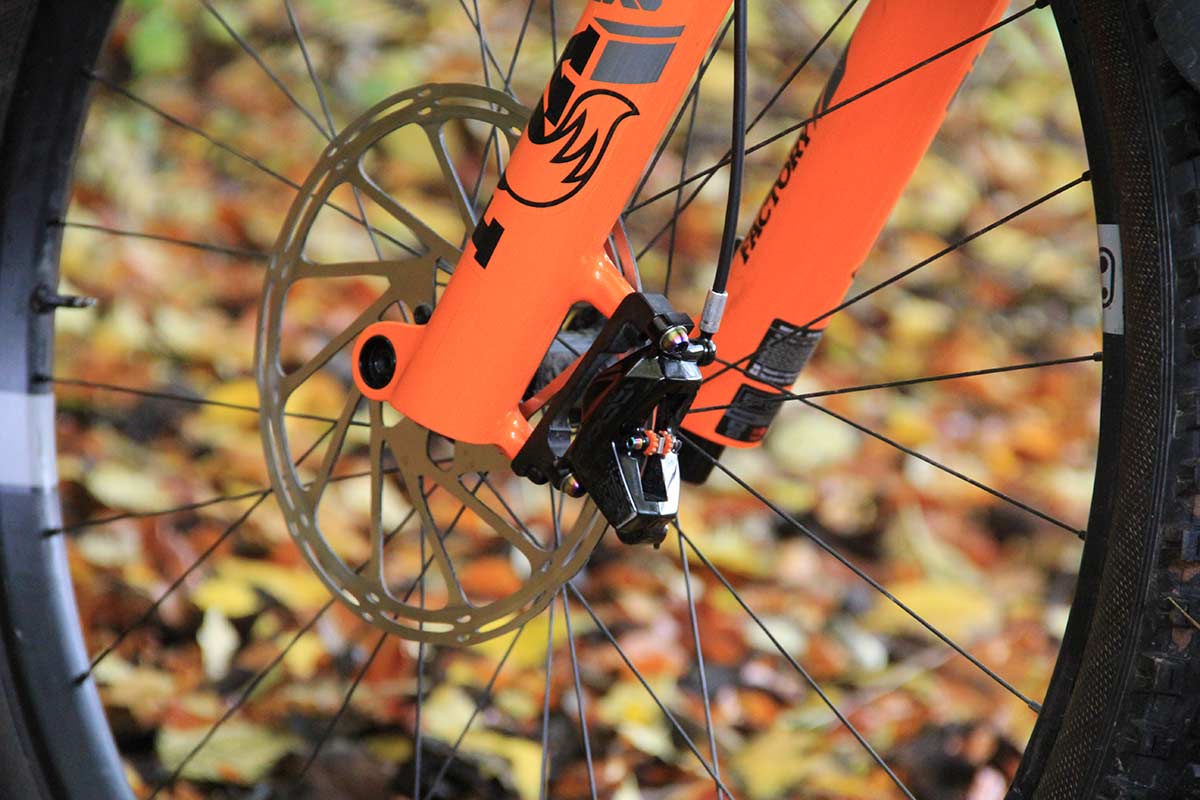
A second, relatively cheap way to make your brakes more powerful is to run bigger rotors. Most enduro bikes nowadays are spec’d with, at minimum, a 180mm rotor out back and a 200mm rotor up front with many ebike mfgs opting to put a 200mm on the rear too.
Larger rotors offer improved heat management over smaller rotors. The braking surface area is larger so the rotor surface has more time to cool down before it comes back into contact with the brake pad. Why is heat management important? Because braking power fades as the braking surface gets hotter, so keeping the pads and rotors cool is key.
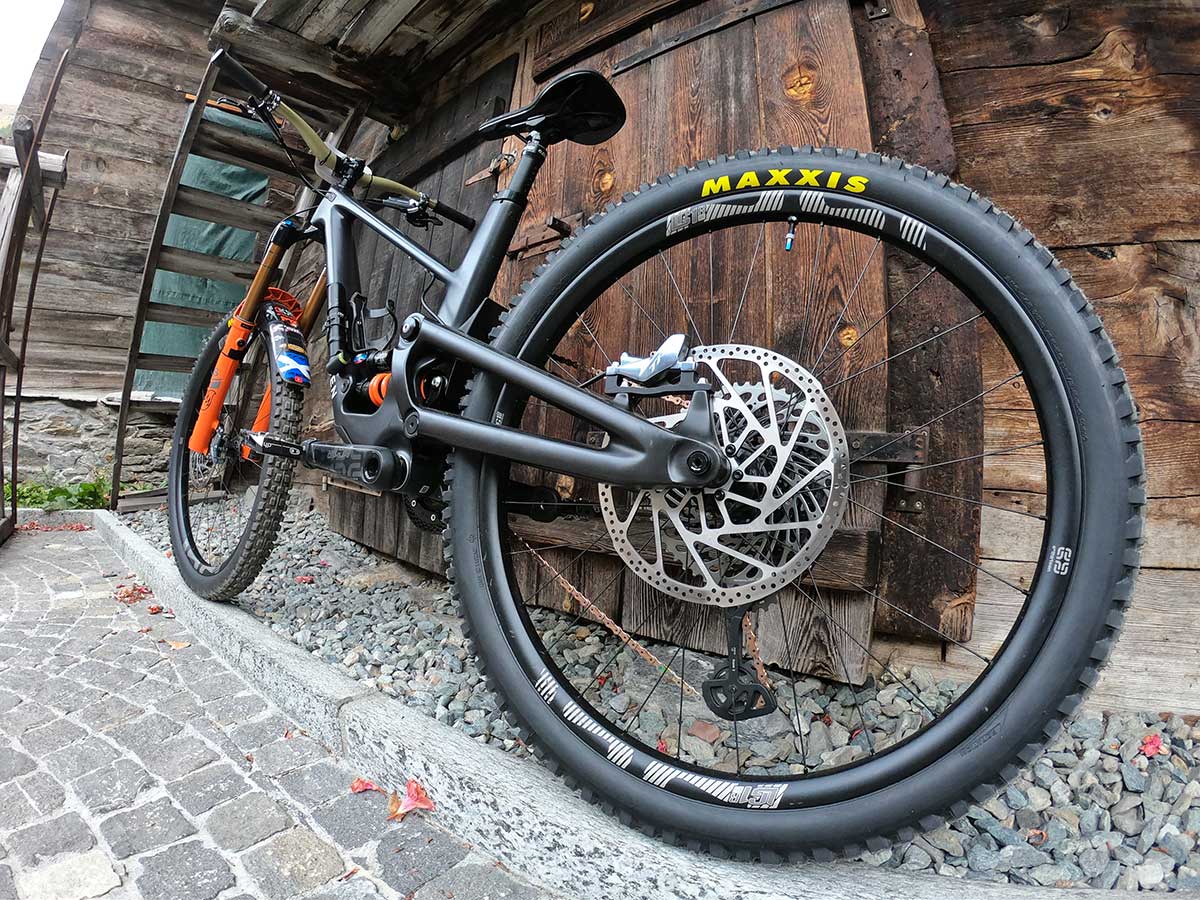
I recently upgraded the brake setup on my Cannondale Jekyll to 220mm rotors, front and back. Honestly, I can’t recommend it enough. The increase in power is immediately noticeable.
To up-size your rotors, all you’ll need are the new rotors and a post mount adapter for the fork and rear brake mount. As I was running a 180mm rotor on the rear, I needed a 40mm post mount to make up for the spacing. On the fork, I needed a 20mm post mount adapter to upgrade from a 200mm rotor to a 220mm rotor.
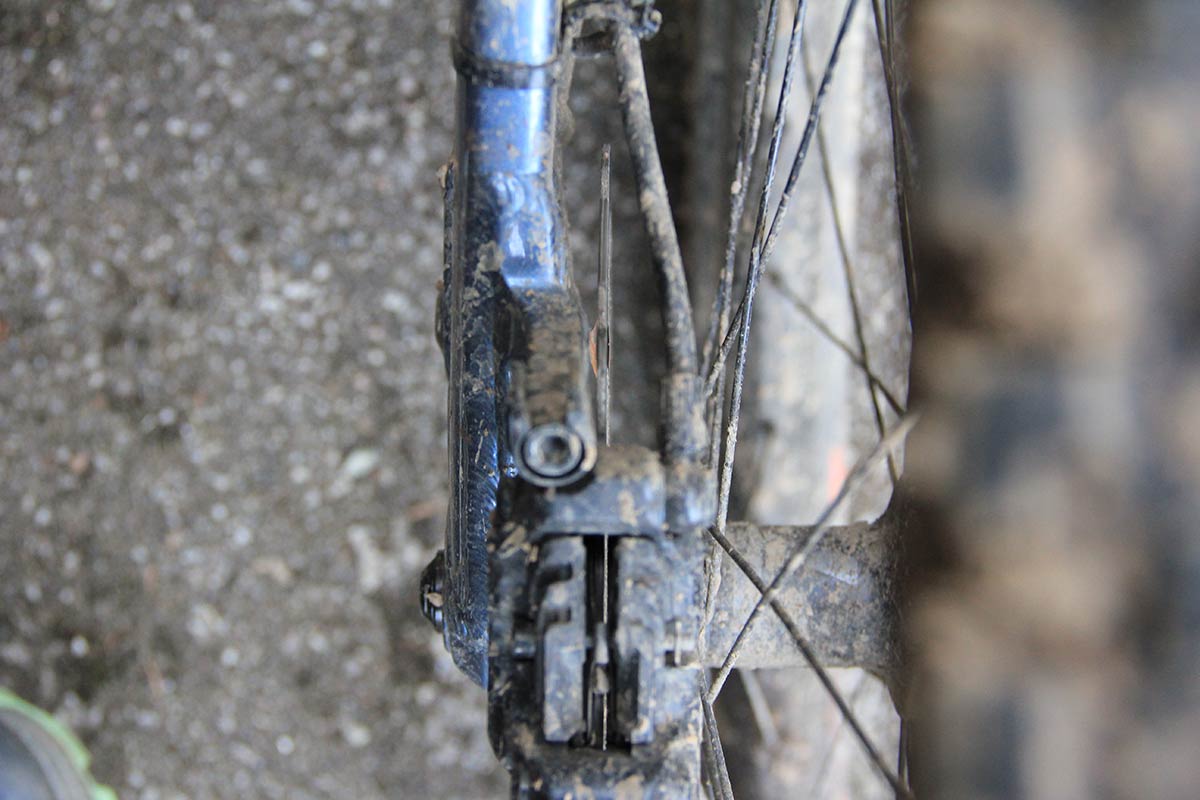
You can actually get a 246mm, 2.3mm thick rotor from Galfer. Imagine what that would look like on a 26″ wheel! You should check the maximum rotor size your fork can take before committing to the upgrade. Also, check the clearance on the inside of your non-drive side chainstay when up sizing on the rear, remembering to account for minor flex that might occur.
4. Get the brake lever reach and bite point dialed
Ideally, you want the lever to be sat just close enough to the bar that you can get purchase on it with your index finger comfortably. You want to be pulling the lever using your distal phalange (the bone furthest away from your palm).
If the lever is positioned too close to the grips, you won’t be making full use of the leverage offered by the full length of your finger. More leverage = more power. More power means more efficient braking and in turn, you guessed it, less arm pump. So, get it dialed! Here’s how…
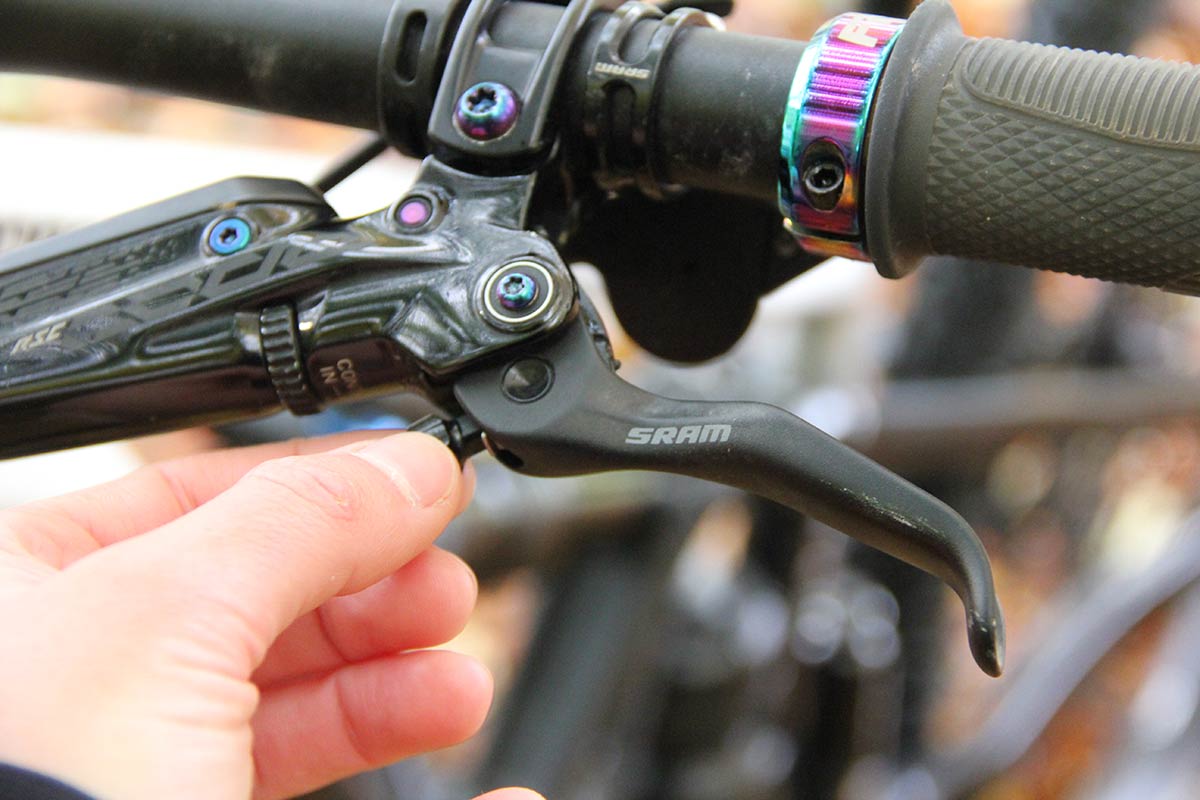
Most brakes do offer adjustment of lever reach. Some require the use of an Allen key, such as the SRAM Guide T. With the higher end brakes such as SRAM’s Code brakes, reach is adjustable on-the-fly via the use of a wee dial that sits at the inboard end of the lever blade.
The other key adjustment you can make to improve braking comfort is the position of the bite point. You’ll also see this referred to as “lever throw”. This is the distance the lever travels toward the bar before the pads make contact with the rotor.
Though some riders prefer a short lever throw, I personally find it super uncomfortable. Ideally, you want the bite point to positioned where your finger’s “pull” is at its most powerful. So, not super early in the stroke, and not super late in the stroke – somewhere in the middle. Something to experiment with, for sure.
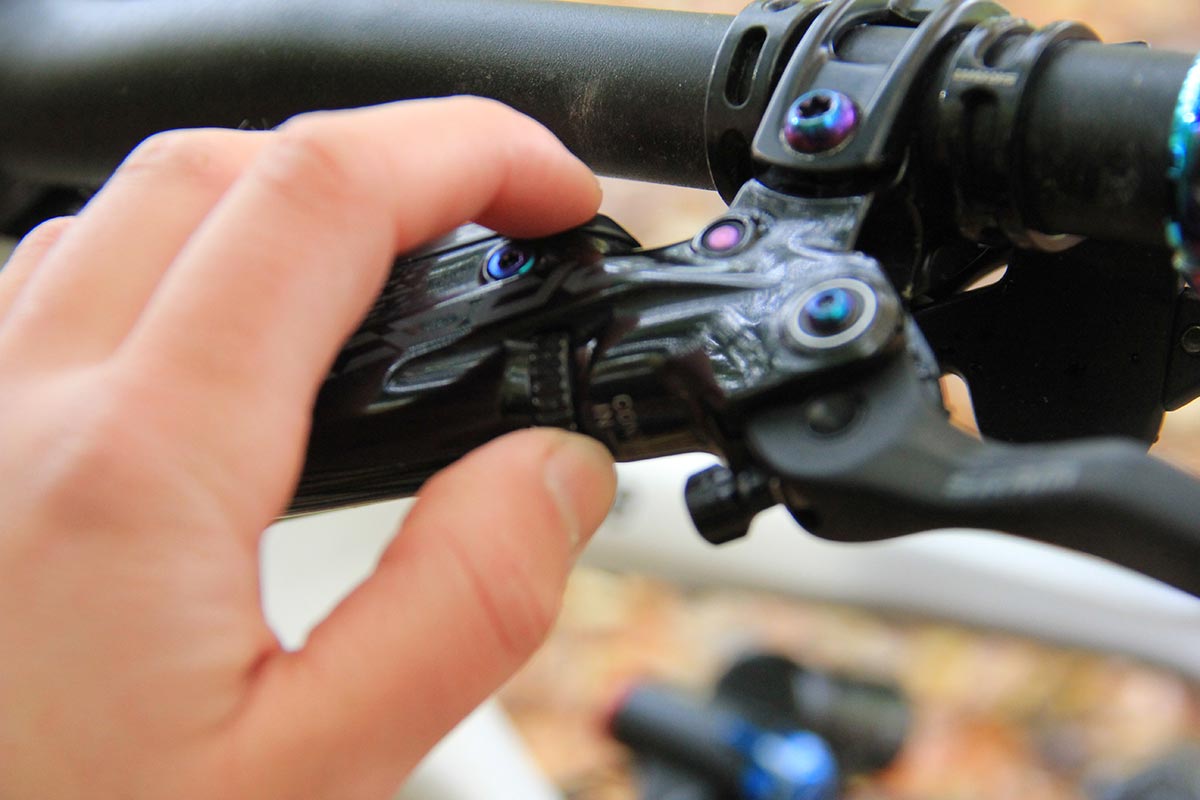
It’s only high-end brakes that seem to offer an external bite point adjuster, such as the SRAM Code RSC. The cheaper Code R option offers only lever reach adjustment.
So, your brakes don’t have an external bite point adjuster? Not to worry. All is not lost. You should still be able to optimize the lever throw by getting up close and personal with the caliper end.
To reduce lever throw (send the bite point further from the bar):
- Remove the wheel
- Press the lever slowly and gently to advance the pads, taking care to watch the pads don’t get too close together – remember to leave enough space for the rotor!
- Replace the wheel and pump the brake lever a few times
To increase lever throw (push the bite point closer to the bar):
- Remove the wheel
- Remove the pads
- Using a disc brake piston spreader (or a tire lever) gently and evenly push the pistons back into the caliper housing, ensuring the distance each piston protrudes from the caliper is the same on all sides
- Replace the pads
- Replace the wheel and pump the brake lever a few times
Note: This won’t always work, depending on how sticky your pistons are. If you have some that are stickier than others, this fix is likely to fail. Shimano, Hope, TRP Cycling and Magura explain how to fix that particular problem here.
Caution: You must take care when doing this. It can be easy to accidentally advance the pistons so far that they come clean out of the caliper. You will be kicking yourself if this happens, as you’ll have to rebuild the caliper and perform a full bleed of the system.
5. Find the best lever angle for you
Another one that is down to personal preference. I know some riders who like to run their levers almost flat (with respect to the ground). Others will run their levers at a super steep angle. Both parties will cite “comfort” and “less arm pump” as the reason for their chosen lever angle.
Likely, the optimal lever angle for you will depend on the gradient of the terrain you ride most frequently. This is because, in general, the most comfortable position will be the one that results in the smallest bend at your wrist.

On flatter, more mellow trails, we tend to ride in a central position on the bike, weighting the front wheel for traction at speed. On much steeper trails, our weight and body position tends to be both lower and biased towards the rear wheel slightly. These subtle differences in body position can result in strikingly different angles at the rider’s wrist.
A flatter brake lever angle may therefore be more comfortable for riding very steep terrain, as the rider won’t have to “reach” around the grip to find the lever. On flatter trails, a steeper lever angle has its advantages as the rider will have a more central body position.

Again, it comes back to personal preference. It’s definitely something worth experimenting with, though. We recommend trying both ends of the spectrum – run the levers at a steep 45° angle, then try them at 90°. Likely, both extremes will feel utterly horrendous but this should be a good starting point in helping you figure out what angle is best for you.
Next week on How to Reduce Arm Pump
Next week, we’re throwing money at the problem, taking a closer look at the cheap and cheerful, and eye-wateringly expensive, mountain bike components that claim to get rid of arm pump for you! Stay tuned.