If we’re being honest, we were a bit hesitant to test the Swytch e-Bike Conversion Kit. Why? Two reasons. First, because bolting on a motor and battery seems like a clunky idea.
Second, because front wheel drive seems like a weird idea on a two-wheeled, pedal-powered bicycle that’s designed as a low-power, rear wheel drive machine.
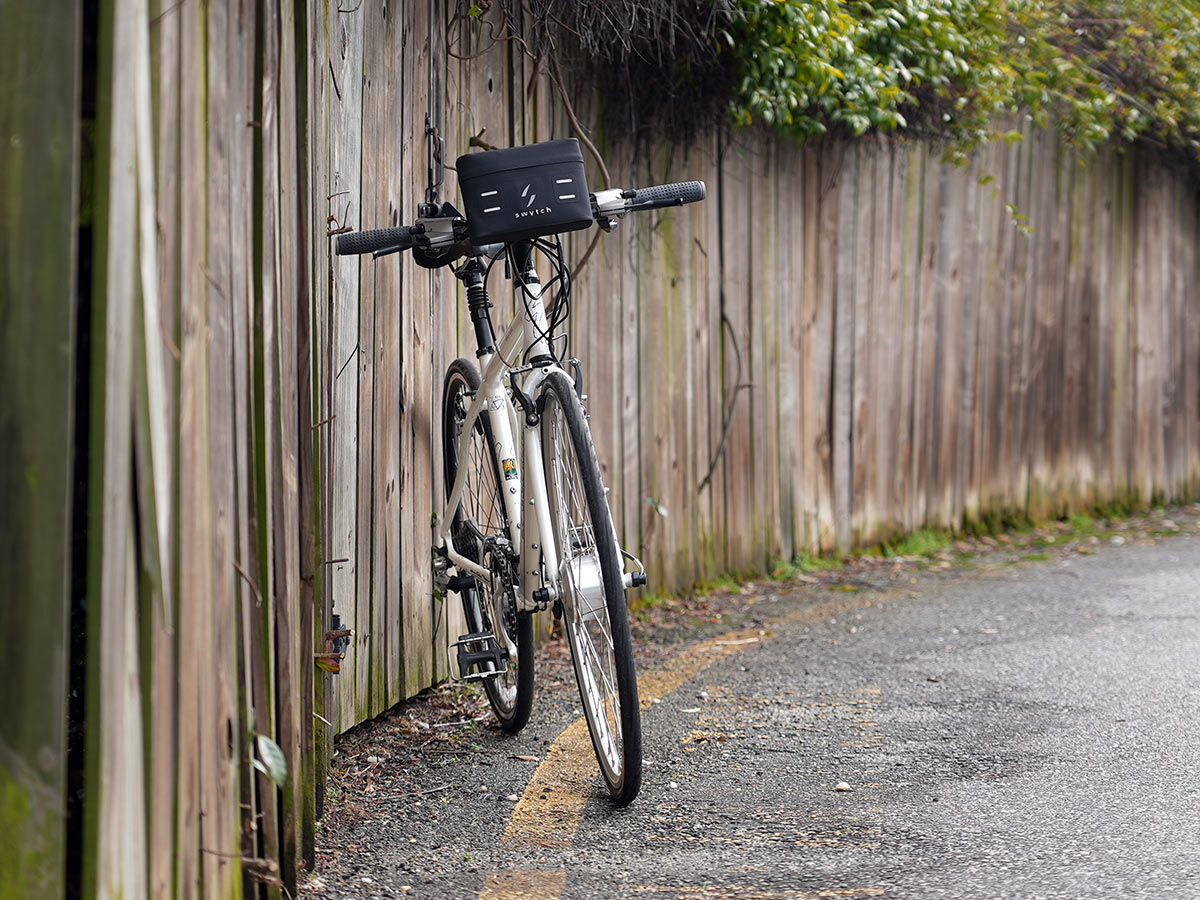
Fortunately, both fears proved unfounded, and the Swytch kit surprised us with relatively clean looks and solid performance that rivaled the feel of real e-bikes. Considering its versatility and low entry price, we’d recommend it highly as a way to turn any regular old bike into a fast commuter. Here’s how it works…
How does the Swytch e-Bike Conversion Kit work?
As if to reinforce just how versatile Swytch’s kit is, they only offer two versions – Universal, and Brompton. The latter is specifically for Brompton’s folding bikes. The Universal kit is for everything else. And they really do mean (almost) everything else.
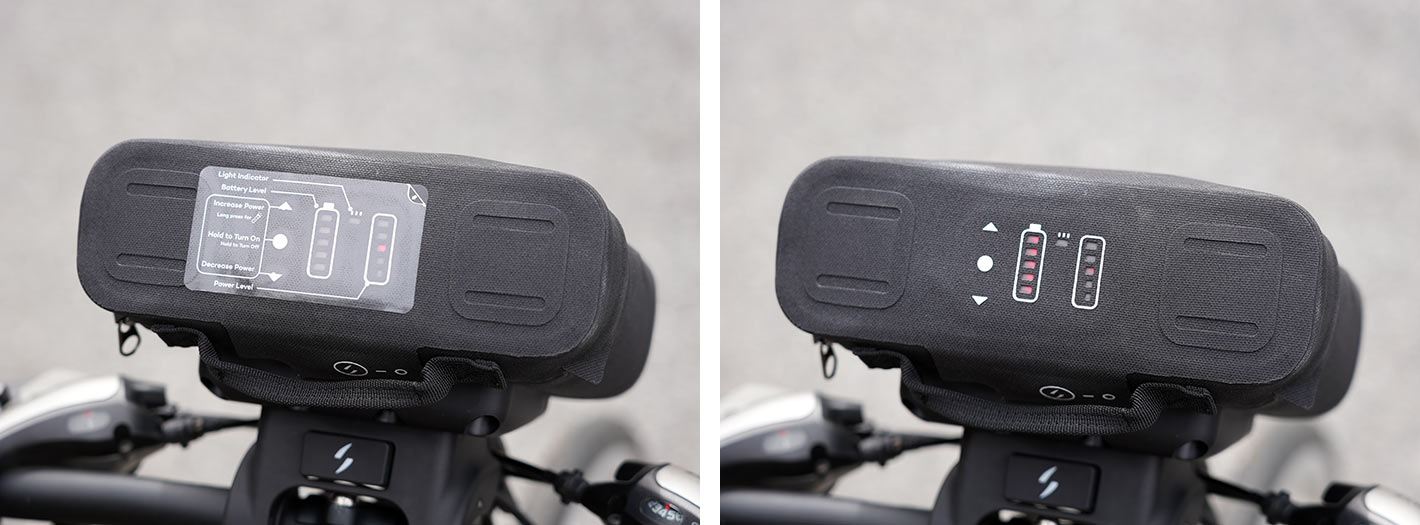
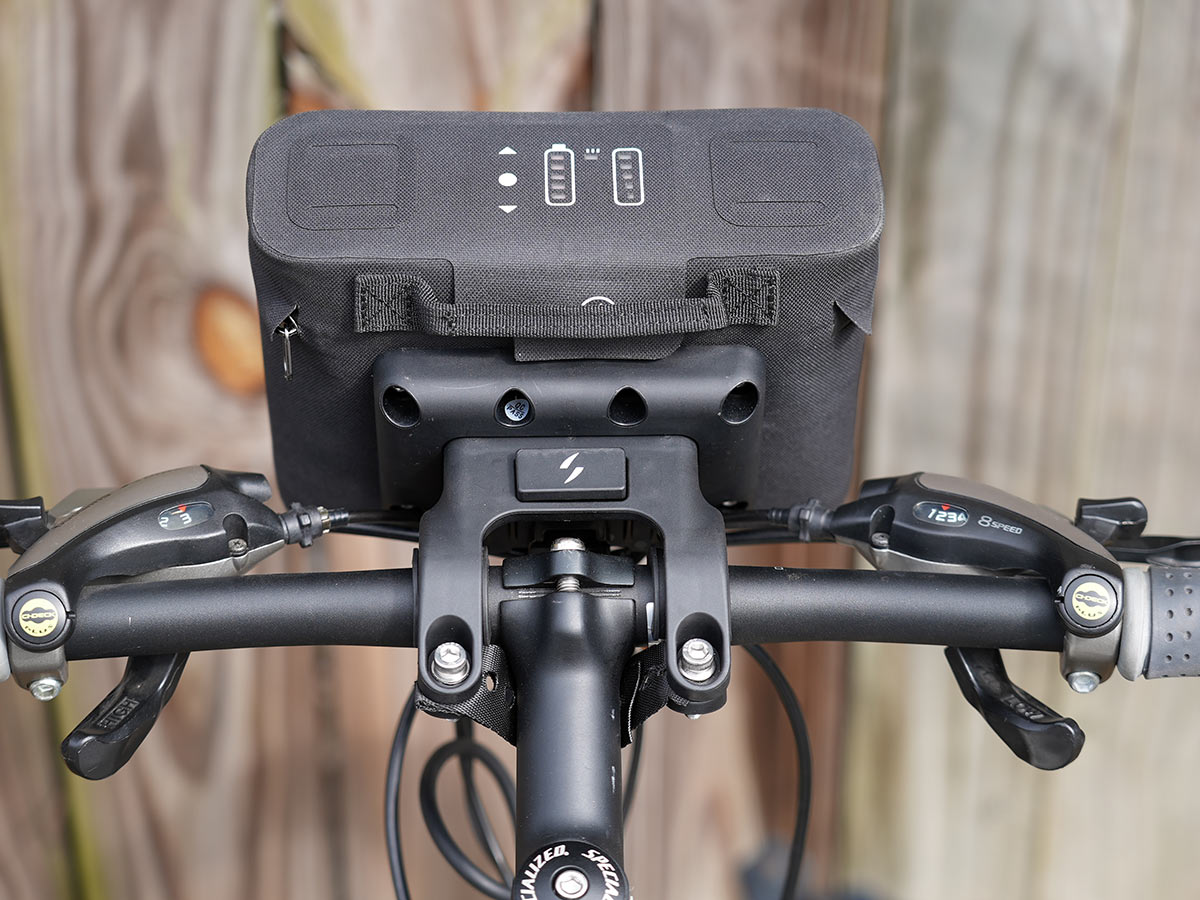
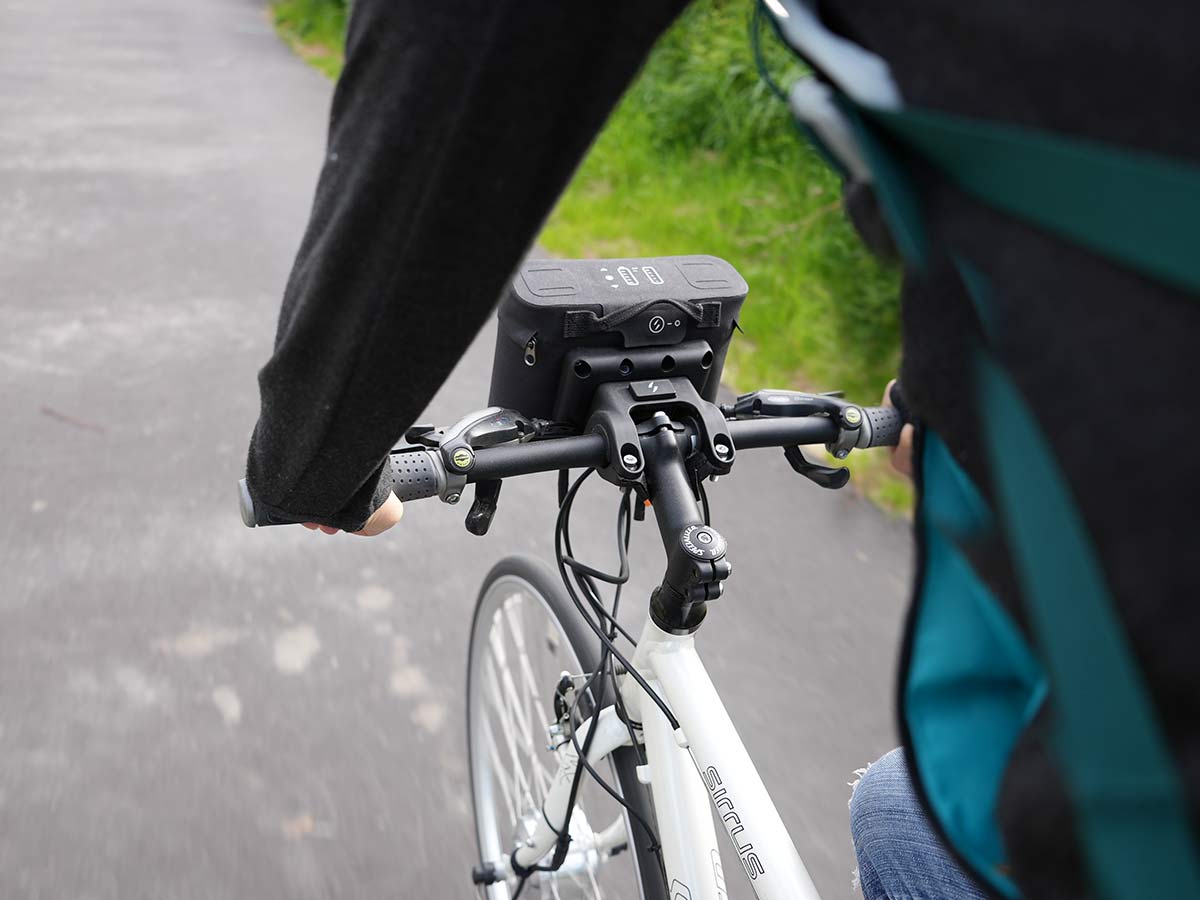
It starts with a hub motor inside a wheel, more on that in a minute. The battery and electronics are housed inside a small pack that mounts to your handlebar. It looks like a small basket, but the controls are managed through the top flap, which closes with a waterproof zipper:
The charging port and manual on/off switch are behind a small flap on the back. Functionally, it’s highly water-resistant and perfectly fine to ride or park in the rain now and then, but it’s not 100% waterproof. So, don’t submerge it.
The physical on/off switch disconnects the power from the electronics in case you need to ship your bike or throw the battery pack in a backpack or something. You don’t need to use it during normal operation as there’s a power button on the top flap.
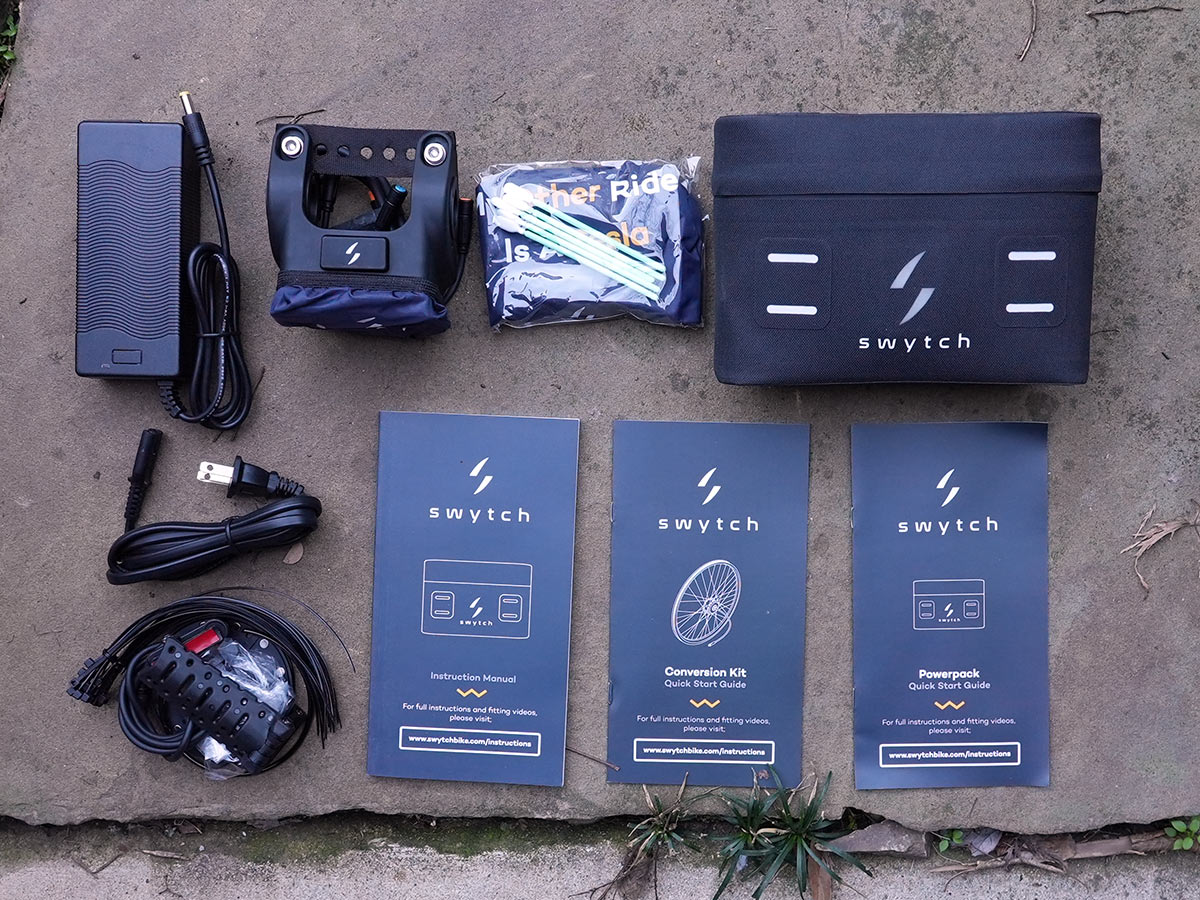
The rest of the conversion kit contains the sensors and wires to connect everything.
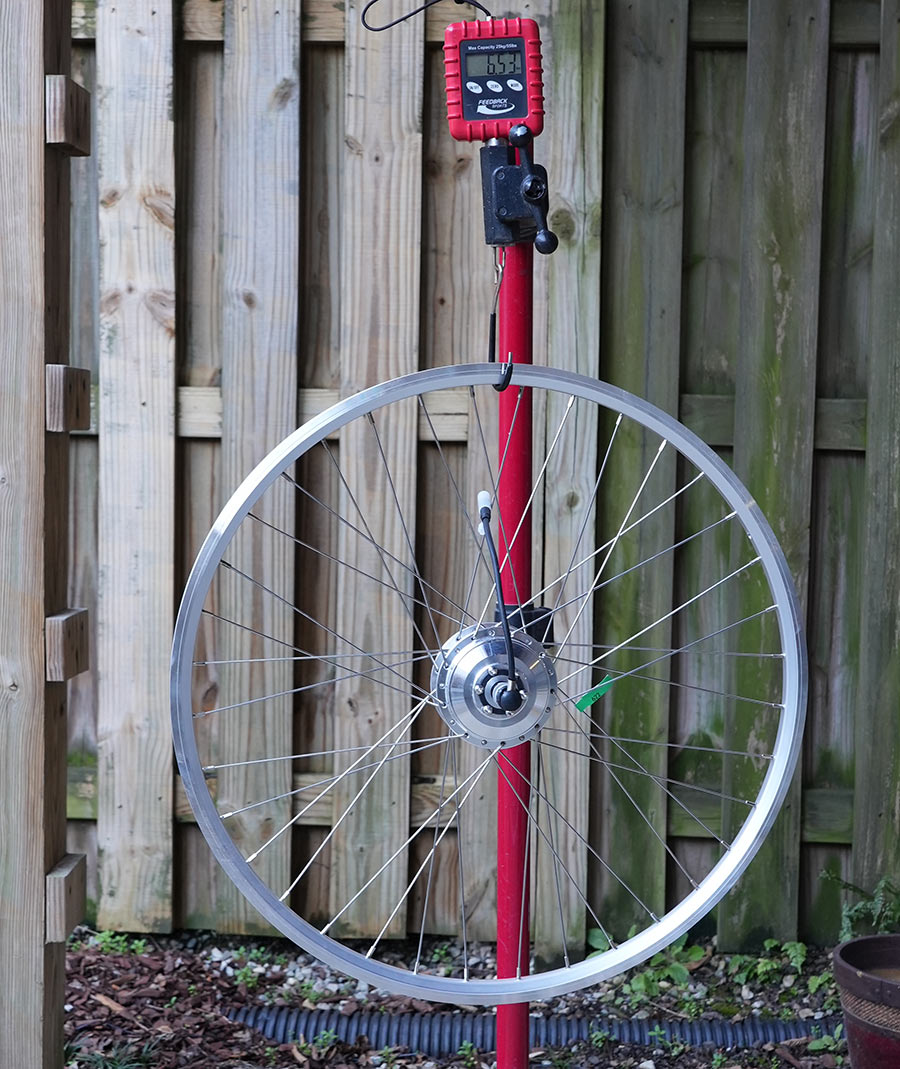
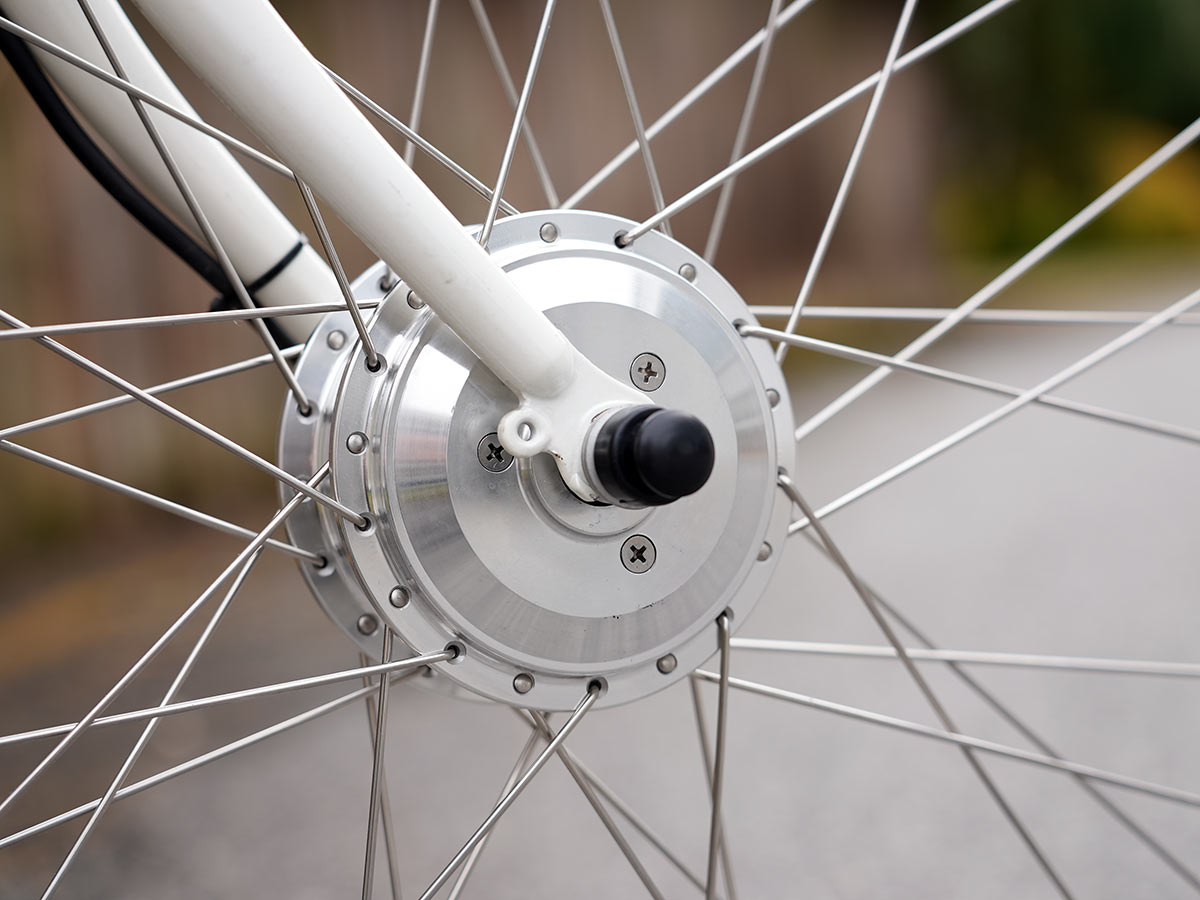
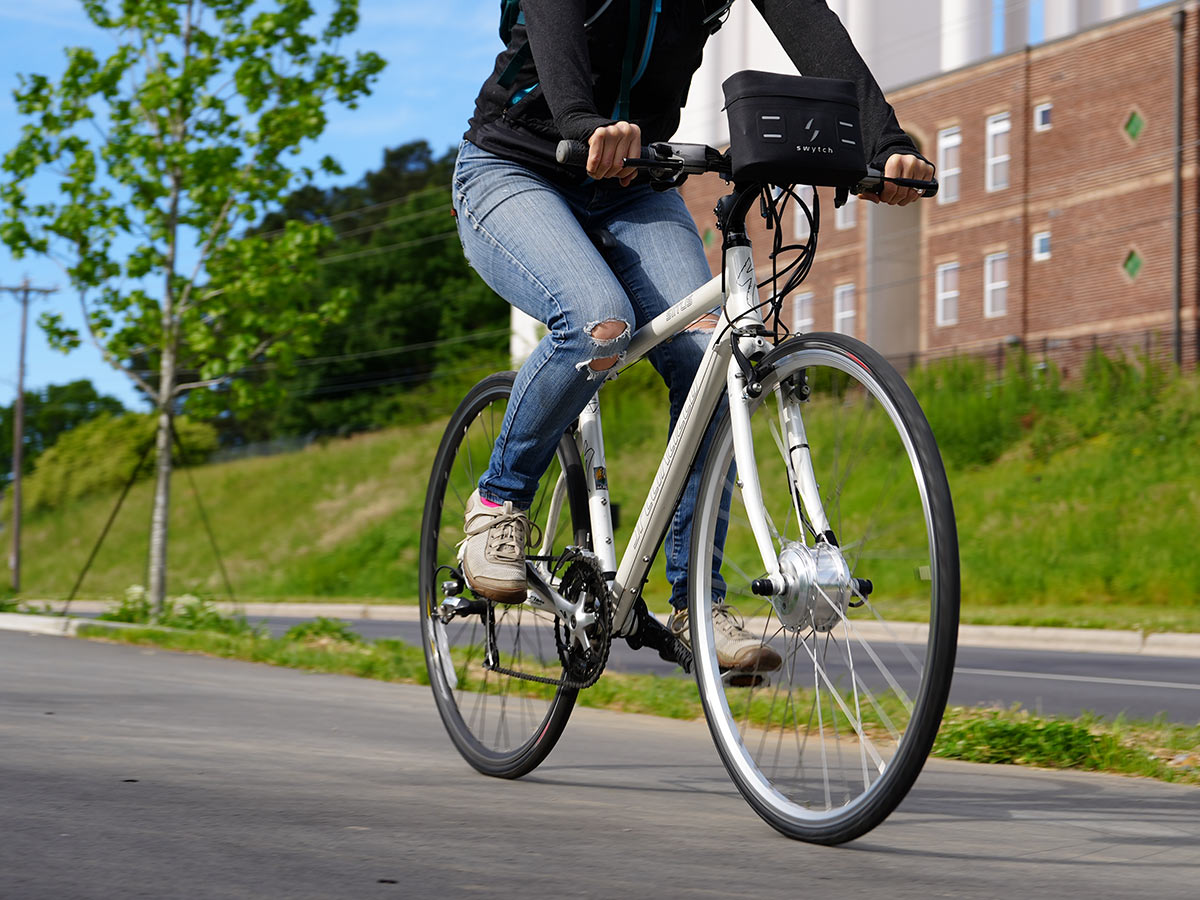
The kit comes with a pre-built front wheel using an alloy rim and their hub-based motor. The rim is made for rim brakes, and the hub can fit a standard 6-bolt disc brake rotor. An attached spacer helps the rotor align with calipers. The hub can be ordered with standard 9mm QR axle ends, or thru-axle fitments, to work on most any fork.
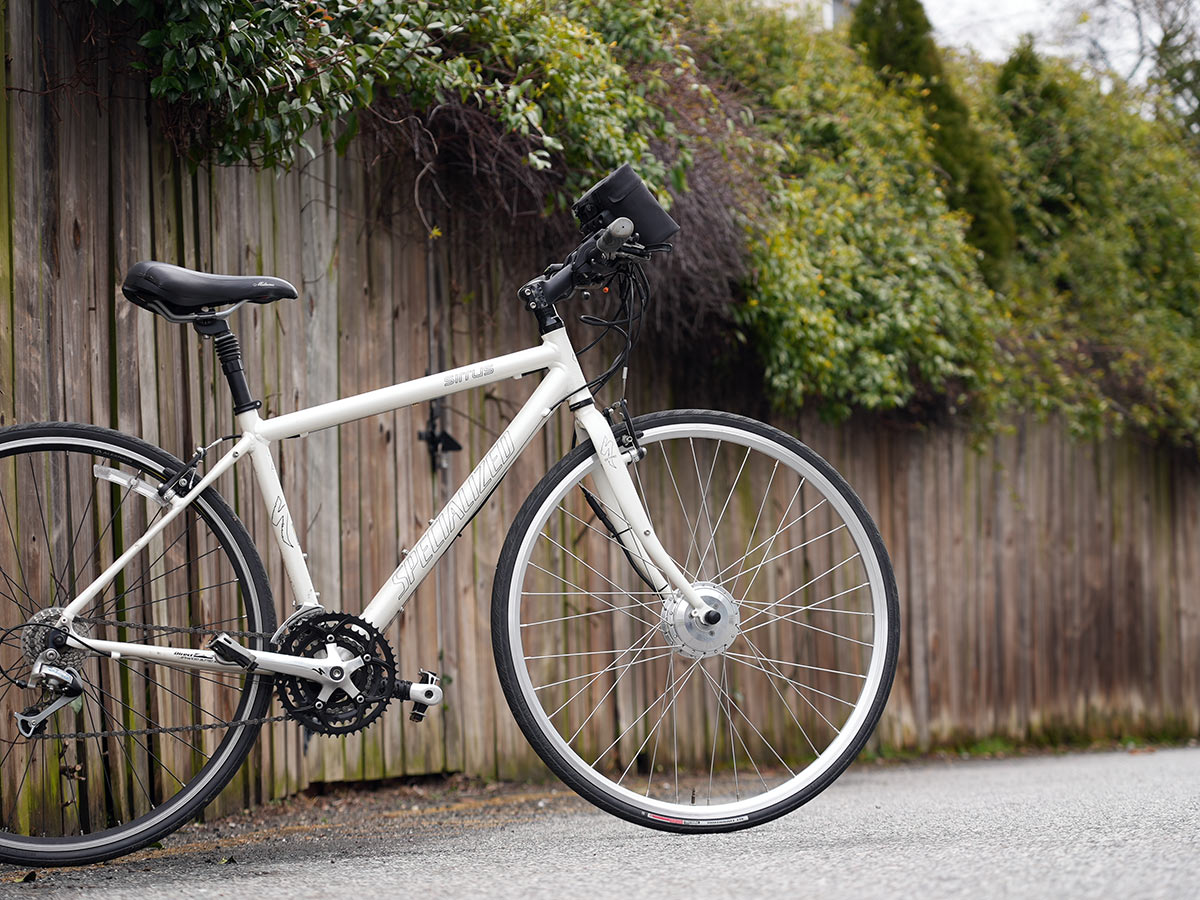
About the only physical modification you might need to make is to file down the flat sections on the QR axle ends if your standard fork dropouts are too narrow. (Please don’t file your fork dropouts…just use a file on the axle) We didn’t need to trim anything off ours and it was a perfectly snug fit in our older Specialized Sirrus test bike, but Swytch fully endorses this modification and will help walk you through it if you’re not sure what to do. Yes, we thought this was odd, too, but don’t let it scare you off because chances are very high you will not have to do this.
The most intimidating part about installing the Swytch Bike kit is getting the pedaling sensor installed. The system is available with an optional throttle if you prefer to turn your bike into a moped, but we like e-bikes, so we tested the pedal-assist version.
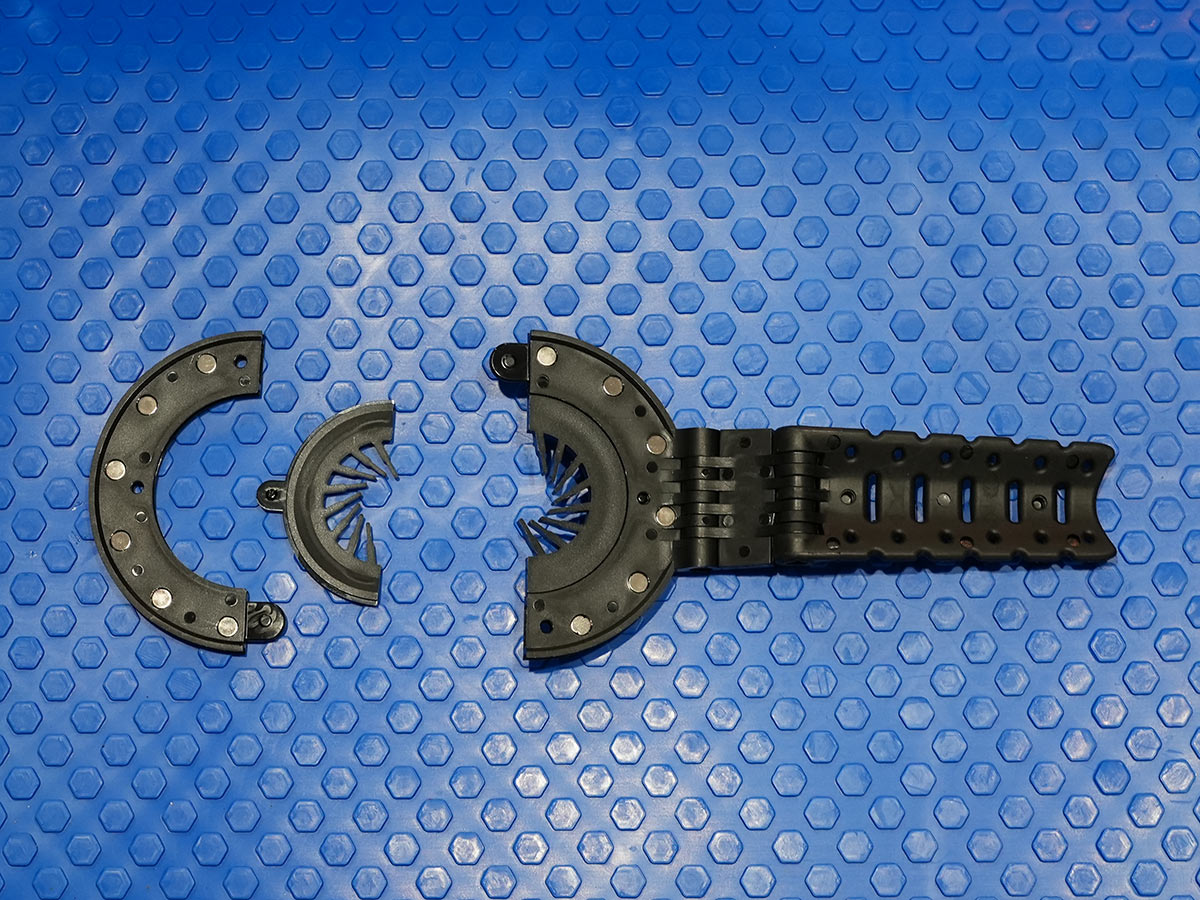
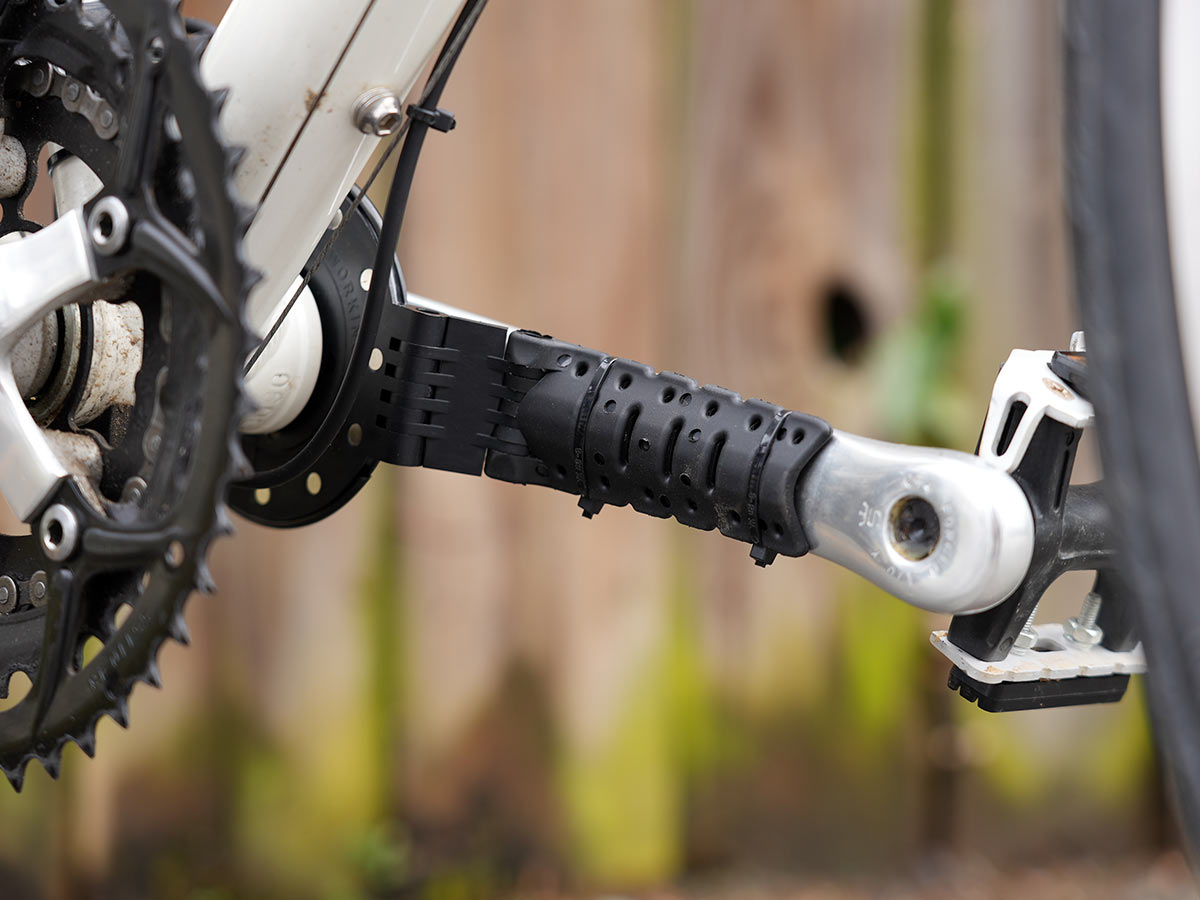
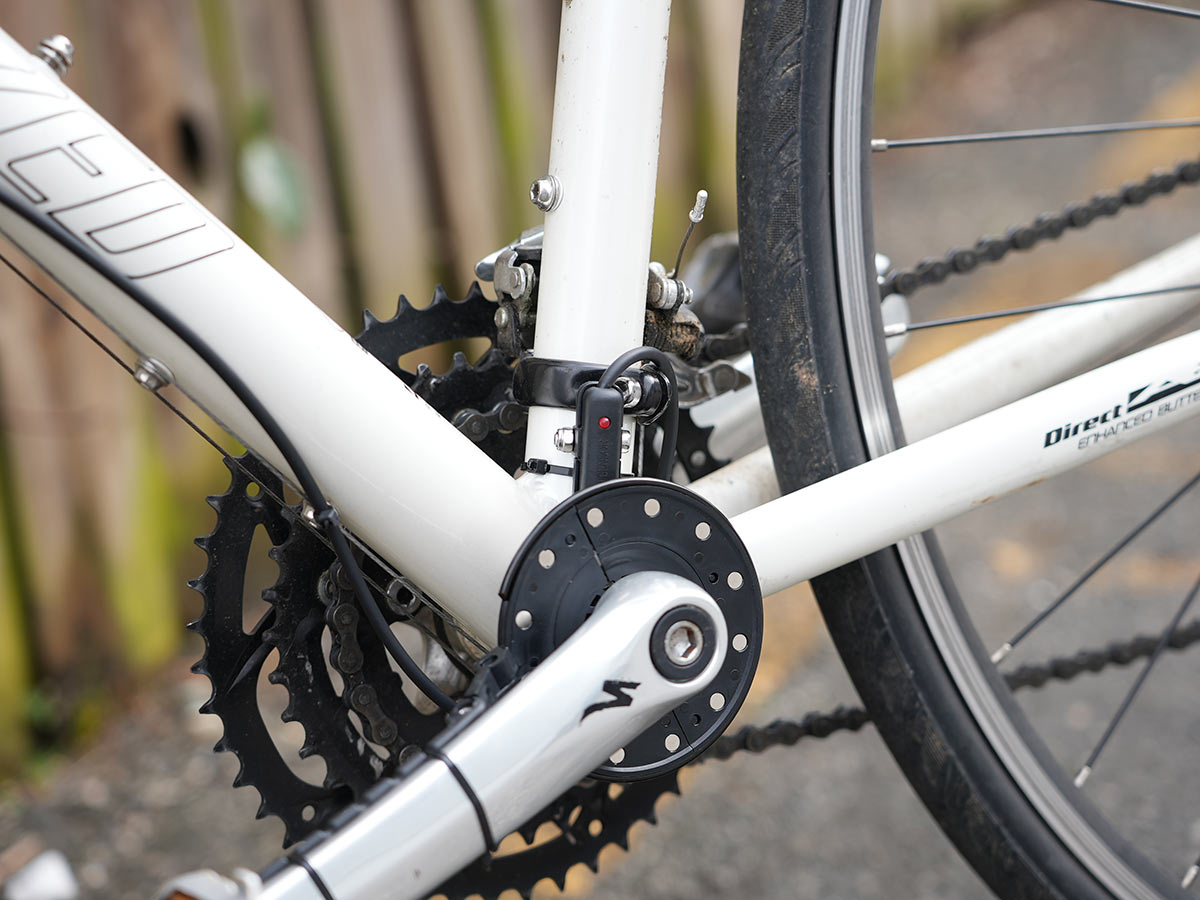
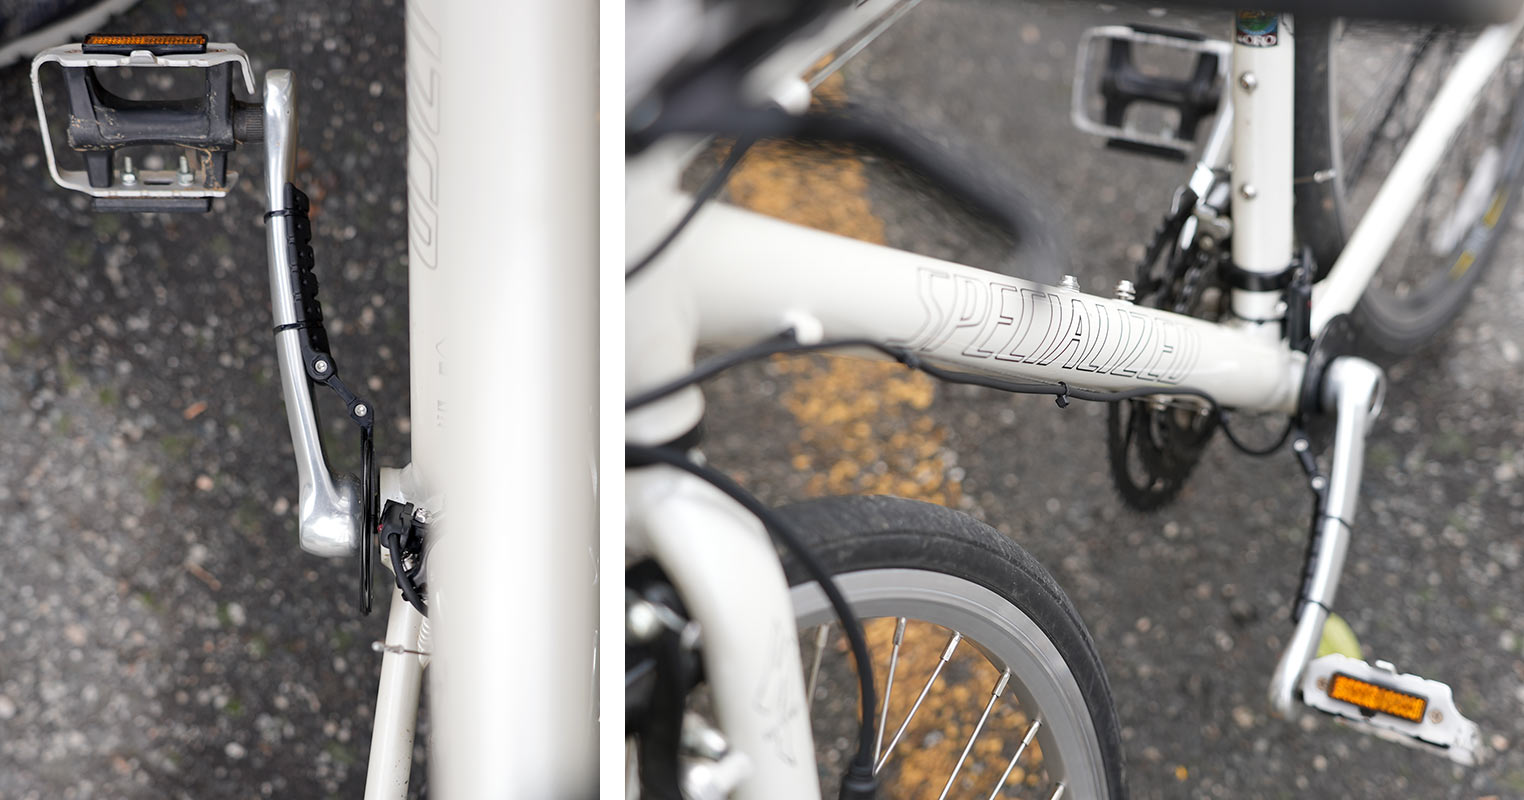
To make it work, you install a magnetic ring around the left-side bottom bracket spindle. A multi-hinged arm articulates to fit flush against your left crank arm so that it turns as you pedal.
The kit includes multiple center inserts to help it fit different diameter bottom bracket shells and spindles. Since it’s unlikely you’re converting a bike with a massive carbon bottom bracket shell or tightly spaced BB386EVO system, chances are really good there are parts that will fit whatever bike it’s going on.
The trickiest part about installing this is getting the magnetic disc aligned well enough that it spins mostly flat, parallel to the rotational direction without much wobble.
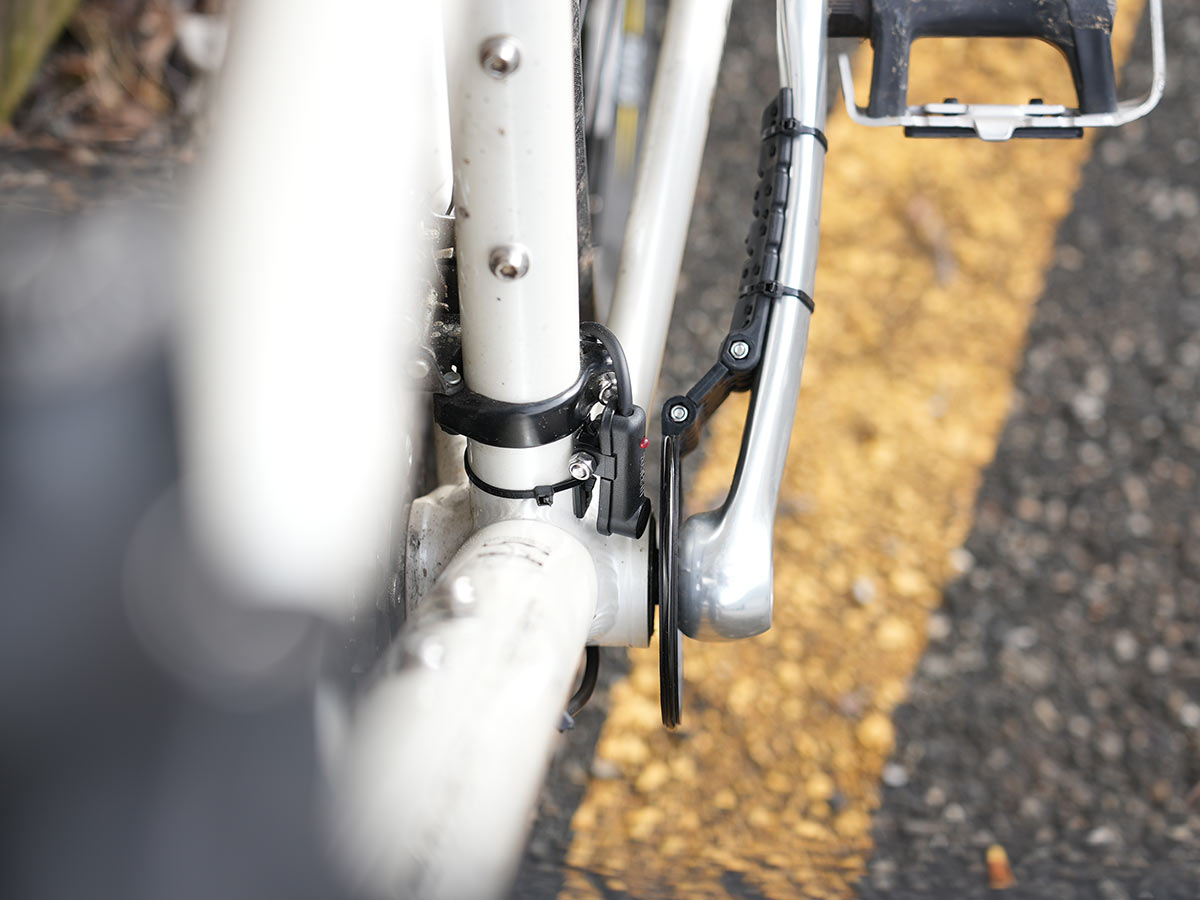
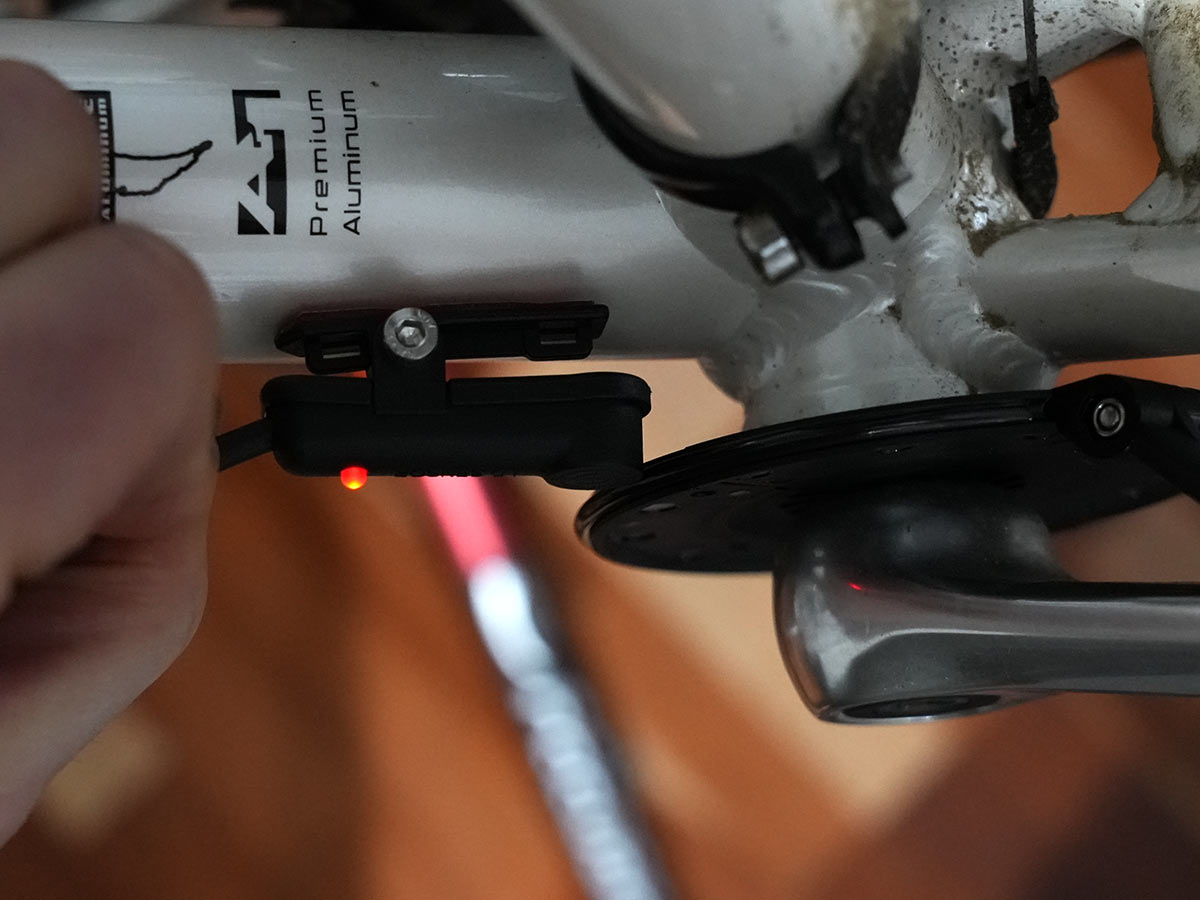
This is important because the sensor that reads the magnets as they spin past it needs to be quite close to the disc for it to register.
A small LED on the sensor lights up when it senses a magnet passing by, making it easy to tell when it’s close enough. The hard part is getting it close enough.
This is what took the longest part of our installation process. Total install time was just over an hour, but could have gone quicker if we hadn’t had to do some backyard “engineering” to mount the pedal sensor.
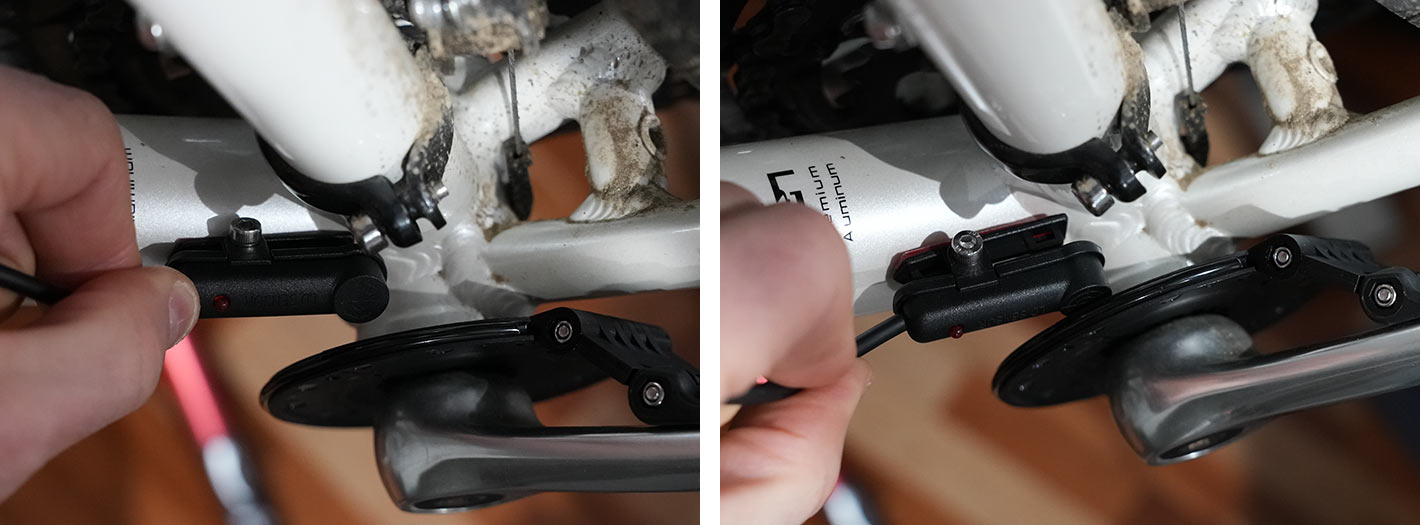
Mounting it to the downtube or seat tube is the ideal location, but on steel or alloy bikes with standard threaded bottom brackets and normal (not oversized) tube diameters, you may struggle to get it close enough to register.
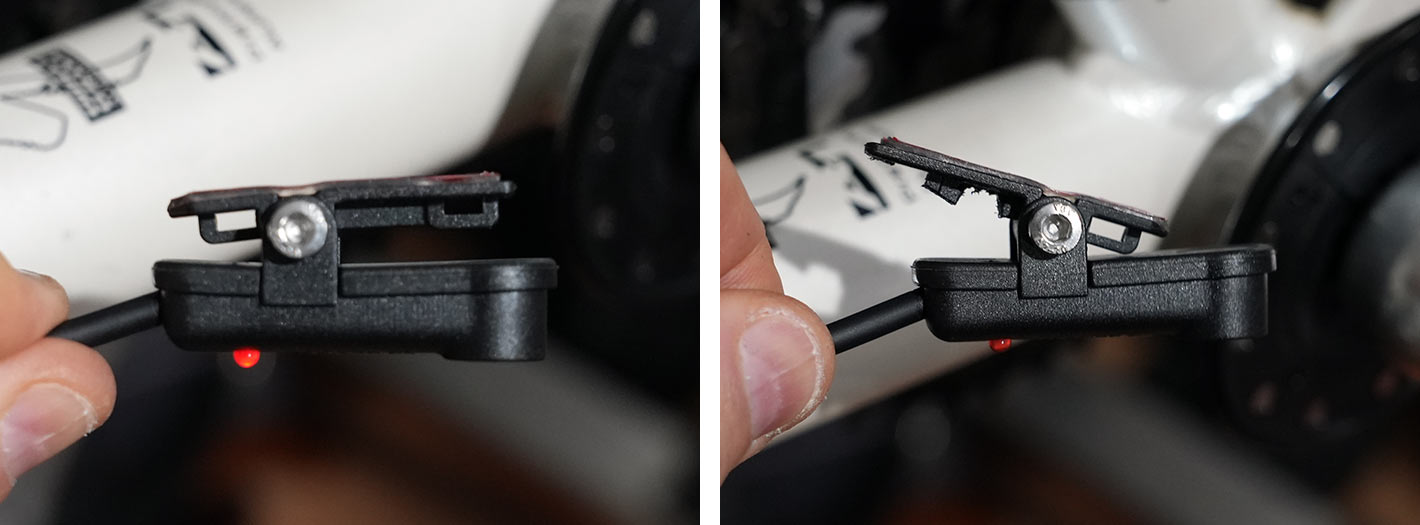
A flat mounting base has two loops to run zip-ties through it, and it pivots to help get the sensor closer to the disc. But it wasn’t enough, and the cable’s protrusion prevented us from angling it further.
Ultimately, we ended up looping it under the bottom bracket, through the chainstays, and coming back around to mount it on the seat tube. This allowed for a surprisingly secure fitment while working around the front derailleur clamp and giving us the cleanest wire routing possible considering our solution.
Of course, you have to do something with that wire, so we used tiny zip-ties to secure it along the rear derailleur shift cable. Since it’s not rubbing, this provided a simple and relatively clean way to route the wire without having to tape or tie it to the downtube. We tried white electrical tape…but, no.
The rest of the kit installation is straightforward. Attach the battery/control box’s mounting dock to the handlebar, being sure to use the included strap routed under the stem and captured by the dock’s bolts. This prevents the weight of the battery from rotating the entire thing downward. Indeed, it works…we didn’t notice any rotation or sagging throughout our testing, and we plan on keeping it on the bike for a long time.
The only other installation tip worth mentioning is that the instructions say to place the axle such that the power cable coming out of it faces downward, then loops up. As you can see in the pic above, we ignored that because it looks much sleeker if it’s pointing up.
But, there’s a reason they recommend that it points down. This creates a rain drip loop for water to run off of. The way we installed it, rain would run directly down the cable and into the motor housing. While it is sealed against moisture, etc., running the loop downward minimizes the risk of water ingress. That, or just don’t ride in the rain or through puddles. (We’ve switched it to the recommended direction since these pics were taken).
- Up to 50km (31mi) per charge
- Top assisted speed of 25 or 32 km/h (15-20mph) depending on region
- 250W
- 40Nm Torque
Swytch e-bike conversion kit ride review
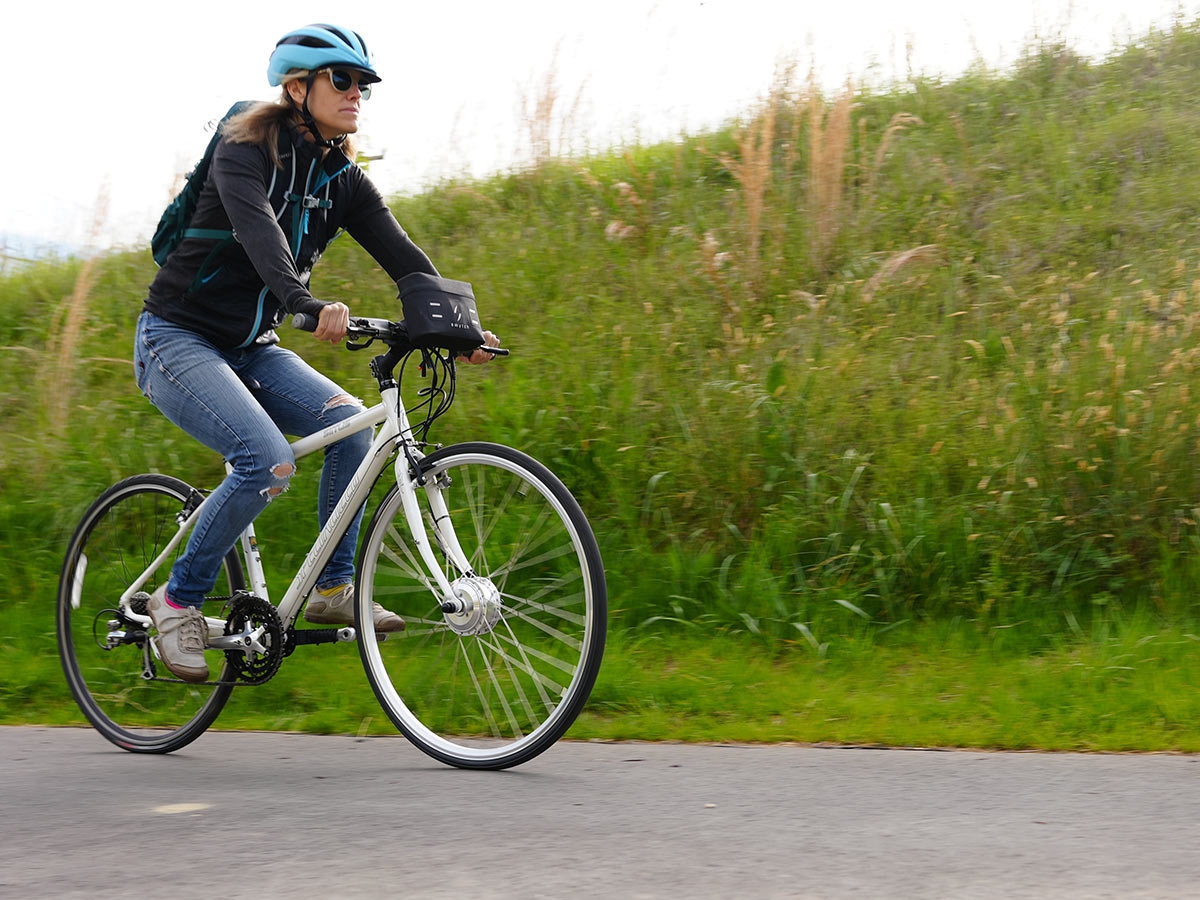
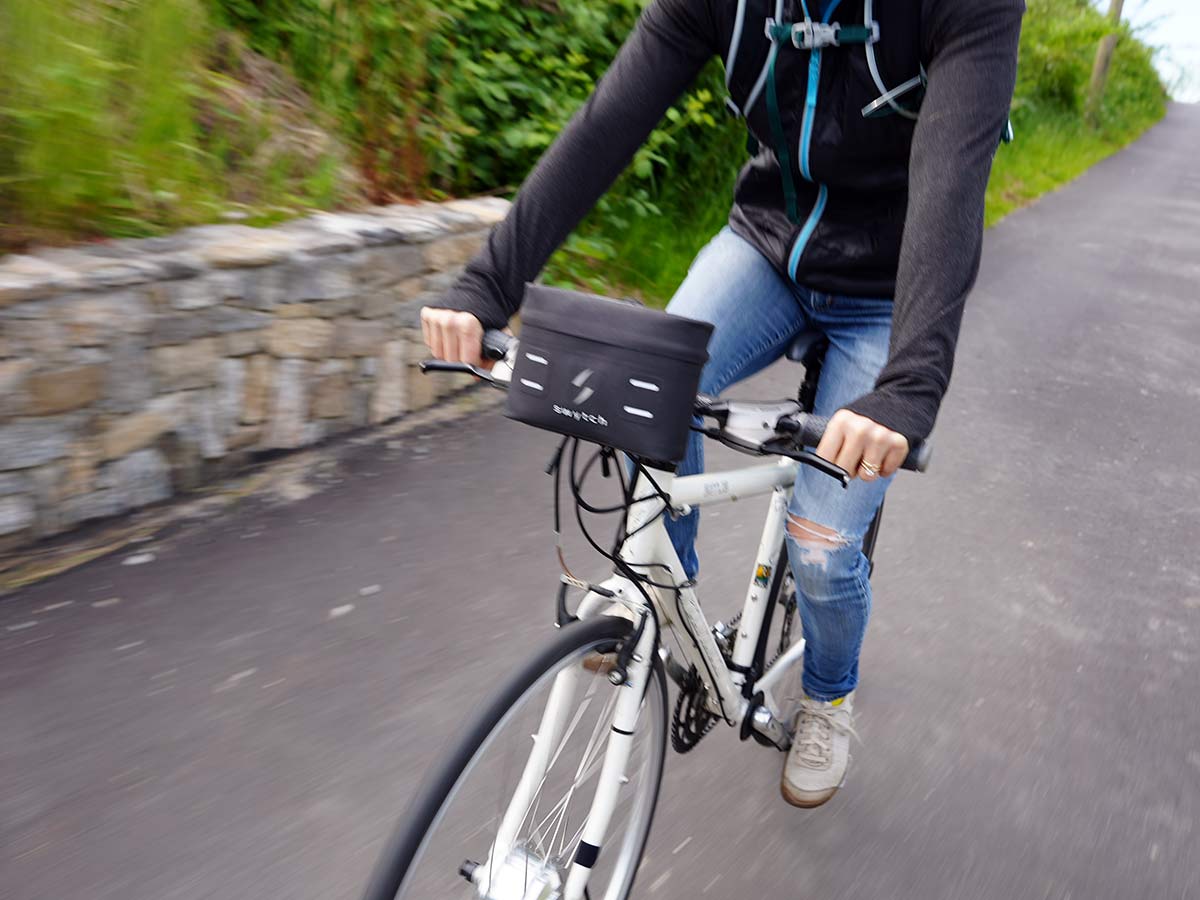
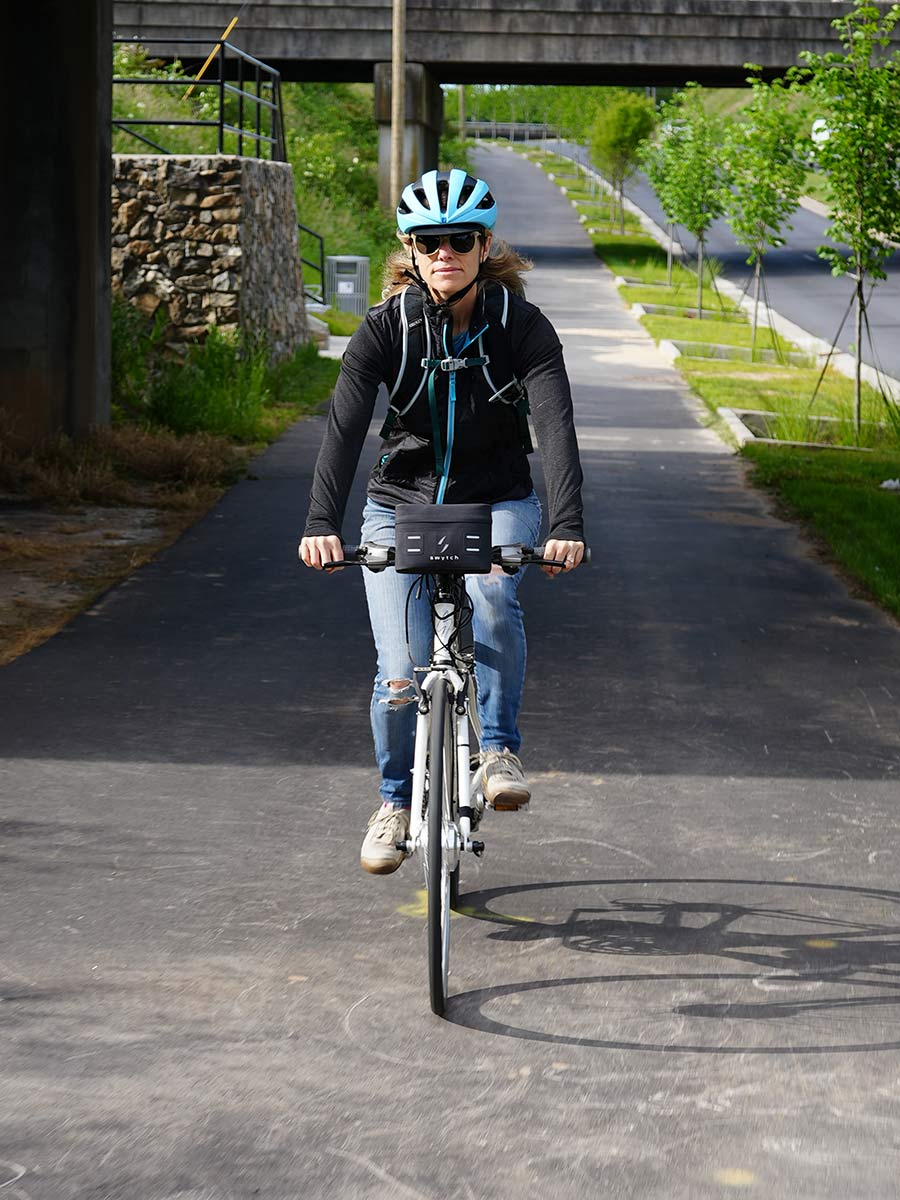
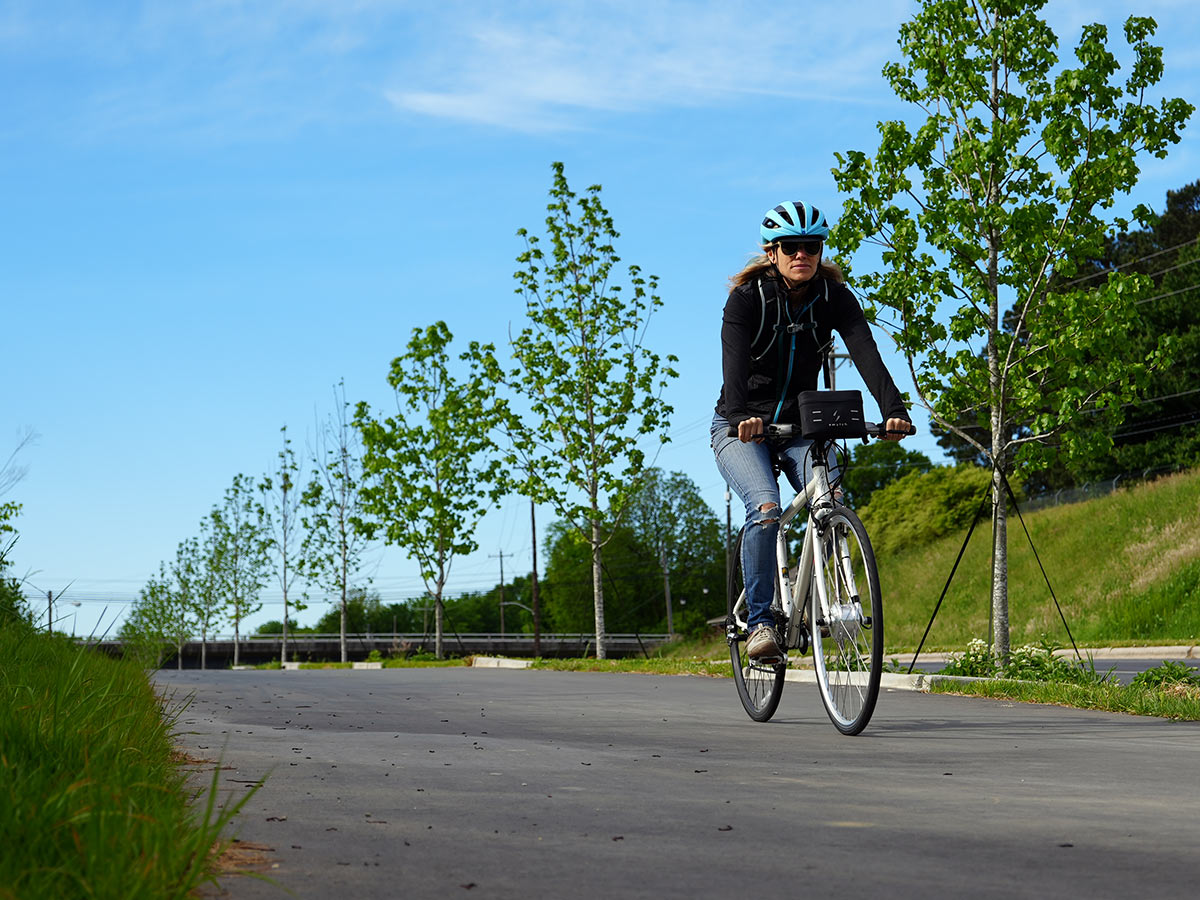
Once installed, the system has been rock solid and performed better than expected. What was most surprising is how natural it felt…it rides just like, well, an e-bike.
We have quite a few commuter e-bikes here – Haibike, Specialized, and Yuba are in our permanent fleet and get used almost daily. So, we know what an e-bike should feel like. And this well-loved 3×8 Specialized Sirrus now feels just like a modern, purpose-built e-bike. Which is saying a lot.
If you haven’t listened to our podcast interview with Swytch’s founder, Oliver Montague, it’s highly entertaining and offers a lot of insight into how this system was developed. That he could create a very simple bolt-on system that uses a sensor to mimic the pedal-assist feature of a pure e-bike is very impressive.
The buttons on the top of the battery pack are easily accessible, letting you adjust the amount of assist while riding. It couldn’t be easier to use.
The added weight on the handlebar didn’t adversely affect handling, either. It does make the wheel flop a bit if you’re moving your bike around in the garage, but on the road it’s no more noticeable than if you had a roll bag with some gear in it. Basically, the weight and position are a non-issue.
Even the front wheel drive didn’t feel out of place. Our testers all thought it felt natural. And powerful! The kit’s assist levels match what we’re used to on brands offering modes like “eco” and “turbo” and varying “normal” levels in between. The highest assist mode surprised us with how much torque and power it delivered, yet never made us feel out of control.
The pedal sensor is quick to engage, kicking the motor on within a second of starting to pedal. It does kick in, but no so strongly as to surprise you or create an unsafe riding experience. And it falls off smoothly once you stop pedaling. And there’s no noticeable drag when you turn it off, so there’s not much downside if you run out of power. If you forget to charge it…just pop the battery pack off and head out for a ride like normal.
The retail price for the base-level Swytch Bike Universal Eco e-bike conversion kit tested here is $999/€950/£999…but, if you pre-order, you can get it for up to half off. That’s because they manufacture in batches, producing two units for every pre-order they have. This lets them offer discounts for pre-orders because it helps them get better economies of scale, and have inventory to sell at regular price. But don’t wait, because they sell out every run, and for $500-$600 on pre-order, this kit is a steal.
