 Welding a bike together can bring about romantic notions of fire and metal meeting, making something from nothing. Every bike must go through a transition from a raw material into an operable bicycle, and this is where the skill of your custom builder comes in. Some builders are pure artists. Some builders are very skilled craftsmen. Some builders are expert welders. Some builders are master designers. For this particular bike, I wanted something that could be ridden hard, and personally, I’m not really attracted to the ornate bikes that are intended to just look nice. I chose Matter Cycles because of Collin’s focus on design and geometry, and his simplistic style. Take a look inside at some pictures of this bike moving from 10 round tubes to a tool that will take me ripping down the trail…
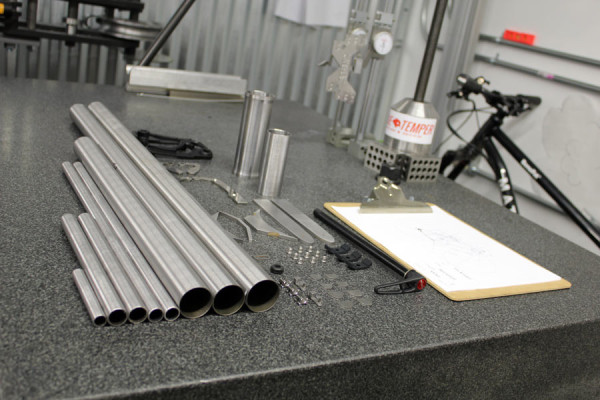
 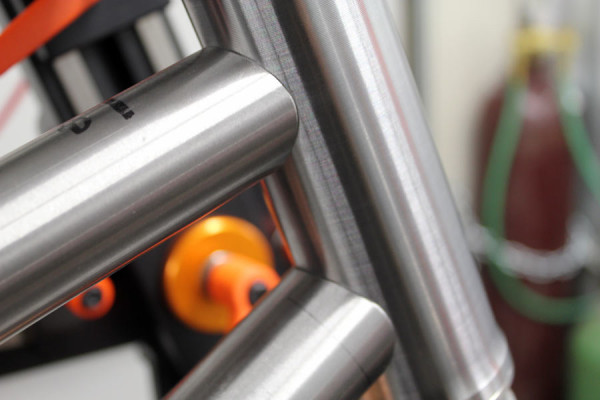 The starting point for any steel bike is clean, perfect miters. A TIG weld can start to get messy, blow through a tube, and even become a weak spot if there are any gaps, imperfections, or contaminants in the welds. Before the high-temperature transformation of metal can begin, the entire bike is test fit together in the jig to ensure all tubes will play together nicely.
 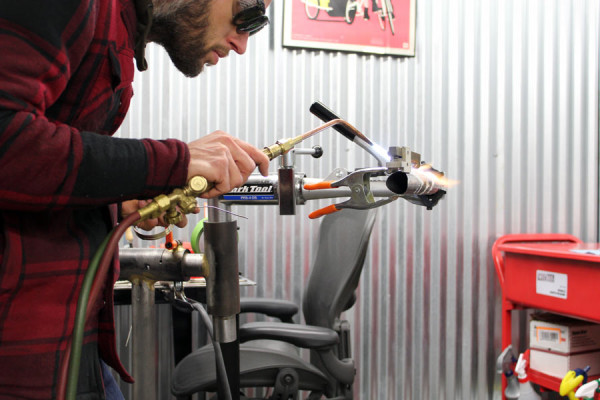 Once insured that the tubes are mitered correctly, any small prep work is done ahead of time, such as adding water bottle braze-ons, since it is a lot easier to add them to an individual tube, than to try and fit the torch inside the finished front triangle.
 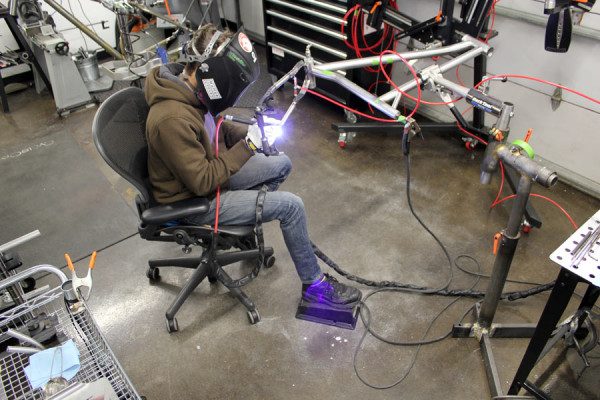 Many people may think that a frame is welded up in a frame jig, but the reality is, they are just tacked there. Once the tubes are ready to join in holy frame matrimony forever, the builder will put a tack or spot weld at junctions, pull the frame out, and complete the welds where they can get full access to all sides of the joint. The process of having the frame in the jig, tacking the joint, pulling it out and finishing the joint, and then checking the frame on a surface plate may be repeated several times as the various parts come together, to insure a perfect frame.
 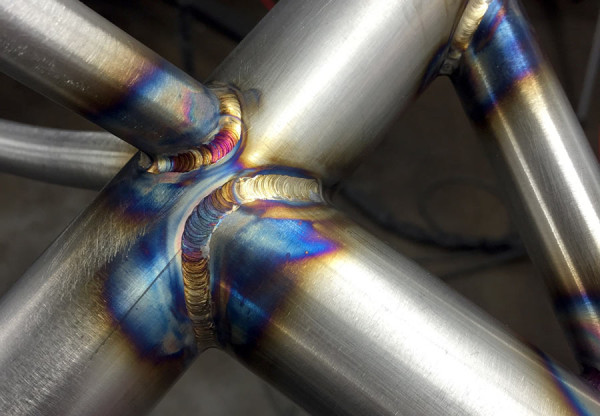 The heat affected zone can be a place of rainbows and unicorns to those that appreciate the joinery of chromoly. The stacking of a fine weld bead is something typically waxed poetic in the halls of NAHBS like a bunch of winos discussing the presence of pomegranate notes in their Pinot. I must admit though, I am one of those, and this picture gets me pretty excited about hitting the dirt.
 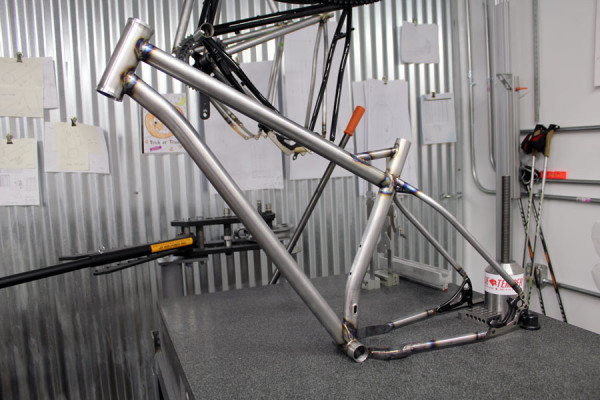 And there it is, in all its glory, ready for paint and parts, and destined for greatness. Check in next week as we finalize the parts kit, and talk about the reasons behind all the part choice.
How to Build a NAHBS Bike – Part 3