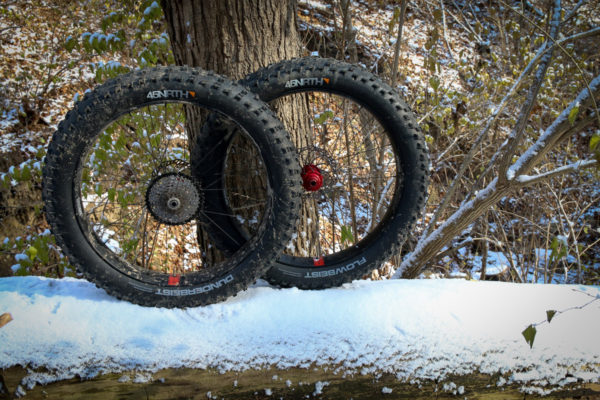
Maybe more than any other bike, fat bikes put a lot of demands on a rim. It has to be wide enough to provide flotation for the monster tires, strong enough to withstand impacts that will inevitably occur at low pressures, secure enough to hold the tire in place at those low pressures, tubeless compatible, and yeah, it should be light as well. That leaves a lot of riders going back and forth between aluminum and carbon rims. Aluminum rims seem more durable on the surface since they can’t really crack like carbon, but they’re pretty easy to dent badly enough to lose your tubeless seal. Carbon on the other hand has the potential to be lighter and stronger, but there’s always the fear of breaking your pricey rims.
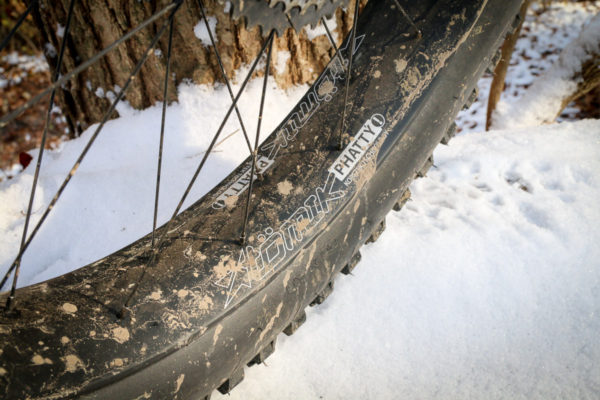
That’s where the Atomik Phatty 85s come in. Using their HDP (High Density Performance) foam core system and Solowall design, Atomik claims that their fat bike rims offer unmatched durability at a still impressive weight. As someone who has cracked a carbon fat bike rim, I’m excited to put that to the test…
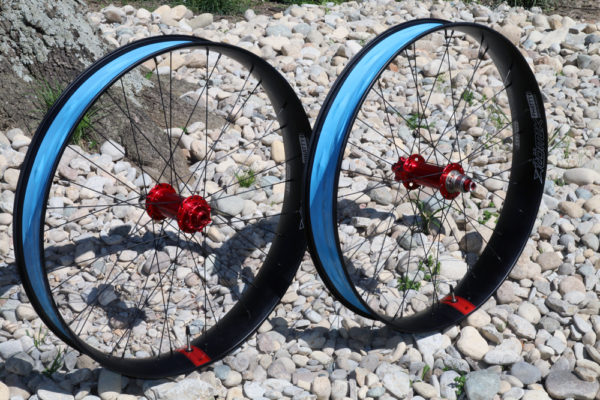
Borrowing their name from the external rim width, the Atomik Phatty 85s measure 85mm externally and 77mm internally. That internal width is on the inside of the hooked bead which is a departure for Atomik from the rest of their MTB line. We’re told the reason is that the hooked beads still work better for holding fat bike tires in place at very low pressures. To that effect, the rim has an aggressive bead seat that really holds the tire in place. In order to get tire off the rim, you’ll likely have to stand on the tire and pop it off the seat with your feet.
Because of their foam core technology, Atomik is able to build a wheel with a little more than single wall thickness, but double wall strength. This is accomplished by molding carbon fiber around a special foam core which makes it sort of a single wall/dual wall hybrid. It also makes for a fairly light rim at 590g. Atomik isn’t going for the absolute lightest here, but rather a blend of lightweight and high durability. Offered only in 32 hole drillings, the nipples sit flush with the inner rim surface which is quite concave which makes mounting tires relatively easy. In total, the rim has a 16mm vertical profile.
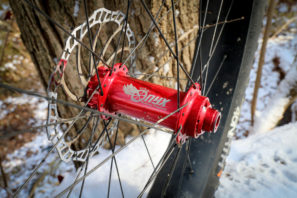
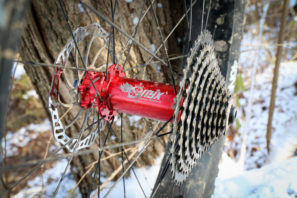
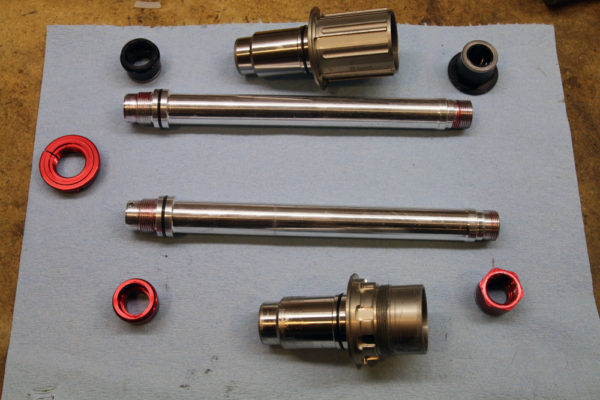
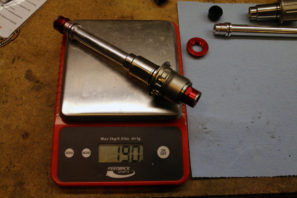
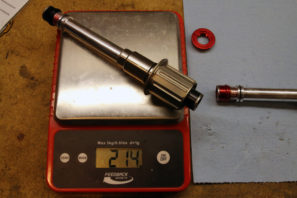
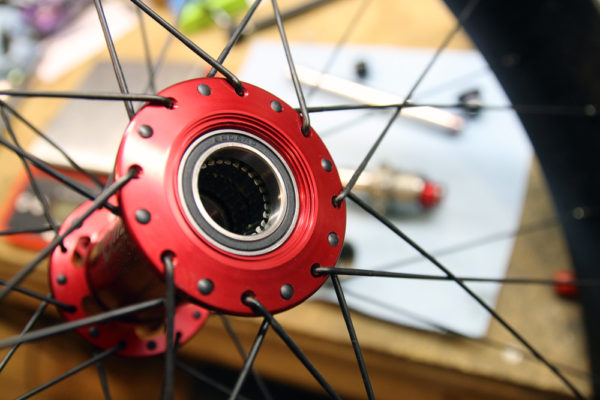
Available as the rim only for $625 each, Phatty 85s can also be built up as complete wheelsets with options like the Onyx hubs above. This is my first experience with Onyx hubs, but so far so good. Changing the freehub body is a little more involved since you have to replace the entire axle (which also makes freehubs specific to certain hubs), but once everything is dialed in you’re rewarded with near instant engagement and… silence. In case you’re wondering, the XD freehub body for the 197mm thru axle hub is 24g lighter than the Shimano version.
When replacing the freehub, you will need to unthread the non-drive end cap and then remove the whole axle from the drive side. make sure to keep all of the parts that come into contact with the sprague clutch assembly super clean.
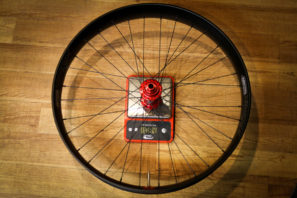
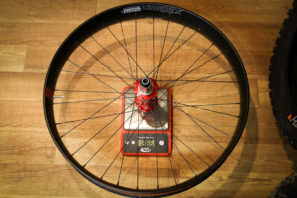
All built with double butted spokes, alloy nipples, and the tubeless kit installed*, the weights came in at 1084g for the front and 1366g for the rear. To be fair, the Onyx hubs are relatively heavy (547g claimed for the rear) which is where a chunk of weight is added. Compared to something like a set of I9 hubs, you’re paying 274g (total, front and rear) for the silence of the Onyx sprague clutch.
*I prefer to weigh tubeless wheels with the tubeless kit installed. Why? Because tubeless kits vary quite a bit, and certain wheels require different set ups. For example, my HED BAD fat bike rims don’t require any tubeless tape at all, so weighing them against a rim that requires a rim strip plus tape without any of that wouldn’t be a fair comparison.
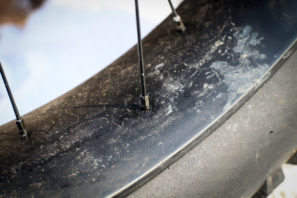
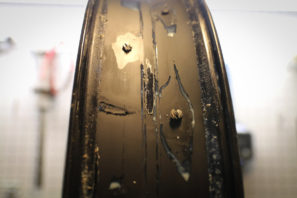
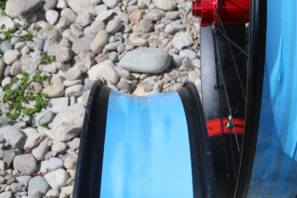
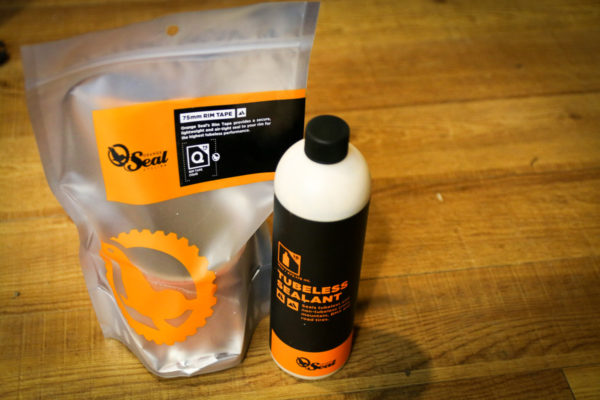
Speaking of tubeless, due to the concave nature of the rim the Phatty 85s can be a bit tricky to set up. They were initially sent to me with narrow tape overlapped in three sections to cover the spokes. Don’t do this, it won’t work. After realizing why the wheels wouldn’t seal tubeless, I reached out to Orange Seal to get my hands on their 75mm tubeless tape and some sealant. This ended up doing the trick, but you have to be very careful how the tape is applied. I had the best luck when I started by sticking it down in the center of the rim first, working all the way around. Then going back and pushing down the edges. The carbon has to be clean for the tape to stick – I’m talking so clean you can eat off it (the photo above with sealant residue is a clear picture of what not to do). After going through the whole process and finally getting the rims to seal, I found out that Atomik actually recommends using a wide layer of Gorilla tape to seal the rims, which makes a lot of sense. Gorilla tape adheres better to more surfaces, stretches a little better, and since the rims are so concave, there is plenty of room to still get the tire on and off easily. The Orange Seal tape is certainly lighter, but in this case it will require a bit more finesse to install so just keep that in mind.
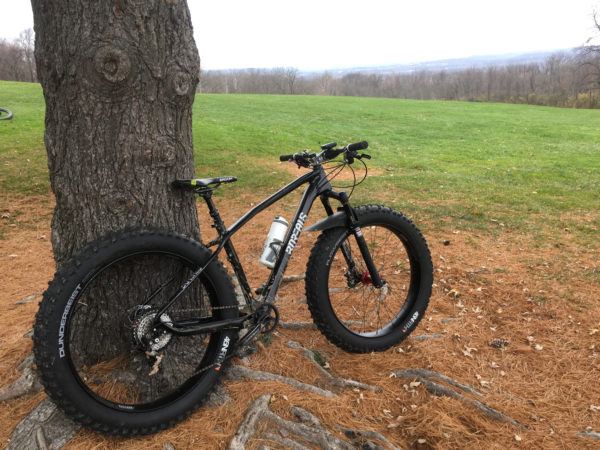
Everything came together in time to get the wheels mounted up for our Global Fat Bike Day ride. Admittedly, I divided the ride time between the Borealis with the Atomik wheels and my Otso Voytek build, but the the Atomik wheels were subjected to a good amount of punishment with dry, fast conditions. So far so good, but I’ll check back in at the end of the winter with a full report.

