In Part One, I introduced the Pivot LES as the platform for this year’s Project XC Race Bike, using Lauf’s TR Boost fork to soak up the bumps. Here’s how I’ll be propelling those two across the desert for the 2018 True Grit Epic NUE race.
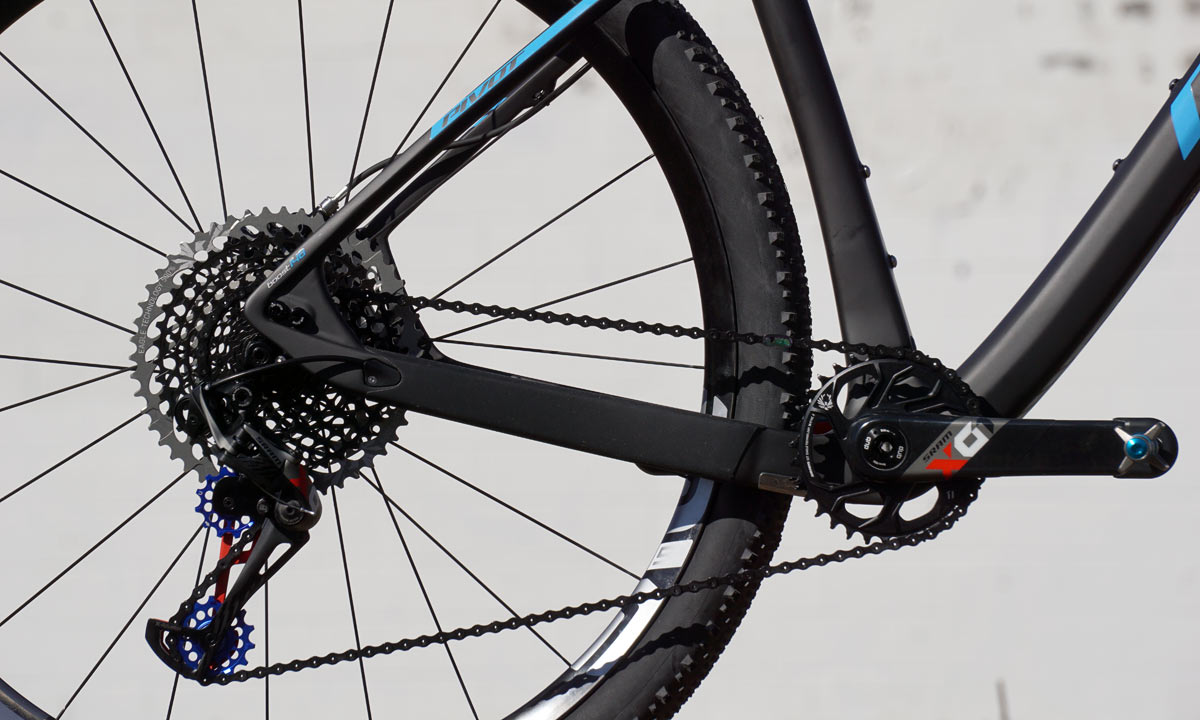
This part of our Project XC Race Bike build started early, as we just couldn’t wait to post the first look and actual weights of the new SRAM DUB group. The rest of the drivetrain is centered around the SRAM XO1 Eagle, a group that’s proven itself on everything from the World Cup XC race circuit to EWS Enduro races.
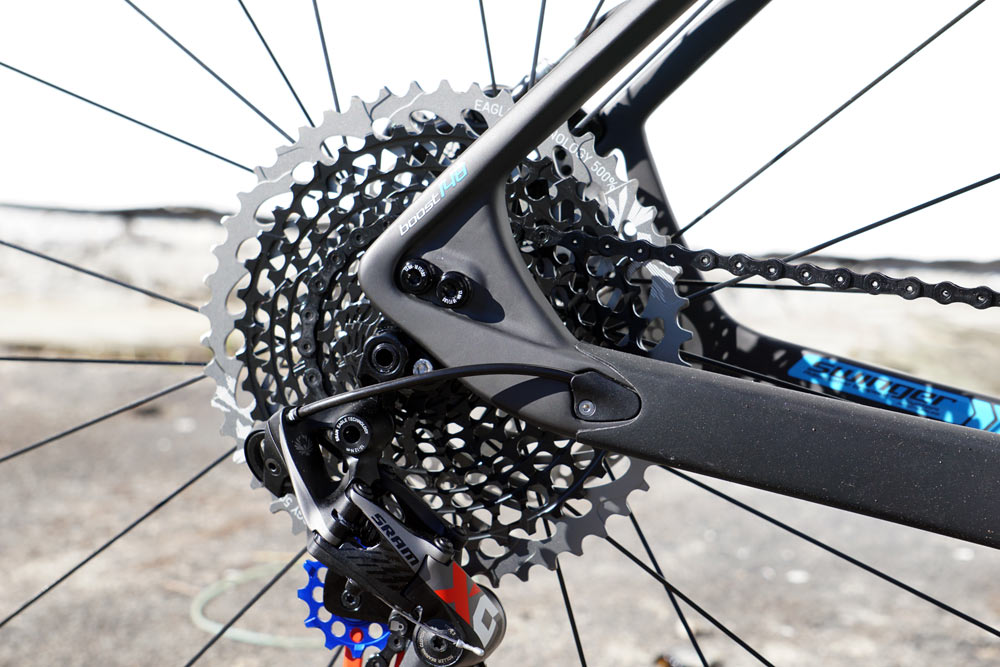
That pedigree, along with my own very positive experience with the GX Eagle and XX1 Eagle groups, meant this was the perfect event for the in-between group. SRAM’s XO1 has long been their work horse group, offering virtually the same top level performance as XX1. And now, it’s as light as XX1 was, yet still more affordable. It really is a win/win, and its 500% range should be more than enough to power up and down the technical, rocky sections.
A couple of setup points worth mentioning: First, if the mounting bolt is too tight, the derailleur can get stuck. SRAM even included a sleeve washer on the mounting bolt to help prevent this, but it can still be overtightened. Mine started out stuck, which kept the upper pulley wheel too high and too far behind the cassette to shift properly. Once I realized the B-screw was already minimized and there was still too much room, I loosened the bolt the tiniest bit and it relaxed into its proper position.
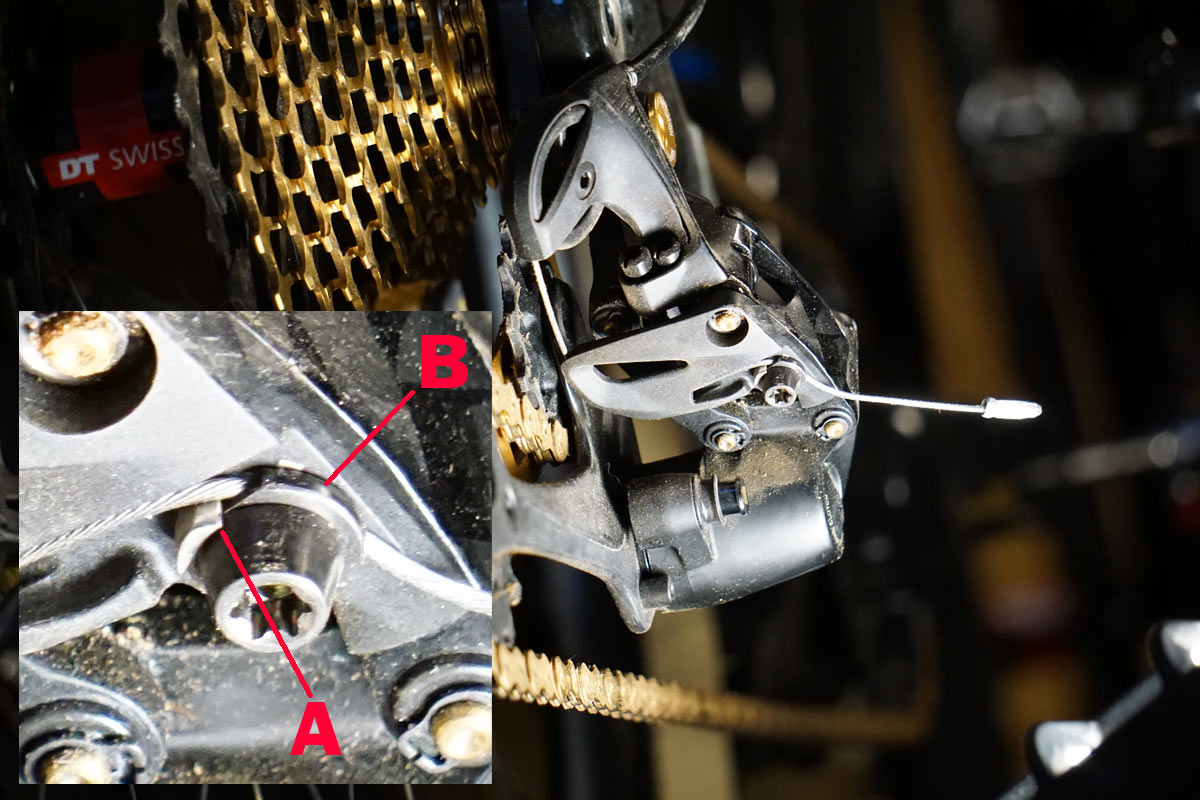
Second, there’s a bit of an edge (A) at the point where the cable bolt tightens, and the guide washer (B) can spin around such that it’s not lined up correctly. That combination can allow you to over tighten the bolt and fray the cable to the point where several strands break. That’s where this build is currently sitting (photo above is from my XX1 Eagle bike and shows correct installation). The lesson? Don’t rush it like I did and make sure everything’s lined up. As it stands, I may be replacing that cable before the race juuuuust in case.
Kogel Ceramic Bearing Derailleur Pulleys
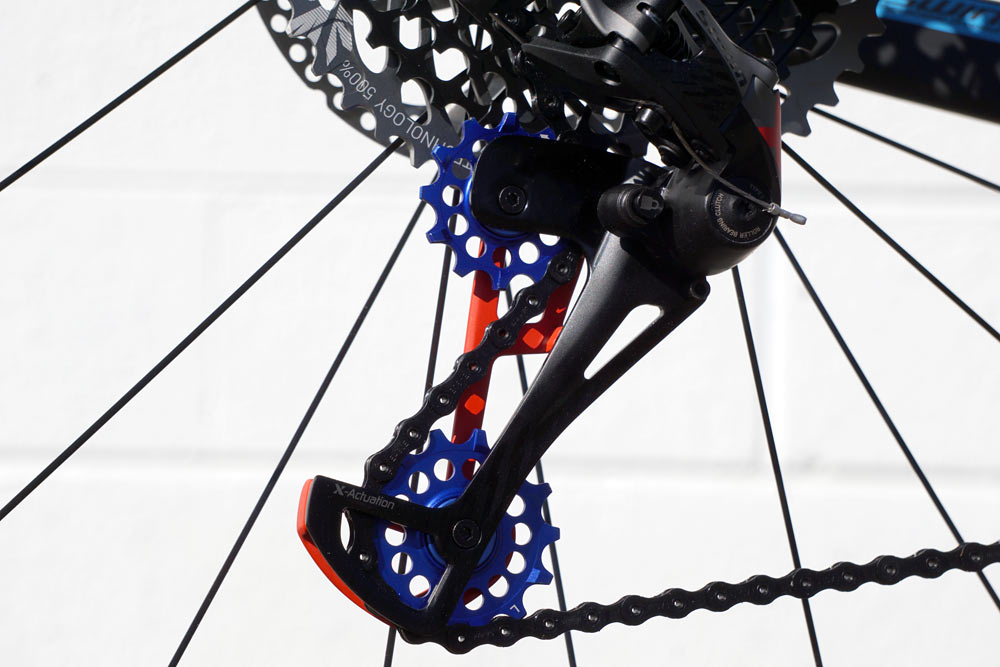
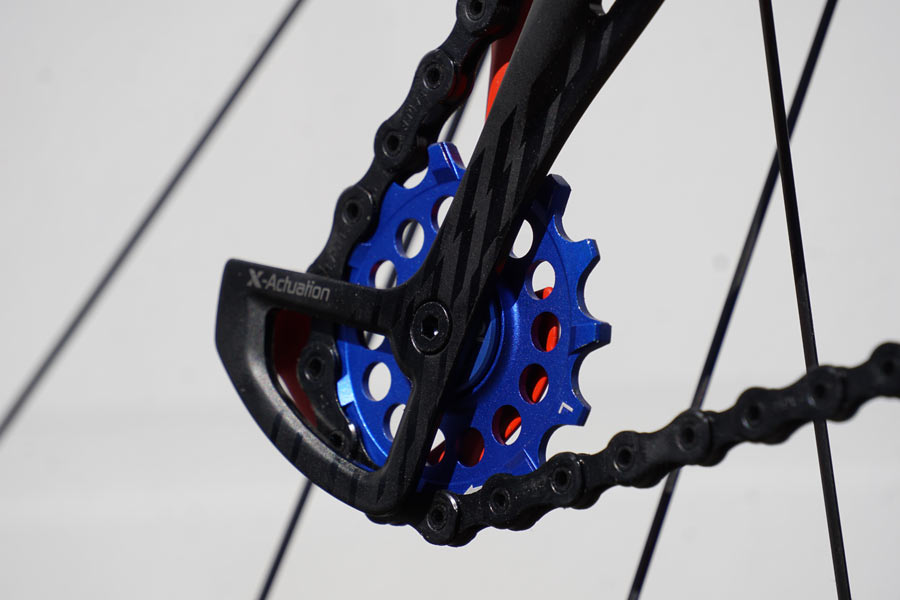
Kogel’s ceramic bearing derailleur pulleys have their own Instagram following thanks to ridiculously long spin times. I’ve given them the whirl before and they do indeed spin for a very, very long time. These limited edition blue ones just came out and were fresh outta the box, and didn’t spin quite as forever-y. Here’s why: They use Kogel’s hybrid ceramic bearings, more grease, and off-road seals. That means a tighter seal than their road ones, which have thinner seals and less grease. But the ones you’re seeing spin for minutes at a time are the full ceramic bearing models, which use no seals and no grease, and are only available for top-end road derailleurs.
So, why would you want this upgrade? Kogel founder Ard Kessels says these will fully break in after 100 miles and spin much more freely, something I’ll confirm once I hit that mileage marker. And they’re more durable than the plastic ones and come with a 2-year warranty (1 year standard, plus 1 more year after bearing service).
The pulley wheels are sold in pairs for $129.99 (for regular colors, special editions can run a little more) and use a 12-tooth upper and 14-tooth lower, the same configuration as a stock Eagle derailleur. The larger lower pulley is there to add chain length (more wrap) without dropping the cage lower, which could create ground clearance issues.
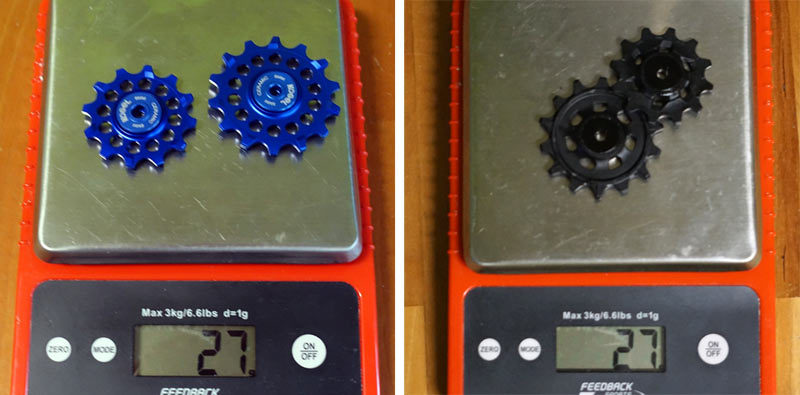
The Kogel pulleys weigh in at the same 27g as the stock pulley wheels. Check them out at Kogel.cc.
Crank Brothers Eggbeater 3 Pedals
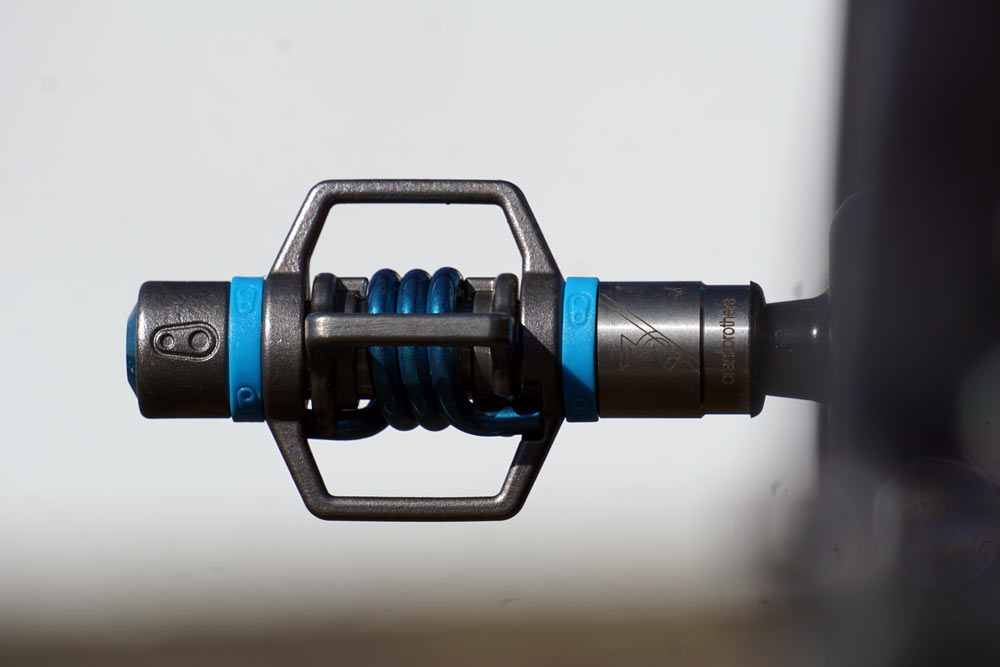
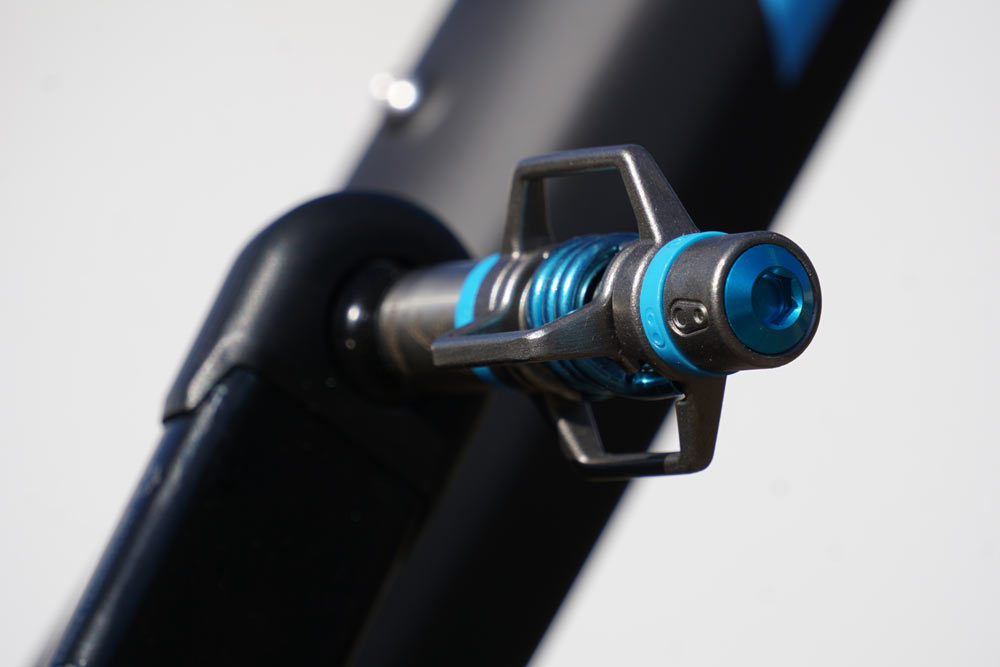
By now, the Crank Brothers Eggbeater pedals need no introduction. But the Electric Blue color is new since last fall, and was the perfect match for this bike. Crank Brothers agreed to support this build and the race trip with more than pedals, so you’ll see a few of their newer items in another post. They offer pedals ranging from minimalist (as you see here) to full size platform, with several options in between. I chose the Eggbeaters because I’m comfortable on them, they’re light, and when they eventually wear out, they’re extremely easy to rebuild. Also, they have foolproof entry and release, which is great when conditions are crap. I’ve raced them in everything from XC to cyclocross, and occasionally use them on my gravel bikes, too.
In their last update, Crank Brothers redesigned the Eggbeater to be more durable and have better seals. They’re compatible with their sleeves to customize the pedaling platform, and work with either the standard (included) or zero-float cleats.
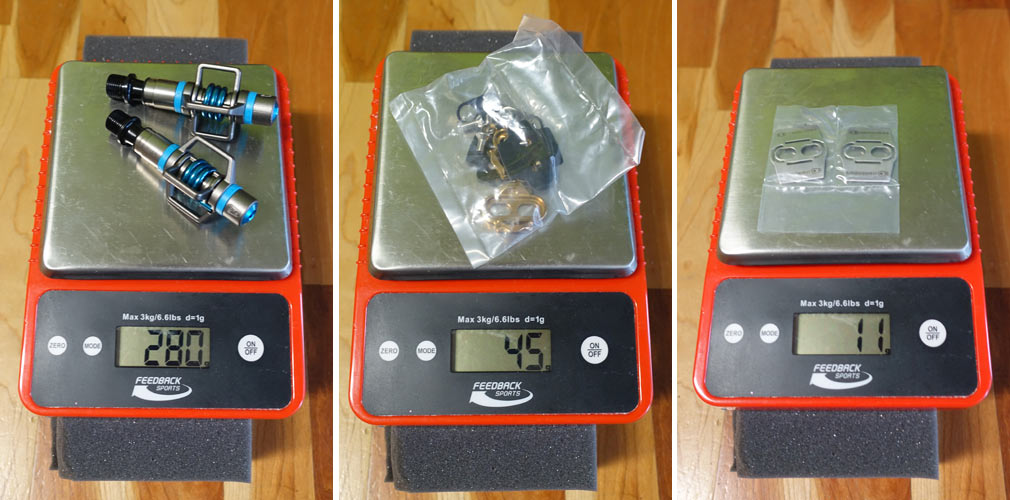
Actual weight for the Eggbeater 3 is 280g per pair with standard spindles. Cleats and all hardware add 45g to your shoes if you use it all, but that includes the plastic spacers. If you’re running composite outsoles, you’ll want the Shoe Shields. Virtually every carbon-soled shoe says they’re required, but I’d recommend them for any shoes as I’ve worn through non-carbon soled shoes before. The “beater” wings on the pedals wear into the shoe sole, creating too much of a gap between them and the cleat and making it too easy for your foot to come out. And potentially ruin your shoes. Order the shields. Retail for the pedals is $135, shields are $10.
Why upgrade from the $100 Eggbeater 2, which are only 5g heavier? Two features set the 3 apart – the wings are stainless steel (3) versus stamped steel (2), and the end cap is secured with a hex shape (3) versus a slotted design (2). That last bit means a more secure placement of the end cap after cleaning or checking your pedals’ internals, which is good because that’s what’s keeping new gunk out. But, what about taking it to 11? With the 11, you get a 179g set of titanium-equipped pedals (101g savings!) and a healthy 200lb rider weight limit, but they’re $450. Worth it? That’s your call, but that much scratch can save more than 100g elsewhere on the bike. But they’re gold. Check out the complete collection at CrankBrothers.com.
Here’s the rest of the build:
- Frame and Fork (Pivot LES & Lauf TR Boost)
- Cockpit (Ritchey, KS, ESI & Syncros)
- Brakes (Formula)
- Wheels and Tires (ENVE & Schwalbe)
