As far as I’m concerned, the only proper way to transport a bike on the back of a car is with tray-style, hitch mounted bike rack that allows for the whole bike to be placed on it intact. No removing wheels or strapping the frame to anything. Just set it on there and clamp something down and off ya go.
There are a number of ways brands like Yakima, Thule and others accomplish this, but those generally use a single arm clamp on either the front wheel or top tube, sometimes (usually) coupled with a wheel strap for the rear. Where Inno Racks differentiate themselves is by containing both wheels in closed loops, keeping the bike stable without ever touching the frame, or even the rims for that matter. There are plenty more nice features and adjustability built in, too, making it a versatile option for hauling all manner of bikes -even some fat bikes- straight outta the box…
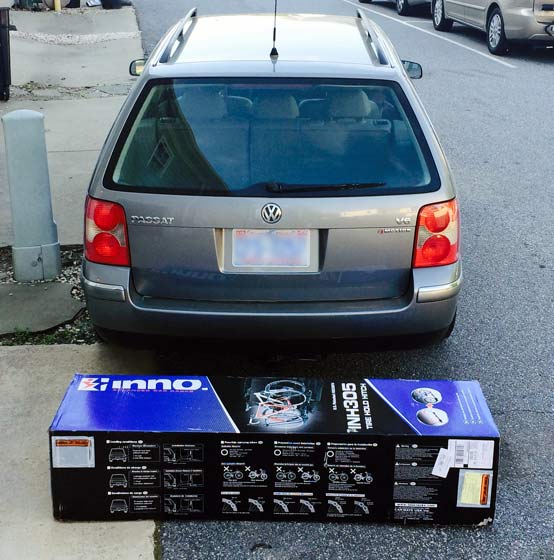
The box is huge.
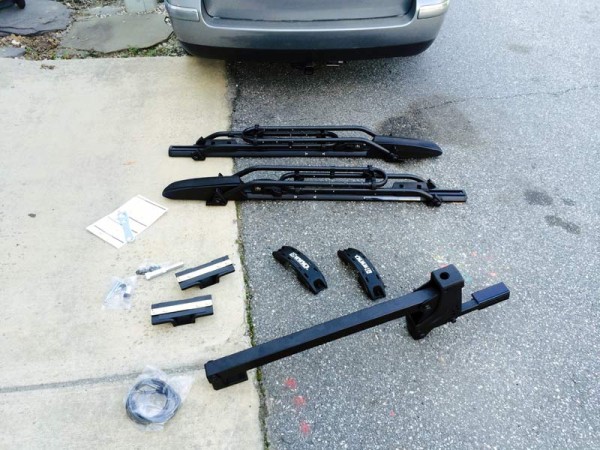
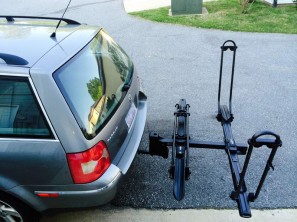
But the parts aren’t as gargantuan as the packaging would suggest. The base bar that sticks out from the back of the car is plenty long, but has no fixed mounting points, so you can put the trays on anywhere you want. If you’re only loading road bikes, you can place them closer together, or spread things all the way out for wide-barred mountain bikes.
Assembly is straight forward and took only about 20 minutes with a cordless drill, screwdriver and ratchet set.
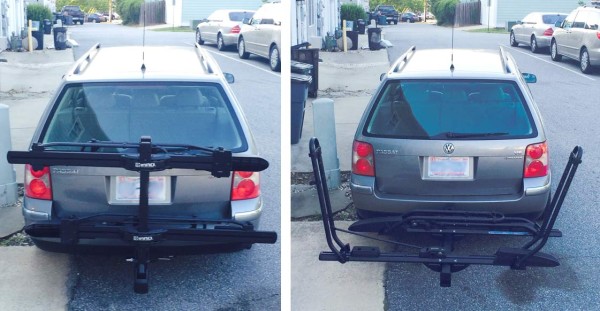
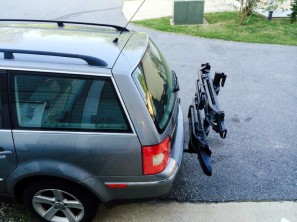
On a mid-sized wagon like the Passat, it runs all the way to edges, and the bike’s wheels will stick out a bit on larger frames and most mountain bikes. The downward angle here is the car’s fault, that’s just at the angle the hitch sits at, which is a bit of a bummer, but the Inno rack sits high enough to overcome most angled driveway approaches and gutters.
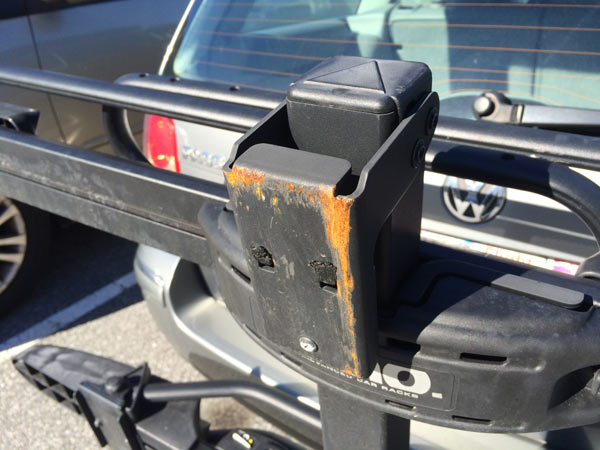
Fortunately the release handle can take a beating, ’cause I’ve smacked it hard and often over the past year, and it’s got the scrapes to prove it. Still works flawlessly, though, and it’s placed where it makes it incredibly easy to use, something Sweetie really appreciates as much as I do. It’ll also let the rack pivot downward a bit, too, making it possible to gain limited access to a hatchback even with bikes loaded.
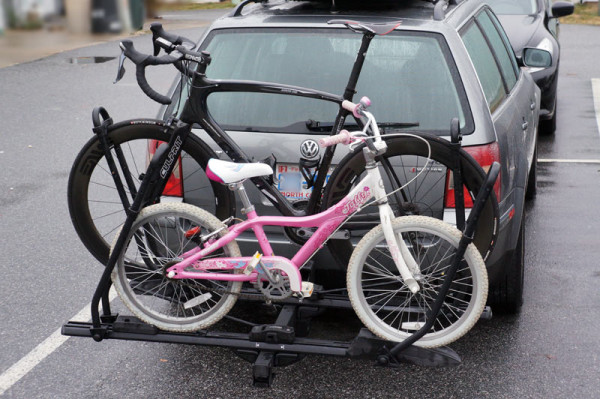
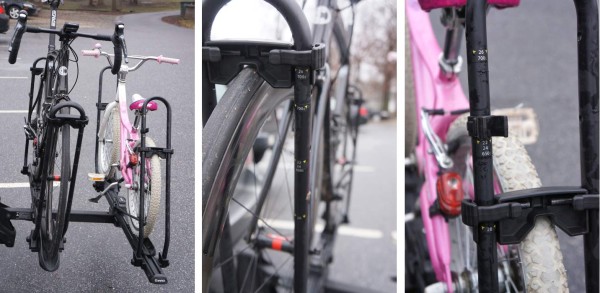
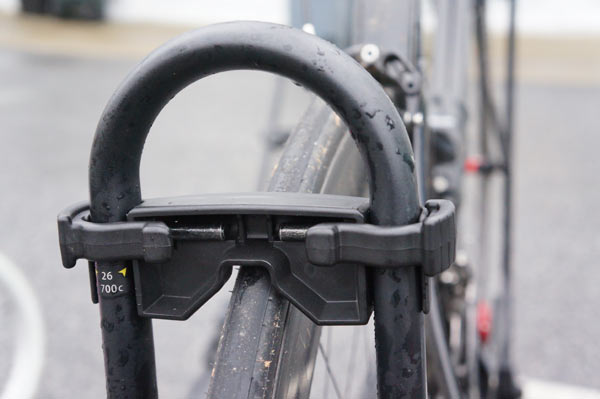
The wheel loops fit anything from a large volume 29er to a 20″ kids bike thanks to moveable wheel blocks. The loops have guides stickered onto them to make it easy to put them in the right spot for the type of bike you’re transporting. Remove them completely for 29ers.
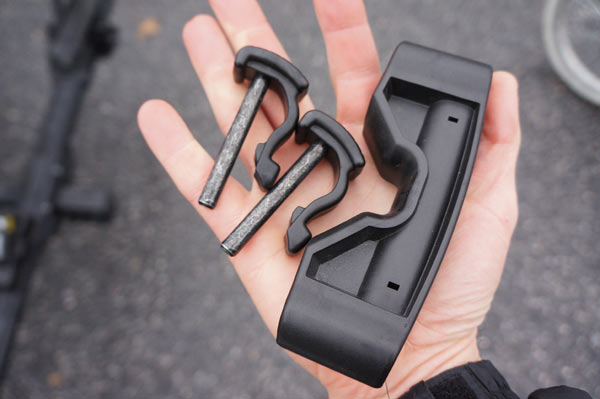
They’re simple plastic pieces with metal pins. Not quite as easy as a ratcheting clamp like on the Thule or Yakima systems, but a good way to get around those brands’ designs.
Another look.
Underneath, each tray attaches to the beam with four bolts (front shown uncovered). Get them loosely threaded on, then slide the trays left or right to offset them as much as needed within the generous allowance of space. Then tighten everything down and install the cover to make it pretty.
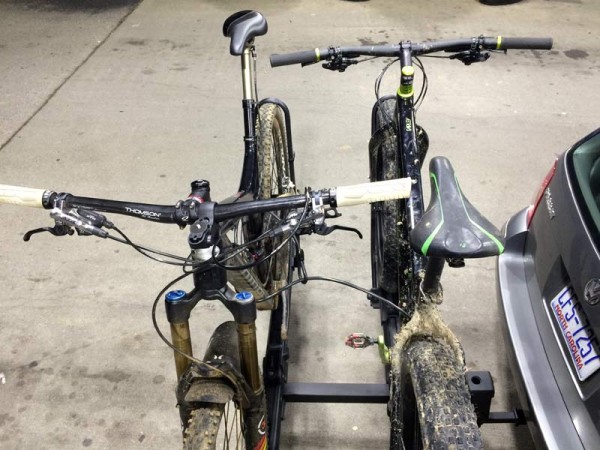
This, plus the ability to put a lot of distance between the trays, makes it easy to stick two mountain bikes on there without the grips and saddles elbowing each other for space.
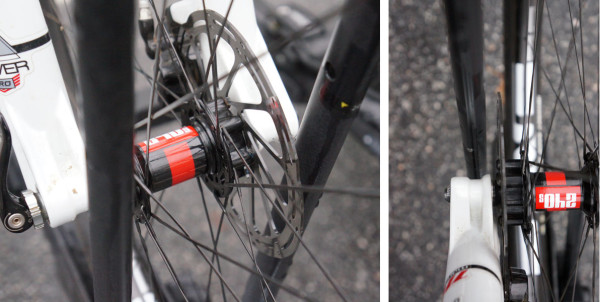
I found it’s best to put the front wheel into the fixed loop to keep the disc brake rotors from contacting the loop. Otherwise, it could end up bending your rotor or worse.
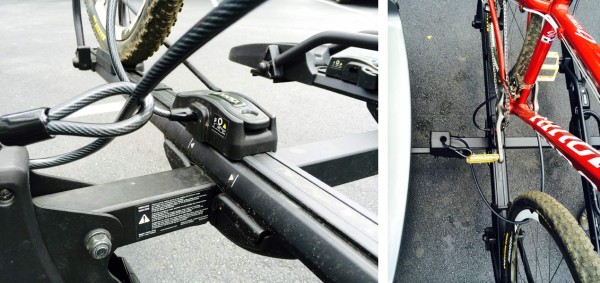
Another very nice built-in features is the locking wheel loops and cable. To place the bike, you lift the locking lever and open the loop all the way out. To secure the bike, you close down the locking lever and ratchet the loop firmly against the rear tire. For super simple run-into-the-coffee-shop security, just lock the lever shut, which prevents the whole bike from being lifted out without removing the wheels.
For a little more security, run the included cable through the wheels (and the lock loop on the rack’s frame if you want) and insert the end into the locking lever’s slot before clamping it down, then lock the lever. With two bikes, it’s long enough to loop around one frame’s downtube, through the other’s frame and then into the lever’s slot. This mostly prevents the frames from being stolen and being lifted high enough off the wheels to easily remove them. It’s mid-level security, but for many of us, it’s enough to run into the store or a friend’s house for a bit. And it’s super easy to use.
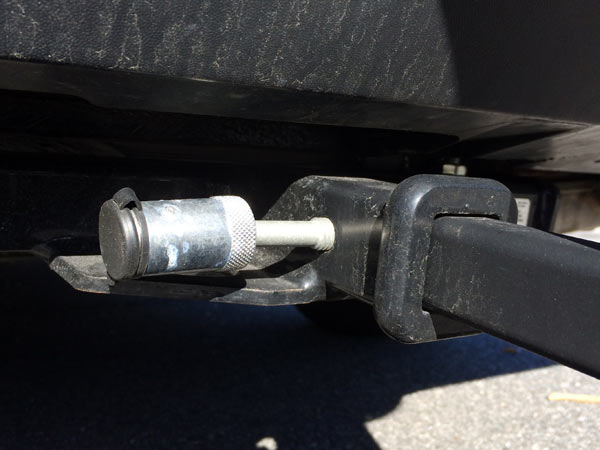
It also comes with a locking, threaded bolt. Tighten it down with a socket set on the other side and it pulls the beam securely against the hitch to prevent the whole thing from rocking back and forth. The result is a mostly wobble free rack…as in, it has a slight bit of sway when loaded, but that seems to be mostly coming from the linkages on the rack rather than inside the hitch interface. It’s not much wobble, certainly not enough to cause concern, and it’s the same now as when I first installed the rack. Honestly, it hasn’t bothered me at all, just thought it worth mentioning.
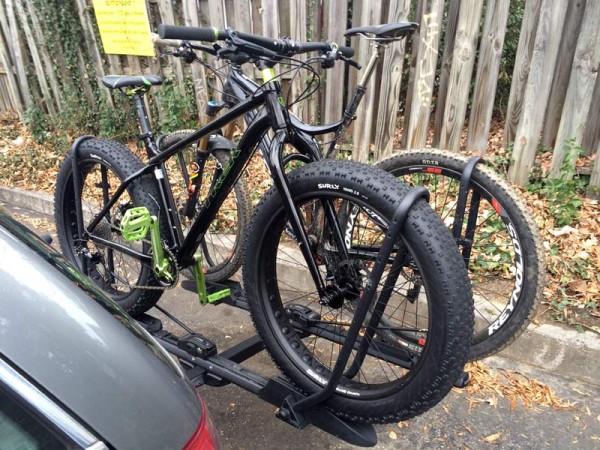
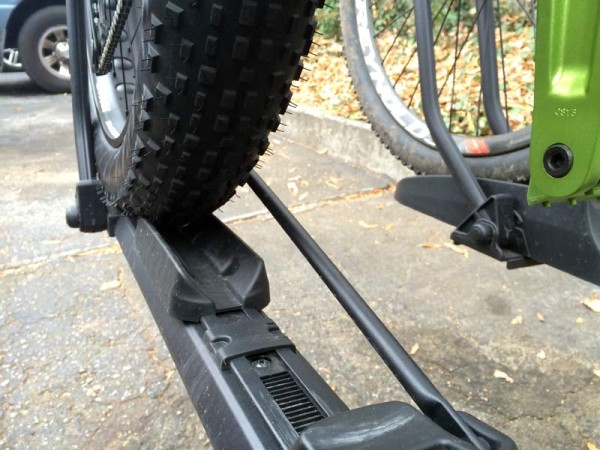
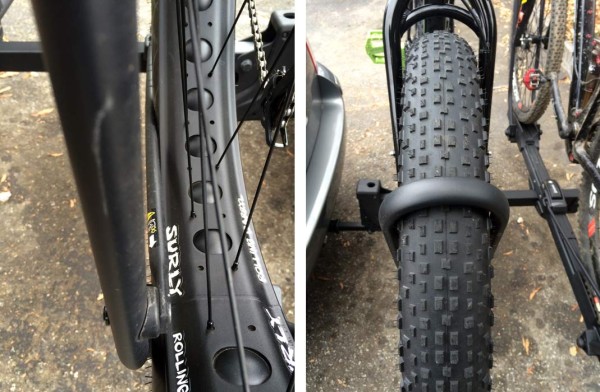
One nice surprise was that it accommodated a 26×3.8 fat bike tire. It was snug…
…with the loop pressing into the tire a bit, but it worked just fine.
Anything bigger than a 3.8 wouldn’t fit without being deflated a bit, and wider rims would probably not work at all, but for a basic fat bike and all the new “plus” sized options, this is a great way to get to and from the trailhead.
Overall, the Inno Tire Hold hitch rack has been a solid performer for the past year. It’s seen plenty of highway miles fully loaded and lots of quick trips to the local trails with just one bike on it. The operation is quick and easy, has developed no squeaks or creaks or problems, and I’ve received plenty of compliments on it when others are loading and unloading their bikes. Definitely worth a look.
The model is INH305, and they sell an additional tray that can be squeezed in if you need to carry three bikes. Available in both 1-1/4″ and 2″ hitch sizes. Retail is $429.99.
