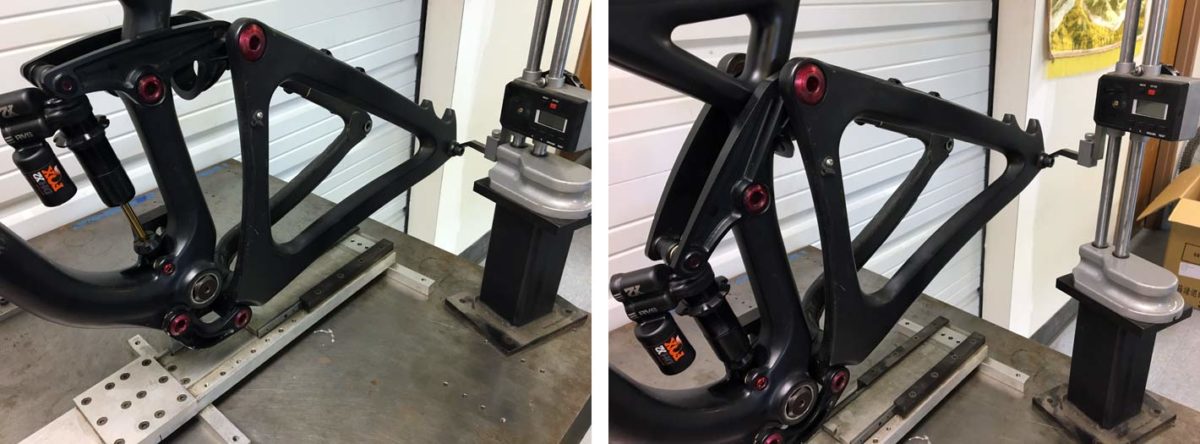
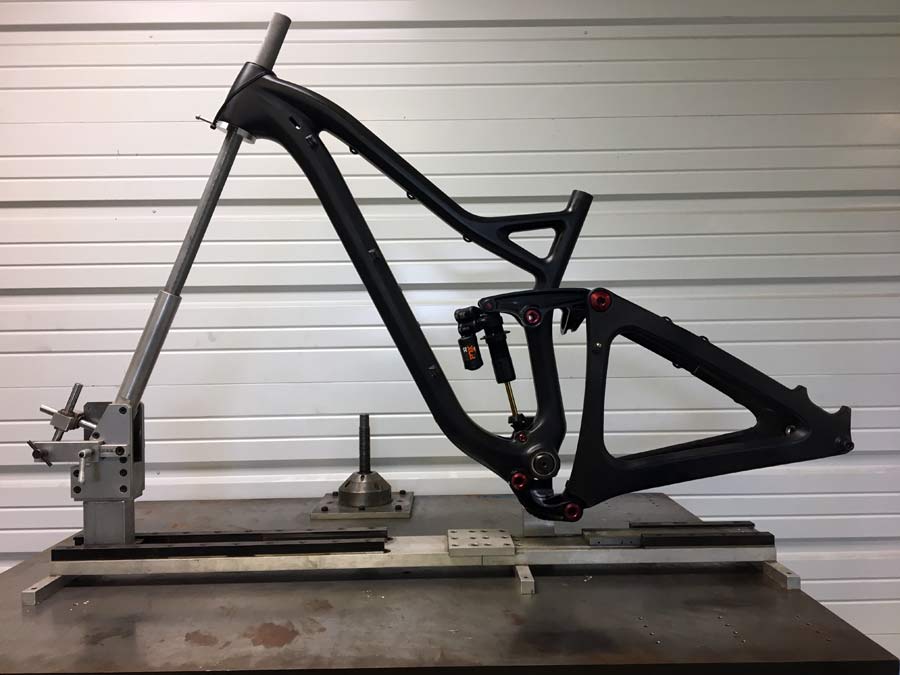
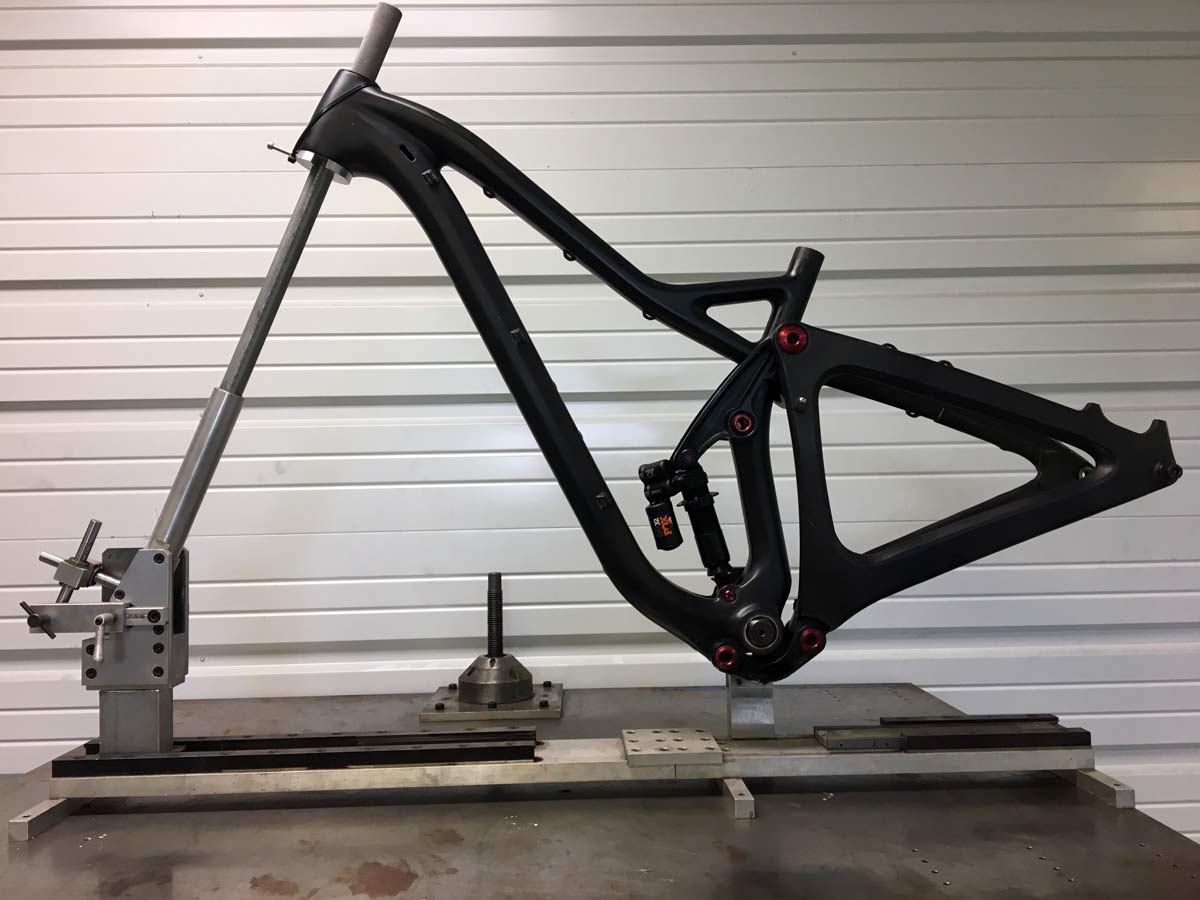
Let’s say you want to verify those manufacturer claims and see what your mountain bike’s rear wheel travel really is. That was a question from Bikerumor reader Dan, so we reached out to Niner Bikes to see how they’d recommend doing it. Here’s their response along with pics from their lab…
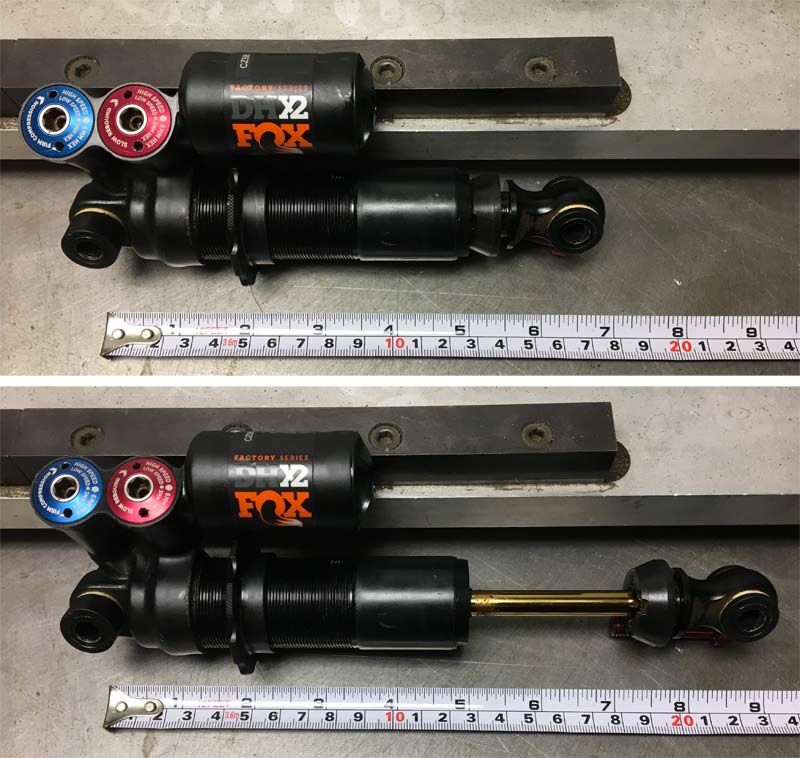
“Frame travel is designed around the shock manufacturer’s specification,” says Niner’s Engineering and Production Manager George Parry. “So, if the shock manufacturer specifies 50mm of shock stroke. The frame travel will be designed based on the full 50mm of shock stroke. However, the shock specification includes a bottom-out bumper. This makes it difficult to measure the actual shock stroke and/or bicycle frame travel without applying some very high loads.”
“The best method for measuring frame travel may be to remove the shock and measure the vertical travel at the rear axle, with the suspension linkage at the full shock length, and at the shock bottom-out length (original eye-to-eye minus manufacturers specified shock stroke). To do this, we typically use the mill and drill holes in an aluminum bar to insure the holes are the correct distance for full extension and full compression.”
Many mountain bike manufacturers list the rear shock’s stroke length and eye-to-eye on their websites, but you can always call them directly if not. Once you know those numbers, you can replicate Niner’s method at home with a piece of wood and a drill. Fix a piece of cardboard or wood next to the axle and mark the axle’s location at each extreme, then measure the distance between the two marks.

“I know you were looking for a ‘simple’ method for measuring travel,” laments Parry. “(But if) you want an accurate measurement, I’m afraid I just don’t have one for you.
“I think you’d come pretty close if you could constrain the frame similar to what we’ve done and take vertical travel measurements at the rear axle with the shock spring (or air) removed. Then estimate the additional travel that would result from full shock compression, with the bottom out bumper compressed.
Our take: Unless you’re typically bottoming out and smashing that bumper on most rides, you can easily measure usable rear wheel travel by supporting the bottom bracket shell and measuring the starting position with rear shock pressurized enough to fully extend the system. Then deflate the shock and it’ll pull the system as far into compression as it can, minus what the bottom out bumper is limiting. For coil shocks, you’ll need to remove the coil and manually compress the system. You’ll also want to secure the fork to ensure the only thing moving is the rear axle. This is easily accomplished by putting your bike into a workstand like Park’s PRS-22 or Feedback Sports’ Sprint, or on a fork-mount roof rack tray.
Big thanks to Niner for the answers and photos!
The fun never ends. Stay tuned for a new post each week that explores one small suspension tech, tuning or product topic. Check out past posts here. Got a question you want answered? Email us. Want your brand or product featured? We can do that, too.


