As days get shorter, you may find yourself suddenly pulling a lot more ‘dawn patrols’ or night riding on the trails. If you’re new to night riding on the mountain bike, you’ll quickly realize that the handy little light that you use for your road rides or commutes just isn’t cutting it on gnarly singletrack.
That’s because road riding usually only requires a light with around 1000 lumens of light to properly illuminate the road ahead. Mountain biking, with the twists and turns, rocks and roots, and sudden obstacles that singletrack provides, requires roughly twice that amount of light.
Here, we’re looking at our favorite mountain bike lights, the ones that Bikerumor staffers have personally tested and are using as we head into fall night rides…
How we chose these lights
For this roundup, we’re comparing and recommending lights with about 2,000 lumens. We’ve found this to the be best middle-ground for light output. A little less won’t hurt in most cases, but a little (or a lot) more usually won’t make a huge impact in most cases. We’ll explain more in the FAQ section at the bottom, but it’s worth noting that most all of the lights recommended here have bigger, brighter options available, many of which we’ve also tested and liked, but any of these will get you out on the trail and safely back, even on the darkest of nights!
Also, other than our “Best Overall” pick, we’re leaving off the “Best for…” superlatives on this list. Instead, we’ll explain why we like each model, its pros and cons, so that you can decide which one is best for you and your type of riding and trails…
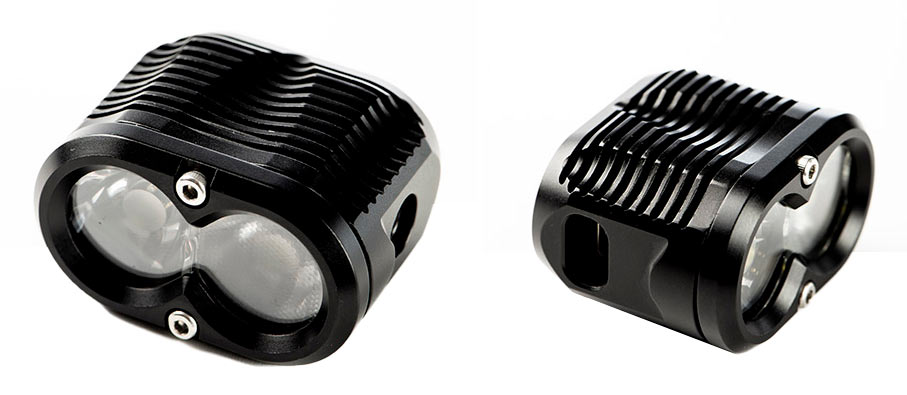
BEST OVERALL: Gloworm G2 X2 with 2 LEDs
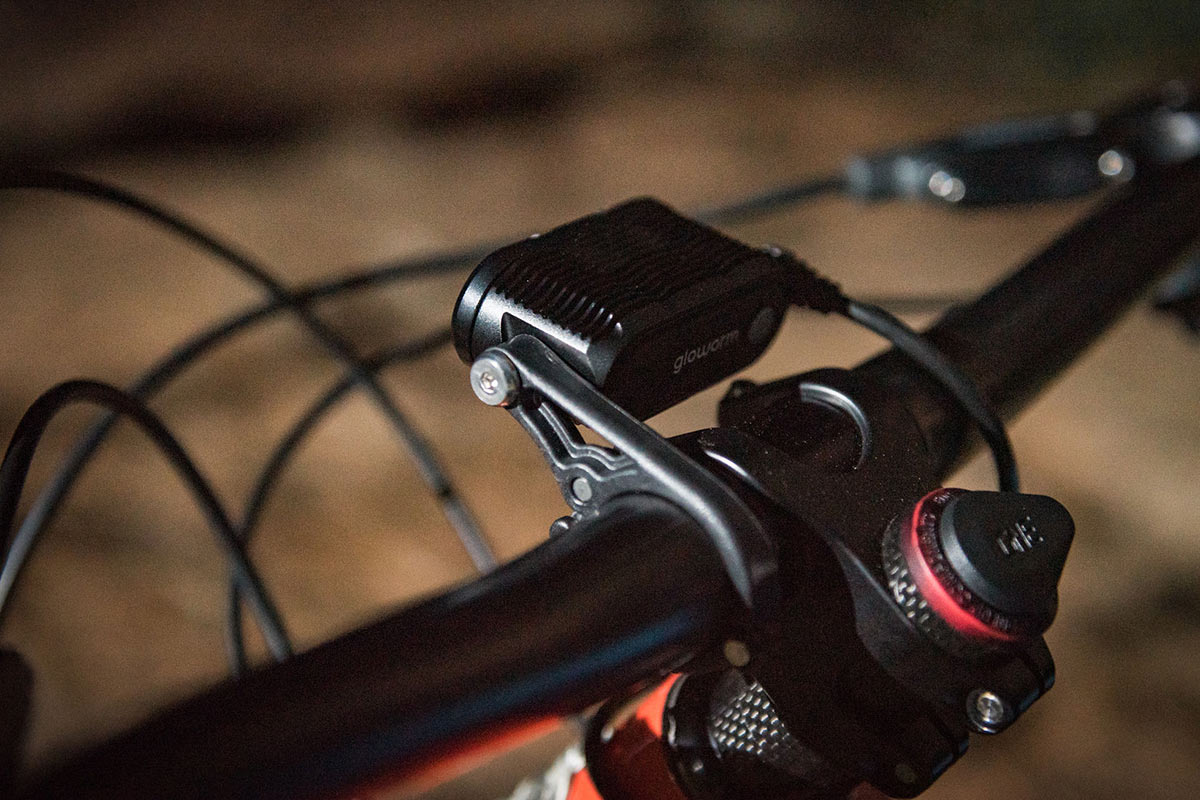
Gloworm’s been making high output yet very compact lights for years, and their latest G2.0 version makes them better than ever. The big updates from the prior model we loved? USB-C charging, on-battery LED charge indicators, and app-controlled customization. Just open their LINK smartphone app and you can set the output for low, medium, and high modes, giving you complete control over the brightness in each setting…and see how each setting affects battery life!
Then, you can also swap lens elements to customize the beam pattern, and they come with multiple optics including spot, wide, flood, and honeycomb. Mix and match to get the beam shape that’s best for your trails! Once it’s on your helmet (or bar), the wireless Bluetooth remote sits next to your grips for easy mode switches while riding. The 10,000mAh battery lasts an impressive 4 hours on high (!!!), a tough alloy casing, and super compact form factor that’s really light, and these are our top pick for mountain bike lights.
An X2 Adventure kit is also available for $269, which swaps in a smaller 5,000mAh battery, but is otherwise the same.
- Lumens: 2000
- Weight: 456g system, 79g light only
- Mounts: Helmet and Universal Handlebar Mounts with 35mm QR Bar Mount with adapter for 31.8mm handlebars
- MSRP: $309.00 USD
PROS: Fast charging with USB-C, full customization, great price
CONS: None, really
Light + Motion Seca Race
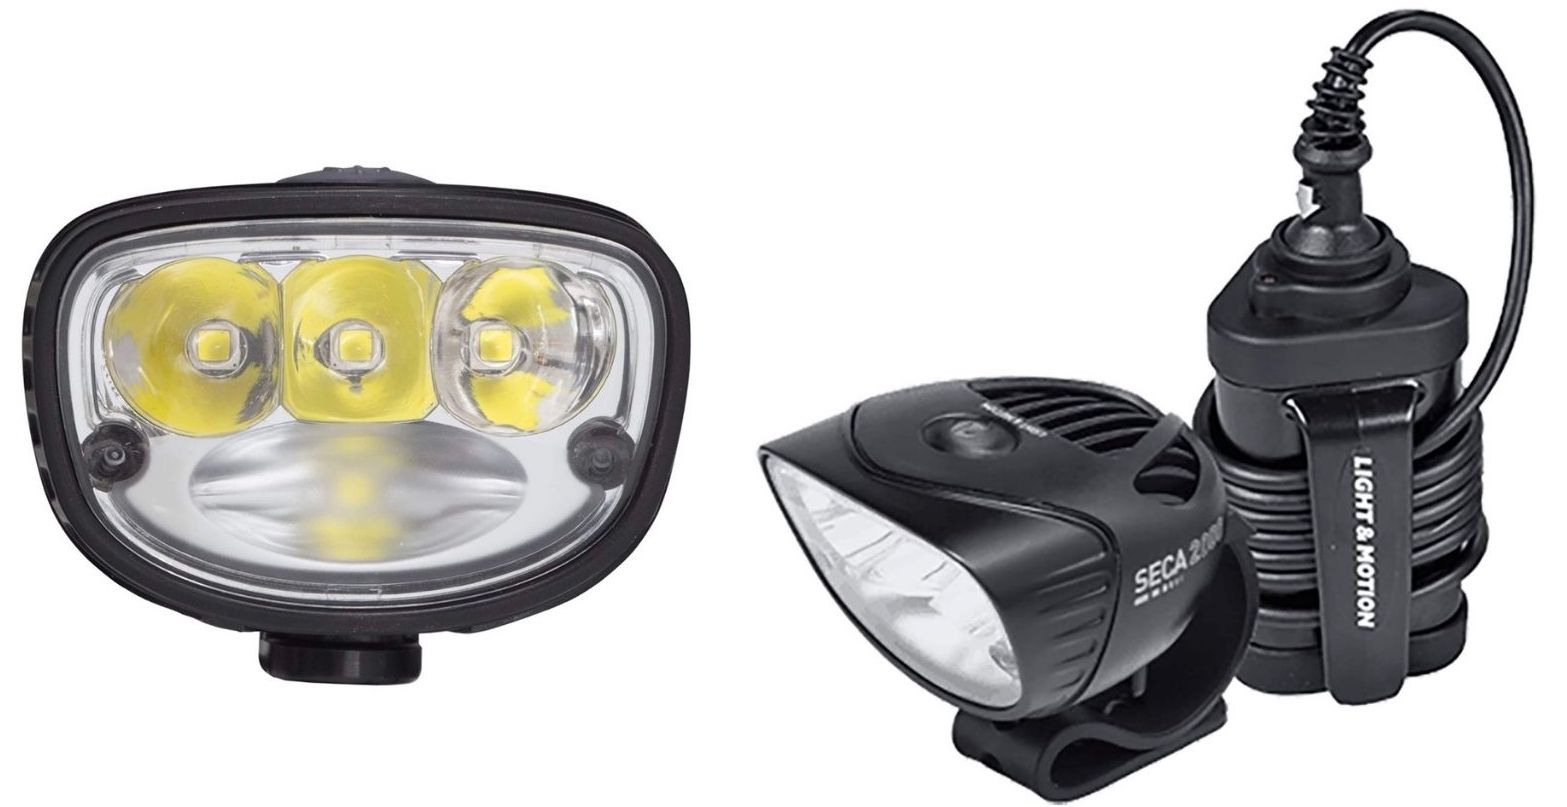
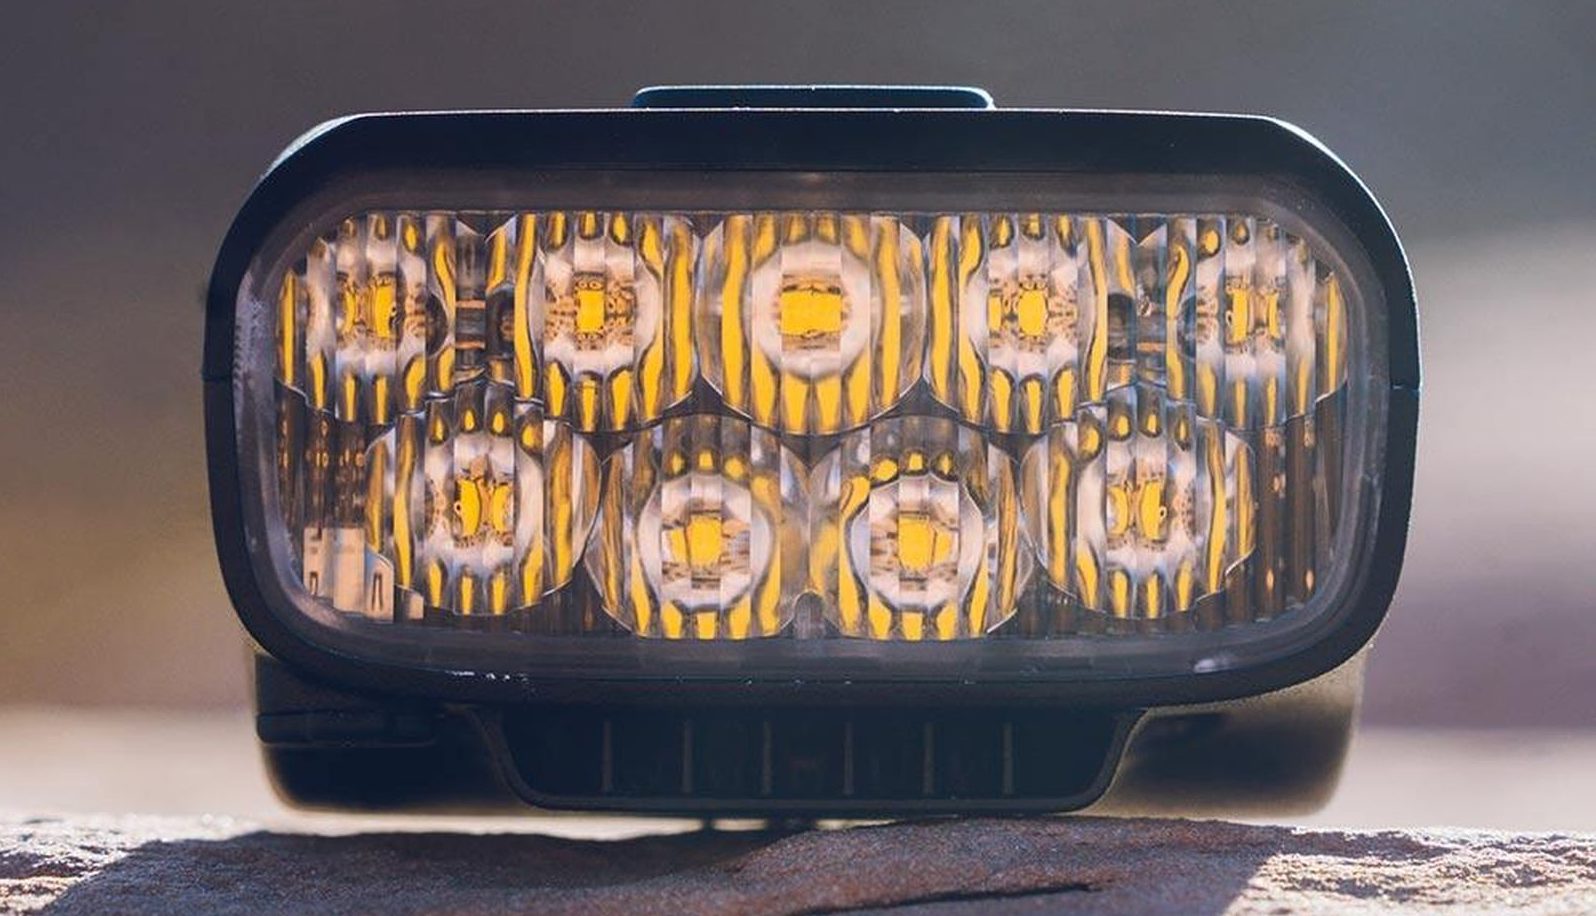
The Light & Motion Seca Race has been a reliable light for years. They use a four-LED array and custom reflector and optics to shoot lots of light down the trail while putting just enough ambient light lower in front to provide a good sense of space. The latest versions use a more pronounced button so it’s easier to feel with gloves on.
The light head is one of the taller ones in the test, so it’s going to stick up a bit higher on your helmet, but we’ve never really had an issue with it being too tall. The Seca comes in two versions -Race and Enduro- the key difference being the battery. The 2000-lumen Race comes with a smaller, lighter 3-cell 28Wh battery for $325, and the Enduro bumps output to 2500 lumens and uses a larger 6-cell battery to extend run times by about 70%. Fortunately, both batteries are sold separately and are compatible with either light head, so it’s easy to add a spare battery.
- Lumens: 2200
- Weight: 355g system weight
- Mounts: Helmet mount and handlebar mount (compatible with oversized handlebars)
- MSRP: $325
PROS: Great lens, super durable, modular battery packs
CONS: No remote control option
Exposure Race MK15
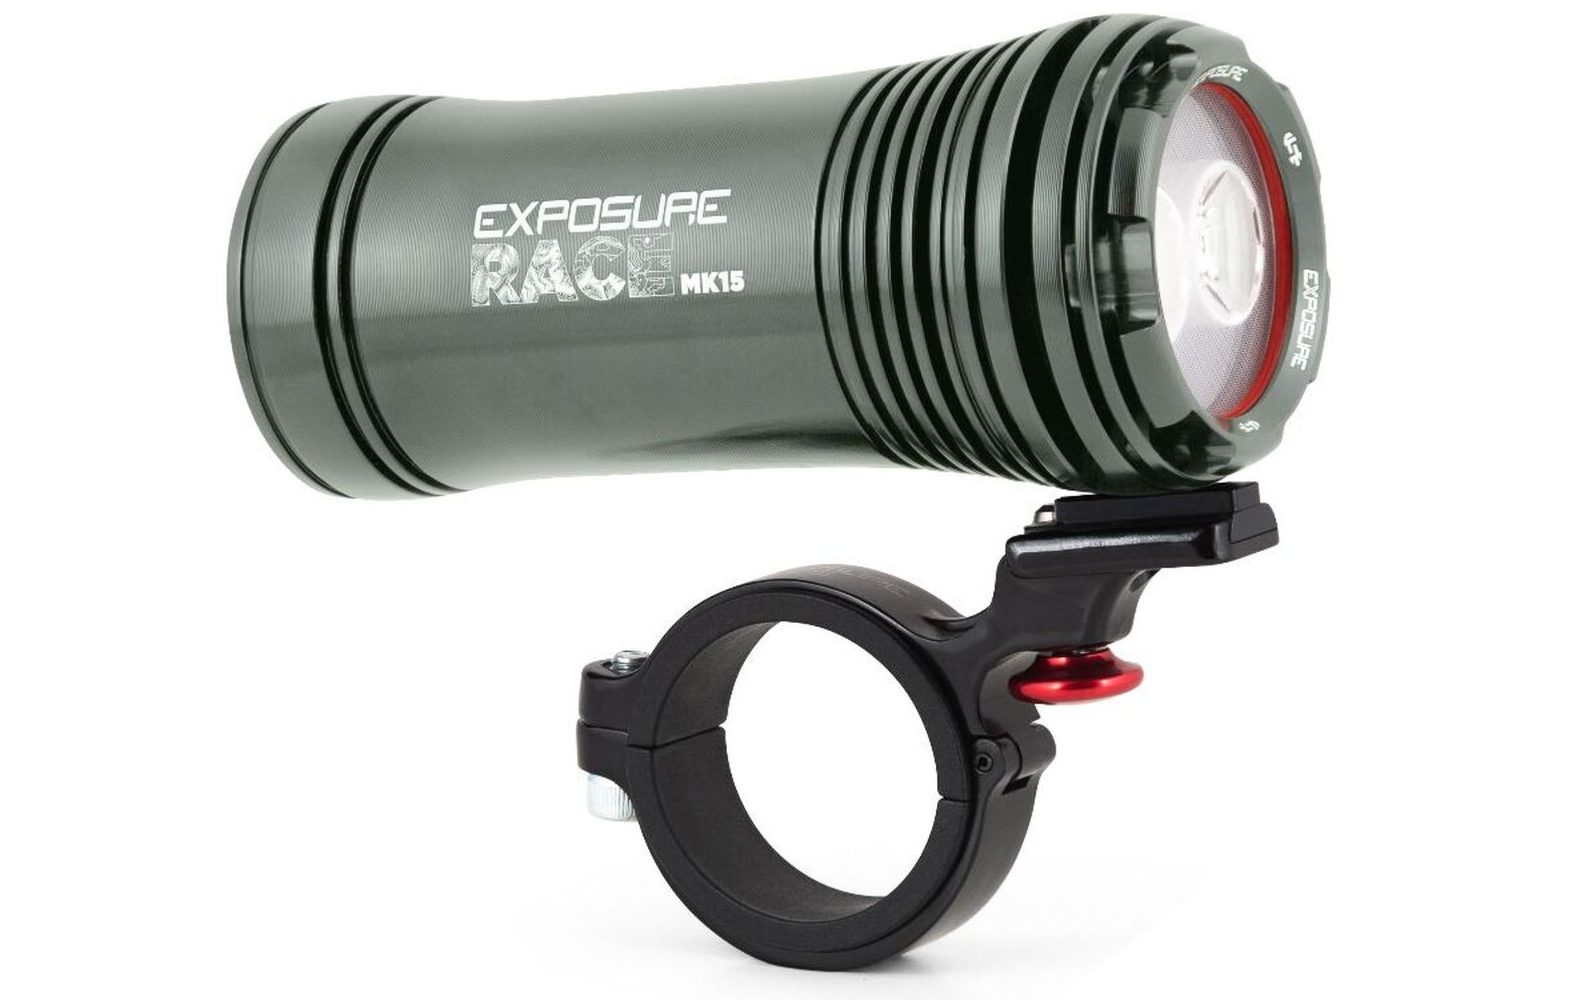
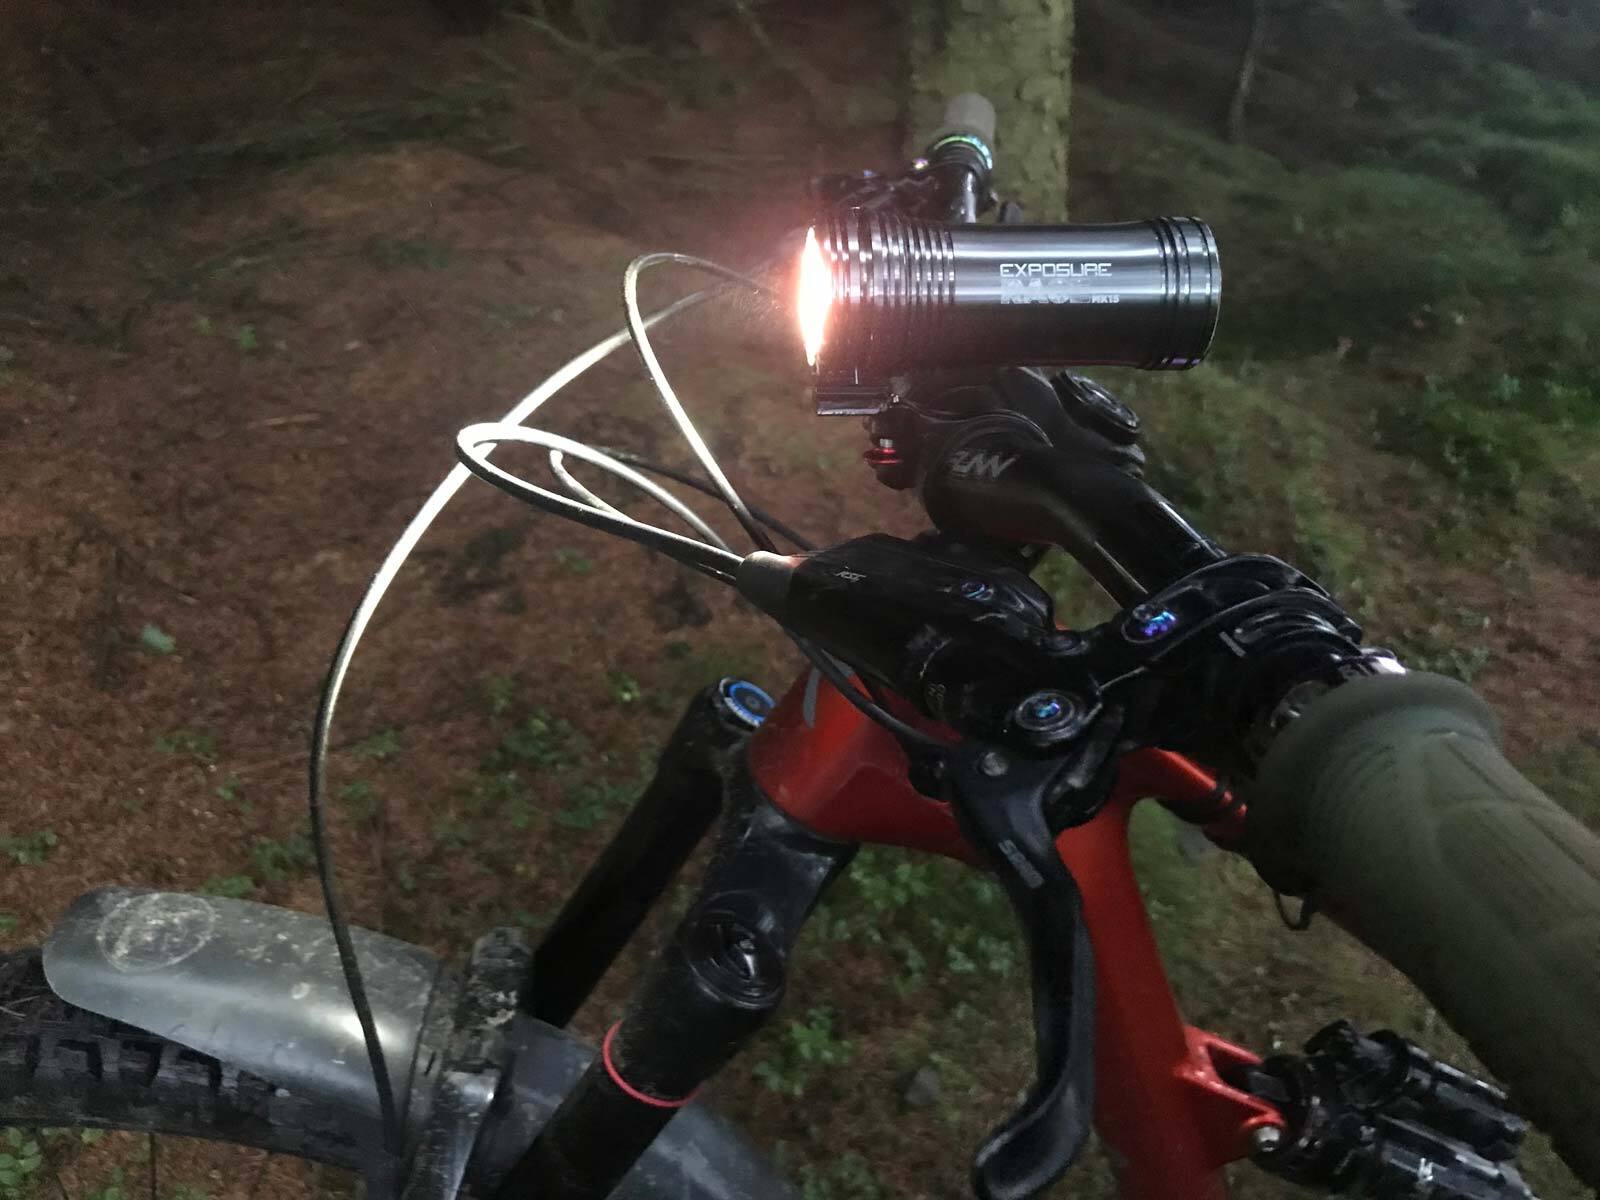
The Exposure RACE MK15 is a very versatile and powerful bar-mounted light, best suited to endurance and XC riding and racing and rural commuting, but it is also an excellent option for trail riding when paired with a decent helmet-mounted light.
As a fully self-contained system (no wires, no external battery pack), the RACE MK15 is a respectable 214g with the 35mm bar clamp, and has a huge 2-36 hour runtime range, depending on which of the 10 (!!!) modes you choose. And each of the 10 programs have High and Low settings within them (some have a medium setting too). Thankfully, Exposure etches the details of each program onto the underside of the light so you don’t have to remember them all.
For mellow trail riding, we liked Program 1, the most powerful setting to feature Exposure’s Reflex++ Technology. Using data from 3D Gyros and 3D Accelerometers built into the light, the Race MK15 is able to judge the roughness and steepness of the terrain, as well as how aggressively the rider is charging down the trail, then adjusts brightness in real-time. This means it conserves battery by dimming during slow climbs up smooth fire roads, increasing brightness when it senses the rider getting faster and gnarlier, so the rider can see further ahead.
It works brilliantly, and the Reflex++ feature is a standout highlight. For those opting to control the output manually, there’s a digital battery power display so you know what’s left in the tank, too.
- Lumens: 1450
- Weight: 214 grams with mount (measured)
- Mounts: QR Handlebar Bracket (31.8mm – 35.0mm)
- MSRP: £250.00
PROS: Automatic brightness works brilliantly, lightweight, fully self-contained
CONS: No helmet mount option, not as bright as the others
Outbound Trail EVO
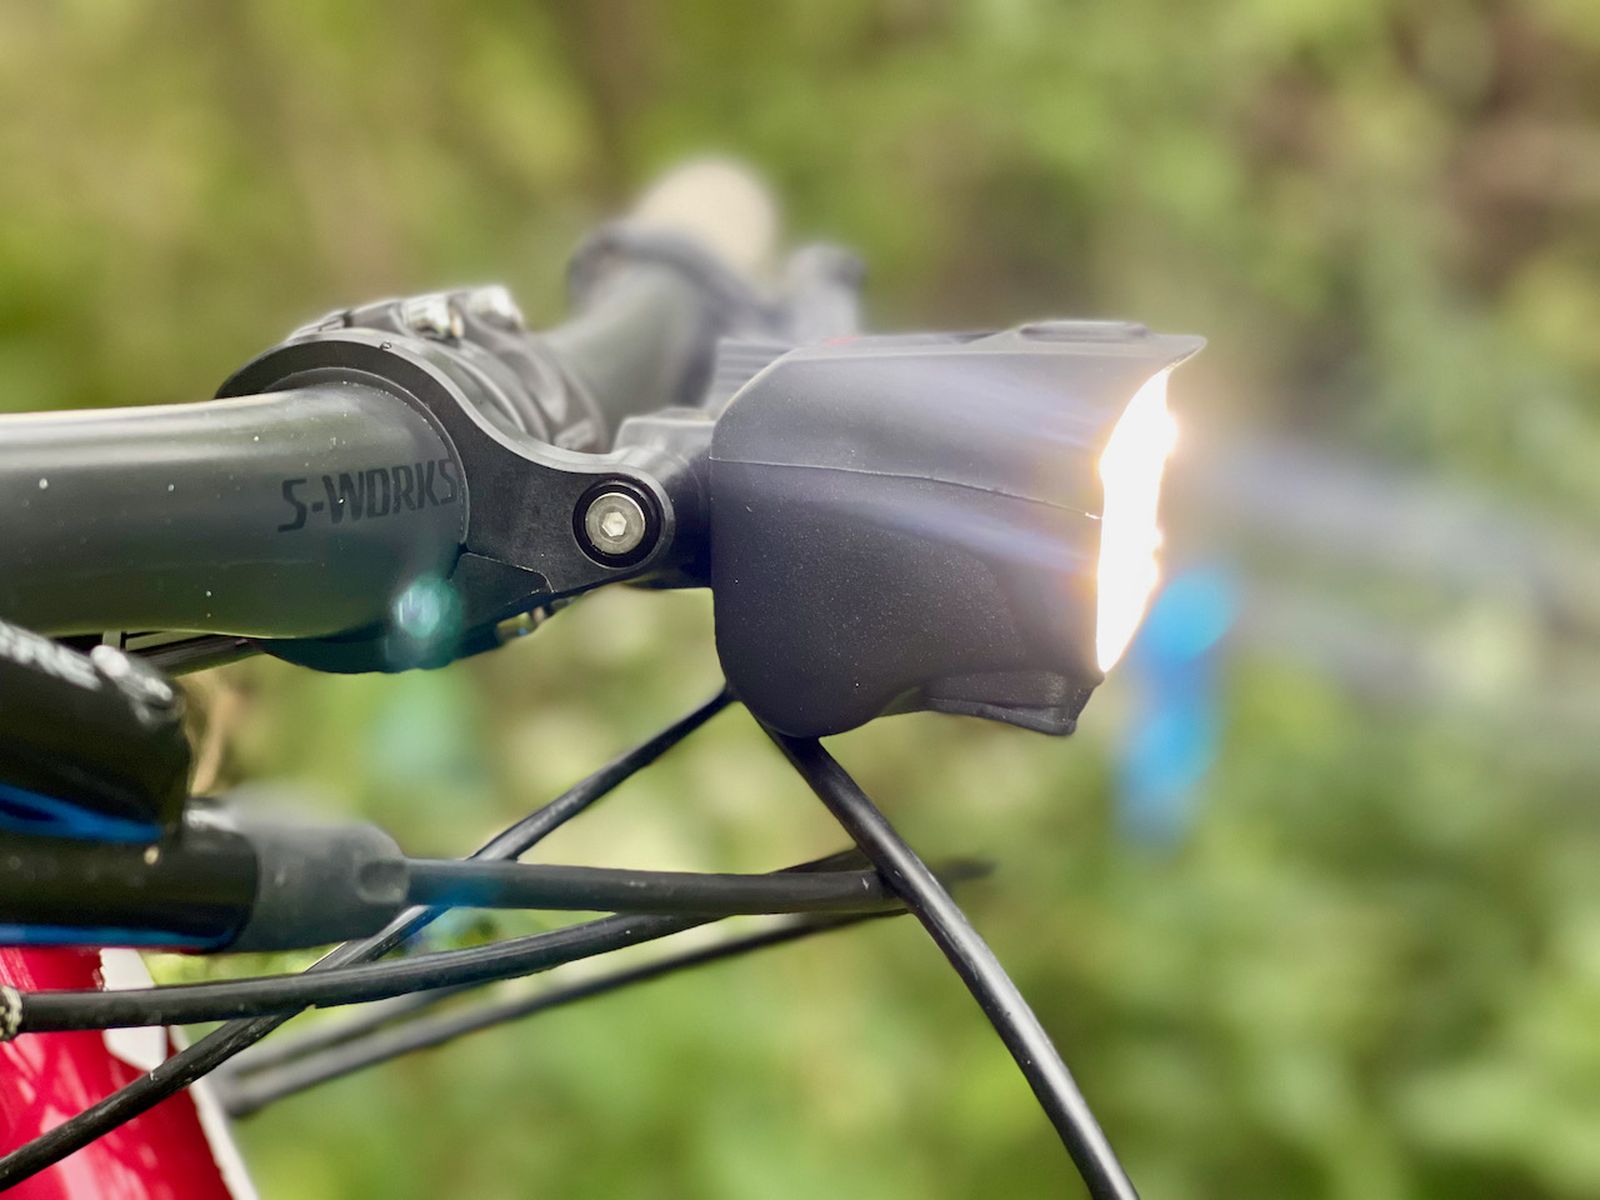
The Outbound Trail EVO light provides an excellent beam pattern that fills the entire trail. We found that you see more of the trail with less tunnel vision than traditional mountain bike lights, thanks to Outbound’s panoramic beam pattern. It’s based on an automotive headlight design to provide great peripheral vision and depth perception by eliminating any overly bright “hot spots”.
It has an adaptive mode that adjusts brightness based on ambient light, but that’s really aimed at commuters. For trail riding, stick to their High/Medium/Low modes.
The super-solid handlebar mounts and easily adjustable and didn’t jiggle over even the rockiest segments. The rubber buttons were easy to operate, even with wet gloves, and there’s an easy-to-read battery indicator light on the top.
The battery is contained in the unit, making it lighter and more compact than many of the other models, yet runs for 2.5+ hours on a charge and has pass-through vents to keep it running cool. If you are heading out for a long, dark ride, you can bring any external USB battery pack and charge while you ride. Plugged in at home it’ll fully charge in under 3 hours—don’t wait until pre-ride to charge, but compared to other models, this is fast.
Serious riders will want to get the DH Package, which adds the smaller Hangover helmet light ($125), but the EVO Trail works great on its own, too.
- Lumens: 2200 lumens
- Weight: 275g (without mount)
- Mounts: Circular bar clamp style mount with metal construction and plastic sleeve. Fits 35mm and 31.8 with the shim provided.
- MSRP: $245
PROS: Excellent beam pattern and trail illumination, great price for the tech
CONS: Handlebar mounted only
Lupine Blika 7 Smartcore
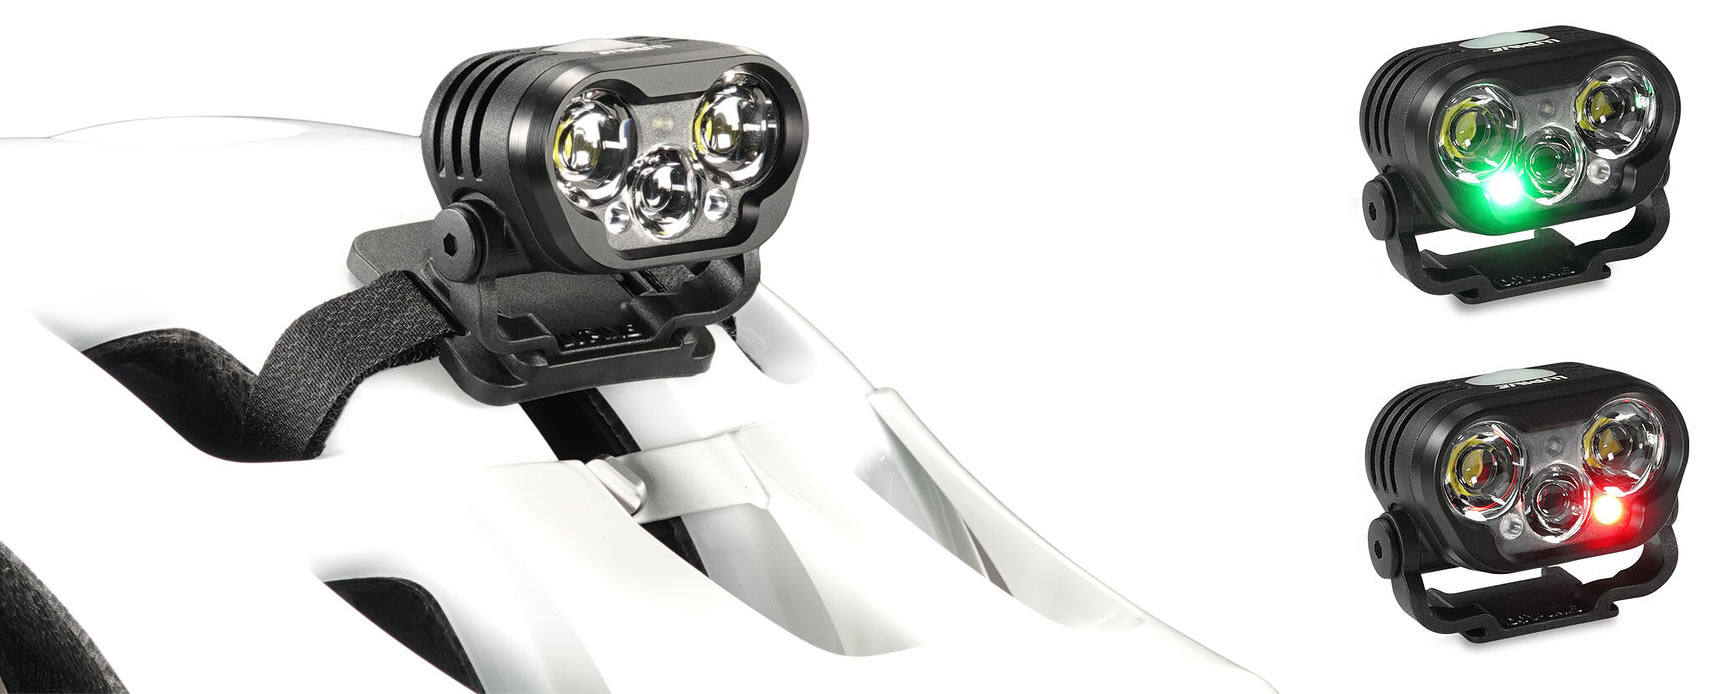
The latest Lupine Blika 7 gets a significant power boost and improved heat management while retaining its impressively small size. It blasts out 2400 lumens from its 26W grouping of two high-powered flood LEDs and one focused spot LED, and the spot light is 2x brighter than before to see further up the trail.
The Blika 7’s FrontClick quick-release mounting makes it super easy to go from bar mount to helmet mount in a literal snap. And since it works with almost any Lupine battery (old and new), you can pick the perfect setup for whatever runtime you need. We tested the mid-sized 240g, 6.9Ah battery that delivers 2 hours on max, and 5 hours on the 1200 lumen medium mode. A huge 430g, 13.8Ah battery doubles those times, or go lightweight with a 120g, 3.5Ah battery for 1/2.5hr burn for shorter rides.
We love the new 2-button Bluetooth remote control ($50) that makes it easy to flip through modes with your hands on the bar. And three low-powered 0.4W white, red & green LEDs allow you to read maps or navigate nighttime camp duties without disturbing others (or wildlife) and with almost no impact on total light runtime. Plus, Lupine’s app let’s you infinitely customize output levels so you don’t have to flip through unnecessary pre-programmed modes.
The result is a versatile helmet light that can be run super bright for the most demanding trails, or dialed back to a still very capable 1200lm output.
- Lumens: 2400
- Weight: 220 grams plus 240 grams for 50Wh/6.9Ah SmartCore battery pack
- Mounts: Helmet and handlebar mounts included
- MSRP: $550, or $600 with remote
PROS: Long run time
CONS: Pricey
Buyer’s Guide for Mountain Bike Lights
Decide on how you want to ride: Are you mostly cruising on doubletrack after dark, or strictly doing local night races? You may be able to get away with a light-weight, lower lumen model like Exposure’s racing light. But if you tend to get lost on epic adventures after dark, a light with a lot of battery power behind it might be more appropriate.
Lumens: For this guide, we tested lights in the 2000-lumen range. We believe that around 2000 lumens is the ideal lighting for night riding. It’s enough to light the trail appropriately, but not so much that it blinds other riders, or that it runs a battery down to 0% in minutes.
Mounting style: Many riders prefer to run two lights for night MTB rides, and people seem to be split nearly 50/50 on which one should be your primary light. We’ll get into the pros and cons of each below in FAQs, but the important things to consider for mounting style is how quick and easy it is to get the light on or off your bike for charging, and how secure it is once mounted. Click-on helmet mounts that use a GoPro-style prong are way easier than strap mounts, as vent placement and shapes can make strap mounts a real pain to position and keep snug.
Price: If you’re serious about night riding on trails, don’t skimp on your light setup. The best lights run roughly $300 to $500. While that seems like a steep price to pay, it beats ending up in the woods without a light after your cheap one dies, or riding into a tree or off the side of a trail because your cheap light didn’t fully illuminate that weird rock on the ground after dimming prematurely.
Frequently Asked Questions About MTB Lights
Why test 2000 lumen models?
We focused on a ~2000 lumen model as the baseline because we believe that’s the ideal lumen rating for a MTB light. We also wanted to compare similar lumen outputs against each other to see how the beam pattern and light quality changed from brand to brand. Essentially, we wanted to compare apples to apples as best as possible.
What exactly is a lumen? or a Lux?
A lumen is a measure of visible light: The more lumens, the brighter the light output. A Lux is the measure of brightness where the light hits the surface. In our opinion, that’s not the best metric to go by for MTB since everyone’s preferences for beam placement and distance will differ, and light will get dimmer the farther it is from the surface. Until we invent laser bike lights, anyway.
Some light brands prefer to focus on Lux or other metrics, but all of the brands and models mentioned here have high-quality electronics, reflectors, and designs, so comparing Lumens on these works for our purposes.
How many lumens do I need for my MTB light?
We recommend lights with around 2000 lumens, for a lot of reasons. First, it’s the sweet spot of price, output, weight, and battery life. Less than that can feel a little dim, especially at speed. More than that is awesome, especially if you’re ripping downhill at high speeds, but for normal riding, ~2000 lumens will be plenty.
Second, bigger lights are heavier (more on why that matters in a minute), but more importantly, they need more battery power to get similar run times. That means bigger, heavier batteries. 2000 lumens will light up the trail while still maintaining a reasonable run time with mid-sized battery packs.
That said, big 3000+ lumen lights usually have a “medium” mode that’s probably near 2000 lumens, giving you plenty of light for normal riding, then letting you blast it when needed while also giving you a bigger battery that’ll last longer while set to a lower output mode.
Alternatively, some brands sell different kits, letting you pair a ~2000 lumen light with small, medium, or large battery packs. Doing a short race? Get a smaller, lighter battery. Going long? Get a bigger one.

What else matters for mountain bike lights?
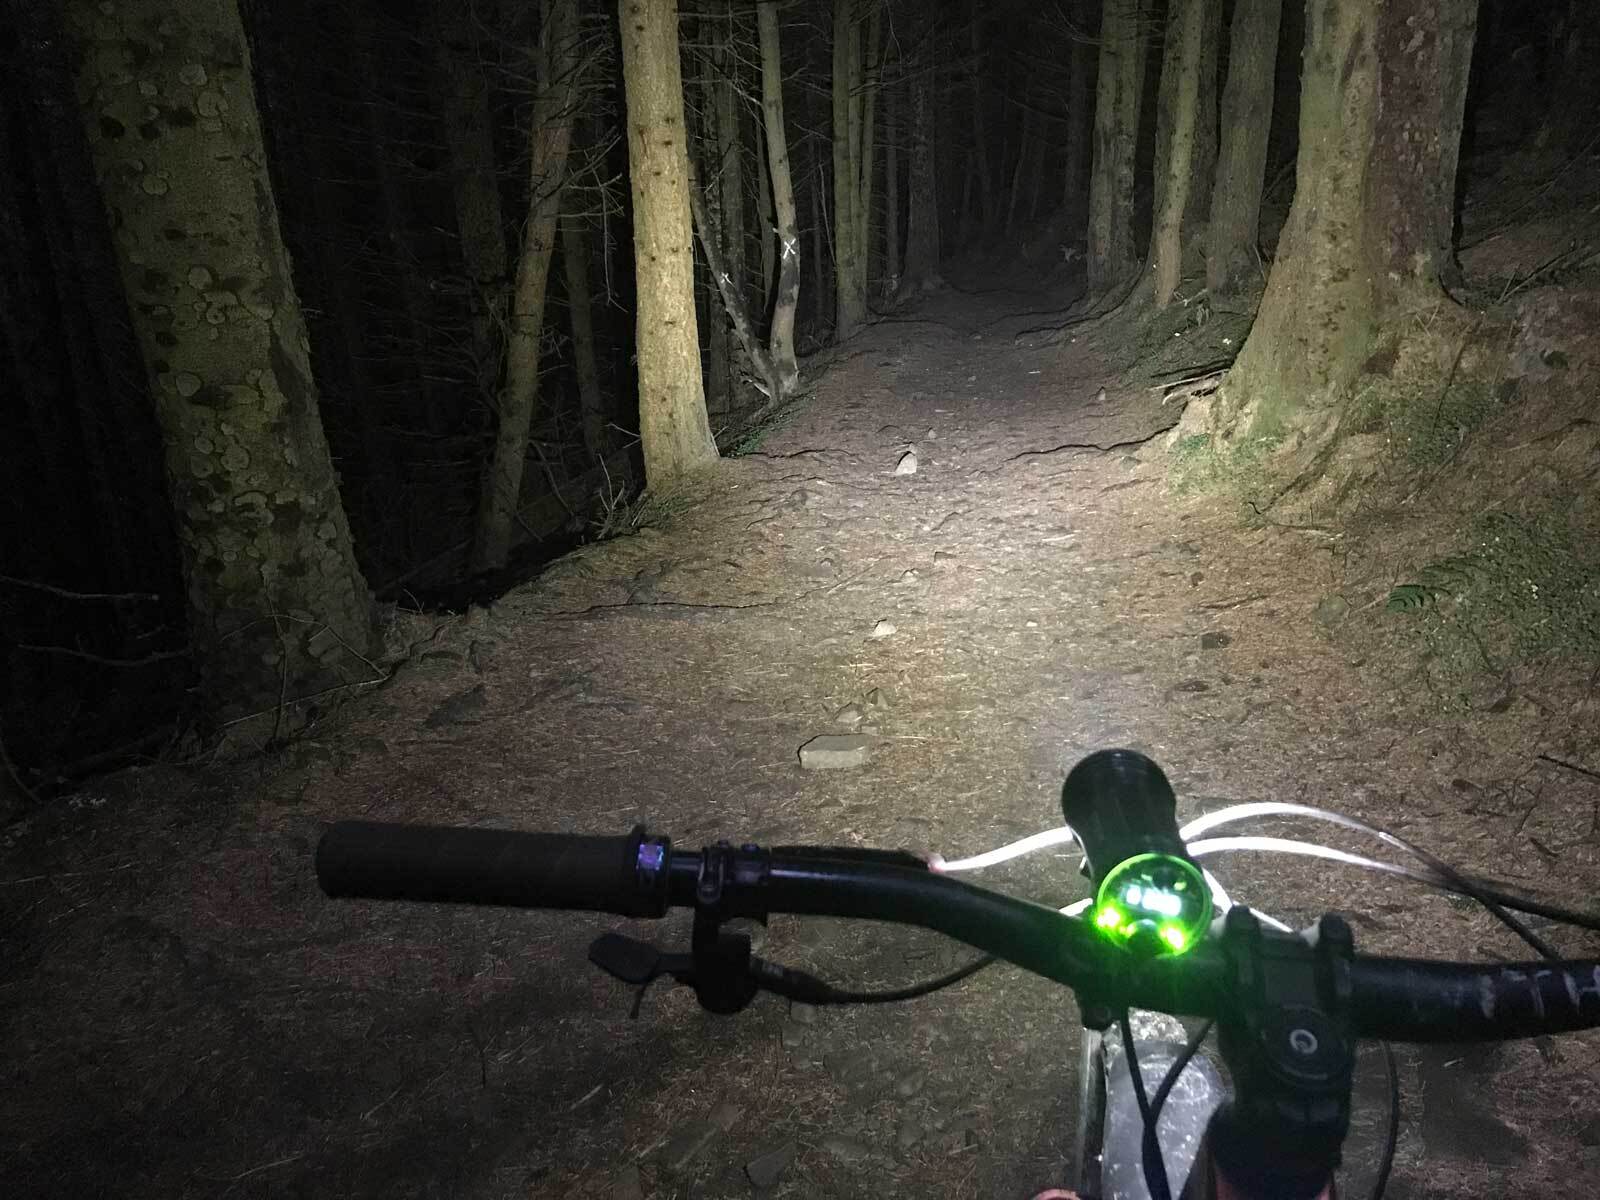
Actually, the beam pattern—the way the light is directed—is as important as the actual amount of light. More lumens directed broadly won’t help as much as a headlight whose beam is directed properly at the trail ahead of you, with less light going up or out to the sides. That’s why there are specific mountain biking lights: Road riders need to see a different view of the road.
It’s worth noting that a too-wide beam pattern will light up the trees and shrubs off to the side of you, which can actually be distracting if they’re too bright. Surprisingly, you may find that you’re riding some sections faster at night because the light is focusing your gaze further ahead of you on the trail, so you’re not so focused on the minutiae right in front of you. Lighting up the sides of the trail adds those distractions back.
How long do MTB night lights last?
It depends on how you’re running the light. At peak power—2000 lumens for the lights in this guide—most lights can only run for around 90 to 150 minutes (Gloworm is an outlier at 4 hours, but it has a huge battery pack). But at lower power outputs, which can still be adequate for trail riding, a battery can last for double that amount of time.
We recommend always starting with a full battery, and making sure that you’re paying attention to the battery level throughout the ride. If you notice that it’s dropping below 50 percent, it’s time to start making your way back to the trailhead.
Should I mount the light on my helmet, or my handlebar?
A light on your helmet will move with your head, obviously, so it’s always pointing where you’re looking. Meaning, you’re able to aim the light around a corner to see what’s coming before you get there, whereas a light on your handlebar is going to aim where you’re headed…not where you want to go.
This isn’t just for corners…the higher placement and your head’s mobility let you peer over things as you summit, so you can get a sense of what’s off the backside of that drop, jump, or descent while your bar light might still be aiming up at the trees.
For that reason, most of us always ride with a helmet light, and sometimes add a handlebar light. If you can only afford one, put it on your helmet. This also makes it way easier to look at trail signs, dig through your pack, or fix something on your bike. Just keep in mind when you’ve stopped to chat, turn them off so you’re not blinding each other!
So, do I really need a handlebar light at all?
If you want a backup light in case something happens to your helmet light (like, you crash), a simple commuter light (check out our favorites right here) is all you need. And if you’re riding in a group, just following someone with a light is surprisingly easy even if yours is off.
That said, the team at Outbound says having a broad, low-mounted headlight like theirs adds better depth perception by creating small shadows from roots and rocks on the ground, helping you read the terrain better. So, if you find that you’re getting surprised by bumps on the trail, might be worth experimenting with adding a bar-mounted light, too.
How do I mount the light to my helmet?
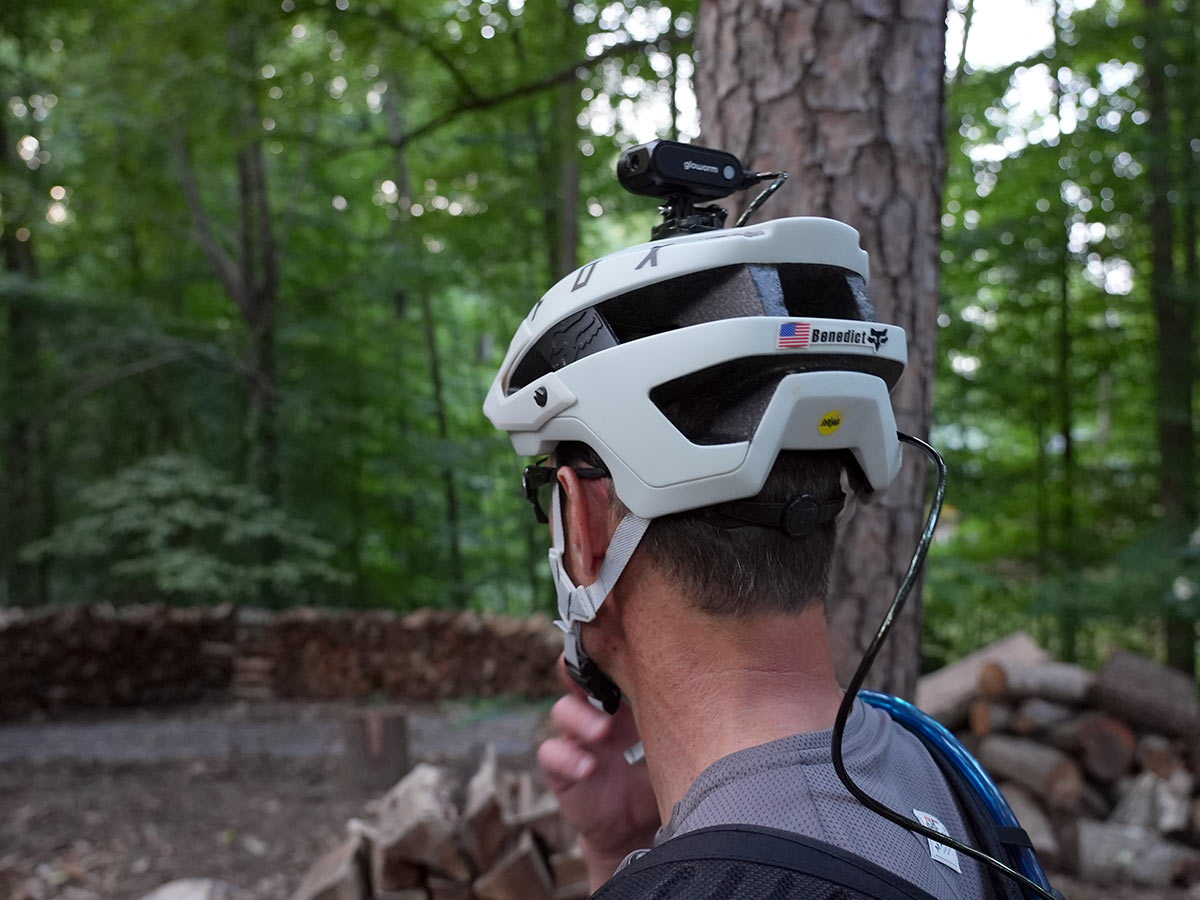
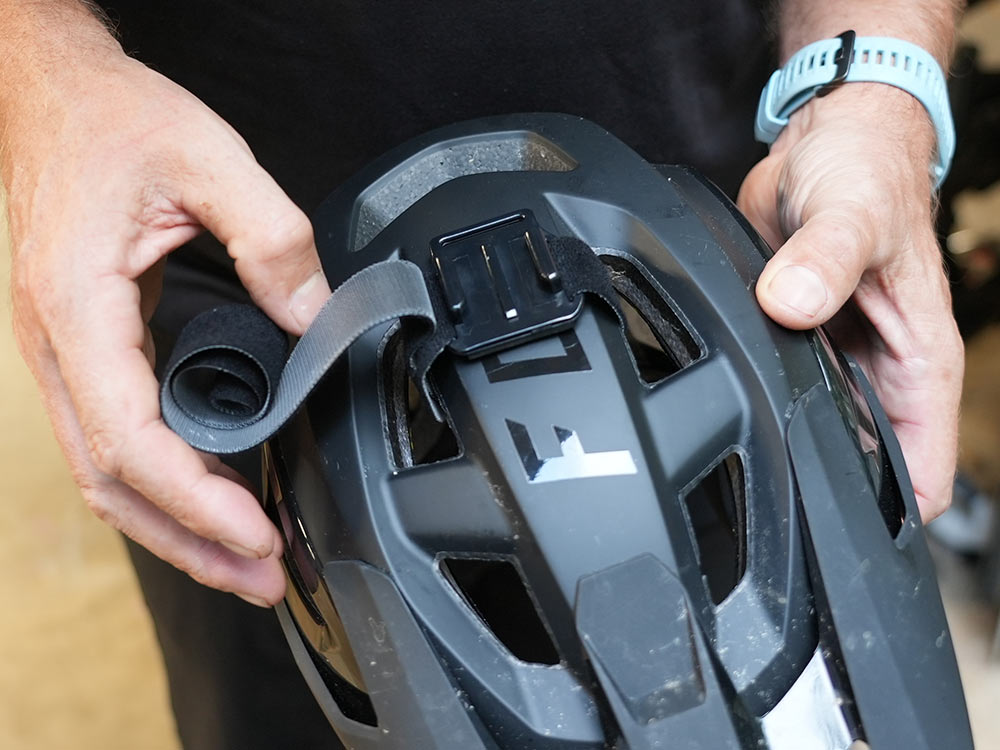
Most lights come with a helmet mount strap accessory, or at least offer one. We prefer a mechanical connection, like the GoPro-style mounts, and some lights (like the Gloworm) have adapters for that.
If your helmet has a flat section, just stick a GoPro mount on it, or buy a helmet with those adapters. The Fox Mainframe MTB helmet has a wide, flat area that’s perfect for the adhesive-backed stick-on GoPro mounts.
A helmet with integrated GoPro mount (like the Kali Lunati) has the added benefit of them (usually) being a breakaway mount, so if you do wreck, the mount will snap rather than your light.
This is where the weight of the light comes in…a heavier light is going to make your head heavier. And if your helmet fits a little loose, the added weight will cause it to shift forward or flop to the side. You may need to tighten your straps slightly or dial in the retention a bit.
We recommend mounting it slightly back from center as this will help balance the load on your head, and put the light in a good spot when you’re in your riding position. Too far forward and you’ll feel its weight pushing the helmet into your brow.
OK, but where do I put the battery?
In your hydration pack. Or maybe a hip pack if the cable’s long enough, just make sure to run it under your jersey so it won’t get caught on branches. We loop the cable down into the helmet directly by the light, then out the back of the helmet and into our pack. Leave about 10″ of slack so you have room to move your head around and sling the pack around should you need to get into it for snacks or tools, but not so much slack that it’s whipping around where it could snag a tree branch.
You do NOT want to mount the battery to your helmet (unless it’s a self-contained light), it’s just too much weight on your head. You’d be surprised how sore your neck will be from just a few extra ounces.
Do I need a rear light for my MTB?
It depends. If you’re riding straight from the trailhead, you can likely skip it. But if you’re riding to and from a trailhead, or you’re riding solo, a small rear light is a good idea to alert traffic and other riders to your presence. (Check out our favorite rear lights here.)
Where should my lights point?
Generally, you want to look 15-30 feet ahead on the trail as your main point of focus, but your light should allow you to see directly ahead of your tire, and also further up the trail as well. Mountain bike lights should be broad but focused, meaning the light illuminates the area ahead well, but is the brightest at the point where you’d normally be looking while riding during the day. Luckily, most mounts give you a bit of adjustment range but not so much that you get confused as to where to point your beam.
Should I bring a spare battery or charger with me?
It’s not a bad idea, especially on longer or colder rides. Batteries can lose power faster in chilly temps, so fat bikers would be wise to have a backup on hand, especially if riding far from the trailhead.
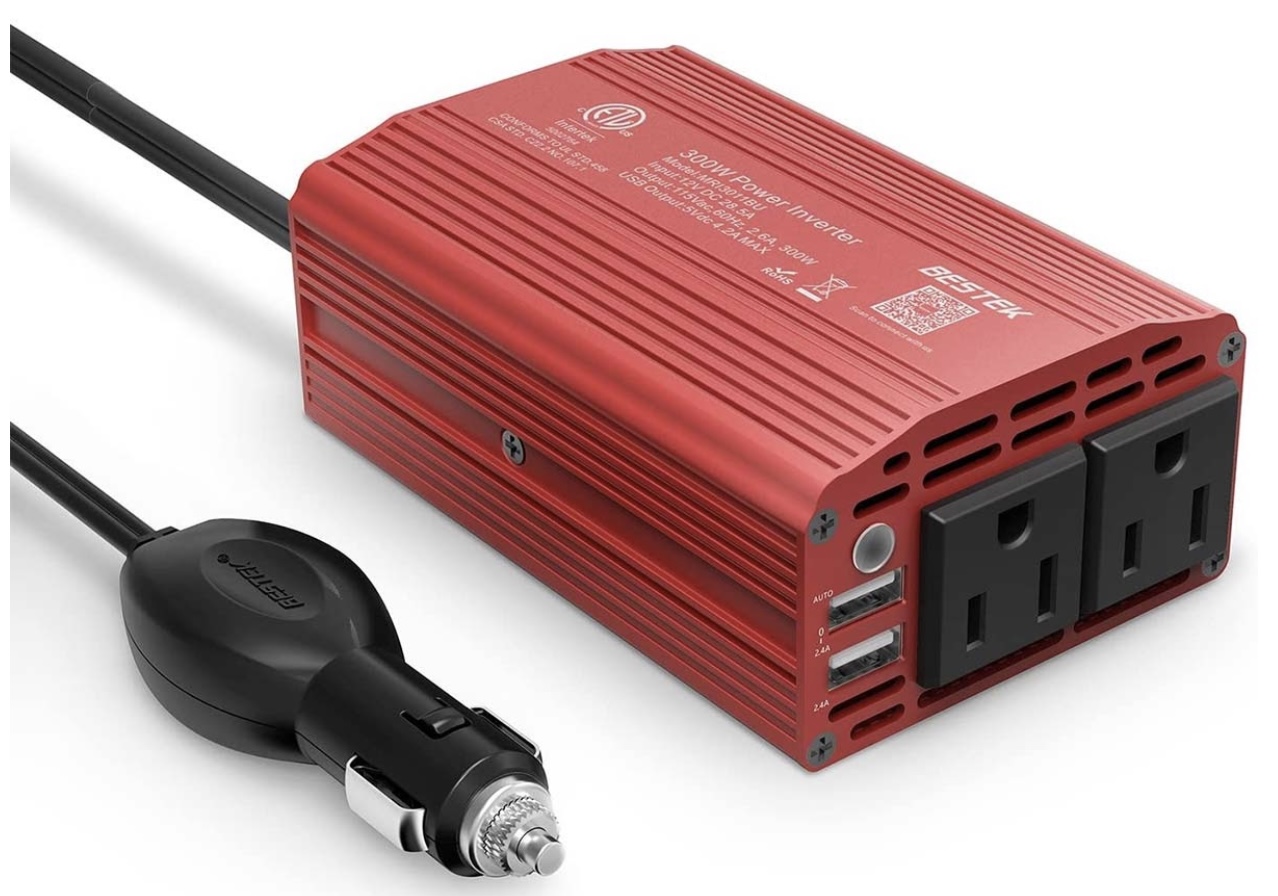
And having an inverter and your charger with you in the car is helpful for those times when you realize you forgot to top it off after your last ride! (Actually, a small inverter is perfect for any road trip, most of us keep one in our cars at all times)
Why are mountain bike lights so much more expensive compared to road lights?
Unfortunately, good mountain bike lights are an investment. They tend to be anywhere from 3x to 6x more than the best road bike lights, because they need to illuminate the trails more brightly, and need bulbs and batteries capable of doing so.
A good road light might be 900 lumens. Some mountain bike lights are 4500+ lumens! That much extra power requires heat sinks and more sophisticated designs to prevent overheating, especially since mountain bikers are usually moving slower and stopping more frequently.
As a result, mountain bike lights are bulkier, heavier, and have more pieces. Compared to road lights that come in single-piece units that clip easily onto a handlebar, mountain bike lights typically have the light itself, the battery pack, and a full mount.
If you want the really geeky reason why, there’s a lot of technology inside these lights, with some offering wireless remotes and app controls. But most importantly, there’s software to manage output so the light stays consistently bright regardless of battery level. And the high-end lights we list here have low-voltage protection and other measures to ensure your battery doesn’t get ruined from running it down or leaving it uncharged for a while.
That said, always top it off after each ride. And check the manufacturer’s recommendation for long-term storage, some types of batteries are best stored at a half charge.
Seems like this list is missing a few well-known brands, why?
This isn’t meant to be a comprehensive list of what’s available. Rather, these are our top picks based on years of experience and actual real-world testing. There are other great brands making good lights, but the ones listed here represent the best of bunch based on features, technology, durability, ease of use, weight, and price-to-performance ratio.
What about all those cheap lights online?
Like most things, they’re too good to be true. Off-brand lights can cheat in a few ways. First, their lumen output might not even be accurate. Or, it could simply be a “max” output that is only good for a few seconds before the light reigns itself back into a level its limited hardware and software can manage.
Delivering consistent voltage to the LEDs requires good firmware and components, and a good battery. Without good electronics inside, the light might dim as the battery drains, but the lights listed here will all deliver consistent brightness up until the end, and most have low-voltage protection to alert you before you completely go dark. All of these things are easy to skimp on in the pursuit of a low price. Not to mention overall build quality and materials can be cheaper and less durable, too.
Trust us, you get what you pay for. The lights listed here are all models and brands that we’ve personally used for years throughout a wide range of temperatures and conditions, from desert to snow, summer to below freezing. Heck, one of us set his original Gloworm and Lupine lights in a closet and didn’t touch them for two years. After charging them up, they worked as good as new with no degradation in battery life or brightness.
