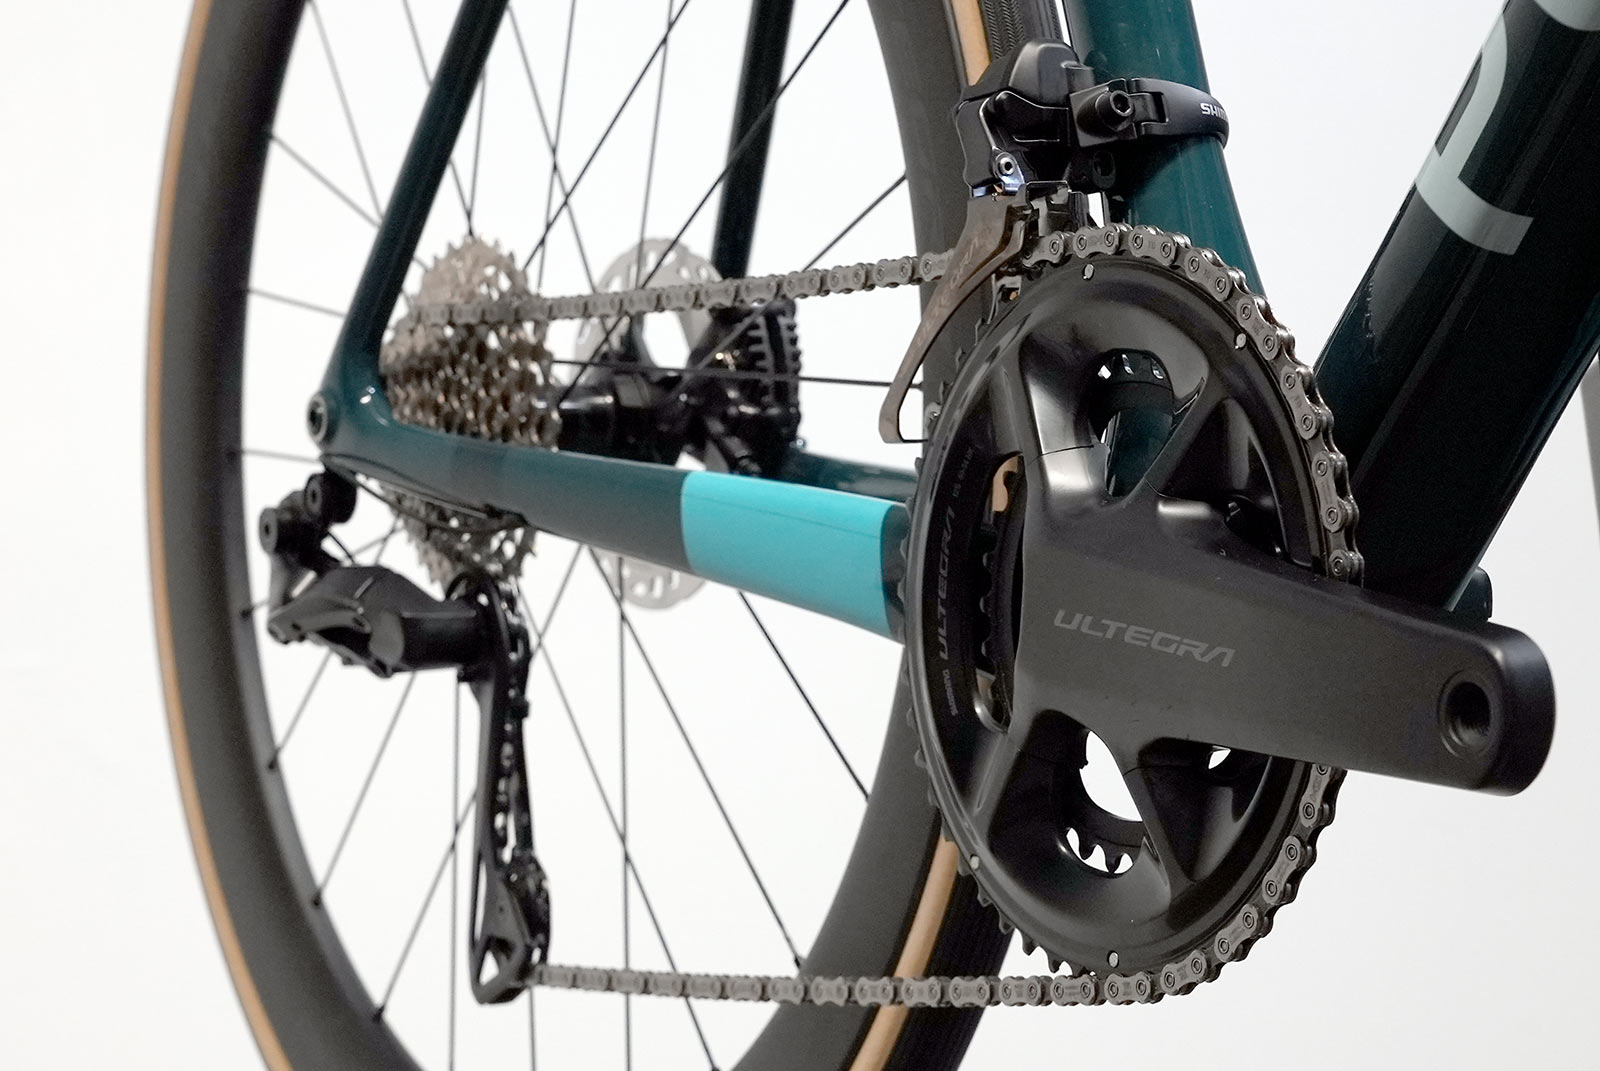
With shops just starting to get the new Shimano 12-speed road groups, and our own Ultegra R8100 just arrived, we wanted to see just how fast it shifts. The TL;DR version is, it’s fast. Like, really fast, both in the lab and on the road.
In the video below, you’ll see us run it through the gears various ways, showing you the automatic trimming…including the rear derailleur’s auto trim that you’ve probably never seen before…
Shimano 12-Speed Road Shifting Speed
Much like when we created our complete tech overview video of Shimano’s 12-speed mountain bike group, we learned a few new things.
The most surprising was that Shimano’s Di2 rear derailleurs have always had an auto trim function. Meaning, they overshoot the shift slightly to make sure the chain moves onto the next cog, then it retracts slightly to give it the best possible chain alignment. It’s subtle, but with more pronounced trim movements in some gears than others, so we clipped the video to showcase those.
How to set up Shimano Di2 12-speed Road Groups
While the official instructions include some counting and stuff, their rep simply wraps the chain around the big chainring and largest cog. From there, he leaves just a single outer plate hanging off like a tail, and that’s the length.
Obviously, you’ll want to trim after that next inner link so you can attach the quick link to connect it.
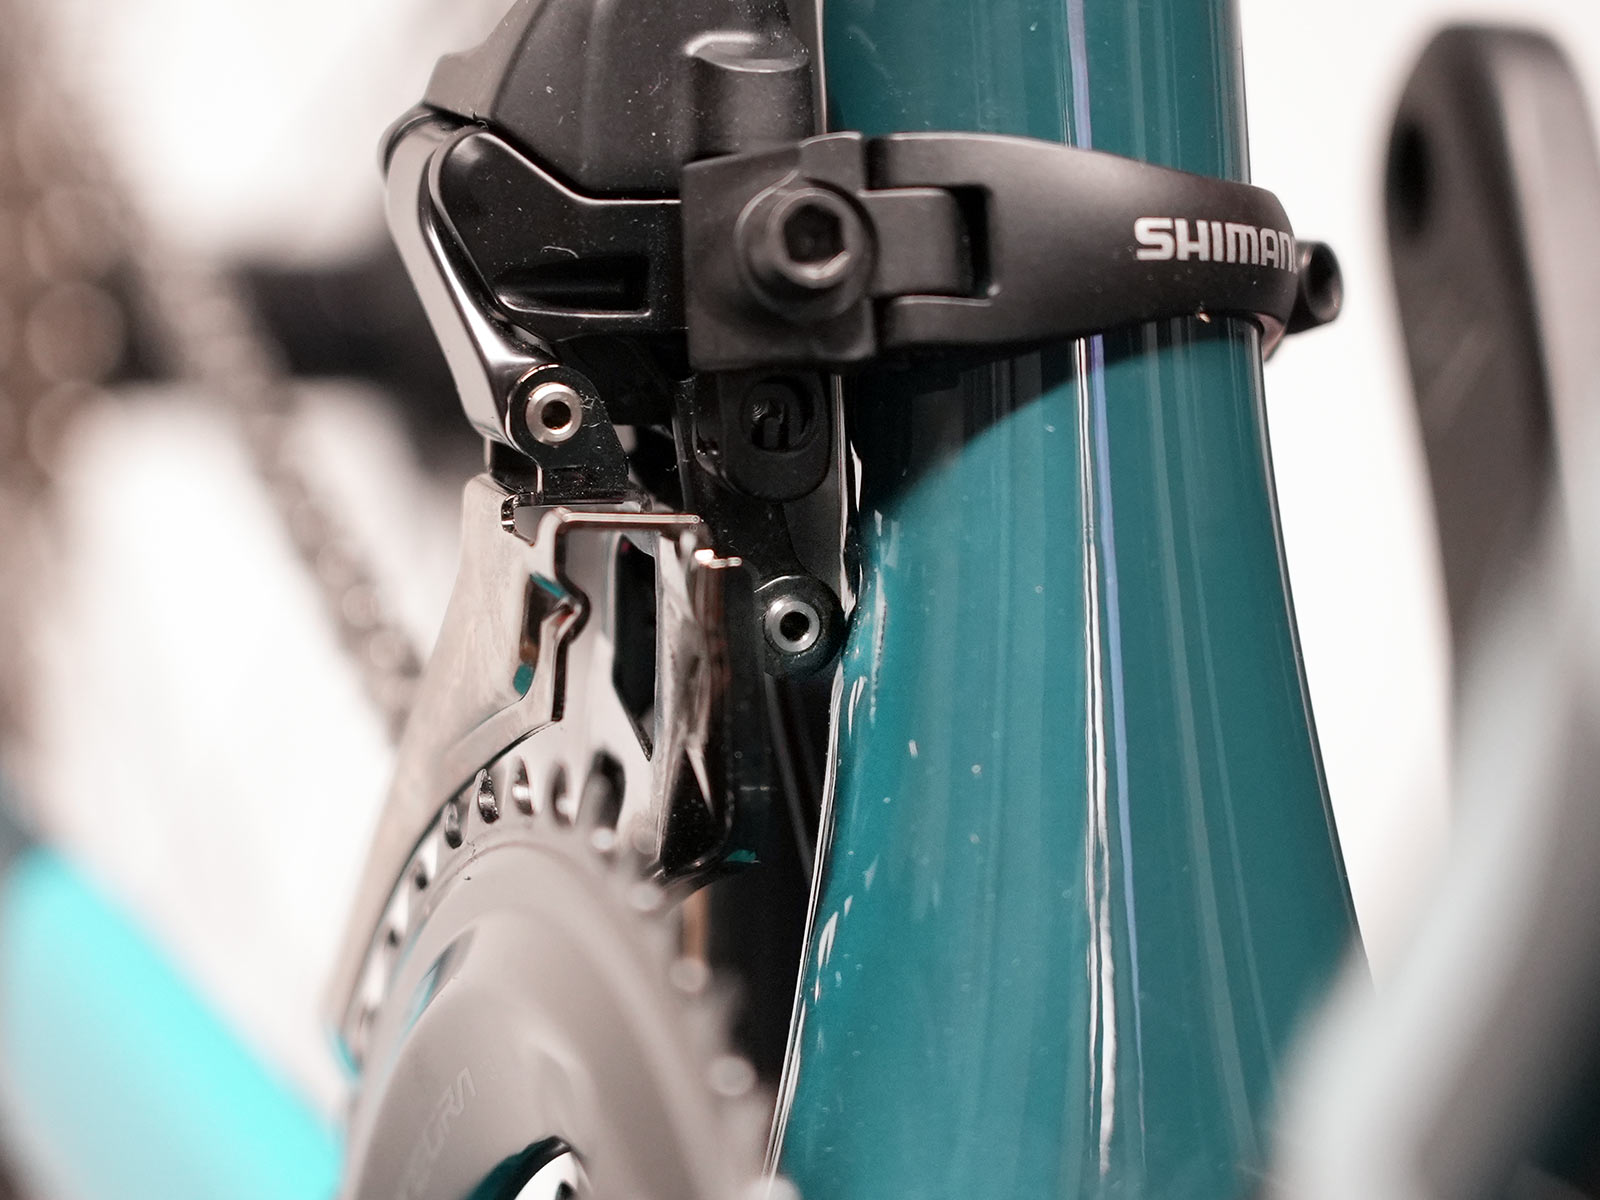
Our bike was initially missing a simple 1mm spacer between the crankset and bottom bracket, which ended up allowing the front derailleur to contact the seat tube prior to tuning. This ended up requiring the motor to be reset and, honestly, flummoxing us for a bit until we figured out it needed that spacer.
So, if you’re installing it yourself and it’s trimming into contact with the frame, stop tinkering and add a spacer. It’s surprising what 1mm extra will do – we started with two spacers and it was too much.
When connecting and disconnecting the wire, definitely use the new, slimmer connector tool to avoid damaging the connector or plug. We found it was easier to snap the wire into the front derailleur and then add the elbow that holds it snugly against the motor housing.
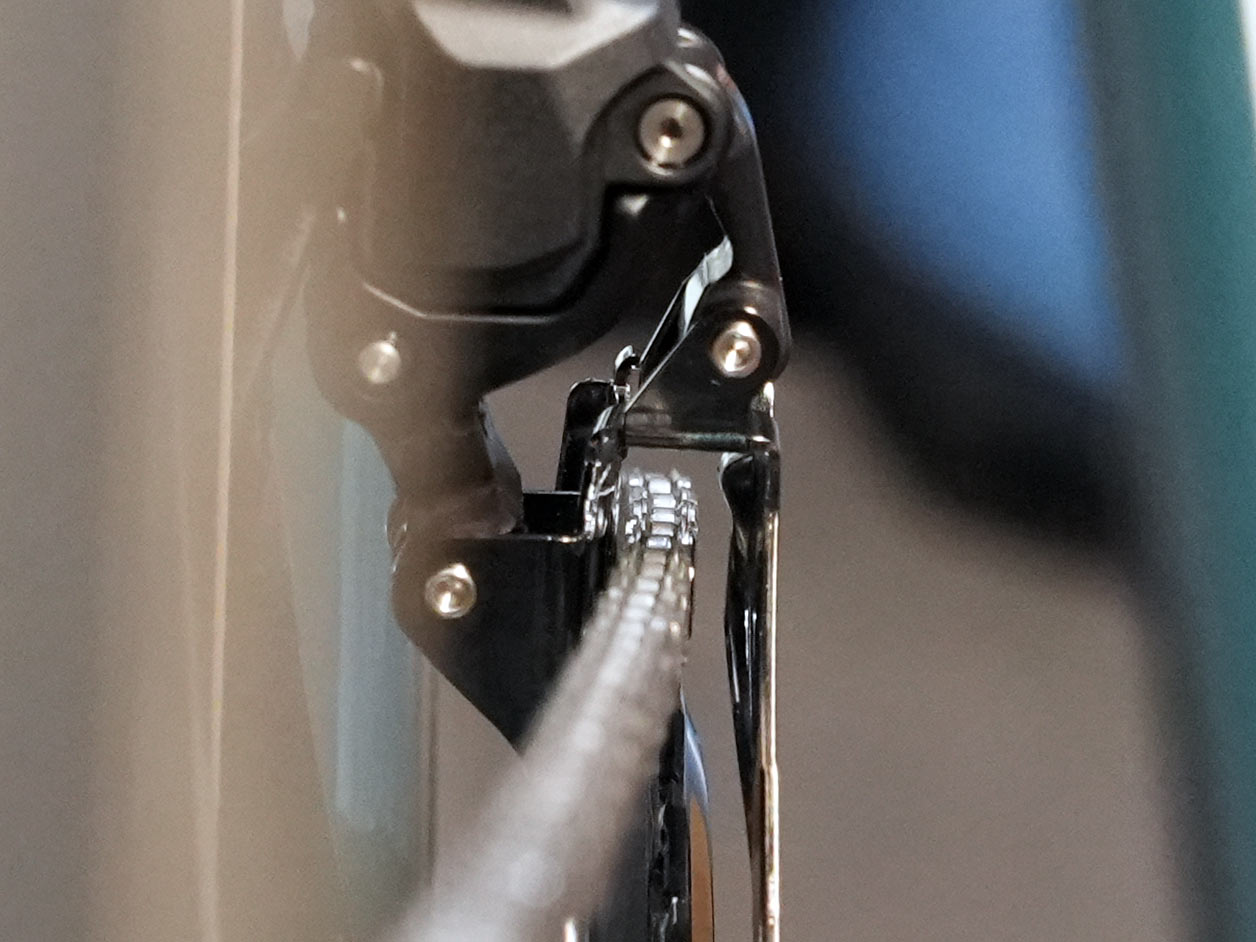
The front derailleur’s tuning starts from the outside in (see below for more on this), with the goal being a 1mm gap between the chain and the outer plate when the cassette is on the smallest cog.
Then shift it to the largest cog and adjust the inner trim to the same 1mm gap. Repeat the process on the small chainring. Between each of these steps, you’ll need to switch out of “adjustment mode” in order to shift like normal. You use the front shifter’s paddles to adjust the front derailleur, and the rear for the rear.
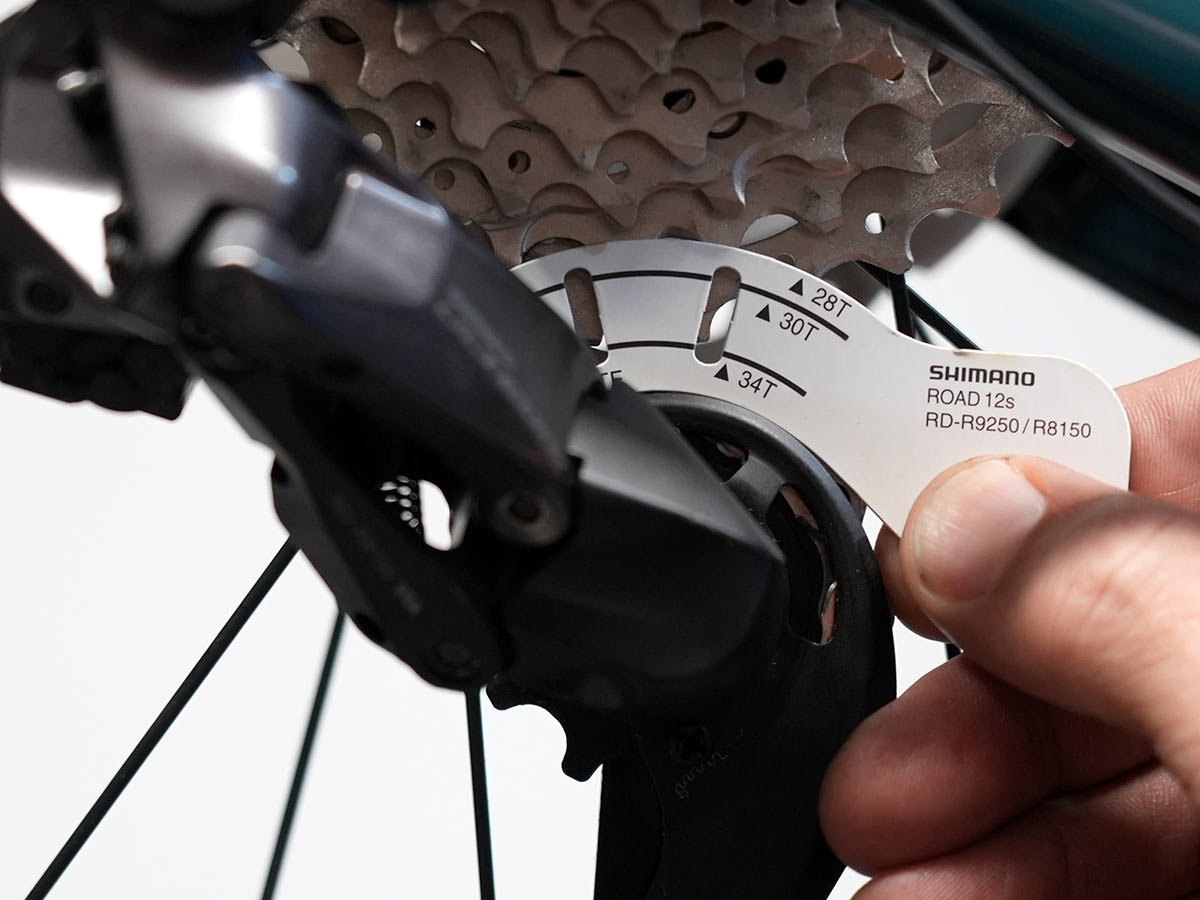
To set the B-Screw tension, shift into the largest cog and use the included paper guide to get the correct gap between the upper pulley and the tallest teeth. While this guide isn’t as durable as the plastic ones included with SRAM groups, it’s also not plastic, which we appreciate.
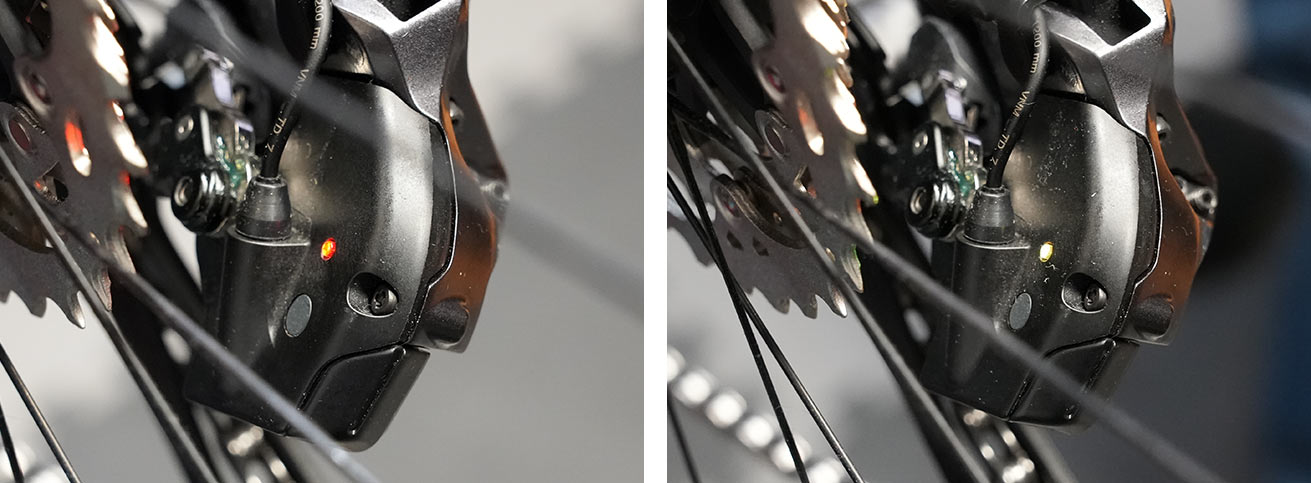
To turn on adjustment mode, simply press the button on the outer side of the rear derailleur, regardless of which derailleur you want to adjust. To set up the rear derailleur:
- Shift into the middle of the cassette, then turn on adjustment mode.
- Trim upwards until it just starts to rub and catch on the next largest cog, but doesn’t quite shift into it.
- Trim back downward 5 clicks.
- Turn off adjustment mode and shift around. The chain should be perfectly aligned on all cogs.
- Shift into the largest cog.
- Turn the upper limit screw inward until it just barely touches the stop, then back it off 1/4-1/2 turn.
- Shift into the smallest cog.
- Turn the lower limit screw inward until it just barely touches the stop, then back it off one full turn.
That’s it. Your limits are mostly set by the electronics when you tune the derailleur’s position in the middle of the cassette. The physical limit screws are really more of a safety net.
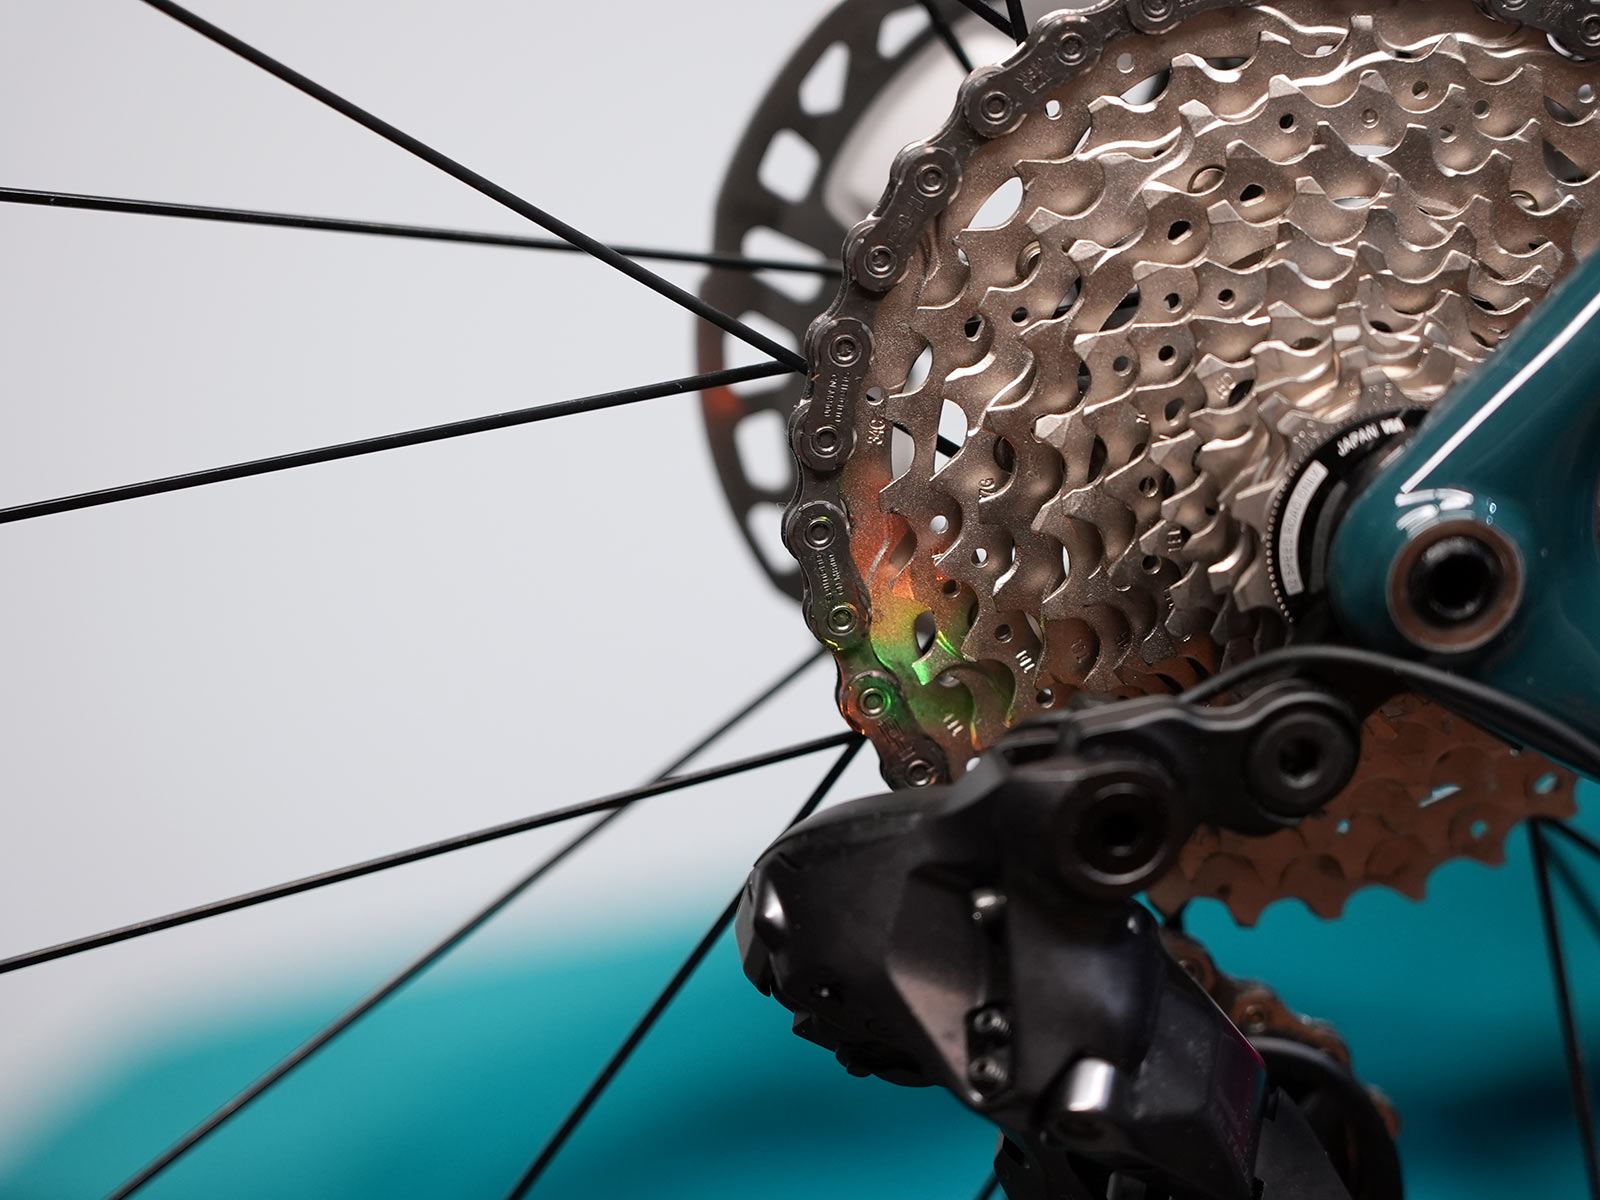
Fun fact. The yellow/orange light that’s on during adjustment mode makes a lovely rainbow on the cogs.
When tuning, it will blink red when it reaches the end of its range. If you’re tuning it so far that the front derailleur’s cage makes contact with a chainring, stop and back it off immediately. Attempting to “tune” the derailleur farther could cause it to glitch and require a hard reset from your local dealer or tech rep. If it’s making contact, it’s likely your chain line is off and you need to add or remove spacers.
Stay tuned for a long term review of the new Ultegra R8100 group. You can check out Zach’s initial review of the new Dura-Ace group for more.
