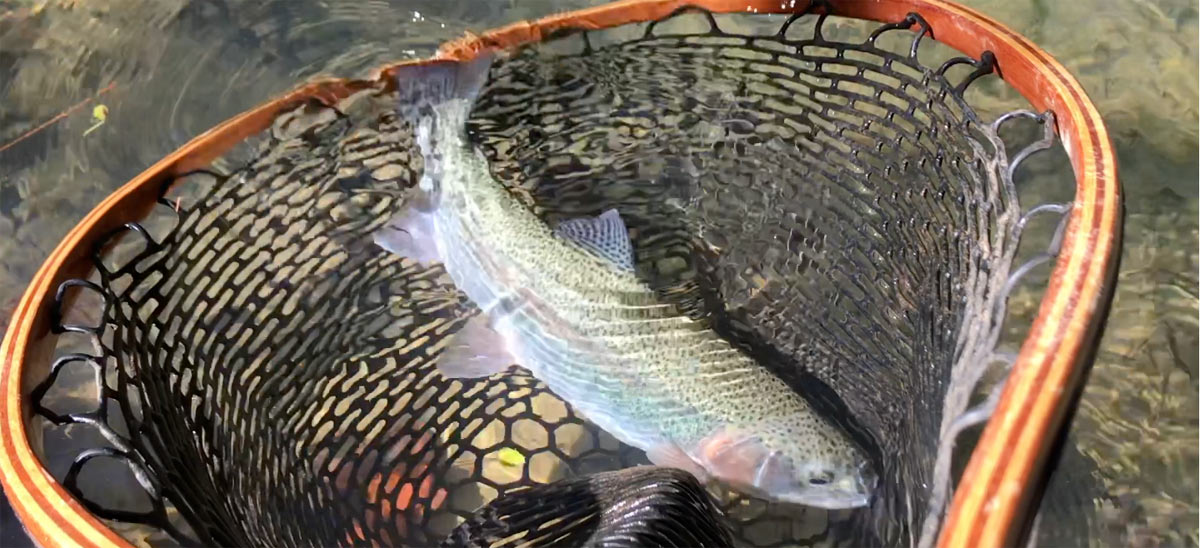
Bikepacking is awesome, and being able to catch your own food makes it more so. And makes for a lighter bike when you’re not hauling meals for miles. It’s also just fun, and much easier than it seems, to bring along a fly fishing rod and try your luck. But how do you fly fish?
We asked the experts at Orvis to show us how, and they delivered with one of the best. Tom Rosenbauer is the host of the Orvis Podcast and has literally written the book (several, actually) on fly fishing. In the video below, he explains what types of flies you’ll need for trout and bass, the differences between them, how to select the right rods and lines, and shows us the proper casting technique. We even discuss how much it costs for a basic set up and what that includes. It’s everything you need to know to start fly fishing on your next cycling adventure!
How to start fly fishing
Here’s the basic info you need to get started fly fishing:
What do the different types of flies do?
- Dry – also called Terrestrials, they mimic flying insects that don’t live in the water. These types of flies float on the water for when the fish are coming up to the surface to eat.
- Wet – also called Nymphs, these mimic larva and water bugs that sink or swim under water. These have a small weight in their “head” to get them underwater, and you’ll usually set a bobber (also called a floater) to control how deep they sink based on where the fish are sitting (and to keep it from dragging on the bottom and getting stuck.
- Streamers – Larger flies that mimic water creatures like crawfish or bigger bugs that fall into the water, like grasshoppers, that would float down the stream with the current.
How to choose the right fly for the day
Wondering how to pick the right fly for the type of fish you’re chasing? This is where it goes beyond beginner level instruction, but don’t worry. First, the hard part. Flies are made to represent different stages of bug development, and wild fish sometimes know what’s “normal” based on the season and will ignore something that doesn’t seem natural. But, also, when the stream is rushing by and they see food, most likely they’ll bite first and think later. So, you might be able to get away with a basic set of flies, but it never hurts to ask your local shop what’s right for the region or the season and heed their advice. Flies are pretty cheap, only a few bucks each, so it’s easy to get an assortment. Try something, and if they’re not biting (but the water’s calm enough you can see them ignoring it), just try a different fly.
What gear do I need to start fly fishing?
Besides flies, the basics are simple:
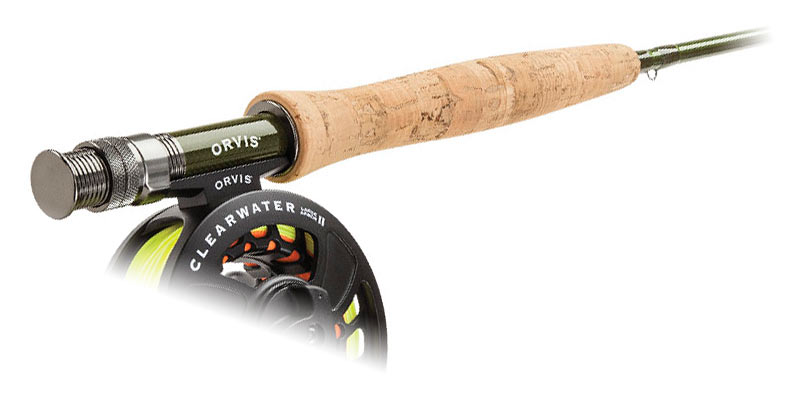
- Rod – The rod is designed to flex in a specific way and work with a specific weight of line. The flex works with your arm movement to send the line out into the water.
- Line – The weighted line that acts as the mass that gets flung out into the water. The flies are too light to throw, so the line is the weight. Choose the weight based on the type of fish you’re going after and matches the Rod.
- Leader – The soft, flexible string on the end of the line that connects the fly to the line.
- Snips – Small scissors or nail clippers to trim excess line off after tying your fly on to the leader
- Accessories – Something to keep your flies organized is helpful, and maybe a net to hold the fish when you catch it, especially if you’re planning to catch and release. And you won’t want to bring waders on the bike.
For Bikepacking, Orvis’ smallest rod is the 8.5″ Frequent Flyer, which breaks down into seven pieces and comes in a hard cylinder case that measures just under 19″ long. We’ve featured Tenkara’s fly rods on Bikerumor before, and the big difference here is that Orvis’ models are a more traditional rod and reel setup. The benefit is you can cast farther, but the rods don’t pack down quite as small, and you have a separate reel and more line to carry along.
Tom mentions their Encounter outfit, which gets you out the door for under $200. But, for bikepacking, you’ll want something that’ll fit into a hydration pack (albeit a large one) or strapped onto the bike. The Orvis Frequent Flyer starts around $230, and a package with reel and line is about $370. Flies start at $2-$3 each, so figure about $400 to get started, unless you get their discount…
Where can I learn to fly fish?
Orvis runs free two hour clinics at their stores during the warmer months, find a full schedule here. Finish the class and they give you a discount on any gear purchased that day.
They also have videos on their website, and there’s the rabbit hole called YouTube. We like the idea of the free classes because we had the motion down in just 10 minutes thanks to Orvis’ guides’ instruction and feedback, but the reality is it’s much easier than you might think.
Full disclosure: Orvis hosted us for a day of fly fishing on their dime and with no expectation or guarantee of any press. We chose to write this story and produce the video because we thought it was cool and wanted to share. There are a lot of more advanced techniques and gear, this story is only meant to provide a basic overview to get you started. I went from never having fly fished before to catching my first two trout in less than an hour using only the lessons and info Tom presents here. And it was awesome. Want more off-the-bike travel stuff? Check out @adventurouswayoflife on Instagram!

