What if you could throw everything out and build the perfect drivetrain from scratch? What would you change? What would you be forced to change to get around other’s patents? And did it have to follow convention, or could they do away with things that simply weren’t needed…like wires and cables?
That was both the challenge and the opportunity SRAM had when it began developing an electronic shifting system. The starting point was asking “what else shifts?” Their answer, at the most impressive level, was Formula One race cars, the fastest shifting machines in the world.
Now, after five long years of development, we know their answers: The SRAM Red eTAP electronic groupset is here…
THE DEVELOPMENT STORY
The SRAM eTAP system was designed around SRAM’s philosophy that true advancement achieves higher levels of performance for both bike and rider. With more elegant, simple and intuitive design, SRAM’s approach enhances the whole cycling experience, from set up, to reliability, maintenance and the ride. At the heart of it, it’s a bicycle, and it’s supposed to be simple. Added complexity wouldn’t really be an advancement.
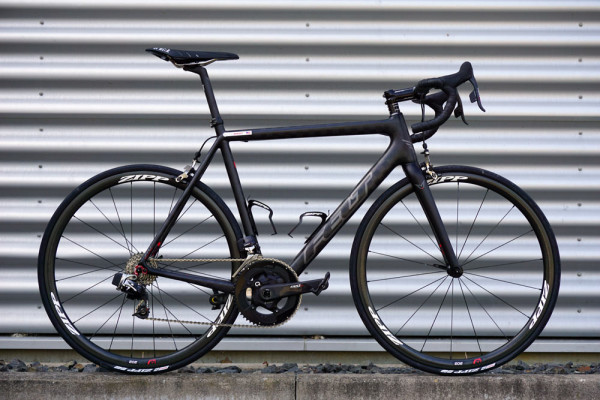
So eTAP is simple. As simple as can be, actually, letting you setup a completely new bike in just minutes. Bolt the parts on and pairing can be done in about 30 seconds. It’s just two shifters plus front and rear derailleurs. Each component has its own battery, the only other part of the group is a charger. Or the BlipBox and Blips, which make up the TT bike shift button system and replace the standard shifter/brake levers.
“When electronic shifting came to market, it was a wake up call to SRAM,” says Brian Jordan, SRAM’s Advanced Development Manager. “At that time, we believed a mechanical system provided the best shifting possible.
“Our competitors had filed more than 250 patents globally. We printed them all out and it was a stack about four feet tall that weighed 44 pounds. That provided limitations, but it also made us mad.”
And it drove them. They knew they couldn’t just copy, they had to do something better than simply electrify a mechanical system.
“We wanted to leverage the potential of electronics to do something that hadn’t been done and make the most of it. We looked at every possible button location, even working with a firm that does fighter jet control sticks.”
While they looked at a lot of ideas, it turned out their current levers really did provide the best ergonomics and most logical placement.
To test it, they ripped out the mechanical internals of a Red lever and hotwired custom electronics to a competitor’s system, and everyone loved it. It was far simpler with half the number of buttons.
The biggest question looming over the whole project was how to make it reliable without wires. Turns out, SRAM felt you could make it more reliable. With wireless, there are no physical connections, so if a single shift fails, just press the button again and it’ll probably work. With a wired system, if something’s not shifting, it means you’ve gotta find the bad connection and fix it.
The heart of it is their proprietary new AIREA wireless technology. It’s not ANT+, Wifi or Bluetooth. Designed by computer scientists, cryptographers and even hackers, it’s designed on the 2.4GHz frequency for high speed (low latency), low power, and security, using 128-bit encryption that’s safer than what’s used on ATM machines. And it’s transmitted with high powered radios that have a ~100m range. That means you could separate the shifters from the derailleurs by a football field’s length and they’d still shift.
Pairing rules mean you can only pair one set of shifters to one set of derailleurs. Or one Blip Box. But not both, and not more than one set of shifters. So you can’t hack it by syncing some other controller to your buddy’s (or nemesis’) derailleurs.
To ensure it worked in a crowded peloton, They’ve also run it on AG2R’s bikes at Le Tour. Before that, they lab tested it with up to 28 distinct shifters and derailleurs all sending shift signals simultaneously. With each one sending each signal over 15 different channels, that’s 420 concurrent shifts, which is unlikely to happen on any real ride. The systems operate on different channels, but they wouldn’t divulge how the channel switching works. We’ll get into more of the testing process later…
THE PARTS
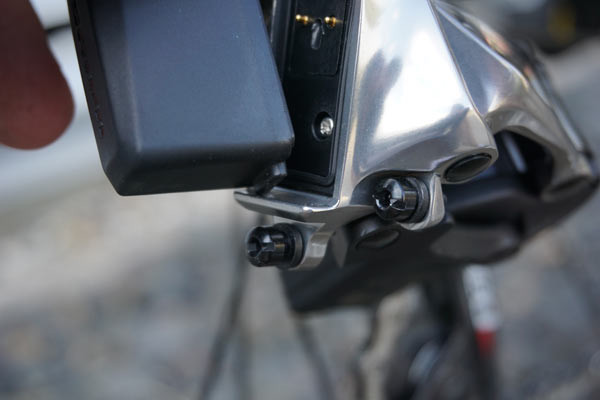
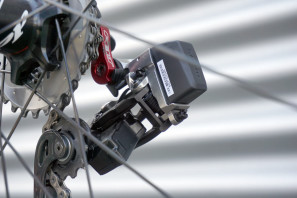
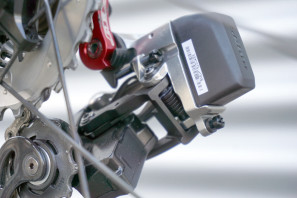
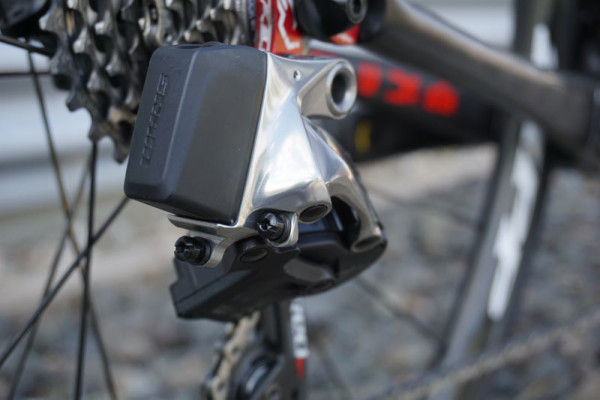
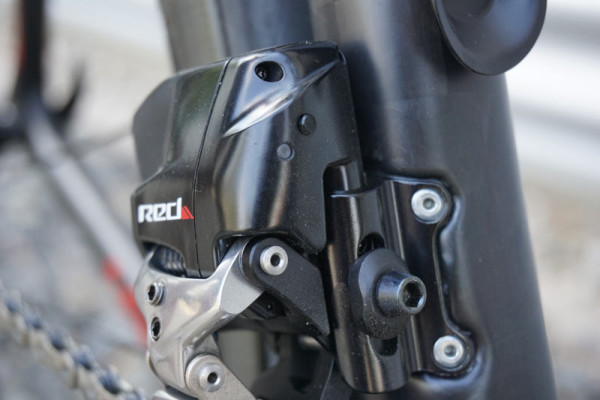
As we predicted, the batteries are small and interchangeable. Their goal was to make them small and light enough to fit directly on the derailleur. And they’re placed out of harm’s way, too, making it very unlikely they’d come off in a crash. Or come off at all…unintentionally. The locking lever is designed to provide a firm tactile click that secures the battery in place. If it’s not able to close, it means the battery’s not making contact and it won’t shift, so you’ll know immediately if it’s not installed correctly.
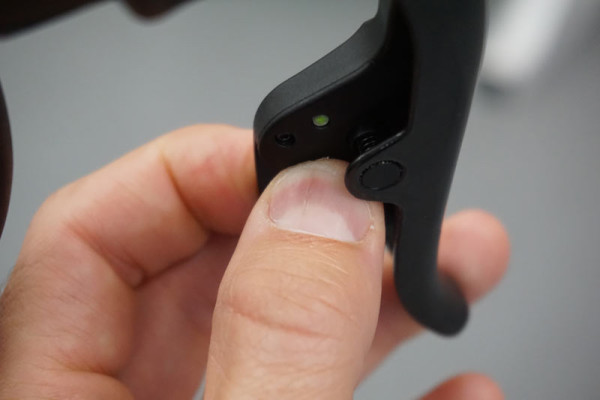
Each part has a built in accelerometer to wake it up, letting it go to sleep after 30 seconds of inactivity to save battery power. Each time you shift, a LED light on each one indicates battery charge level. It doesn’t take much to wake it, something as simple as vibration, so you’ll want to remove the batteries before a road trip and put the battery covers in their place. They’re also somehow nearly impervious to cold, holding their output levels even in subfreezing temps.
A rubber seal runs completely around the contact patch on the derailleur’s body, preventing moisture from reaching the contacts and shorting the system. They’ll last for 60 hours on a full charge, which SRAM says is good for about 1,000km. They’ll recharge in just 45 minutes, and you’re likely to have to charge the rear more frequently since it’s used more often. But the front takes more power per shift, so it’s best to just charge them at the same time. Of course, if the rear dies on a ride, you’ll likely have power left up front and can just swap the batteries and get home on rear shifts alone.
The derailleurs’ LEDs blink green on each shift until there’s about 15 hours of power remaining, then red down to about five hours, and a five-flash red burst when you have less than five hours of ride time.
The shifters use CR3032 coin cell batteries, one each, which give them up to two years of service. When it does come time to change them, everything stays paired between battery swaps.
The included wall plug has two USB ports, and battery cradles use a Micro USB, so you can use any convenient cable and USB port to charge them…like in your car, though it may take a bit longer than 45 minutes on weaker chargers. It’ll come with the derailleurs or complete bike. The third contact on the battery is a thermistor used to detect pack temperature for protection purposes during charging. In the unlikely event yo don’t touch your bike for a long, long time, a fully charged battery should take about 18-21 months to fully discharge if left completely alone.
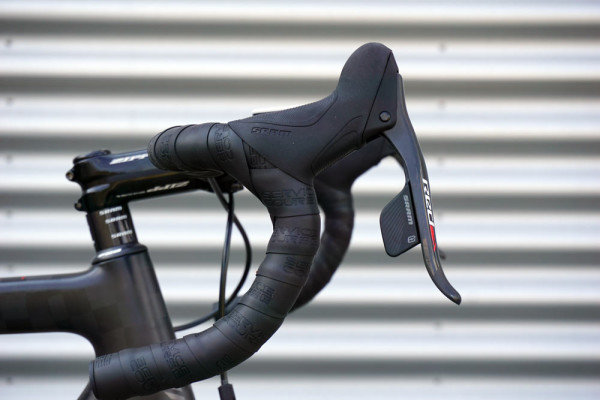
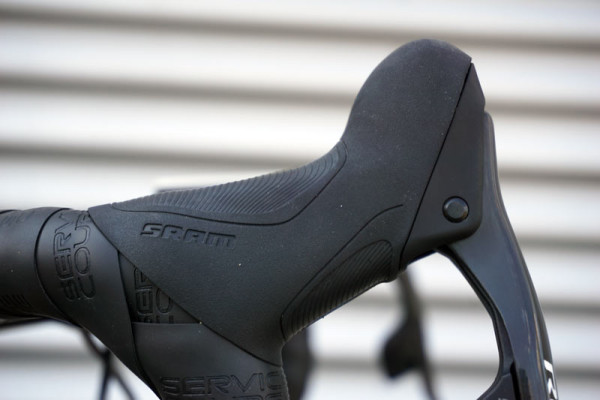
The new parts offered an opportunity to redesign everything, so they tweaked the brake levers’ shape, giving them a slightly broader front profile that they say better fits a wider range of hand sizes. Reach adjust is still on board.
The electronic shift paddles are large enough to fit any hand size. A small return spring pushes them back, and the backside shows the LED and Function button. Under the hoods are two ports on each shifter to add their remote Blips shift buttons.
They were pretty happy with the way the standard levers felt, but the new ones are a little slimmer in diameter. The rubber’s texture is improved, and it fits tighter and and remains flush at the edges for a smoother appearance and feel.
Mechanical brake versions are coming first. Hydro is in development and will hopefully follow shortly thereafter.
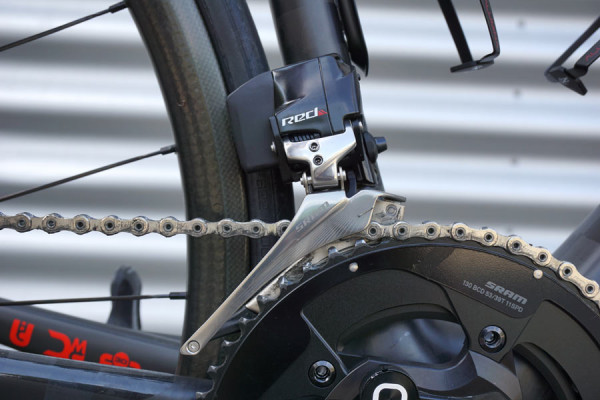
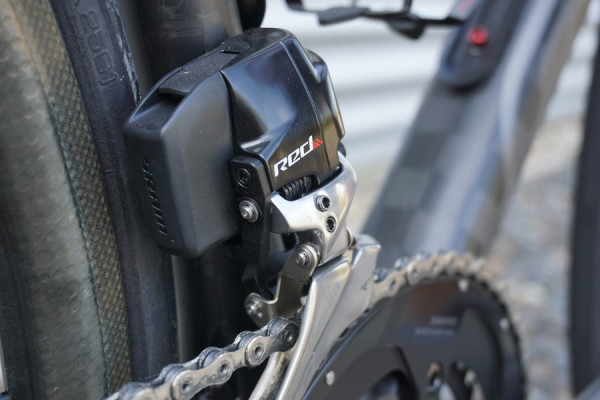
The front derailleur relies on their YAW design to eliminate chain rub regardless of where the chain is on the cassette. There is electronic trim, it just doesn’t adjust the front derailleur as you run up and down the cassette. Instead, it knows which cassette cog the chain is on and will under- or overshift slightly to provide a smooth shift without dropping the chain to the inside, then quickly move into its proper YAW position. Check the video further down to see it in action.
The front derailleur’s movement is handled by a small lever that pushes the outer parallelogram outward, and a return spring helps bring it back down.
Limit screws are easily adjustable from the outside, and it’s hiding rotational adjustments on the backside. You’ll see those, along with the the LED and Function buttons on the front of the derailleur, in the Setup overview below.
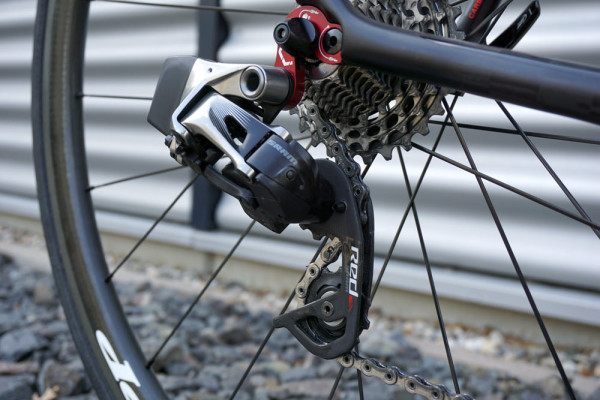
The eTAP rear derailleur is the master device for the whole system. It initiates the pairing process, joining the other parts together and making it all work.
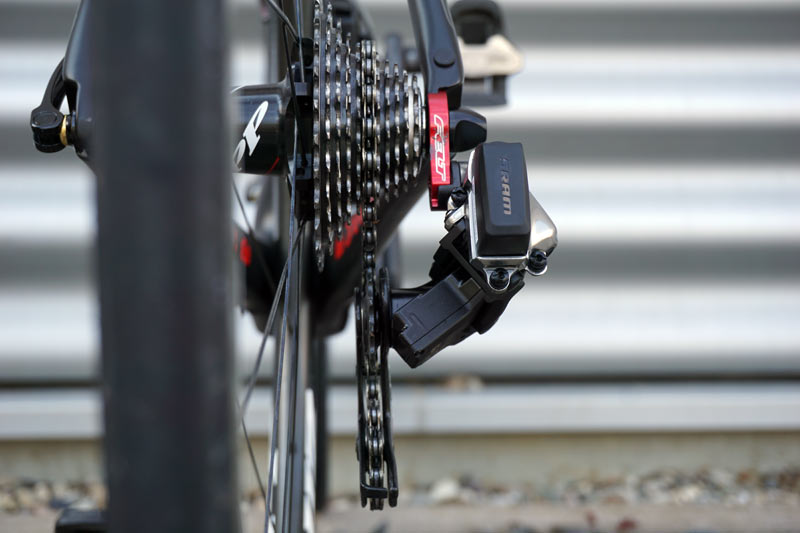
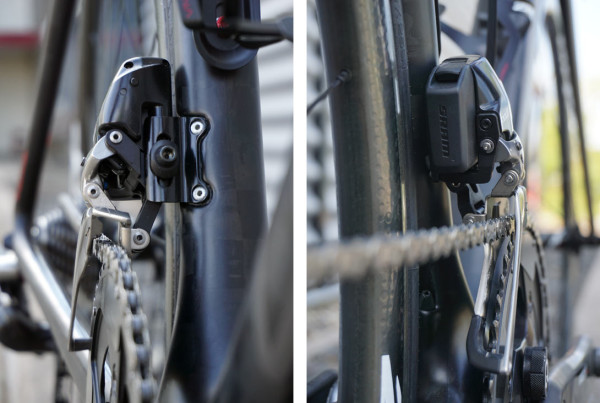
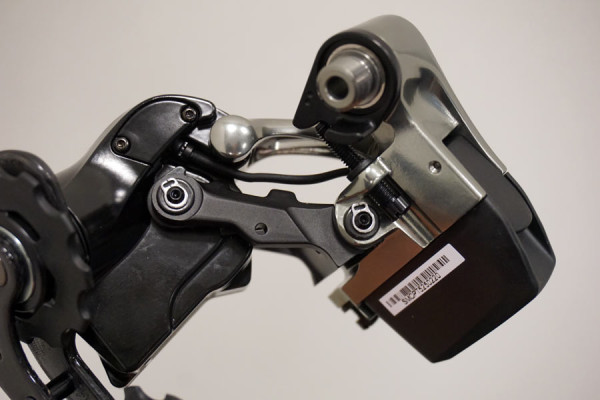
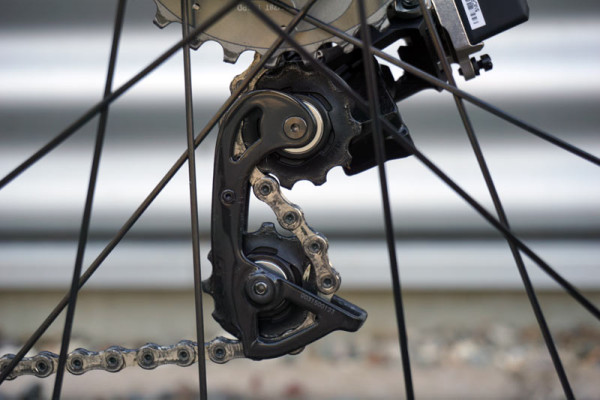
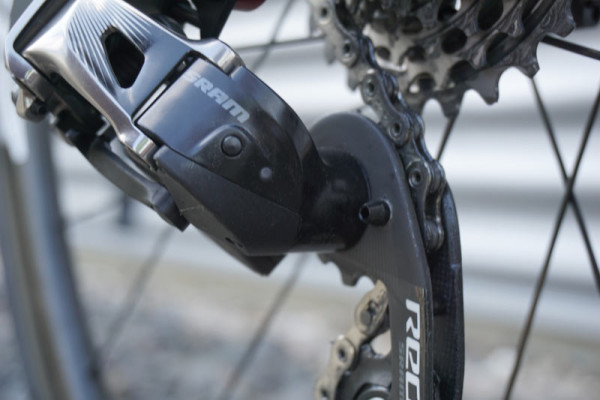
The motor is housed in the lower portion of the derailleur, near the upper jockey wheel.
It’s connected to the battery with a well insulated cable, one of the few wires visible in the entire group.
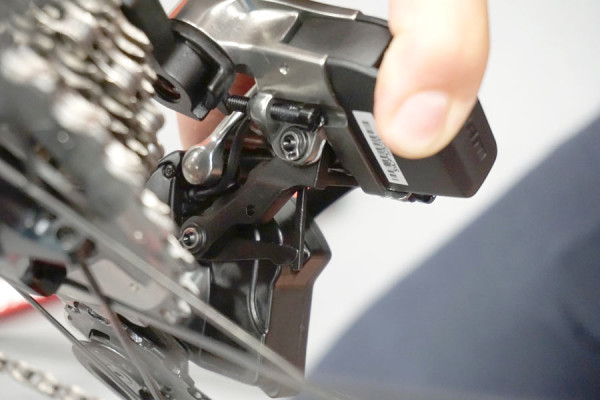
The motor drives a lever (A, see below) against a raised nub (B) on the lower parallelogram. It’s held firm against the nub by the return spring (C). This picture shows the derailleur pushed into its breakaway safety position, which pushes both the lever and the spring away from the parallel arm. Here are those parts from the inside:
When the lever (A) pushes against the nub (B), it’s not so much moving the parallel arm as it is rotating the entire lower knuckle, which forces both arms to move in relation to one another and thus slide the upper wheel along the cassette’s profile.
Those same parts create the breakaway design that allows it to be forced to move inboard in the event of a crash. It does so without harming the motor, then pops right back into place. The lever (A) is slotted so that the return spring (C) is captured.
The unit is comprised of hard steel and alloy with a carbon cage. The initial run will fit a 28-tooth max cassette, not their WiFli wider range road cassettes. But they’re working on it.
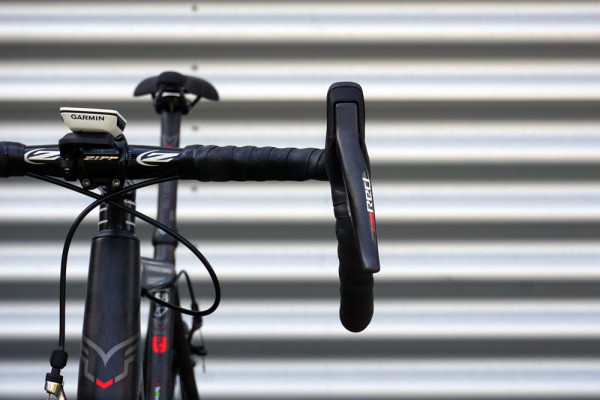
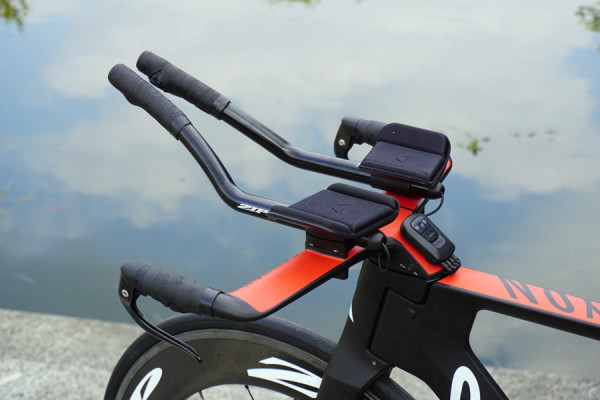
For TT/triathlon bikes, the eTAP Blipbox is the alternate wireless shift transmitter that functions the same as the shifter levers, but mounts with a standard 1/4 turn (read: Garmin) cycling computer mount.
It has up and down shift buttons and a Function button, and serves as the home base for the Blips remote shift buttons:
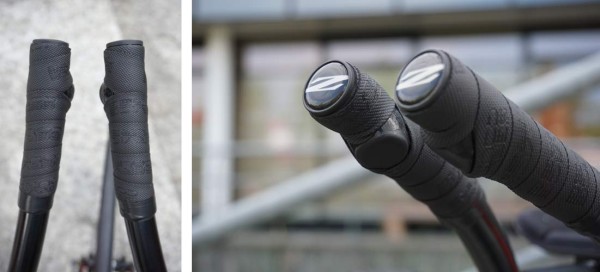
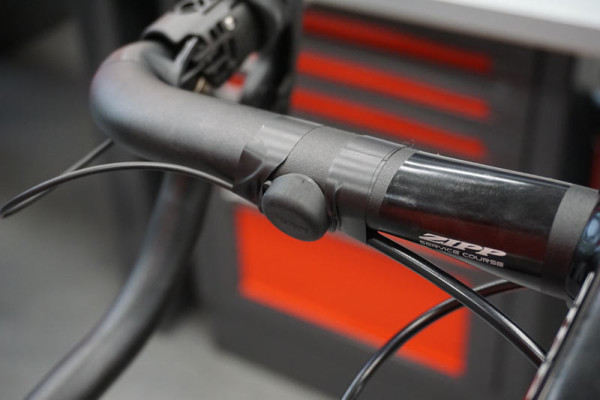
Blips are the only wired part of the system and can be mounted anywhere, even under the handlebar tape. They’re as light as 6g each and are sold in sets of four, coming in two sets of two lengths and include nylon clips to mount them on traditional road handlebars directly adjacent to the stem, too.
They’re the only part that could be “hacked”, too. It’s just a simple button, so we suspect Fair Wheel Bikes is already scheming on how to do something with it.
This shows the group running through several shifting sequences and touches on Setup, our next section…
INSTALLATION & SETUP
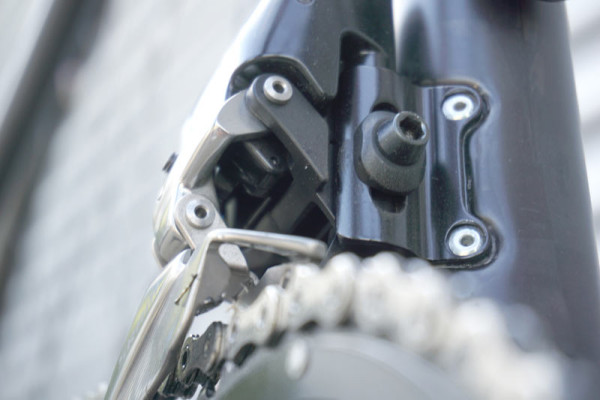
The front derailleur will ship with three different Wedgies that brace it against the frame. (Yes, “Wedgies” is the official branding…gotta love SRAM’s product naming team!) These are critical because they prevent the powerful motor from twisting the front derailleur during a shift. Beyond that, set up is just like the mechanical YAW derailleur – it has lines and guides on it to ensure it’s properly positioned in relation to the chain and large chainring.
Once on, chain length is determined the same as their other groups – wrap it around the big chainring and biggest cog, then add two links. Once cut, run it through both derailleurs and install the PowerLink connecting link.
To pair everything, you simply turn on the rear derailleur by holding the button down until the light blinks slowly. Then you hold down the buttons on each of the other items until they blink rapidly (it took about three seconds in our demo), then press the button on the rear again to finalize it.
To micro adjust the rear derailleur for perfect shifting, simply hold the function button on the shifter while depressing the shift button and it makes up to 13 microscopic changes to the derailleur’s position, allowing for an incredible amount of precision. There’s no special adjustment mode, you just hold the shifter’s function button and tap the lever to make an adjustment. So, not only is initial setup easy, but if you’ve got to make a wheel change mid-race or ride, you can get shifting perfectly aligned in seconds. Limit screws manage upper and lower limits like normal.
While they didn’t mention it explicitly, it’s prescient that the rear derailleur is the parent component, teeing up 1x applications in the future without any functional changes.
The front derailleur’s Function button can be pressed quickly to initiate a shift without touching the levers, helpful when on the bike’s on the stand. Likewise, a quick press of the rear mech’s Function button will shift it outboard (harder), and a quick double push makes it shift to an easier gear.
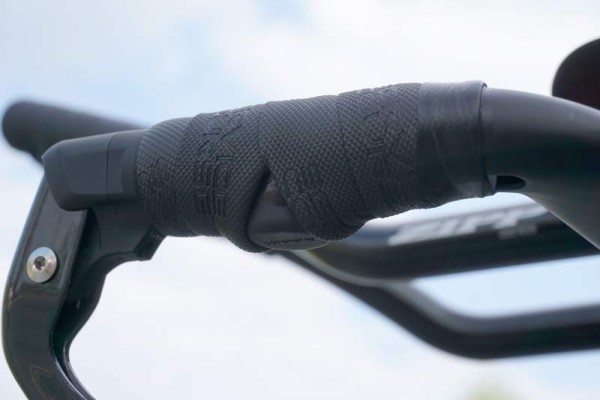
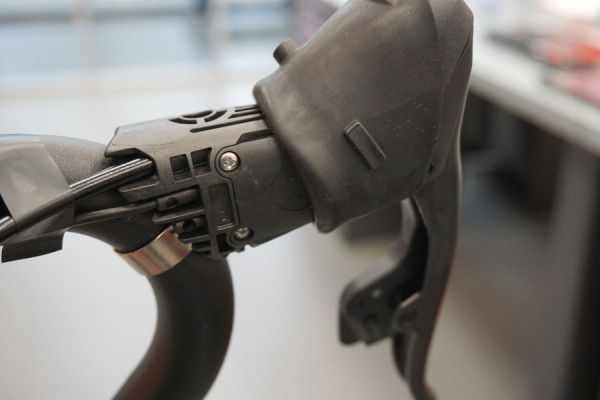
Under the hoods are two ports for the Blips remote shifting buttons – one is shown installed in the top port. The screw-on cover plate hides the CR3032 coin cell battery that powers the shifters.
The Blips simply plug in and then you tape them wherever you want them under the bar tape, or use the mount to clip them next to the stem.
You can wrap them so they’re seen, like on the TT bike shown earlier, or cover them completely. Or run the wire through the handlebar and use double stick tape to secure it to the bottom. Or top. Or anywhere else you want.
Excluding brakes, you can set up a completely new bike in minutes. It’ll take you longer to pull the old group off your bike than to install eTAP.
COMPATIBILITY, SYSTEM UPDATES & HACKING
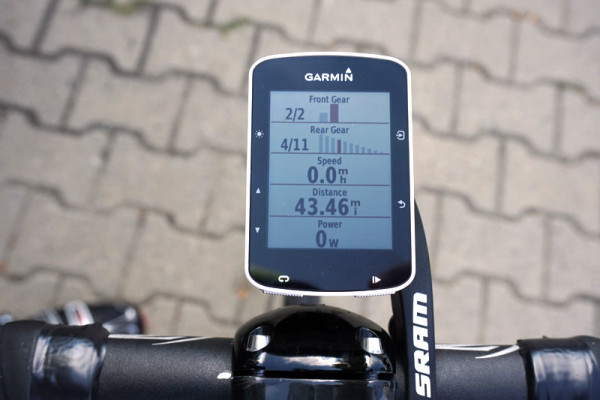
While all of the shifting is done through AIREA, the derailleurs also have ANT+ transmitters to send shift data to compatible cycling computers. They partnered with Garmin to show gear selection on the new Garmin 520 at launch. Additional Garmin models and other brands’ computers should just be a firmware update away, too, since it’s using a public shifting protocol within the ANT+ standard. Smart developers will find a way to show that data graphed against heart rate, power output, incline and time spent in gears, among other things, so kudos to SRAM for making the data available to all…and without requiring external antennae.
According to SRAM, eTAP is the most thought-out, most tested and most carefully developed product they have ever made. And yes, the Hydro disc brake recall was a big driver behind the extensive testing done here…which we’ll cover in a second post. With all of the development work that’s gone into it, they say there are no immediate plans for updated tech or design changes in the near term, which should ease concerns for early adopters.
That said, there is a USB “Bootstick” that’ll be available that allows it to be updated wirelessly, because if they’re completely honest, firmware updates will likely happen at some point. But, there’s no GUI that lets you tweak it like you can with Di2. So, the multi shifts with a continuous button hold are there to stay, and you can’t speed it up or slow it down. By our count, it takes about 3.25 seconds to move up the derailleur (hardest to easiest gear) and about 4 seconds to move down it. And it’s 11-speed only, so you can’t program to work with 10-speed cassettes.
As for hacking it, as we mentioned, it’s a closed, proprietary system. In other words, you aren’t likely to be able to break into it since even their own developers couldn’t hack into your system wirelessly. AIREA uses advanced 128-bit encryption keys with layers and rolling codes, and the high powered transmitters further reduce outside attacks that may try to overpower them or confuse the system.
PRICING & WEIGHTS
Actual and claimed weights are:
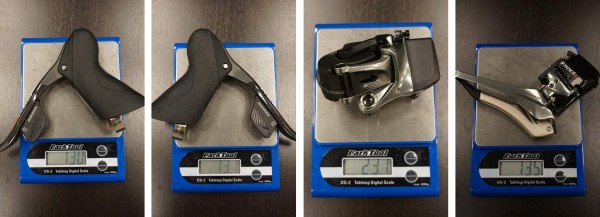
- Shifters: 130g and 131g with batteries (260g/pair claimed)
- Rear derailleur: 237g with battery attached (239g claimed w/battery, 215g w/o)
- Front derailleur: 135g without battery attached (187g claimed w/ battery, 163g w/o).
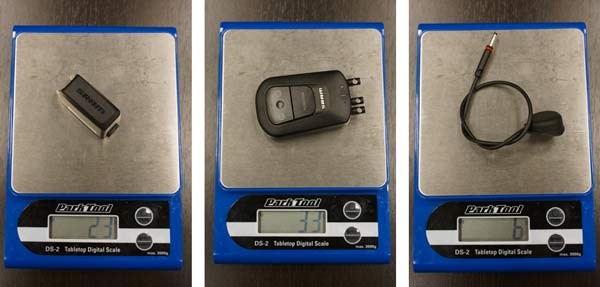
- Battery: 23g
- BlipBox: 33g with battery and 3/4 plugs installed (31g claimed)
- Blip: 6g with 150mm cable (Available in lengths of 150mm: 6g, 230mm: 7g, 450mm: 8g, 650mm: 9g, claimed)
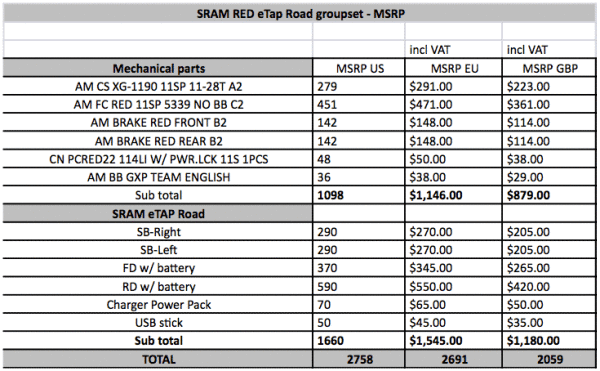
Prices for the standard eTAP parts and necessary 2016 SRAM Red cranks, brakes, etc, are:
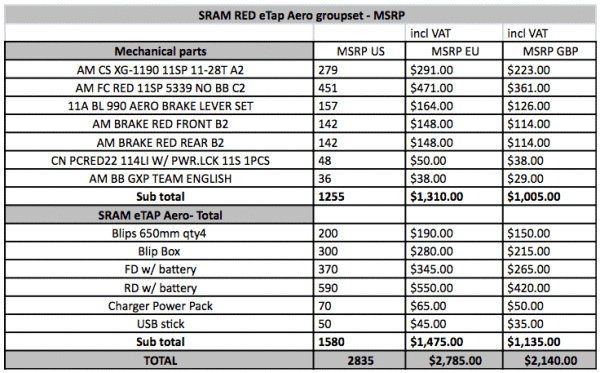
…and for aero parts:
All parts will start shipping in Spring 2016 for both aftermarket and on complete bikes. When it does ship, it’ll come with an extensive owners manual that’ll cover all of this again (and more, they say). And they’ll have all the support videos and info online, too.
Want to know more? Above, we’ve covered the technical details, development story, setup, installation and actual weights. First ride impressions and testing protocols will follow shortly as a separate post…
