What’s the best brand of bike lights for night riding? Tough question. Brand-name bike lights are all really, really good these days, how many lumens it has and how long the battery lasts aren’t enough to set one apart. The Gloworm XSV, introduced earlier this year, easily tackles both of those, then adds a few unique features that make it worth a look. Namely, an easy wireless remote, and the ability to customize your beam pattern with included lens “gems” that swap in and out in a minute. We’ve been testing this 3,400 lumen, three-LED unit leading up the daylight time change, and here’s why you’re going to want it…
What’s in the box?
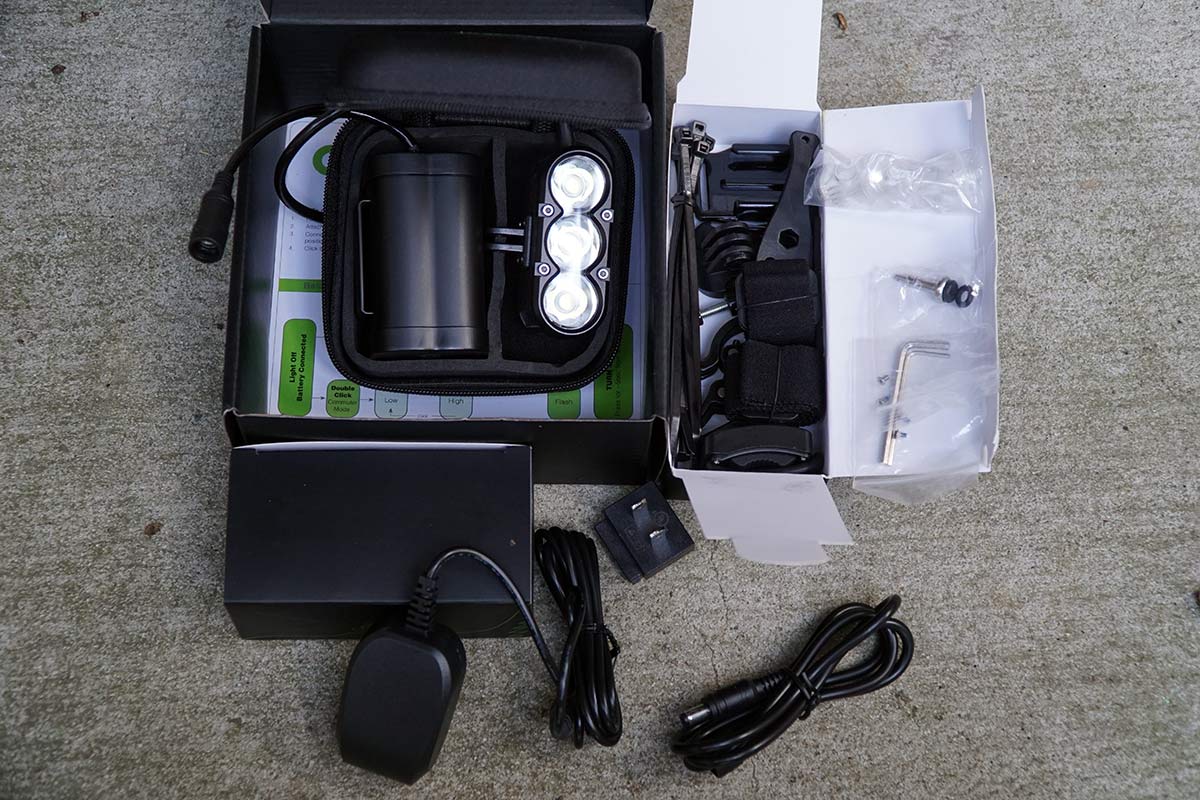
For $320 USD, you get the light, a 6,800mAh Li-Ion 4-cell battery, and the following bits and pieces:
- extension cable
- smart charger wall unit with interchangeable prongs
- universal helmet mount
- 31.8mm quick release bar mount (add a 35mm clamp for $5)
- GoPro-style base mount
- strap mount for attaching battery to bicycle frame
- Hex tool
- wireless remote
- spare optics (aka lens elements) – wide/spot/honeycomb
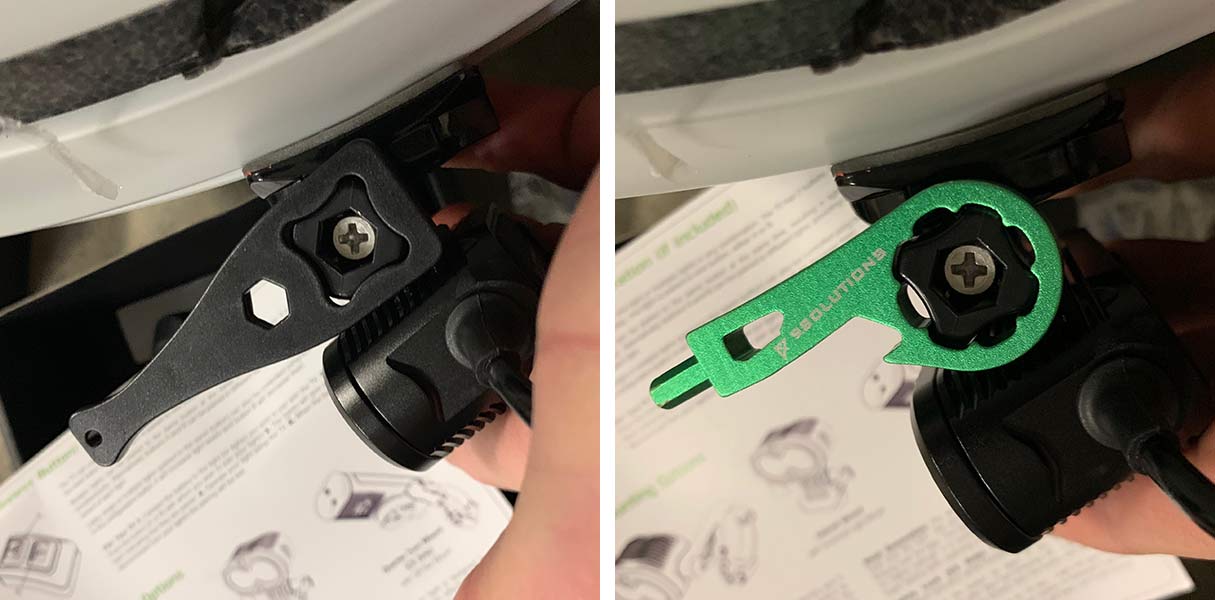
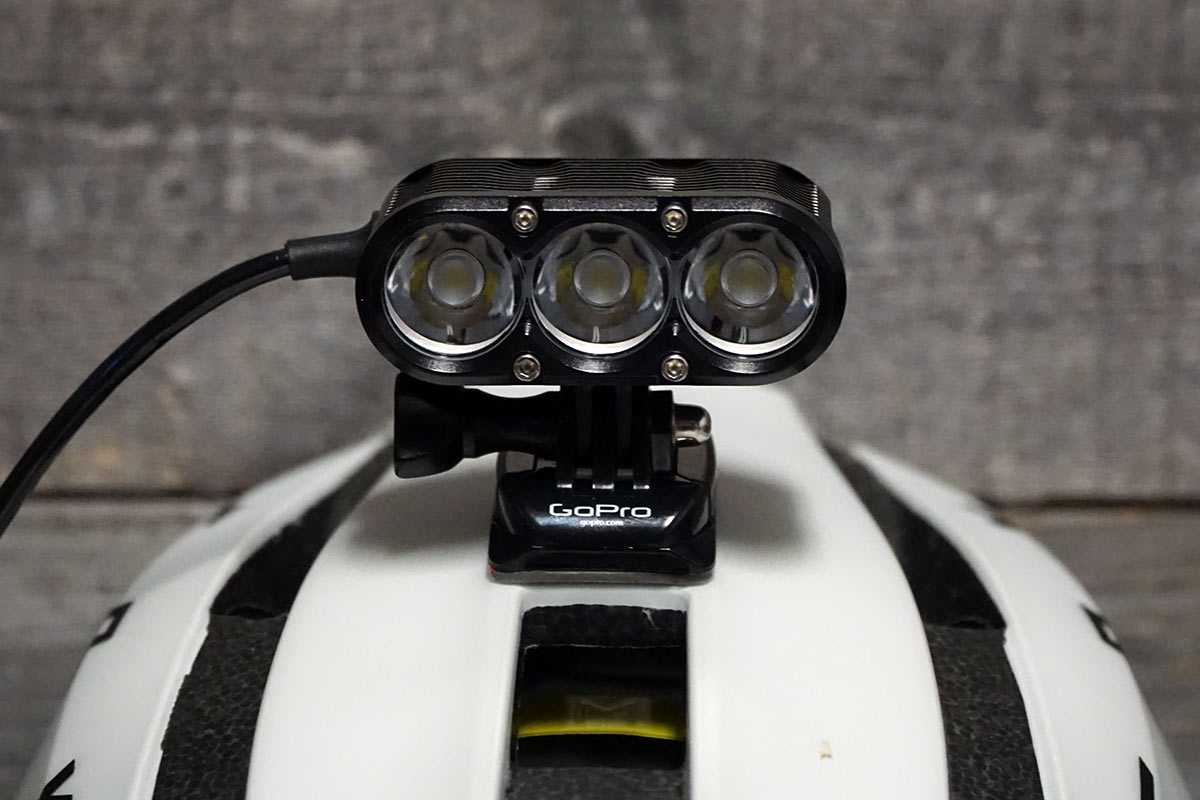
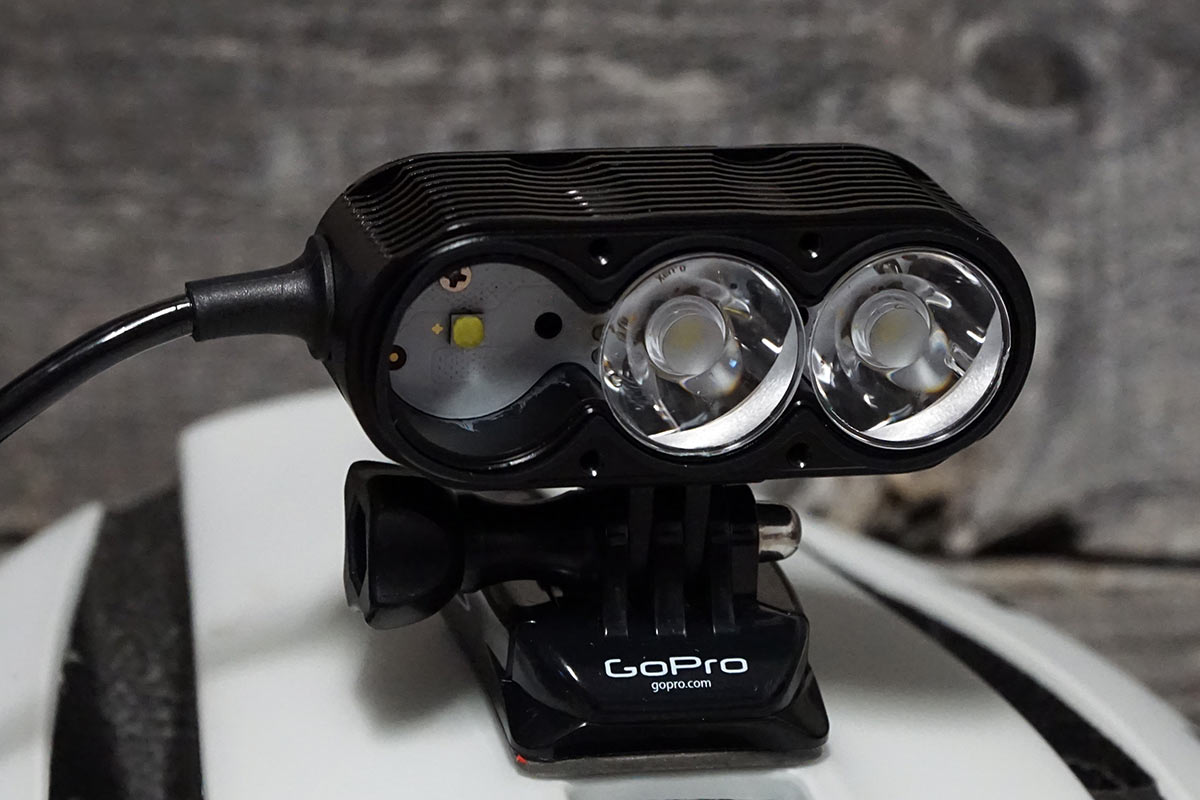
As you’ll see on the photos below, I ended up using an actual GoPro brand base mount, as it offered a more secure-feeling connection to the GoPro brand stick-on mount I attached to my helmet. Gloworm also includes a plastic tool for tightening the GoPro bolt, which you’ll need to do because it takes more than hand-tightening to prevent the light from pivoting. But, that tool’s bulky square shape makes it too big to actually turn between the light and the helmet. So, I used my 9.Solutions Multi-Tool, which is a fantastic addition to any action-camera setup. A phillips head screwdriver also works.
It’s worth noting that the light unit comes with GoPro-style feet attached to it, but they’re removable if you prefer to use their side-mounted bar mount attachment. Everything you need for any of these attachment methods is included in the box, making the light ready to use as soon as you charge it.
Actual weights, tech specs & setup tips
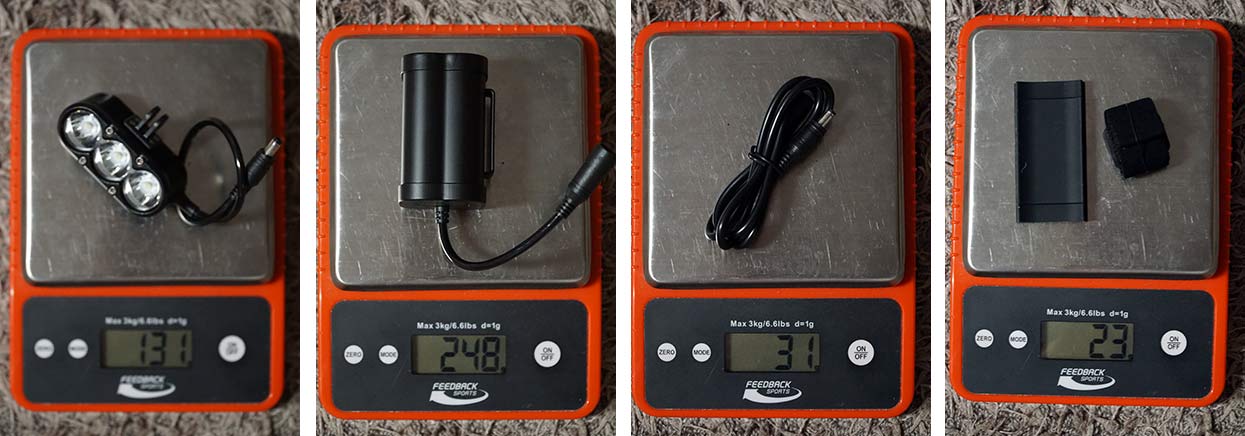
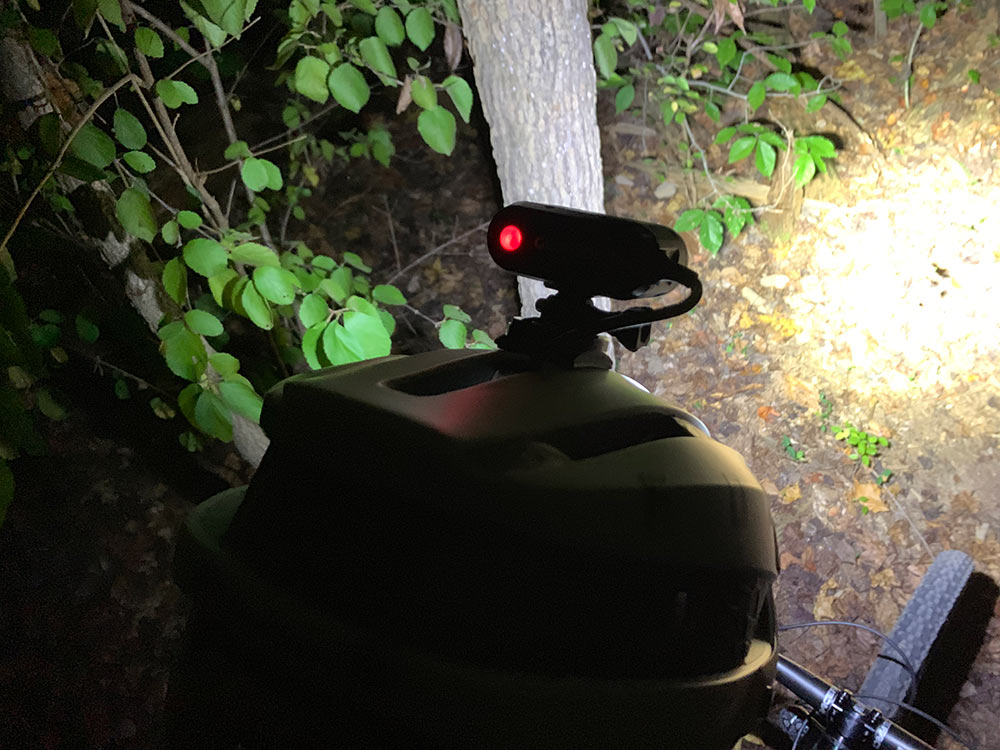
I like to run a helmet light only, no need for a bar light in my opinion. So I’m very happy with the XSV’s 131g weight for the light unit. The battery’s 248g weight is easily managed inside a hydration pack, and the 31g extension cord is long enough to get it there…or all the way down to a hip pack or (if you like to gamble) jersey pocket. If you prefer a bar mount setup, the strap and rubber pad for mounting the battery to your frame is 23g…
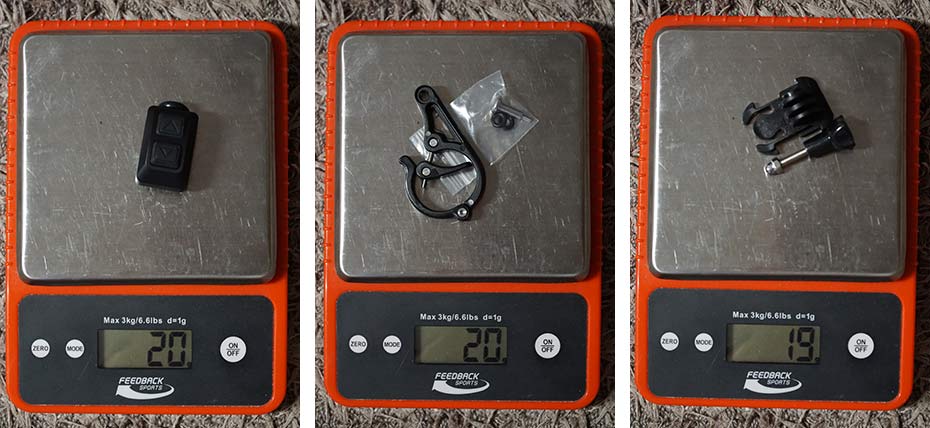
…and the 31.8mm bar mount is 20g with hardware. The remote control switch (which you don’t need, but is super handy) is just 20g with battery installed (it comes installed, no need to purchase separately), and the included action cam base mount is 19g (but I’d recommend using an actual GoPro brand mount if you have one).
Gloworm claims the following specs:
- 3400 lumens actual output
- IP67 Waterproof
- Latest gen Cree XHP 35.2 LEDs
- Overheat protection
- 1.5 hour runtime on max
- LED fuel gauge on battery
- light will flash when running low
- 322g total system weight with battery
- 4-hour charge time from empty
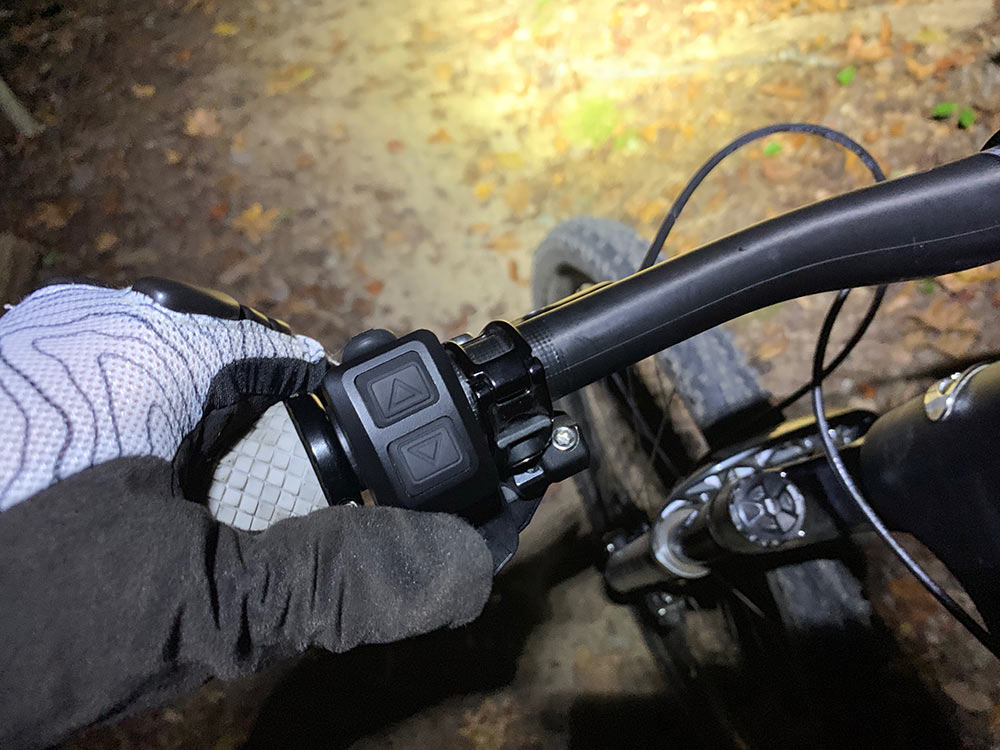
A couple quick notes on setup: You’ll need to pair the remote with the light every time you unplug the light from its battery…which sounds stupid, but it’s easy. Plug in the light, then press the remote button you want to pair it with…within 10 seconds. Wait longer and you’ll need to unplug/replug the light and try again.
The remote has two buttons, allowing you to pair the other button to another Gloworm light. Or, pair two lights to the same button to control them in unison. You can also set the remote to cycle both up and down in brightness levels using the up and down buttons by holding down one button (it doesn’t matter which one) and, while still holding the button, click the other button twice. Now release both buttons. Hold, click, click, release. Do this again to put the remote back in normal mode.
How many lumens do you need?
The XSV comes stock with three preset brightness levels, and a special super dim mode. But you can customize all of that, and instructions are in the box. I’ll add this: Be patient with the click patterns it recommends…there’s a double-click required, and it’s a medium-speed double click. Too fast and it doesn’t register, too slow and it just cycles through the modes. Don’t worry, your light’s not broken, you just need to time it right.
Once you get it right, you can cycle through a wide range of brightness levels for each of the three main settings. If you routinely climb long stretches at a slow speed, I’d recommend setting the low much lower to conserve battery. Out of the box, the “low” setting is plenty bright enough for riding singletrack at regular speed. Which is impressive, but overkill for slow climbing. Fiddle with it and you’ll be able to milk a lot more time out of your battery. Keep reading to see how we set ours up.
What’s the best beam pattern?
The XSV comes with three of the same stock lens elements installed, and three alternative elements in the box.
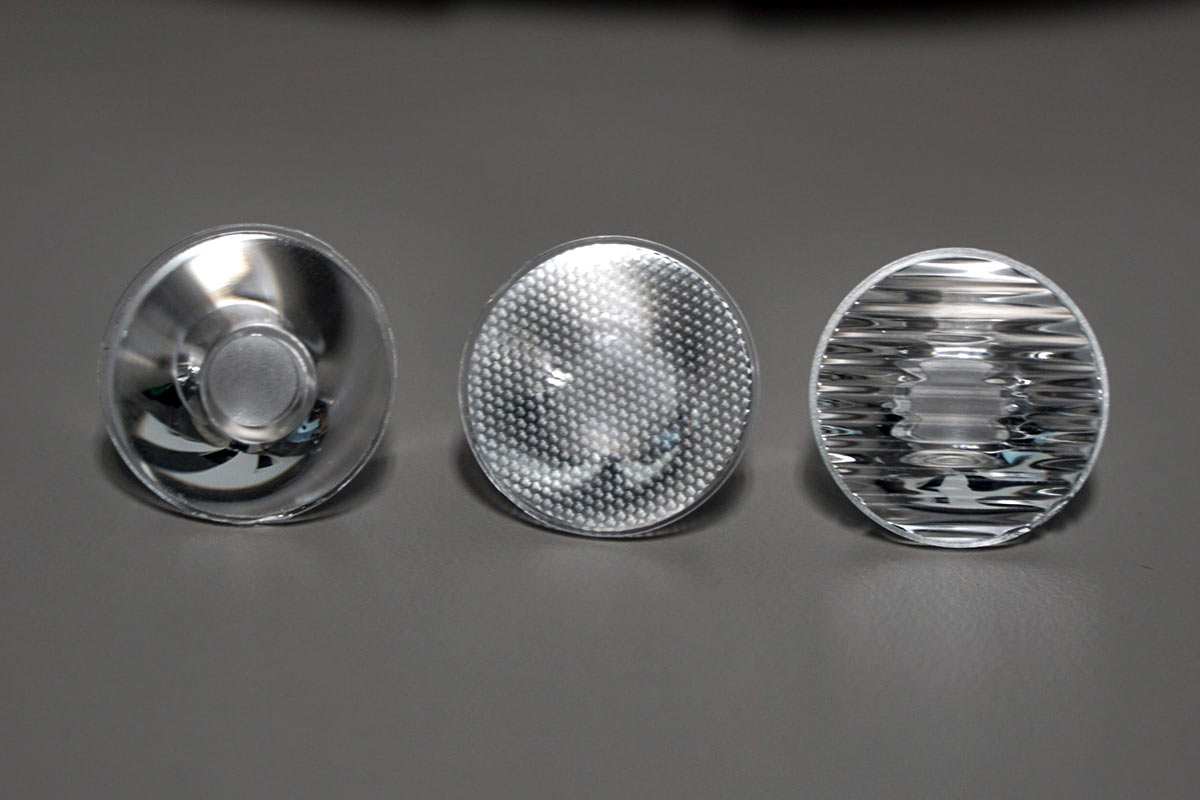
The XSV comes with three Spot optics installed in the light, plus three more. Left to right, you get an extra Spot (17º), the Honeycomb (30º), and the Wide (40º).
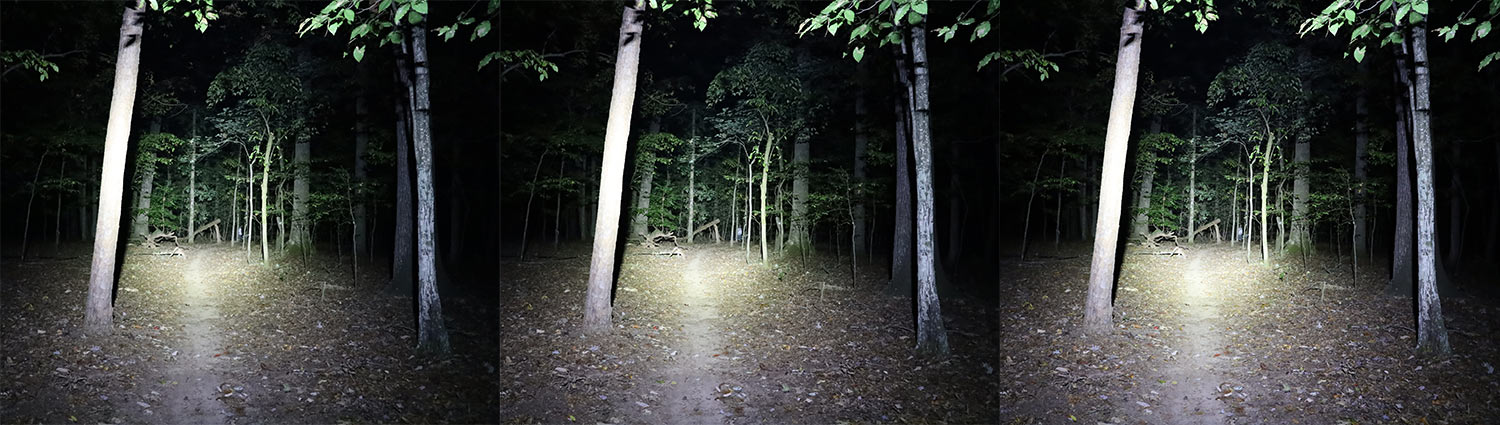
To swap them, simply unbolt the faceplate and pull it and the clear plastic protective shield away, then change the optics in and out. The Cree LEDs sit behind the optics, and a rubber gasket sits between the shield and the body to keep moisture and dust out. Here’s what the beam patterns look like. All examples below keep the stock Spot beams on the left and right and only change the center optic:

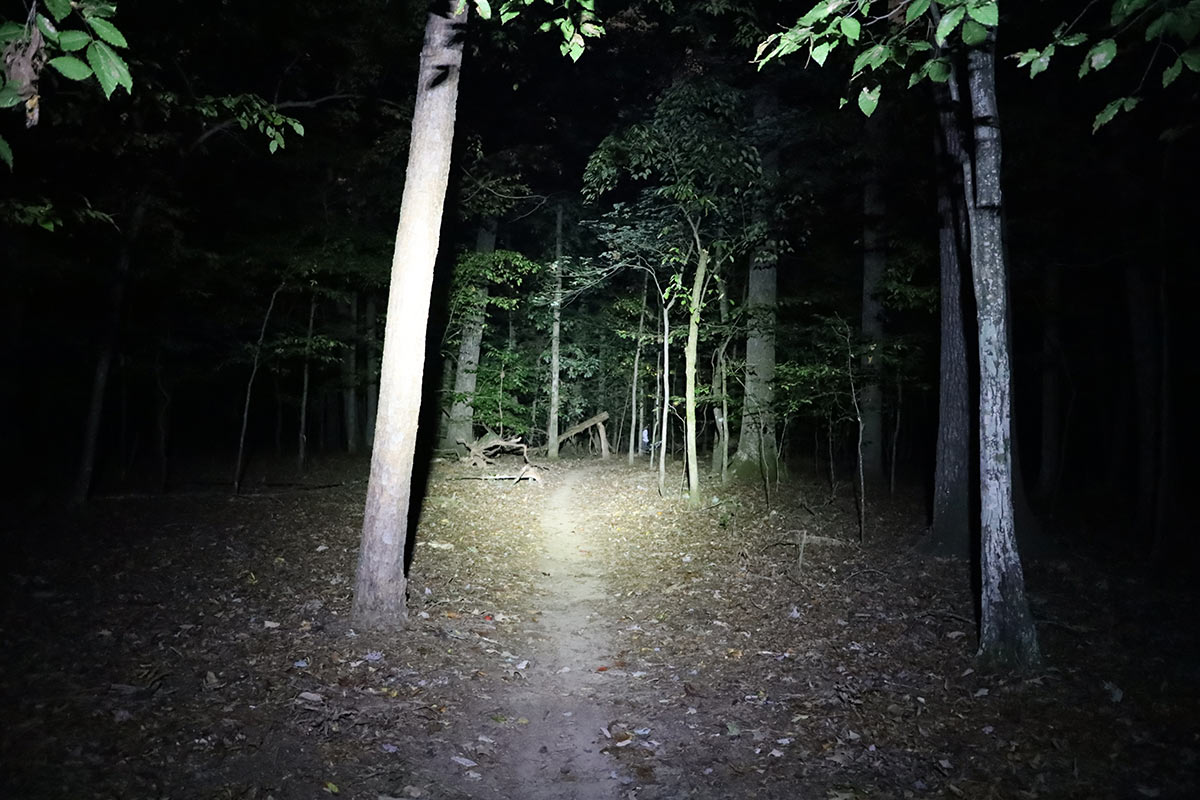
Three spots gives you the most light output (these optics are the most efficient), but with a very narrow beam. If seeing as far ahead as possible is most important, just keep it this way.
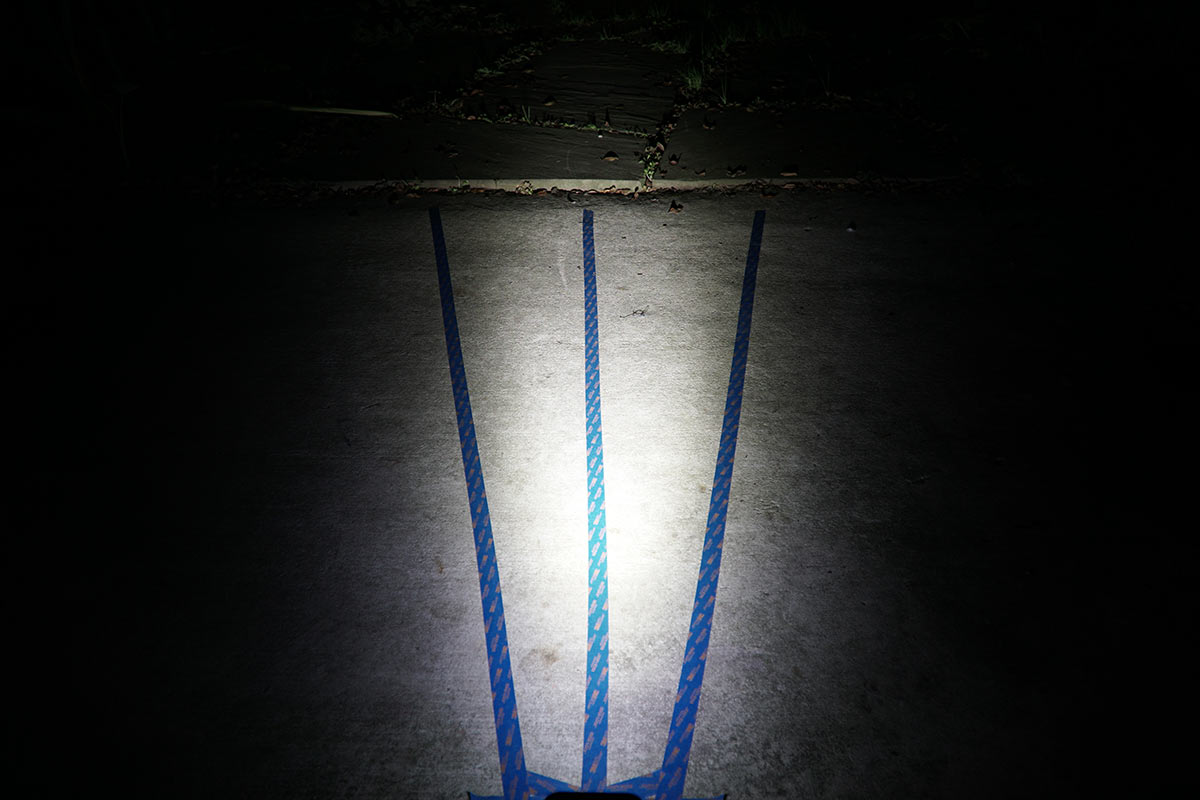
The Honeycomb adds a bit of diffusion to soften the edges and spread the light just a bit wider and closer to you, but with two Spots on either side, there’s still a ton of light down the trail.
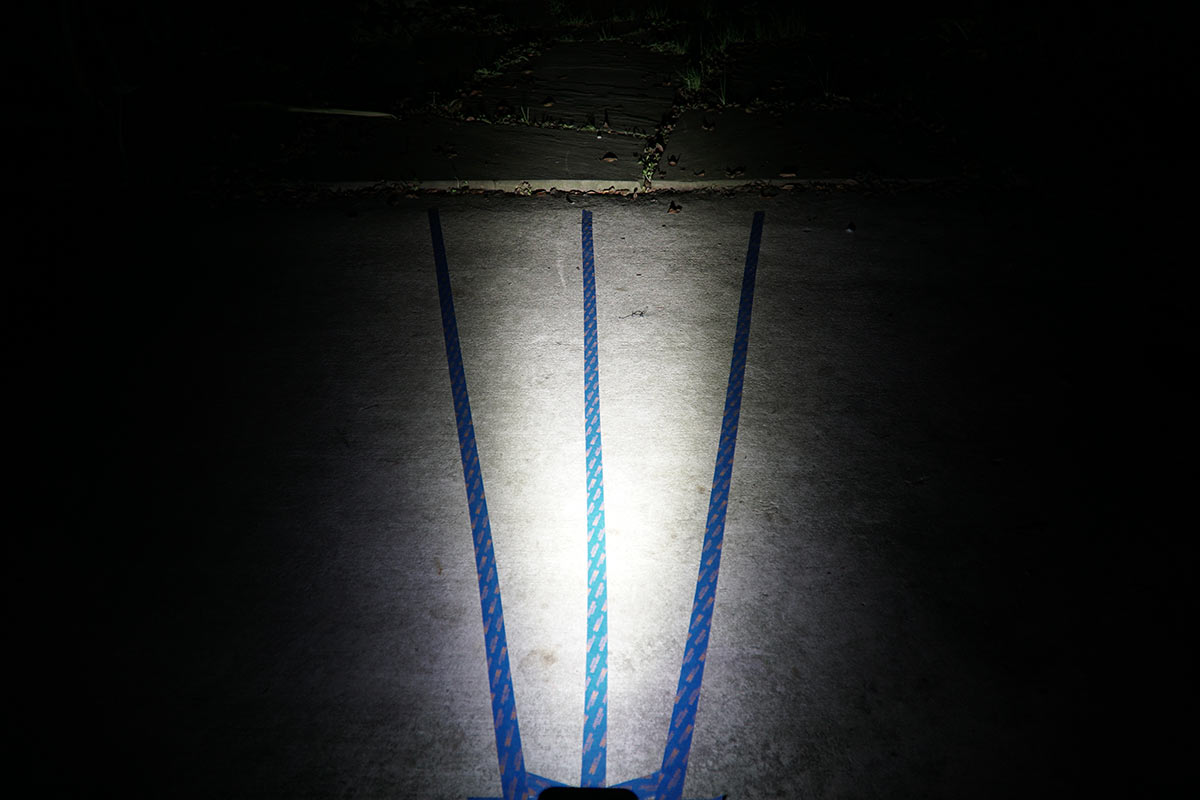
If you want to go wide, it’s key that you install the Wide optic in the correct orientation. While it may seem logical that it would go in with the lines horizontal (I mean, that looks wide, right?), that would actually send more light up and down. As you can see above, with the Wide optic installed with the lines running horizontally, the beam is still very narrow.
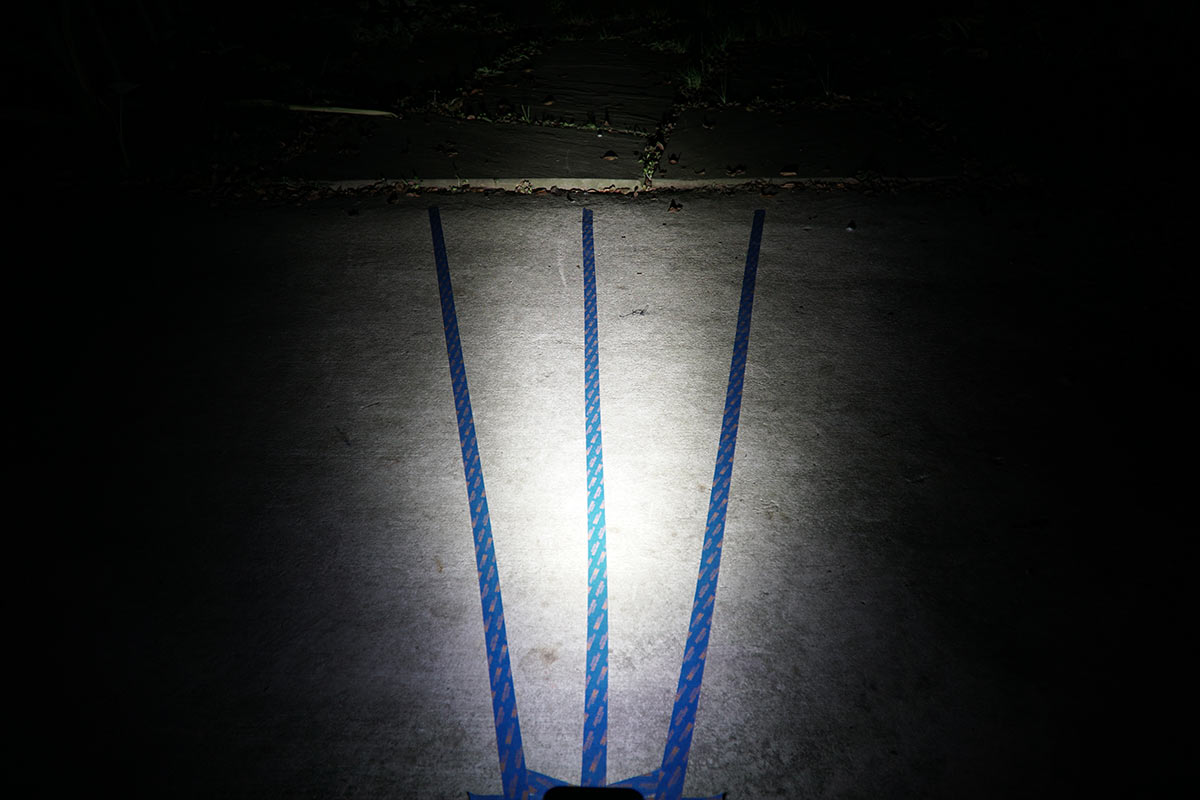
But, when you install it with the lines oriented vertically, the light spreads much wider. Here’s all of them together for side-by-side comparison of the beam patterns:

We ended up leaving the Wide in the center position to soften the edges and provide a little more low-speed surround lighting. The cool thing is you can mix and match to get exactly the setup you want.
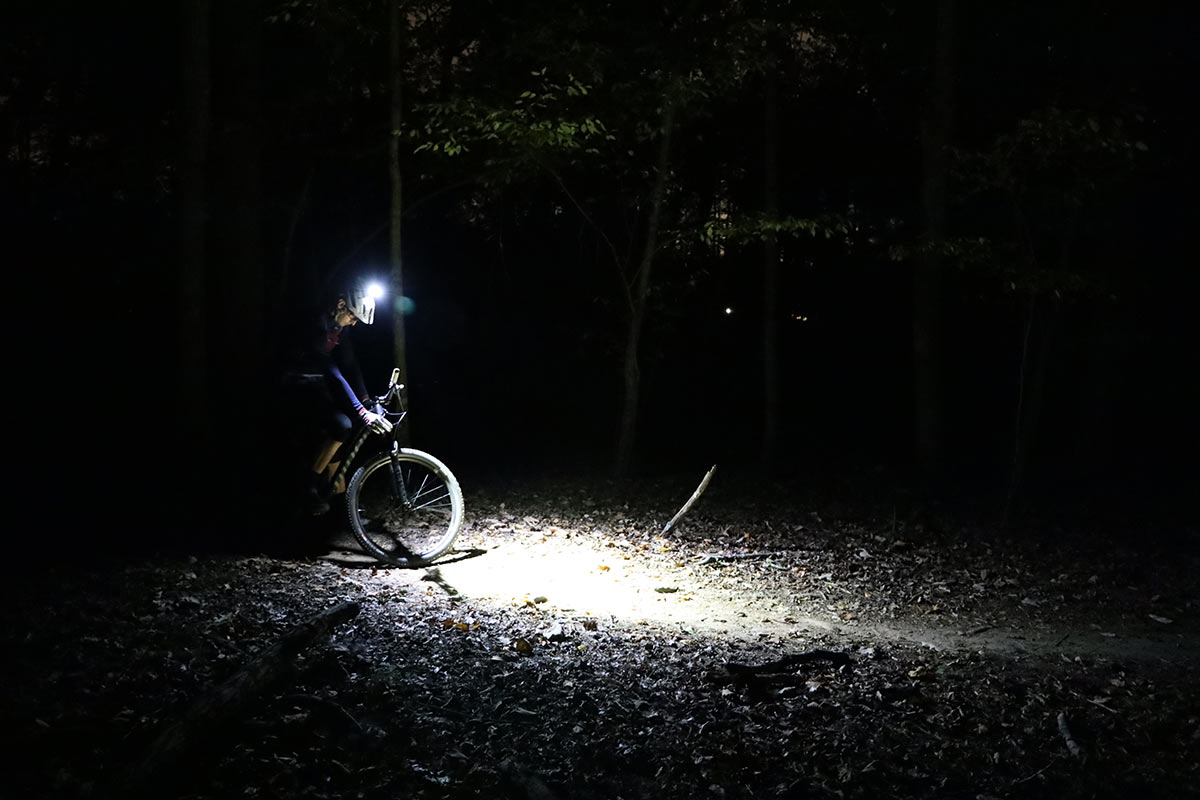
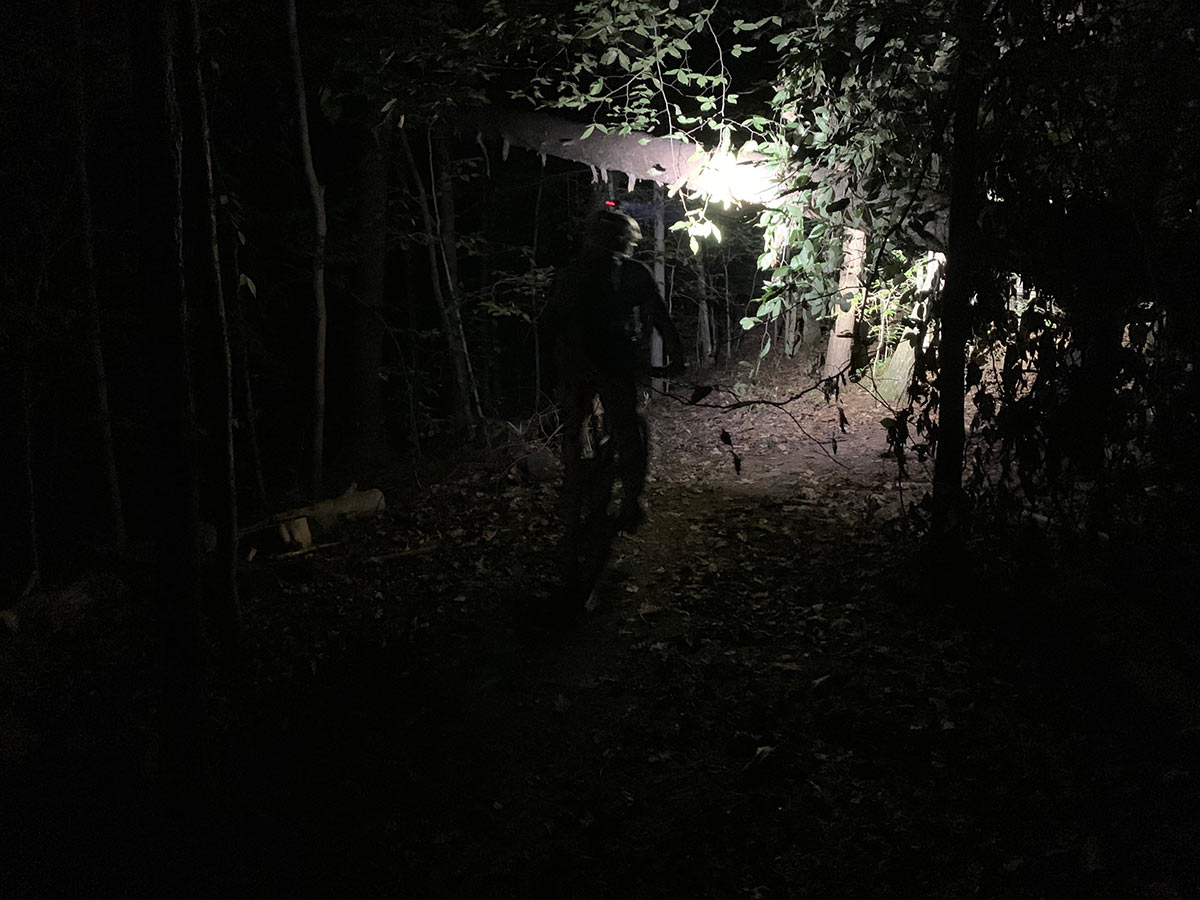
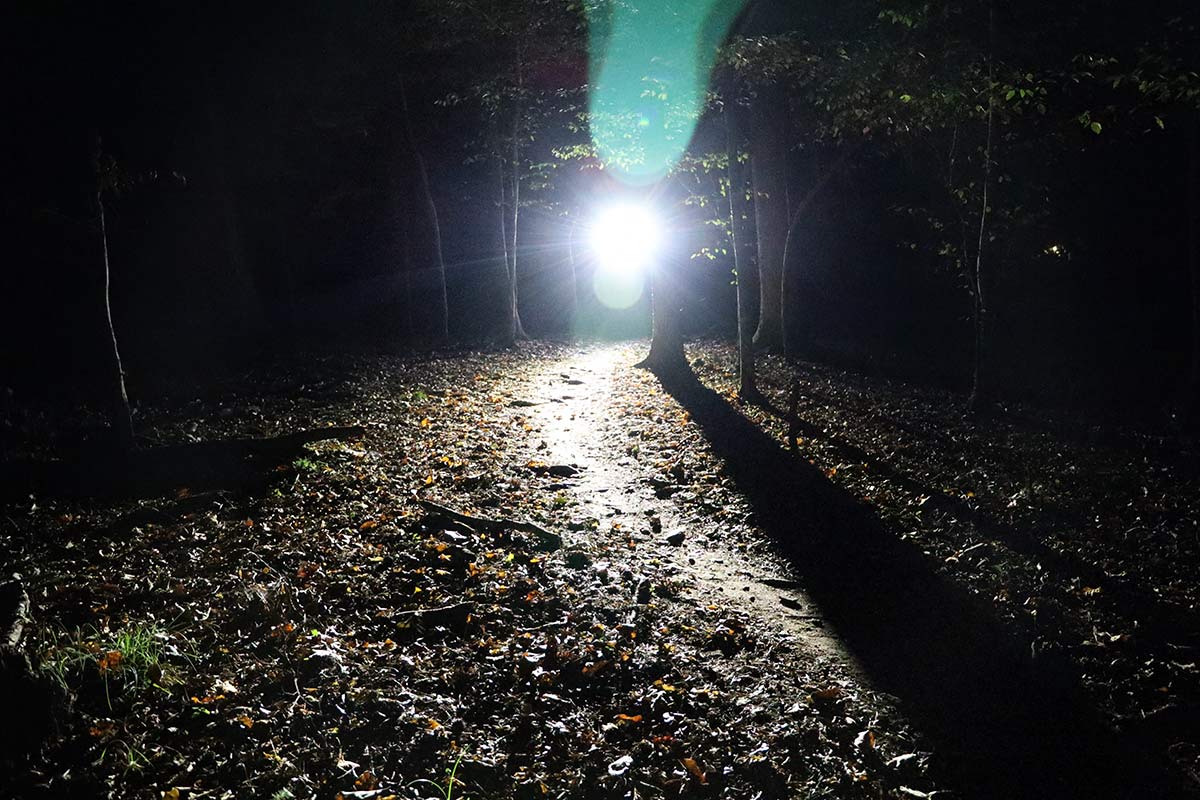
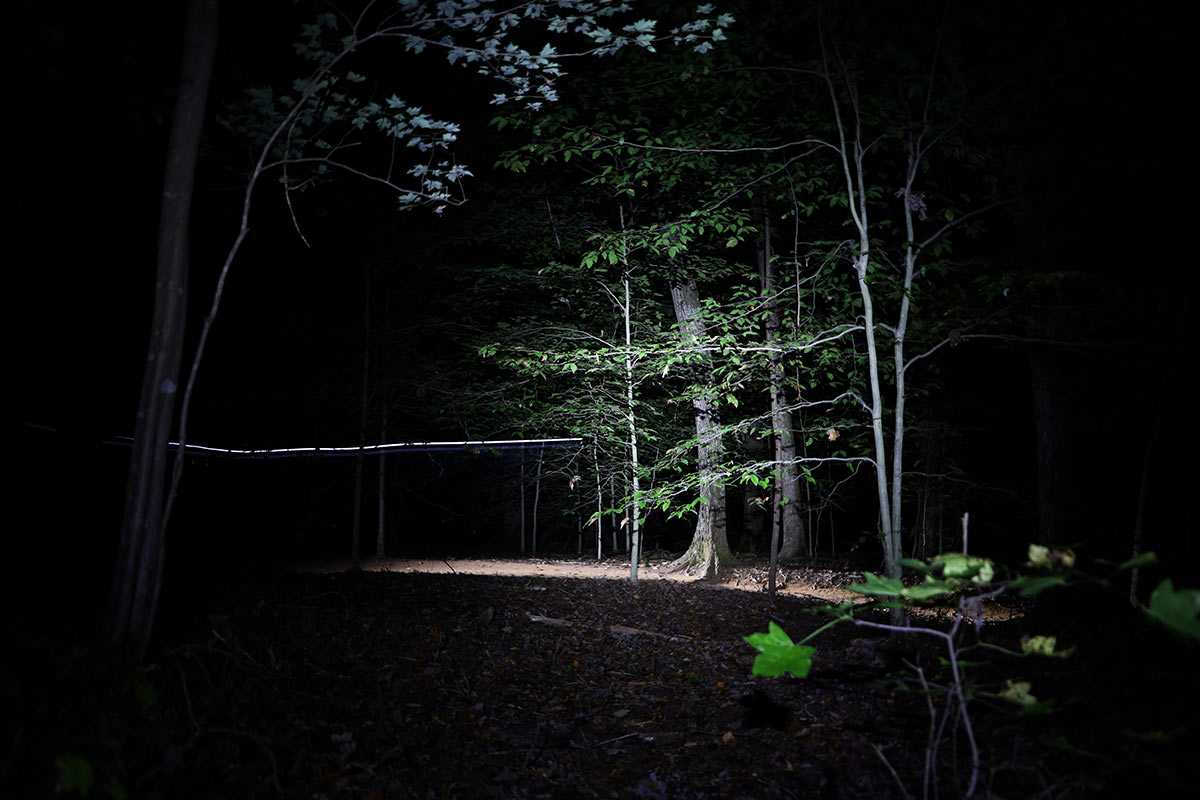
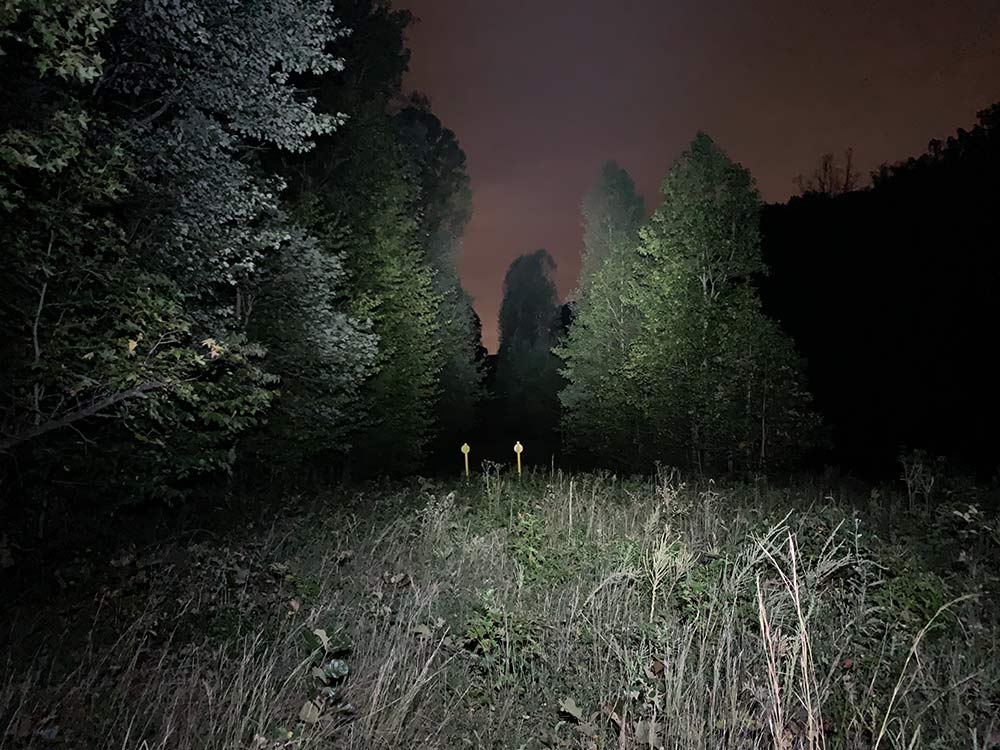
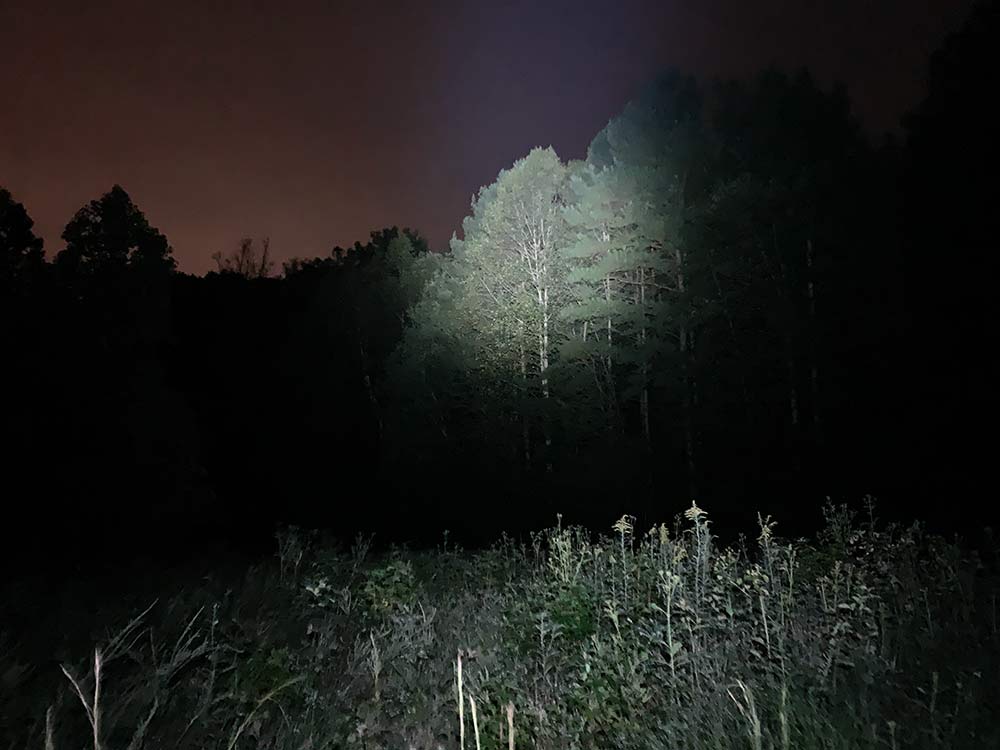
For the next section, all photos were taken with the stock setup of three Spot beams. Our friend is standing way down the trail. He’s 6’1″ tall, and easily visible at all brightness levels…
Brightness levels comparison
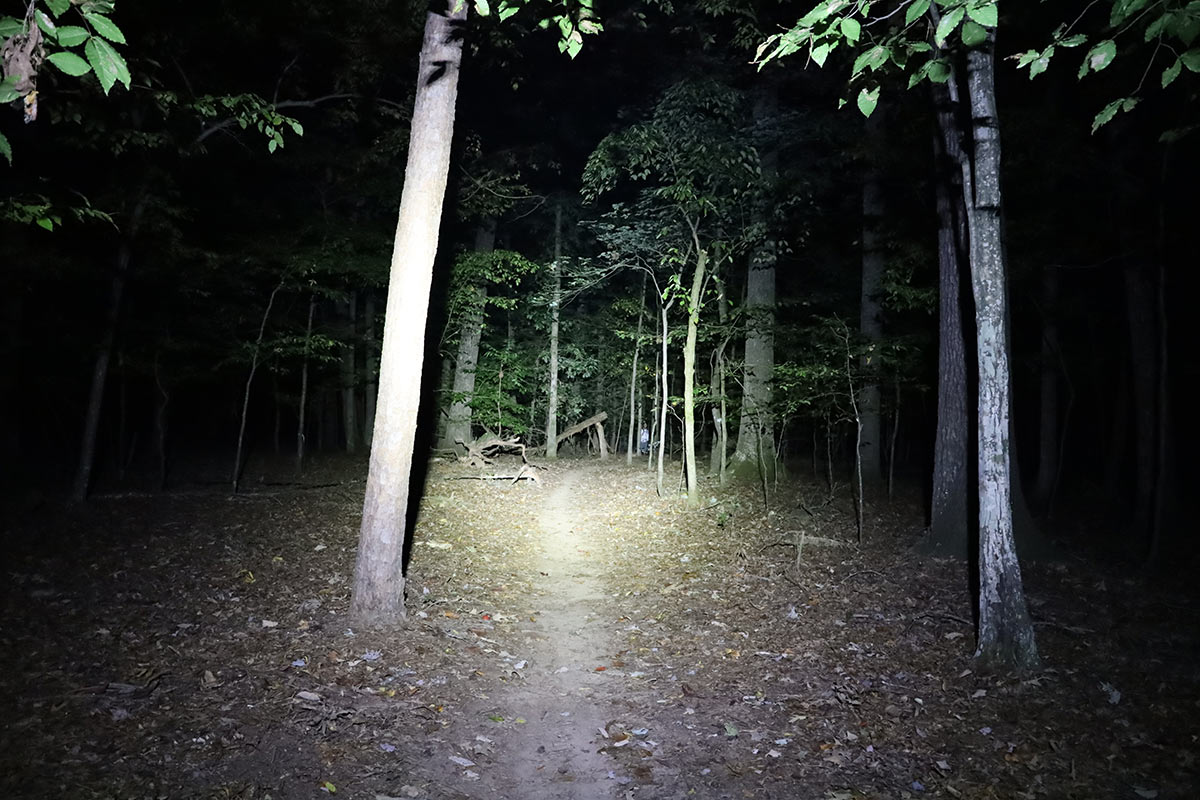
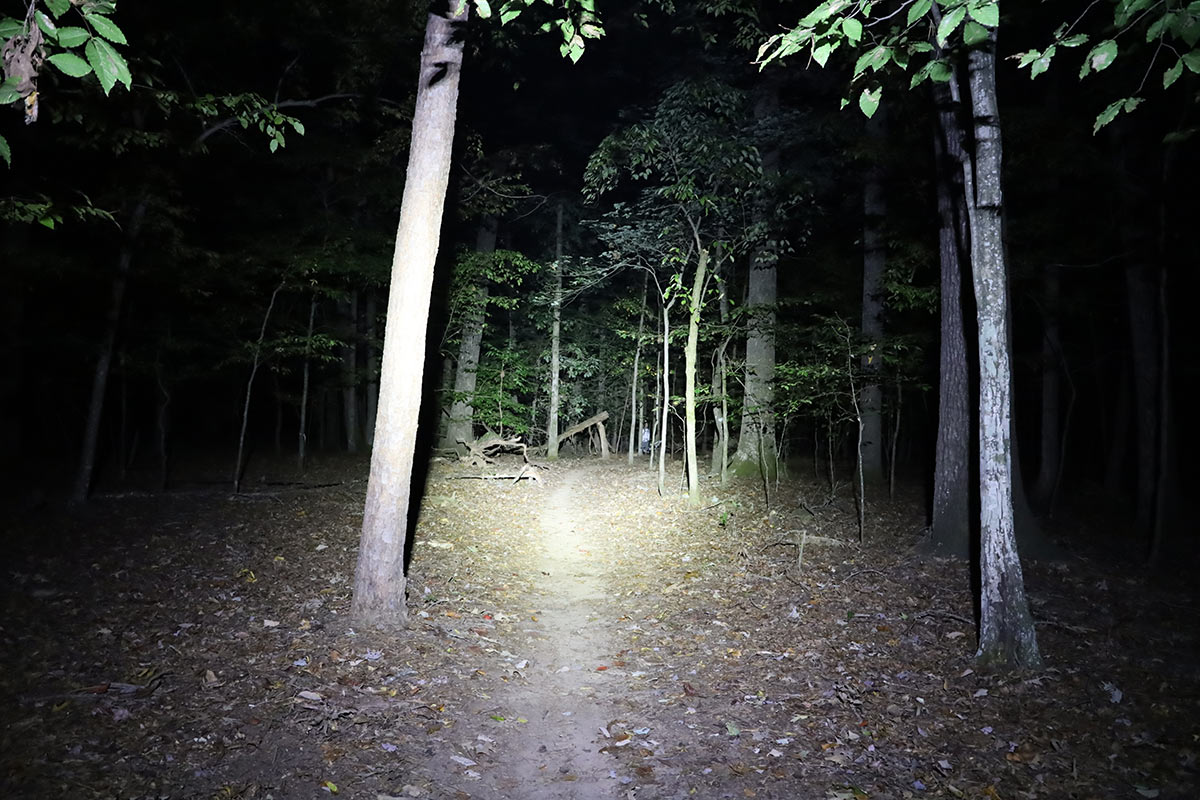
While we surpassed the “need” lumen limit long ago, bike light brands continue to push well into the “want” levels of output. But this is about all the light we could want.
In fact, we customized the brightness to bring both the Low and Medium settings down a notch. In stock output settings, even the Low was plenty to see by for full speed XC riding. So, by lowering it a bit, we could use the Medium for most riding, save more battery on Low for climbing, and blow it out on High for the descents.
Gloworm XSV performance on the trail
The basics: Plenty of light, easy to use, decent battery life, handy remote, compact size, light weight, and a customizable beam pattern. If that’s not enough, I’m not sure what else I could add.
OK, Here’s another reason why I like Gloworm’s lights: I’ve had two sets since 2016 that were used for a bit, then basically shelved for a couple years, only getting the occasional hopeful charge last winter when I thought we’d be night riding. And then we didn’t.
So when the new XSV showed up for review, I pulled my old ones out, charged them up, and lent them to friends to go riding with me and help photograph for this review. They still worked, and battery life seemed as good as ever. Current Gloworm lights use those same batteries, but cables have been upgraded to handle more flex cycles. And the battery gauge works better in cold weather. So, improvements where they were needed, but long lasting performance carries over. Impressive, and the sort of thing that makes it easy to recommend the brand.