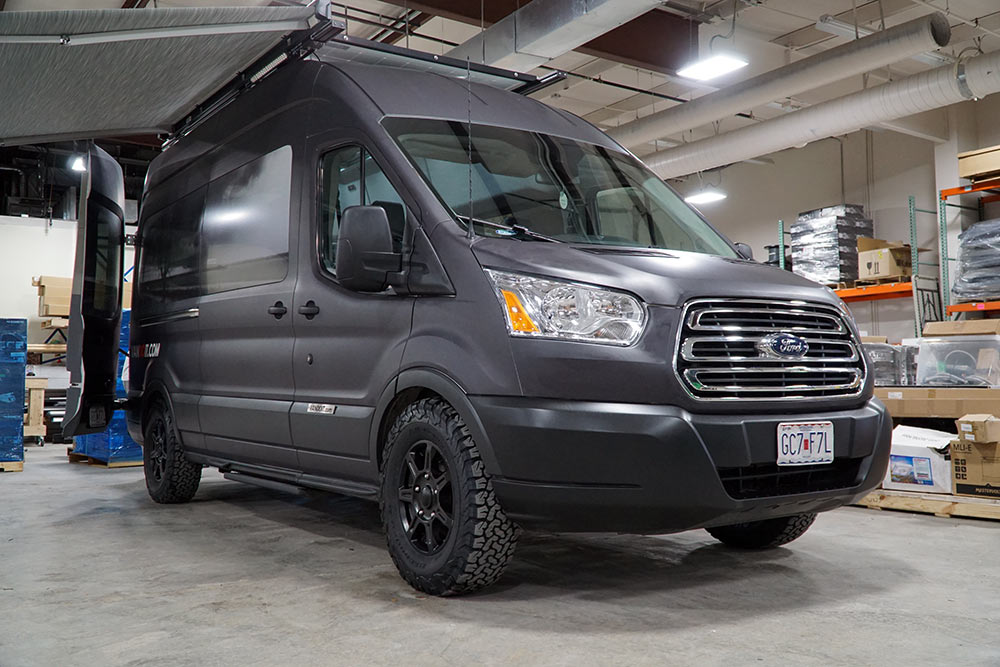
VanDOit has come on the #vanlife scene hard and fast over the past couple years, offering a modular custom camper van built on the Ford Transit. They’re offering great prices, reasonable turnaround times, and a platform that can be upgraded easily by simply adding and subtracting the modules. Part of their secret is building on vans they own, pulling them out of their sister company’s corporate leasing fleet while they’re still low mileage. This lets them build on a van that’s still under factory warranty, but at a substantial savings. From there, it’s all about their pre-fab designs that offer far better efficiencies and speed…
The video provides a complete walk through of their process, from stock passenger van all the way to a fully customized adventure vehicle or camper van. We’ve outlined the process below with more detail photos.
Creating a custom Ford Transit camper van
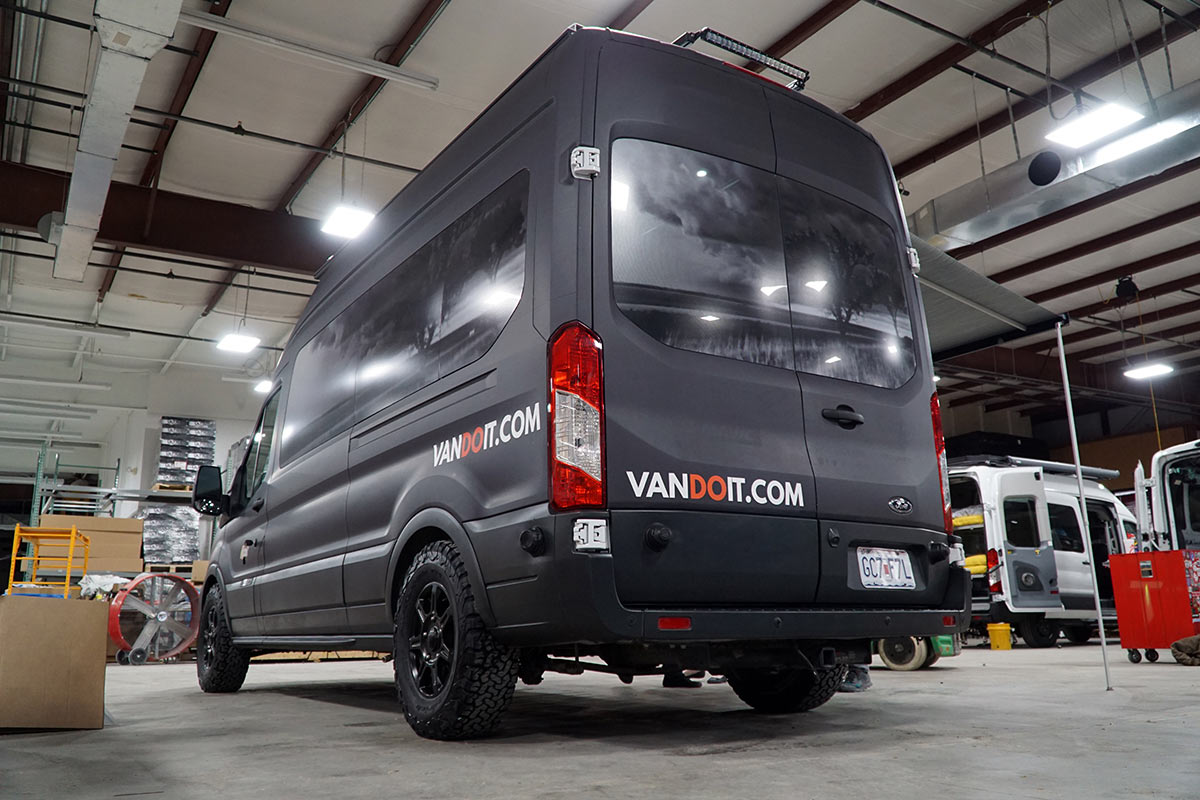
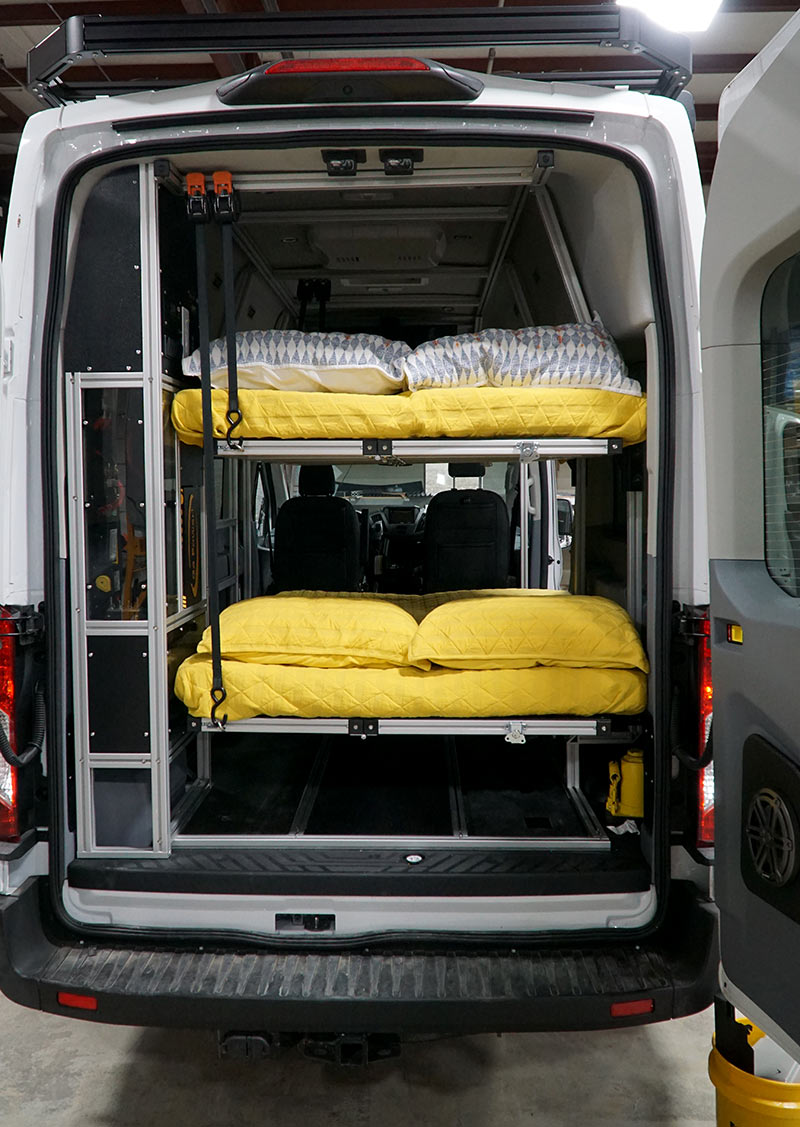
This van (above) was one of their early show vehicles. It was designed to show off everything they could do, including a Quigley 4×4 conversion. The exterior looks much the same now, but the inside (which you’ll see at the beginning of the video) has been revised to create the newer LIV model with a lower profile endoskeleton frame.
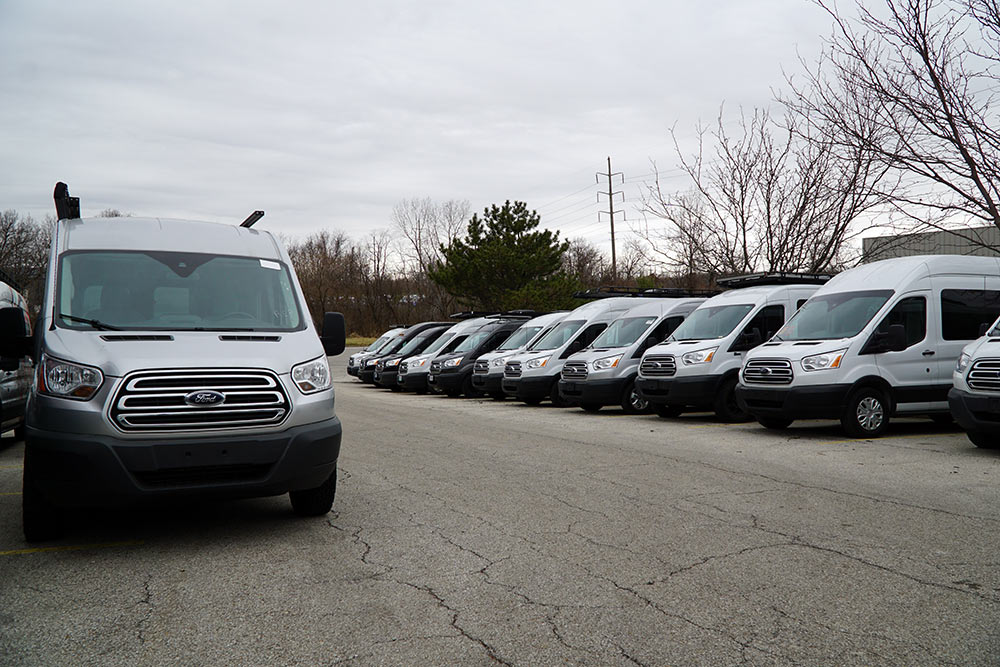
Every VanDOit conversion van starts as a Ford Transit passenger van, and they get all shapes and sizes – Low, Mid, and High Roof with both the 3.7L V6 and the 3.5L V6 Ecoboost Turbo. You can also get the extended body if you really want, though that’ll add time and cost above the extra cost of the vehicle. Most of their vehicles are the standard length with Mid- or High roofs.
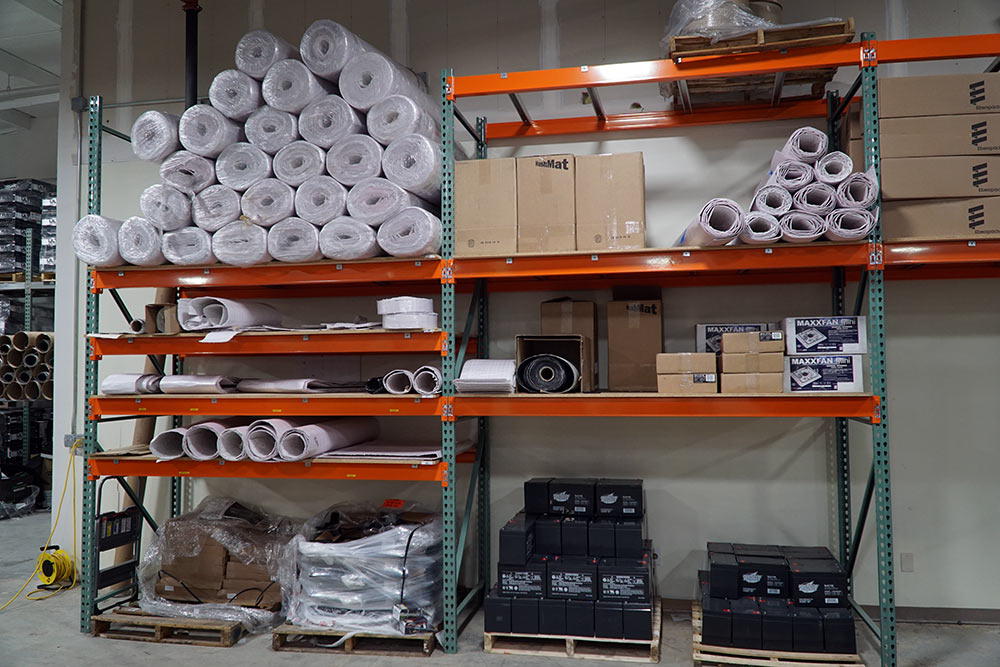
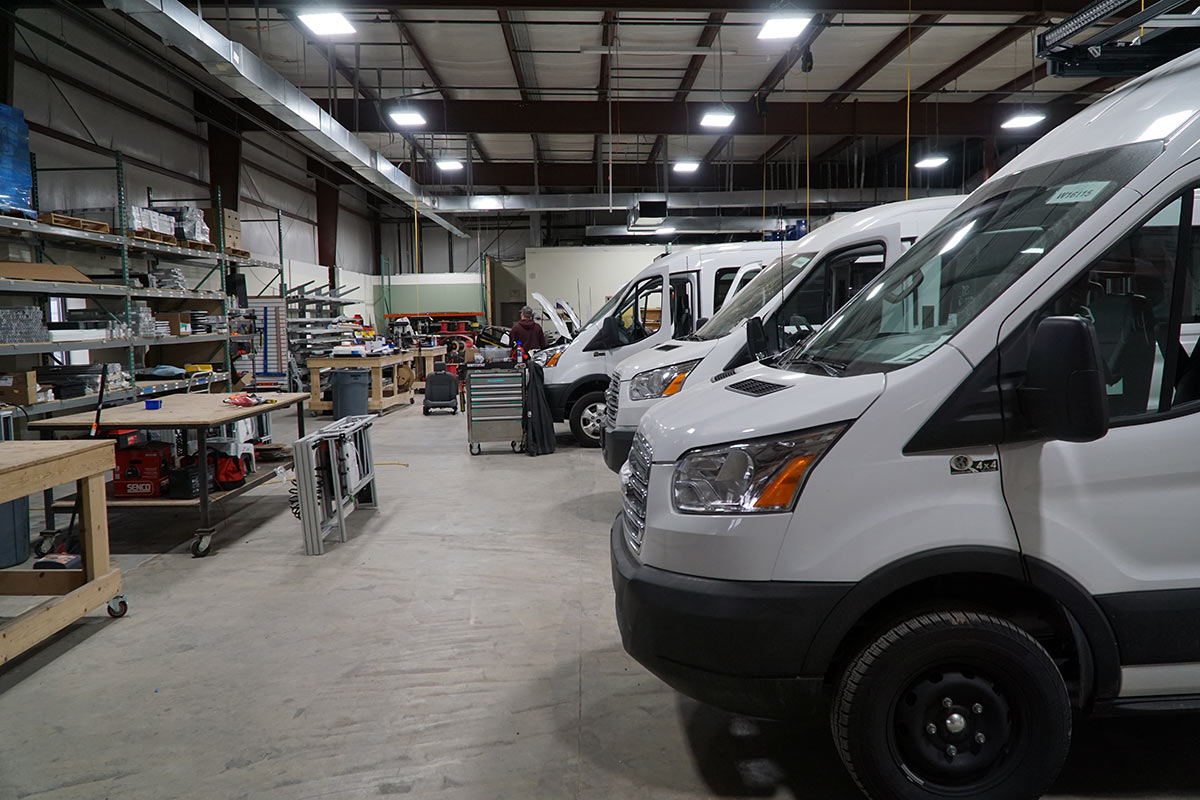
At any given time, VanDOit has 30-40 vans on site in various stages of prep and build. They order supplies like batteries, insulation, vent fans, wire and more in bulk. This saves time because supplies are always on hand. It also saves money, which helps them deliver a lower cost vehicle to you. The other benefit is that everything is standardized…they’re not figuring everything out on each unique build. You can customize it to meet your needs, but the core components are all tested, proven and professionally installed.
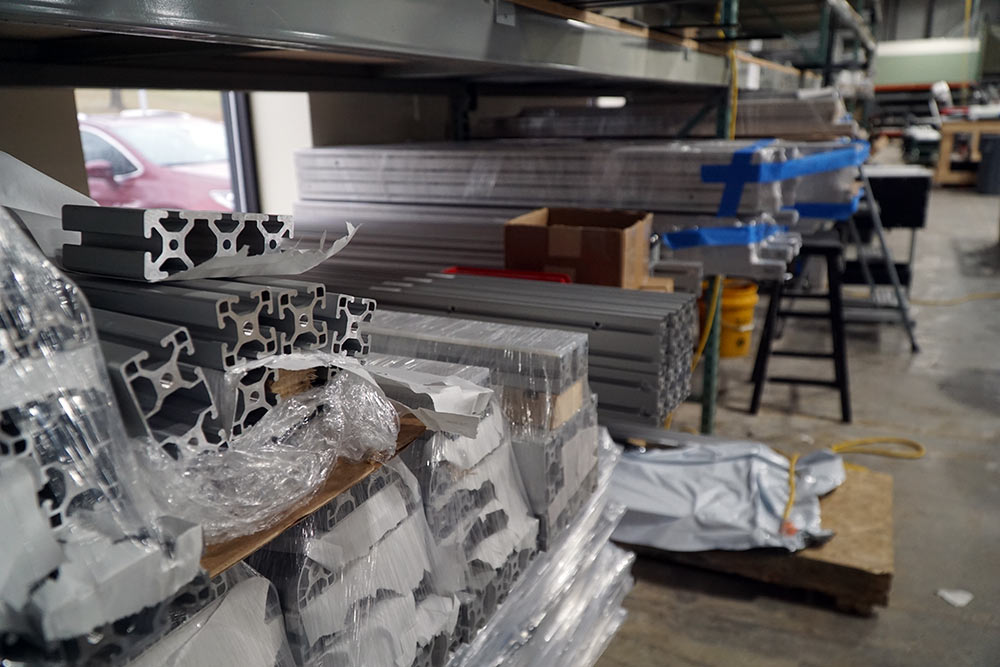
The customization comes by way of modular accessories and systems that bolt into the T-track frames. The tracks are all pre-cut and delivered in the exact lengths needed for each model.
Gutting & Insulation
Five or six vans are pulled in at a time, gutted, insulated and wired. This assembly line lets them prep multiple vans up to about 30% done.
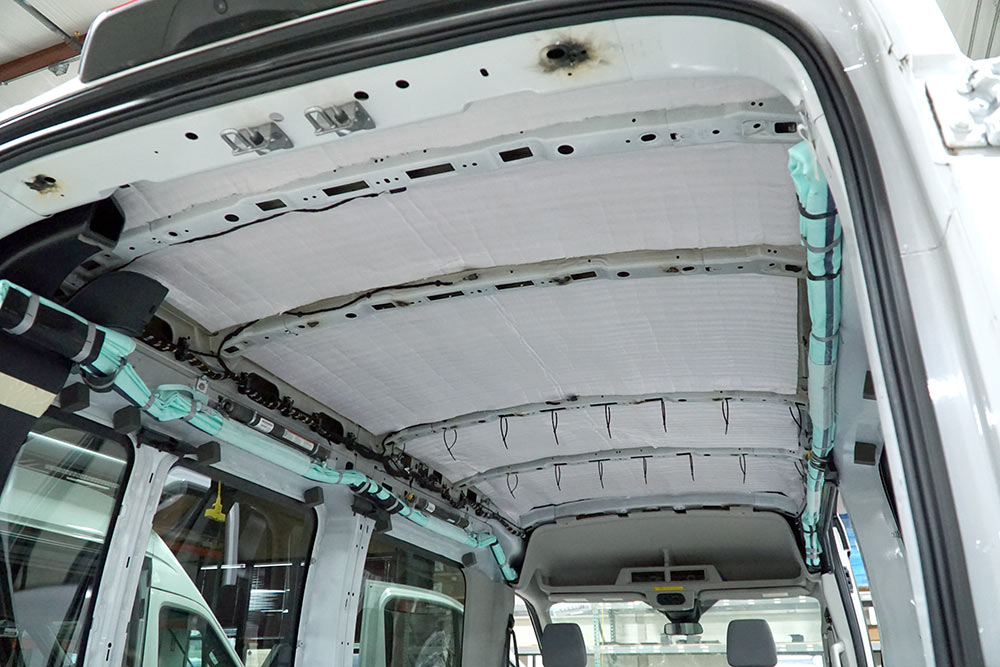
The next step is sound damping and insulation. Sound damping is applied directly to the sheet metal on the roof and floor, followed by a hydrophobic, non-absorbent thin insulation layer. Why not something thicker and fluffier? Because “fluffy” could trap and hold moisture, leading to mold and mildew. Thicker would be overkill…it’s simply not that hard to cool and heat a small space, and the second you open your window or door, it’s all (literally) out the window anyway. So they say you don’t need a lot.
One benefit of using a passenger van as a base is that it keeps the factory rear heat and A/C. And the full length side curtain airbags!
Color-coded wiring makes upgrades easy
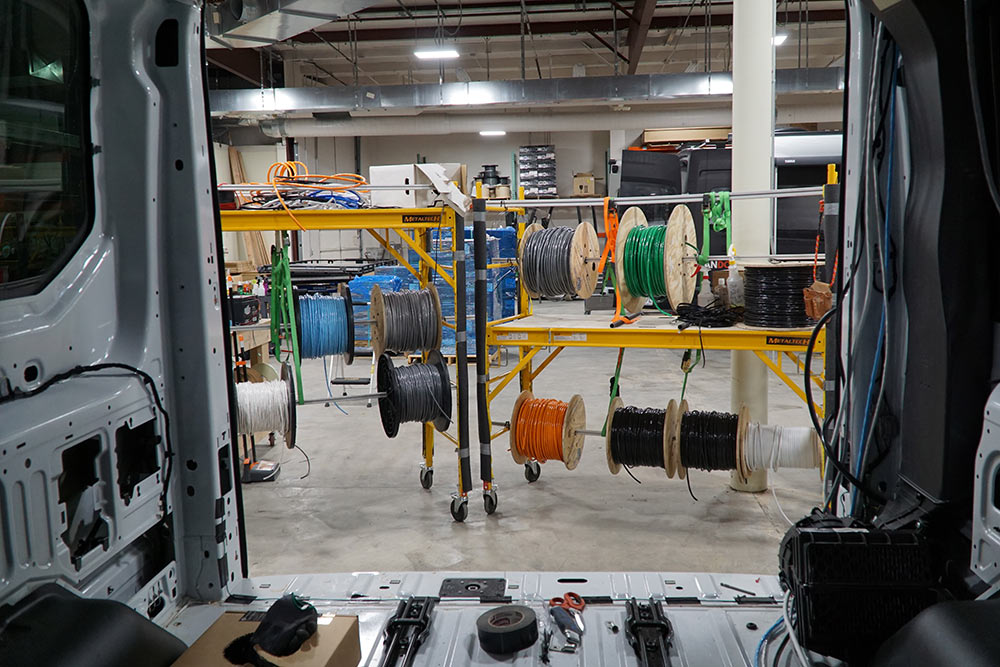
The last step in the pre-build preparation is the wiring. Everything is color coded and labeled, and every van is done the same way. This lets them ensure every build is correct, and it lets you add modules and features down the road without having to pull panels off or re-wire anything. All the switches, cables and housing are already there! At this point, each van will get its own spec sheet and start being built to a customer’s specifications.
Interior upgrades and customizations
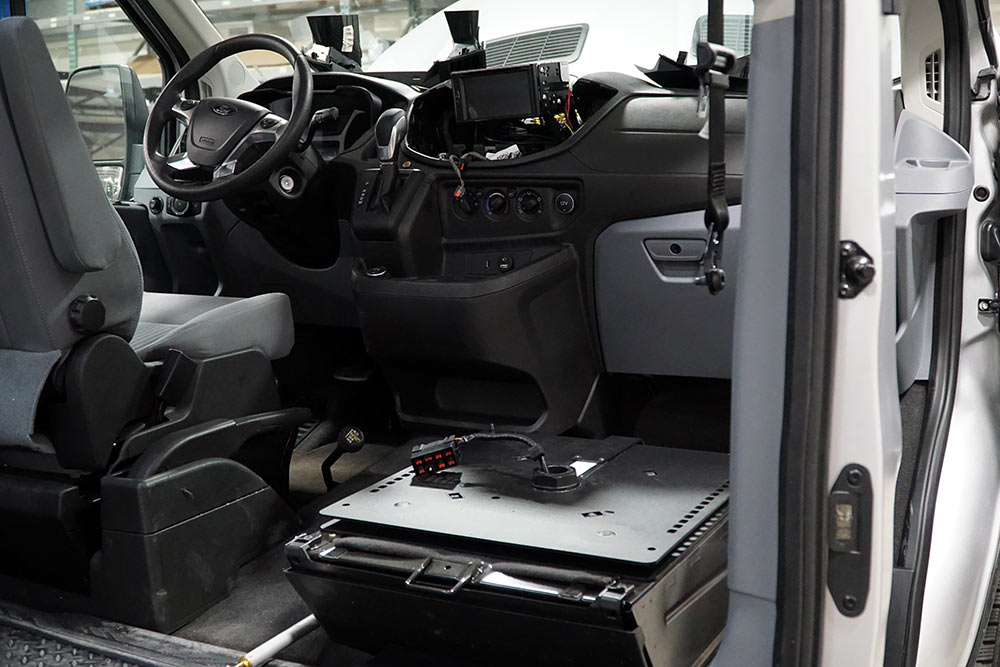
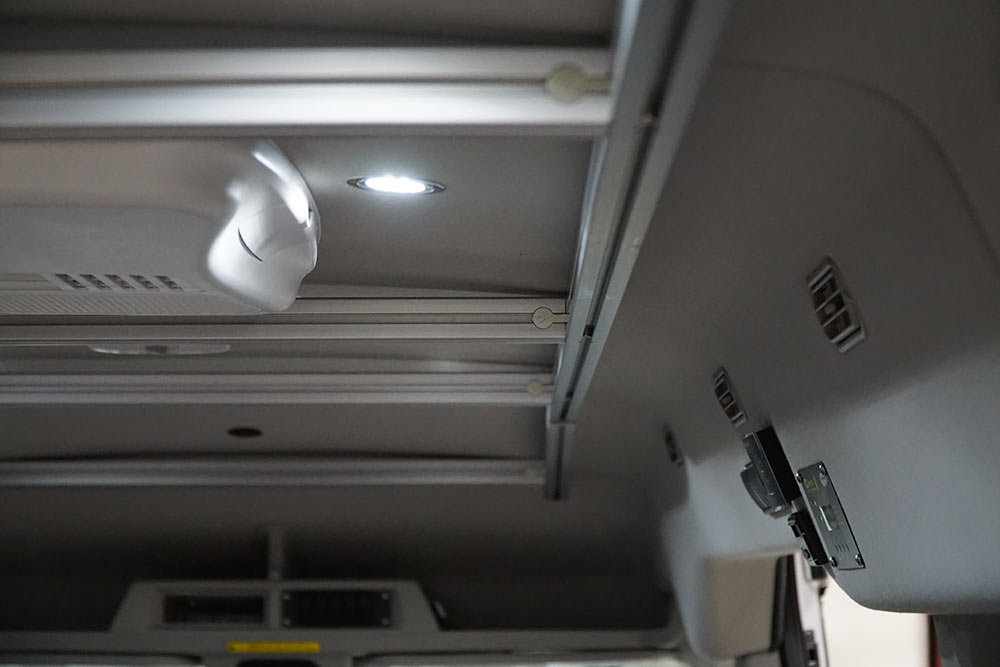
Before the interior panels are replaced, other custom touches like a swivel front passenger seat, upgraded stereo and speakers, etc., are all added. Holes are cut for any rooftop A/C units, fans or vents at this stage, too.
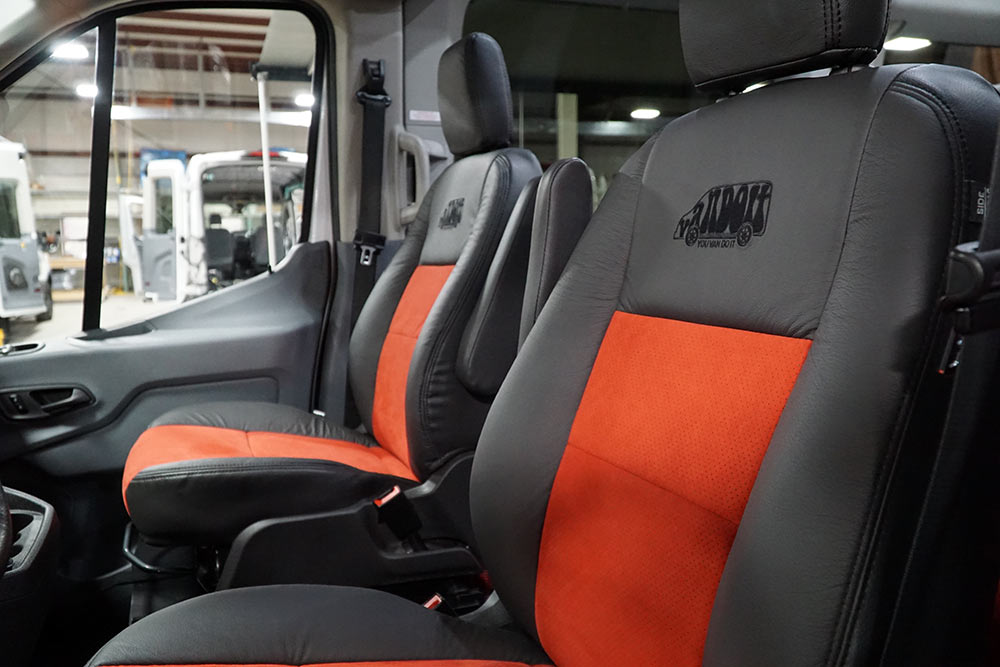
If the seats are getting leather, they’re sent out. You can choose any combination of colors and perforated panels for the top, sides, center and seat to fully customize the color scheme. Match that to interior and accent lighting to throw things over the top.
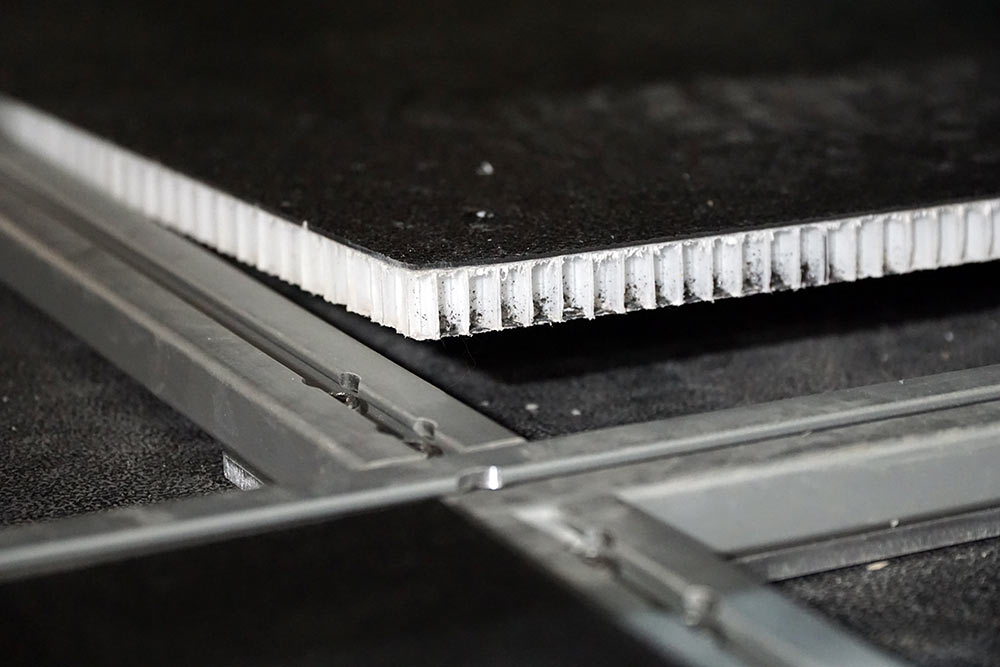
Flooring is replaced. Depending on the model, the van may or may not have full length T-tracks. They fill in the gaps with this ultralight (but tough and durable) corrugated plastic. It’s way, waaaay lighter than the rubber mats they originally used, and it won’t absorb or hide any liquids.
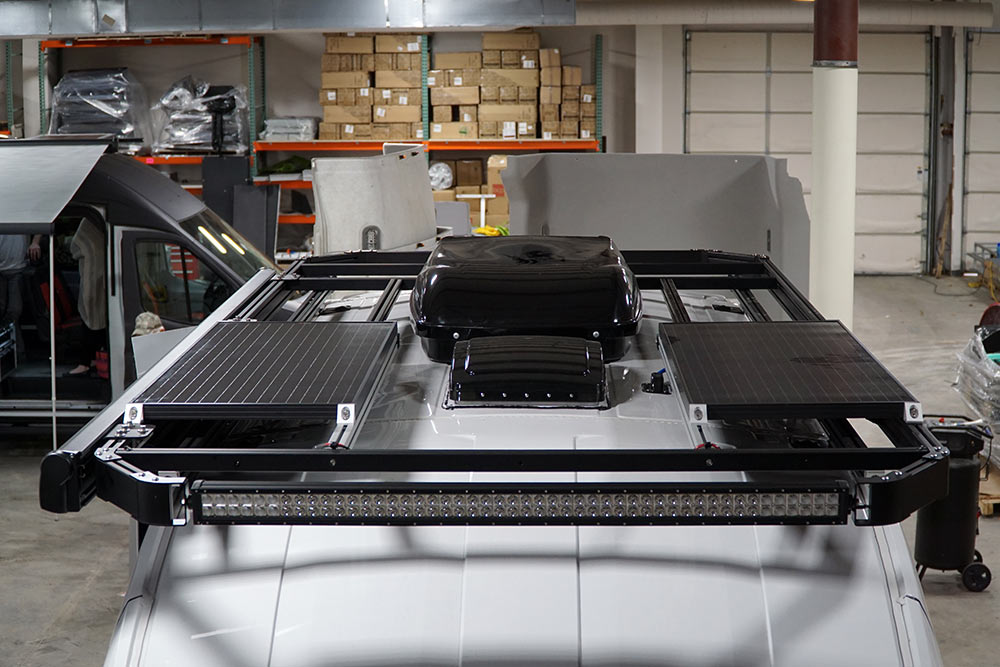
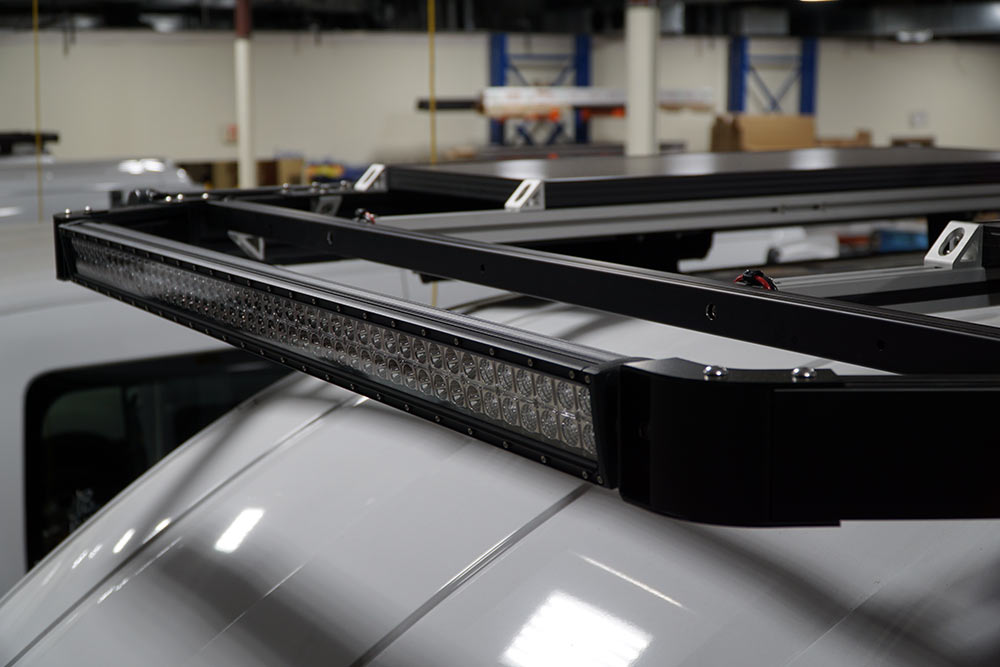
Roof racks are installed and prepped next. VanDOit offers their own custom roof rack and other brands, but theirs is the lowest profile we’ve seen. It’s mostly T-track, too, making it easy to add cargo, tents, and other accessories in the future. The integrated front light bar looks seamless but is adjustable. They can put lights front, rear and on the sides…all are standalone options.
Interior framing makes everything modular
Once all the panels are reinstalled, they add the T-track framing. The new LIV model uses a minimal roof-mounted frame to attach hooks, shelving and other small accessories. It’s a vastly simpler and lighter (visually and materially) system than the original DO model we’ve seen at trade shows.
The GO model gets a full endoskeleton that takes up a bit more space, but offers a ton of options from dual full-size bunk beds to desks to complete workshops. If you’re building out a mobile office (or a bike repair shop on wheels), this is probably the platform you want.
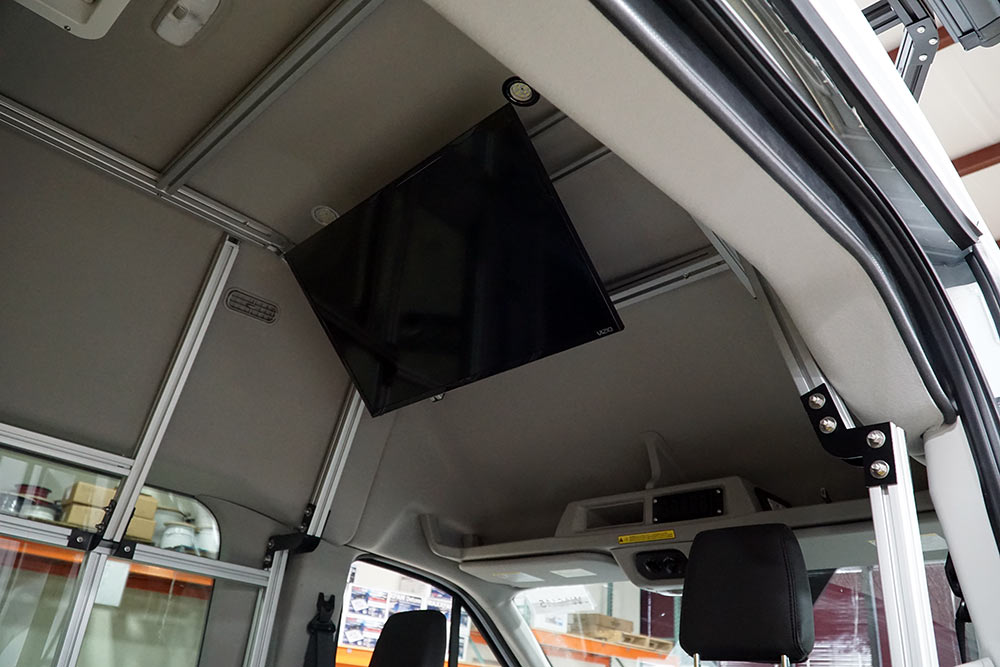
Both models can fit a flat screen TV on the front of the system. It folds up like this when not in use, but when it folds down you’d really need to be in the third row or bed to watch it…it kinda sits right above 2nd row passengers’ faces.
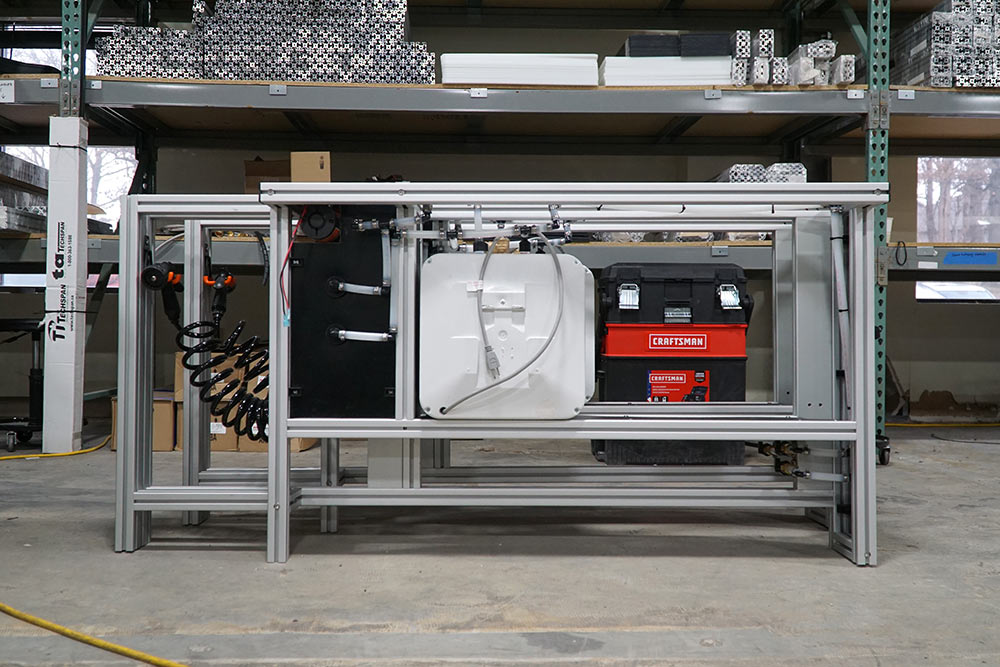
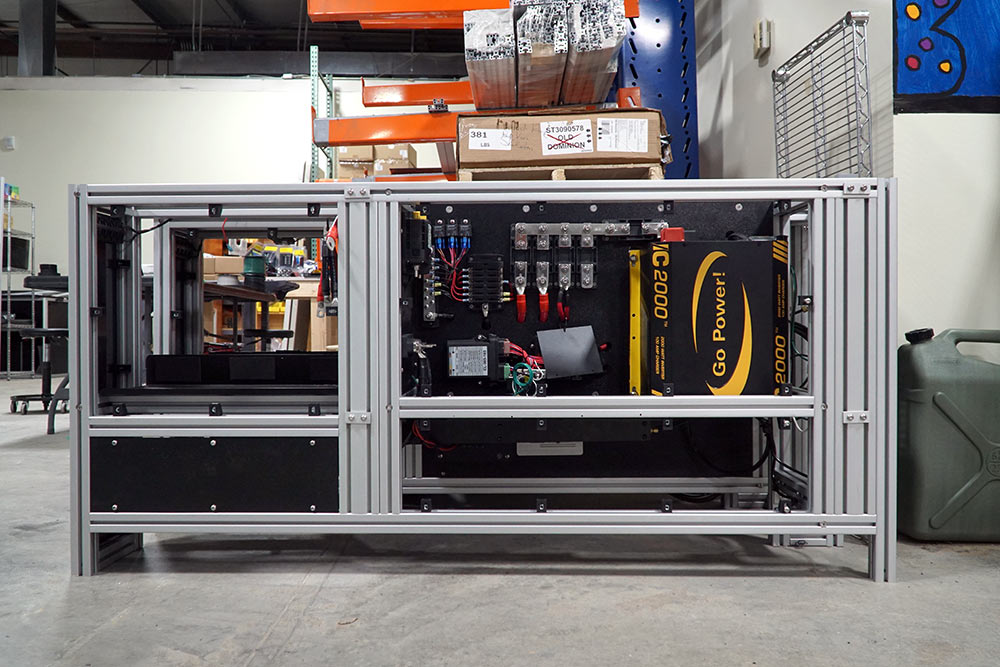
While the interior framing is being installed, another team is building the accessory (above) and electrical (below) cabinets from the same T-track material.
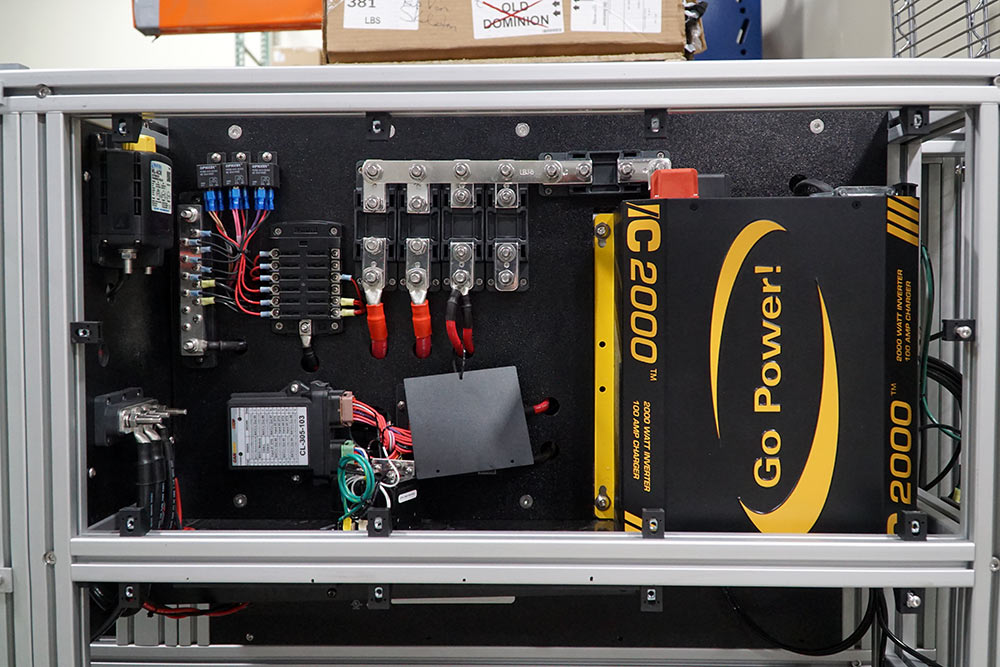
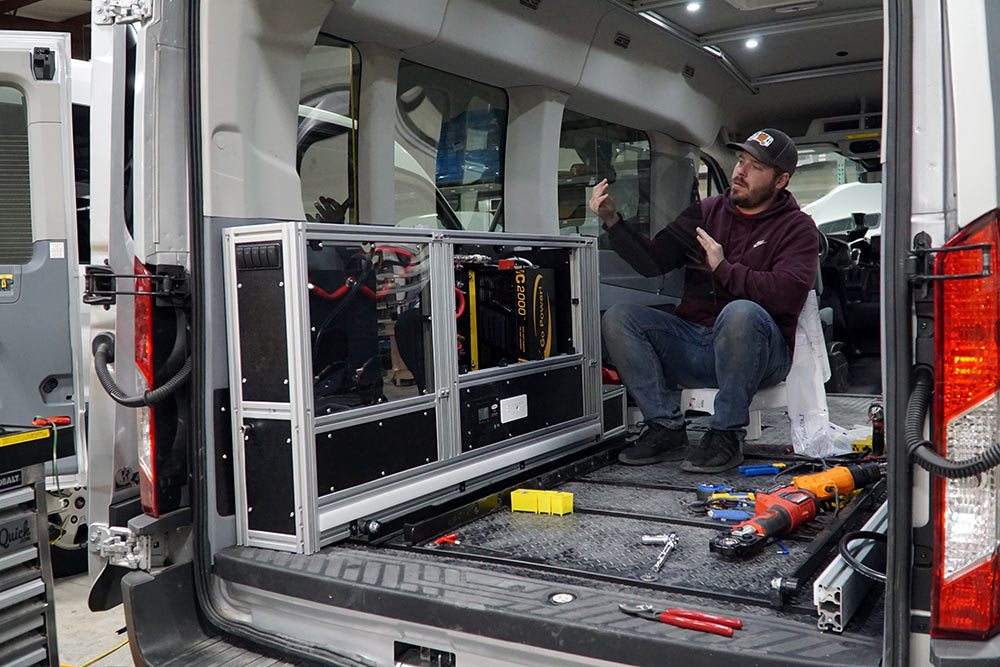
The electrical cabinet holds the battery bank (three deep cycle, marine grade AGM batteries for about 300wH), inverter and all controls.
One of the things that sets VanDOit apart is the use of a fully color-coded, hard wired control panel. Everything is bolted down, there’s no soldering to come loose, and nothing can wiggle or jostle to the point of failure. It has an indicator panel with color- and blink-coded signals to help you troubleshoot any problems. Can’t figure it out? Just call them and they’ll walk you through it. Since everything’s standardized regardless of your build, they know what the light patterns mean.
They use a 3-in-1 inverter that can manage input from the alternator, solar and shore power simultaneously. That keeps the battery bank charged, which can be used to jumpstart the vehicle in a pinch. It also manages the output to maintain system stability and prevent battery damage from running them too low.
The LIV model uses this horizontal electrical cabinet, and the GO model uses a vertical one (shown earlier, to the left of the bunk beds). The LIV’s cabinet integrates the mechanical lifts for the queen size platform bed…if you add that.
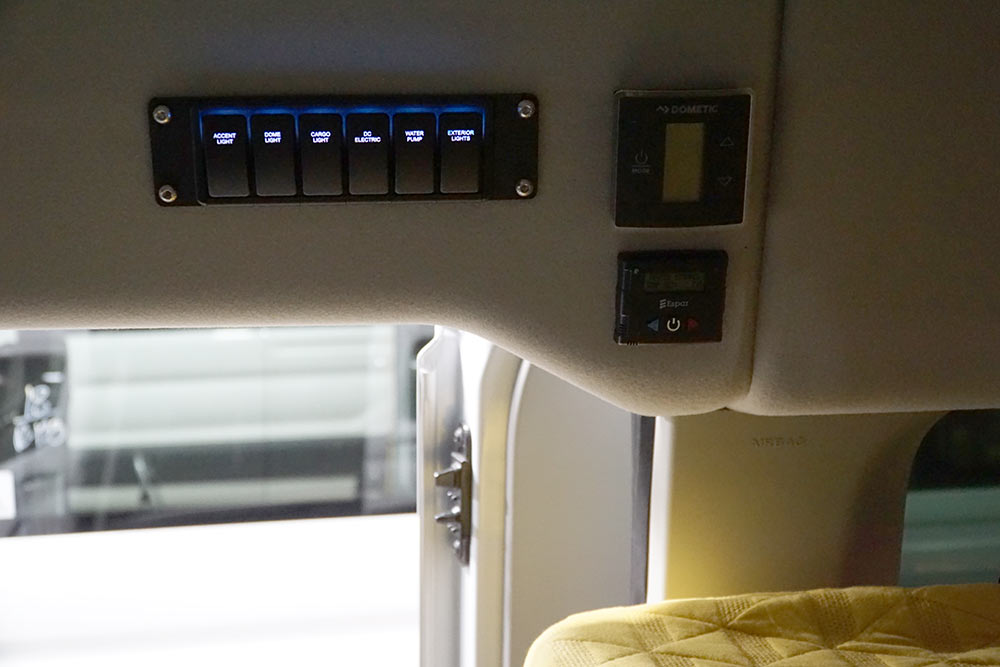
Each van has three light/accessory switch panels – front, rear and middle. They’re digital, which saves a ton of back-and-forth wiring, and know the state of any thing they’re controlling. That means you can turn things on at one end and off at the other, and it all just works perfectly. A/C, vent and other controls are placed near the bed platform so you can reach them while laying down, or standing up in the cabin.
Upgrades like a slide-out tray make it easy to get your bikes in and out (we’ve seen them cram five in there, but 3-4 is more realistic). Upgrade the rear speakers to JL Audio and you get custom enclosures with a separate amp. Just swing the doors 180º and blast the tunes for your campsite!
Great, but can I finance the custom van like an RV?
I think every van we saw on our visit was getting the BF Goodrich off-road tire package. And most get the roof racks with an awning. And it’s kinda easy to add up the features when you get to bundle it all into one tidy monthly payment. Fully decked, you’re probably going to hit between $90,000 and $100,000. But you can get into one with the pre-wiring and framing for under $50,000 if you’re going bare bones and figuring the rest out later.
Here’s what VanDOit told us about getting a 15- or 30-year “RV loan” on a custom Sprinter or Transit: It’s all about the relationship with the lender. In this case, their relationship, and they have good relationships. Chances are your bank probably won’t do it. But theirs might, if your credit is good enough and it makes sense. No, it won’t matter if they add a toilet or shower, those things aren’t dealmakers (or breakers). So, if a longer term loan helps you get into one of these, talk to them. Best to start the process now. As of this story going live, they’re holding a 7-month wait list. Oh, and they take trade-ins!
More ideas for building your own custom van
Want to learn more? Like how to choose a van chassis? What electrical system requirements are best to use for a conversion? What type of and how much insulation to use? More details on that RV loan? We interviewed them for a 3-part podcast series, and we dive deep on all sorts of Vanlife, camper van and adventure vehicle conversions. Part One is here. Check out every episode and find the Bikerumor Podcast on your favorite player here.
Huge thanks to VanDOit for showing us around. Next step: Getting the Bikerumor van underway! Stay tuned…
