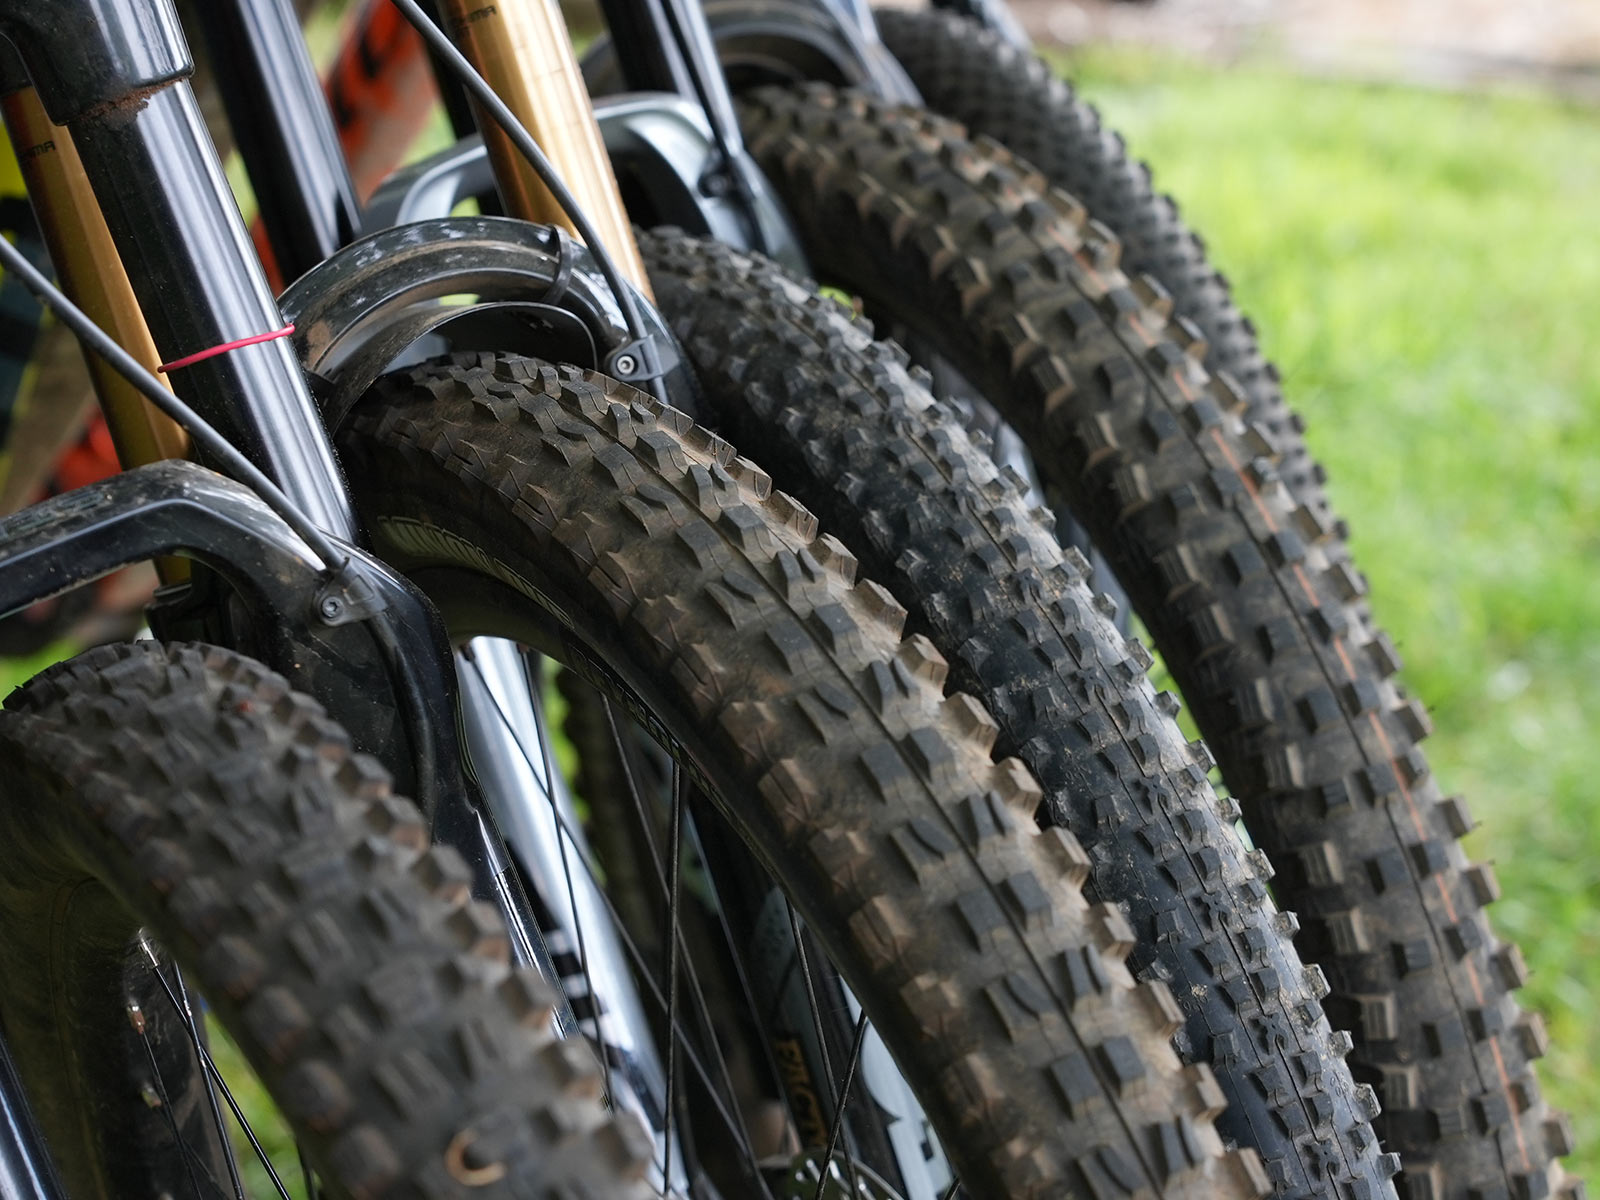
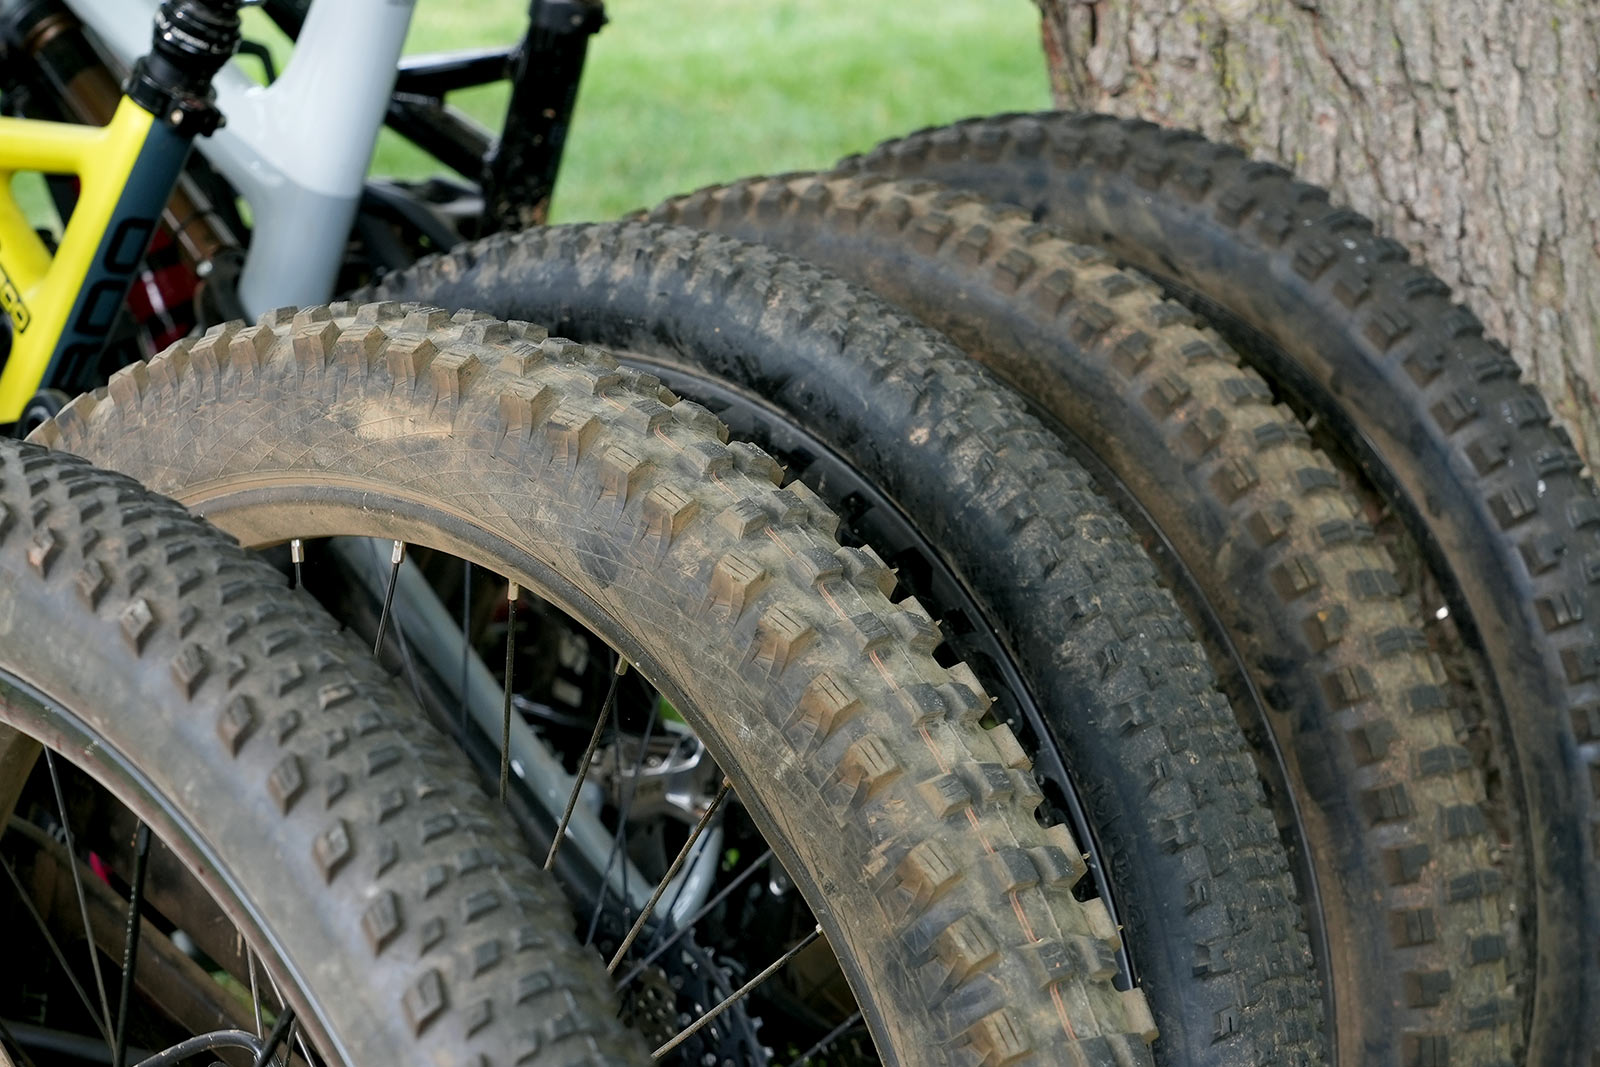
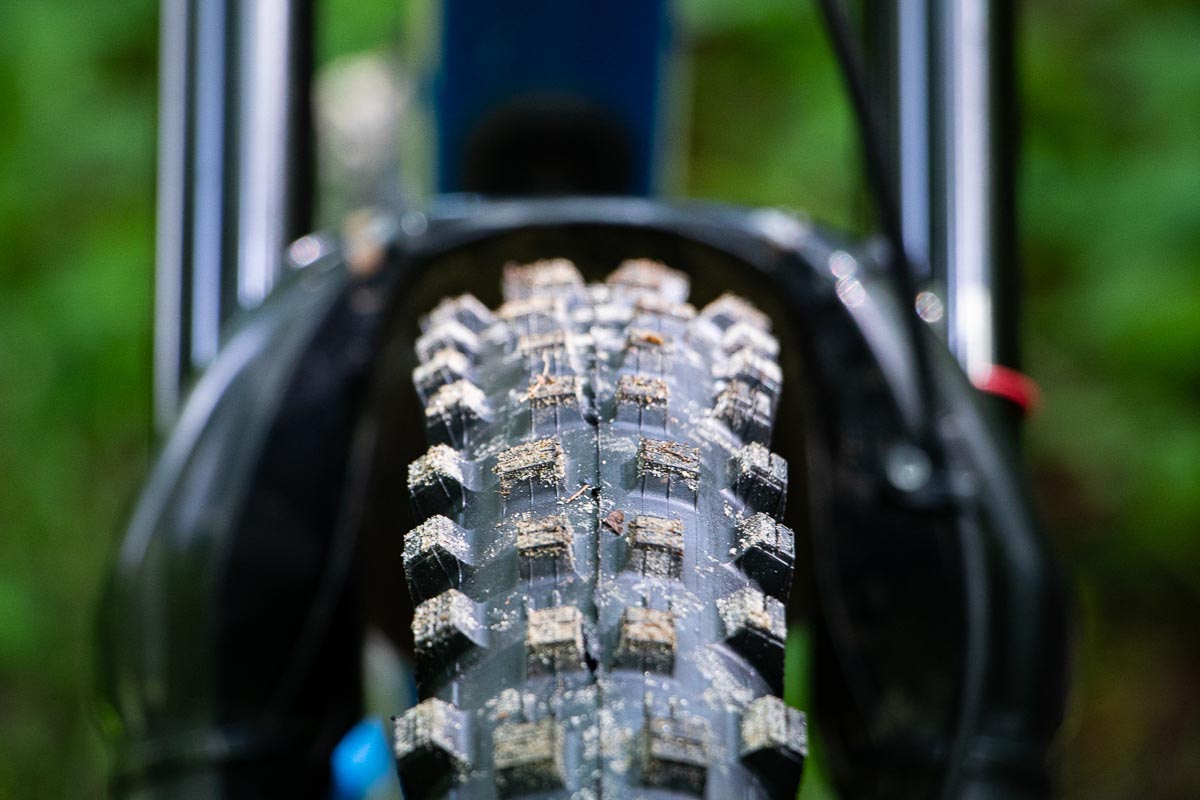
If you’re new to cycling, you’d be forgiven if for assuming that all mountain bike tires are basically the same: They’re the knobby ones, right? Yes… But mountain bike tires can vary hugely in their size, materials, durability, and, depending on those knobs, the type of terrain and riding style they’re designed to handle.
A properly chosen mountain bike tire can make a ride more comfortable, safer, and give you more traction on the trail. It can shave grams off of your total bike weight, or it can make you less prone to flat tires. Tires are quite literally the base of the bike -its connection to the ground- so the tires you use make a big difference to your ride quality.
Here’s what you need to know to understand how MTB tires work, the differences in construction and type, and how to choose the best mountain bike tire for your bike and riding style…
What types of MTB tires are there?
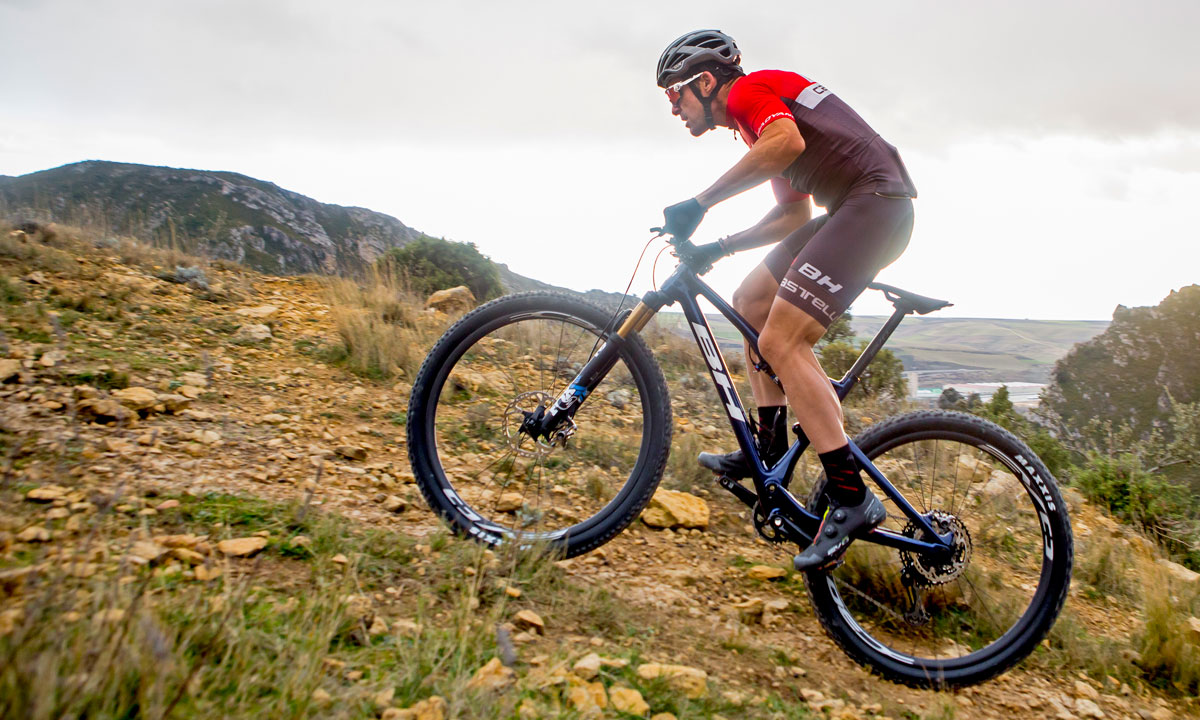
Tires are generally marketed for four types of mountain bikes and styles of riding:
Cross-country / XC / Marathon: If you’re all about speed and climbing, and you’re a bit of a weight weenie or planning to race, cross-country mountain bike tires are for you. They’re thinner and lighter than the other options, and will roll faster. They generally have smaller, lower, and/or fewer knobs, and distinct front- and rear-specific tires are common.
While lighter means faster, the weight savings come at the expense of protection. XC tires have fewer layers of puncture and cut protection, so they may not be the best choice for gnarly trails, though burlier tires for cross country bikes are available. (We’ll explain all the layers and construction a little further down)
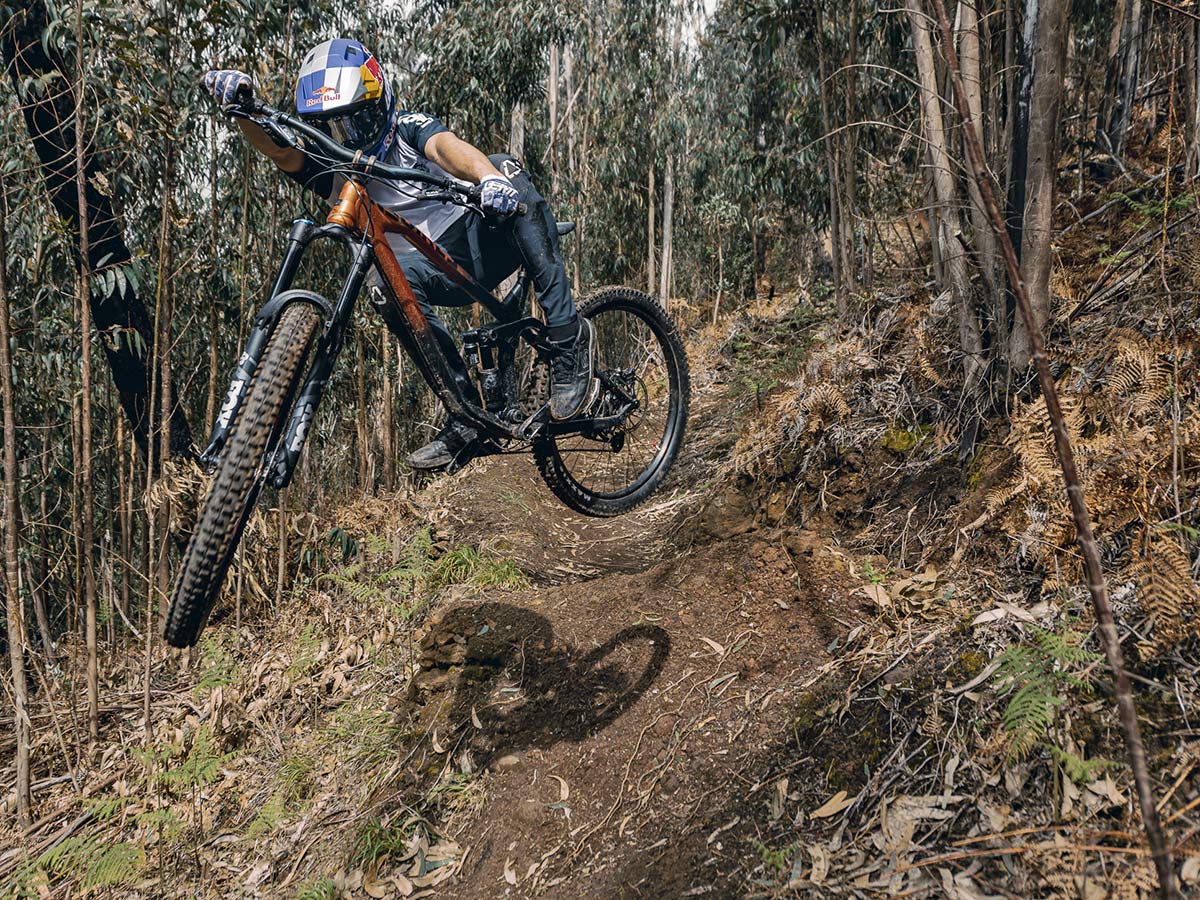
Trail / All-Mountain / Enduro: For most people, this is what they mean when they say “Mountain Biking”. Moving up in travel, you have Trail bikes (120-140mm), All Mountain (140-170mm), and Enduro (160-180mm). The tires get bigger, tougher, and more aggressive as you move up that ladder, too.
Here, knobs are taller and start to get supporting trusses to hold up to higher speed, more aggressive cornering. Tire size and volume increase to offer more traction and support, and they add more protective layers to the casing. Some tires get dual rubber compounds to put more grip on the sides.
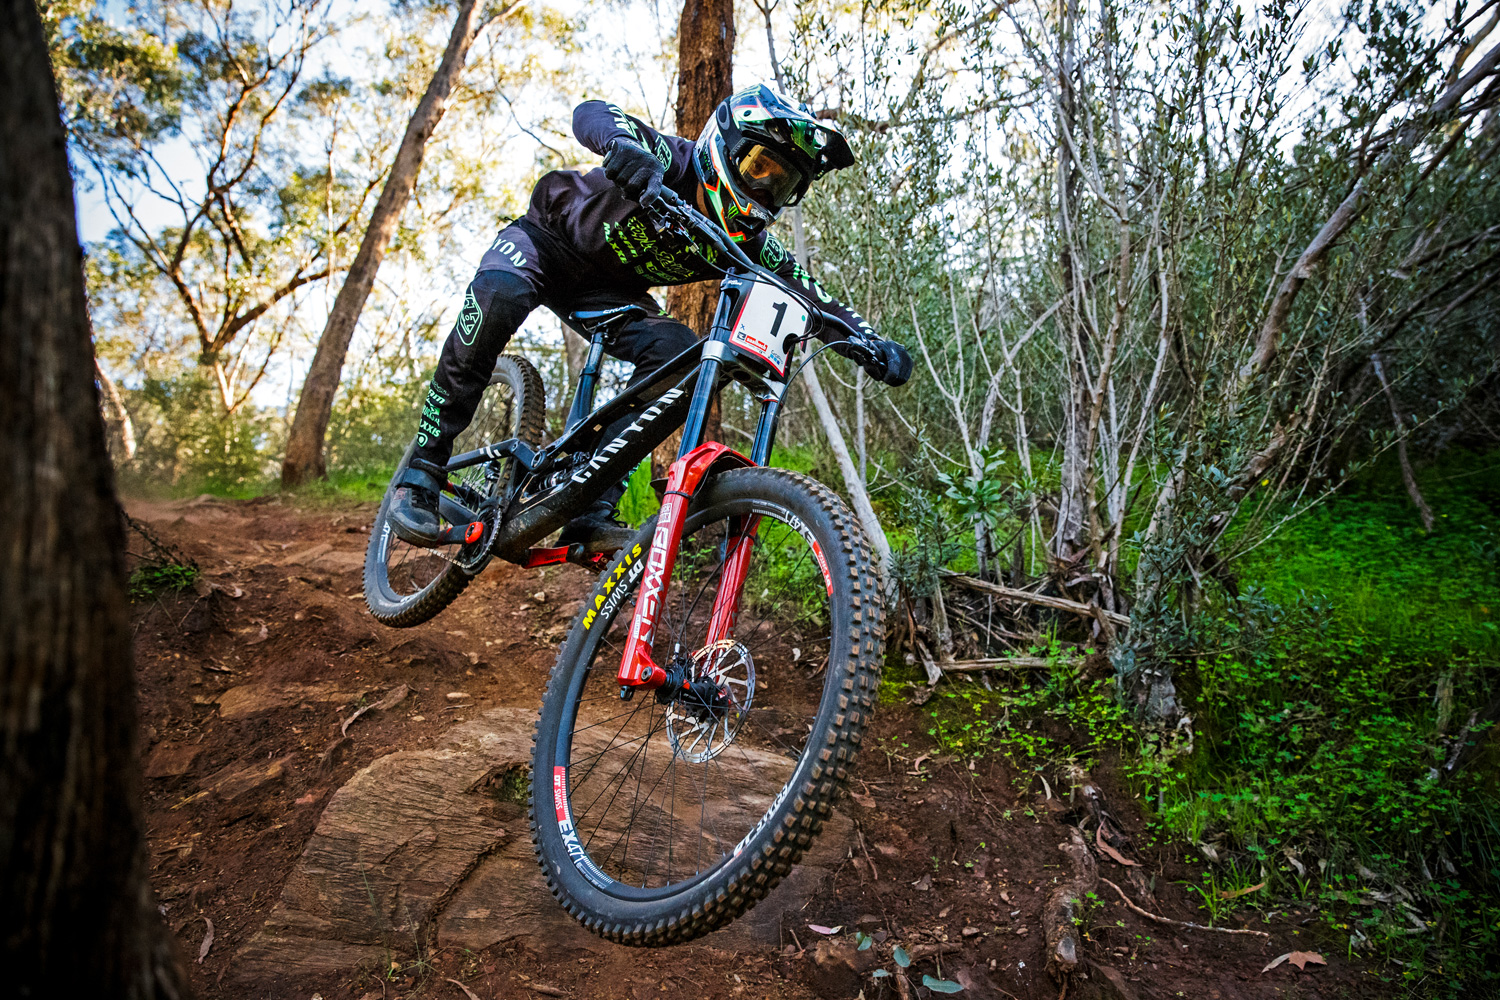
Downhill / DH / Gravity: If you’ve ever been to a lift-served bike park, you know what downhill bikes look like. They’re burly, have massive suspension, and DH tires are built extra tough to withstand serious drops, huge obstacles, and hard hits.
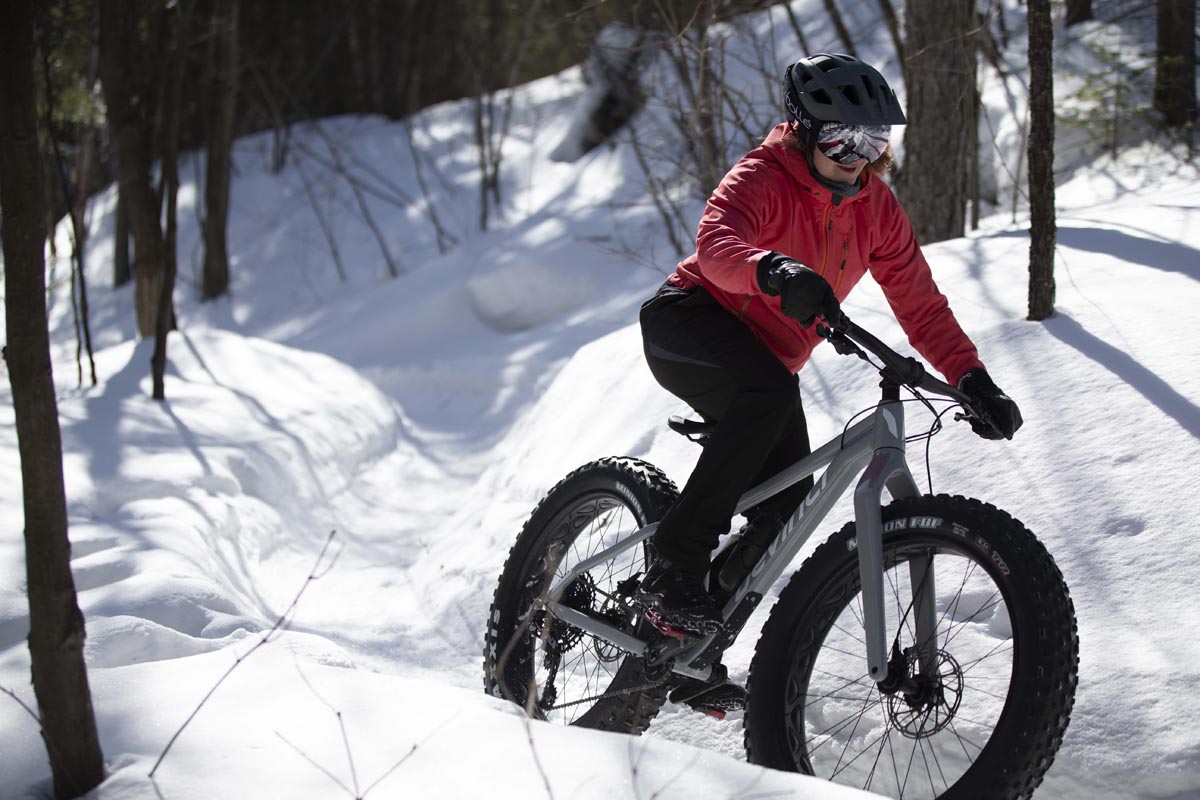
Plus / Fat Bikes: These bikes are designed for wider tire clearance. Fat bikes are typically ridden in snow (or occasionally sand, like on beaches) because their massive volume provides great flotation in soft surfaces.
“Plus” bikes sit between fat and trail-sized tires, and had a brief period of popularity with 2.8″ to 3.0″ tires because the added width boosted comfort and traction. But the category has mostly gone away, and most regular mountain bikes and suspension forks won’t fit tires this wide.
What size mountain bike tire do I need?
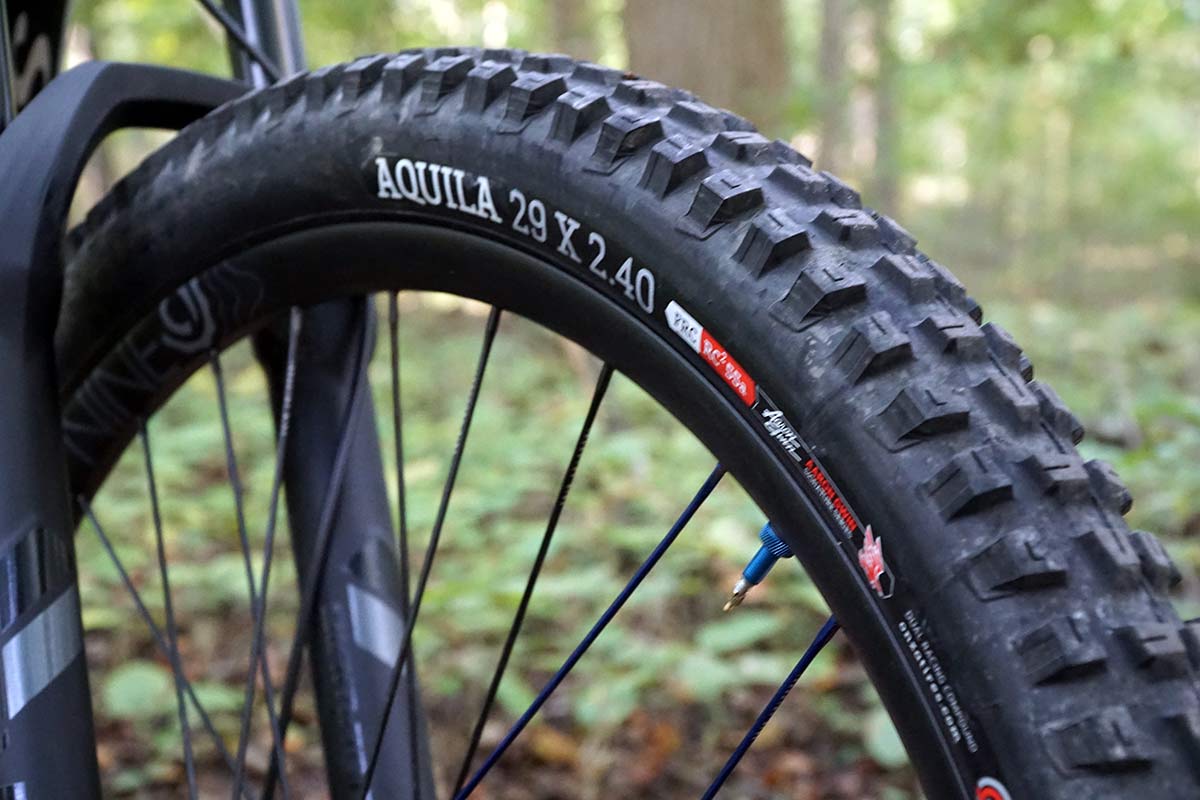
An MTB tire size is typically expressed as wheel diameter x tire width (like 29 x 2.4).
Generally, mountain bike tires come in three diameters – 26″, 27.5″ and 29″. There are also smaller ones for children’s bikes, ranging from 12 to 24 inches in diameter.
The second number is the width and can range from 1.9″ for ultralight race bikes (and kids’ bikes) to 5″ for fat bikes.
While the 26, 27.5 or 29-inch measurement is based on your wheel size, the tire width is determined in part by how much clearance you have between your fork or rear triangle and your tire, and by your personal preference. You’ll have a range of widths to choose from, depending on what you’re looking for in a tire. In general:
- Cross Country: 1.9″ to 2.25″ width
- Trail / All-Mountain / Enduro: 2.25″ to 2.6″ width
- Downhill: 2.4″ – 2.5″ width
- Plus: 2.8″-3.0″ width
- Fat Bikes: 3.7″ to 5″ width
Another major consideration is matching your tire width to the correct rim width. We have a full technical article on which widths work together to help you stay within the safe ranges.
Which tires do I need – cross country, trail, enduro, or downhill?
Downhill is simple…if you’re riding at a downhill bike park, you need DH tires. The difference between trail/enduro tires and cross-country tires is a bit more subtle.
From there, a good starting point is checking the size of tire that comes stock on your bike, then determining what type of tire and features best match your terrain and riding style. Just because you have a “trail” bike with 140mm of travel doesn’t mean you can’t put a more aggressive “enduro” tire on it if that’s what’ll work best for you…or vice versa.
But what features do you need? For that, let’s look at tire construction…
What materials are MTB tires made from?
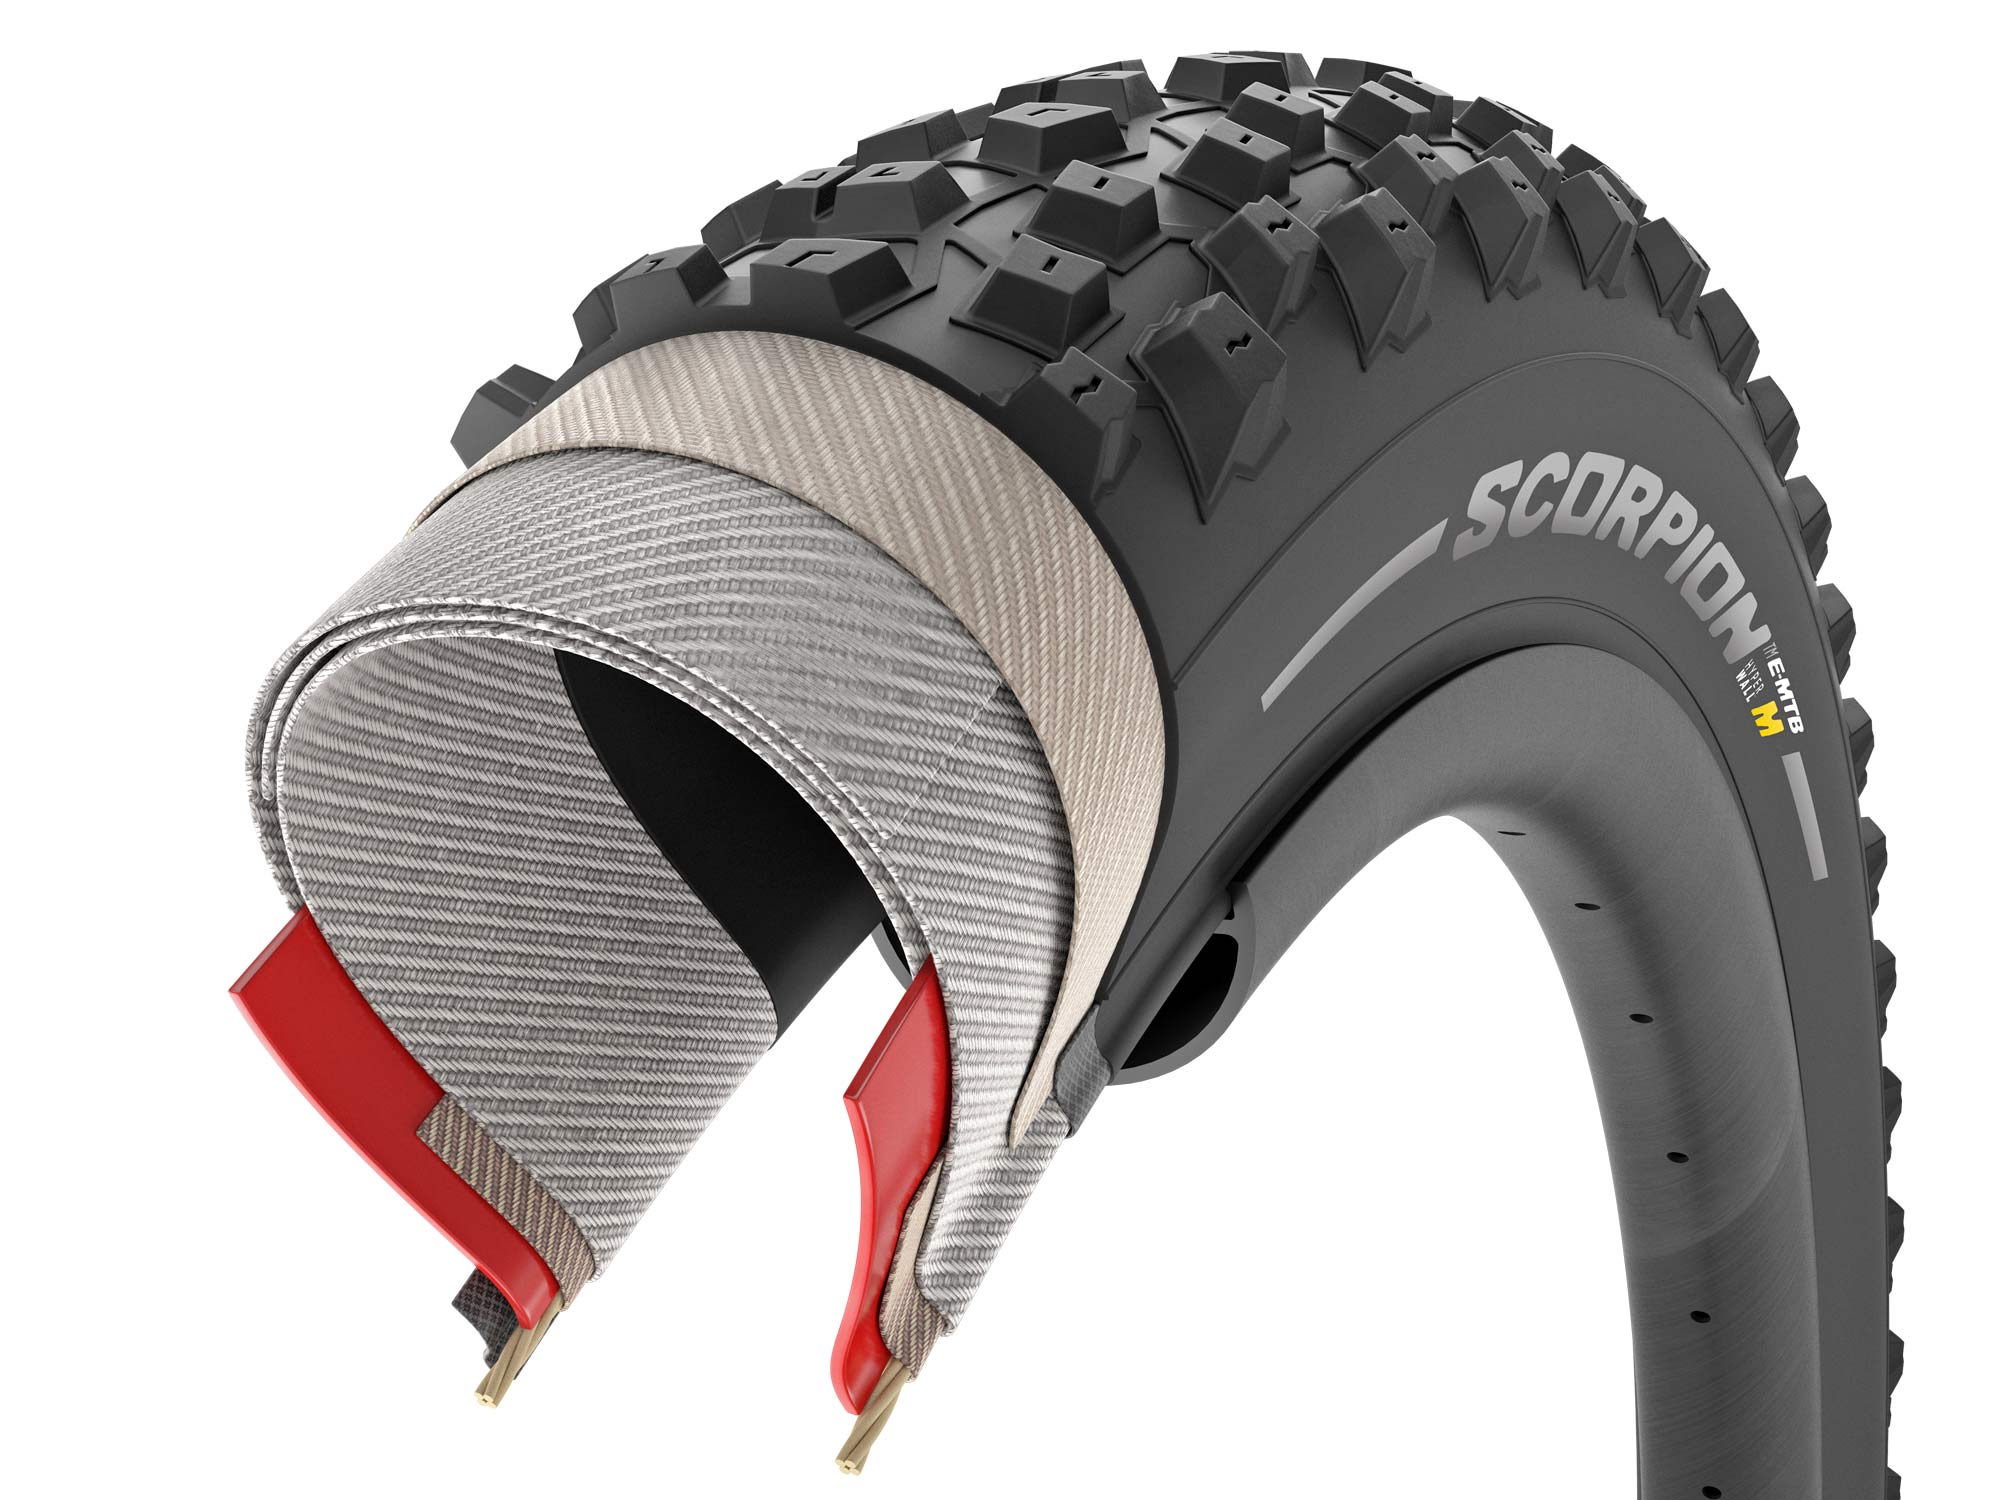
The simple answer is “rubber.” But it’s a bit more complicated than that. We have a deep dive on tire construction right here, but here’s the quick version:
RUBBER: Every brand has their own unique rubber compounds designed to excel in different ways, and many disclose the durometer (aka “firmness”) of the rubber. Lower durometer numbers (40-60) are softer and have better the grip, but they’ll roll slower and wear out faster. Harder rubber (higher durometer, usually 60-72) provides lower rolling resistance so you can go faster, but won’t grip as well.
Higher end tires usually get dual compounds, putting a softer rubber on the side knobs for better cornering, and firmer rubber in the middle for faster rolling and better braking.
CASING: Every tire has a casing that the rubber is applied to. It’s usually a woven nylon fabric. Cheaper tires have lower TPI casings, but most “performance” tires start at 60tpi and this is a great baseline because it’s both flexible and sturdy. More aggressive tires sometimes use two 60tpi casing layers to add more support and cut protection. The tradeoff is they’re less supple and can have a firm-feeling ride, although they’re also better able to handle lower tire pressures without getting squirmy.
Lighter-weight “race” tires can get 120tpi casings, which use thinner fibers to increase the thread count. They are very flexible and help the tire deform to match the terrain, so they feel amazing, but they’re expensive and not nearly as cut resistant.
REINFORCEMENTS: In addition to the casings, some tires add reinforcements to further prevent sidewall cuts, punctures, and pinch flats. Look for a Kevlar or Aramid layer under the tread (puncture protection) or on the sidewall (cut resistance), or both.
An “Apex” layer is a small foam or rubber wedge layered between the casings by the tire’s bead. It adds a bit of sidewall support, but its main purpose is add a cushion between the sidewall and the rim to prevent snakebite punctures when you hit a sharp edge really hard.
All of these technologies work great, but they all add weight and cost. Knobbier, more aggressive tires pedal slowly and can really sap your energy on the climbs and flats. So, only buy as much tire as you really need.
What about MTB tire beads?
You may notice that some tires in your local bike shop are sold neatly folded up in a cardboard wrap, while others are open to full size.
Cheaper tires use rigid wire beads because they’re easier to manufacturer and cost less. Some downhill tires still use wire beads because weight doesn’t matter as much and they’re a bit less likely to come off the rim, but mostly you’ll want to upgrade to…
Folding bead tires use Kevlar beads, which are much lighter. Kevlar won’t stretch, so it’s unlikely to come off the rim (never say never, but it’s basically a non-issue), and these are easier to mount on modern tubeless-ready rims.
What do the knobs do?
Those knobs on the tire—also known as lugs—provide traction. We did a deep dive on MTB tire knobs here, but for a quick reference, here are the basics:
- Big lugs with wide spacing will help you roll through muddy terrain. These are usually tapered—wider at the bottom and smaller at the top—to allow tires to shed mud faster.
- Ramped knobs, which are what you see on most bikes, are slanted in the direction that the tire will roll for less resistance, then squared off in the back to provide more resistance when you brake.
- Small, short, tight lugs will allow you to roll faster and are better for harder surfaces and trails without many obstacles.
- Side lugs provide grip in corners as the bike leans (and often tires will have a line of transition lugs between the center and side lugs for lesser corners).
- Low-profile lugs (shorter ones) will roll faster, but will not grip as well on obstacles or corners.
Does tire direction matter?
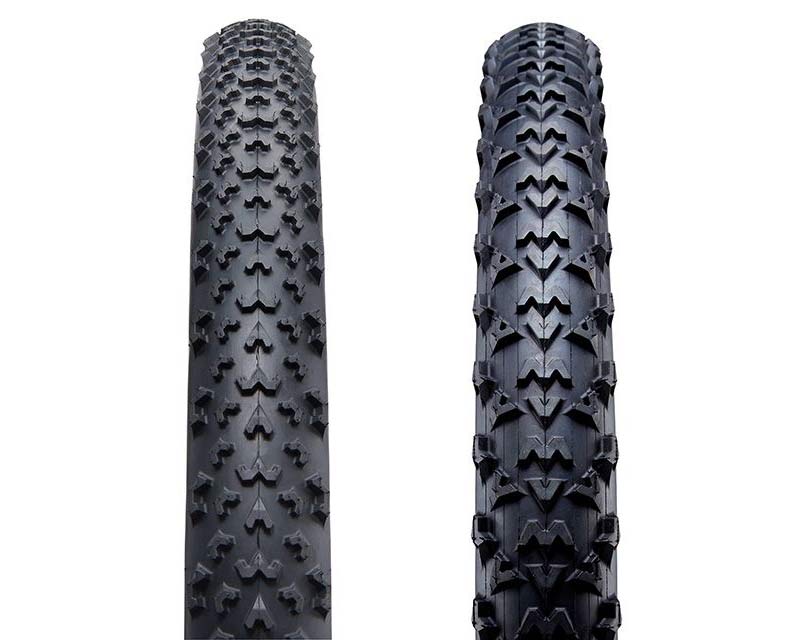
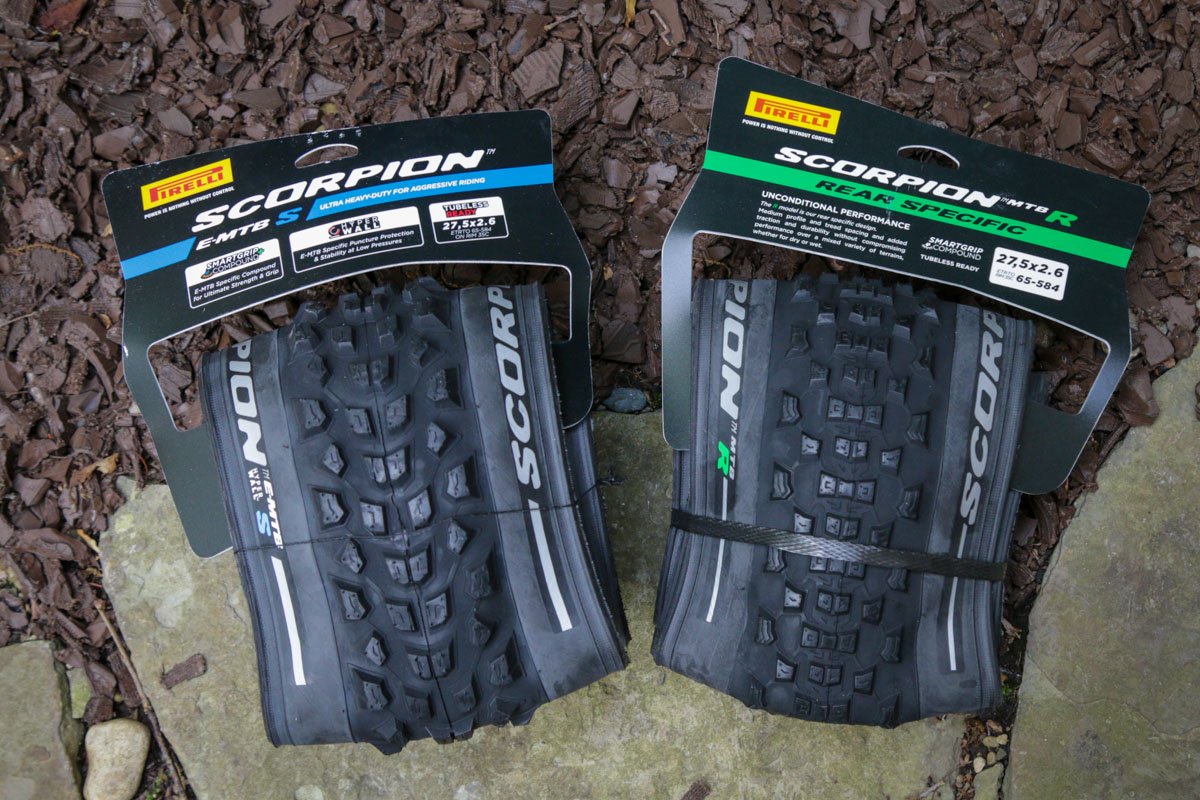
Most lugs are designed to roll in a certain direction, which is usually indicated on the tire. Mount them backward and you’ll end up adding resistance to your ride rather than improving your traction. And some tires, like the Ritchey Trail series above, are front- and rear-wheel specific.
Can you run two different tires?
Absolutely! A lot of top pro racers will opt for more traction in the front and a faster-rolling tire in the rear. For example, Canyon MTB Racing’s Emily Batty is a fan of the Schwalbe Racing Ray tire in the front and the Racing Ralph in the rear. The front-wheel-designed Racing Ray in the front offers an aggressive XC tread developed for optimal steering precision with its lug design, while the Racing Ralph in the rear rolls faster. (This combination is also a favorite of Bikerumor staffers.)
Should I set up tubeless tires?
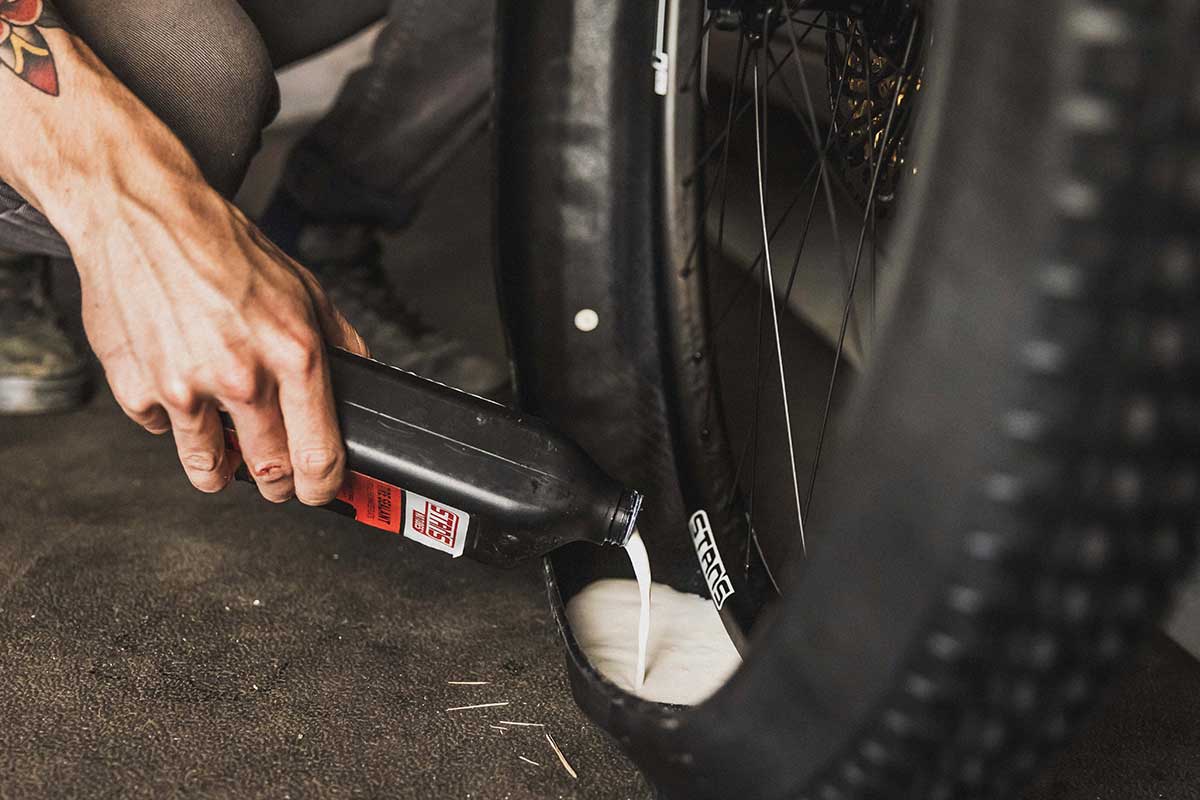
A lot of mountain bikes and wheelsets are sold as tubeless-compatible, though many may not come actually set up with tubeless tires. As the name implies, tubeless tires don’t require tubes and instead use tape around the wheel’s inner rim to seal off the spoke holes. Sealant is poured into the tire and the tire is seated, usually using an air compressor or a bike pump with a “booster” chamber in order to add enough air quickly to get the tires to ‘sit’ on the rim of the wheel.
The sealant does exactly what you’d assume it would: Keeps the air sealed into your tire, even if you get a small puncture or you hit an obstacle hard and pinch your tire. This means you can run lower pressures for better comfort and traction, and you save the weight of the tube, too. However, they are harder to deal with if things do go awry and can be messy, so if you’re not much of a mechanic, you may want to stick to regular tubes while you build your skills.
Is there a difference between tubeless and regular MTB tires?
You can attempt to turn any mountain bike tire into a tubeless setup, but we wouldn’t recommend it unless both your tire and rim are labeled as ‘Tubeless Compatible’ or ‘Tubeless Ready’.
Fortunately, almost every modern mountain bike tire (especially ones you’d be upgrading to) are now tubeless-ready. And most modern mountain bike wheels use tubeless-ready rims, all of which are manufactured to meet size and diameter standards to ensure a safe, secure fit. As long as you’re buying a reputable, major brand of wheel/rim and tire, tubeless setup is easy and reliable, and will improve your ride quality.
What do the different tire descriptions mean?
In addition to putting tires into the XC, trail or downhill categories, brands often categorize their tires by the conditions that the lugs are optimized for. As you look for a tire, think about the terrain you typically ride, and whether you prefer comfort or speed.
- MUD: Pretty self-explanatory, but tires optimized for mud tend to have wider-spaced, spiky-shaped lugs so that mud doesn’t cake up between them and ruin your traction.
- SEMI-SLICK: If you’re a racer and often on non-technical trails, a semi-slick allows you to maximize speed with tightly placed, low-profile lugs.
- LOOSE: Lots of sand or small rocks that move around where you ride? Look for tires designed for loose riding.
- HARDPACK: Fast shredding on hard dirt or slickrock.
- ROCKY: Some tires are designed to be more puncture resistance and armored on the sides so that if you’re riding in an area with lots of sharp rock, you’ll be less likely to puncture.
How much should MTB tires cost?
There’s a huge range of pricing when it comes to mountain bike tires. A decent tire can be as inexpensive as $30 per tire, but can easily climb up to over $100 per tire. The sweet spot is right around $50-70/tire when it comes to cost versus value for most riders.
MTB Tire Buying Guides
So, which type and brand should you buy? We’re adding MTB cross country, enduro, and downhill tire buyer’s guides, here’s what’s live now:
- Cross-Country MTB Tires Buyer’s Guide (coming soon)
- Enduro/Trail MTB Tires Buyer’s Guide (coming soon)
- Downhill MTB Tires Buyer’s Guide (coming soon)
What questions do you have about MTB tires? Leave ’em in the comments and we’ll answer them!
Feature image © Pirelli
