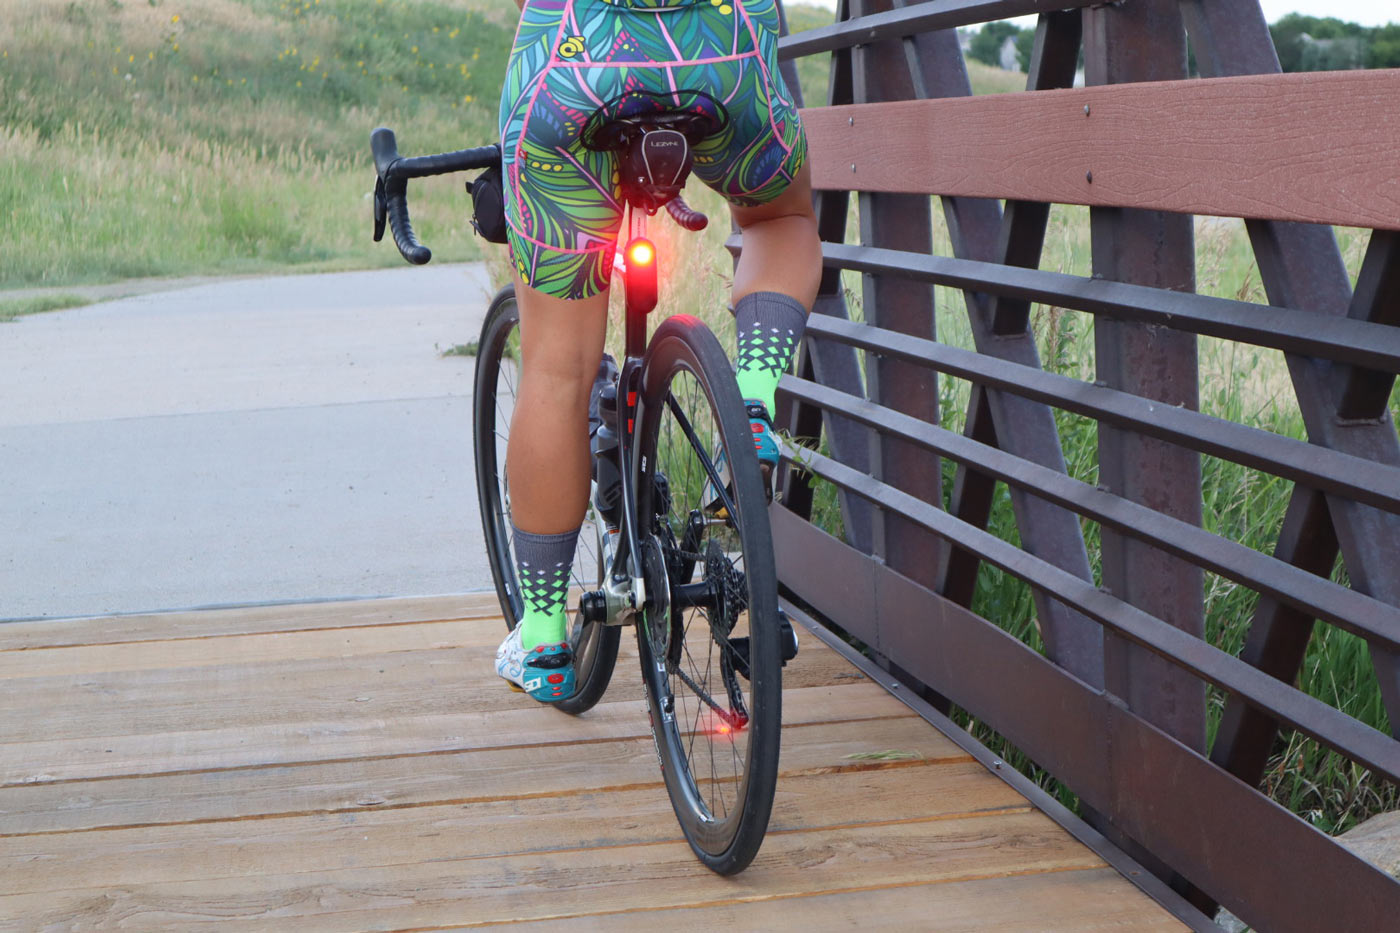
Just as different types of bikes suit different needs, so too, does the right bike light for each type of ride make a huge difference. Whether it’s beam pattern, brightness, run times, or blink patterns, there really is a “best” bike light for commuting and road riding.
There are a lot of lights out there, and we’ve tested most of them. Here, we’re listing our bike light choices for each type of ride and rider…
Why do you need a bike light?
Reason #1 – It’s the law
In all 50 U.S. states, lights are required from dusk to dawn and in times of poor visibility. Specifically, cyclists must have a white light on the front and a red light or reflector on the back, and to be visible from the sides, from sunset through sunrise or at any other time when visibility is poor.
Therefore, to be legally compliant if you’re riding at dusk, dawn, or the dark hours in between, (or during a dark cloudy day), riders are required to have front and rear lights in order to be seen. You can see what every state’s requirements are in this book.
Reason #2 – Bike lights make riding safer
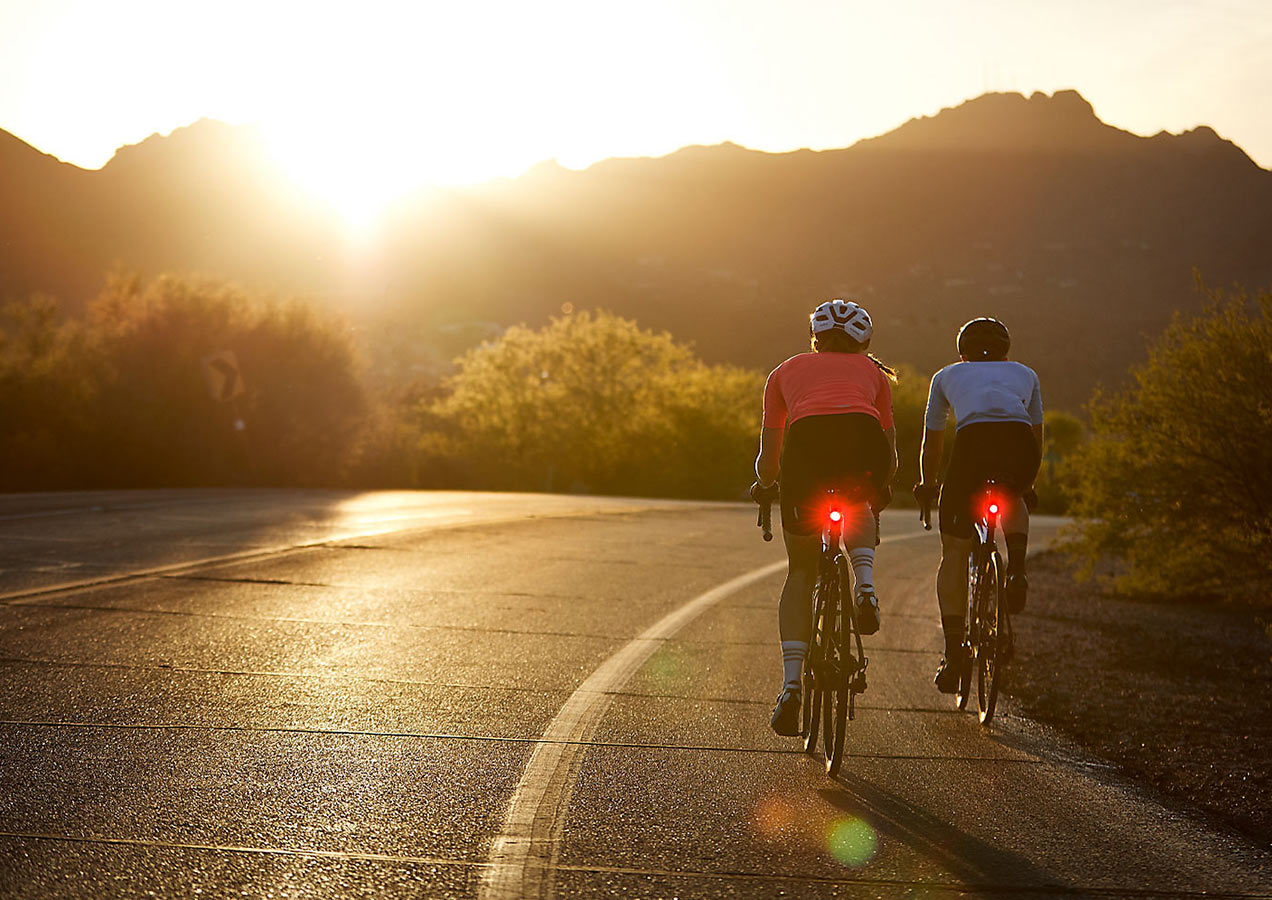
There are 2 categories of lights – to See or to Be Seen. Rear lights are pretty much only to help you be seen, but headlights can be either…or both. Here’s a quick explanation of the difference:
Lights to be seen: Much like a car’s daytime running lights, having bike lights on at all times -even in bright, sunny conditions- increases rider safety exponentially (see why in this video). It’s why we personally ride with lights all the time even though they’re not required during the day. Put simply, they draw more attention to you and make you more visible to drivers.
Typically, lights for “being seen,” are lighter, smaller, have multiple flash/sequence options, and an overall lower lumen count. They are often USB-chargeable, and very easy to mount on handlebars, seat posts, and/or seatstays (usually with a rubber band or Velcro-type system). We’ve found that more erratic, pulsed rear blink patterns attract the most attention.
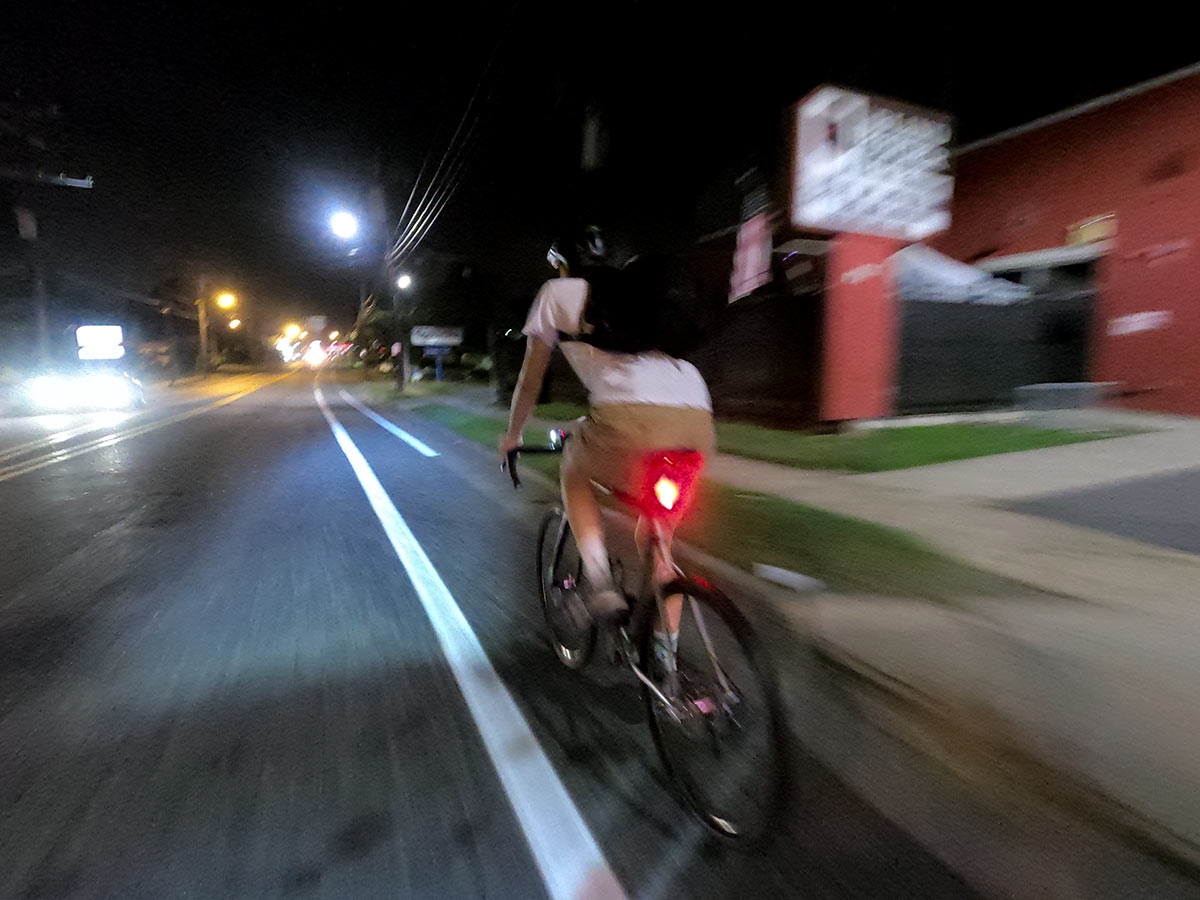
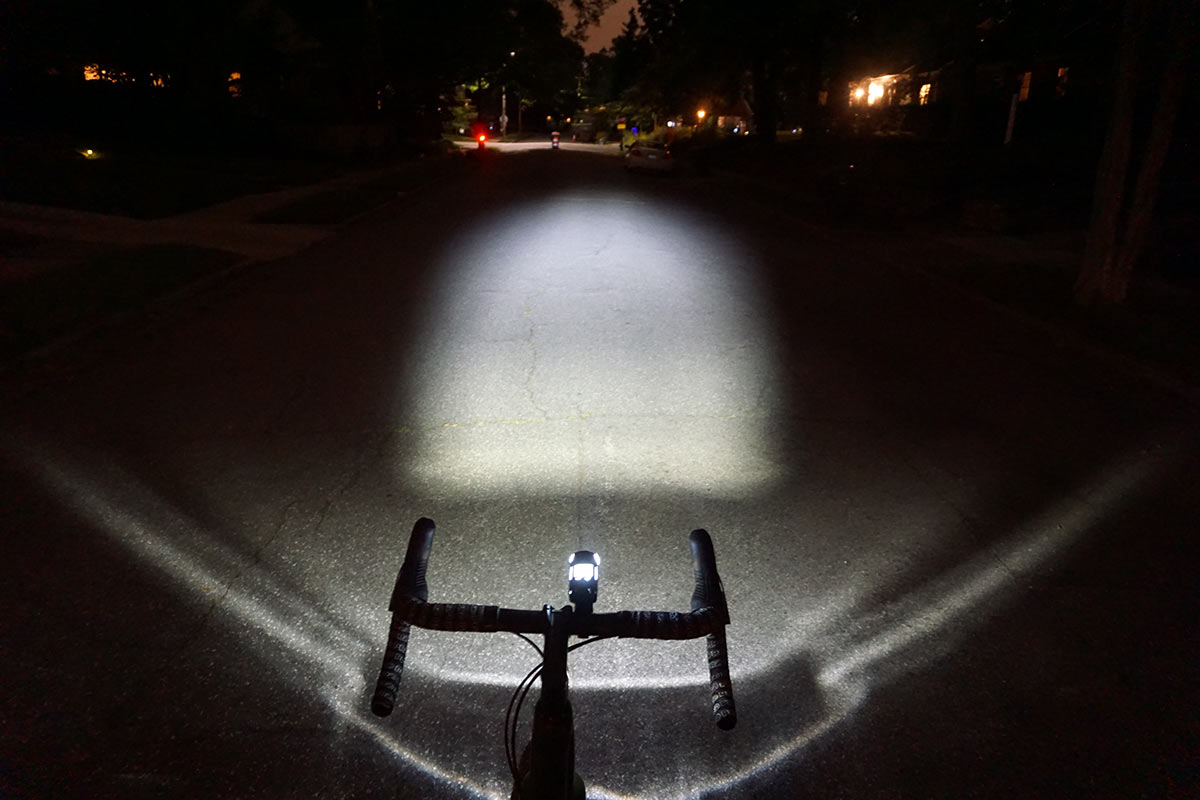
Lights to see: For headlights, you need something bright enough to illuminate the path ahead. That’ll vary depending on where you’re riding, like in a city with street lights versus darker backroads. A broad beam pattern close in provides good awareness at slower speeds, but fast roadies will want something that throws light farther down the road.
Here, you’ll want at least one blink pattern you can use for daytime riding, plus multiple brightness levels you can adjust to your surroundings. Fortunately, everything listed below has exactly that.
Best Bike Lights
Here are our picks for the best bike lights for commuting and road or gravel bike riding. For mountain bikers, the smaller ones work great for riding to and from the trailhead, but you’ll want something different for night-riding singletrack (we’ll have that guide up soon). For these, you’ll see some front-rear combos, but don’t be afraid to mix brands to get the right lights for your type of riding…
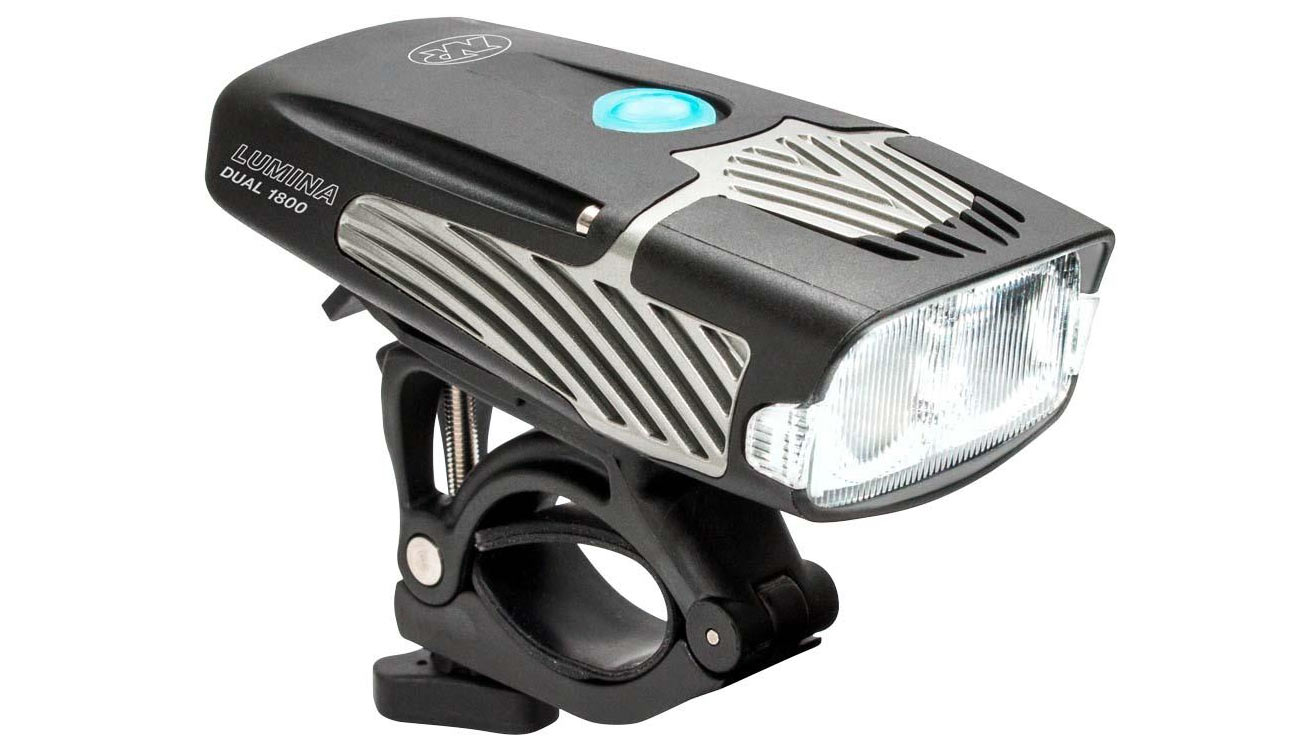
BEST OVERALL – HEADLIGHT: Niterider Lumina Dual 1800
A lot of us like Niterider and use a wide variety of their headlights for everything from commuting to road riding to mountain biking. The brand has been around forever, too. But there’s one light in their lineup that does all three well – the Lumina Dual 1800.
It’s expensive at $169 MSRP, but the biggest reason to invest in this light is it produces 700 lumens for 3 hours, but maxes out at 1800 lumens (albeit for just 45 minutes). And the quick-release design means you can leave the mount on your bike and slide the light off to use it as a 100-lumen flashlight…great for the road- or trail-side repairs.
Two high-powered flashing modes are designed specifically for daytime use, and a lock mode keeps it from getting accidentally turned on when you toss it in a pack. Bonus points for having a separate GoPro-style mount available, too.
- Lumen Output: 1800 / 1500 / 700 / 350 / 1500 pulse / 1500 flash / 100 walk
- Run times: 45m / 1.5h / 3h / 6h / 10h / 16.5h / 20h
- Charge Time: 3:00hrs
- Waterproof/Dustproof: IP64
- Weight: 258g
- MSRP: $180
PROS: Massively bright, quick-release mount, flashlight mode, fast charging
CONS: Expensive, a little bulky
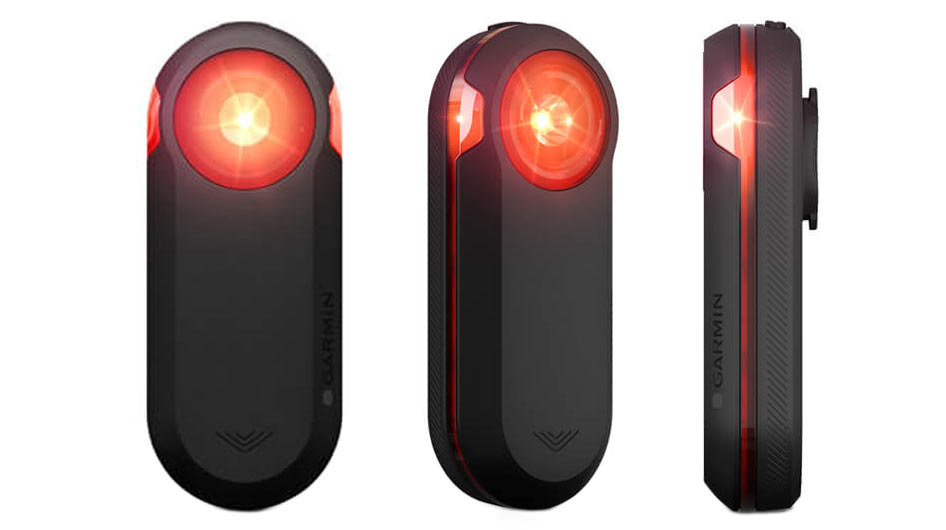
BEST OVERALL – TAILLIGHT: Garmin Varia 510
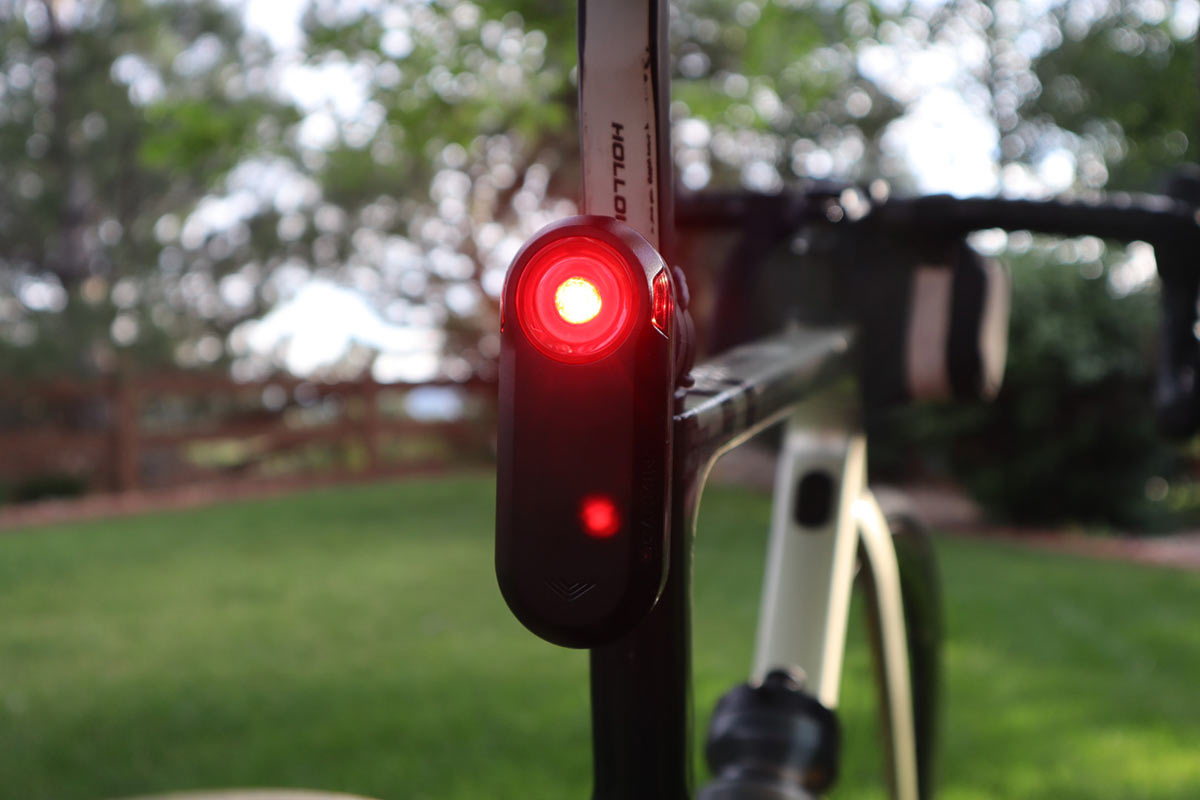
Garmin has taken rear light safety to the next level with their radar-equipped rear light that’s able to detect approaching vehicles from behind, up to 460 feet (140m) away!
Initially, we kinda thought this was a gimmick. Then we rode with it, and now we recommend it to everyone. When synced with compatible Garmin (or Wahoo, Bryton, etc.) GPS cycling computers, the Garmin Varia RTL 510 light+radar combo provides audible and visual warnings when a vehicle is approaching behind you with increasing notifications as the vehicle’s speed or proximity increases. This gives you a heads up that a car is coming up from behind, and if they’re driving fast, a chance to move right or even to pull over.
With a battery life of up to 15 hours, it’ll last through your longest rides. Hopefully, Garmin will add a camera-equipped model soon, offering the trifecta of safety in a camera, light, and radar. Regardless, for riders who tend to zone out or ride wide, this adds invaluable situational awareness.
The only downside (besides the high price) is that it’s nearly 4″ tall, so shorter riders or those will very little exposed seatpost might have a hard time finding space for it. Pair it with their Varia headlight if you want automatic speed- and ambient light-sensitive dimming when also paired with a Garmin head unit.
- Lumen Output: 20 solid / 29 night flash / 65 day flash
- Run times: 6h / 6h / 15h
- ANT+: Yes
- Waterproof/Dustproof: IPX7
- Viewing angle: 220°
- Weight: 71.0 g
- MSRP: $199
PROS: Impressively useful early alerts, quality blink patterns, looks way better than a helmet mirror
CONS: Expensive, needs a compatible cycling computer for radar functionality, might not work on shorter seatposts
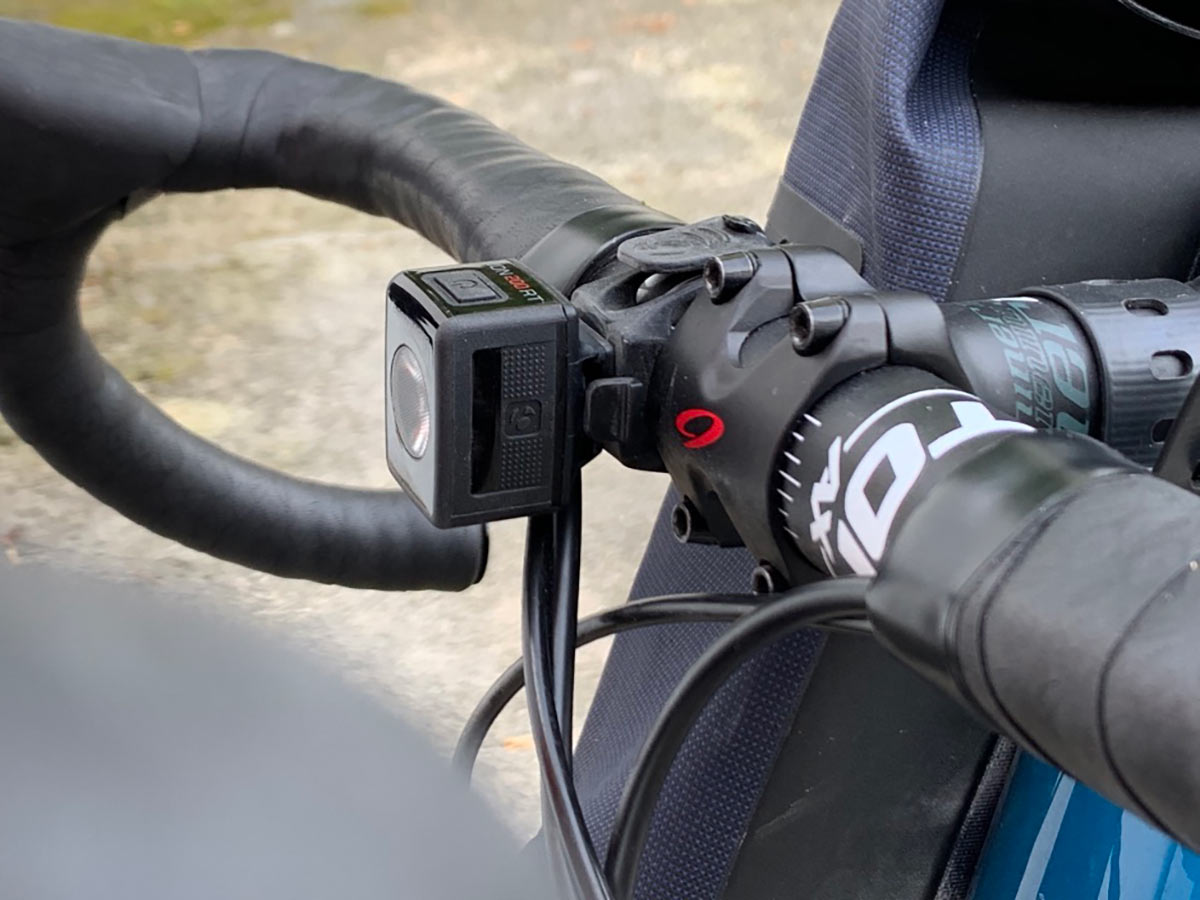
BEST FOR WEIGHT WEENIES: Bontrager Ion 200 / Flare RT
Don’t let their size fool you, these are impressively bright with great battery life and serious tech. And the set weighs in at just 72g, yet the rear is visible from up to 2km away!
We used these CREE LED-powered headlights to bomb down a pitch-black curvy mountain pass in Slovenia after enjoying the sunset just a bit too long and couldn’t believe how well the Flare’s 200 lumens lit up the road in front. They literally saved us.
These little lights have built-in sensors that adjust the brightness based on ambient light. They can even connect wirelessly (ANT+ or Bluetooth) to a compatible Garmin or Bontrager device, letting you control them and check battery life from the head unit. These are some of our go-to lights for every ride.
- Lumen Output – Front: 200 / 100 / 5 / Night Flash / Day Flash
- Runtime – Front: 1.5h / 3h / 14.5h / 30h / 12h
- Lumen Output – Rear: Flash modes 90 / 45 / 5 – Steady modes 25 / 5
- Runtime – Rear: Flash modes 6h / 12h / 15h – Steady modes 4.5h / 13.5h
- Charge time: 2 hours each
- Waterproof/Dustproof: IPX7
- 72g/set
- MSRP: $130
PROS: Ultra bright, ultra-light, super easy to mount, solid battery life
CONS: Hard to stomach $130 for such tiny lights, not really meant to “see” with
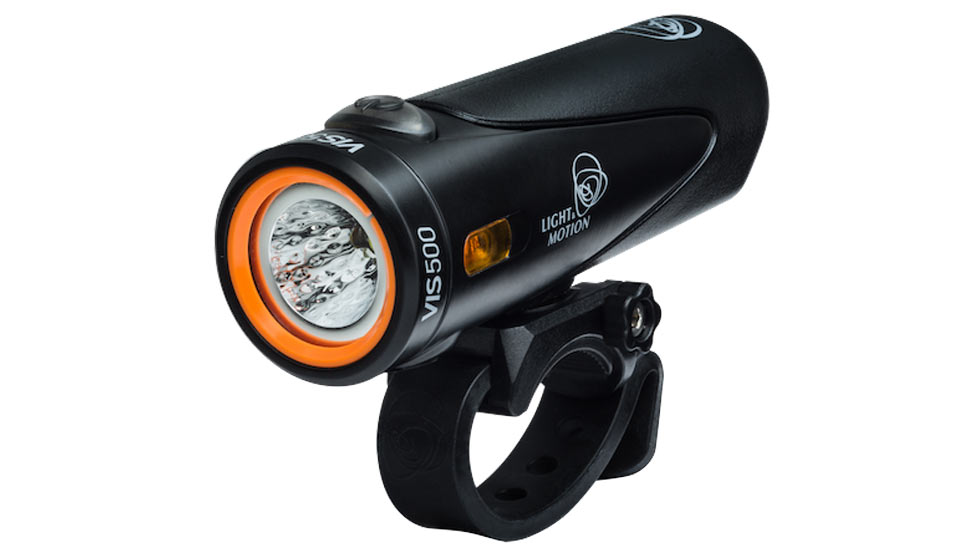
BEST MIDRANGE HEADLIGHT: Light & Motion VIS 500
A lot of us also ride many of Light & Motion’s headlights for everything on- and off-road. One tester’s L&M headlight has lasted through 5+ years of rainy rides, events like Dirty Kanza, being dropped, and thrown into backpacks and saddlebags, and never let him down.
The standout is their VIS 500 headlight, which quickly straps onto any size round handlebar, and twists so it’ll aim straight forward even if your bar has a slight bend to it. It doubles as a be-seen and see-well light, and is a great choice for all rider types – even mountain bikers, just throw it in a pack for when the ride lasts longer than you thought.
A straightforward 20º spot beam puts the light right where you want it, and 500 lumens for 90 minutes should be plenty for most riders. An optional GoPro-style mount lets you hide it under a compatible computer mount.
- Lumen Output: 500 / 250 / 125 / 125 pulse
- Runtime: 1.5h / 3h / 6h / 12h pulse
- Charge time: 4.5 hours
- Waterproof/Dustproof: Waterproof to 1m, Drop-proof to 1m
- Weight: 121g
- MSRP: $49.99
PROS: Compact aerodynamic shape, power button’s variable light indicates battery level
CONS: None, really.
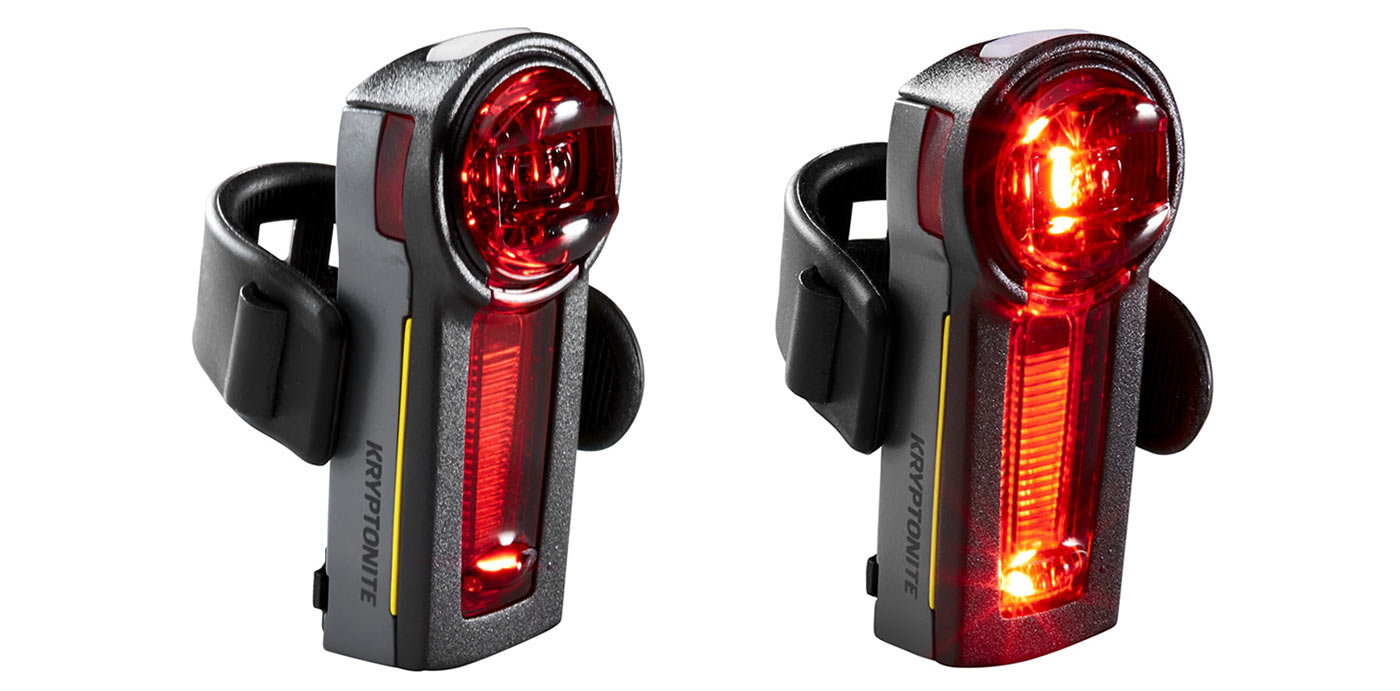
BEST MIDRANGE TAILLIGHT: Kryptonite Incite XBR
What makes the Kryptonite Incite XBR stand out is its built-in accelerometer, which boosts the brightness 3x when you hit the brakes. For commuters, this helps drivers more quickly recognize that you’re slowing down, and it works as soon as you start braking.
We reviewed it with video here if you want to see it in action. It has seven modes in total, three of which include the brake light function, so you don’t have to use it. Run times are impressively long, too…we used these on 8-9 hour rides and they lasted all the way through, which can’t be said for every tail light we’ve tried. You may not think you’d need a super long run time for a light, but the longer it lasts, the less often you need to charge it.
We also like the slim form factor and lightweight, plus the memory function automatically starts it at the last mode used. So, once you find your favorite, just turn it on and go.
- Lumen Output – Not specified, 0.2 Lux
- Runtime: 10h High/Steady to 36h Eco, other modes not specified
- Charge time: Not specified, but about 4 hours
- Waterproof/Dustproof: Not specified
- Weight: 28g
- MSRP: $45
PROS: Decent run time, battery lasts a long time between charges, it has a brake light!
CONS: Nonlinear mode sequence makes it hard to find the mode you want
BEST BUDGET COMBO: Knog Plugger Twinpack
This combo set is easy, breezy, provides front and rear lights to be seen, is easy to recharge, and goes on and off the bike in a jiffy. Four different rear flash patterns ensure you’ll get attention. Also, it looks simply gorgeous, with a sharp minimalist aesthetic that would look at home on even the sleekest road bike.
The lights mount with a simple, replaceable silicone band, and the headlight comes in two sizes to fit 22mm to 32mm diameter handlebars. At $60 MSRP, it’s fairly priced, especially since we’ve consistently found Knog’s lights to be reliable, and durable, with great battery life and resilience even in rainy, wet conditions.
- Lumen Output: 350 lumens front, max / 10 lumens, rear
- Runtime – Front: 1.5h / 3.75h / 4.5h pulse / 12h flash / 180+ eco-flash
- Runtime – Rear: 3h / 6h pulse / 20h flash / 16.5h random / 100+ eco-flash
- Charge time: 5 hours (USB)
- Waterproof/Dustproof: Waterproof, but specification not listed
- Weight: ~150g/set
- MSRP: $59.95
PROS: Great looks, bright, varied flash patterns, easy mounting
CONS: None, unless you need something brighter or have a 35mm handlebar
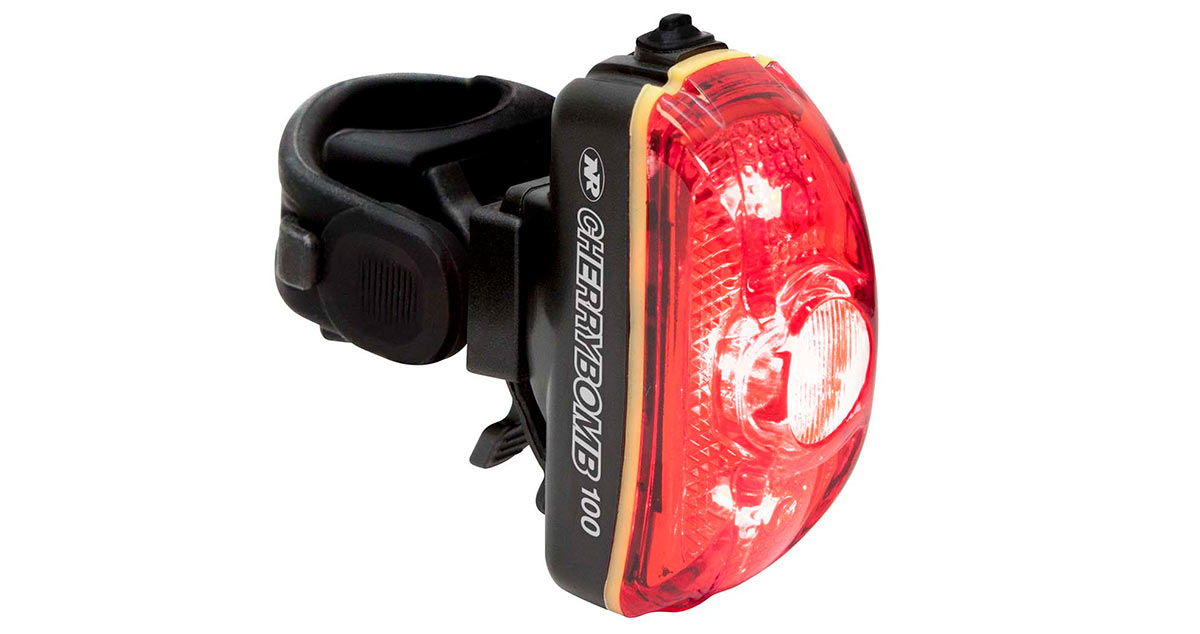
BEST BUDGET TAILLIGHT: Niterider Cherrybomb 100
The Niterider Cherrybomb has been one of our favorite taillights for years thanks to its erratic, fireworks-like flash patterns that are some of the very best at getting attention in any light conditions. Choose from flash, pulse, and low or high steady modes.
This latest version bumps the lumen count up to 100, so it’s even brighter (visible up to a mile away!) and the mounting strap is vastly improved over the prior model, too. There’s even a clip built into it, so you can hook it onto your saddle bag or backpack if you don’t have room on your seatpost.
It’s the only light in our list that uses standard AAA batteries, so you’ll need to add those occasionally, but the excellent run time means you shouldn’t have to do it often.
- Lumen Output: 100
- Runtime: 96h to 127h, depending on the mode
- Charge time: n/a
- Waterproof/Dustproof: IP64 water/dust resistant
- Weight: 82g
- MSRP: $24.99
PROS: Super bright, wild flash patterns grab attention, huge side visibility
CONS: Non-rechargeable batteries add to the ownership costs, the cover may pop off if dropped
What else do I need for a great bike light setup?
Two accessories stand out. The first is a GoPro-style mount for your brand of light. K-Edge makes a machined alloy version for Niterider and Light & Motion has its own adapter. These replace the straps that come on the lights and let you direct mount them to any GoPro-style mount. Several brands of computer mounts (including K-Edge) have adapters that let you place your light under your computer. Not only does this free up handlebar space, but it also looks way better, too. See the FAQ for other mounting options.
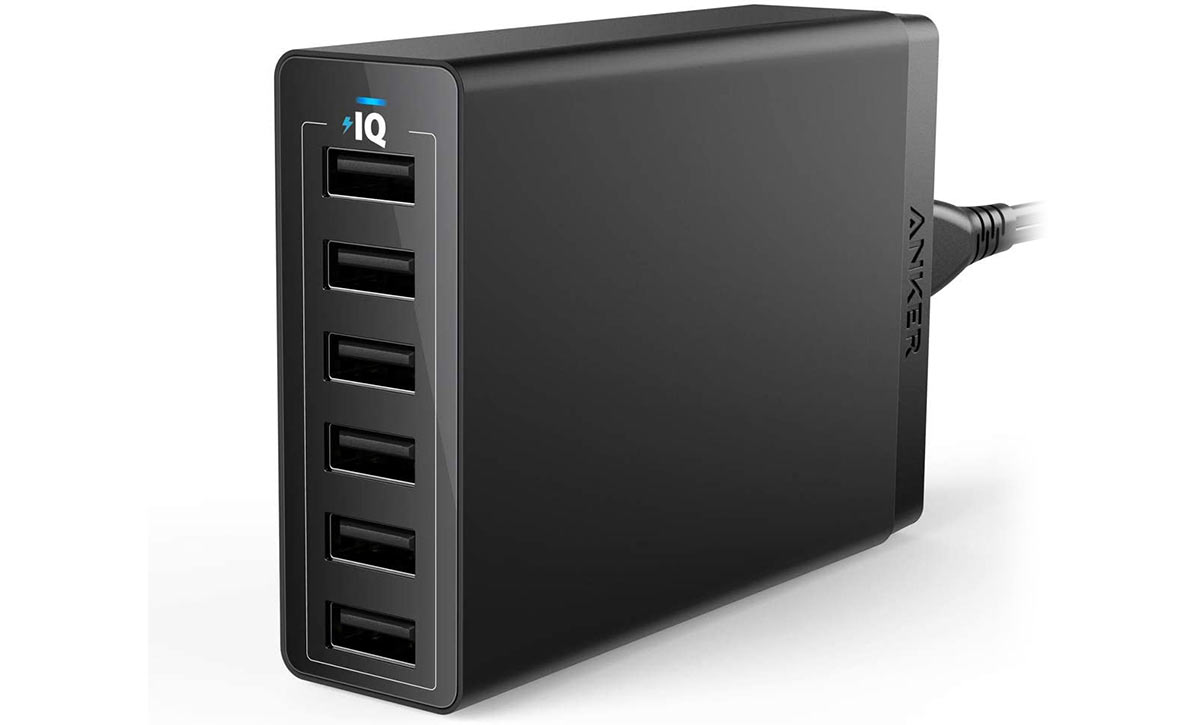
Second, since most lights and bike tech are USB-chargeable these days, a multi-port charger in the garage makes life easier. We like this Anker multi-port USB brick because it has enough ports to charge everything – lights, GPS cycling computers, GoPro, power meter, etc. It’s cheap, but from a trustworthy brand we use for a lot of our own charging gear at home and work.
Frequently Asked Questions about Bike Lights
Do bike lights really make me safer riding on the streets?
Yes, lights reduce incident rates. In a year-long study conducted in Denmark where permanent running lights were attached to 1,845 cyclists when compared to a controlled group, the group who ran lights had a 19% lower incident rate.
One of the biggest reasons that lights decrease incidents is because light gives a driver (or another road user/cyclist) more time to react. A 2016 study in Sweden that measured how drivers pass cyclists on open roads found that most start to steer around the rider roughly 1.5 seconds before the vehicle reaches the rider. The perception of the light gives a driver increased reaction time and as such, should allow for safer overtaking. We ALL want drivers to see us well before 1.5 seconds out.
How is light measured? What is a lumen?
A bicycle light’s output is typically measured in lumens. A lumen is the total amount of visible light emitted at a given time. To give some context, a 25-watt bulb is approximately 230-270 lumens, whereas a 60-watt bulb is 800-850 lumens. A Tesla Model S headlight can be up to 4000 Lumens.
What is the difference between LUX and LUMENS?
Lumens are the measure of the total output of visible light from a light source. Typically, the more lumens a light fixture provides, the brighter it is.
Lux refers to the illuminance, or intensity, of the light that’s actually hitting the ground. This is handled by the beam pattern and quality of the optics. A super high lumen rating is worthless if that light isn’t going where you need it. A good lens and reflector design will shape and aim the light where you need it and have a better Lux rating. Unfortunately, very few brands other than Kryptonite bother to mention this metric, but all of the headlights listed here have good, highly usable beam patterns.
How much light do I need?
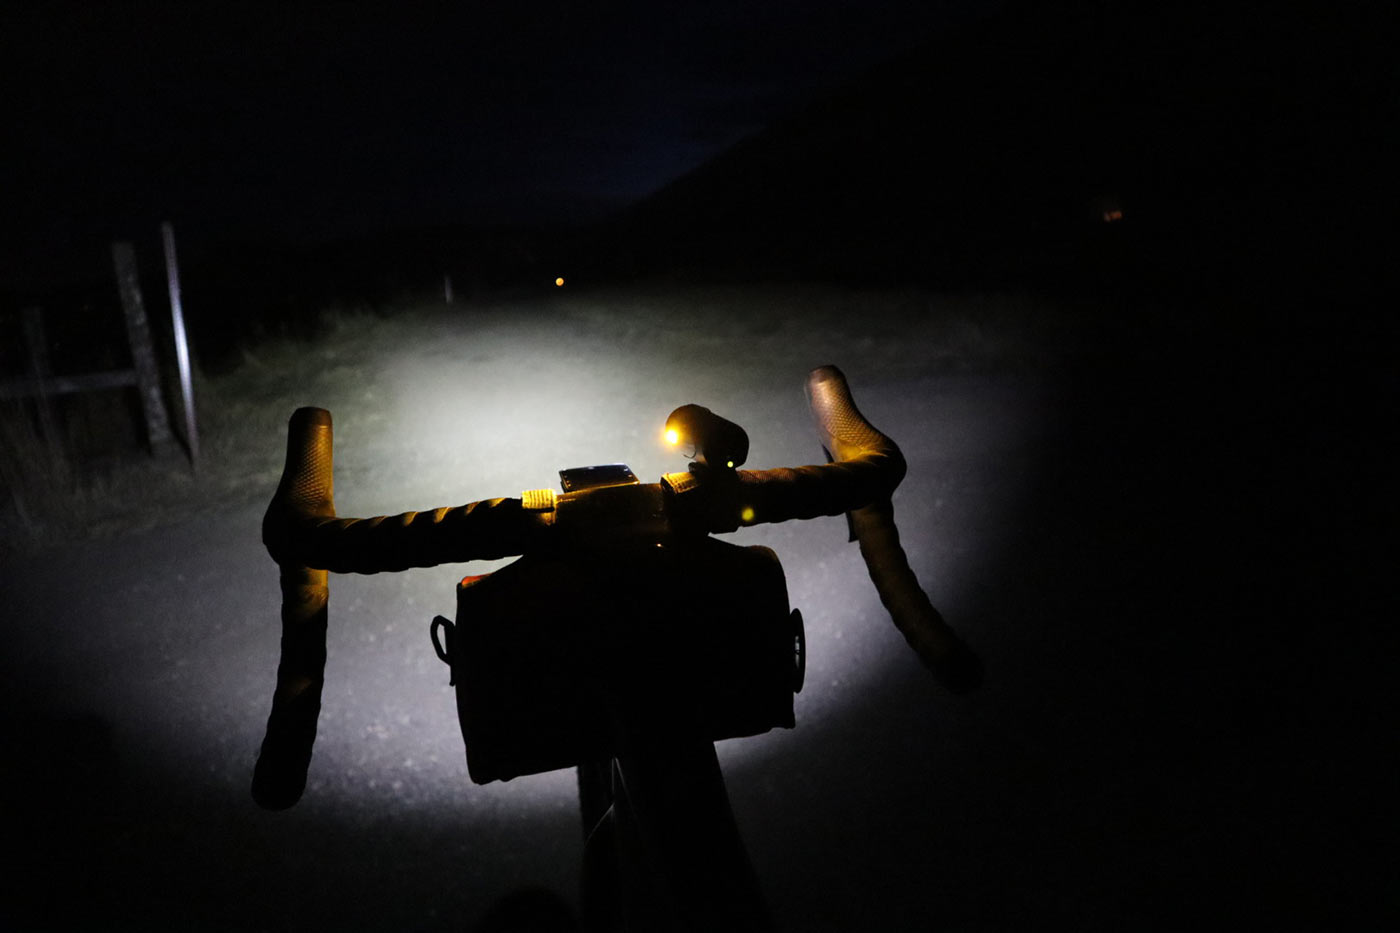
The actual brightness or lumen output you need is really a matter of personal preference and conditions, but here’s a minimum guide to go by for headlights:
- Daytime running lights to be seen in daylight = 100+ Lumens
- Urban commuting lights to be seen in town = 50 to 200 Lumens
- Rural riding lights to see where you are going = 400 to 600 Lumens
- Trail riding lights to see everything = 600+ Lumens
Remember, the maximum claimed Lumen rate is only going to last a short time. The package may say it’s a 1000-lumen light, but if you read the small print they might only do that for an hour. The same light will probably work at 500 or 600 lumens for 2 or 3 hours so it’s worth buying a light with more lumens than you need to get decent run times.
Typically you will want a brighter front light than rear light. It’s common for a 500-lumen front light to be paired with a 100-lumen rear light. This is because you need a lot more power to see where you are going than to be seen. Anything brighter than 100 lumens outback will likely annoy (or blind) fellow cyclists and drivers alike, and a well-designed 10-lumen taillight might be plenty.
All that said, most state statutes provide requirements as to the distance a cyclist’s lights should be visible. Generally speaking, 500-600 feet of visibility during nighttime hours should keep you on the right side of the law, but you should search your state’s laws to be sure.
So, should I just buy the brightest bicycle lights I can?
Well, maybe. There’s certainly a point of diminishing returns, and brighter lights are definitely more expensive. In certain scenarios, too-bright lights can actually blind oncoming traffic, whether that be a vehicle, cyclist, or pedestrian (think about your oncoming bike path users). Where and when you ride will dictate the lumen count you need.
What about side visibility?
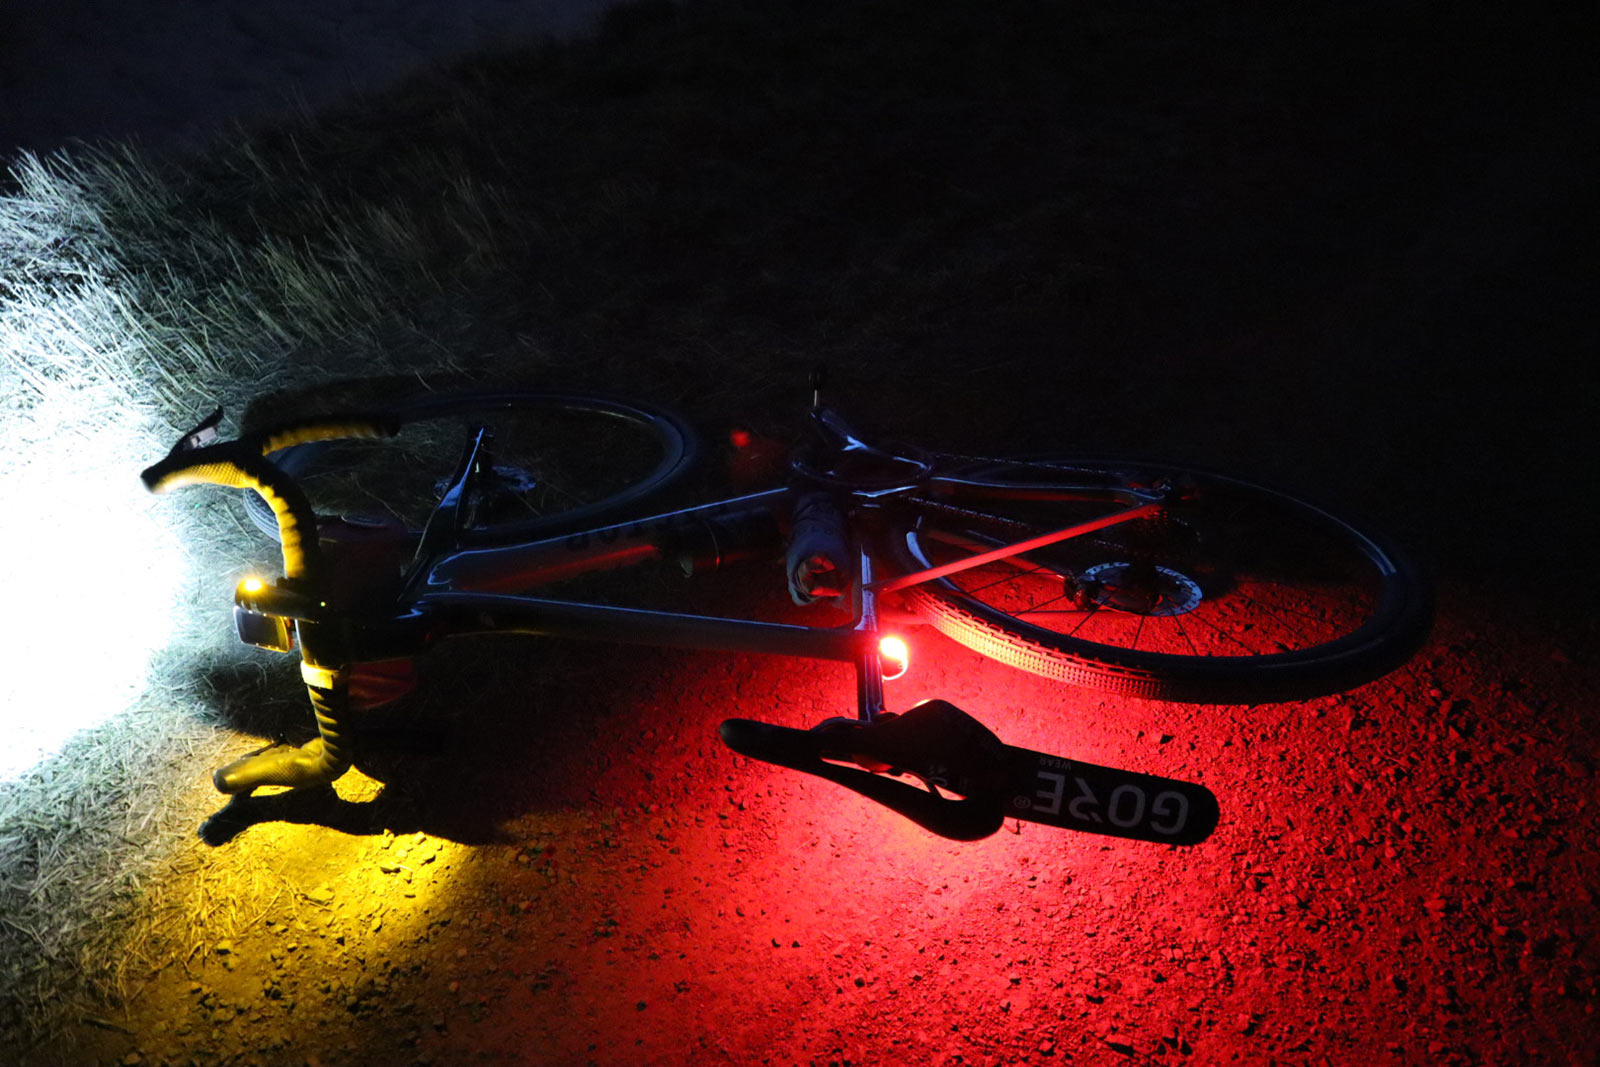
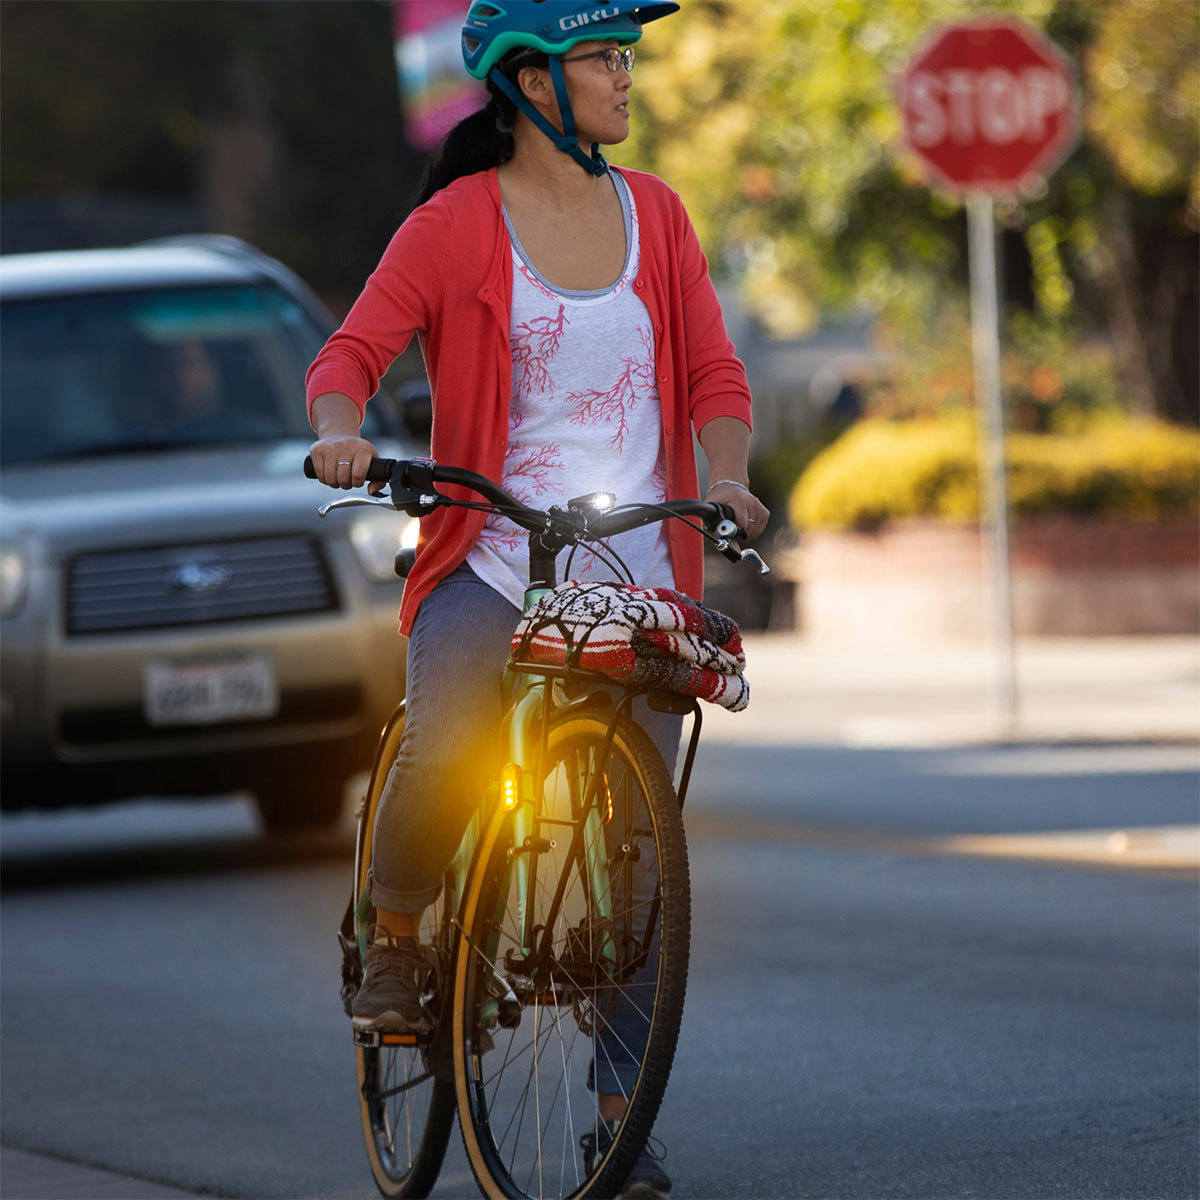
Many of the lights we recommend offer side visibility. This keeps you more visible to drivers as you’re crossing streets, or if they’re approaching from a side street. This is easily done with reflectors or reflective decals, but lights can do it, too.
In fact, Blackburn Design actually makes side-specific lights, as shown above. Their Grid Side Beacon lights put bright amber lights on either side of your bike, which is great if you routinely ride in congested cross-traffic. With up to 85 lumens and 6 hours of run time, they’re a bit of insurance
For headlights, this is usually via small ports that send some of the light off to the sides, but could also be done with lens shaping. The caveat here is that if you’re mounting the light on road bike-style drop bars, there’s a good chance your wrists or brake hoods will partially block that light.
Fortunately, your taillight’s side visibility should make up for that. Almost every tail light has some side visibility, but the best have at least 180º of light.
Where should I mount my bicycle headlight?
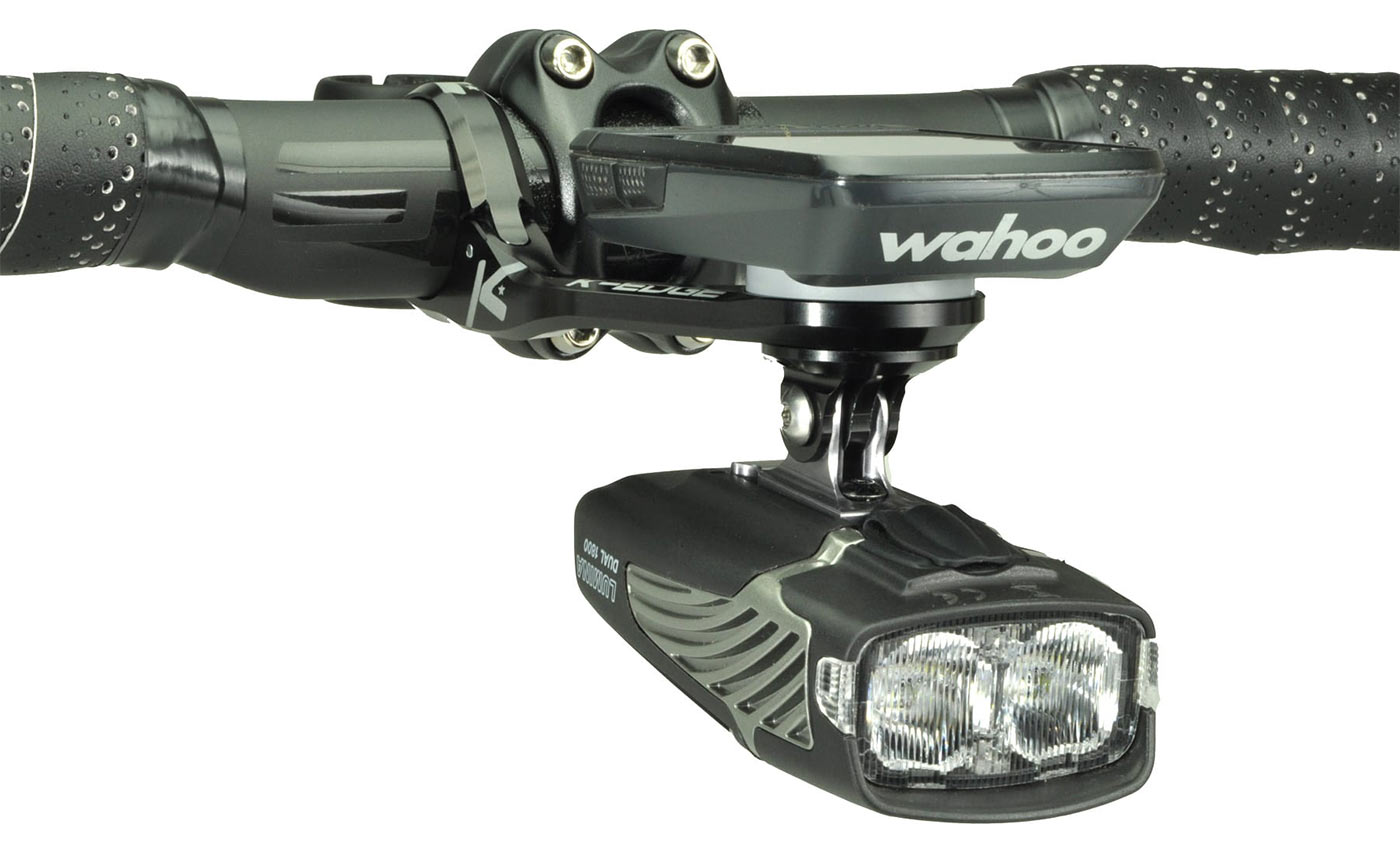
The easiest spot is on your handlebar, but it’s not always the best spot. If you have your phone mounted there, too, it might block the headlight from being seen by oncoming traffic, so think about that when positioning everything on your bar.
Handlebar roll bags and pouches can make it harder to get the clamps around your bar, too, so using an out-front mount like those from K-Edge or KOM cycling (both require a GoPro adapter for your light) can help push your light in front of anything else on your bar.
There are also helmet mounts available for the Niterider and Light & Motion headlights, which are our preferred method for using them off-road because you’ll see exactly where you’re looking. That’s more important on tight singletrack than on city streets, but the bonus is you can easily just carry your helmet inside and recharge the light without having to remove it from the bike.
How should I aim my bike headlight?
Aim it so you can see where you’re going. Slower speeds, like urban commuting or for kids, mean you can aim the light closer to the front wheel. Higher speeds, like early morning training, ride on your race bike, meaning you need to aim it farther down the road so you can see obstacles or debris before it’s too late to react.
Just don’t aim it so high that you’re blinding oncoming traffic. With a flash pattern during the day, that’s not as big of an issue. But at night, you could create an unsafe situation for everyone if your headlight is aiming directly at a driver’s face. Just like a vehicle’s brights should be dimmed when there’s oncoming traffic, you should aim only as high as you need to see by.
You also don’t want to aim it too low, especially if it’s really bright. Too much light directly in front of your bike can distract you, or make it harder to see past that light. And if it’s actually shining on your front wheel, that becomes a focal point for your peripheral vision, which is also unsafe. After all, the whole point is to see where you’re going.
These lights seem expensive, why not just buy cheap ones?
Because you really do get what you pay for. Not only do all of these lights provide great beam patterns, reliable performance, and top-notch design and features, but they’ll also last for many, many years.
The thing with cheap lights is that they skimp somewhere. Or lots of places. Super high lumen ratings on inexpensive lights are usually a short-burst max, but the actual output is likely much lower. So, you’re really not getting the brightness you thought.
Less sophisticated software inside the lights means they can dim quickly as the battery drains, too. This means, your 30-minute ride could finish with worthlessly dim lights, and that’s because they’re not able to manage output. Quality brands use better hardware and software to keep light output consistent right up until the end. Plus, many of these lights have low-power warnings or even automatically switch to lower power modes to extend that last 5%-10% of battery life so you don’t get stranded in the dark.
Why don’t you list “budget” headlights?
While many of the quality brands here also make lower-priced headlights, we recommend the brighter ones here for all of the reasons listed throughout. But, if you need to save a bit of coin, we’d strongly recommend sticking to the brands from this guide so you know you’re getting a high-quality light.
Bottom Line
We’d recommend selecting lights for your desired purpose – to see, or be seen, and for your ride types, whether that’s all-day gravel adventures that could run past dusk, to a commute home from the office after a day of working late, or those 5 am training rides to beat the heat (and the traffic).
You don’t have to break the bank to get really reliable, robust lights. And you don’t have to add a ton of extra weight to your bike, or complexity in installation either, to get yourself a solid light setup. Keeping it simple is most likely to result in the most consistent light use.
This article was written in collaboration with Megan Hottman, an attorney who eats, sleeps, and breathes bikes in all facets of her life; she enjoys researching products and writing about them with the goal of making everyone’s ride the best and safest possible bike ride, every time.
