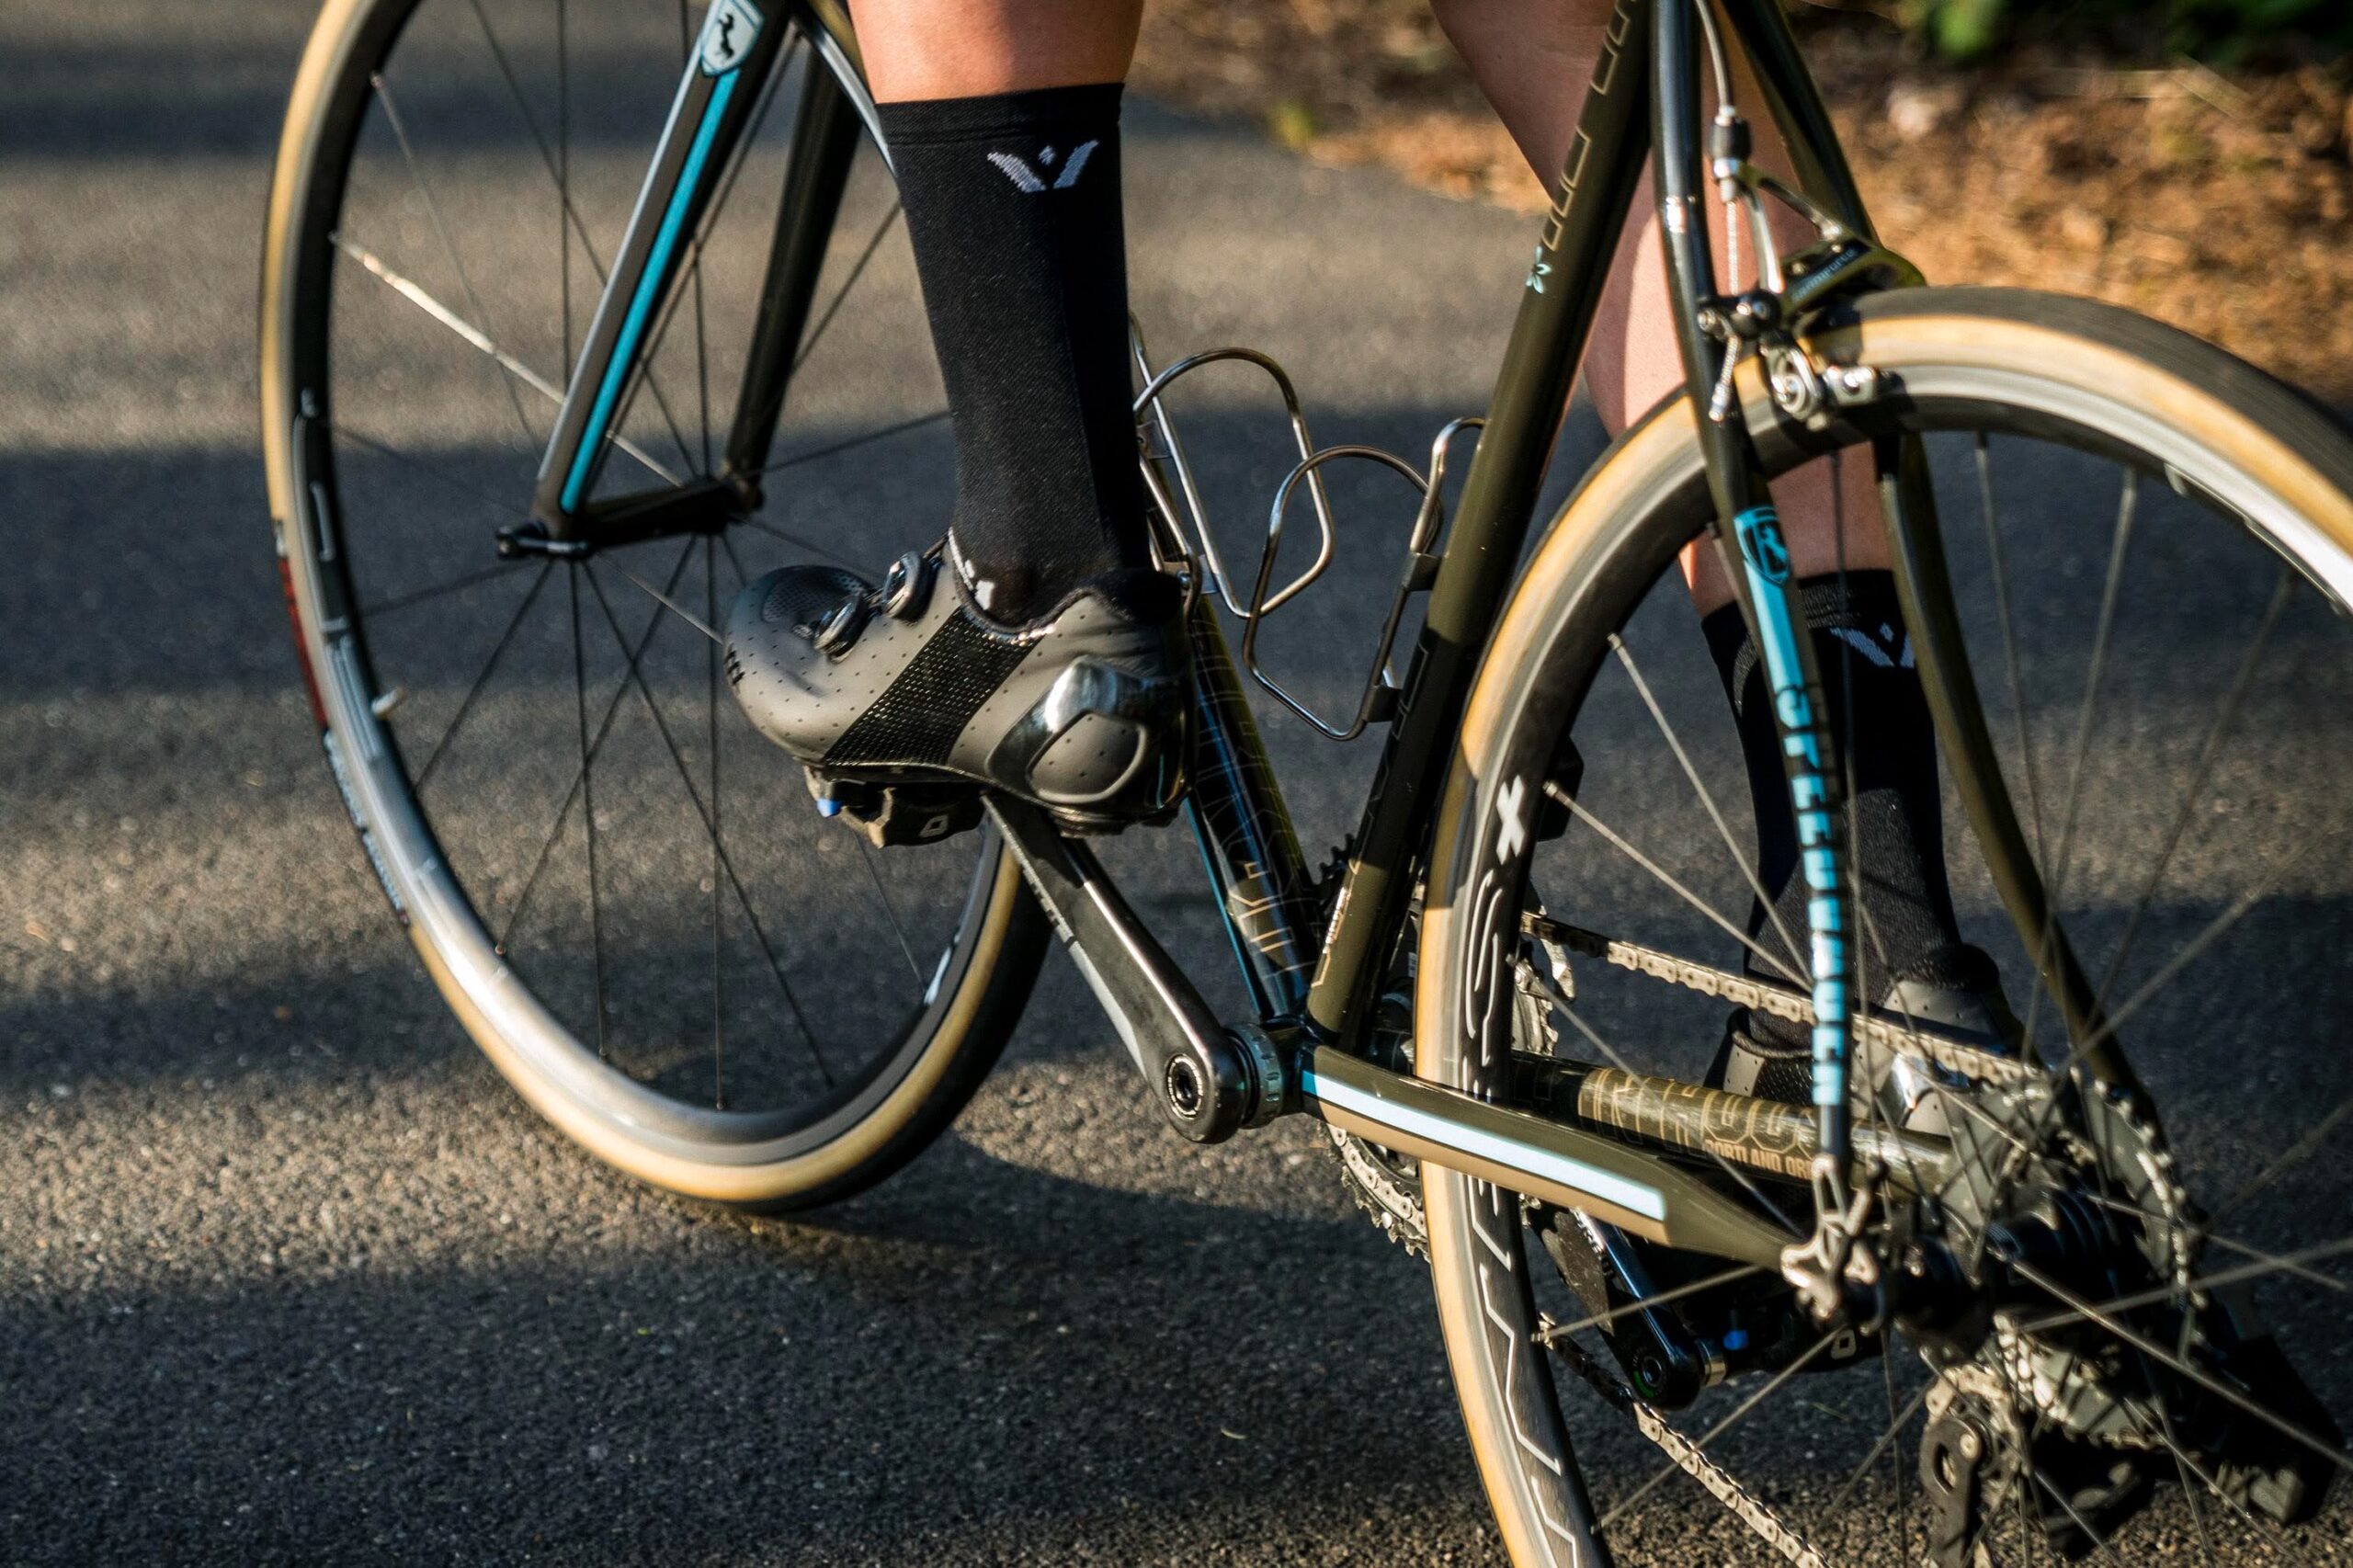
If you are a road cyclist, finding the right pair of road bike pedals can enhance your efficiency and comfort on the bike. This seemingly simple component is a critical workhorse on your bike as it is subject to many thousands of revolutions and all the pedaling forces applied from your legs.
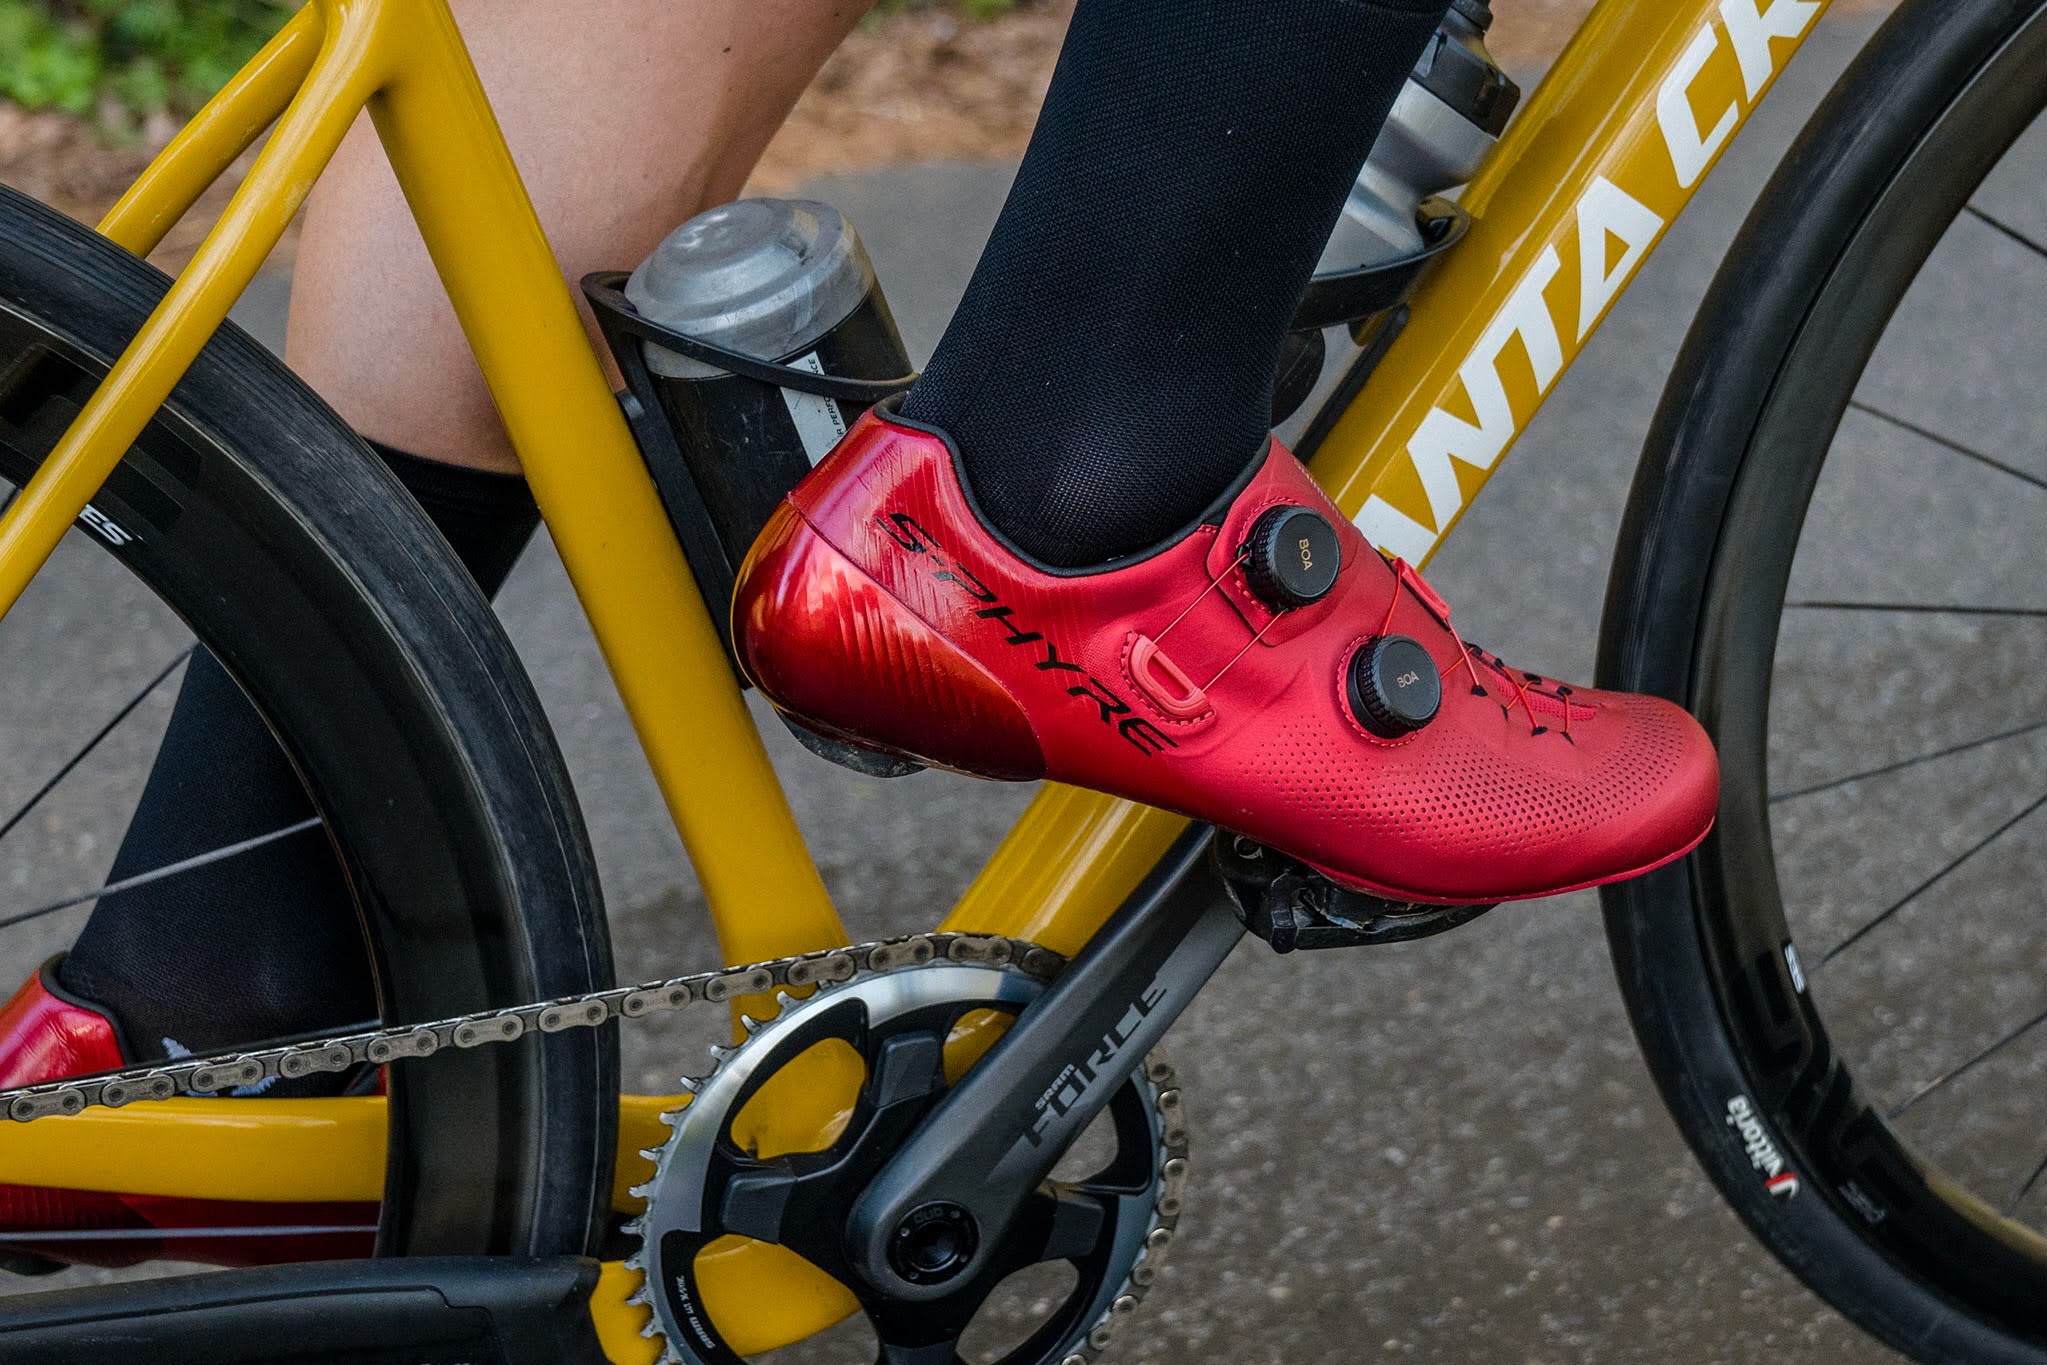
Along with your road bike shoes, your road bike pedals form one of only three contact points between you and your machine, and it is particularly important when it comes to efficiency. With stiff axles, lightweight bodies, and broad platforms, road bike pedals provide stability, comfort, and control, while adjustments to cleat positioning, float, and entry/release tension allow you to optimize their fit, feel, and performance to your specific needs.
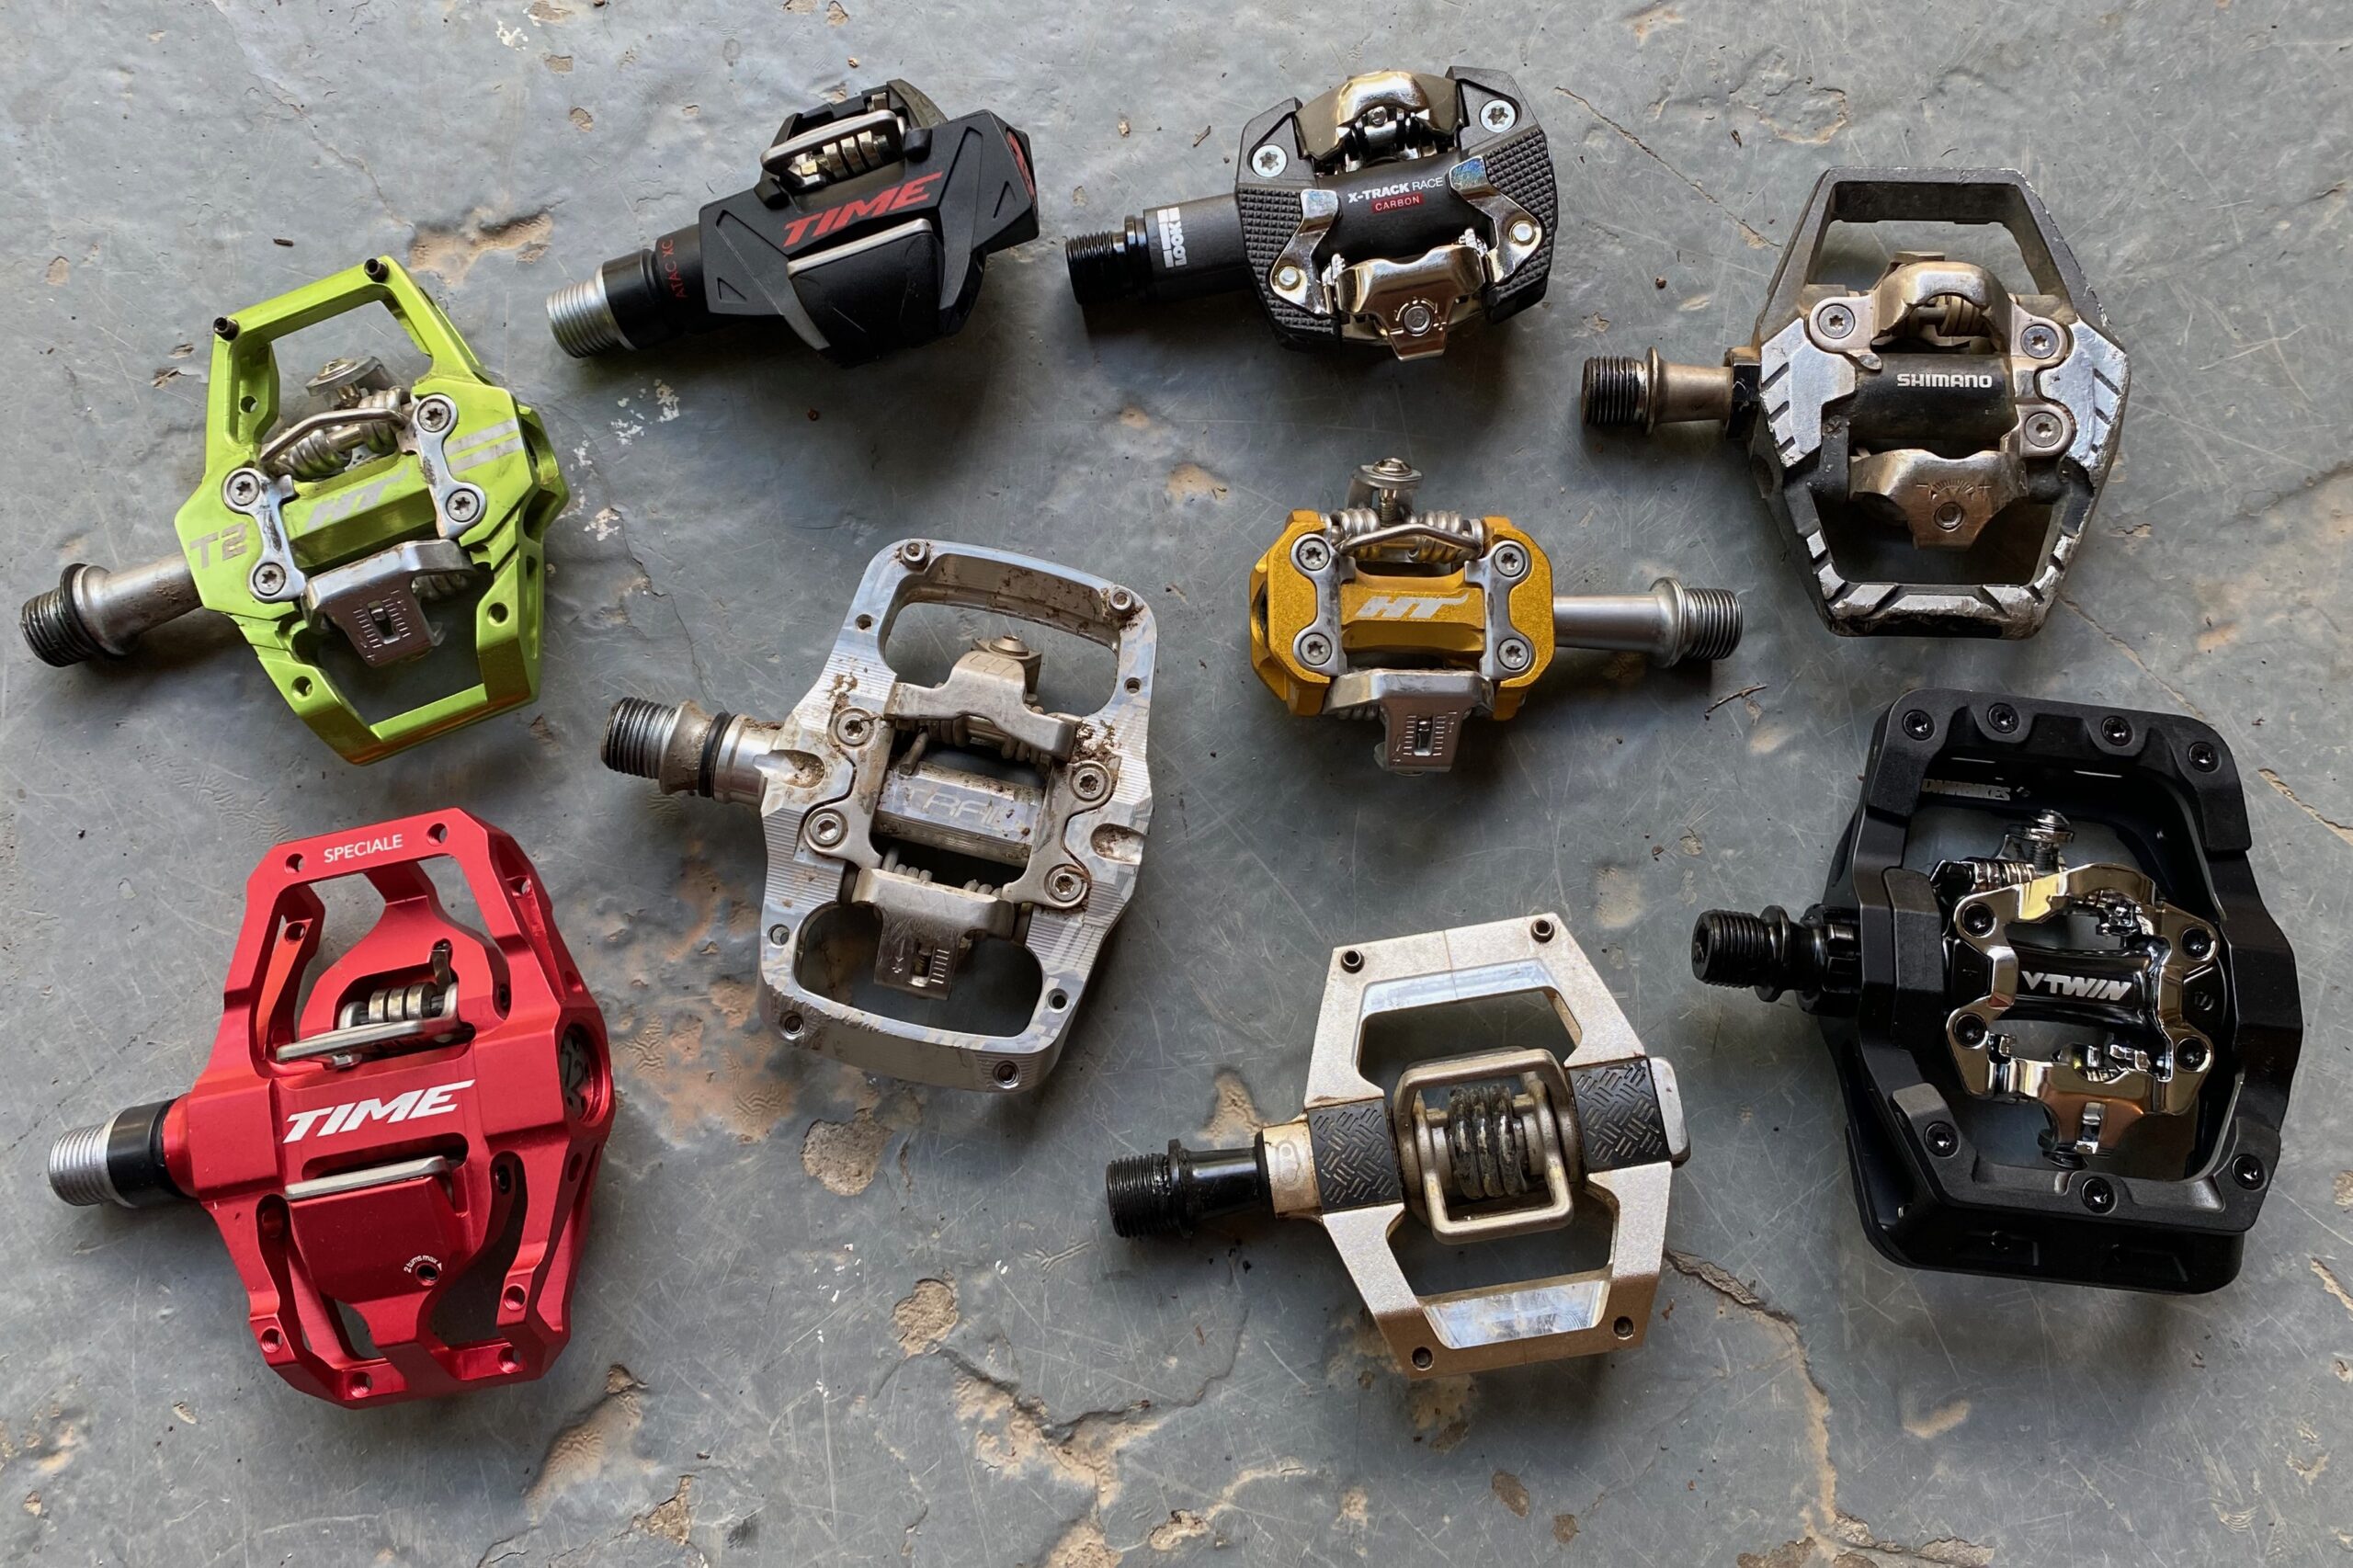
With so many options to choose from, finding the right pair of road bike pedals can be a challenge. To help, we rounded up a diverse selection of models from Shimano, Look, Time, and Speedplay to test and compare side by side. From our all-around favorite, Shimano Ultegra, to the budget-friendly Look Keo Classic 3 Plus, we’ve identified great options for all riding styles, performance needs, and budgets.
Editor’s note: We recently transferred this buyer’s guide from our sister site, GearJunkie.com, on March 2, 2026, and, in the process, rearranged our award winners to reflect recent changes in the road bike pedal market.
The Best Road Bike Pedals of 2026
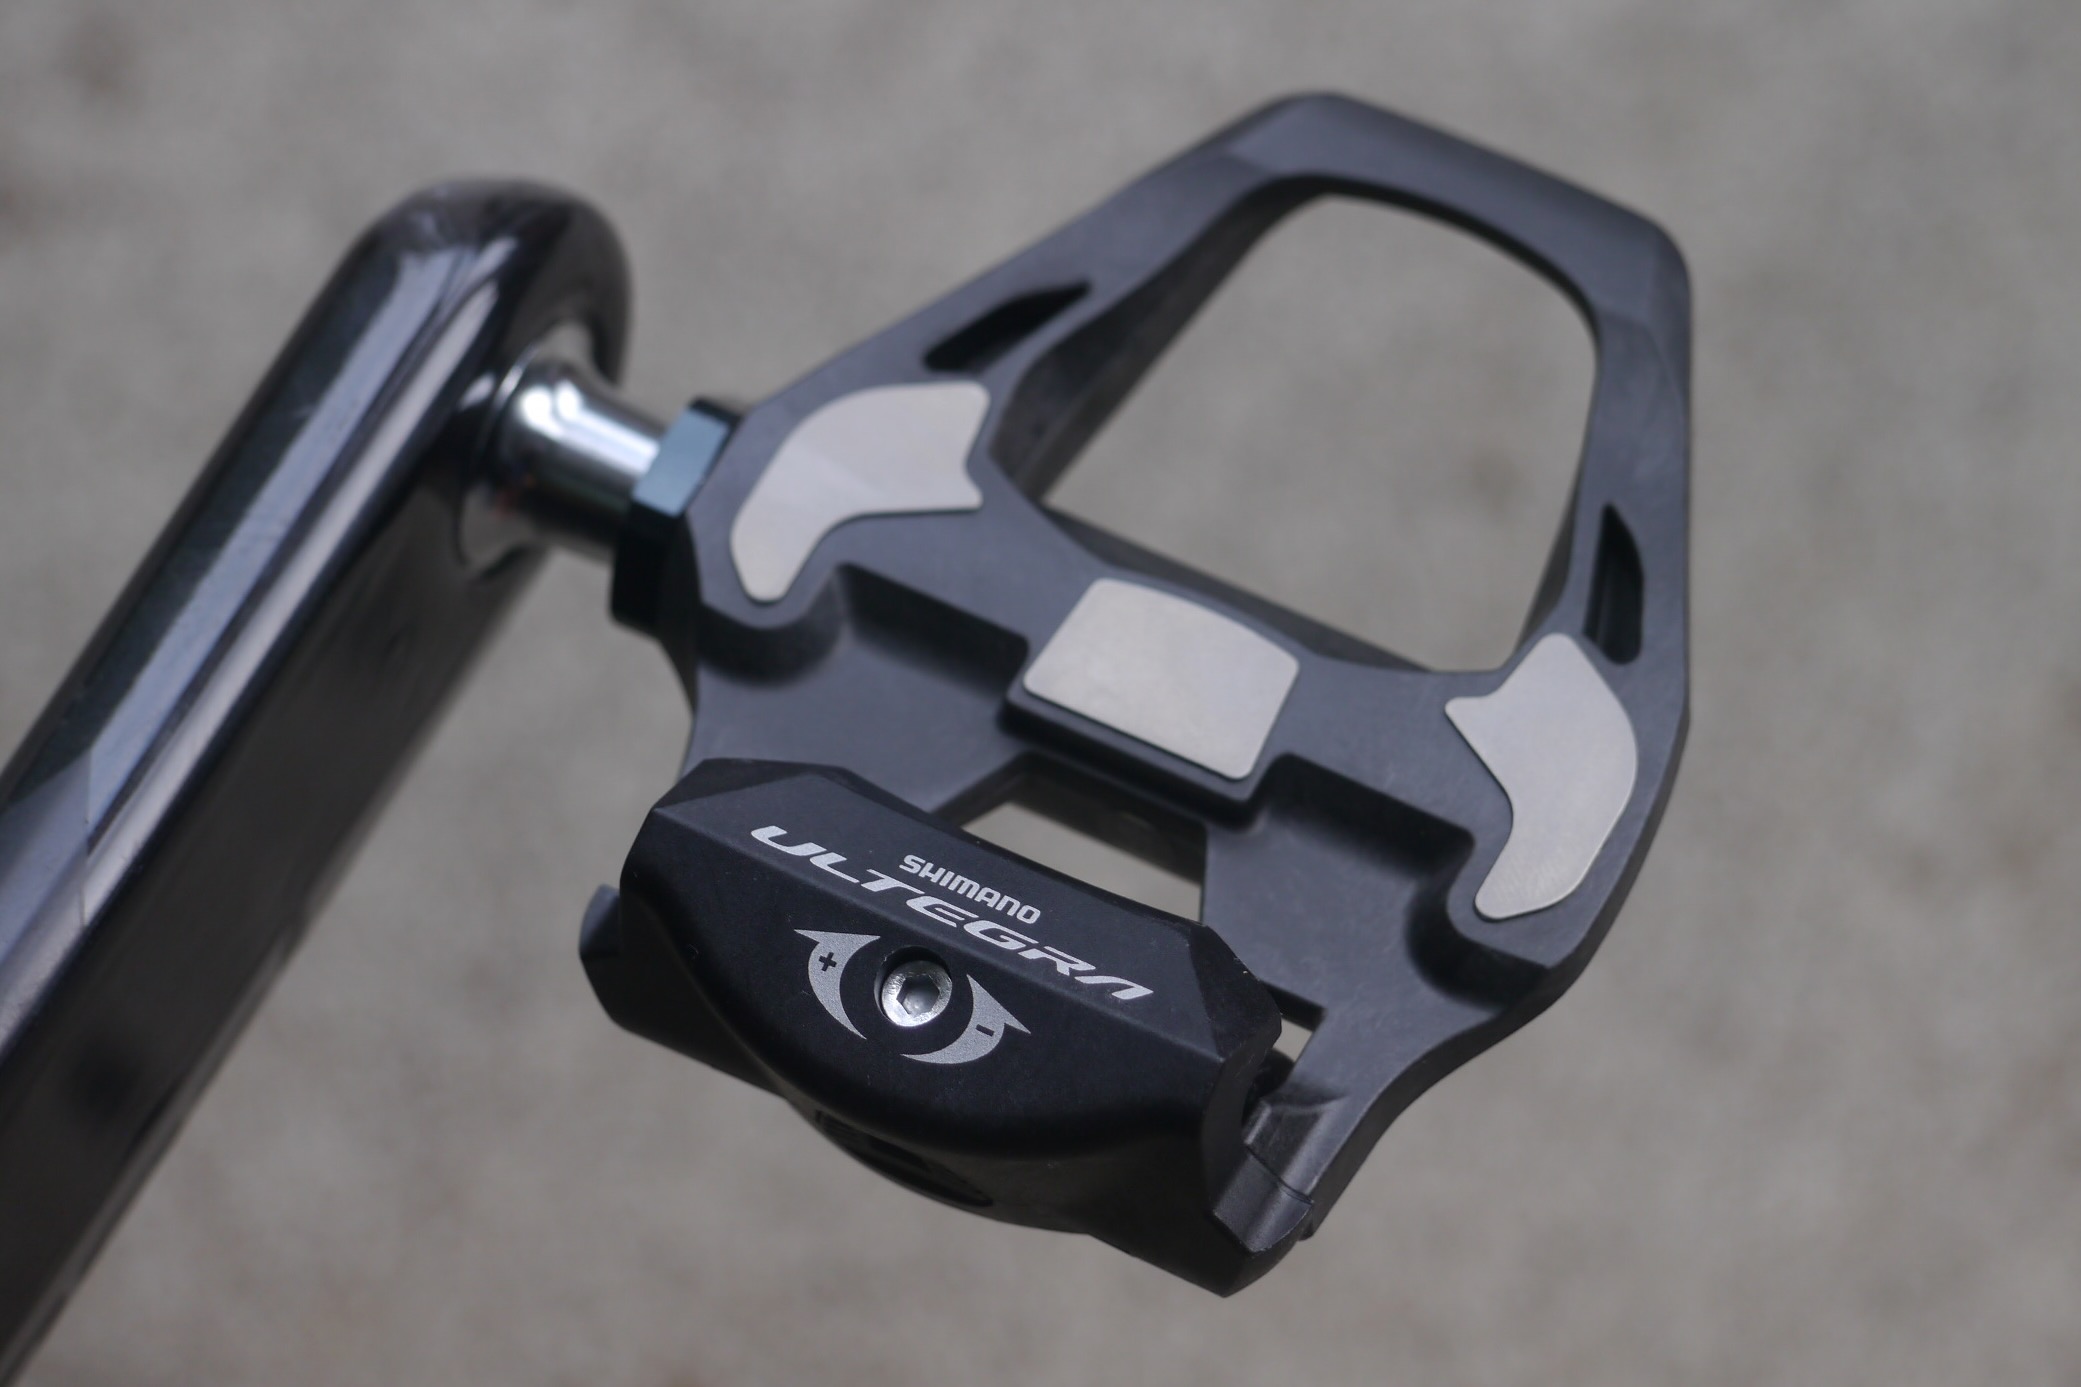
Shimano Ultegra SPD SL
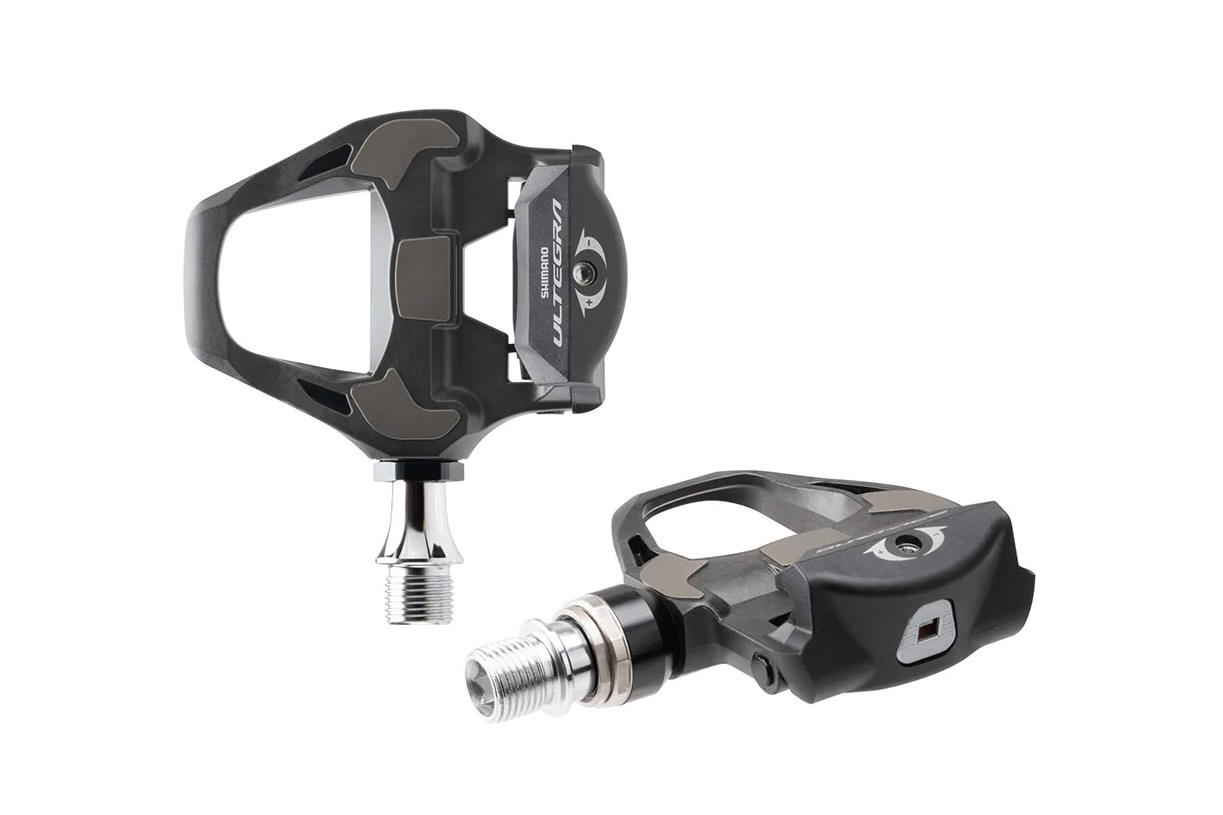
- MSRP: $200
- Weight (pedals only): 248 grams
- Weight (cleats and hardware): 72 grams
- Spindle: Stainless steel
- Body: Carbon composite and stainless steel contact plates
Pros
- Excellent stiffness to weight
- Simple cleat installation
- Quiet
- +4mm spindle option offered
- More affordable than Dura-Ace
Cons
- None
Look Keo Classic 3 Plus

- MSRP: $95
- Weight (pedals only): 280 grams
- Weight (cleats and hardware): 70 grams
- Spindle: Chromoly
- Body: Composite
Pros
- Affordable
- Easy cleat setup
- Intuitive use
- Stainless contact plates add stiffness
Cons
- Noise from the cleats
- Slightly heavier than more expensive options
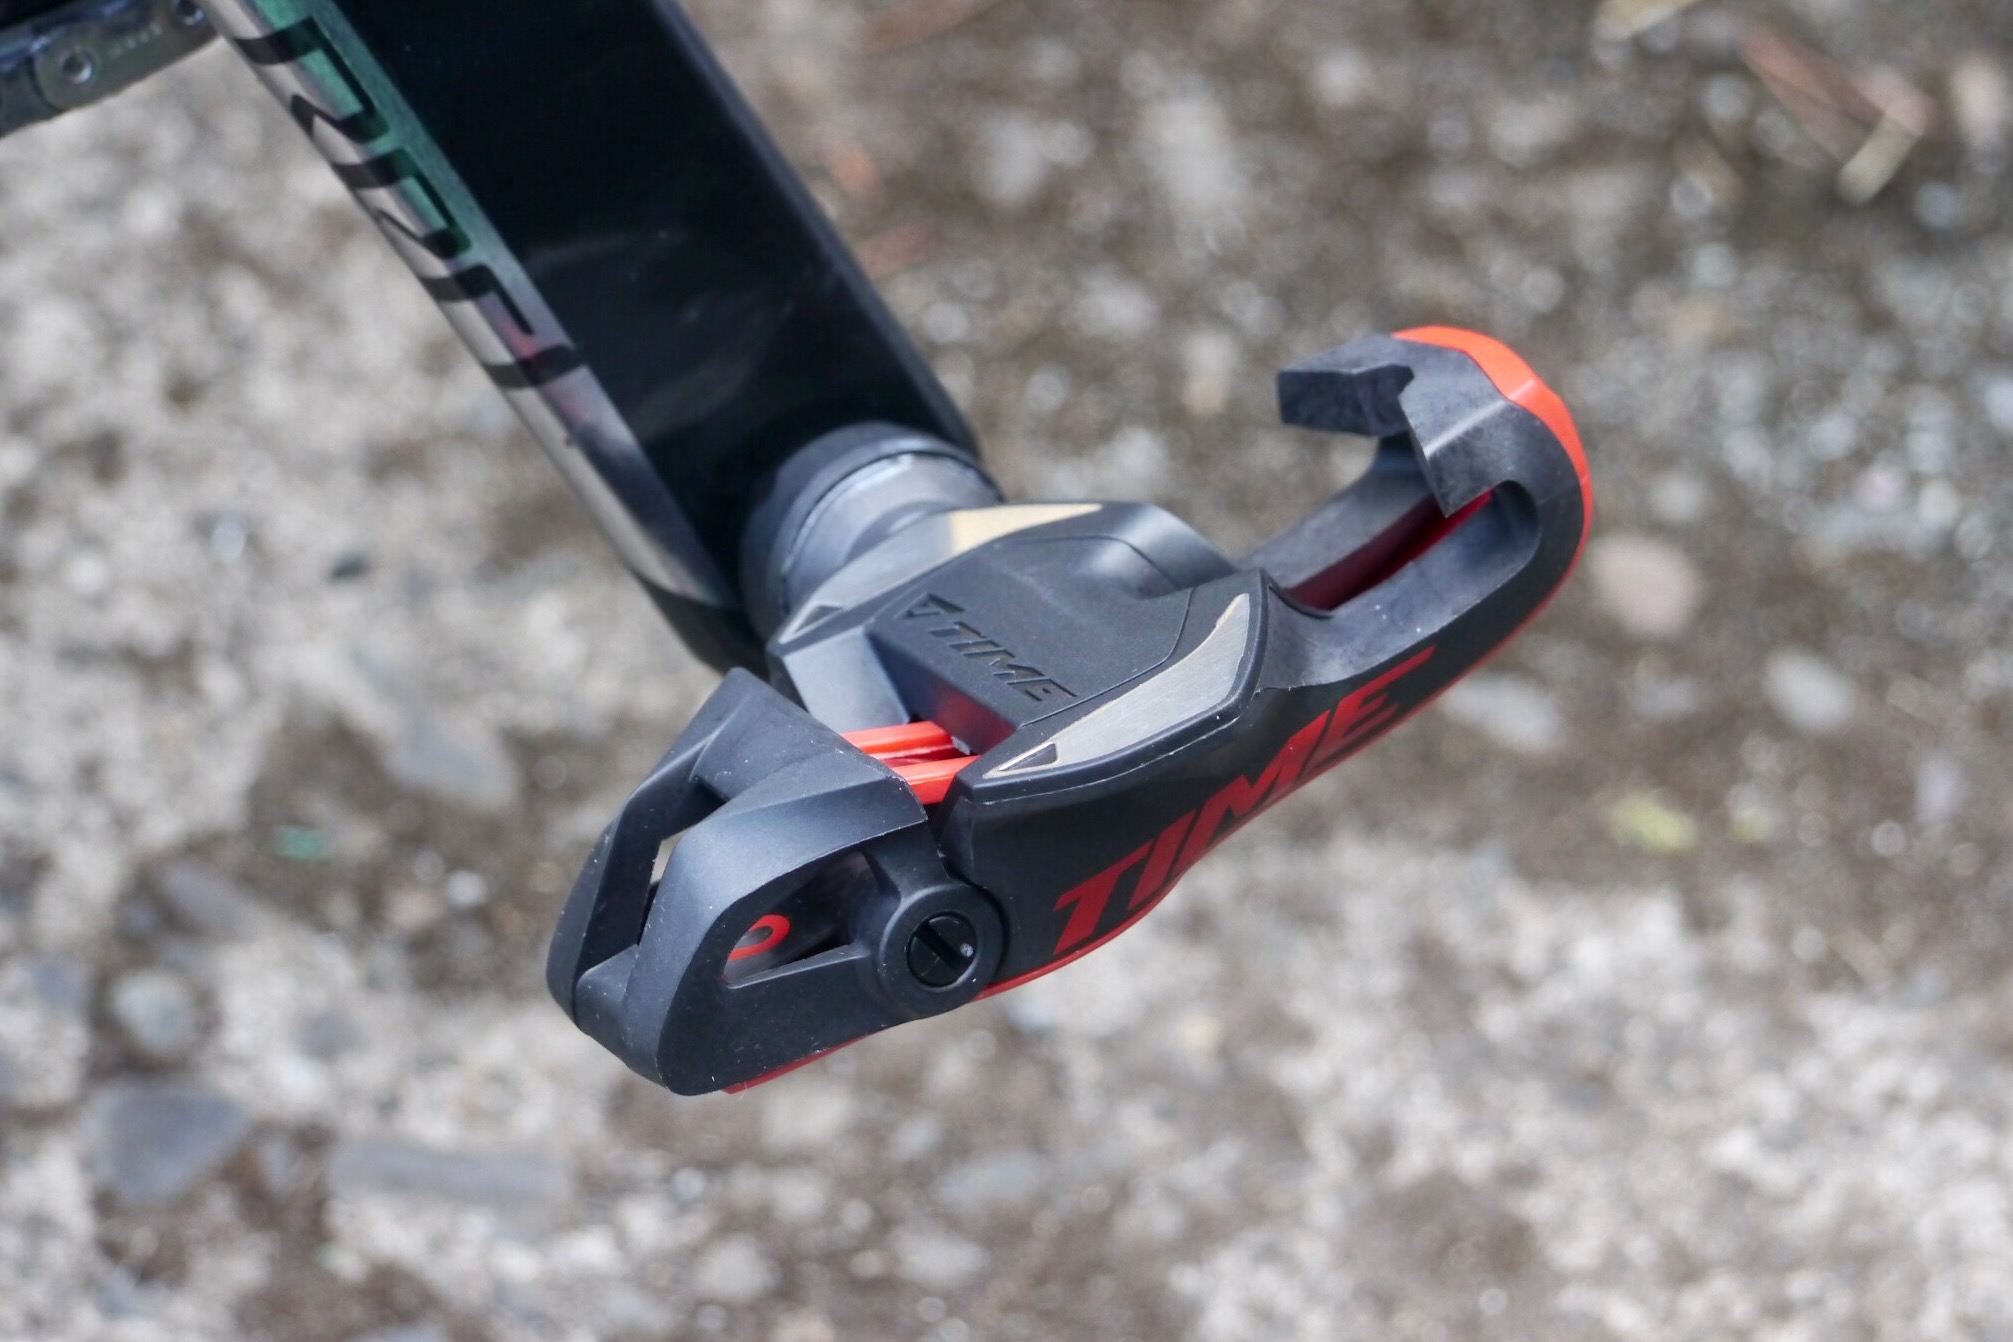
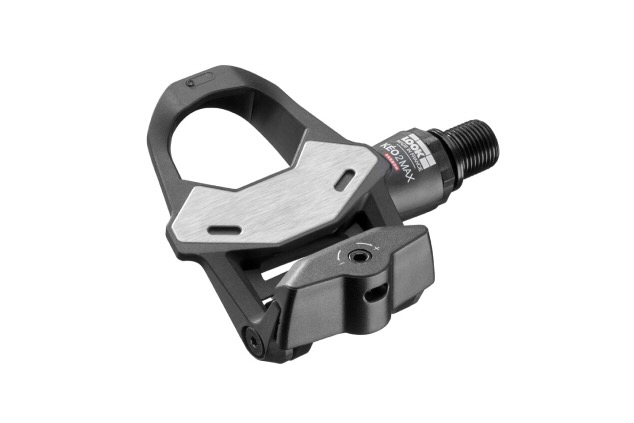
Time XPro 12
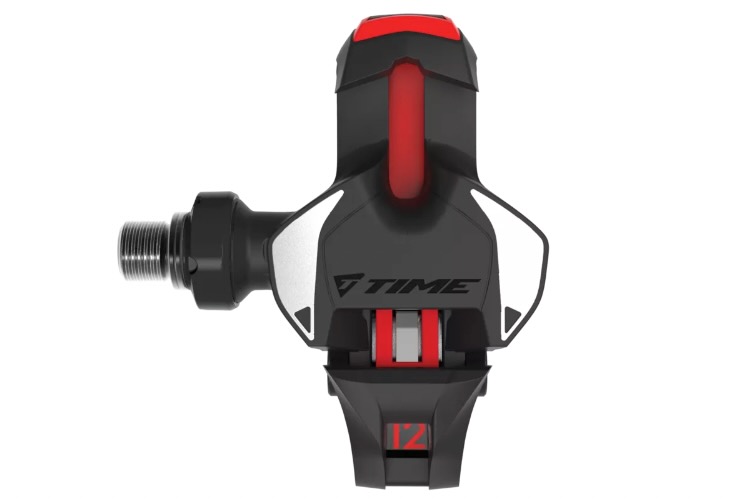
- MSRP: $325
- Weight (pedals only): 188 grams
- Weight (cleats and hardware): 85 grams
- Spindle: Titanium
- Body: Carbon
Pros
- Excellent stiffness
- iClic offers easy clip-in
- Lightweight
- Aero design
- Adjustable tension with 3 settings
Cons
- Floaty feel can take some getting used to
- Max rider weight of 90 kg (198.4 lbs)
- Expensive
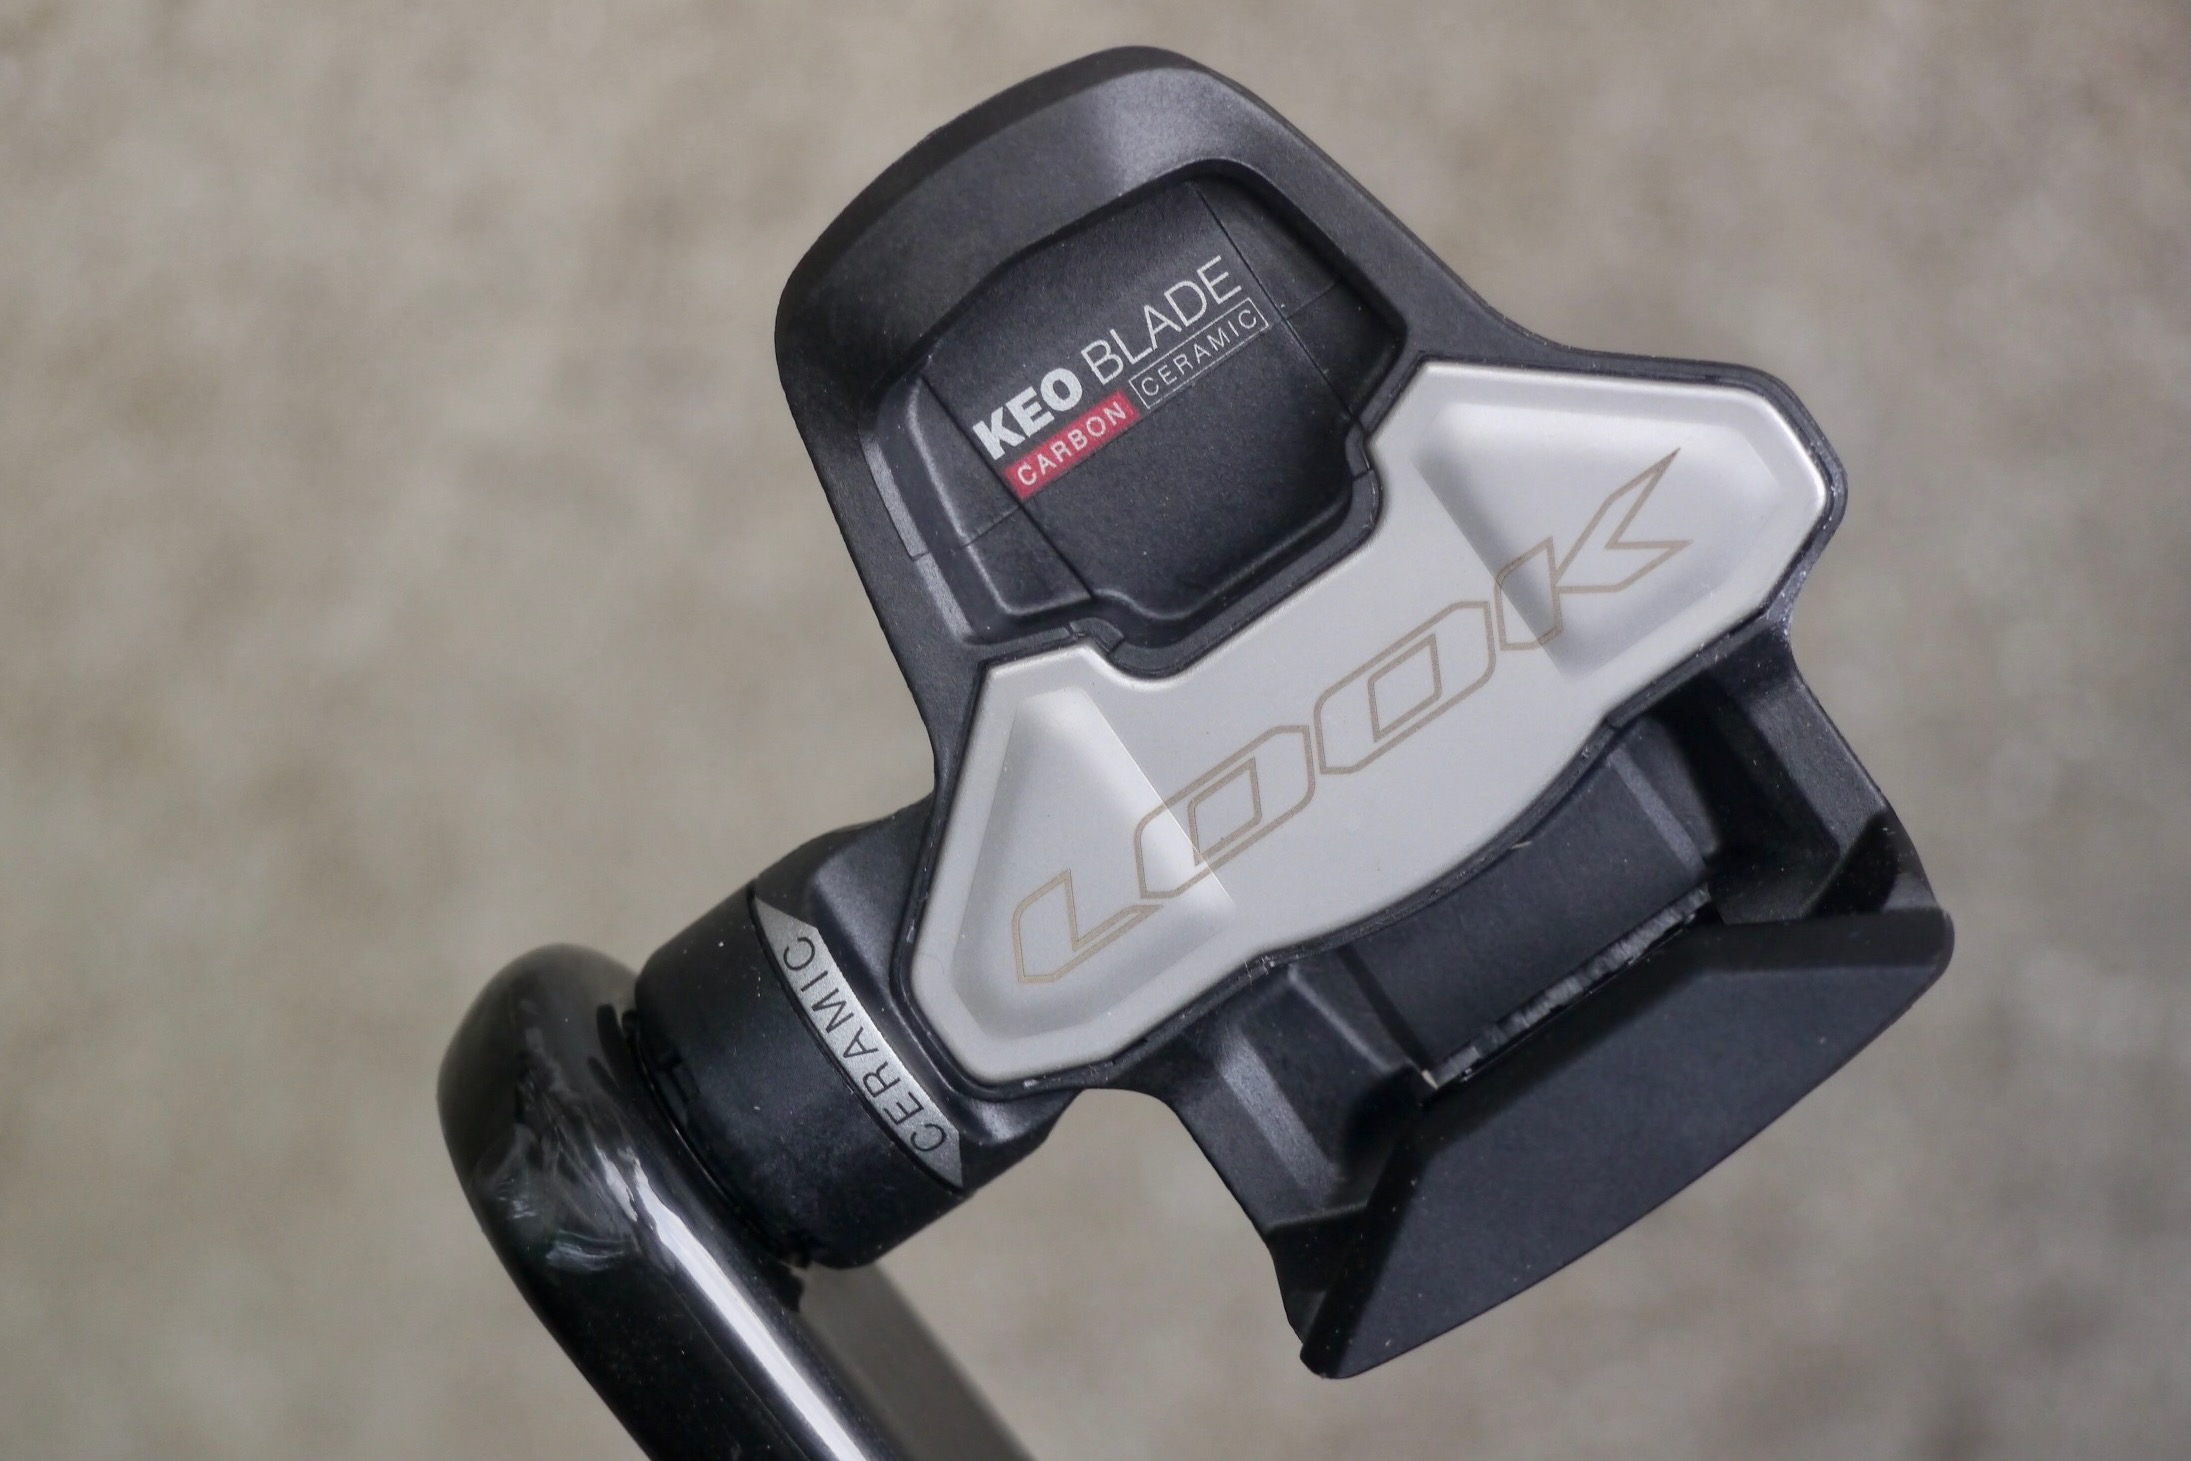
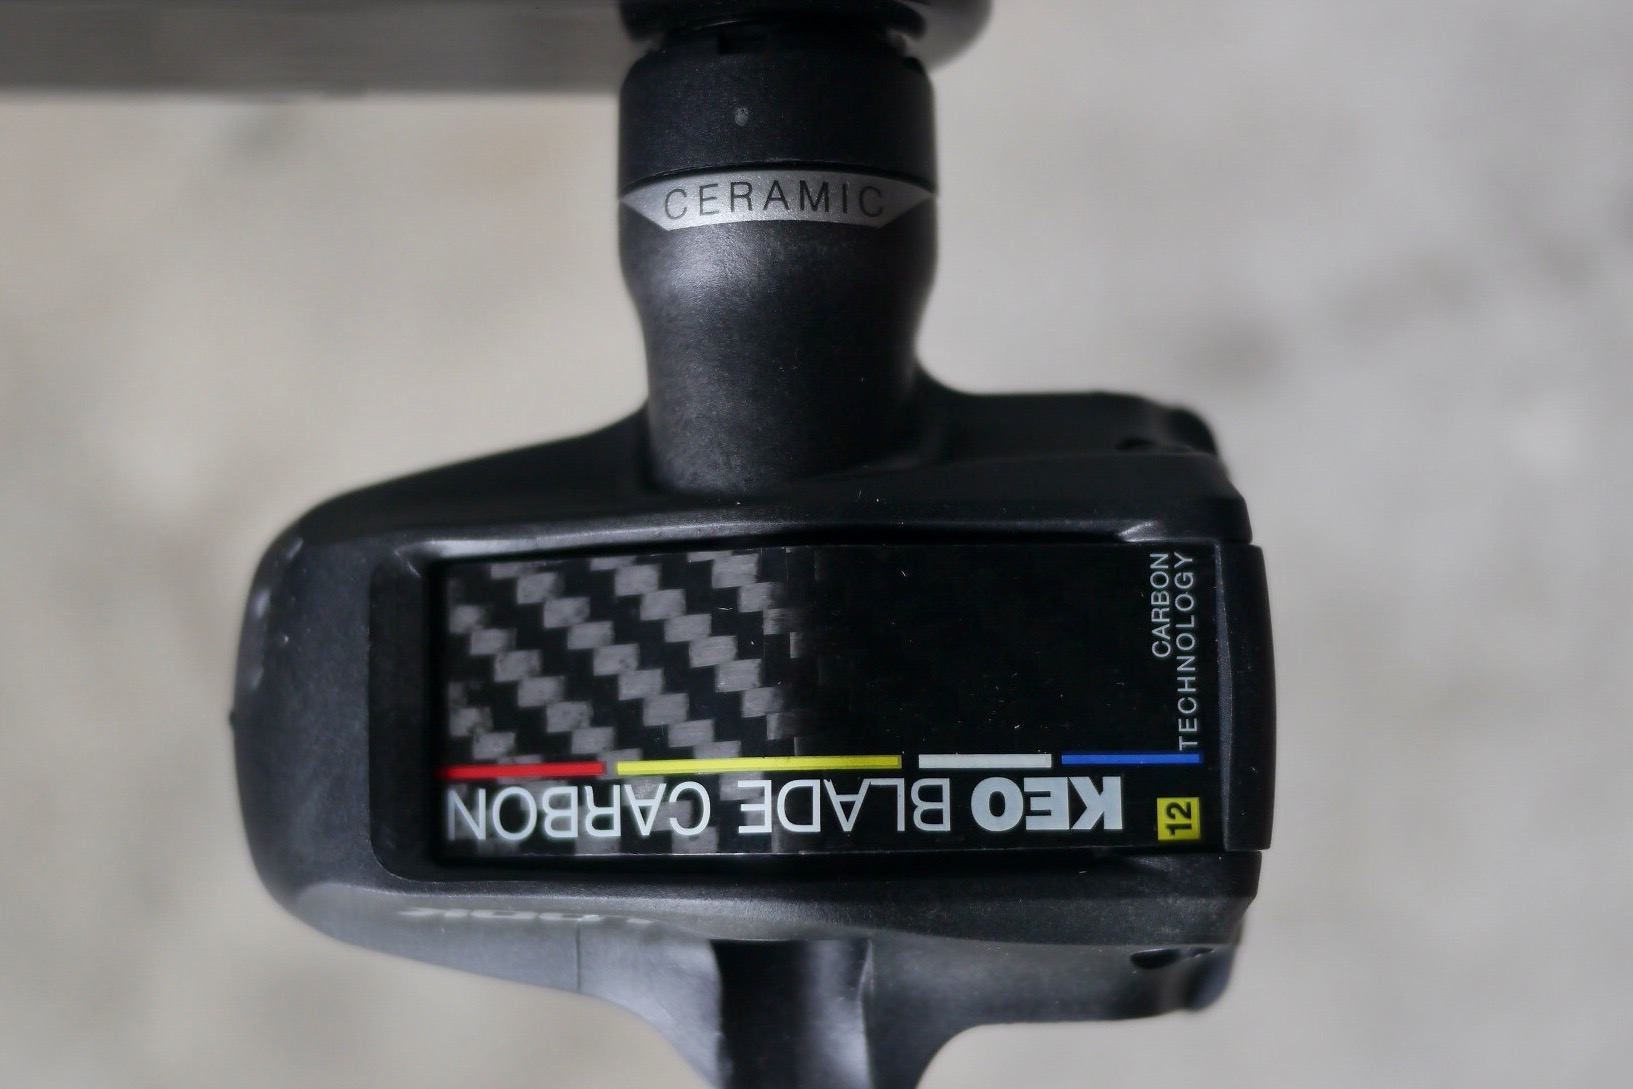
Look Keo Blade Ceramic
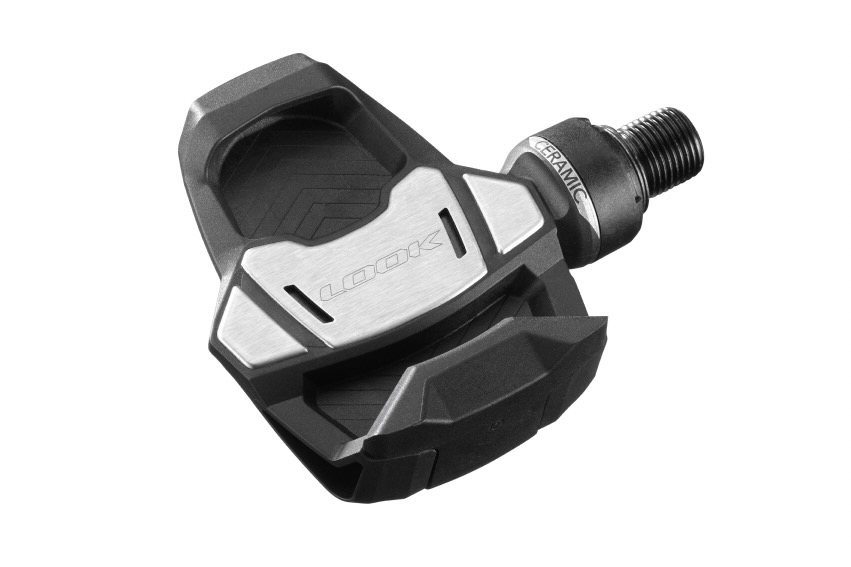
- MSRP: $275
- Weight (pedals only): 230g
- Weight (cleats and hardware): 70g
- Spindle: Hardened chromoly steel
- Body: Carbon
Pros
- Light
- Stiff
- Easy in/out
- Sleek looking and aero
Cons
- Stock cleats can be squeaky

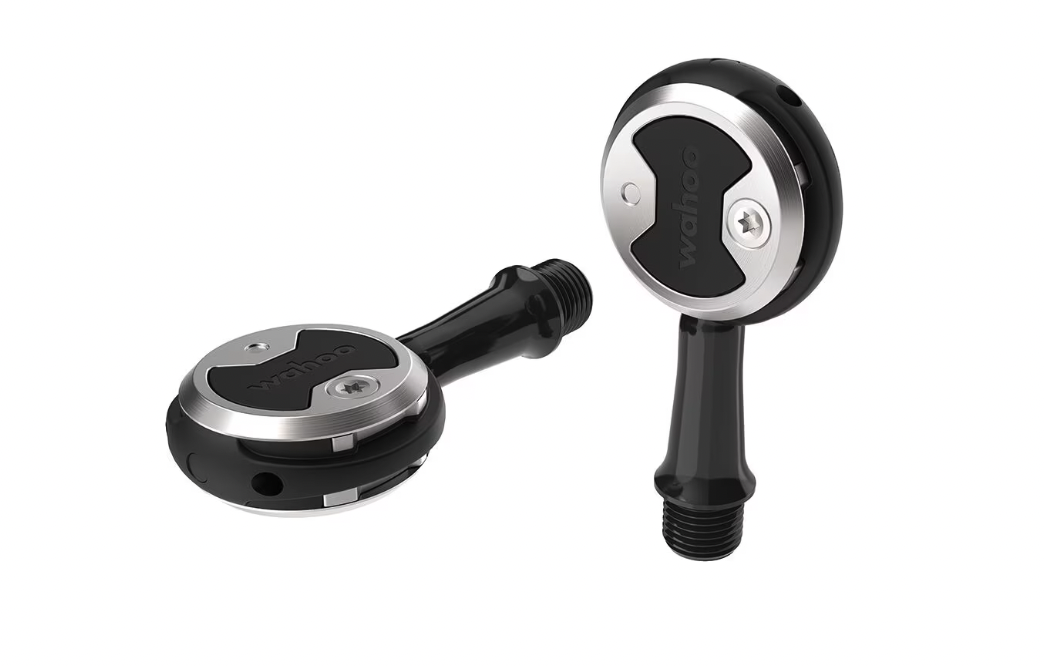
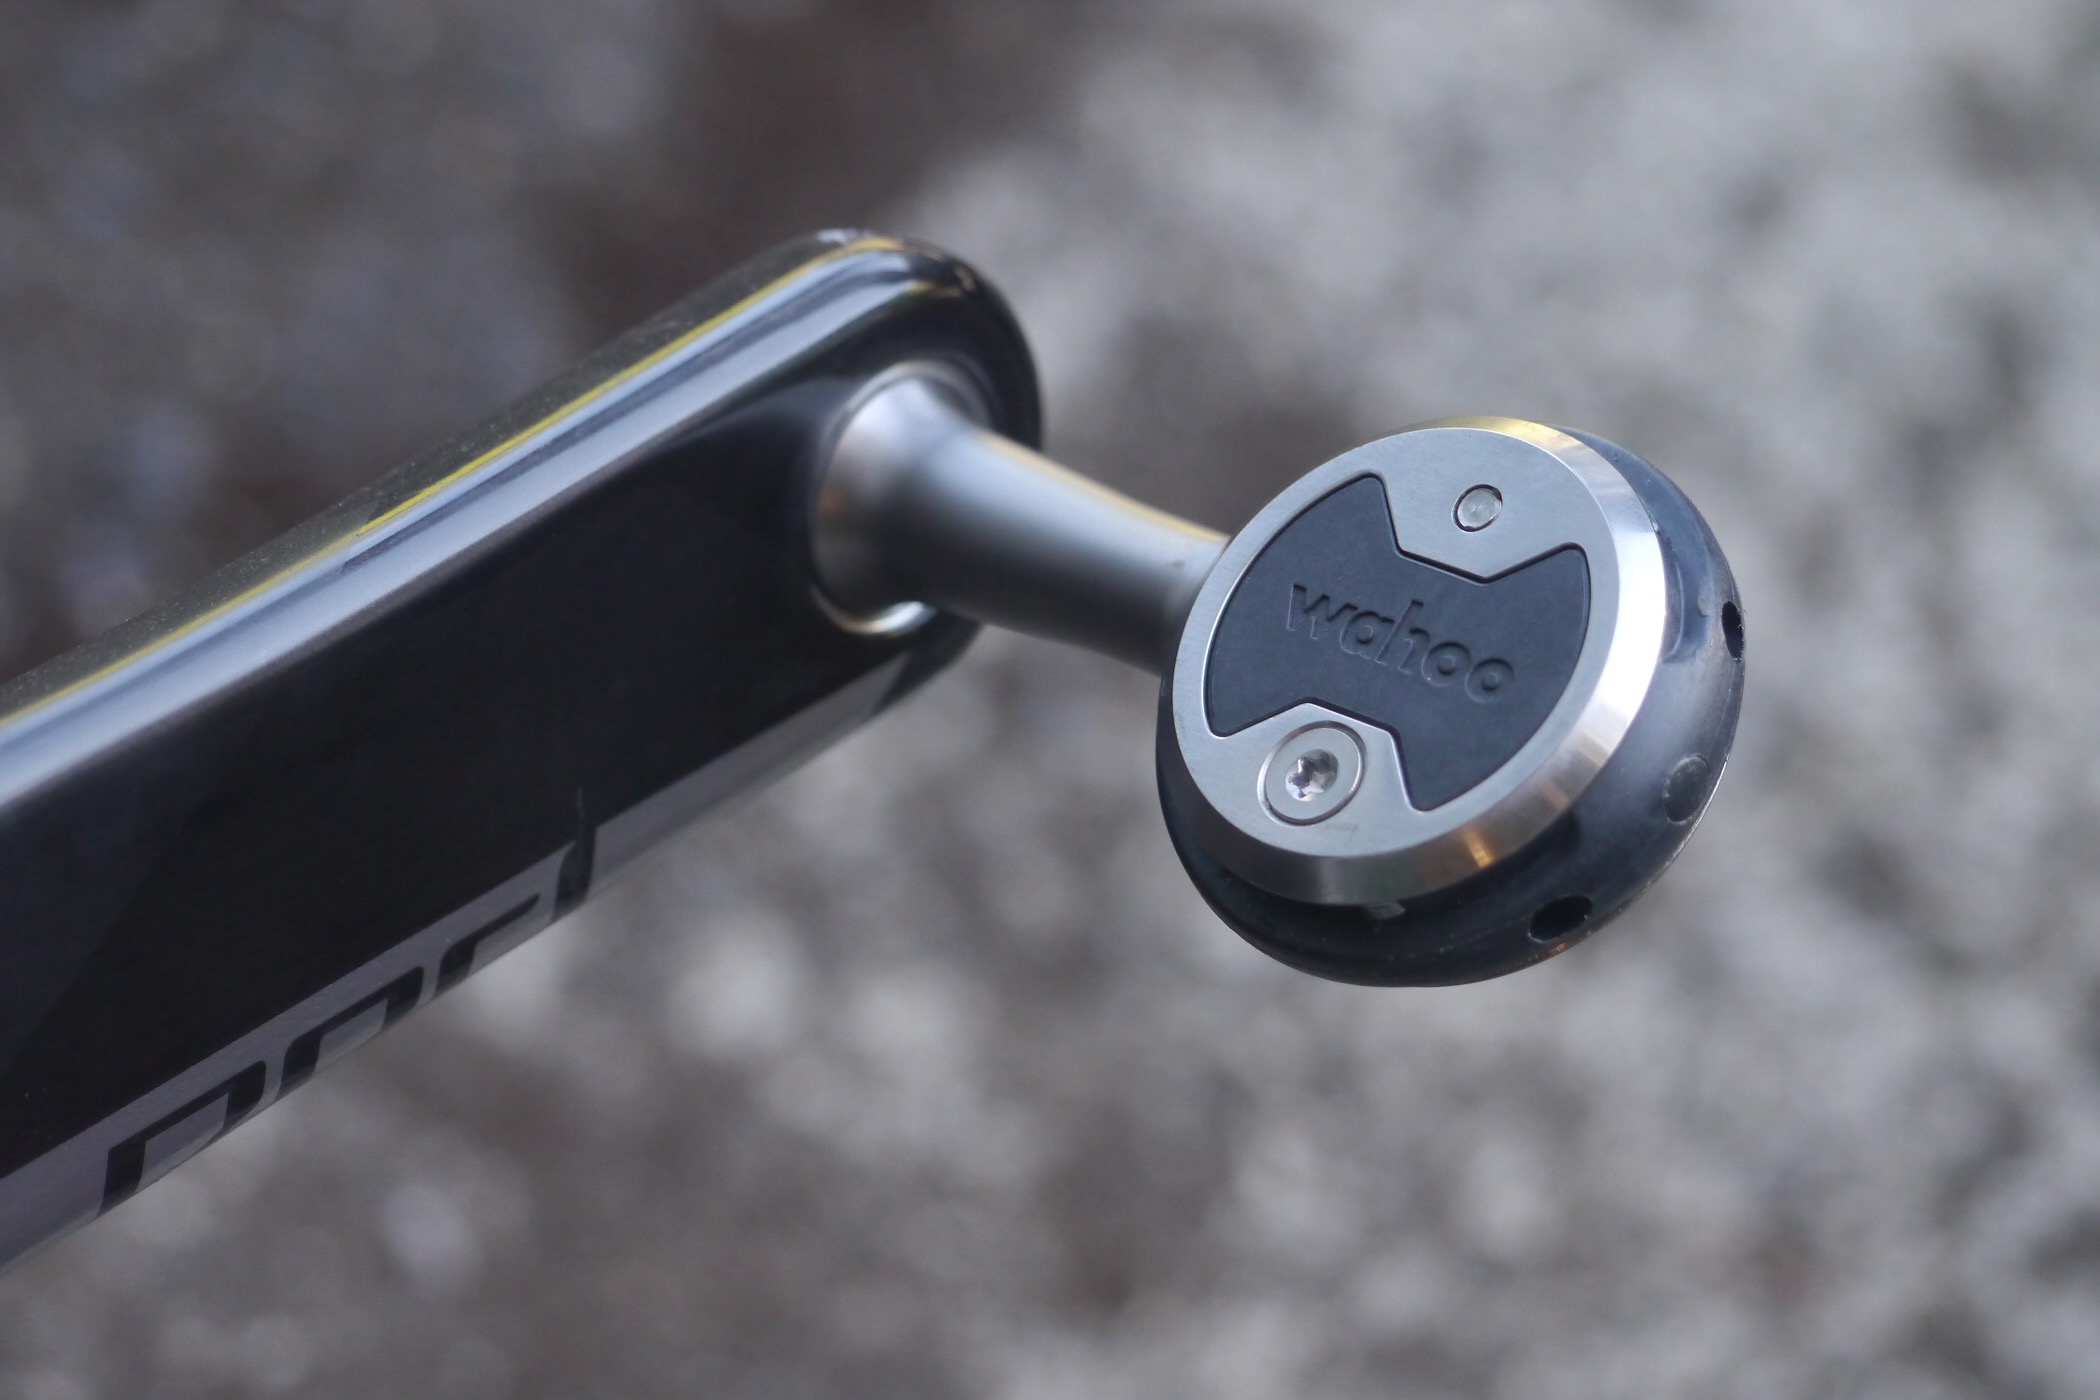
Wahoo Speedplay Nano
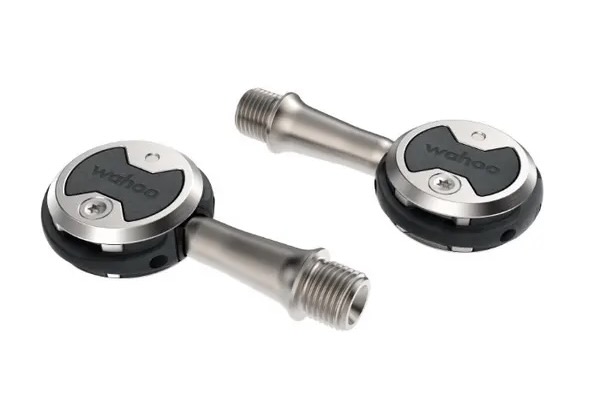
- MSRP: $500
- Weight (pedals only): 170 grams
- Weight (cleats and hardware): 163 grams
- Spindle: Titanium
- Body: Carbon composite
Pros
- Light and very low profile pedals
- Low stack height
- Clean looks
- Dual-sided engagement
Cons
- Expensive
- Heavier cleats create higher system weight
- Complicated cleat setup
- Not well suited to dirty conditions
- Maximum rider weight of 82kg (180 lbs)
Time XPresso

- MSRP: $105
- Weight (pedals only): 230 grams
- Weight (cleats and hardware): 85 grams
- Spindle: Steel
- Body: Glass composite
Pros
- iClic makes clipping in super easy
- Affordable
- Similar design and performance to Time's higher-end options
Cons
- Floaty feel may not be for everyone
- Not self serviceable
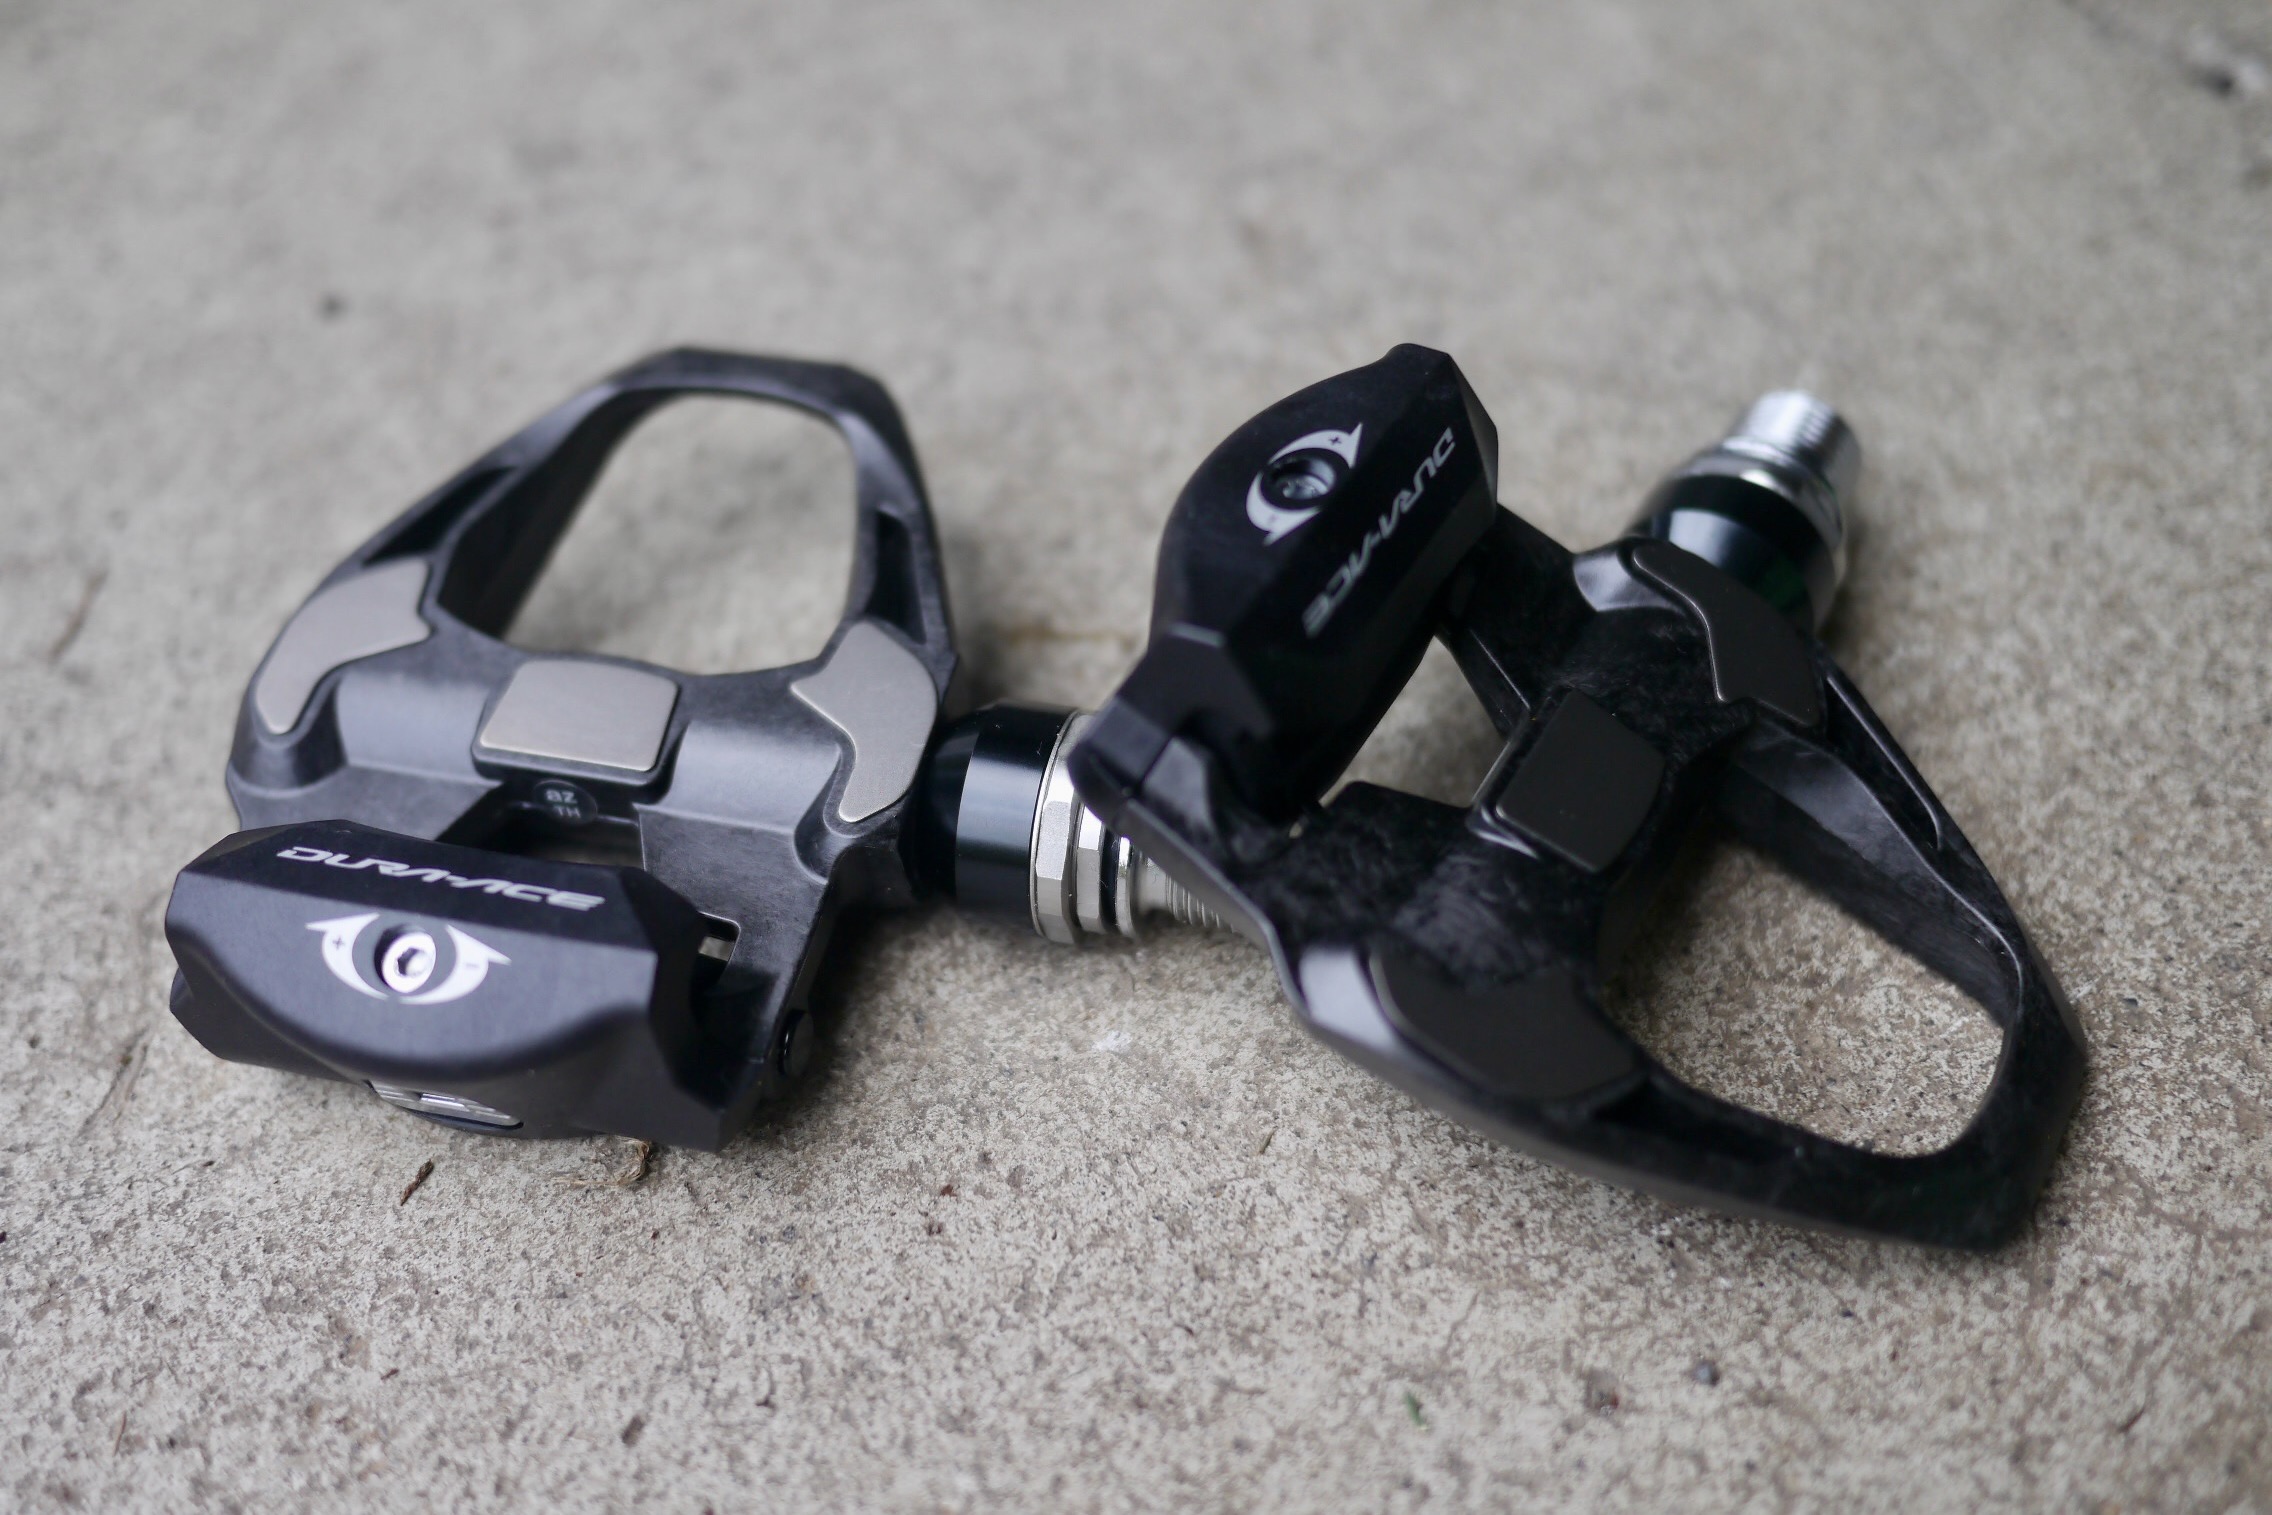
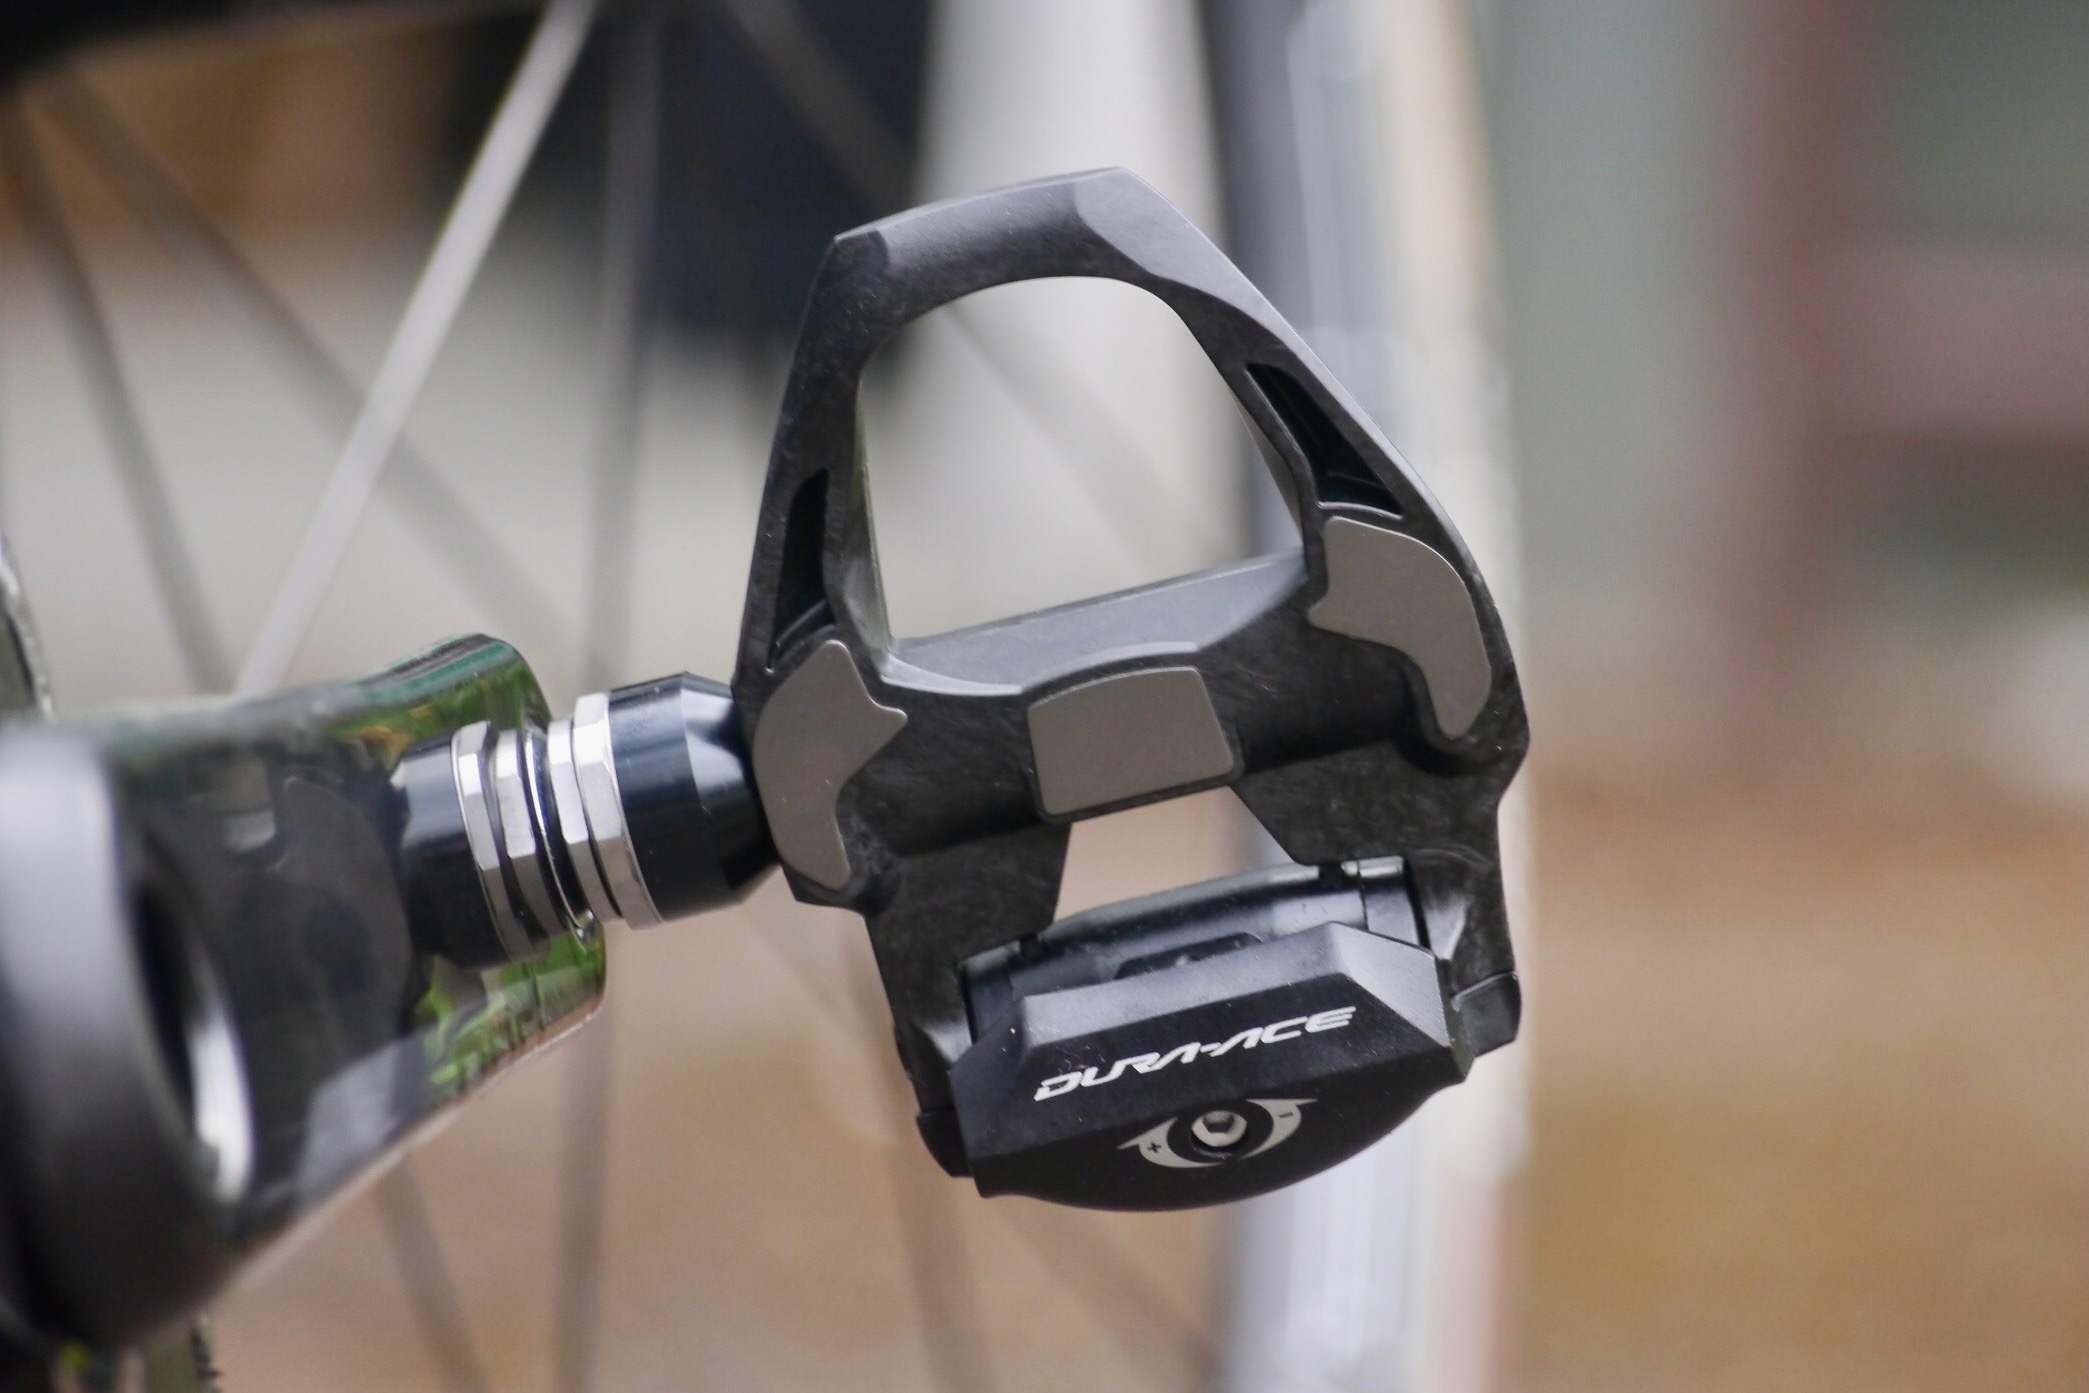
Shimano Dura-Ace SPD SL
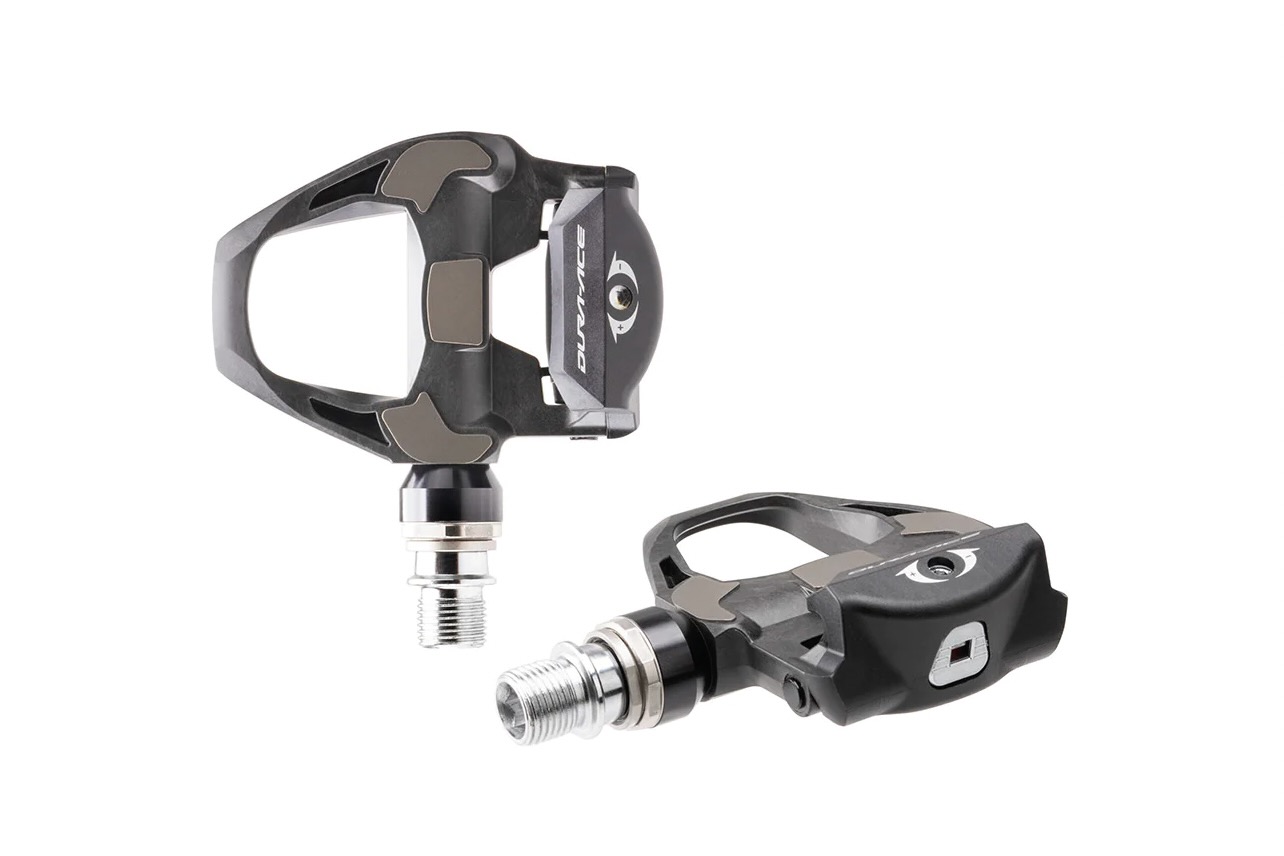
- MSRP: $300
- Weight (pedals only): 235 grams
- Weight (cleats and hardware): 72 grams
- Spindle: Stainless Steel
- Body: Carbon Fiber/Stainless Steel
Pros
- Great stiffness to weight ratio
- Simple cleat installation
- Quiet
- +4mm axle option offered
Cons
- Fairly expensive
Other Road Bike Pedals to Consider
- MSRP: $175
- Weight (pedals only): 265 grams
- Weight (cleats and hardware): 72 grams
- Spindle: Stainless steel
- Body: Carbon composite with steel contact plates
Pros
- Moderate price
- Relatively lightweight
- Adjustable release tension
- Similar performance to higher priced siblings at lower price
Cons
- Slightly heavier weight
- MSRP: $155
- Weight (pedals only): 252 grams
- Weight (cleats and hardware): 70 grams
- Spindle: Chromoly+
- Body: Carbon with stainless steel contact plate
Pros
- Fairly light and stiff
- Simple, proven retention system
- Easy to operate
- Relatively affordable
Cons
- Cleats can be noisy
- Not the lightest
- MSRP: $130
- Weight (pedals only): 233 grams
- Weight (cleats and hardware): 163 grams
- Spindle: Chromoly
- Body: Grivory (composite)
Pros
- Affordable Speedplay performance
- Low stack height
- Micro-adjustable
- Dual-sided engagement
Cons
- Cleats disengage too easily
- Complex cleat installation
- Heavy cleats create heavier system
- Cleats not suited to dirty conditions
Road Bike Pedals Comparison Chart
| Pedal Model | MSRP | Weight (pedals, pair) | Weight (cleats and hardware) | Spindle | Body |
|---|---|---|---|---|---|
| Shimano Ultegra SPD-SL | $200 | 248 grams | 72 grams | Stainless Steel | Carbon composite and stainless steel |
| Look Keo Classic 3 Plus | $95 | 280 grams | 70 grams | Chromoly | Composite |
| Time XPro 12 | $325 | 188 grams | 85 grams | Titanium | Carbon |
| Look Keo Blade Ceramic | $275 | 230 grams | 70 grams | Hardened Chromoly Steel | Carbon |
| Wahoo Speedplay Nano | $500 | 170 grams | 163 grams | Titanium | Carbon composite |
| Time Xpresso | $105 | 230 grams | 85 grams | Steel | Carbon-filled |
| Shimano Dura-Ace SPD-SL | $300 | 235 grams | 72 grams | Stainless Steel | Carbon composite and stainless steel |
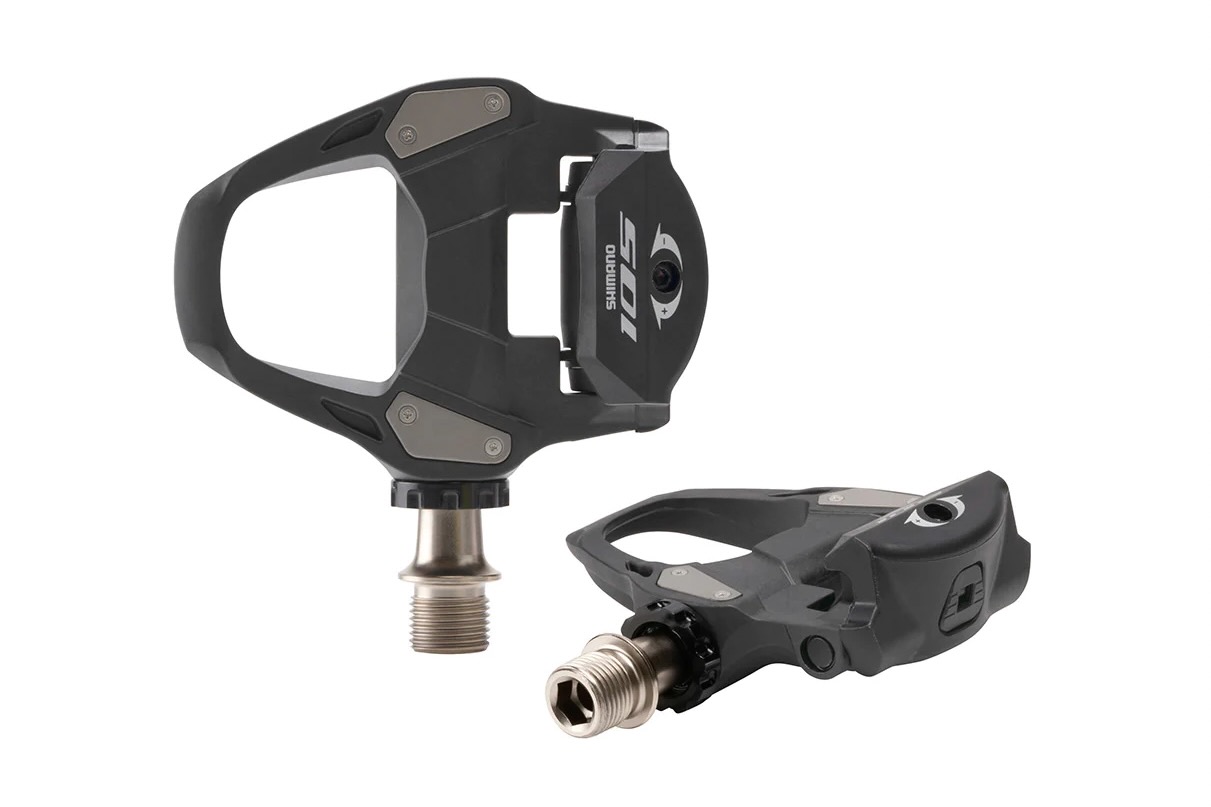
| Shimano 105 SPD-SL | $175 | 265 grams | 72 grams | Stainless Steel | Carbon composite and stainless steel |
| Look Keo 2 Max Carbon | $155 | 252 grams | 70 grams | Chromoly+ | Carbon and stainless steel |
| Wahoo Speedplay Comp | $130 | 233 grams | 163 grams | Chromoly | Grivory (composite) |
How We Tested the Best Road Bike Pedals
The BikeRumor team has been reporting on the latest news, technology, and products across all disciplines of cycling for well over a decade. Our staff is made up of passionate riders who enjoy all types of riding and are obsessed with finding the best products to enhance their experience and performance on the bike.
From bike frames to wheels, shoes to bib shorts, and everything in between, we know that having the right gear can make a huge difference. We also have the luxury and privilege of testing the latest and greatest products, including pedals, for product launches, individual reviews, and buyers’ guides.
Our Expert Tester
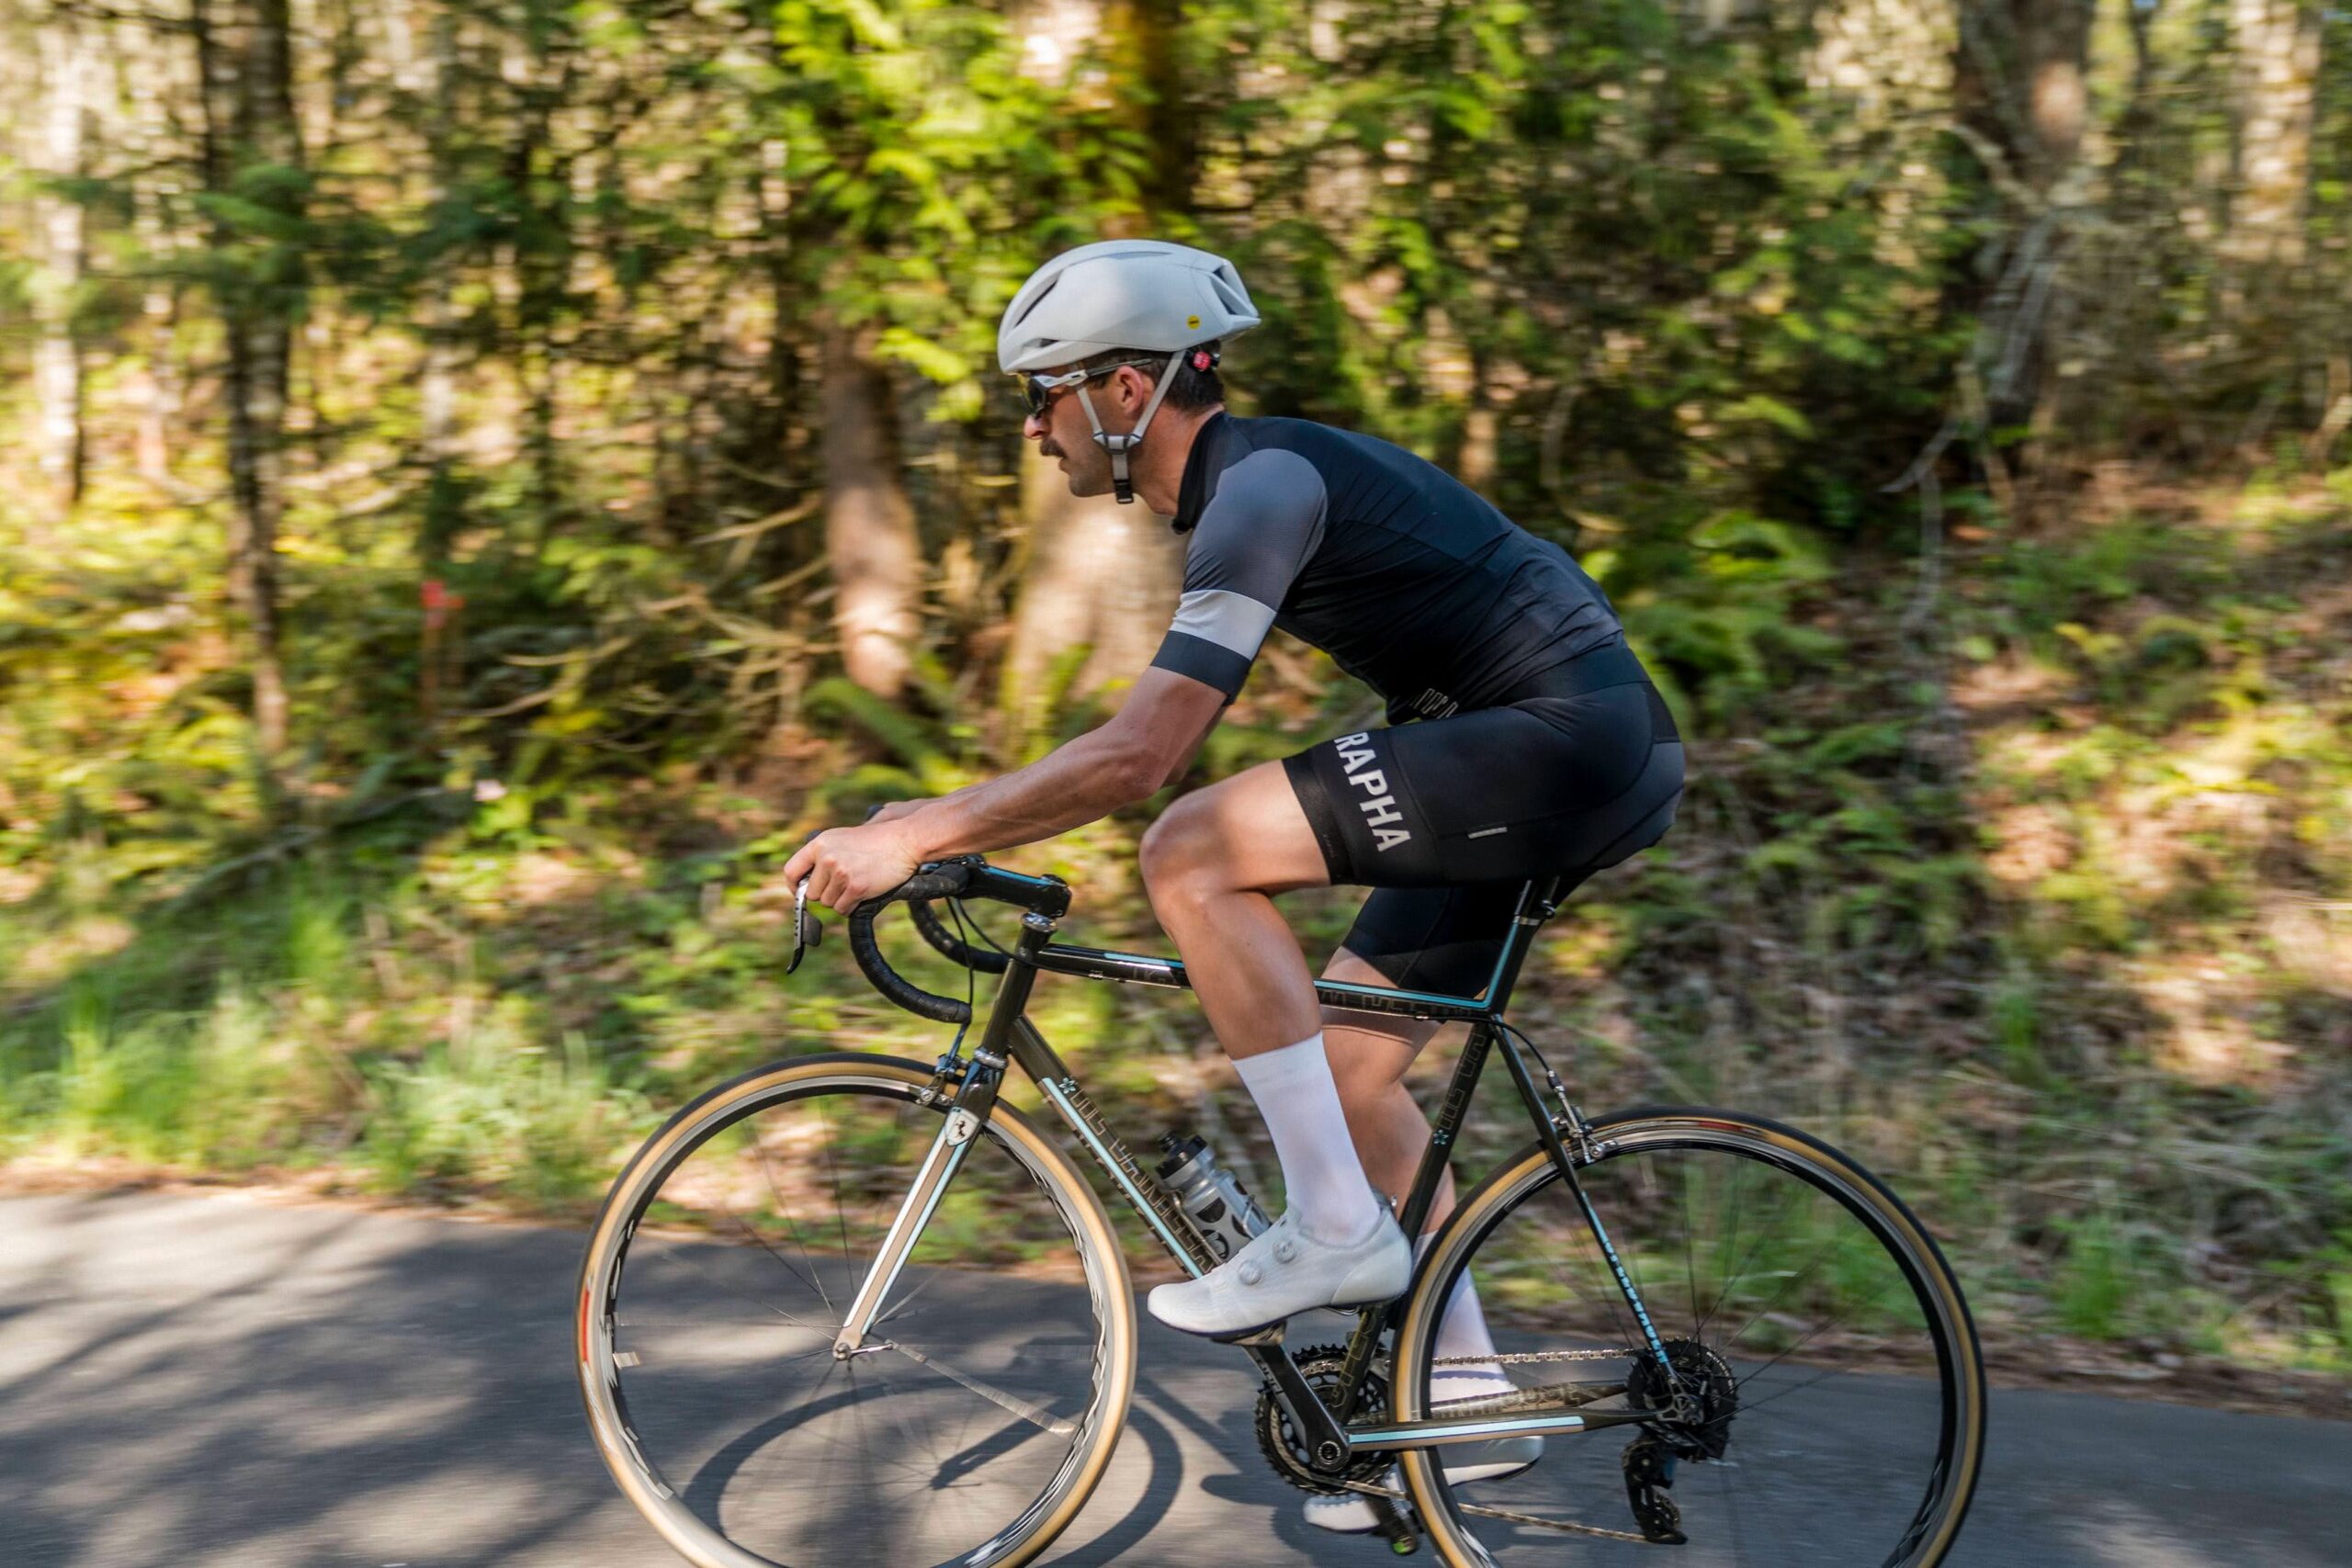
Our road bike pedals buyer’s guide tester and review author, Bennett Shane, has over 2 decades of road cycling experience. While his racing days are largely behind him, he still enjoys putting in big miles, long climbs, and fast mountain descents on roads throughout the Pacific Northwest near his home in Portland, Oregon. In addition to his wealth of cycling experience, Bennett has worked for several prominent brands in the cycling industry, which has given him unique insight into the design, materials, and construction of products across categories, from apparel to components.
Combined, his industry and cycling experience give him the ability to understand products from both sides of the table, but most importantly, as a consumer, and he has developed an excellent ability to tease out the often subtle performance differences in the products he tests. Bennett spends an inordinate amount of time on his road bikes each year, testing and reviewing a variety of road cycling gear, including high-performance road bike shoes, protective road bike helmets, the best cycling bib shorts, and performance-enhancing road bike tires.
Our Testing Process
After rounding up 10 of the best road bike pedals on the market, Bennett mounted them up on his small fleet of road bikes and hit the pavement. Each model was tested over several months, with regular switching between models for comparison. Back-to-back testing allows you to compare products side by side and identify performance differences that might otherwise go unnoticed.
Each model’s design and construction were also examined and scrutinized, along with adjustments and features, to see how effective they really are. After extensive testing, favorites were identified, and our findings are presented here.
After rounding up 10 of the best road bike pedals on the market, Bennett mounted them up on his small fleet of road bikes and hit the pavement. Each model was tested over the course of several months, switching regularly between models for comparison. Back-to-back testing provides the opportunity to truly compare products side by side and identify performance differences that may otherwise go unnoticed. Each model’s design and construction were also examined and scrutinized, along with adjustments and features, to see how effective they really are. After extensive testing, favorites were identified, and our findings are presented here.
Buying Advice: How To Choose Road Bike Pedals
Finding the right pair of road bike pedals can enhance your comfort and efficiency on the bike. While many seasoned road bikers probably already have a brand preference, those looking to switch it up or who are just jumping into clipless pedals for the first time have some decisions to make. Assuming you are ready to purchase some pedals, what factors should influence your choice? We know that navigating the myriad models, materials, and marketing jargon can be confusing, so let’s dive into the details so you can make an informed purchase decision.
What Are Road Bike Pedals?
Along with road bike shoes, road bike pedals are a very important component, as they serve as one of just three contact points between your body and your bike. They are an essential part of the energy transfer system between your legs and your drivetrain. But what exactly are road bike pedals, and how do they differ from other types?
Pedals generally fall into three categories. There are clipless road bike pedals (3-bolt cleats), clipless mountain bike pedals (2-bolt cleats), and flat pedals. Whether you are a serious or recreational road cyclist, we recommend using road bike specific clipless pedals because they are designed and purpose-built for the task.
That’s not to say that you can’t road bike with any type of pedals, because you certainly can; it’s just that road bike pedals are specifically made for the application. Clipless road bike pedals differ from their clipless mountain bike counterparts in several ways.
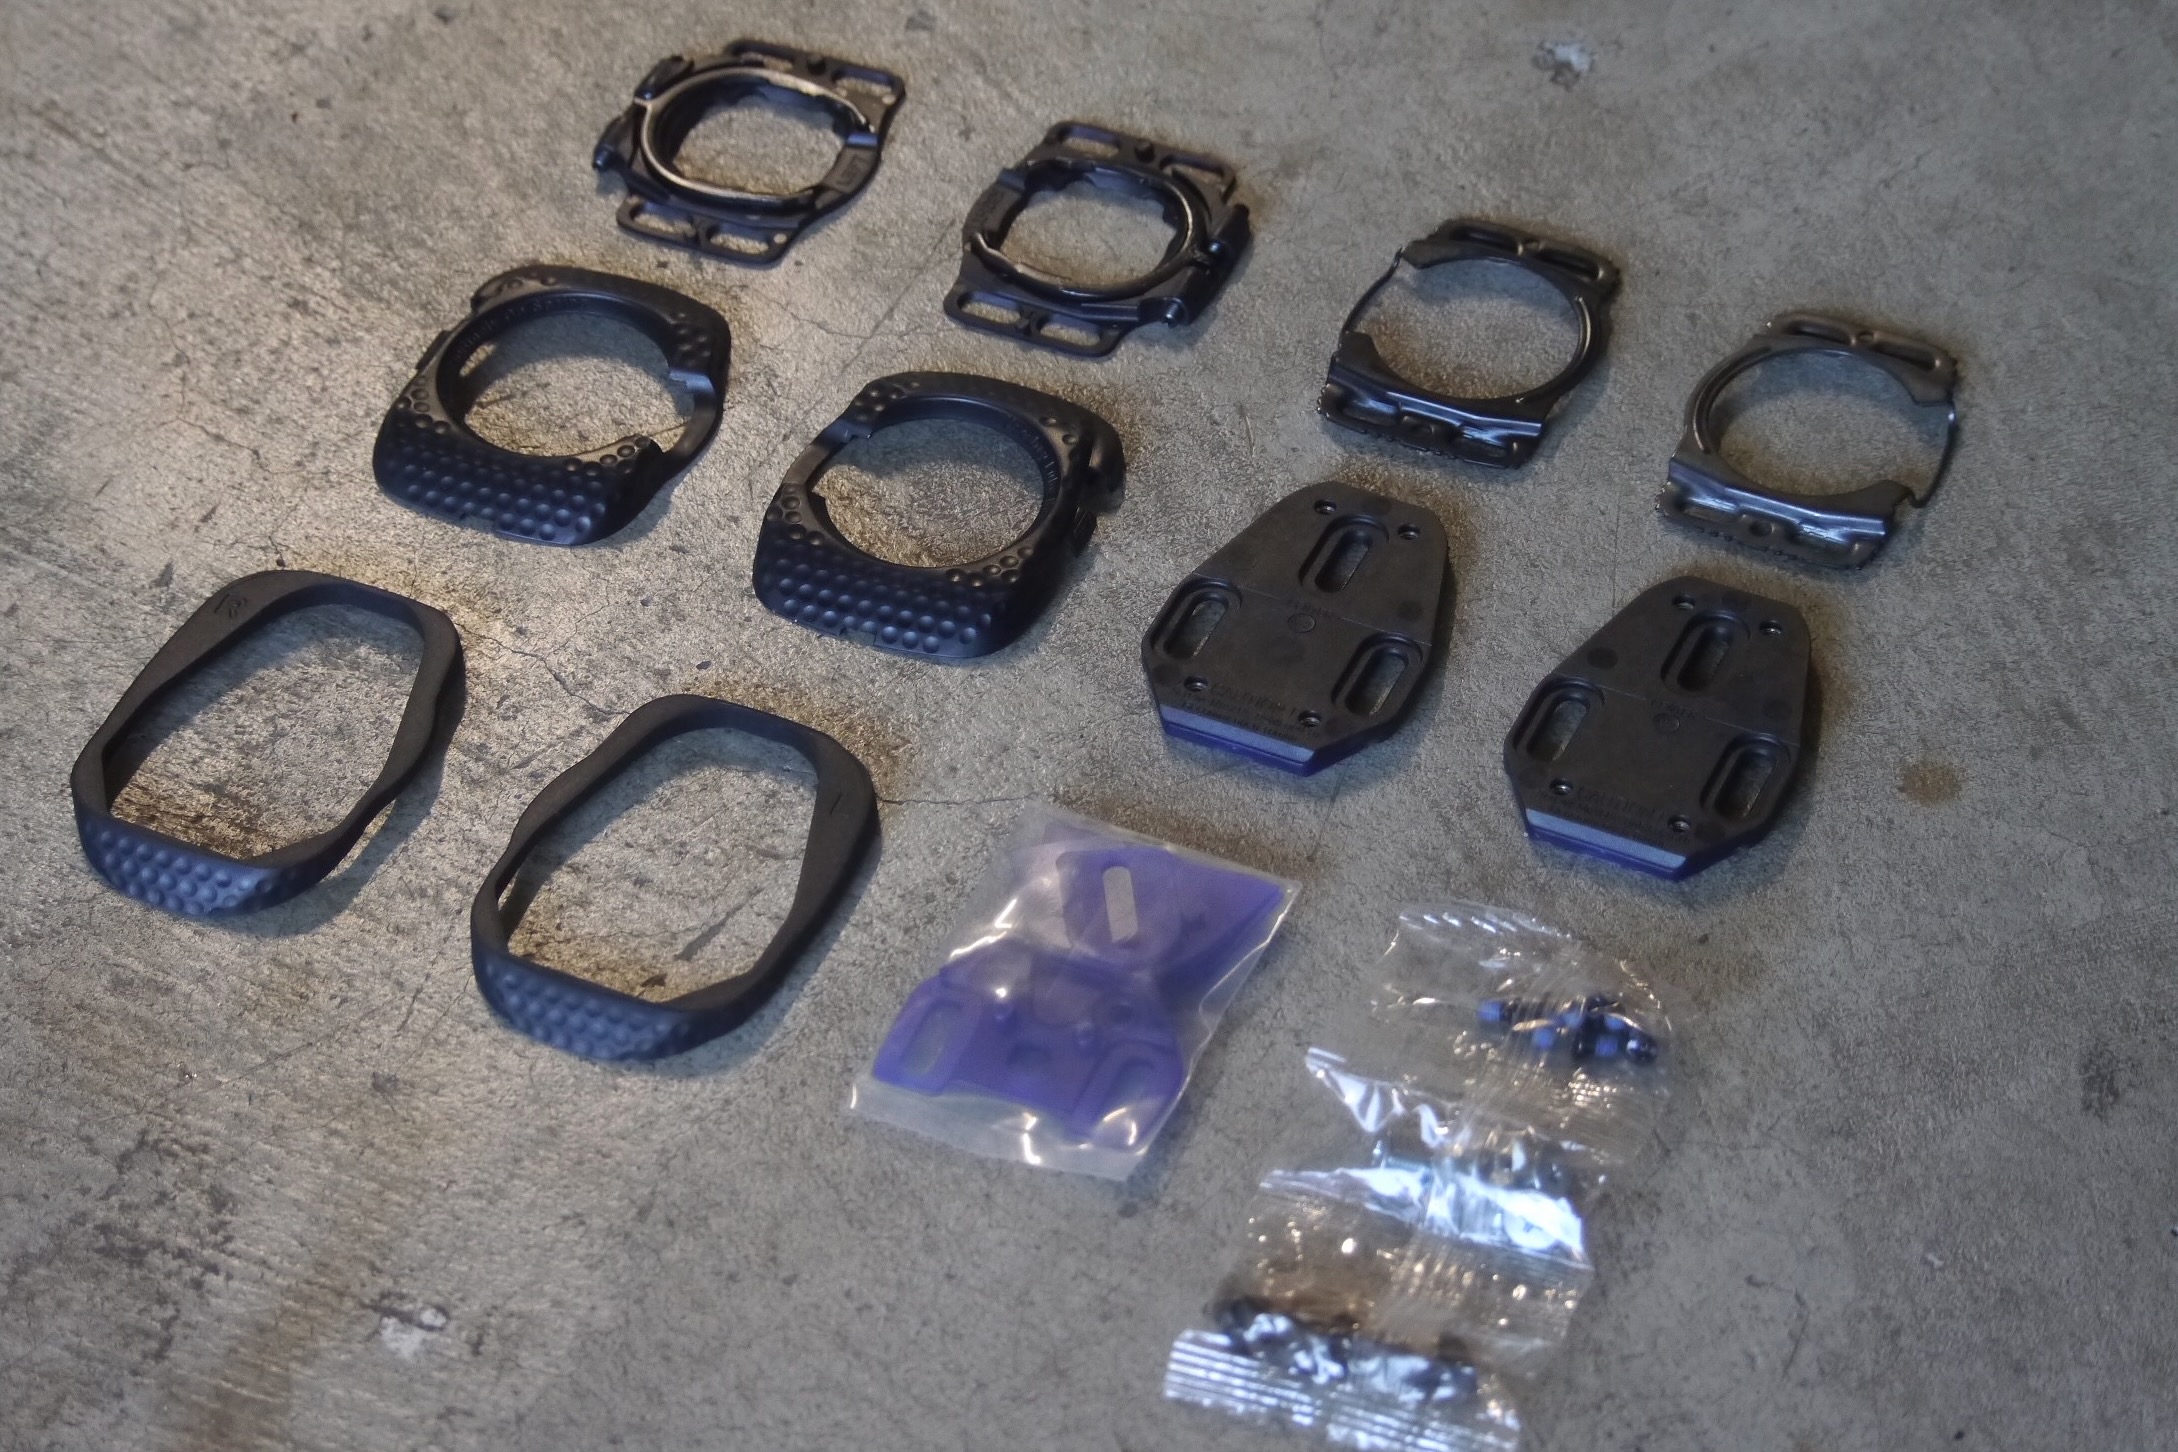
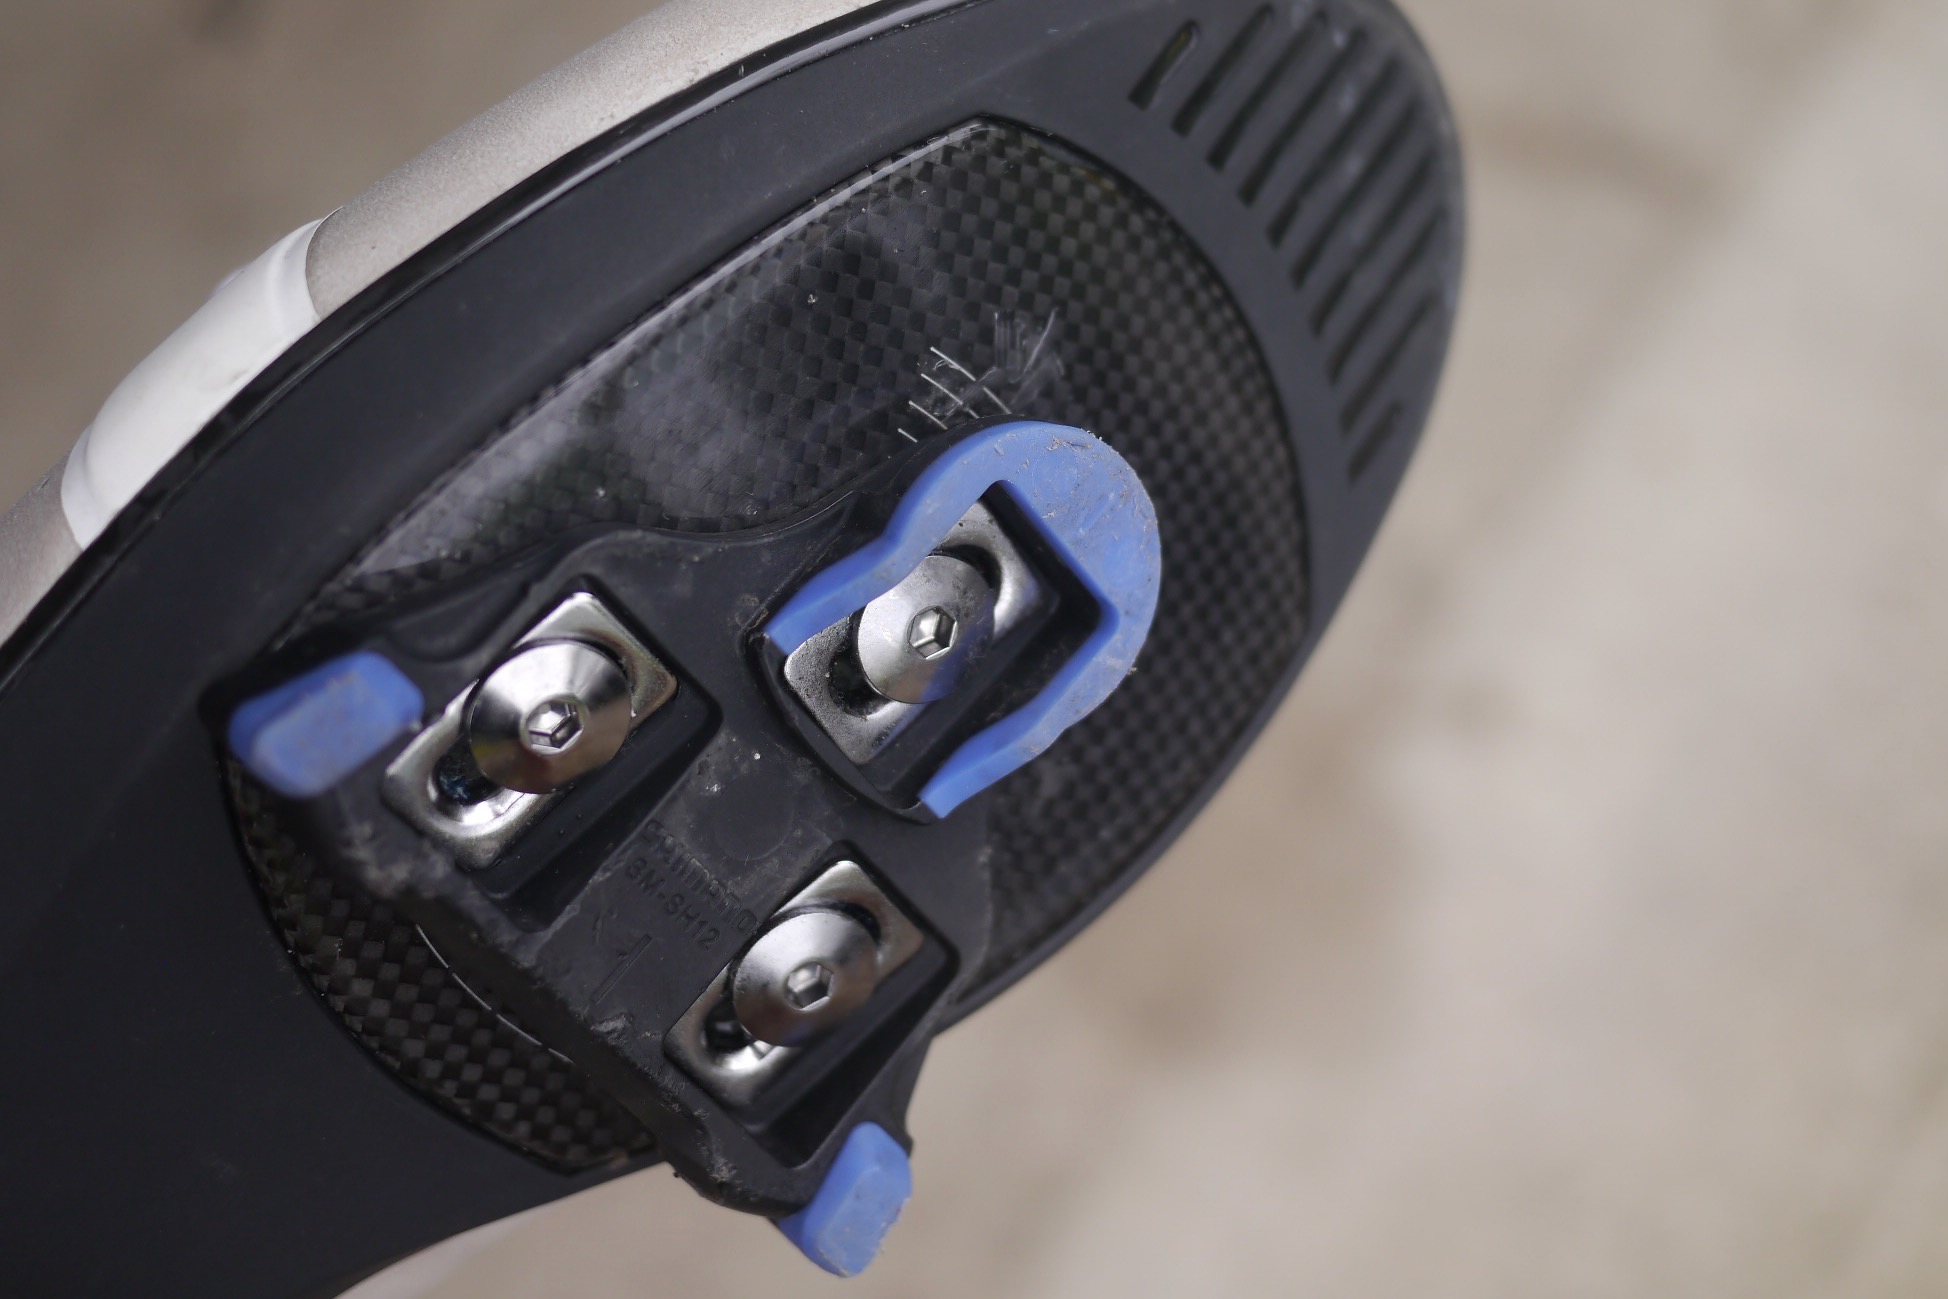
One of the main things that sets clipless road pedals apart is the 3-bolt cleat “standard”. With the exception of Wahoo Speedplay pedals that use a 4-bolt cleat (and come with a 3-bolt adaptor to work on most road bike shoes), nearly all road bike pedals use a 3-bolt cleat and work on road bike shoes that have a 3-bolt hole pattern on the sole.
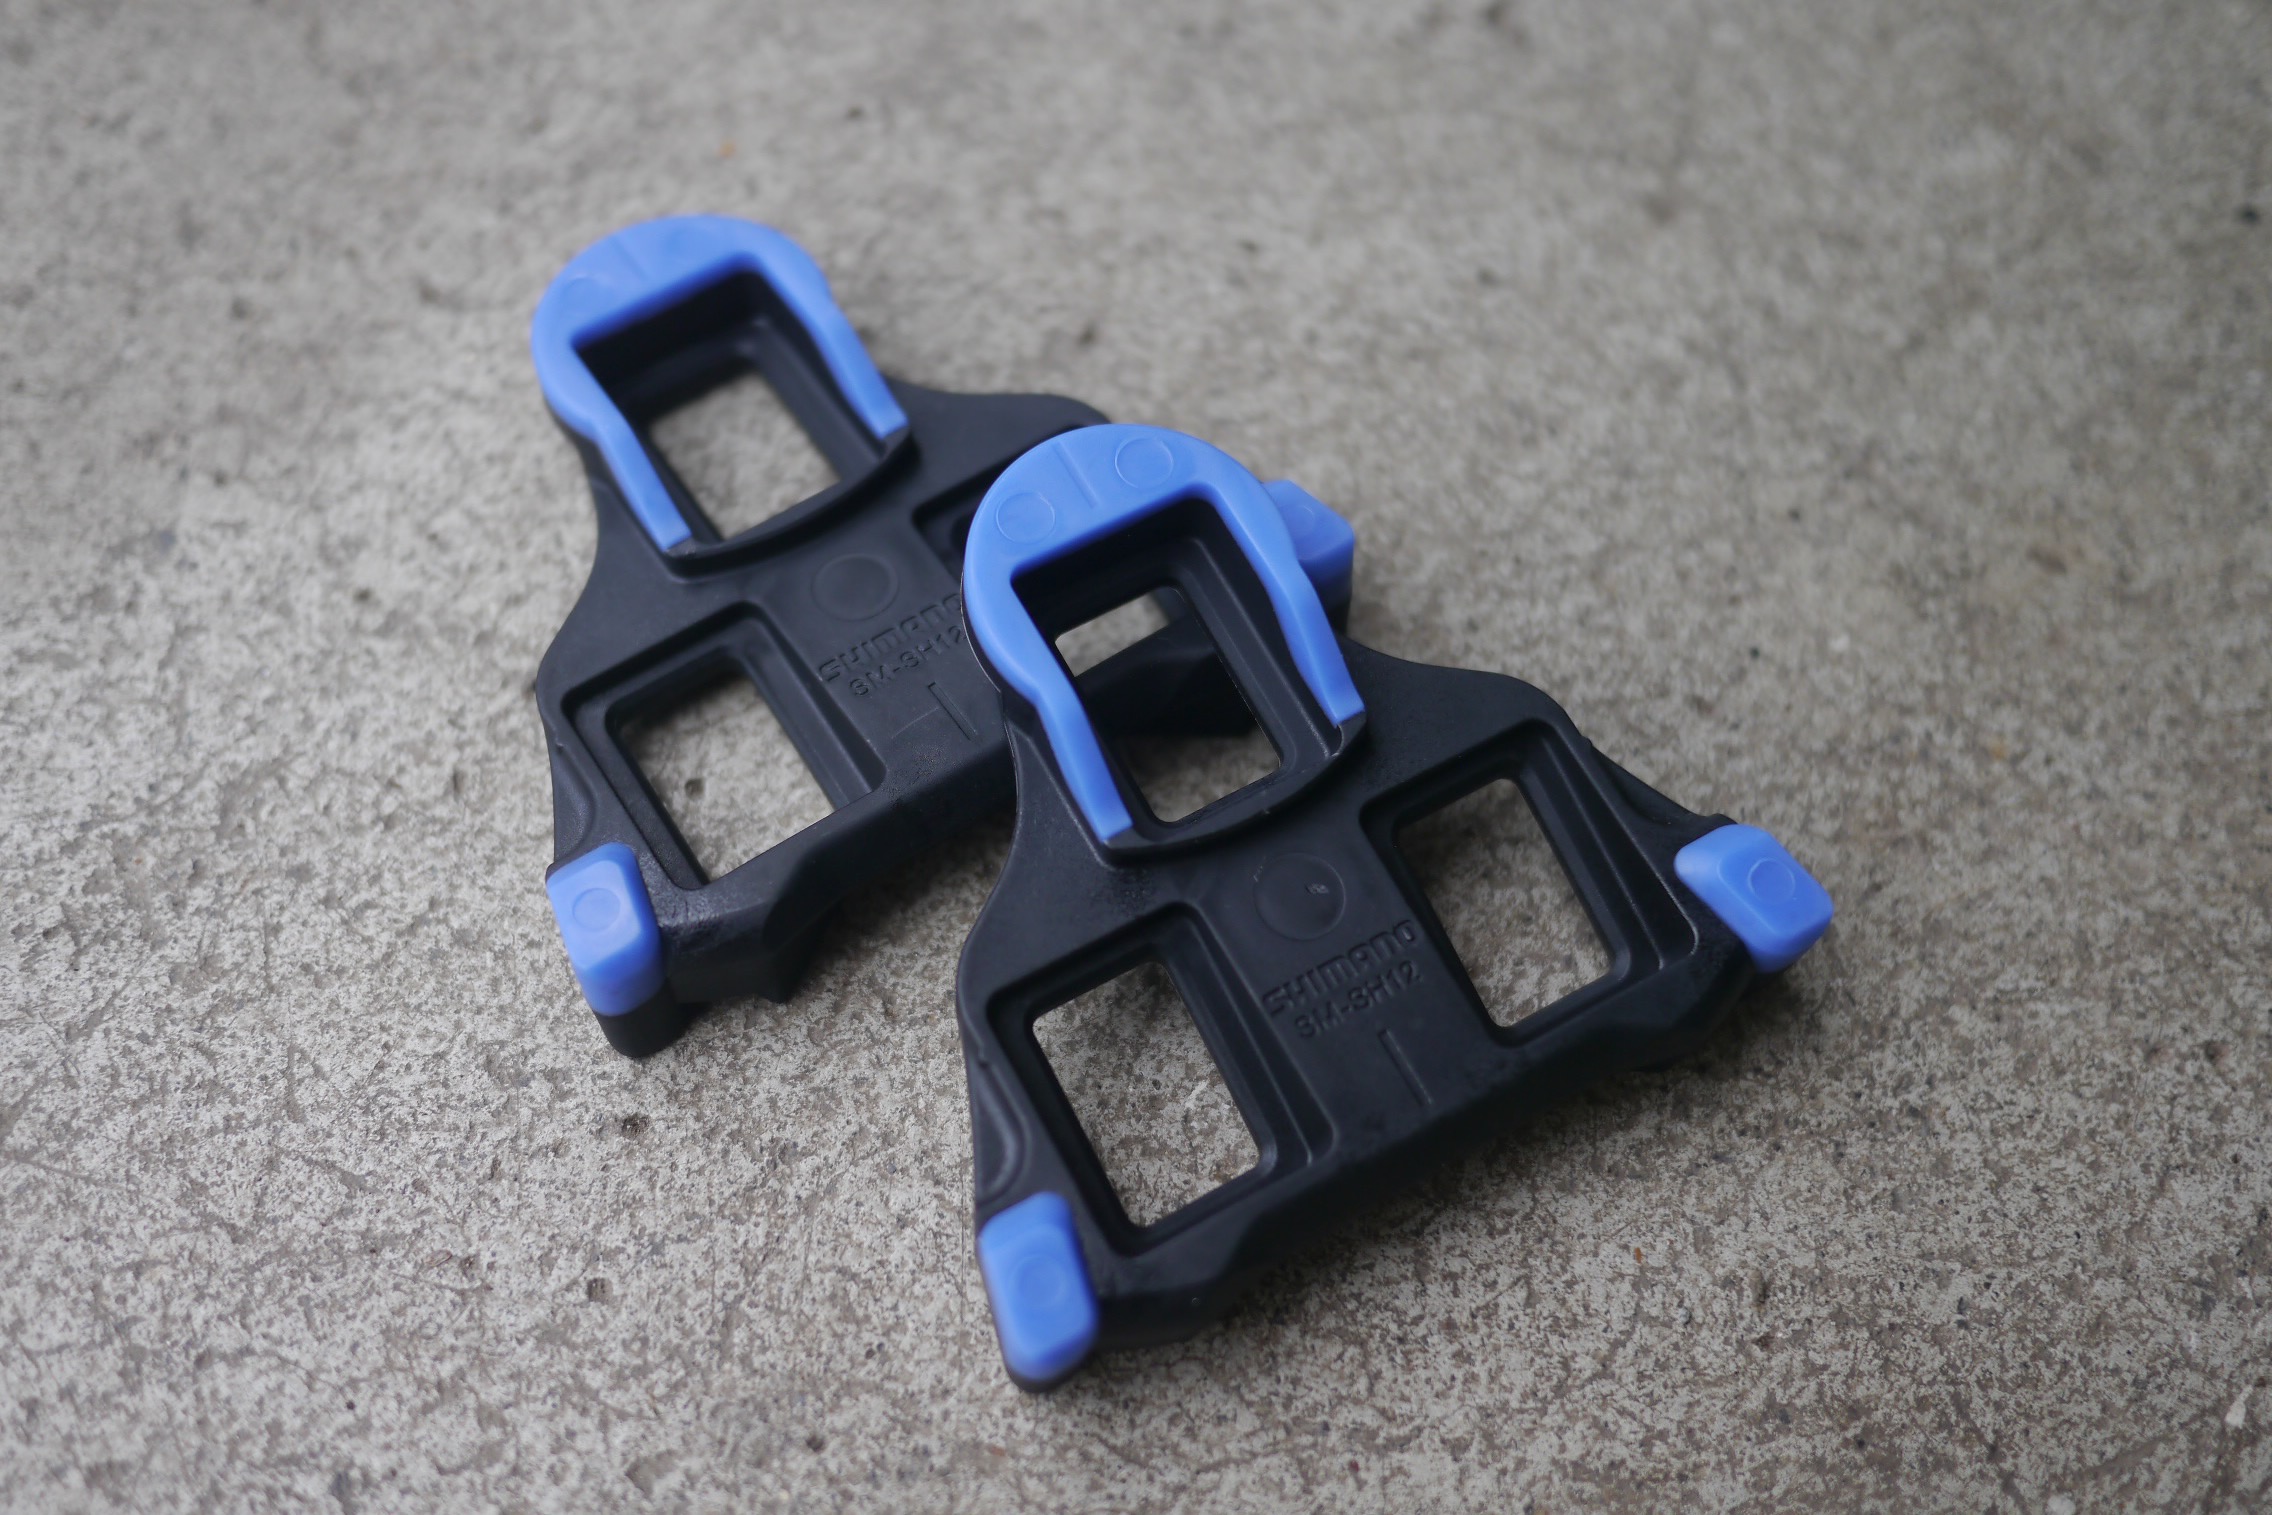
Shimano, Look, Time, and a handful of smaller pedal manufacturers use similar, but definitely not identical, triangular cleats. These large cleats aim to maximize the shoe-cleat-pedal interface and contact area, helping distribute pedaling forces over a larger area to increase efficiency, stability, and comfort. Road bike pedals, of course, are designed to work in unison with their specific cleats, matching their dimensions to create the super important connection between your legs and the cranks.
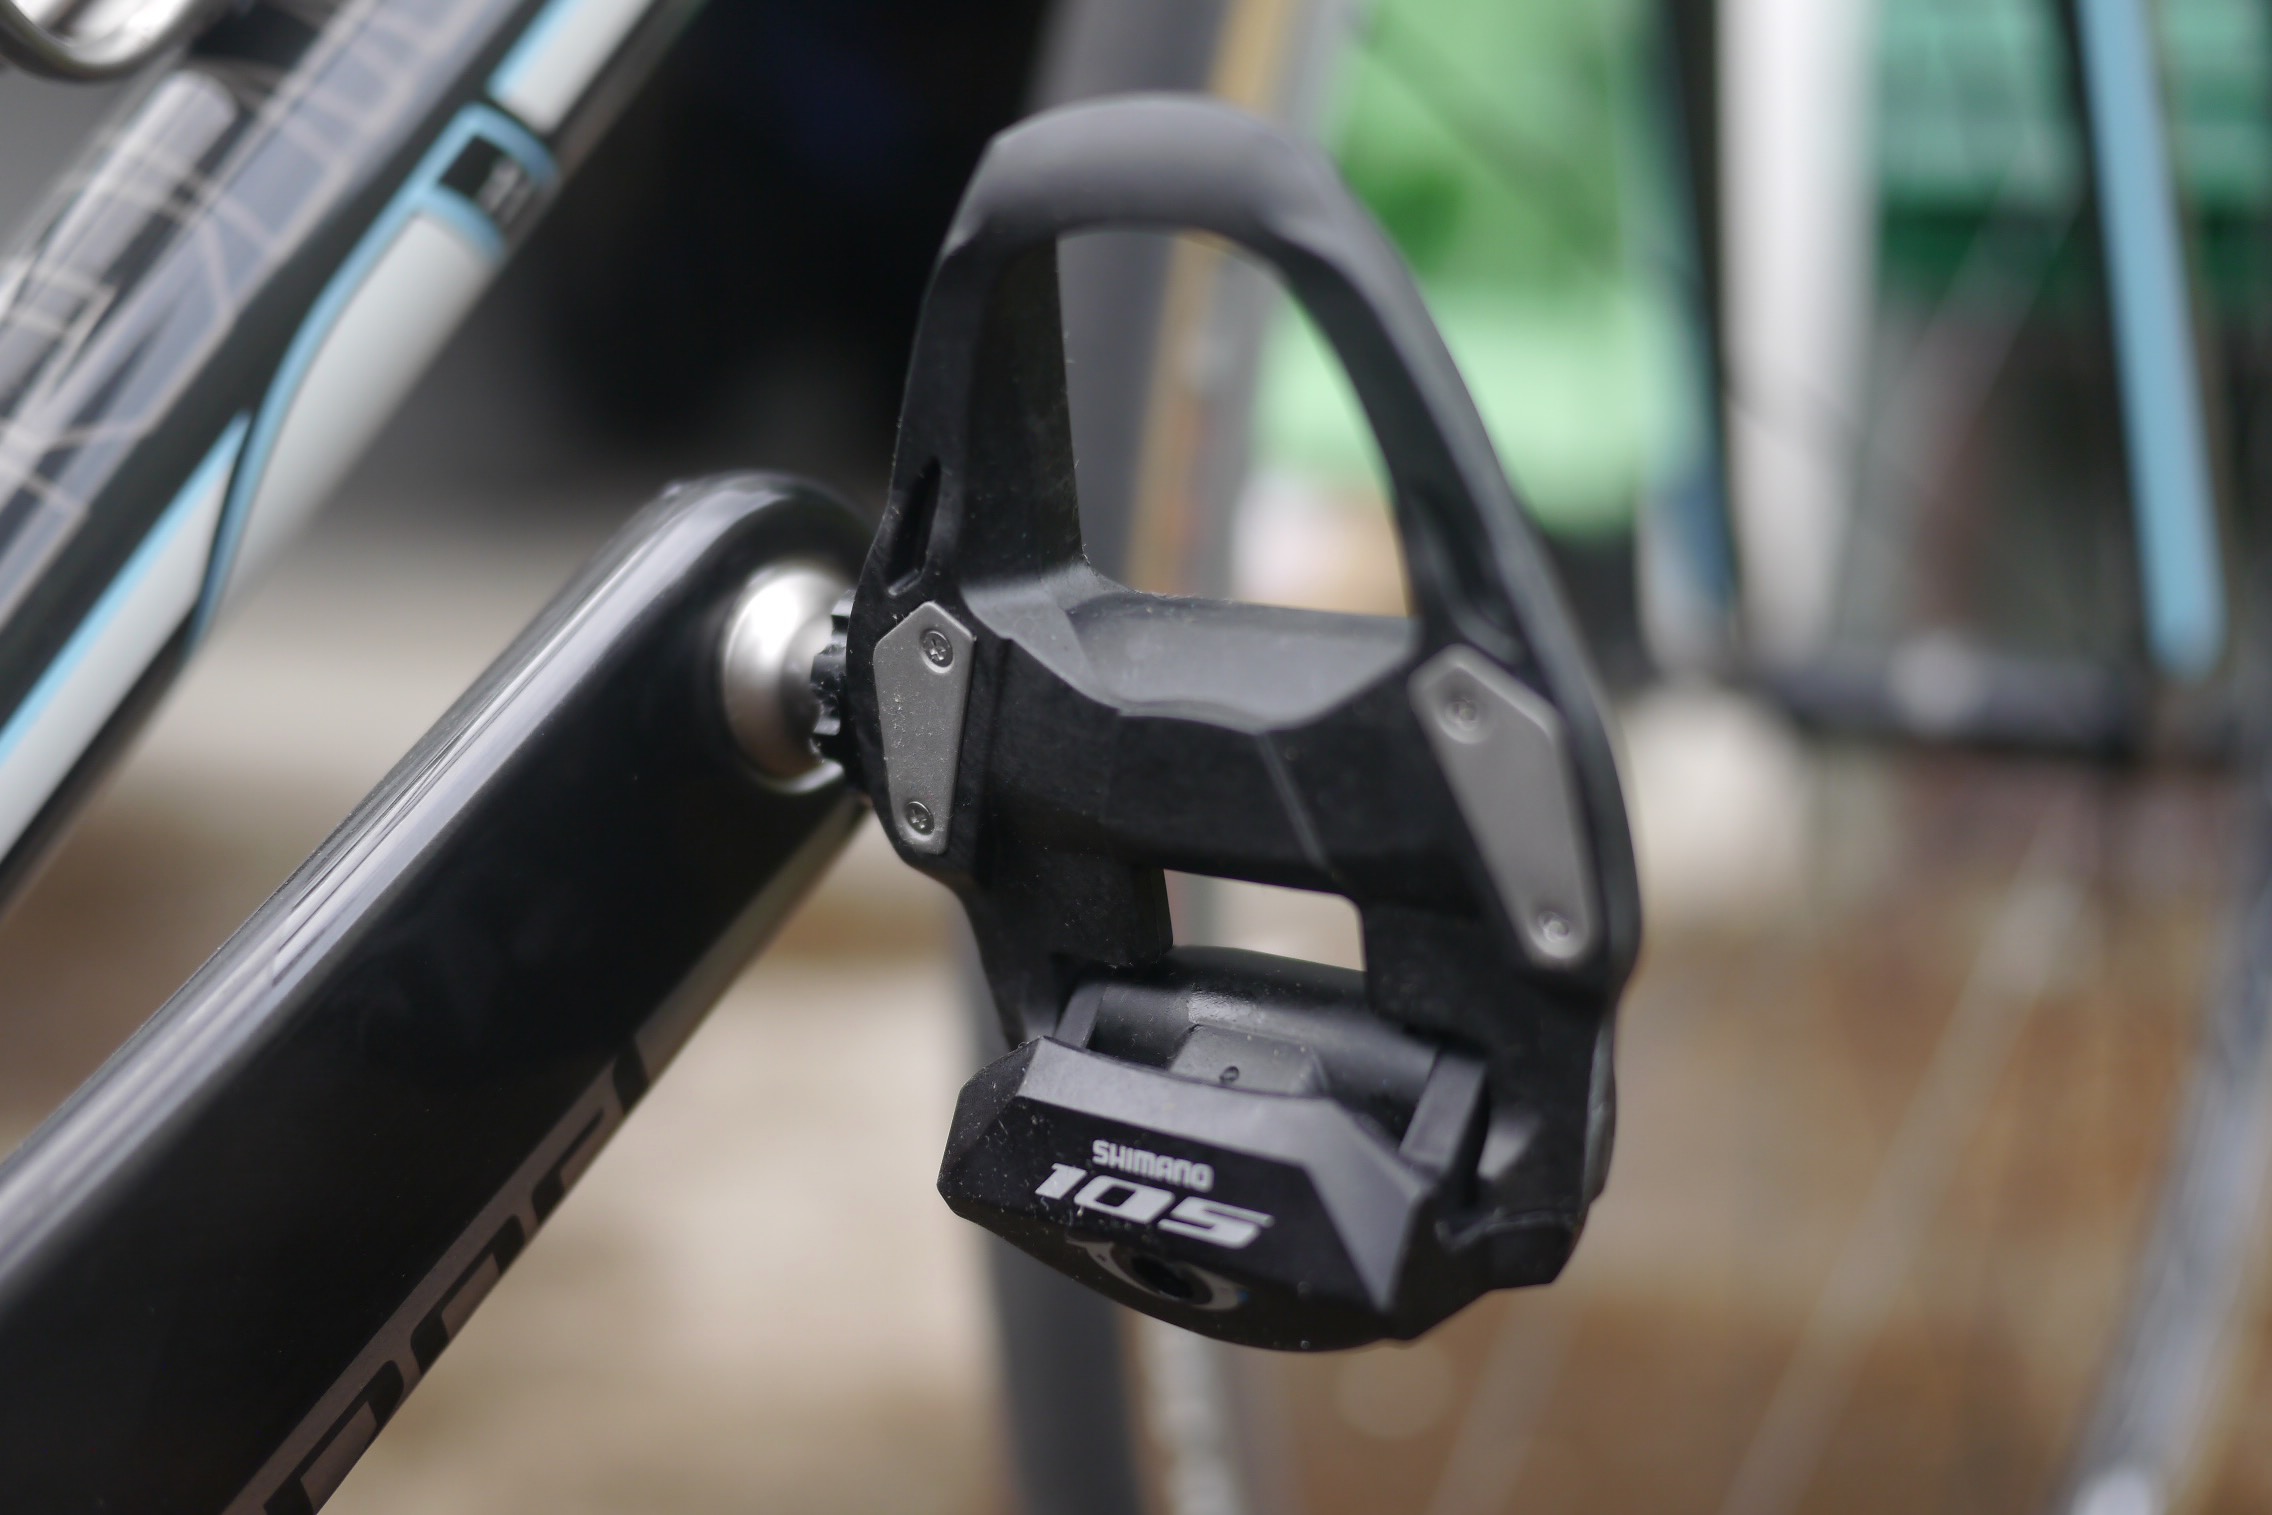
Most road bike pedals are one-sided, meaning that the cleat can only engage on one side of the pedal. The other side of the pedal is typically smooth in a somewhat aerodynamic shape. Generally speaking, the front of the cleat engages first before pushing the rear of the cleat down onto the retention mechanism. The exception here is the Wahoo Speedplay pedals that allow for dual-sided engagement.
Clipless mountain bike pedals differ from road bike pedals in that they use 2-bolt cleats. These cleats are smaller and mount to shoes that are designed with a 2-bolt interface. Most mountain bike pedals allow for dual-sided engagement, and they come in a wide variety of styles with different-sized platforms designed to meet the differing needs of varying riding styles and preferences. Given the cleats’ smaller size, the shoes’ soles often interface with the pedals’ platforms for additional support.
Axles
Pedal axles, or “spindles”, connect the body of the pedal to the crank arm of the bike. The outboard end sits inside the pedal platform and is exposed between the body and the crank arm, eventually threading into the tip of the crank arm. Stiffness is important here because of the way the axle is positioned — perpendicular to the direction that force is applied to the pedal body.
More expensive pedals will feature stiffer Titanium axles, which benefit racers who apply repeated doses of explosive power. For recreational riders, steel or chromoly axles are sufficiently stiff, incurring a slight weight penalty while saving enough money to make choosing them a no-brainer.
Bearings
Axle bearings allow the pedal to rotate against the circular motion of the crank arm, keeping the rider’s foot stable and promoting a fluid pedal stroke. If these bearings wear out, the axle may wobble and may produce noise. Most pedal axles can be overhauled, but unless you are doing it yourself and using high-end pedals, the labor bill won’t be much less expensive than replacing the pedals altogether.
So, high-quality bearings are something to look for in a pedal that you want to install and never think about ever again. Most pedals use stainless steel bearings, while some high-end options use ceramic bearings. While they are significantly more expensive, ceramic bearings are claimed to be more durable, lighter, and lower-friction, potentially providing a marginal performance gain that may appeal to racers or anyone seeking a competitive advantage.
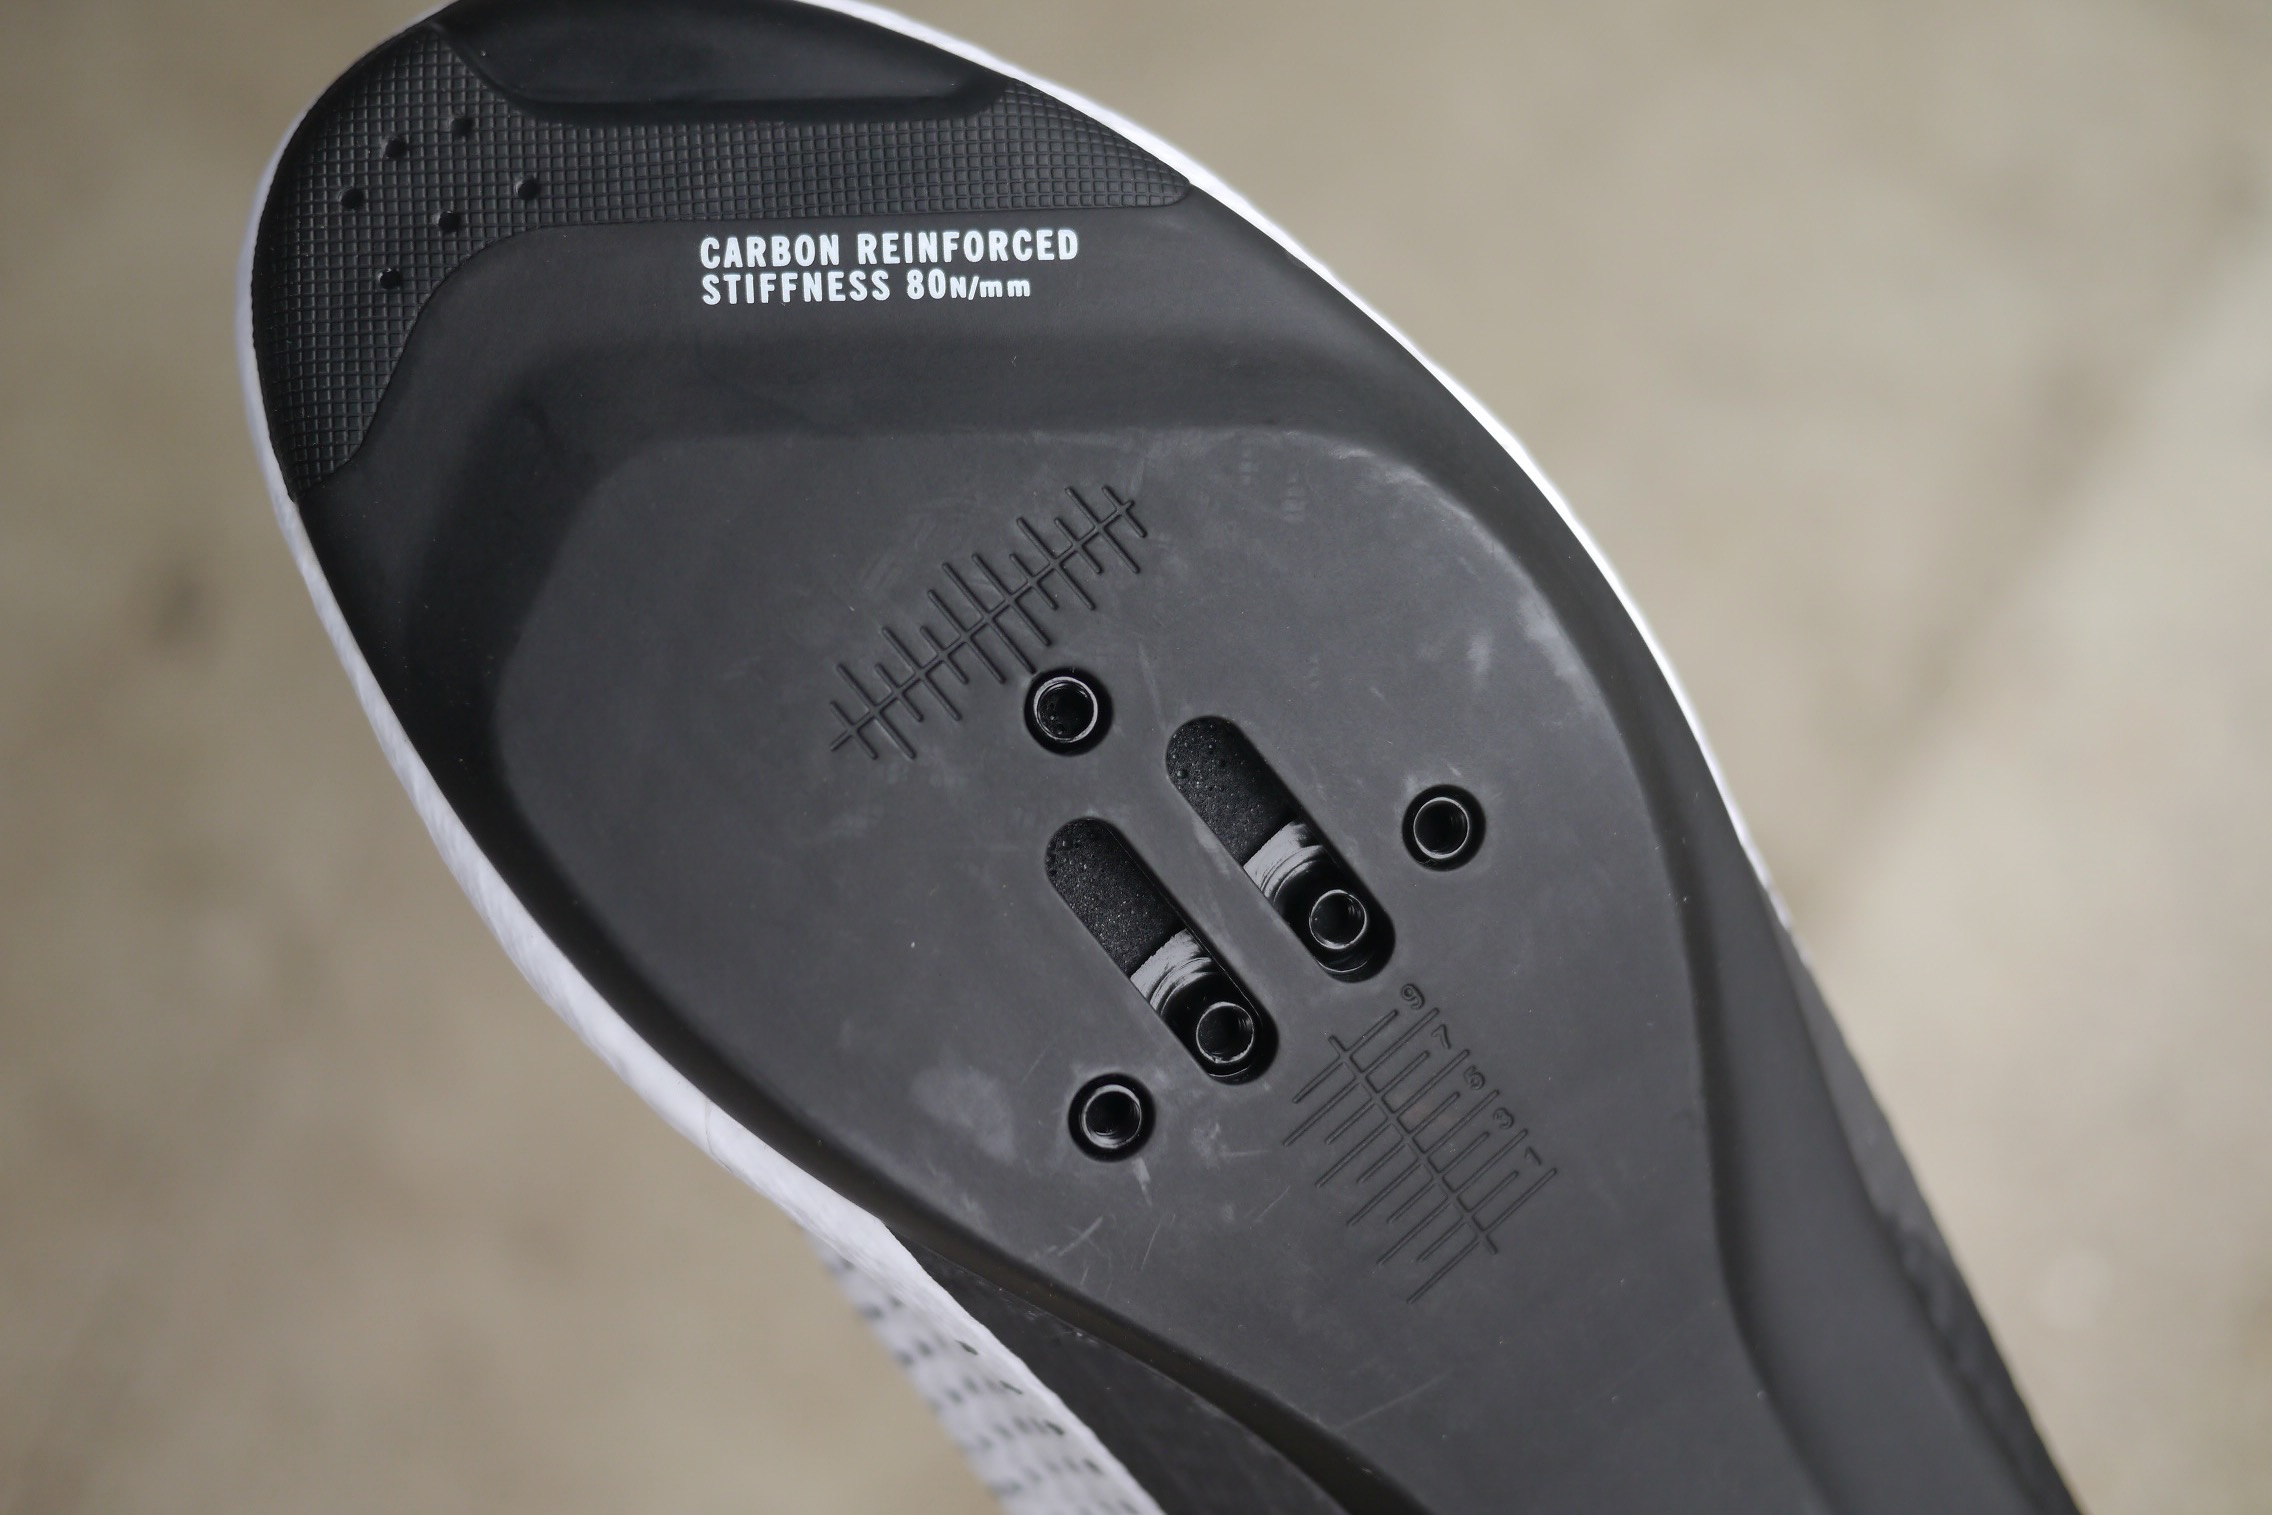
Body Material
Along with every other bike part, pedal bodies have become increasingly common in carbon fiber in recent years. While carbon certainly isn’t a poor choice of material, its benefit is less obvious than parts that have more dynamic characteristics, such as frames and rims.
Pedals are not an area of the bike where weight is of the utmost importance (although it is still certainly a consideration). Also, make sure that if you are choosing a pedal because it’s “light,” you are looking at the weight of the pedals, not just the pedals themselves.
While carbon fiber is becoming the material of choice for high-end pedals, many models are made from other composites. Regardless of the material used in the pedal body’s construction, many also include small steel plates on the contact area where the cleat and pedal interface. This is generally done to add stiffness as well as durability over time.
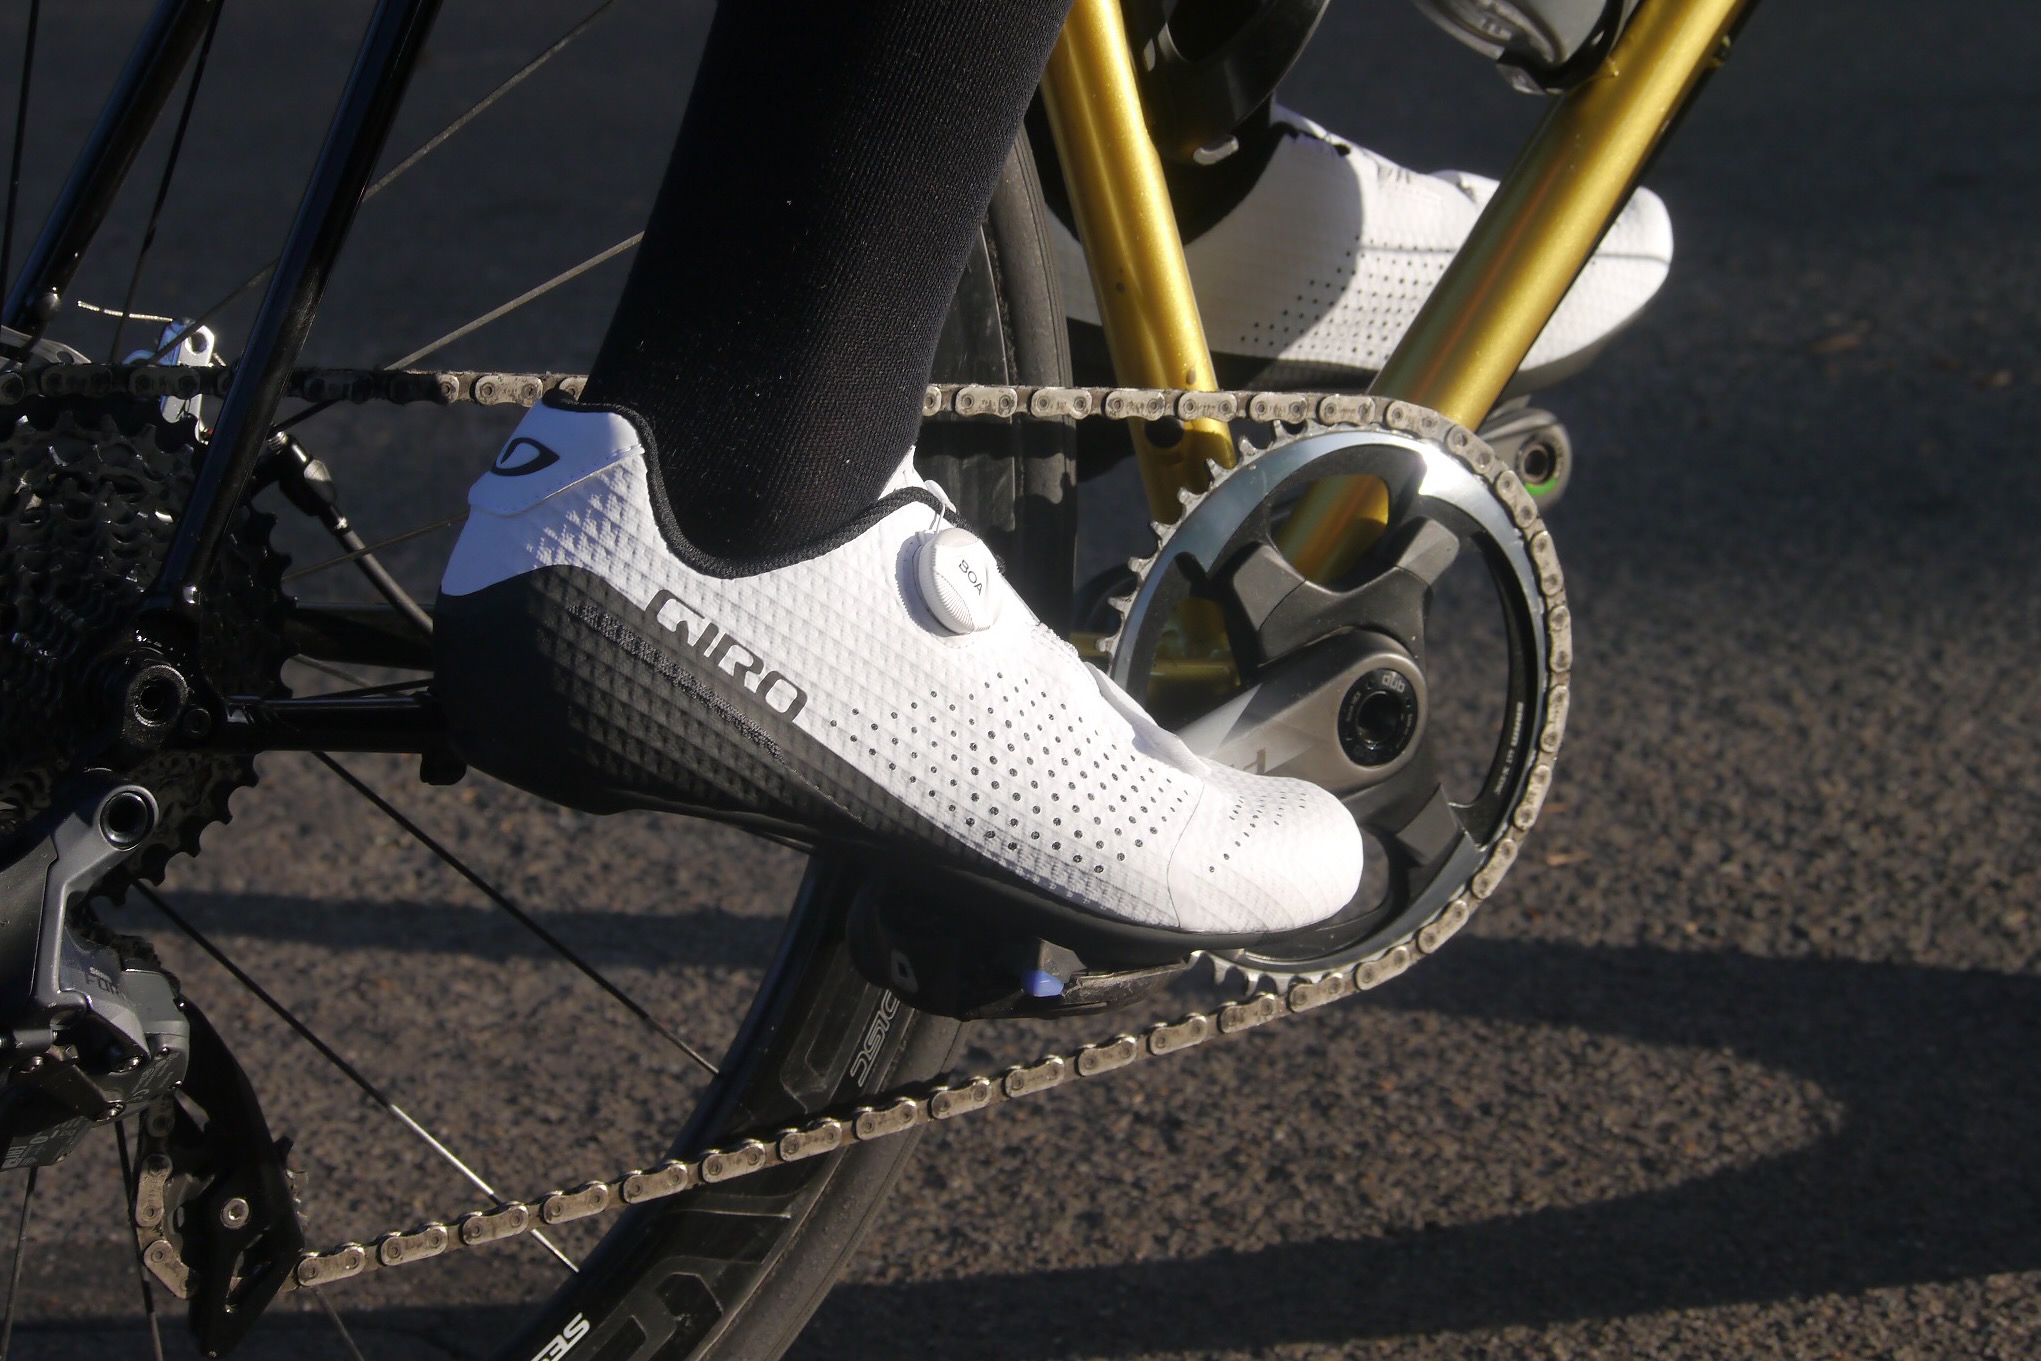
Shoes
It’s important to use road bike pedals with the appropriate shoes. Much like road pedals, road bike shoes are designed to optimize pedaling efficiency and comfort on the bike. When paired together, they form the system that connects your legs to your drivetrain, transferring your pedaling power into forward momentum.
Of course, road bike shoes come in a huge range of styles, constructions, materials, and price points, with models made for everything from racing, sprinting, and endurance riding, to more casual, recreational riding. Finding a pair that fits well and suits your style is critical.
If you are buying both pedals and shoes, make sure they are compatible. Nearly every road bike shoe (except those made specifically for use with Speedplay pedals) features a triangular set of three threaded holes in the forefoot of the outsole, designed to accept a 3-bolt road cleat.
Each new pair of pedals comes with cleats made specifically for that pedal, and, generally speaking, cleats are not cross-compatible between different brands. Speedplay cleats are an outlier as they are rectangular with a 4-bolt pattern and require an adapter to convert the 3-bolt pattern on most road shoes. This adapter is included with every pair of Speedplay pedals. Some brands offer Speedplay-specific shoes with a 4-bolt sole, so no adapter is required.
There are some road bike shoes, typically on the lower end of the price spectrum, that are compatible with both 3-bolt and 2-bolt pedals, meaning they can work with both road bike and clipless mountain bike pedals.
Adjustability
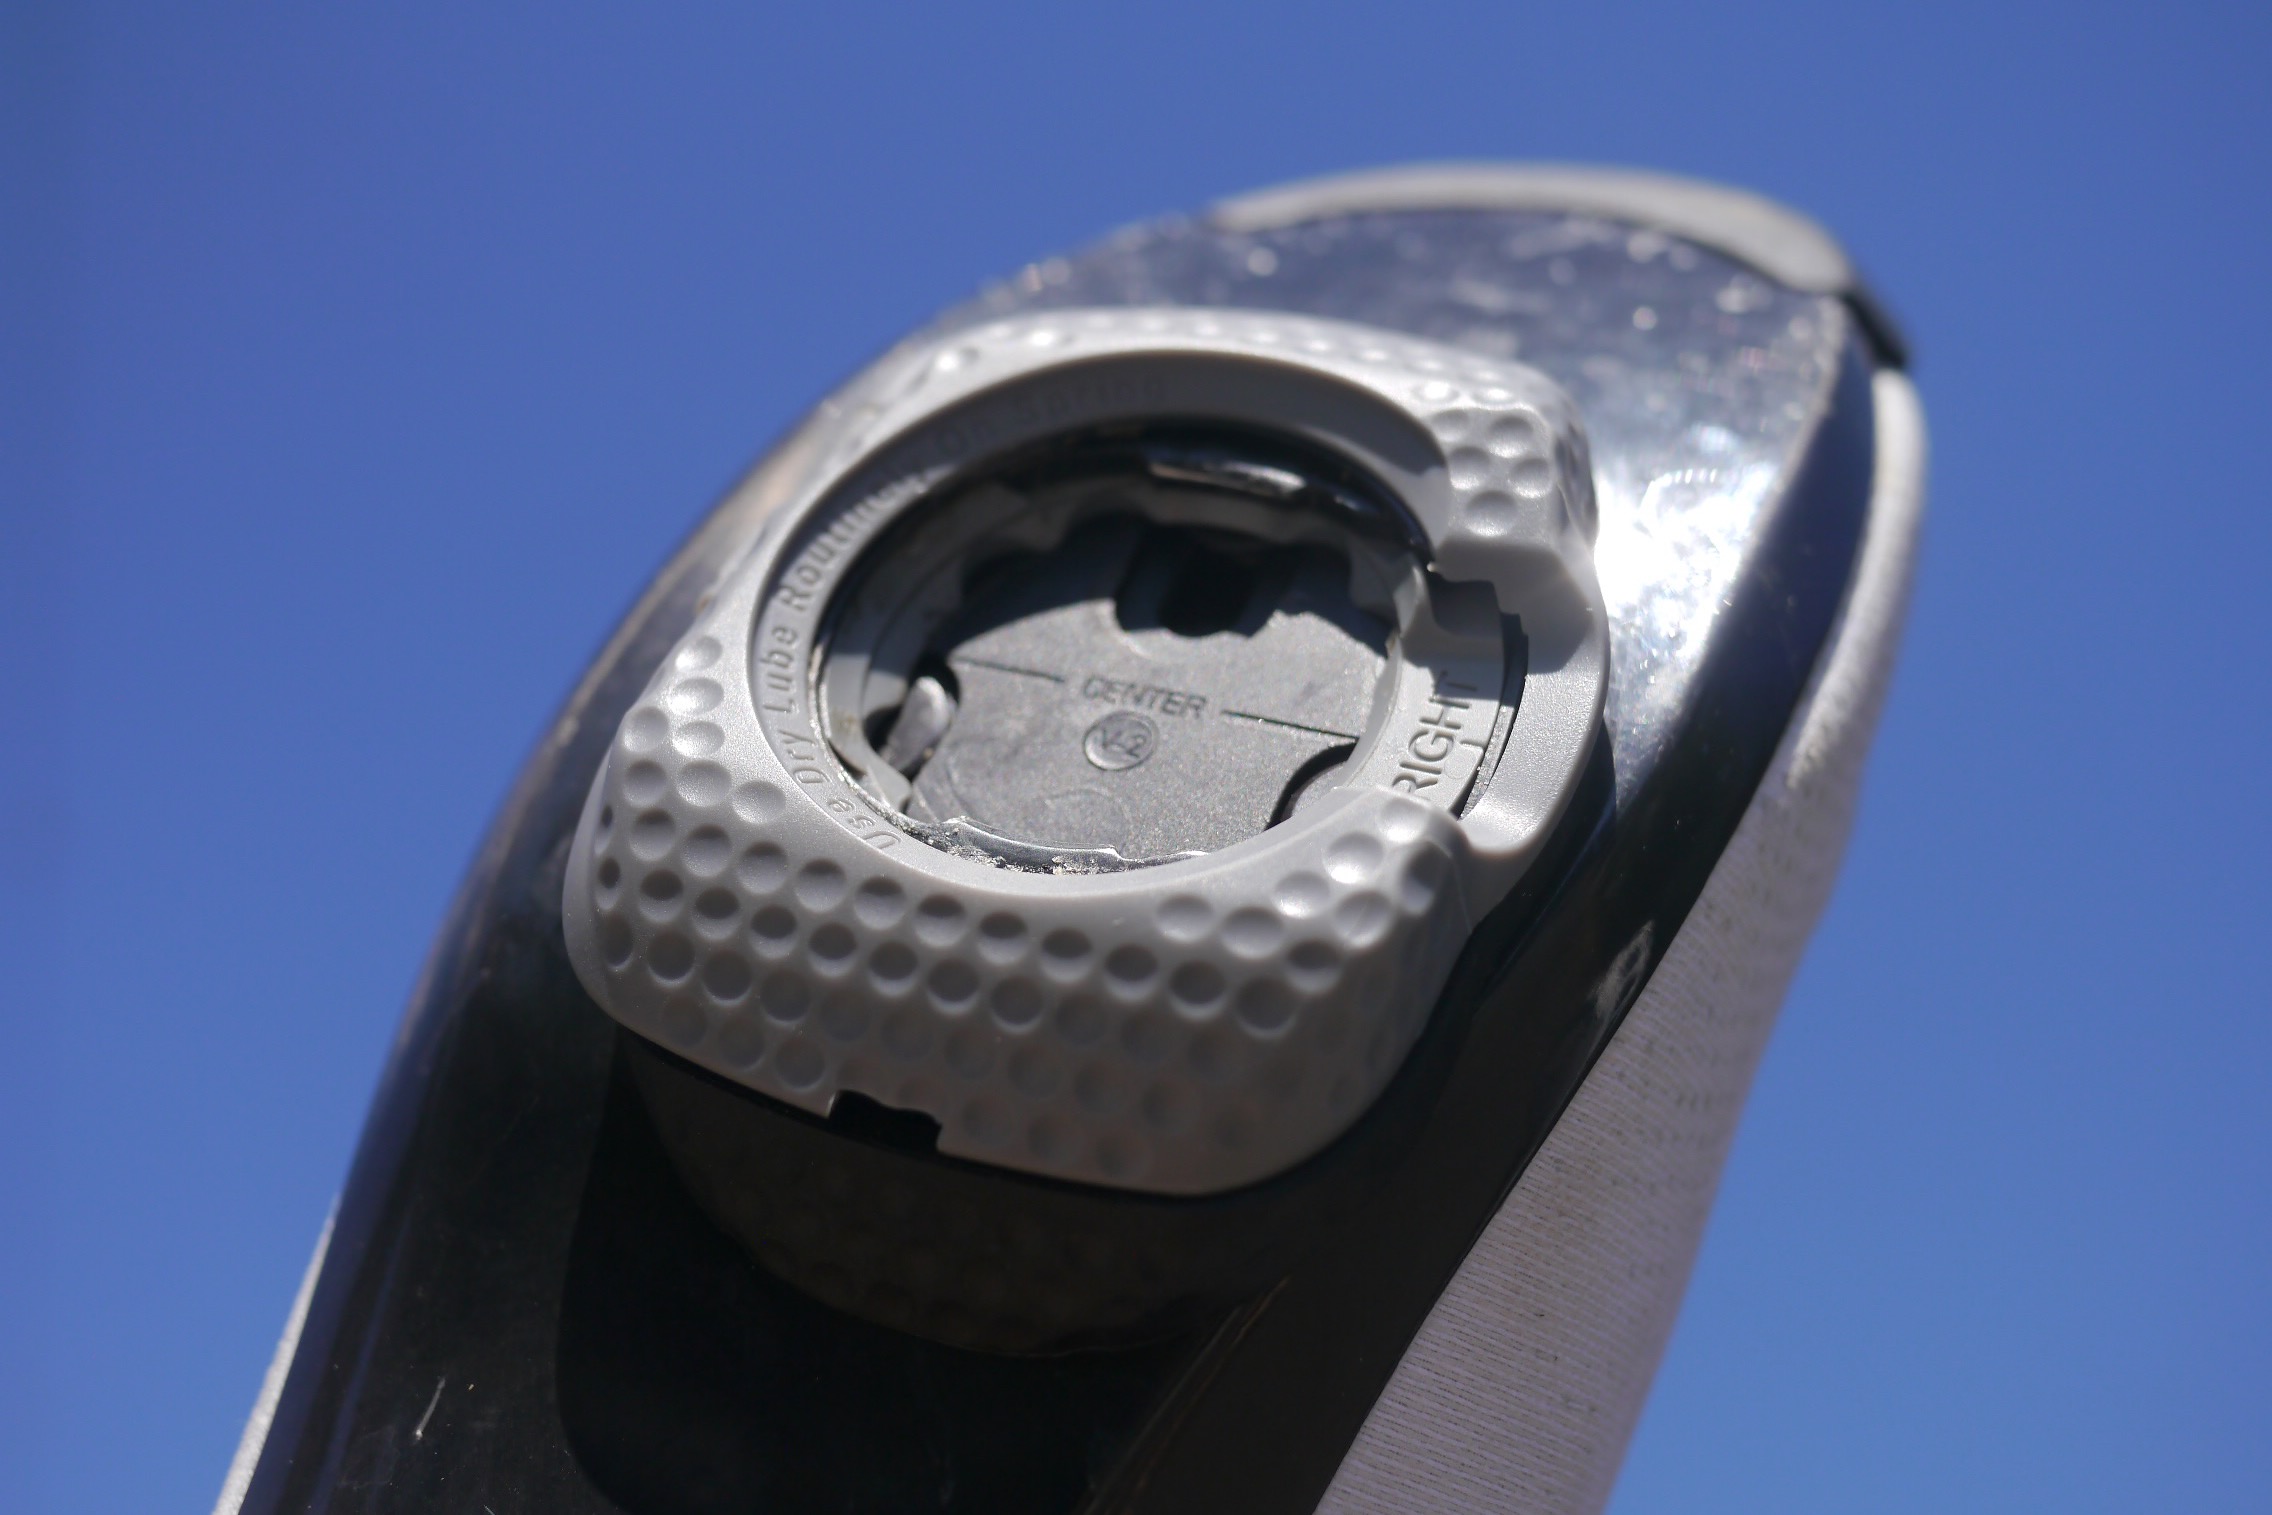
Most road bike pedals offer a few adjustments that allow the user to dial them in to their preferences. These typically include entry and release tension and float. Additionally, the cleats themselves can be adjusted on the sole of the shoe to get them in the perfect spot for comfort and efficiency. Before heading out for your first ride, we recommend that you familiarize yourself with all of the adjustments that your pedals offer and set them up as you like.
Cleats
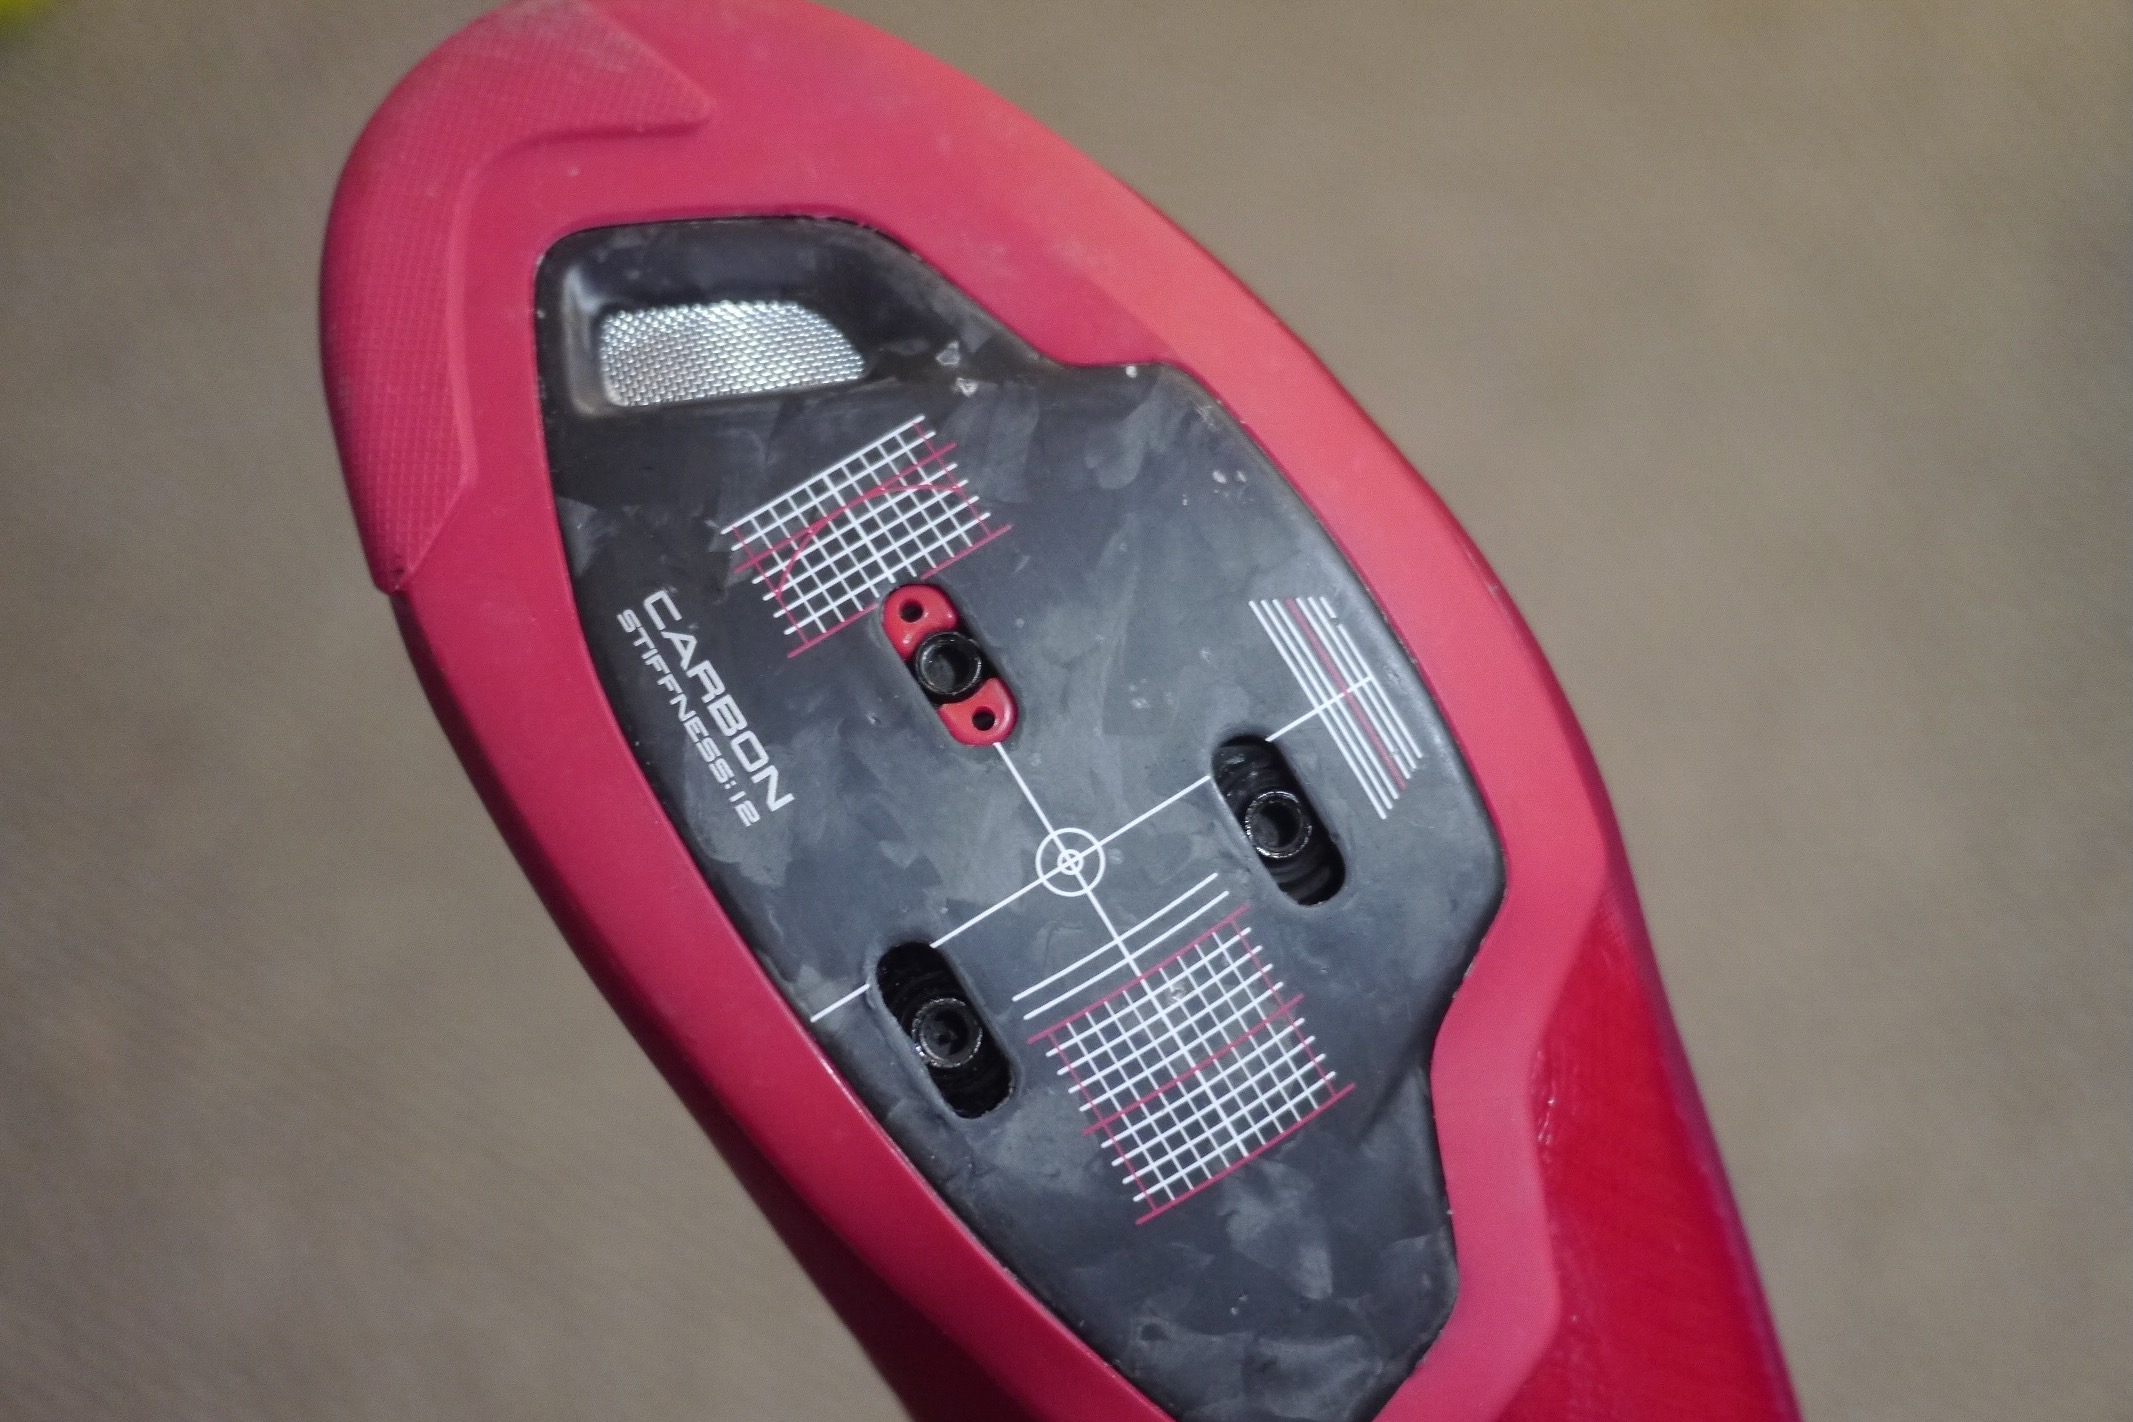
Having your cleats in the right position is important for leg alignment, comfort, and injury prevention, as well as for optimizing the power of your pedal stroke. Most cleats offer a limited range of fore-aft and side-to-side adjustability, so the user can line them up at their preferred location under the ball of the foot.
Often, the small metal inserts in the soles of the shoes can be moved slightly as well. Additionally, the angle of your cleats can also be adjusted slightly, toe-in or toe-out, if needed. Most quality road bike shoes have small alignment markings on the soles that can help you dial in your perfect cleat placement.
Retention
Most road bike pedals feature a tension adjustment that controls how easy it is to clip in and out of the pedal. The level of tension is typically a matter of personal preference and may depend on the type of riding you do. Too much tension could lead to the dreaded situation where you’ve stopped the bike but are unable to get a foot out of the pedal and down to the ground.
Conversely, riders who produce a lot of power will want to ensure there is sufficient tension to keep the foot on the pedal during explosive efforts. The majority of pedals have a small screw on the cleat retention mechanism that can be turned to tighten or loosen the tension to the desired setting.
Look Keo Blade pedals are a little different in that they use carbon “blades” that can be swapped to adjust tension. Once again, Speedplay is an outlier in this regard, as the tension is dictated by which cleat you use. They offer both “standard” and “easy” tension options.
Float
All pedals offer some way of adjusting the “float”, which is the degree of angular movement the pedal allows the cleat to make. Float is important because foot movement can either prevent or cause problems, depending on how much it occurs and for how long. Foot movement, or lack thereof, affects everything up the chain, from the knee to the hip, and even the lower back, and it can be a process of trial and error to find what works best for you.
Like anything else, personal preferences vary and often depend on the type of riding you’re doing, racing vs. casual, or the desired feel from your pedals. Less float provides a more secure, locked-in feel that is typically preferred by high-performance riders and more intense power output (track races, criteriums). Having less float does leave a little less margin for error in cleat positioning, so the setup can be more challenging.
Higher degrees of float are considered more forgiving, allowing more freedom of movement and generally less tension on the joints. Higher float is usually preferred by those with joint issues and anyone undertaking long, steady endurance rides or lengthy road races.
The float in most pedal systems is determined by the specific cleat used. Most manufacturers offer two or three cleats that allow float from zero to 8 degrees or thereabouts. Look, for example, offers its Keo cleats in 0-, 4.5-, and 9-degree float options, which are color-coded black, grey, and red, respectively.
Similarly, Shimano offers three cleat options with 0-, 2-, and 6-degree angles, denoted by red, blue, and yellow, respectively. Time offers two cleat options, “free” cleats with 5 degrees of float, or “fixed” cleats with 0 degrees of float. Speedplay is unique in that the cleat’s float is adjusted in very fine increments, allowing it to be quickly tailored to each shoe.
Practice
If you are new to clipless pedals, doing a little practice to get used to the way they function is never a bad idea. While it eventually becomes second nature, clipping in and out of pedals can be relatively awkward at first, but thankfully, the learning curve is steep. Though it might seem silly, taking a little time in a controlled environment to familiarize yourself with the process of clipping in and out of your pedals could be invaluable and potentially help prevent embarrassment or injury (bruised body and/or ego) while out on a ride.
Yes, it is as simple as deliberately twisting your foot to release the cleat from the pedal, but just about everyone has experienced an awkward, slow-motion fall when they couldn’t get their foot out of the pedal as they were learning. Trust us, a little practice is worth your time.
Price & Value
As with all things in cycling, road bike pedals can be expensive. You can easily spend upward of $300 for the lightest, stiffest, and fanciest pedals on the market, and many people will. Those seeking marginal performance gains or reductions in weight, typically high-performance riders and racers, will see the most benefit from spending more.
If you’re not battling for podiums, however, you can spend less for nearly the same performance and with just a slight weight penalty. Like other cycling components, most pedal brands make products in a tiered system with varying body and spindle materials, bearings, and features determining the price.
Budget
If you’re a more casual rider, just getting into the sport, ride less frequently, or are trying out clipless pedals for the first time, a budget-friendly model like the Look Keo Classic 3 Plus ($95) shares the same general design as its more expensive siblings, but at a price that’s much more attainable. They sacrifice a bit in terms of weight, aerodynamics, and durability, but they get the job done if you’re a weekend warrior or less frequent rider who doesn’t require the highest performance from their pedals.
For just slightly more cash, the Time XPresso ($105) is another affordable entry point. With a lightweight carbon-filled body and the super user-friendly iClic system, these pedals work relatively well for anyone who prefers the ease of entry and floatier feel that Time pedals provide.
Mid-Tier
The mid-tier is where we think most riders will find the best ratio of price and performance. A prime example is the aforementioned Shimano 105 SPD-SL ($175) pedals, which look nearly identical to their more expensive siblings and only incur a paltry 30-gram weight penalty. Sure, the 105 lacks the central stainless steel contact plate of the Ultegra and Dura-Ace models, and perhaps there’s the slightest reduction in stiffness, but we’re pretty sure that only the most discerning riders would be able to notice the difference. But if you’re willing to spend just $25 more, we recommend the Ultegra ($200) version all day. They’re only a hair heavier and a touch less stiff than the Dura-Ace, and arguably the best choice for most riders.
Similarly, the Wahoo Speedplay Comp ($130) is the entry-level version of the brand’s much higher-end Speedplay Nano. It shares the same unique design and impressive level of adjustability but uses less expensive parts like a composite pedal body and steel spindle to keep the price down. The result is a 60-gram weight penalty, a fair trade for saving $370.
Premium
If you’re willing and able to shell out the big bucks for pedals — as many road cyclists are — you typically find weight savings through the use of materials like carbon fiber and titanium spindles, along with an upgrade to super smooth rolling ceramic bearings. Often, this coincides with more sculpted designs that aim to improve aerodynamics and could save you a watt or two, potentially improving your efficiency over time. Still, these performance and efficiency gains tend to be marginal, though high-performance riders and racers may appreciate them.
A standout in the premium price tier remains the Shimano Dura-Ace ($300) pedals. These pedals are stiff, stable, efficient, and lightweight. The finish quality is spectacular, and these pedals simply work flawlessly and are perfectly silent. They also cost a bit less than some other brands’ top-of-the-line offerings.
A model like the Time XPro 12 ($325) commands a high price thanks to its carbon-fiber body, titanium spindle, and aerodynamic design. Similarly, the Wahoo Speedplay Nano ($500) tops the price scale and drops some weight with liberal use of carbon and an upgrade to a titanium spindle. Look, and its Keo Blade Ceramic ($275) pedals also deserve mention here. These pedals feature their namesake ceramic bearings, along with a unique blade design that uses a carbon fiber “blade” as the retention spring.
Frequently Asked Questions About Road Bike Pedals
If you are riding strictly on the road, it makes sense to use dedicated road pedals. This style of pedal provides a broad platform that spreads out the pressure of your pedal stroke evenly across your forefoot, preventing hot spots from developing during long rides involving tens or even hundreds of thousands of pedal revolutions. Combined with a well-fitting pair of road bike shoes, they work as a system to efficiently deliver your pedaling energy to the cranks and propel your bike forward. So, along with pedals, the right shoes will help to enhance your efficiency, stability, control, and comfort on the bike.
The term clipless is undoubtedly a confusing one given the fact that you actually clip in to clipless pedals. Well, prior to the advent of clipless designs, most pedals were essentially flat pedals that had what was referred to as a “toe clip” that wrapped up and over the front of the toes. This toe clip helped prevent the foot from sliding forward on the pedal while also holding the foot more securely to help maximize pedaling efficiency through the whole pedal stroke. When clipless pedals came around, they did not have the toe clip and became referred to as clipless as a result.
Yes, absolutely. Many people use mountain bike style clipless pedals that use 2-bolt cleats on their road bikes. Generally speaking, people will use small, XC-style pedals in this case because they are lighter weight compared to those with larger platforms. If you already have shoes that you like that use a 2-bolt cleat, this may also be the most cost-effective solution. Many modern cross-country mountain bike shoes are essentially more rugged versions of road bike shoes and they can easily meet the demands of road, gravel, and cross-country riding.
Installing a new set of pedals is a fairly simple process, but it is very important to know that the left (non drive side) pedal is reverse-threaded while the right side is threaded regularly. And, due to the threading of the spindles, and also to the design of the pedals, they are right and left side specific. Once you have identified which pedal is which, apply some grease to the threads and screw the spindle into the crankarm. Most pedals use an 8mm hex, although some outliers use a 6mm hex or a 15mm pedal wrench, to tighten them down. You generally want to get pedals fairly tight, and Shimano recommends a torque range of 35 – 55 Nm for their pedals, for example.
It is important to note that you can damage your pedals and/or your crankarms if you cross-thread them during installation or try to install the wrong pedal on the wrong side of the cranks. The pedal should thread into the crankarm very easily, and if it does not, don’t force it! You should stop and check the alignment of the threads to avoid any potentially expensive problems.
Awkwardly, carefully, and as little as possible. Yes, walking on road cleats is awkward, tedious, and even unsafe on some floor surfaces. This is because the size of the cleat precludes compatible road shoes from incorporating tread onto their outsoles. Additionally, the size, shape, and position of the cleats themselves prevent a regular walking motion. This is not to say that you can’t or shouldn’t walk in your road bike shoes, you’ll just want to be careful if/when you do. Thankfully, most road bike shoes have a small traction pad on the heel, and many road cleats also have a small amount of grippier material applied to the contact points to add a tiny level of grip for walking. With some practice, it does become easier, but it never stops being awkward.
While you certainly can use road bike pedals on your gravel or mountain bike, it is generally not recommended. The primary reason is that road bike shoes and road bike cleats are already awkward enough to walk around in on firm, flat surfaces, so walking in them on gravel roads or trails is even worse. The cleats and soles of your shoes are susceptible to damage and premature wear. We always recommend riding your mountain or gravel bike with clipless mountain bike pedals with 2-bolt cleats, and mountain bike shoes that are more appropriate for off-road use. Yes, some gravel riders and racers will use road bike pedals and shoes for certain gravel rides – typically consisting of smooth gravel with little likelihood of needing to walk in your shoes, but there are usually better options.
Related Content
The Best Cycling Bib Tights of 2026
We tested 11 of the best cycling bib tights available to help you find the right pair for your needs and budget.
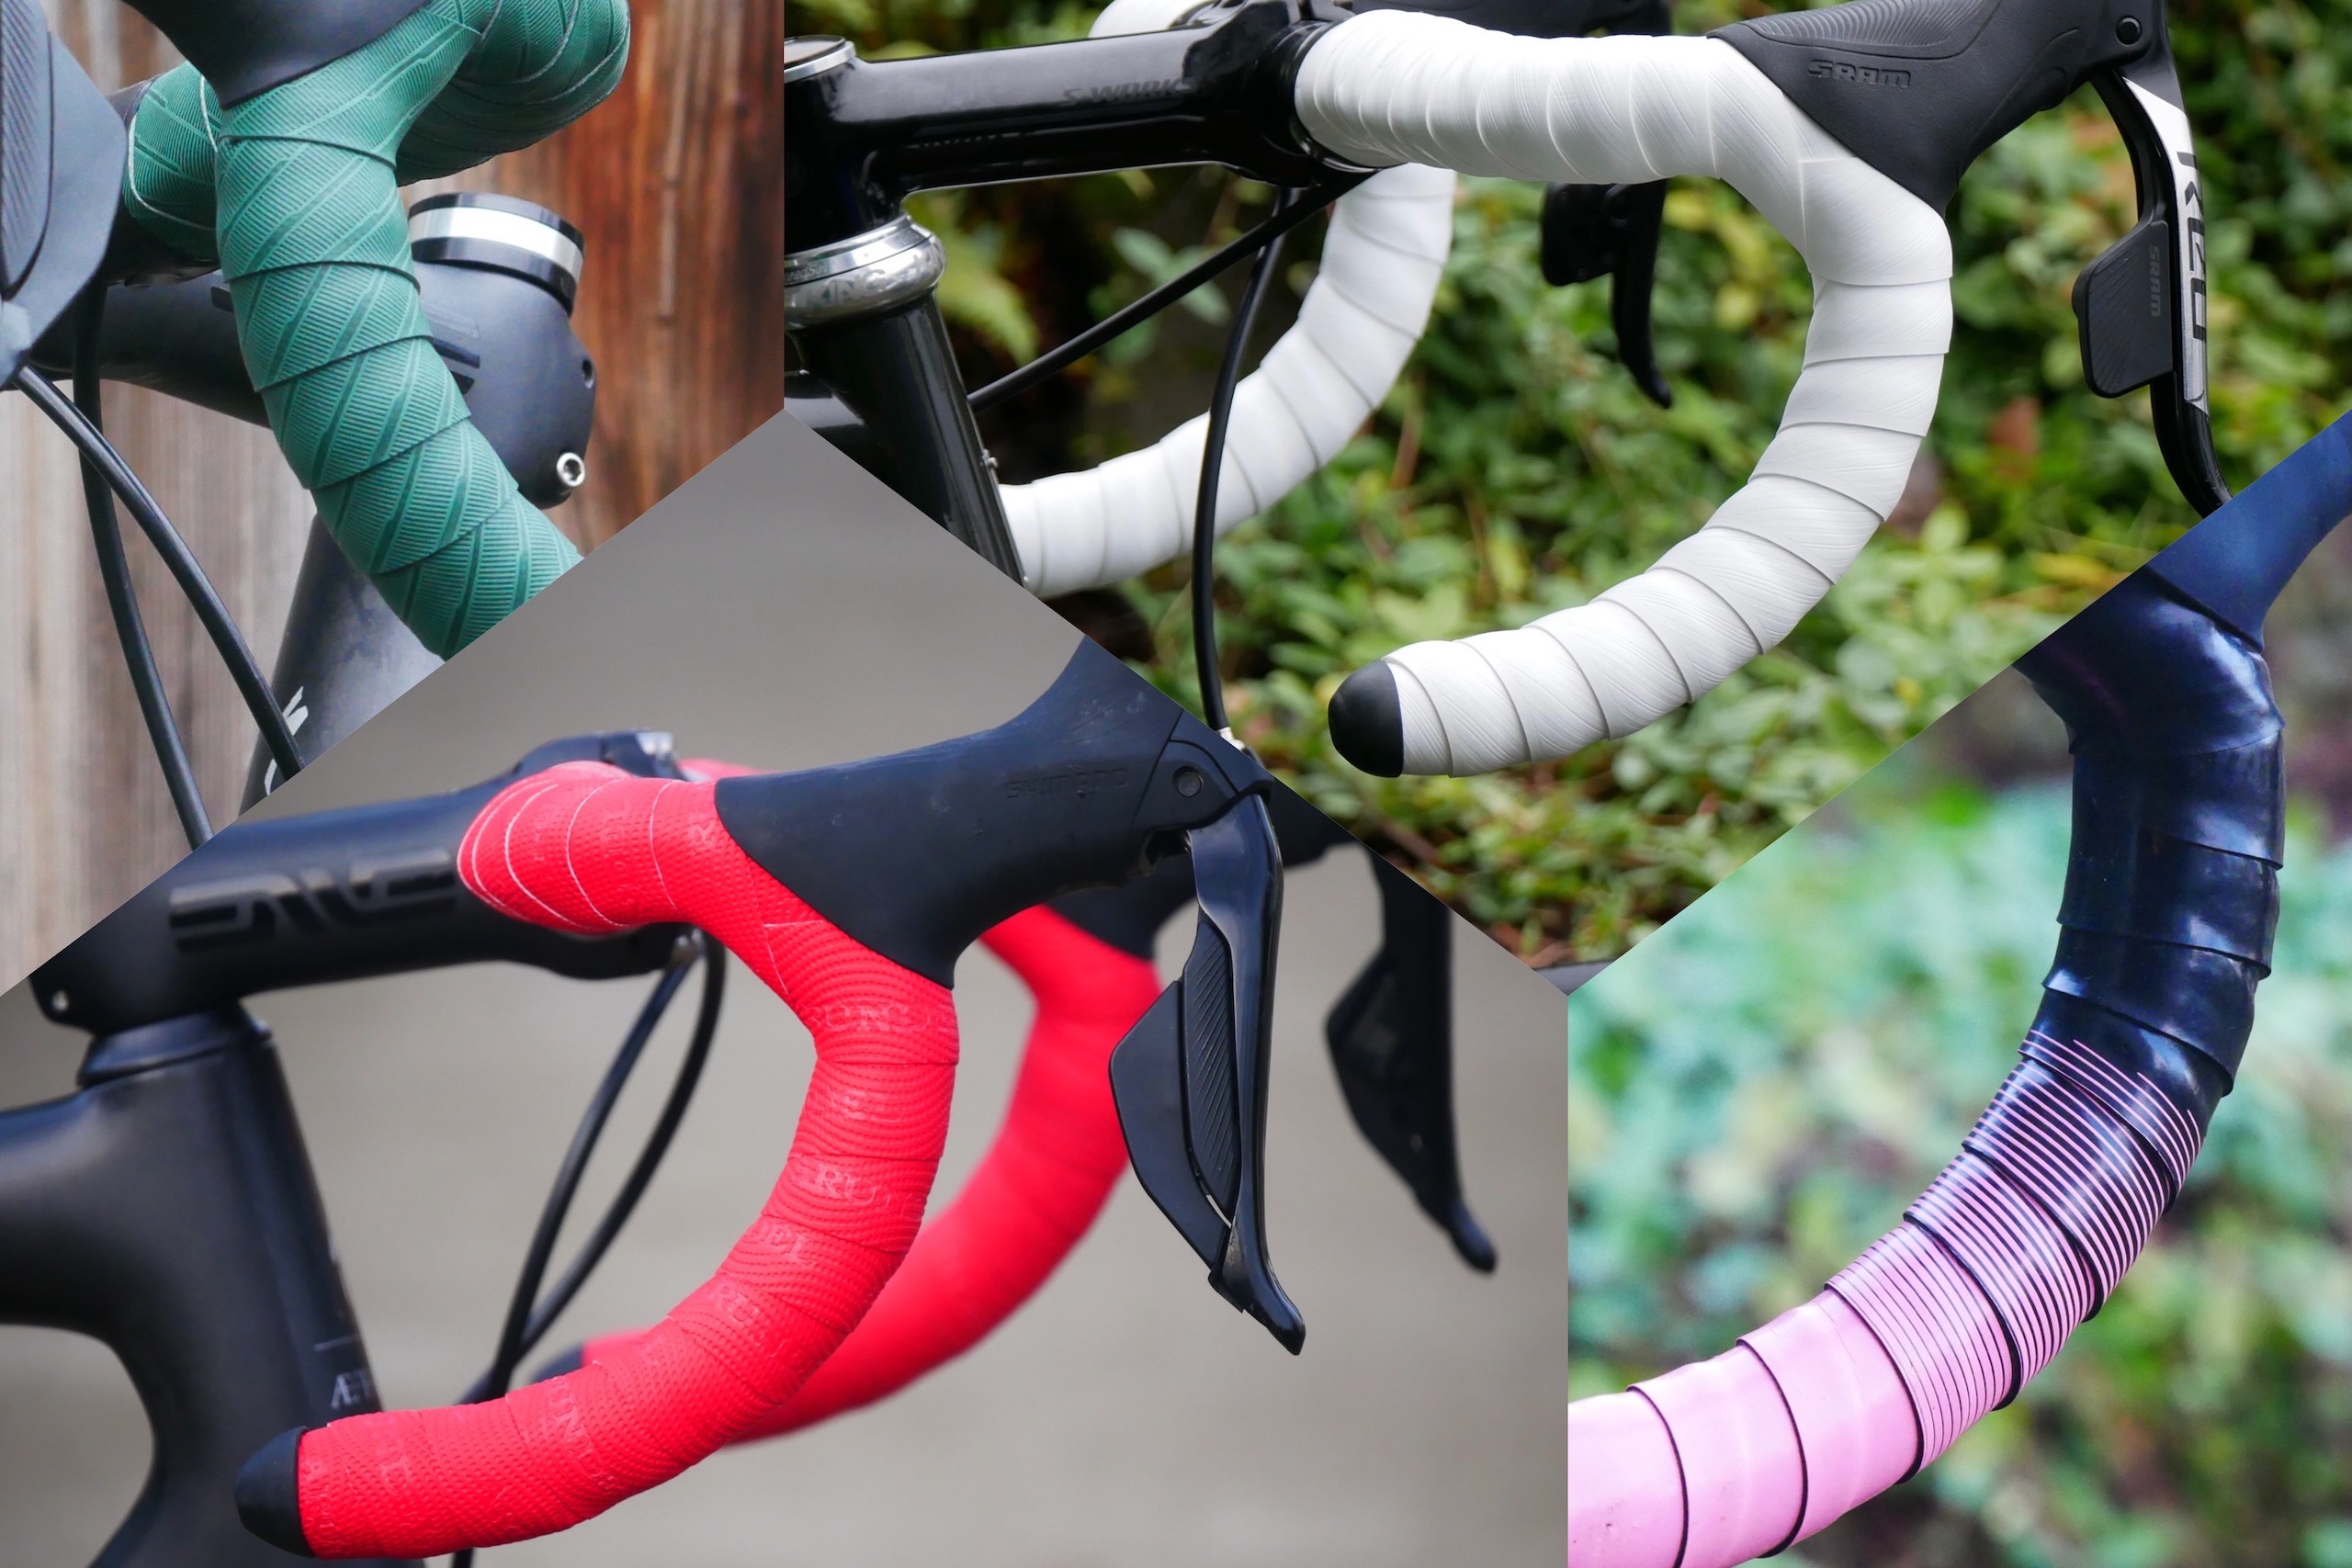
The Best Handlebar Tape of 2026
We tested 16 of the best handlebar tapes on the market to help you find the best one for this critical contact point on your bike.