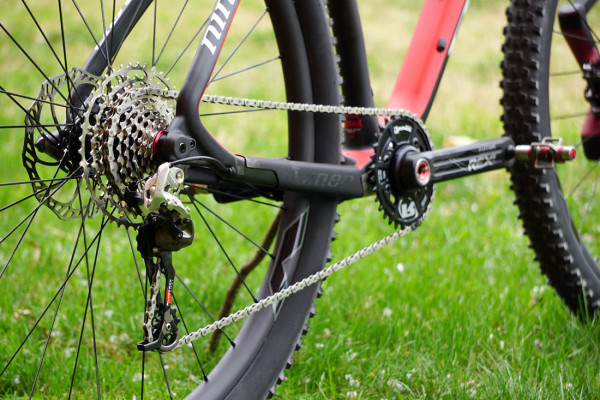
For me, the most interesting (and daunting) part of building the Project XC Race Rocket bike was configuring the drivetrain. As I’ve upgraded most of my other bikes to proper, modern 1×11 or 1×10 drivetrains using entire groups, there was a growing collection of random parts collecting in bins. Could they be combined with a few select upgrades to create a full functional wide range drivetrain? Turns out, yes. Yes they can.
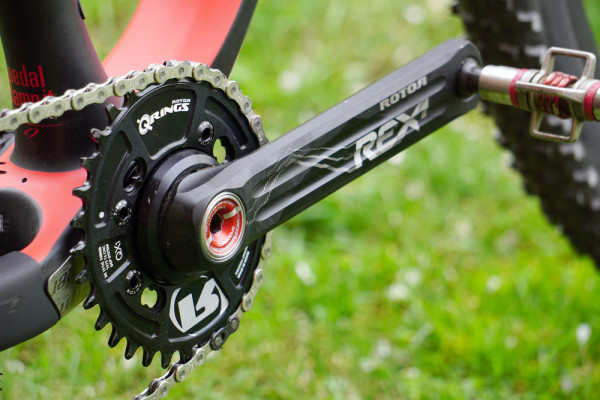
While any crankset could have been subbed in and outfitted with a narrow/wide chainring, I’d been wanting to test Rotor’s oval rings for a long time. And at the same time I’d resisted it for a long time. What if I loved them and couldn’t ever go back to round rings?
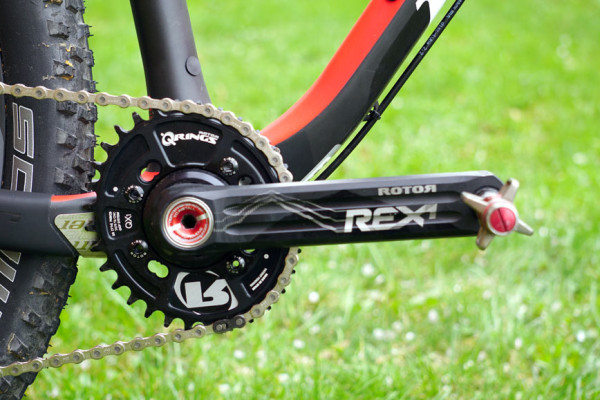
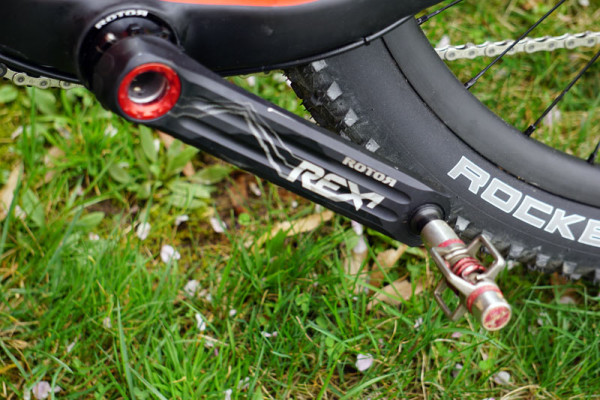
As the biggest purveyor of oval chainrings and the science behind them, Rotor was the logical choice to test oval rings on a high profile project bike. It doesn’t hurt that their drilled alloy arms are impressively light and stiff, too.
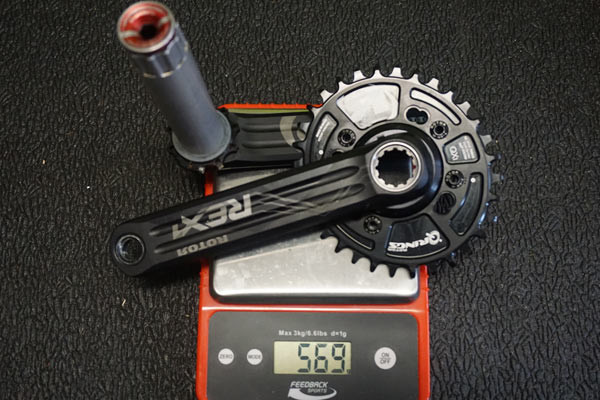
The complete crankset with a 32-tooth narrow/wide oval Qring came in at 569g.
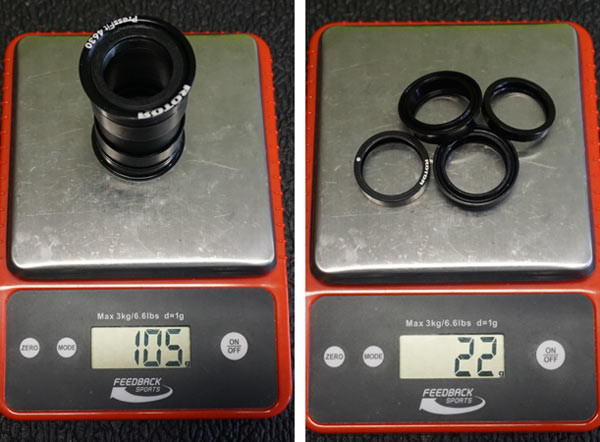
To ensure the cranks worked as they advertise, I used a Rotor pressfit BB30 bottom bracket. Spacers are included to fit 68 and 73 millimeter bottom bracket shells, so you may only need three of these (the two big ones, plus a smaller one on the driveside were required for the Niner).
Just as this build was coming together in time for the 6 Hours of Warrior Creek Race, I went to Rotor’s InPower launch, giving me my first on-dirt ride of their chainrings. I’ve since installed and ridden ovals from Absoluteblack and OneUp on my other bikes, but the Rotor ride and subsequent endurance race on them were what sold me.
While Rotor’s marketing has been around efficiency and maximizing the output of our very unround pedal stroke, others tout the enhanced traction oval chainrings offer. Both are true, but it’s the traction that’s more immediately apparent. Particularly on mountain bikes, when the going gets steep, a tiny chainring up front paired with the biggest cog your cassette offers can be a recipe for rear tire slippage. That’s only exacerbated by the uneven application of power on the pedals produced with round chainrings.
With ovals, you’re effectively pushing a bigger gear where you’re strongest, so the rhythm of the pedal stroke is evened out dramatically. The effect is that you’re keeping a more consistent rotation speed throughout the entire pedal stroke, which helps keep the tires planted on the ground.
The other aspect of oval rings that I found impressive were how they improve pedaling while standing, particularly when churning up a hill. With round rings, I find myself bobbing up and down. With ovals, my total body motion is smoother and the forward motion more steady. This not only helps maintain traction, it seemed to help preserve energy and sanity. It might be mental, but that matters tremendously during a race.
So, I’m 100% sold on oval chainrings. Fortunately, my fear of then disliking round chainrings hasn’t proved true. The ovalization used on Rotor’s chainrings and their competitors is not so drastic as to change the pedaling feel that much. Which is odd considering how much they improve the outcome, but it’s good to know I can swap back and forth between bikes without any weirdness.
Connecting the cranks to my feet were the tried and true Crank Brothers Eggbeaters. I’ve flip flopped on and off of using these pedals over the years, but have been enjoying them for the past 12 months on most of my bikes (or Candies on the bigger bikes). They’re light and easy to use, and they work in the mud. The downsides are well known -they enjoy more frequent rebuilds than some others, and the cleats wear out faster than others- but the fans are fans for a reason.
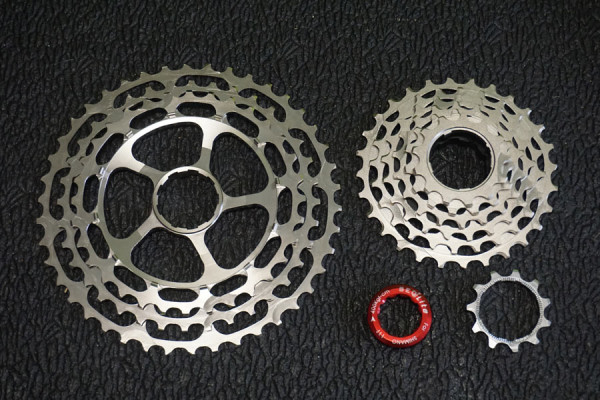
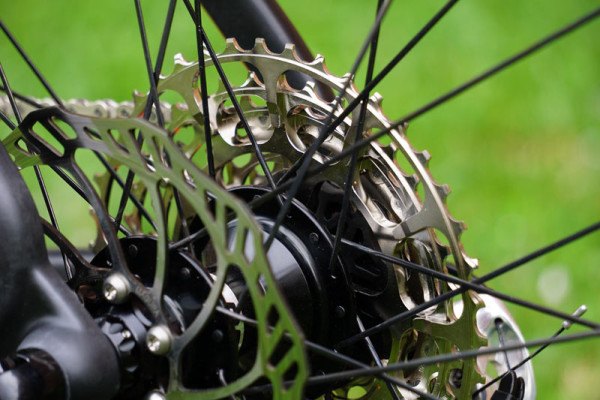
In addition to the Rotor cranks, the other new part on the bike was SEQlite’s extended range cassette. I spotted this one at the Taipei Show earlier this year among similar parts from Praxis, Sun-Race, MicroShift, and Edco. After explaining this project, they sent me home with this machined steel and alloy 11-42 cassette.
I wanted to try this rather than a hop-up kit for an existing cassette because a) we’re already testing a few of those, and b) if you’re cassette’s worn out and you just want to replace it rather than opt for an entirely new 1×11 group, these are great ways to both extend range and often times lighten your unsprung weight. The downside is, these more intricately machined options can be expensive.
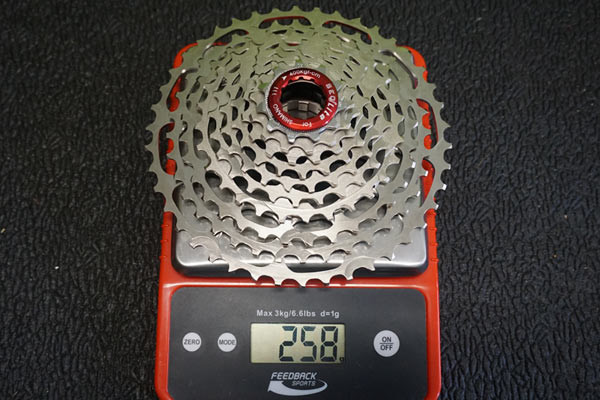
The cassette weighs in at just 258g with lock ring.
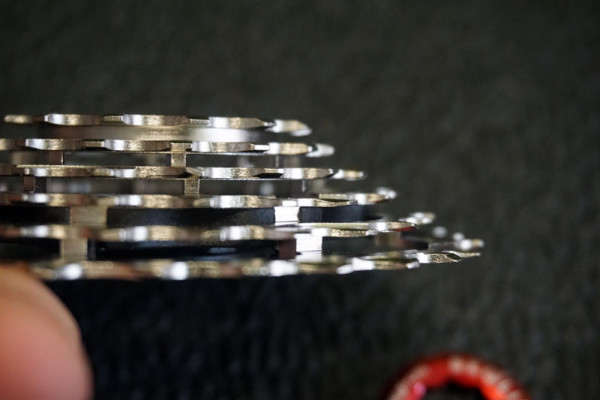
The three piece structure uses steel middle and lower pieces. The top three cogs are 7075 aluminum alloy and build in tabs to offset the middle piece without spacer rings. The benefit of this design is simplicity and a bigger footprint for the cassette to interface with the freehub body – read: less chance of scoring and getting stuck on the wheel.
The middle section uses a composite carrier to keep weight down.
Since the race in April, we’ve taken the bike to Asheville for some bigger climbs and descents, and several of us have been whipping it around our local trails. Shifting started off and has remained crisp and precise, with no lag in getting the chain off and on individual cogs.
It’s also seems to shed crud well, not letting it build up inside the cassette and bog things down. This cassette was the one part I was most concerned about, particularly since the bike was literally finished and photo’d the afternoon before the six hour solo race, but it’s proven itself all summer long as a worthy addition.
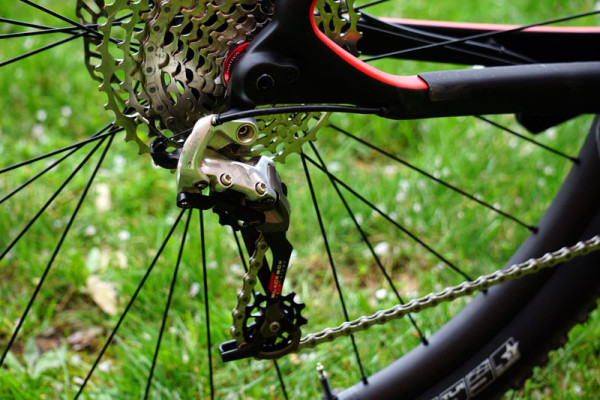
Digging into the parts bin produced a five-year-old SRAM XX rear derailleur that had been very well used. This part was ridden for a long time, raced through the ’10 Breck Epic and saw lots of miles. It has no clutch mechanism, doesn’t know what a 1x drivetrain is and couldn’t care less about wide range cassettes. Yet it works flawlessly. Six months of riding like this and no dropped chains!
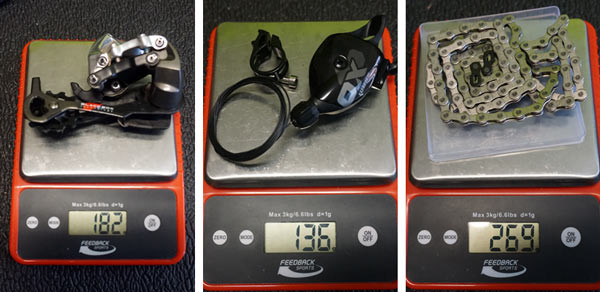
Besides being essentially free at this point, it’s also light… just 182g compared to 241g for an XX1 rear mech. I wouldn’t do this for an all-mountain or enduro bike, but for an XC race bike my gamble paid off. Even on some fast, rooty descents through Pisgah with plenty of hops, jumps and drops, the whole combo has kept things where they’re supposed to be.
I paired the derailleur with a used X0 10-speed shifter, including the used cable, and a new PC1051 SRAM chain. The new chain was important because the chainrings and cassette were both new, so best to start things off fresh all around.
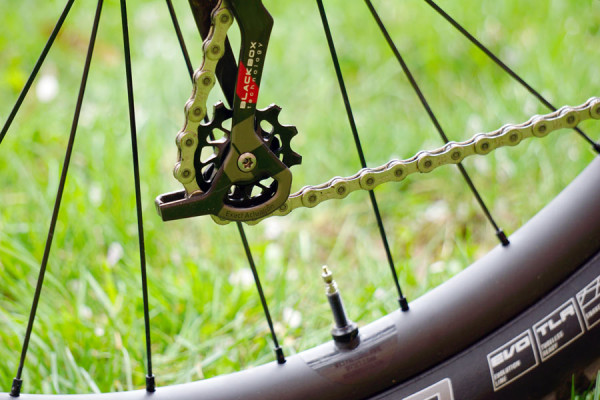
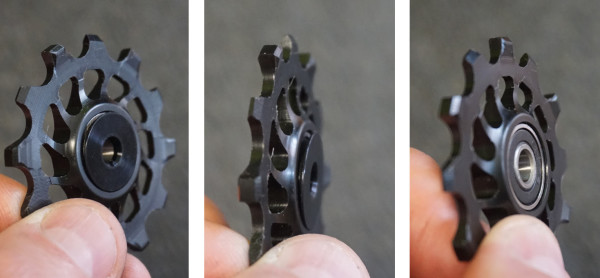
As a bit of extra insurance, I used a single Absoluteblack 12-tooth pulley wheel on the bottom of the derailleur. Designed as a replacement for 11-speed rear derailleurs, it fits just fine on the XX derailleur. The wheel uses narrow wide tooth profiles, too, which may have contributed to the 100% chain retention experienced.
Small caps cover the sealed bearings.
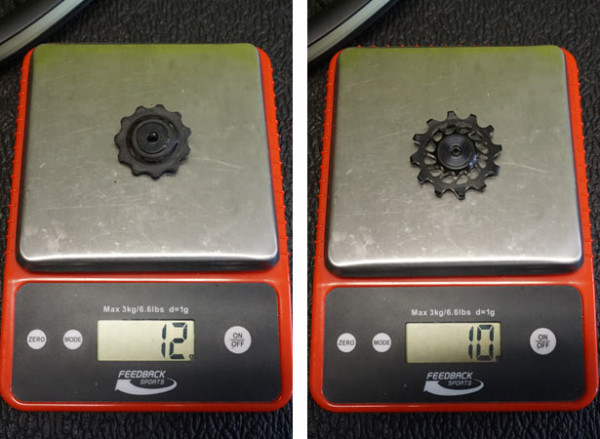
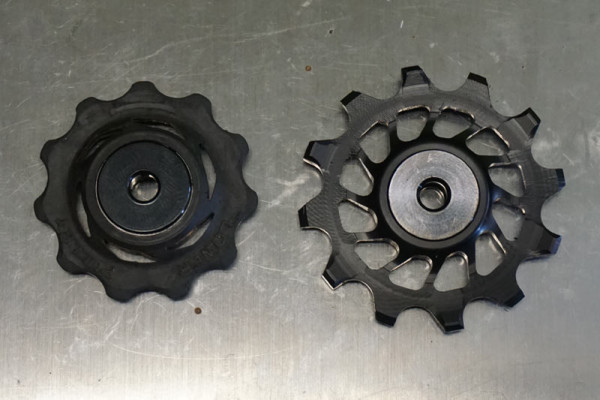
The stock 11-tooth SRAM pulley is 2g heavier than the machined alloy 12-tooth Absoluteblack wheel.
One extra tooth makes for a considerably larger wheel. Normally, these are sold in pairs, but they happened to throw a single wheel into a prior package of their chainrings and other parts we’ve tested, so that’s why I only used one.
Besides mixing and matching new and old parts, a big concern with this project was whether everything would work well together. There’s a reason systems (read: full groups) work so well, they’re designed from the ground up to do so. I’ve mixed and matched parts before where things just didn’t feel right or work with as much precision as I’d have liked. Fortunately, everything is playing very nicely together. It runs quiet, shifts smooth and rides fast. We’ll continue riding the bike through the fall and report back with a project wrap up near the end of the year.
Check out the rest of the 18.39lb build in these posts:
