
Variations on handlebars are coming fast and furious — with designs that, at first, can boggle the mind. Initially, the design choices seem over-the-top, but after some time on suitable terrain, they turn out to be quite practical and comfortable.
Redshifts Kitchen Sink Handlebar struck me as one of those situations, with tons of hand positions and super flared with ultra-wide options. On paper and in photos, this bar looks like too much to handle. But in real life, it’s a comfortable, confidence-inspiring, must-have experience for the gravel explorer.
Redshift isn’t new to the “that seems over-the-top” game. The company’s ShockStop stem and ShockStop seat post were briefly received with a roll of the eyes. But those who took this gear to the unpaved soon found out what a difference the micro travel made. We reviewed both the Shockstop stem and seat post and found that the products deliver as advertised.
What is it?
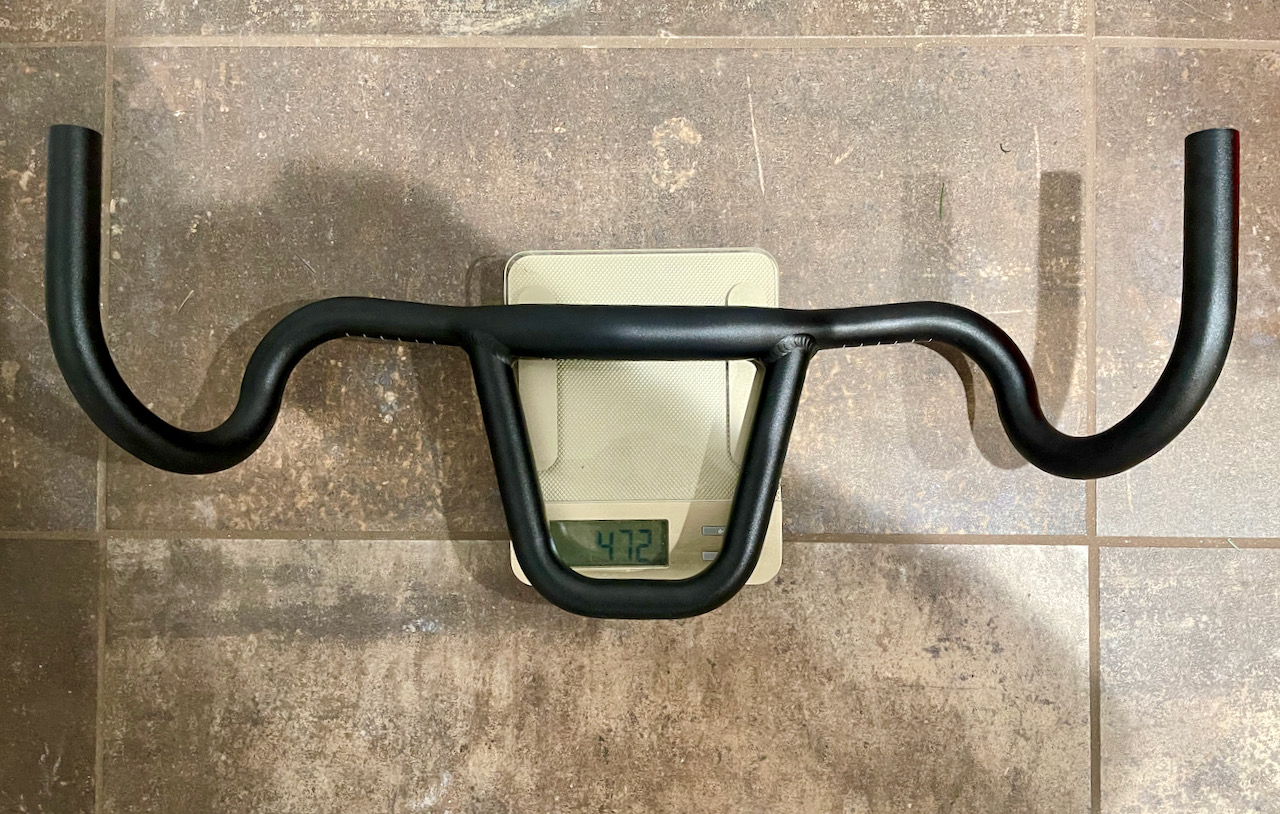
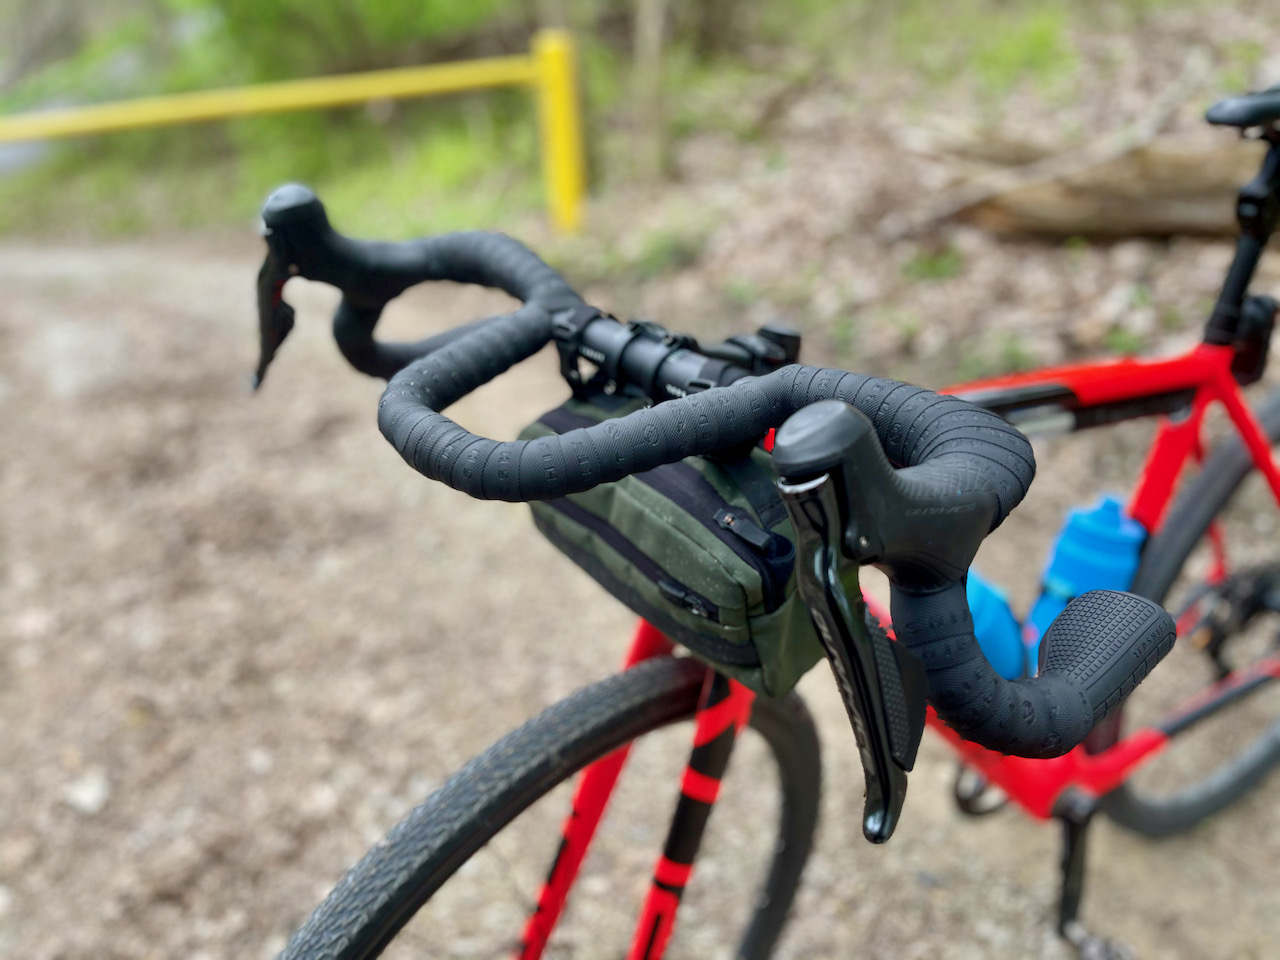
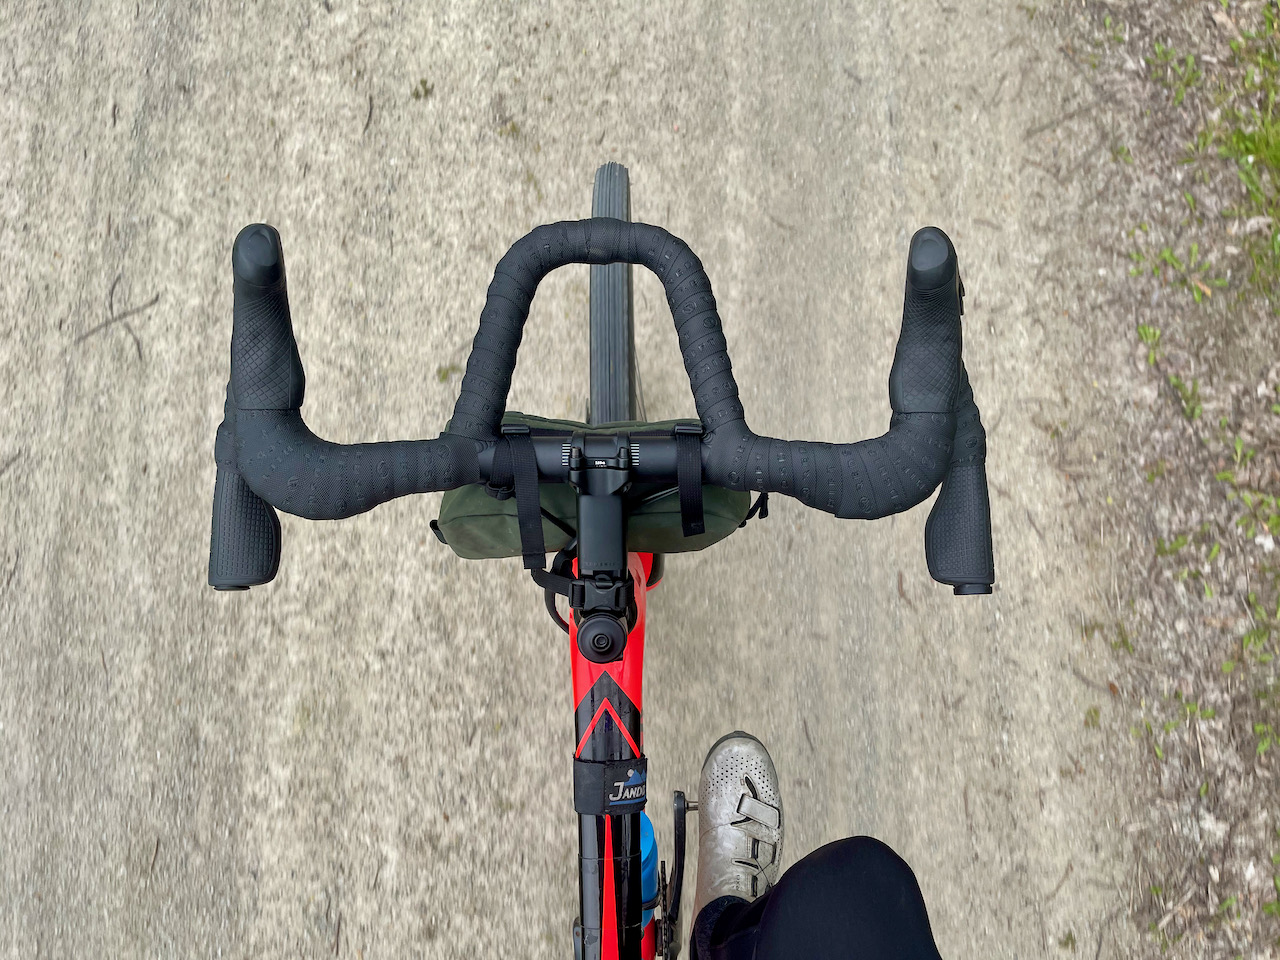
The Kitchen Sink Handlebar first showed up on our radar early last year when the company teased a prototype and claimed it was “the ultimate gravel bar.” The bar is a very liberal take on what gravel riders want. This wide steering bar is a totally new animal available in 440, 470, and 500mm widths. The Kitchen Sink bars also have a 25° flare with 7° of back sweep, a 65-70mm reach, and a 20mm rise. Pair that with the integrated “aero-loop” option, and you have tons of possible hand positions.
Redshift Kitchen Sink Handlebar Specs
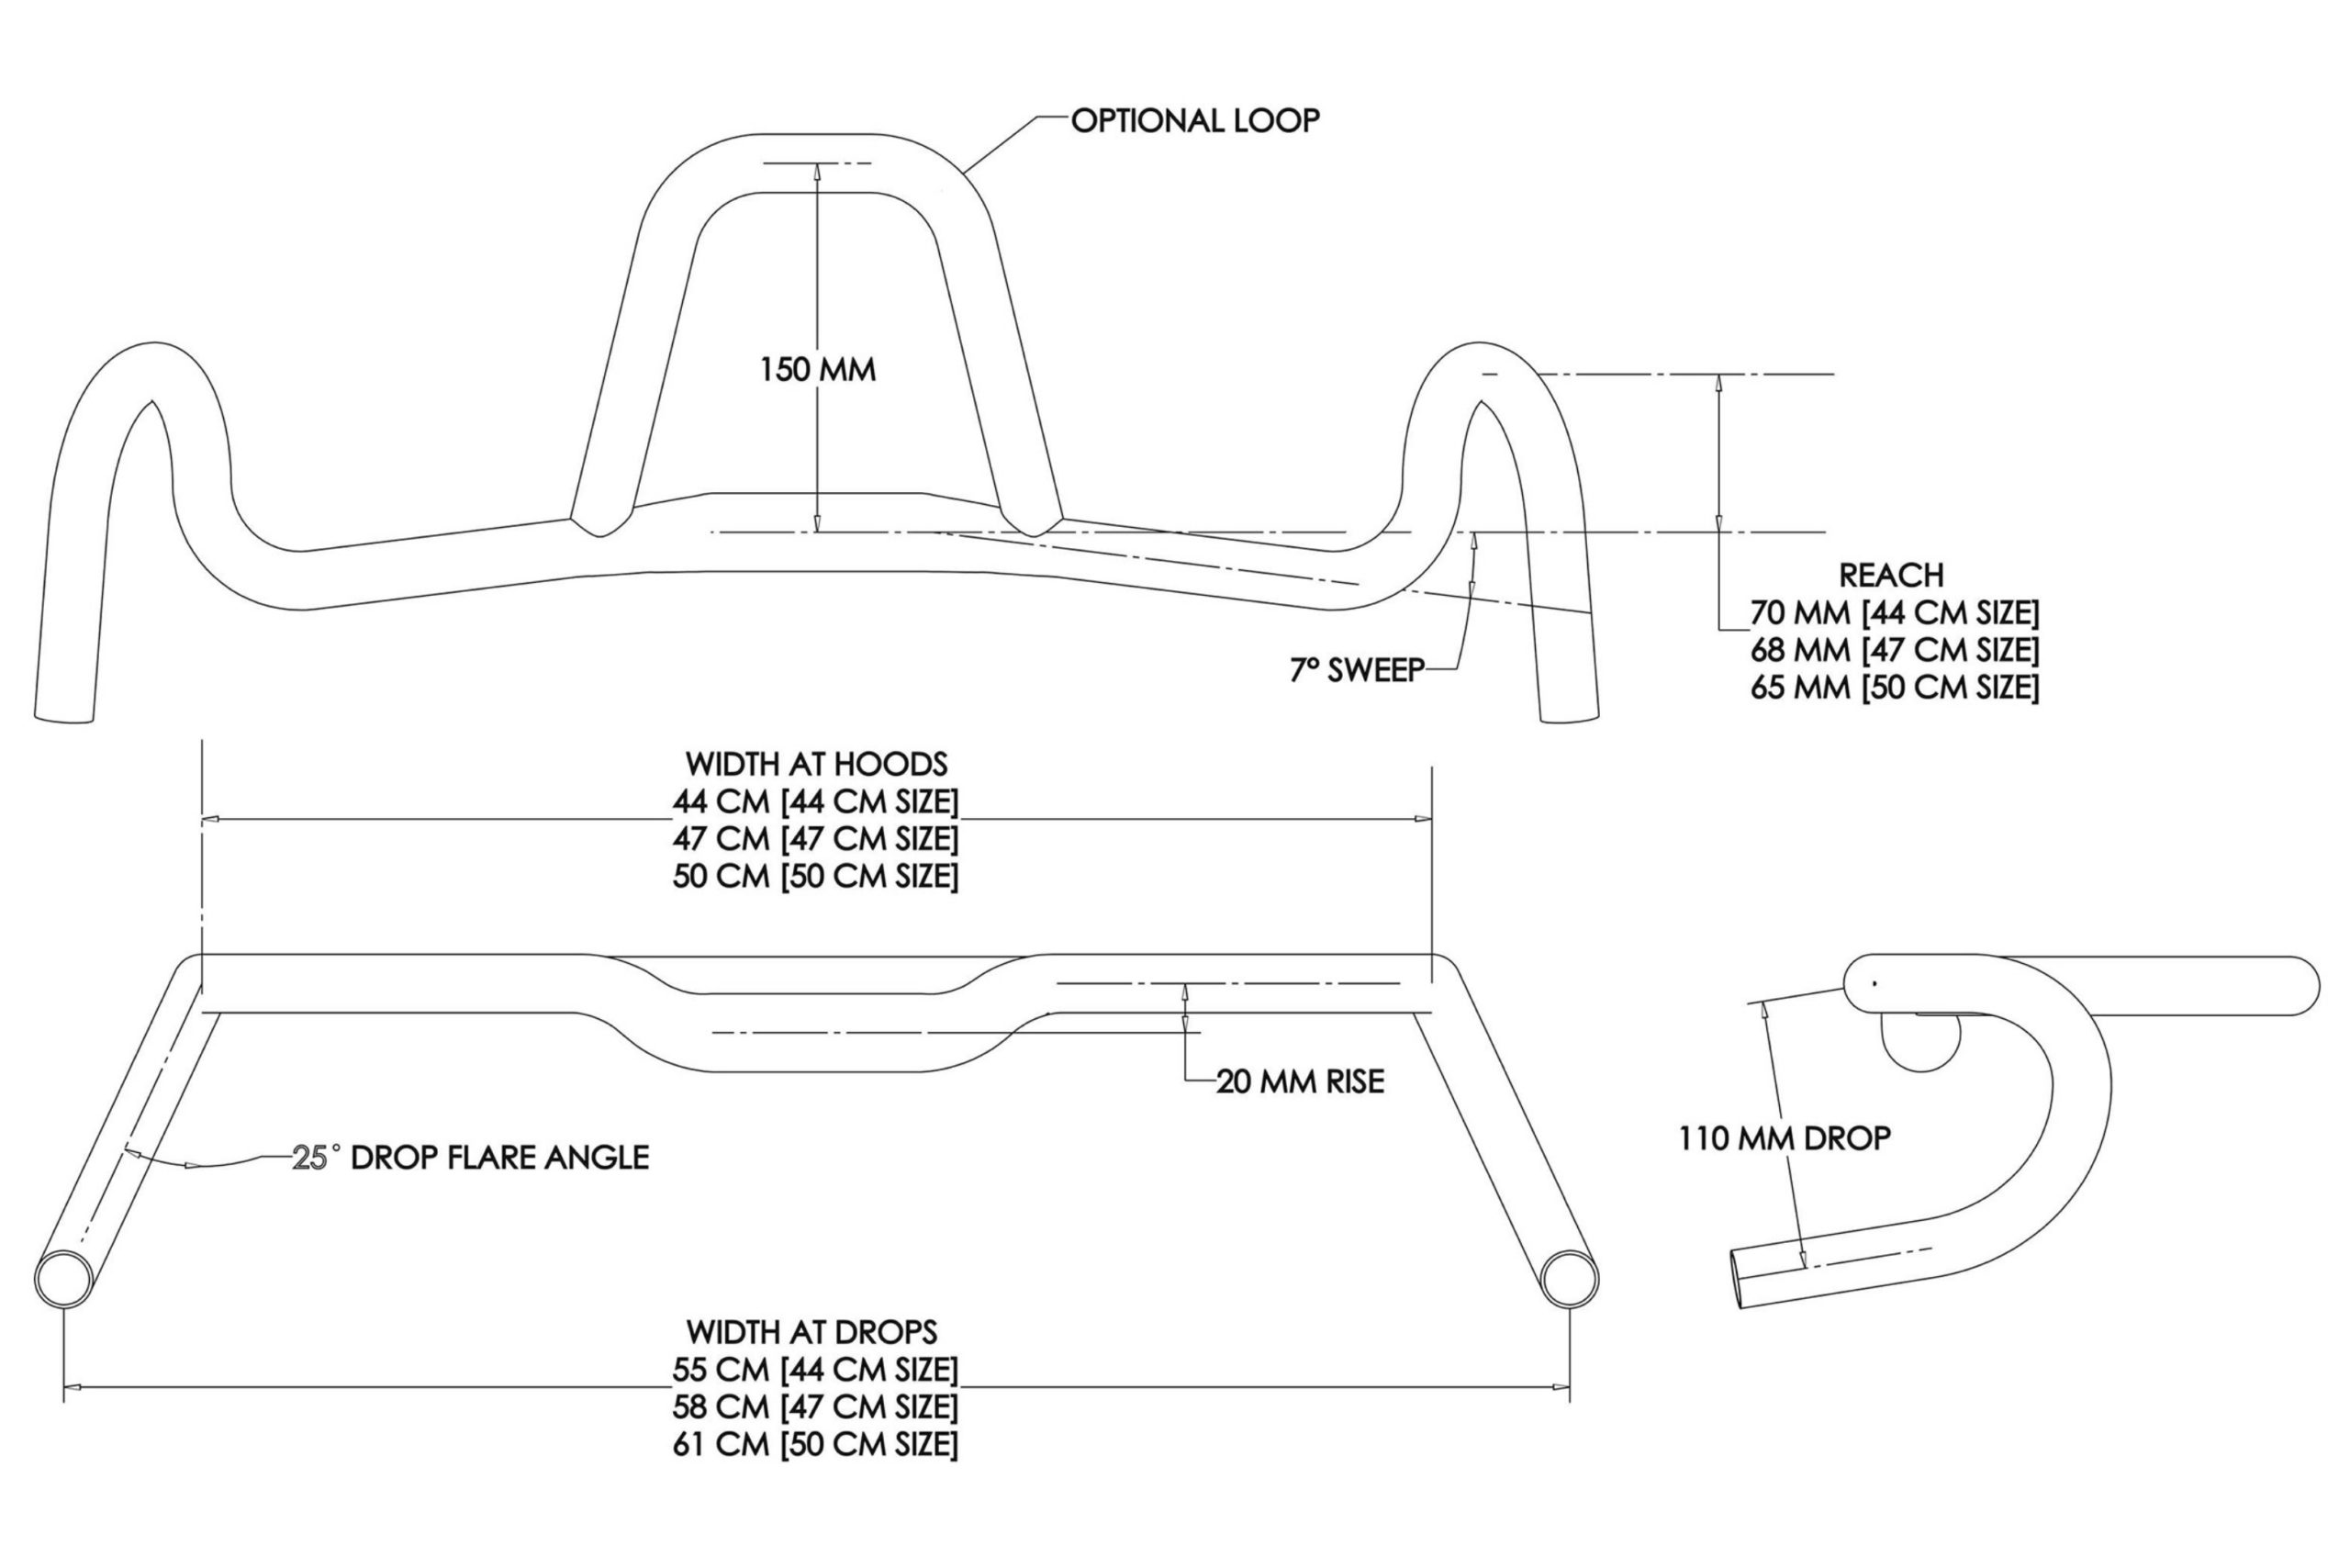
- Width at hoods: 440mm, 470mm, 500mm
- Total width: 550mm, 580mm, 610mm
- Rise: 20mm
- Flare: 25°
- Sweep: 7°
- Drop: 110mm
- Reach: 70mm (44), 67mm (47), 65mm (50)
- Weight (base version): 362g (44), 373g (47), 383g (50)
- Weight (aero-loop version): 472g (44), 486g (47), 497g (50)
- Material: 6061 T6 Aluminum
- Price: $99 – $119 USD
Are those grips?
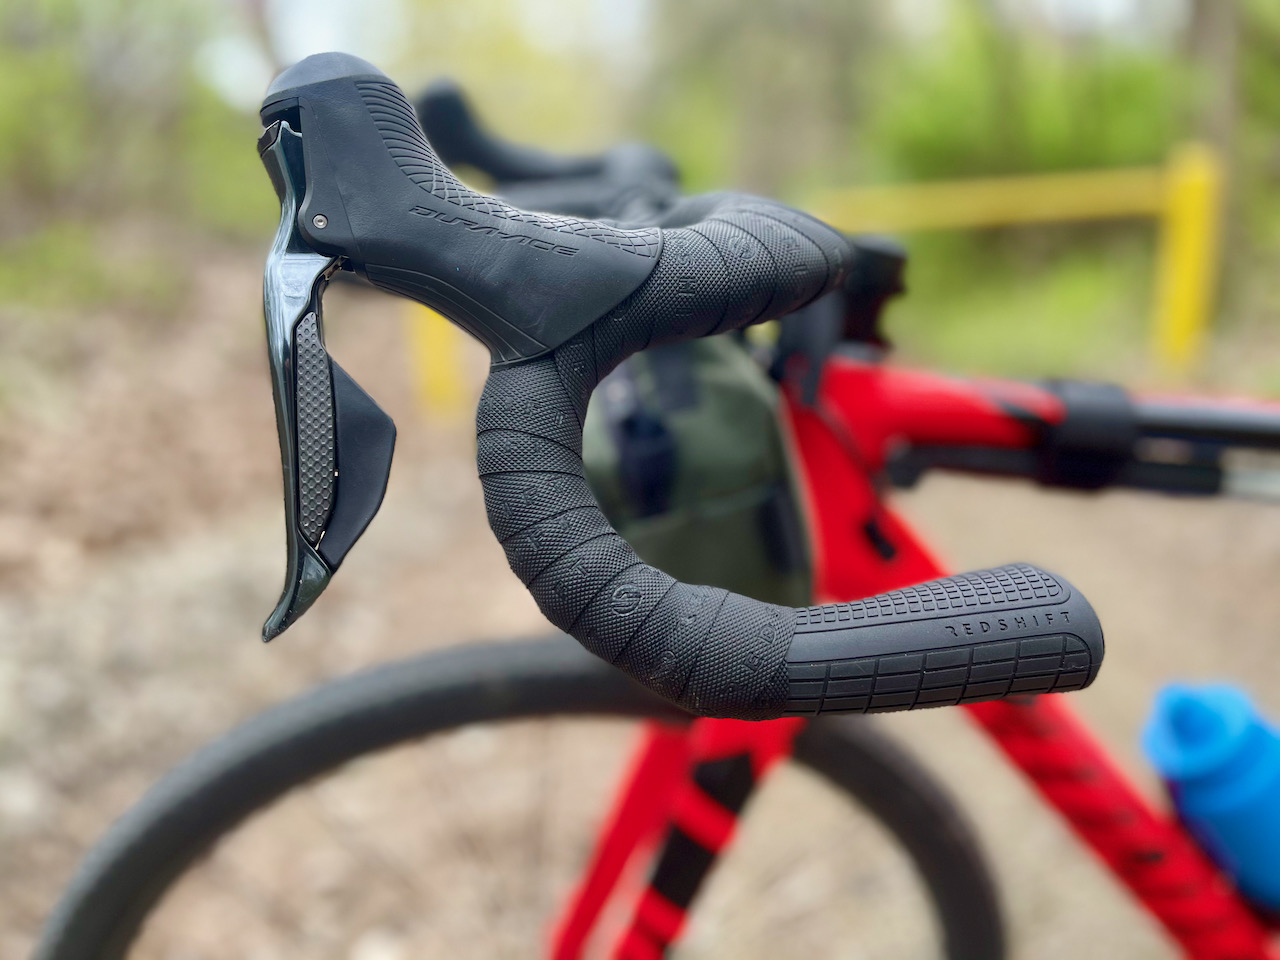
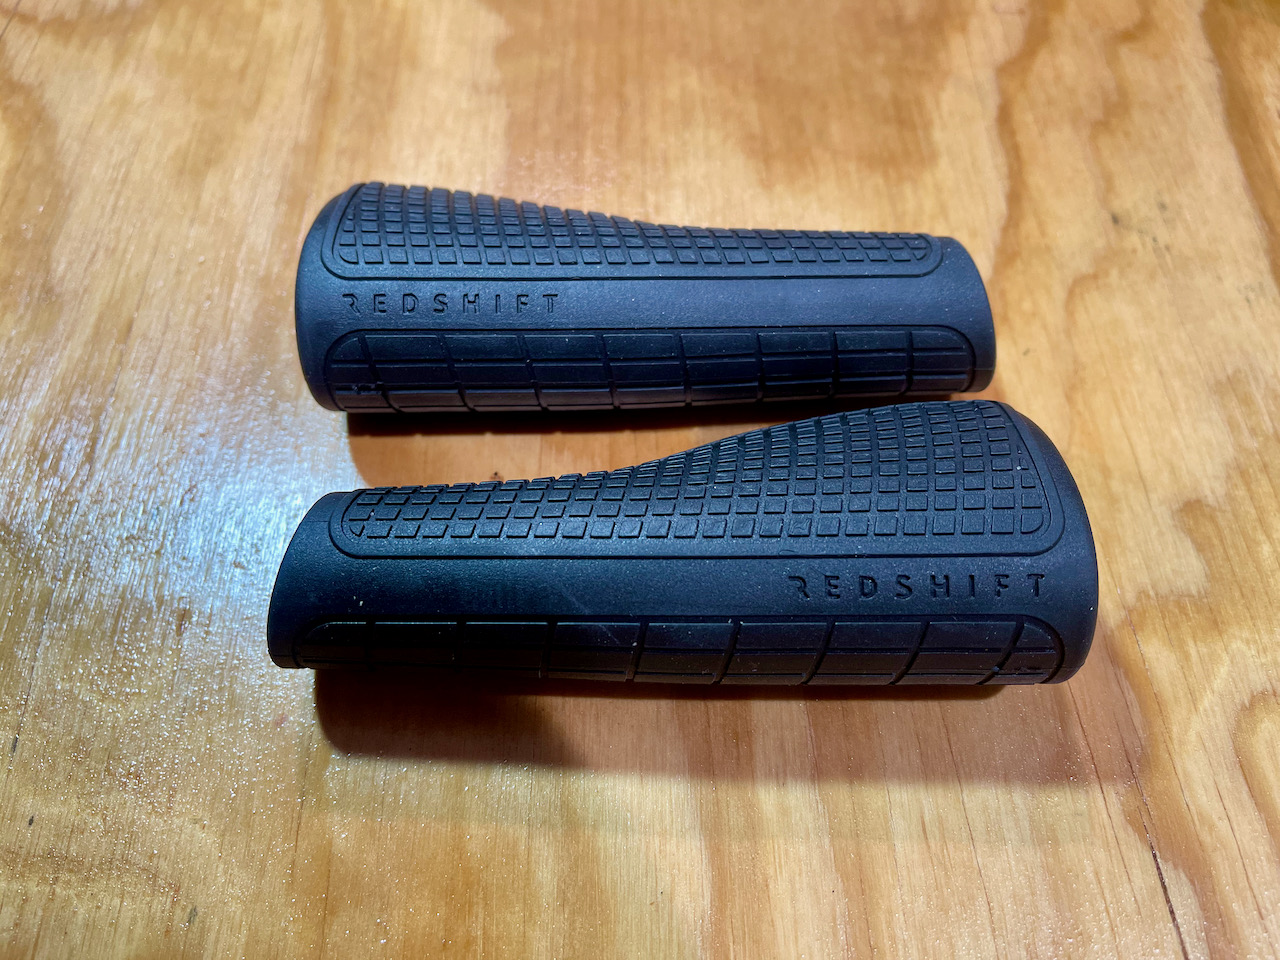
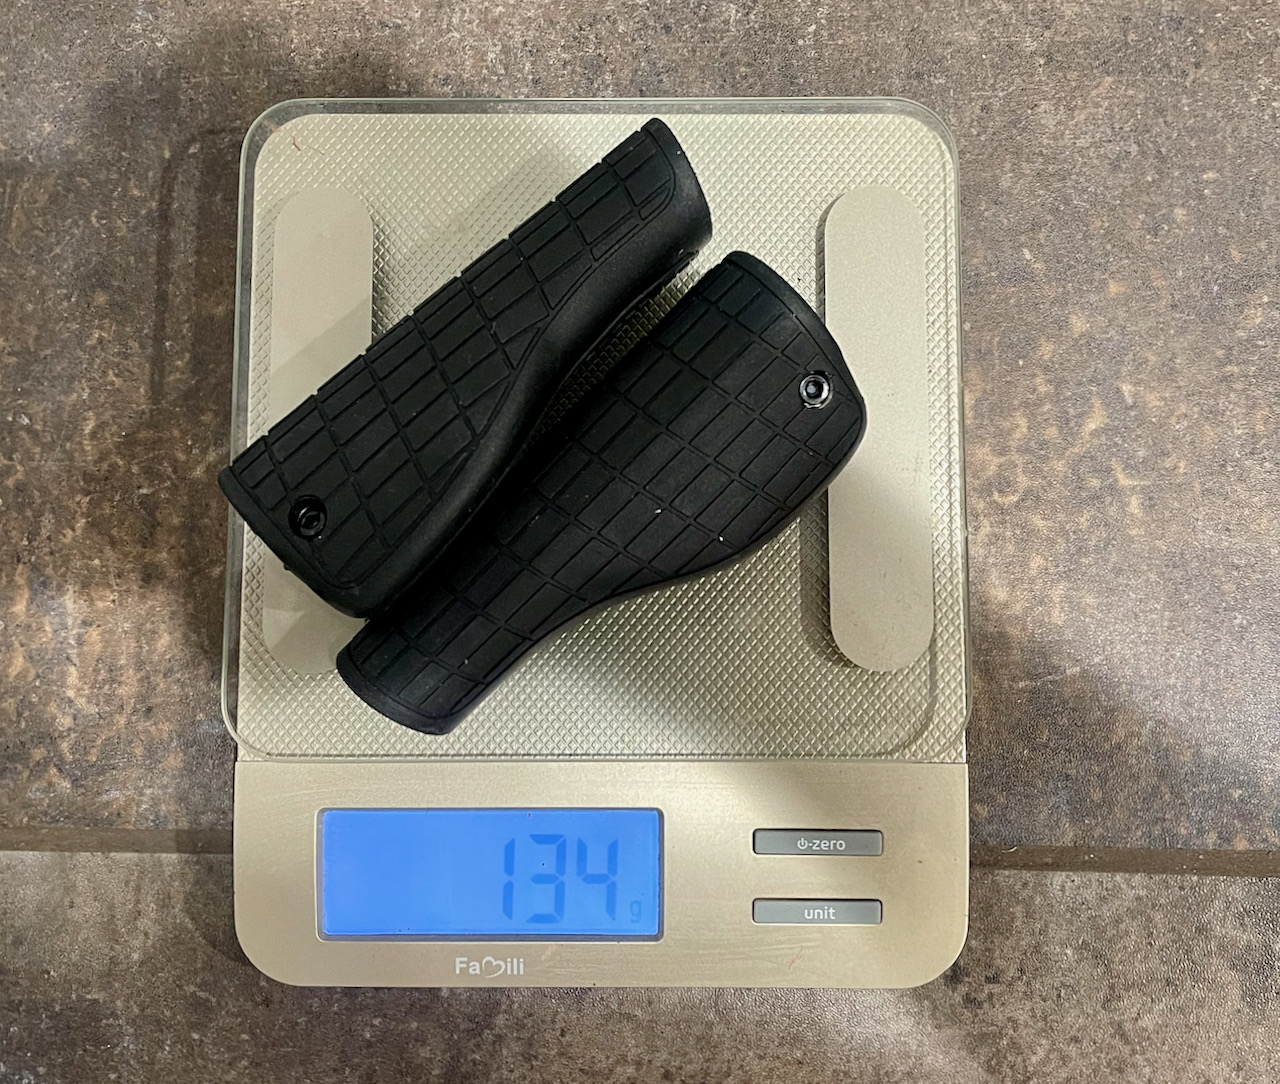
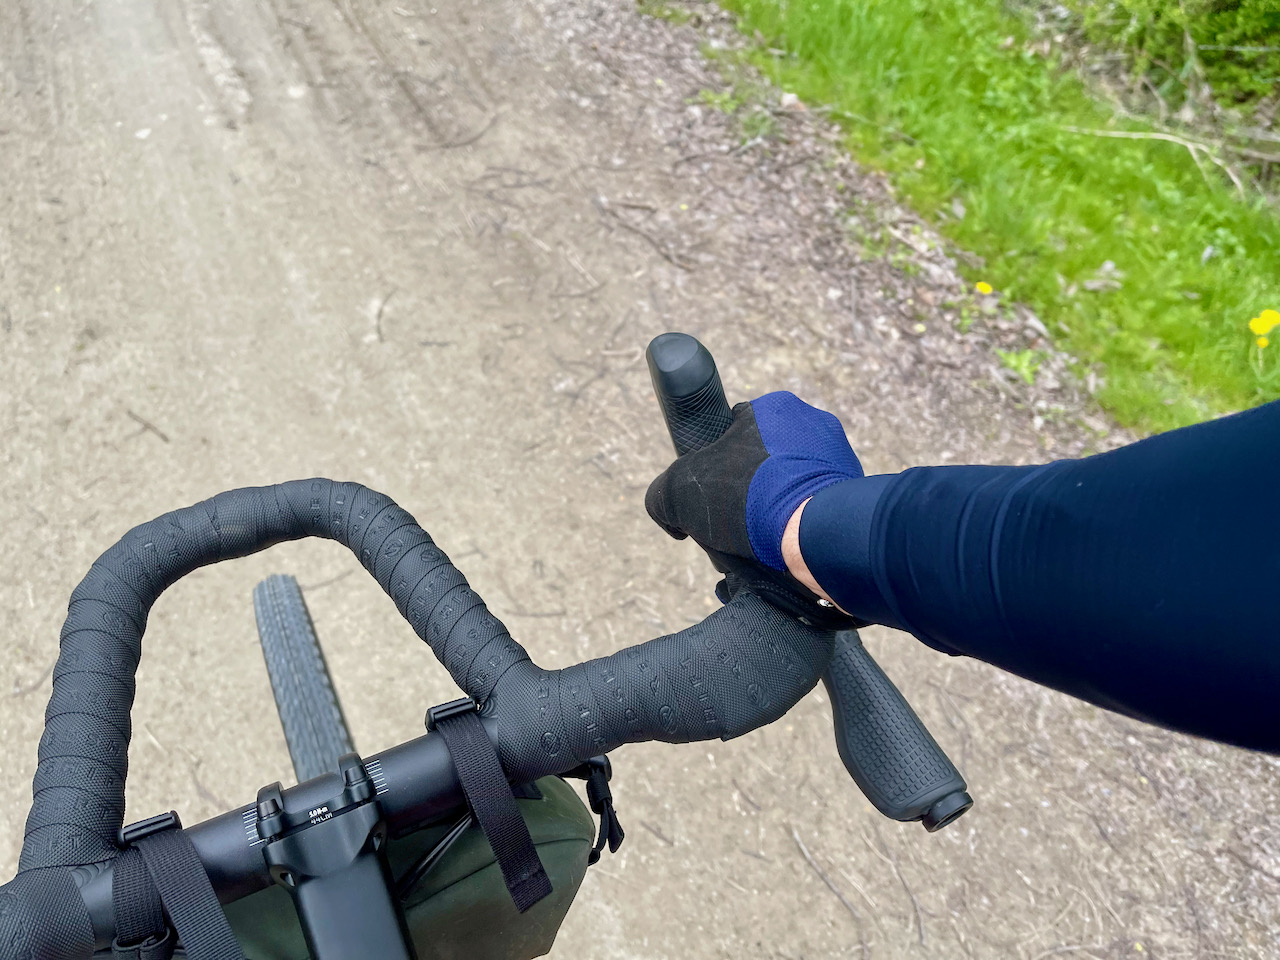
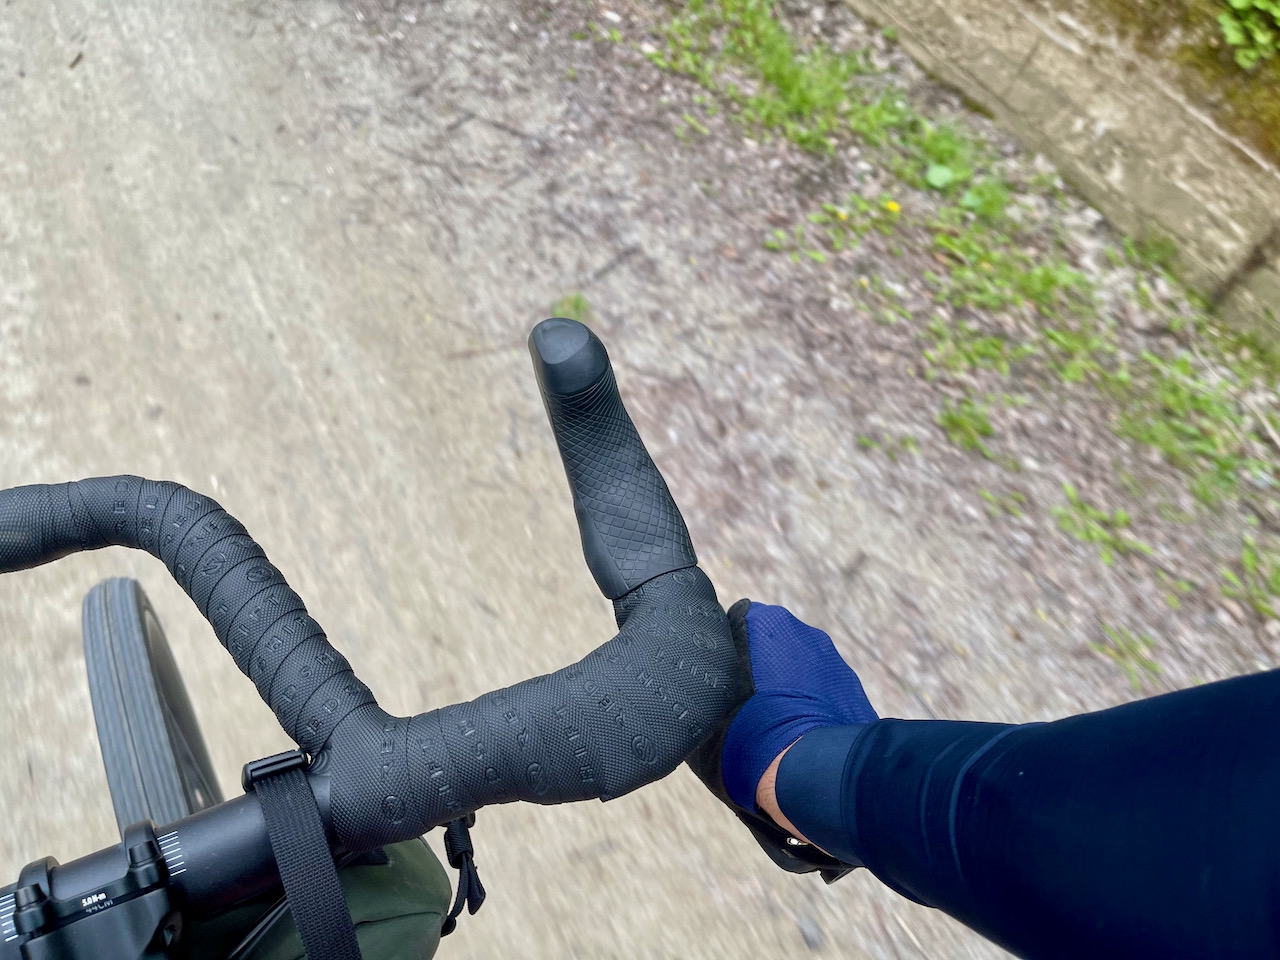
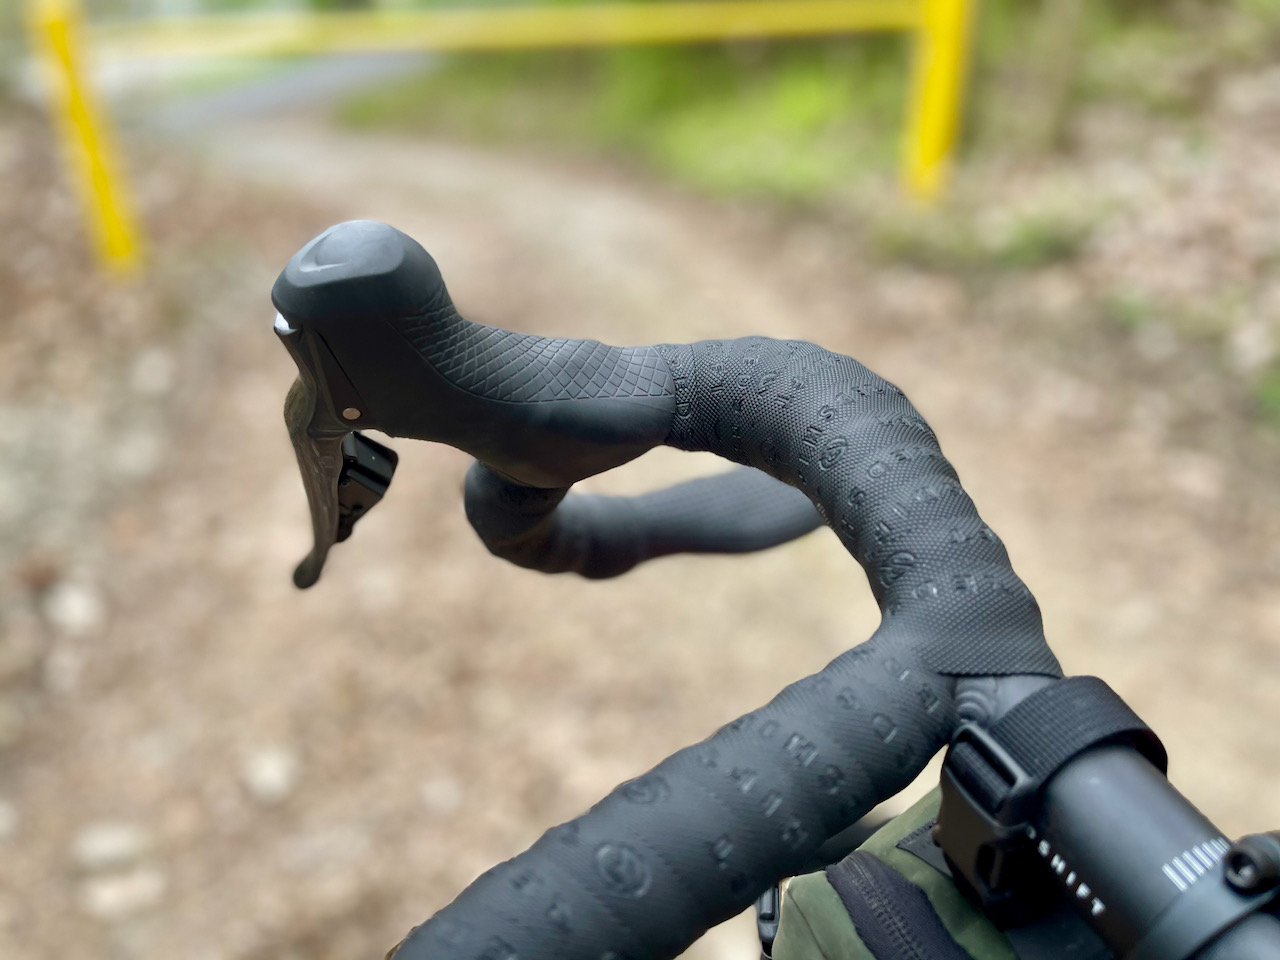
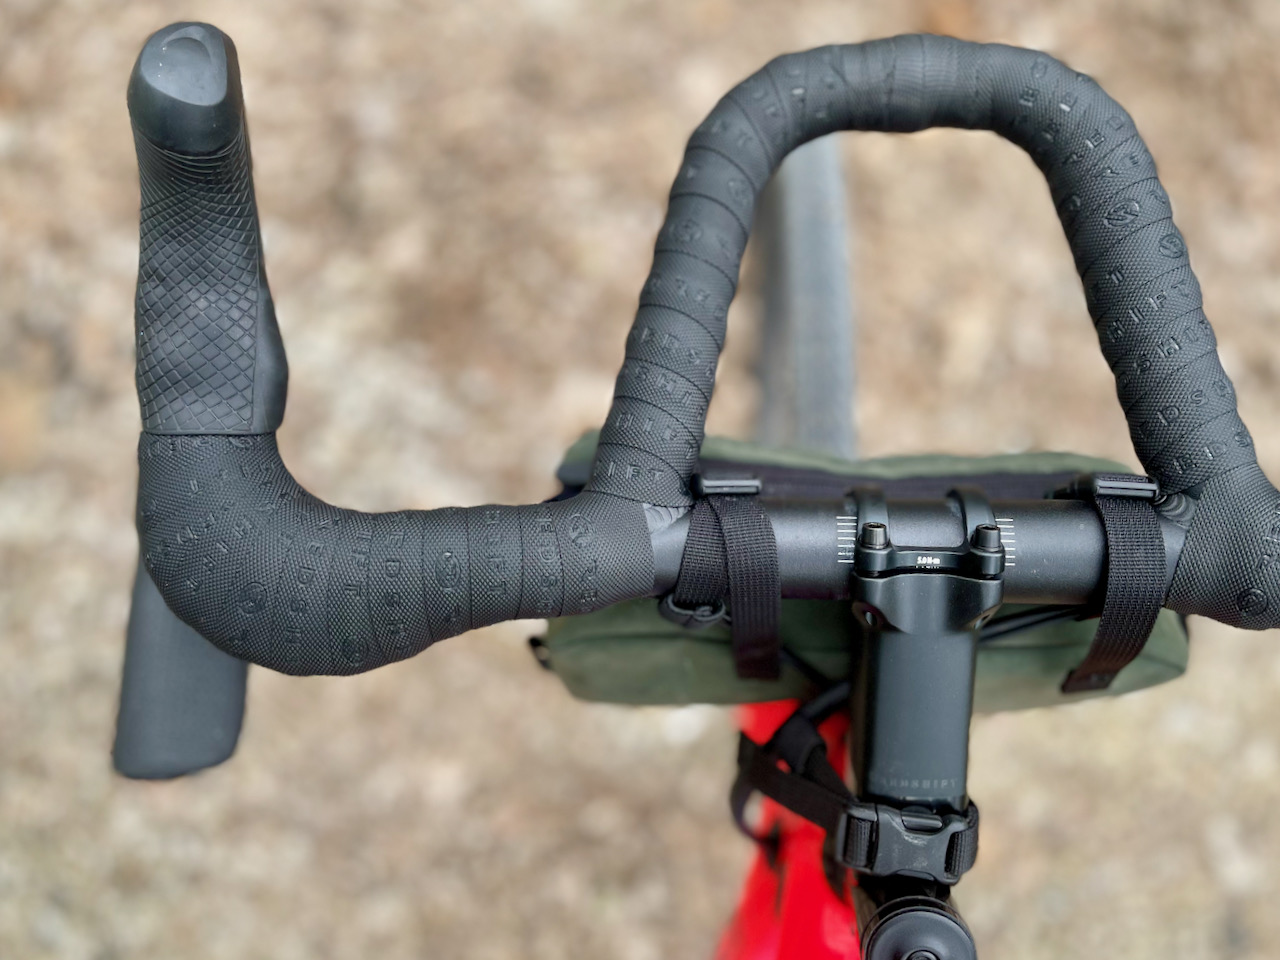
Yes, yes they are. To add more compliance and the ability to truly sculpt your own bar adventure, the Redshift team developed its new Cruise Control Drop Bar Grip System. This winged style grip enhancement for the Kitchen Sink Bar allows riders to add an ergonomic-style grip to both the bar ends and the tops.
The entire package includes the Cruise Control Grips System (top and drops grips) and Really Long Bartape (aptly named).

The Top Grips cover the tops of the bars to the shifter body and offer a little suspension to riding on the tops. The Drop Grips are very similar to a popular ergonomic grip and attach to the drops just like a conventional grip.
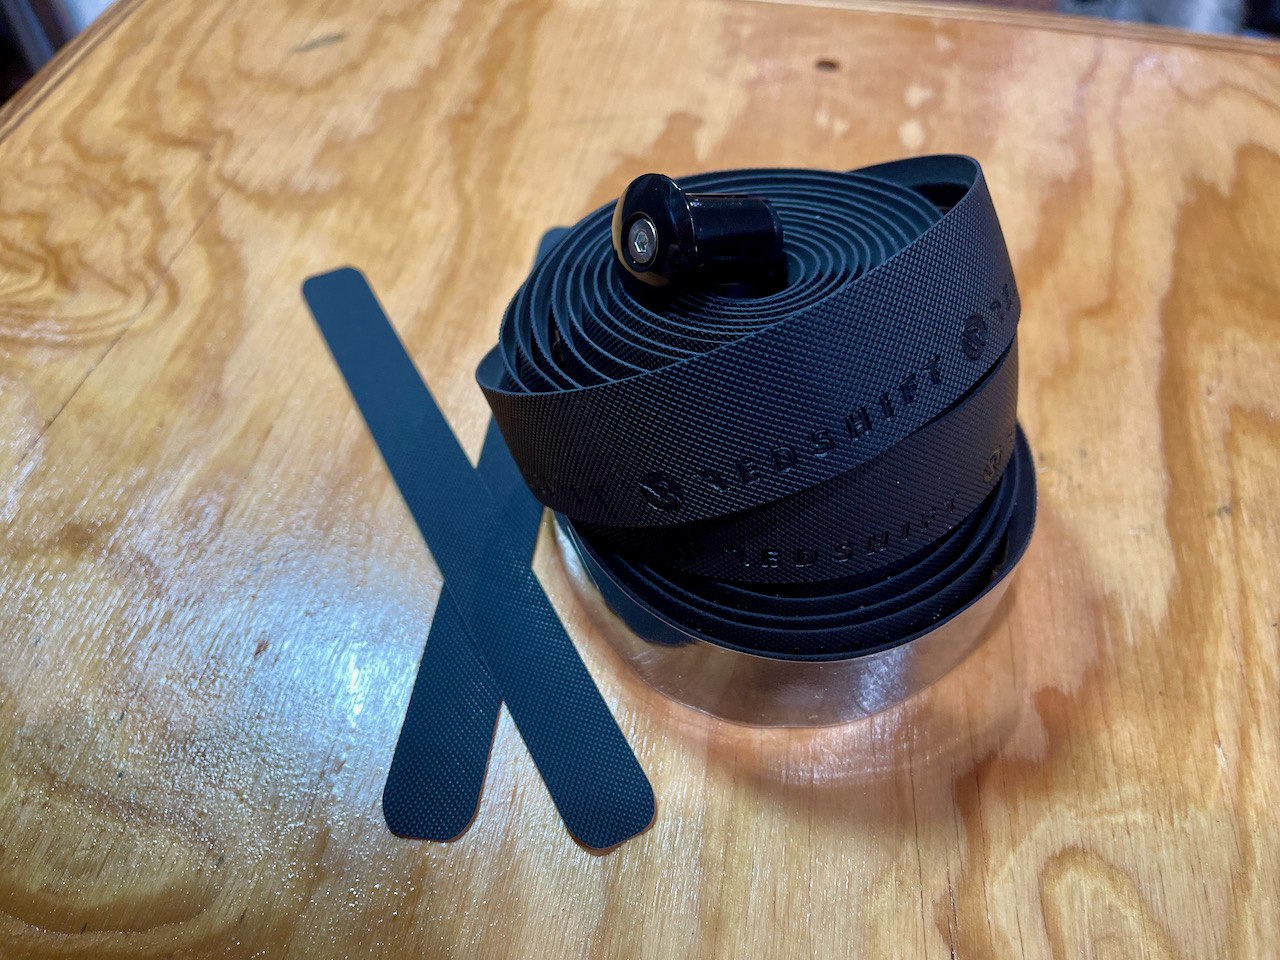
The Really Long Bartape is a tacky, cushioned bar tape in a super long 315cm length that allows the user to wrap all the Cruise Control goodness into a visually appealing package. It may look a bit off — but hear me out.
Redshift Kitchen Sink Handlebar installation
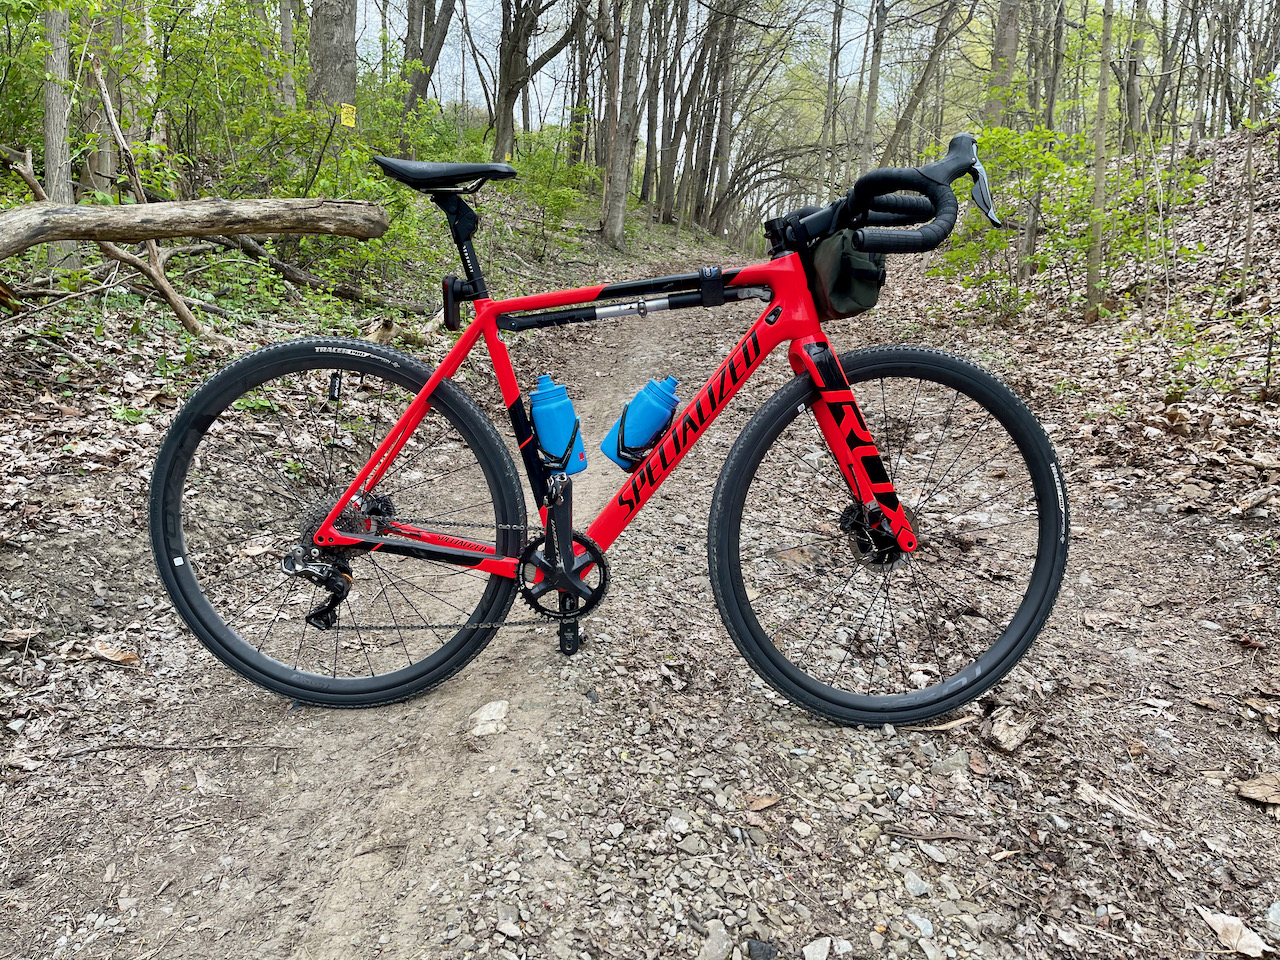
Installing the Kitchen Sink Bar is reasonably straightforward, but some considerations must be made for wired electronic shifting and computer mounts after the fact. I installed the Kitchen Sink Bar on a bike with Shimano Di2 and had to drill out a minor fitting at the end of the bar. Nothing too intense, but considering the popularity of GRX and Shimano Di2 shifting, this should have come pre-drilled.
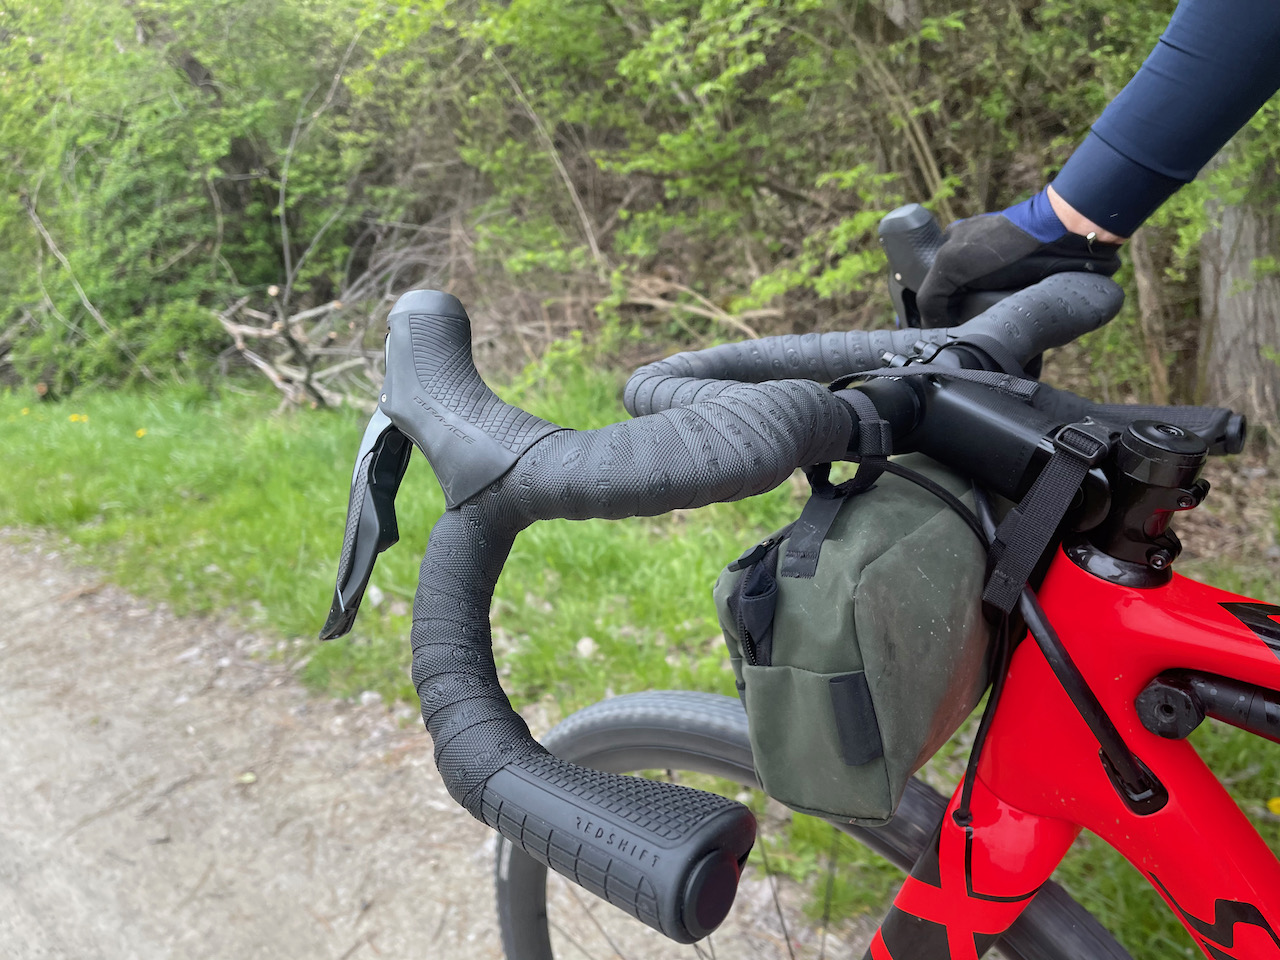
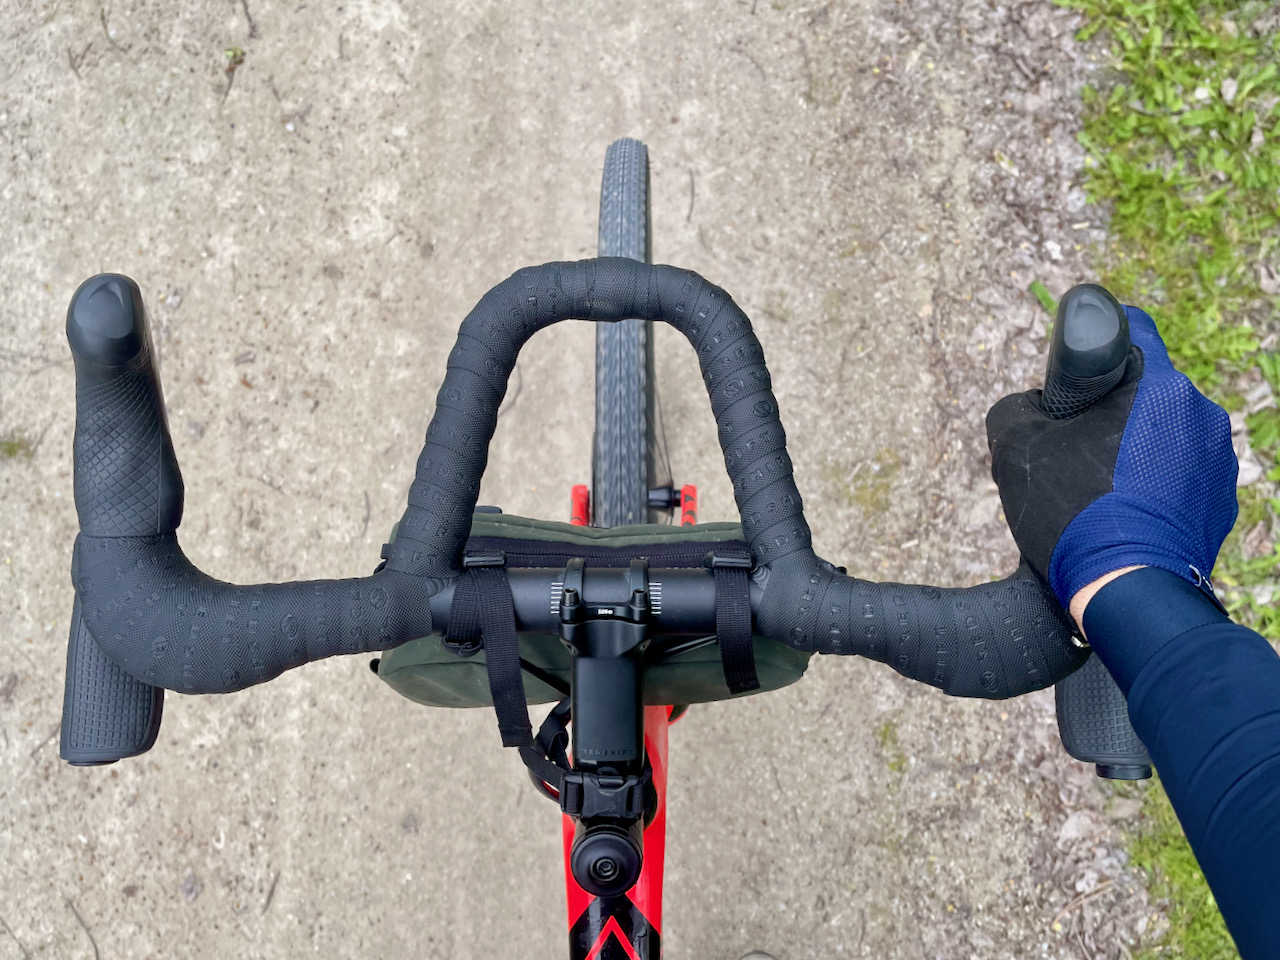
The bar itself is easy to fit, and the generous, super flat drops give you an easy baseline for where to position the bar. I went with a relatively conservative flat drop approach with the shifters mounted higher — similar to how I have them on my ‘cross bike. The flare of the bar affects the shifter position slightly and pushes them inward.
The most challenging part of the install was the Cruise Control System, mainly because of the wires in the Di2 setup.
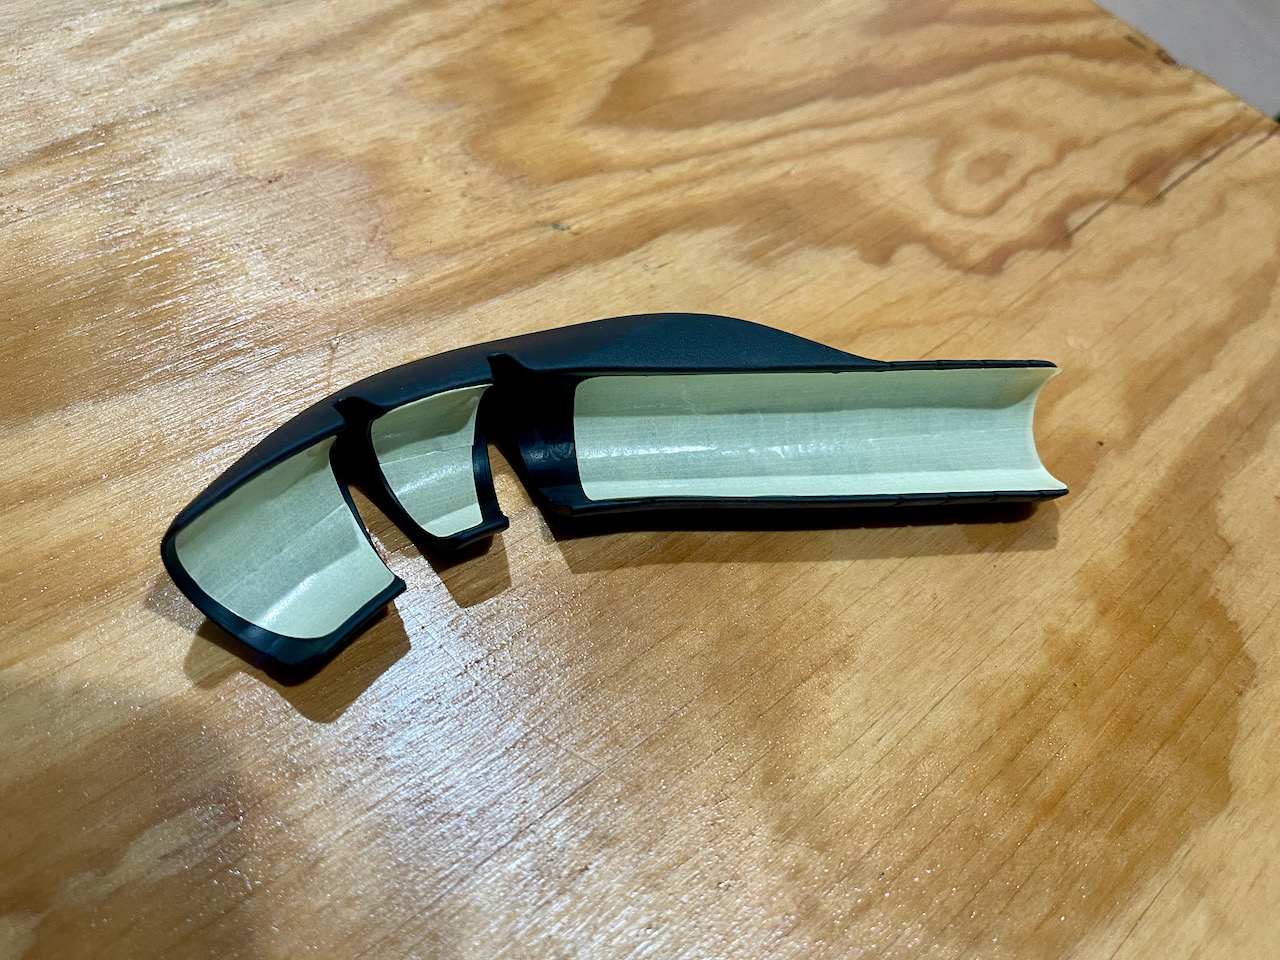
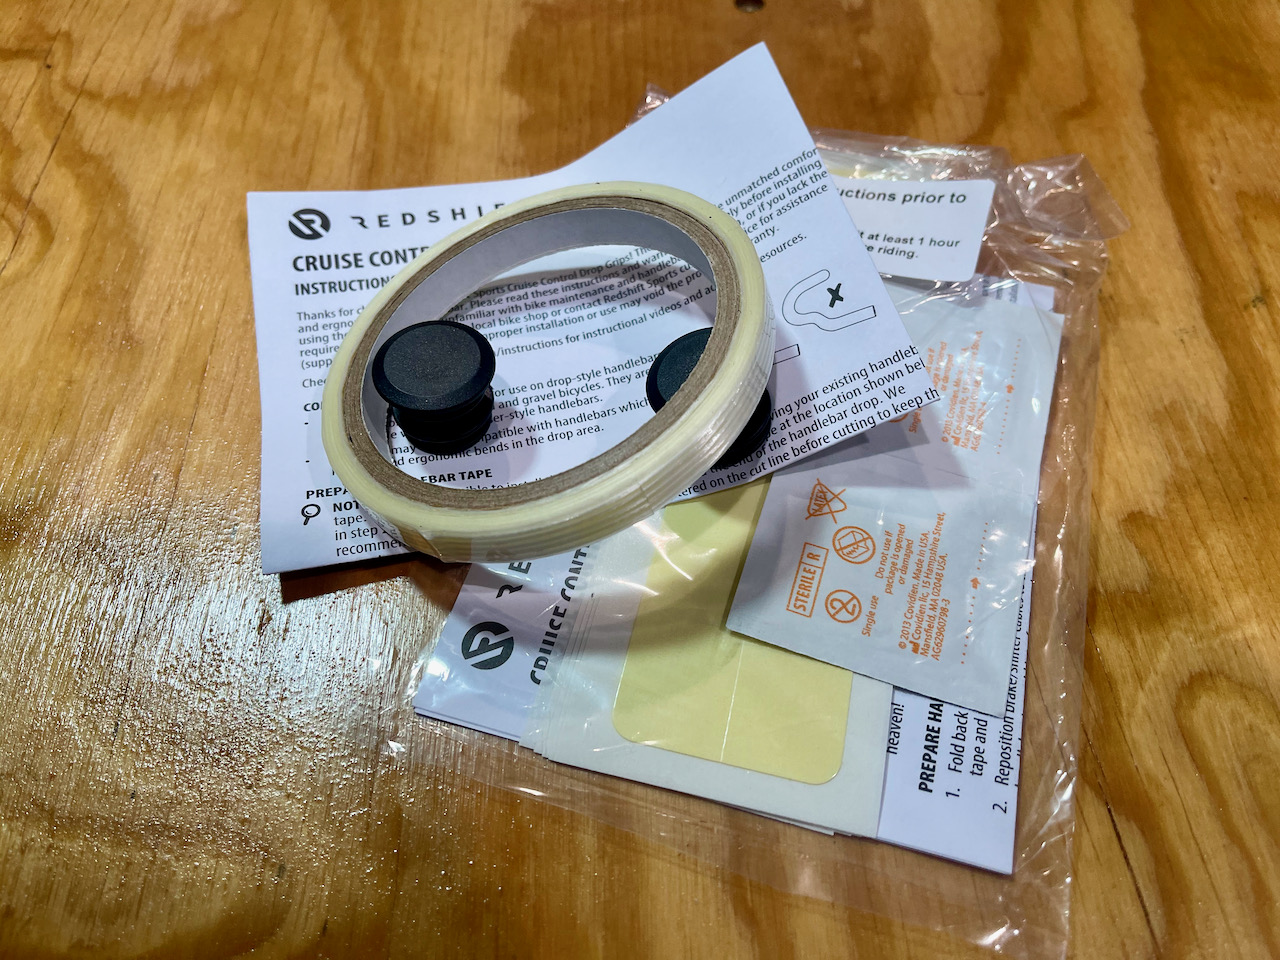
The Cruise Control System uses double-sided tape to install the tops portion, and you can customize the fit and angle of the grip. It’s an easy install, but you have to be liberal with the tape supplied, as the grips will move with just the double-sided tape.
The lower grips use a lock-on design which clamps them to the bars to prevent them from turning.

Where I ran into some issues was with my bar end junction and wire. The bar end junction box requires the wire to run through the grip (usually taped over), and the metal inset on the grip made it challenging to install the junction box. After some filing and sanding, I was able to get the grip section of the Cruise Control System installed and secured. This would not be such an issue if I had another junction setup.
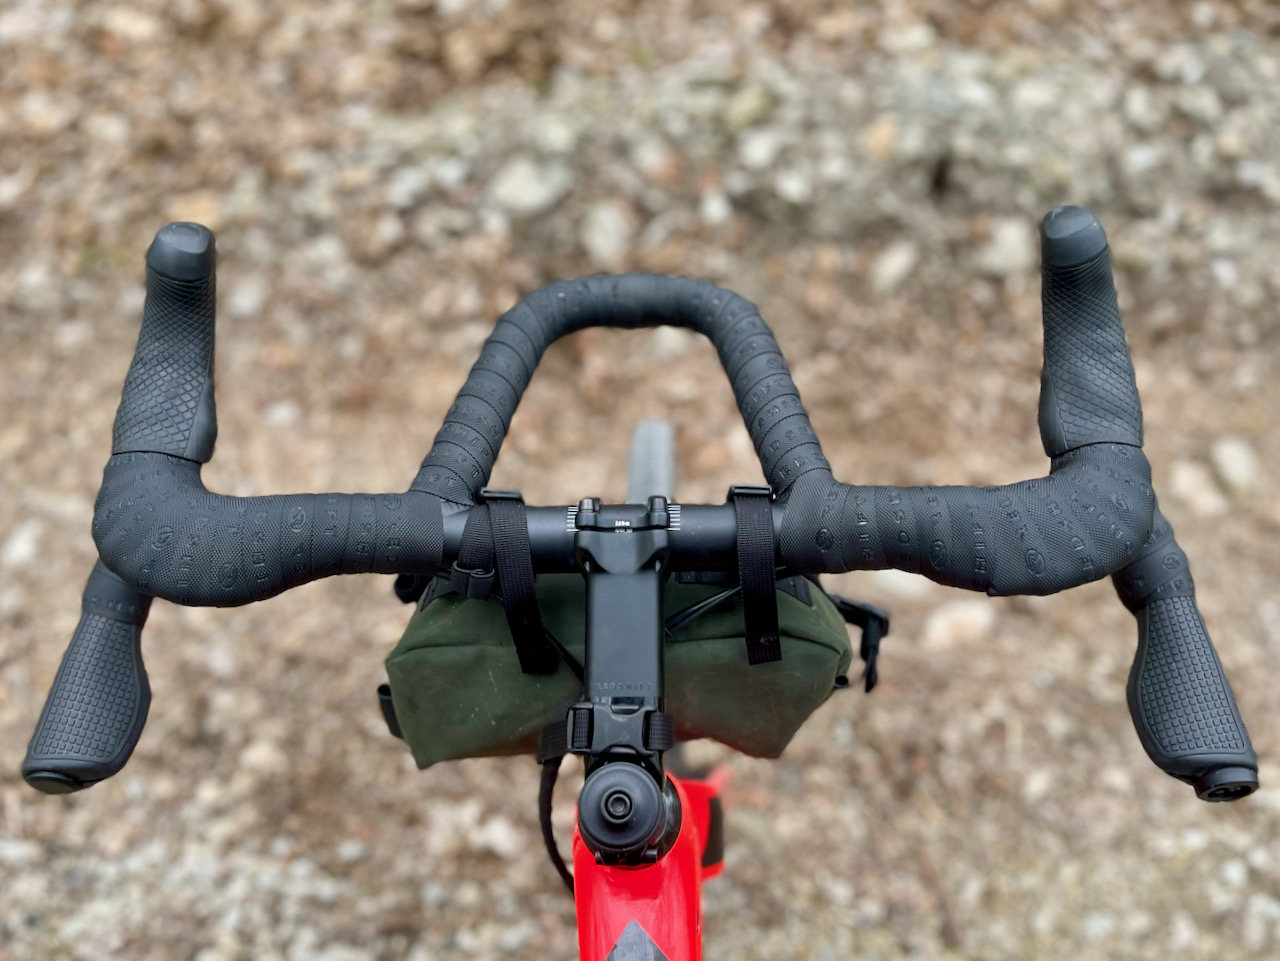
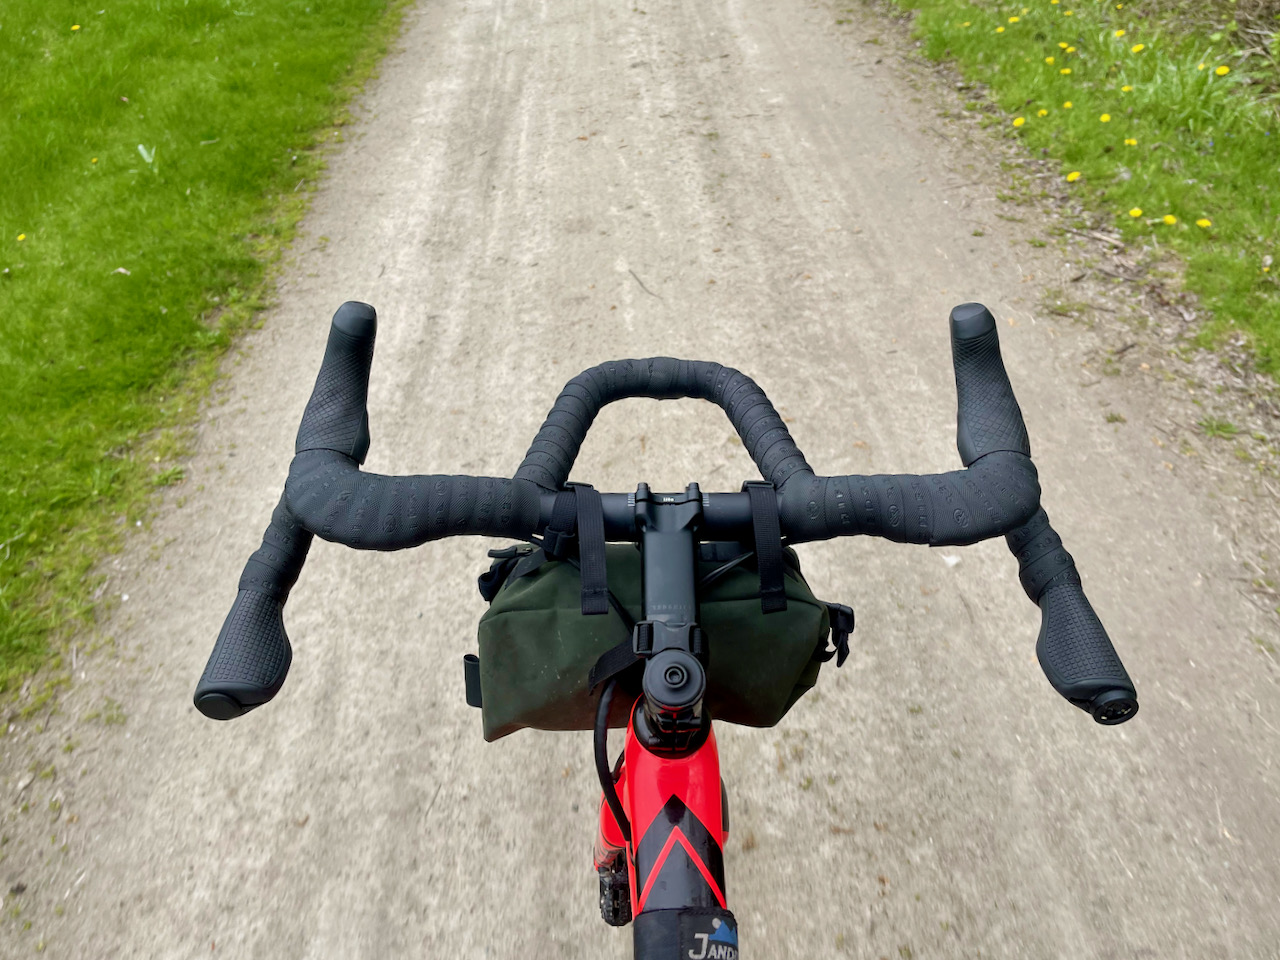
After I was pleased with the positioning of my grips (both tops, and drops), I began to wrap the bars for riding. The Really Long Bartape is just that — a quality, tacky bar tape (and lots of it). Wrapping the bars wasn’t too challenging, but I made sure to get a lot of coverage over the tops in case anything migrated during my rides. The tape itself is a lovely mix of tacky cushion and pliability.
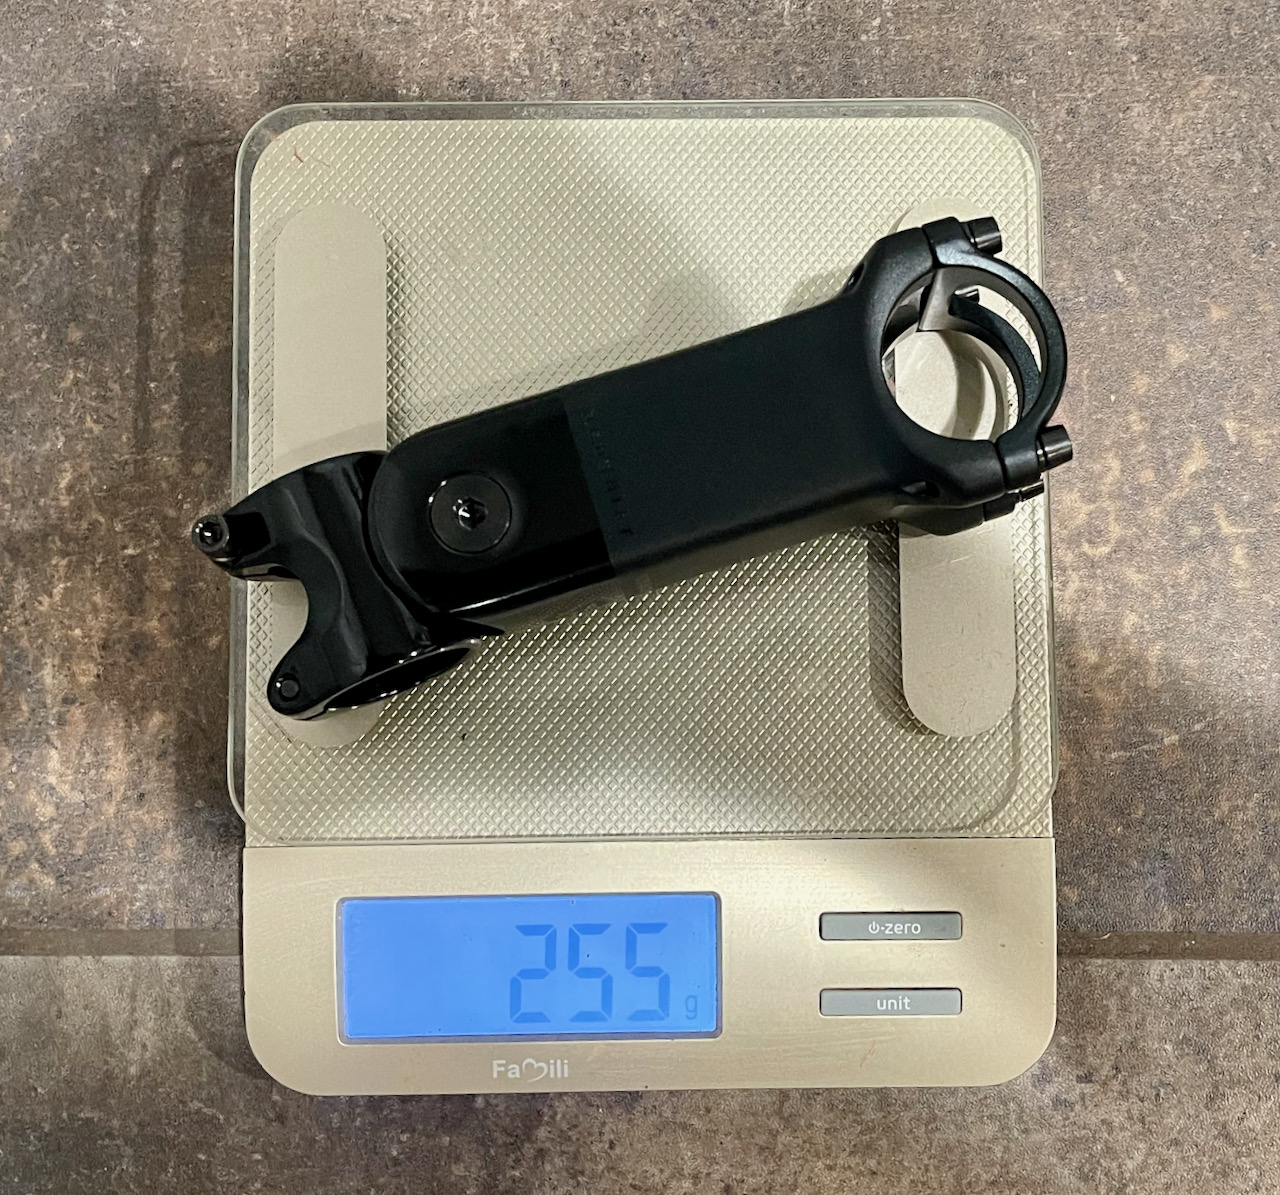
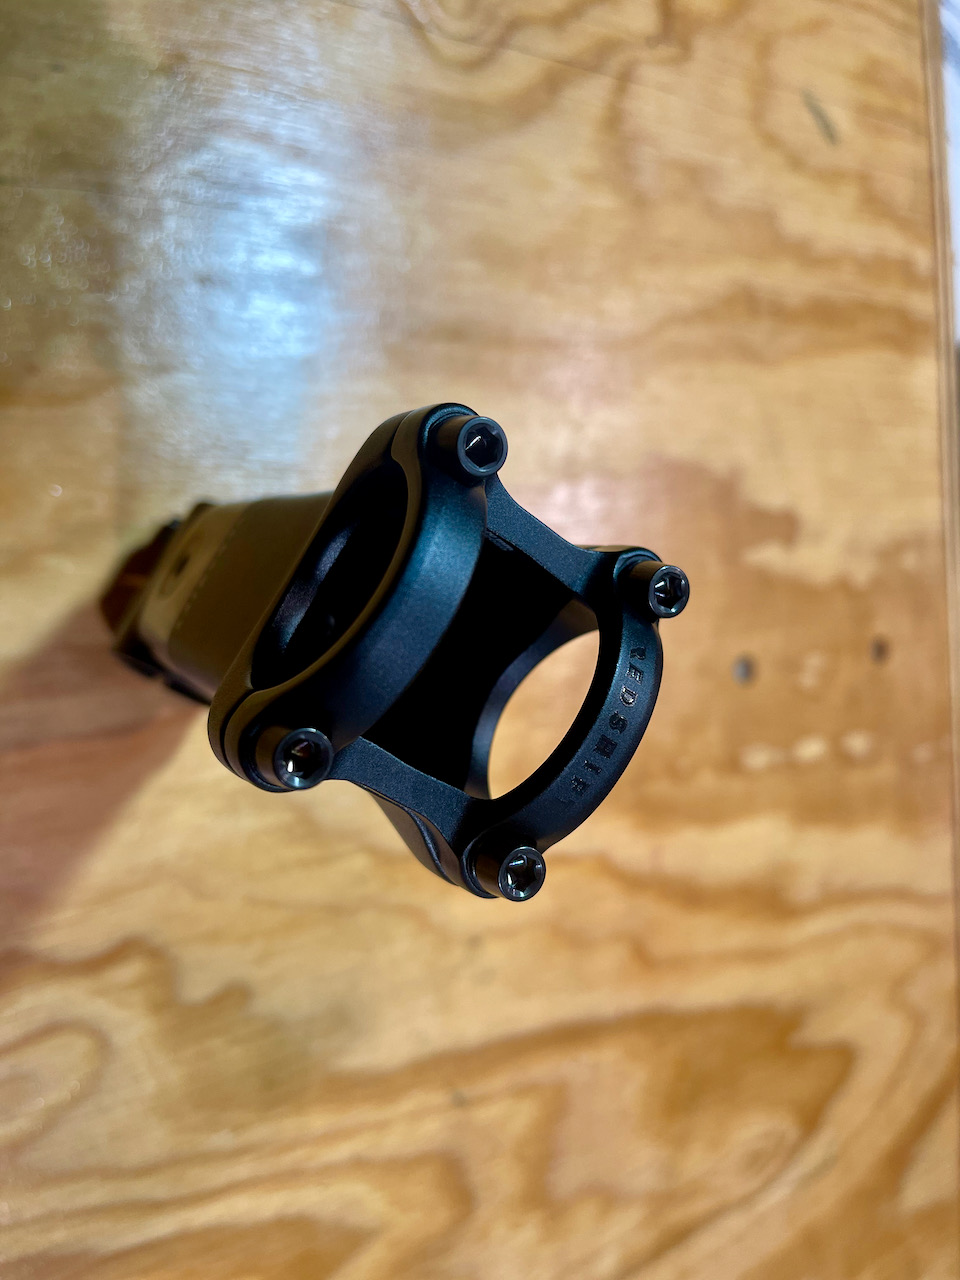
Redshift ShockStop Pro Stem
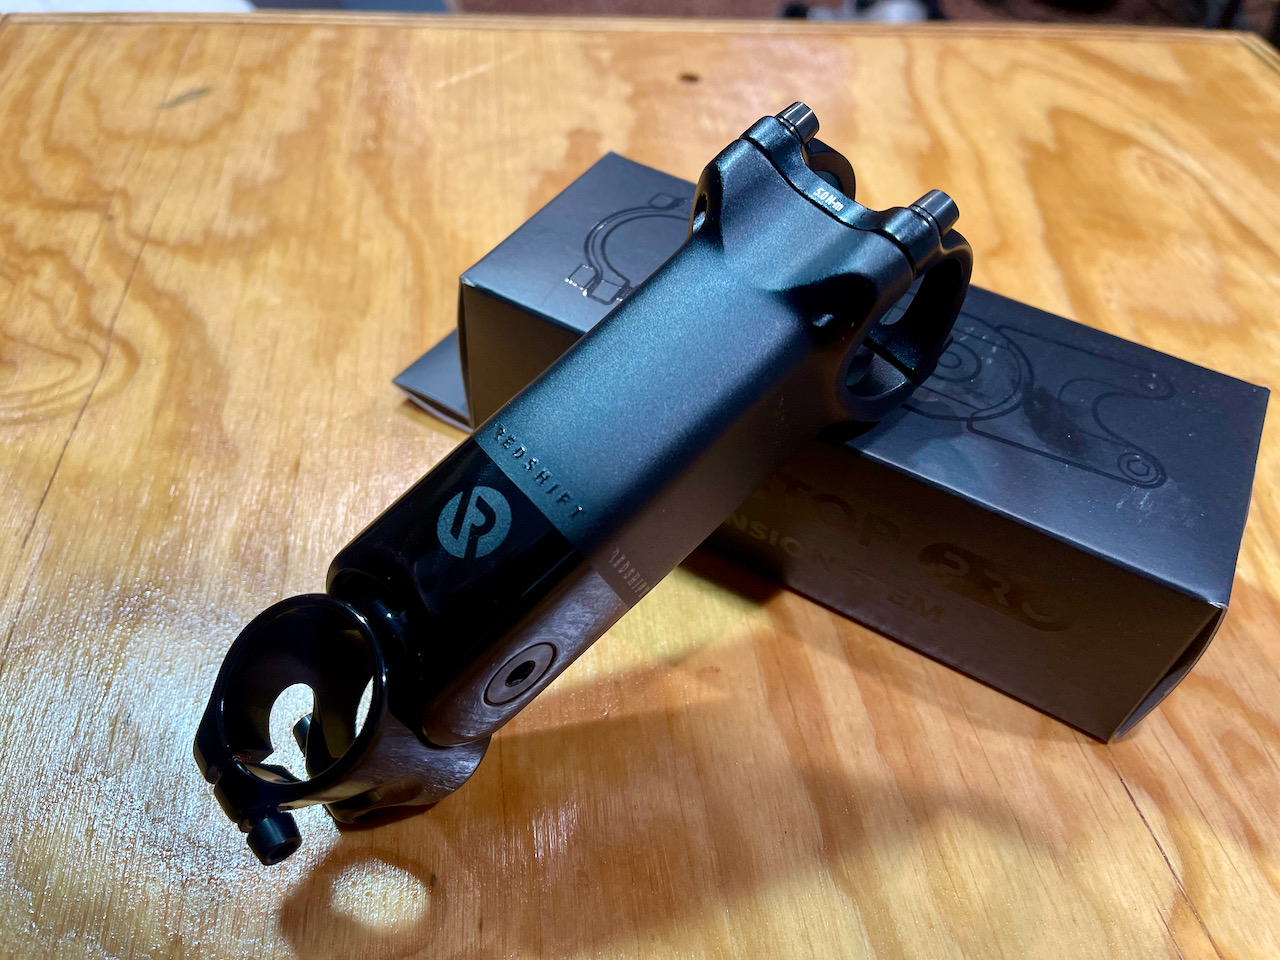
Redshift included an updated and upgraded version of the ShockStop stem we reviewed a few years back. The stem uses all the same elastomers and suspension stylings of the base model, but now boasts titanium hardware and a machined body — reducing the overall weight by about 15%.
I’m familiar with the ShockStop base model stem and was pleased to see the upgraded version. The styling is minimal and will nicely complement any bike that it adorns. I immediately swapped out the elastomers to the heaviest version (green and black) and swapped to the negative stem angle.
This takes some time to set up and dial in, but the payoff is that you won’t have to do it later after installing the bars.
Redshift ShockStop Suspension Seatpost
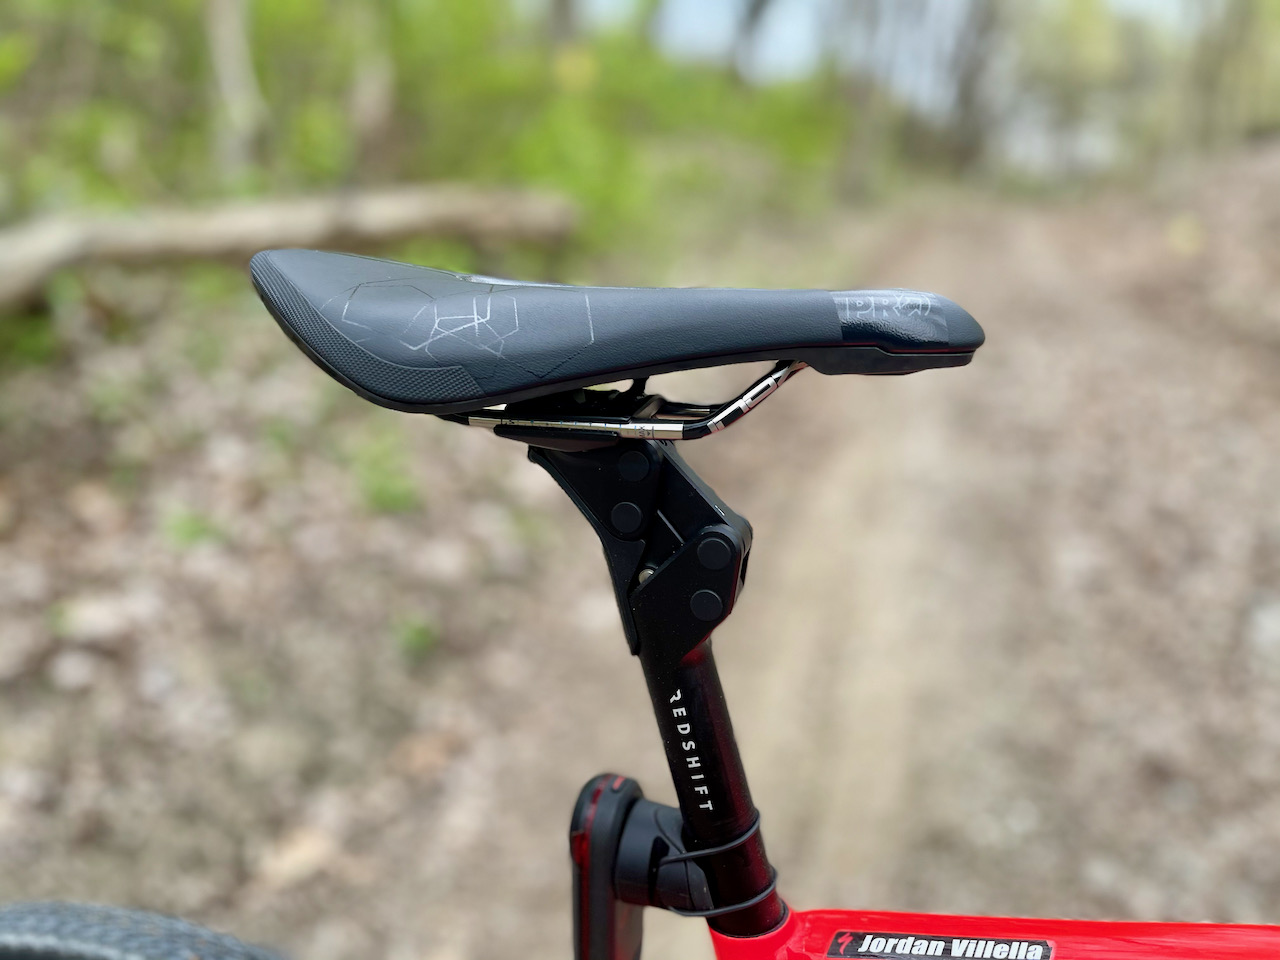
To round out the whole experience, Redshift also supplied us with their ShockStop Suspension Seatpost. The pavement-smoothing design provides 35mm of tunable, ultra-responsive suspension travel.
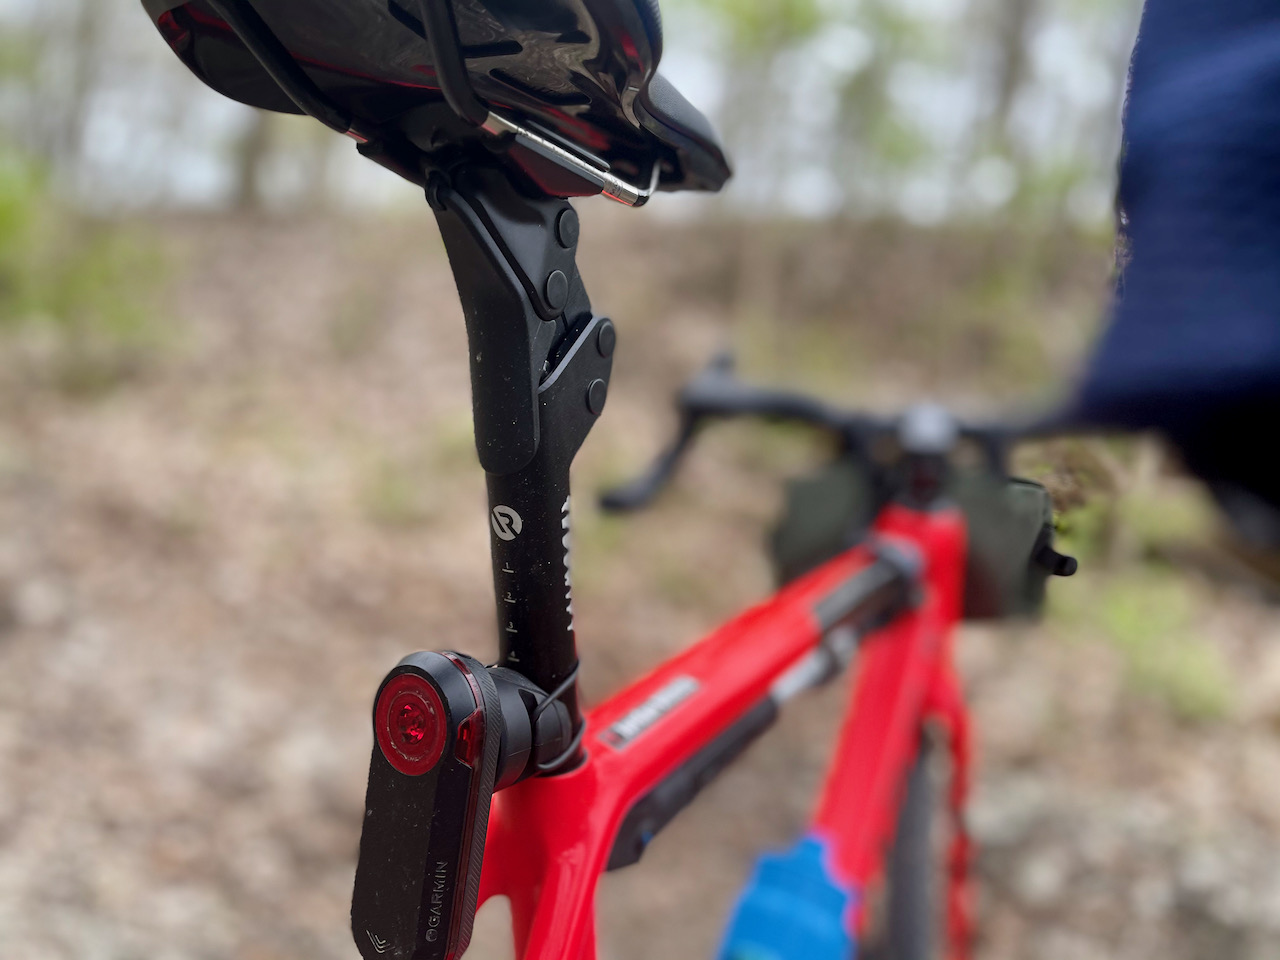
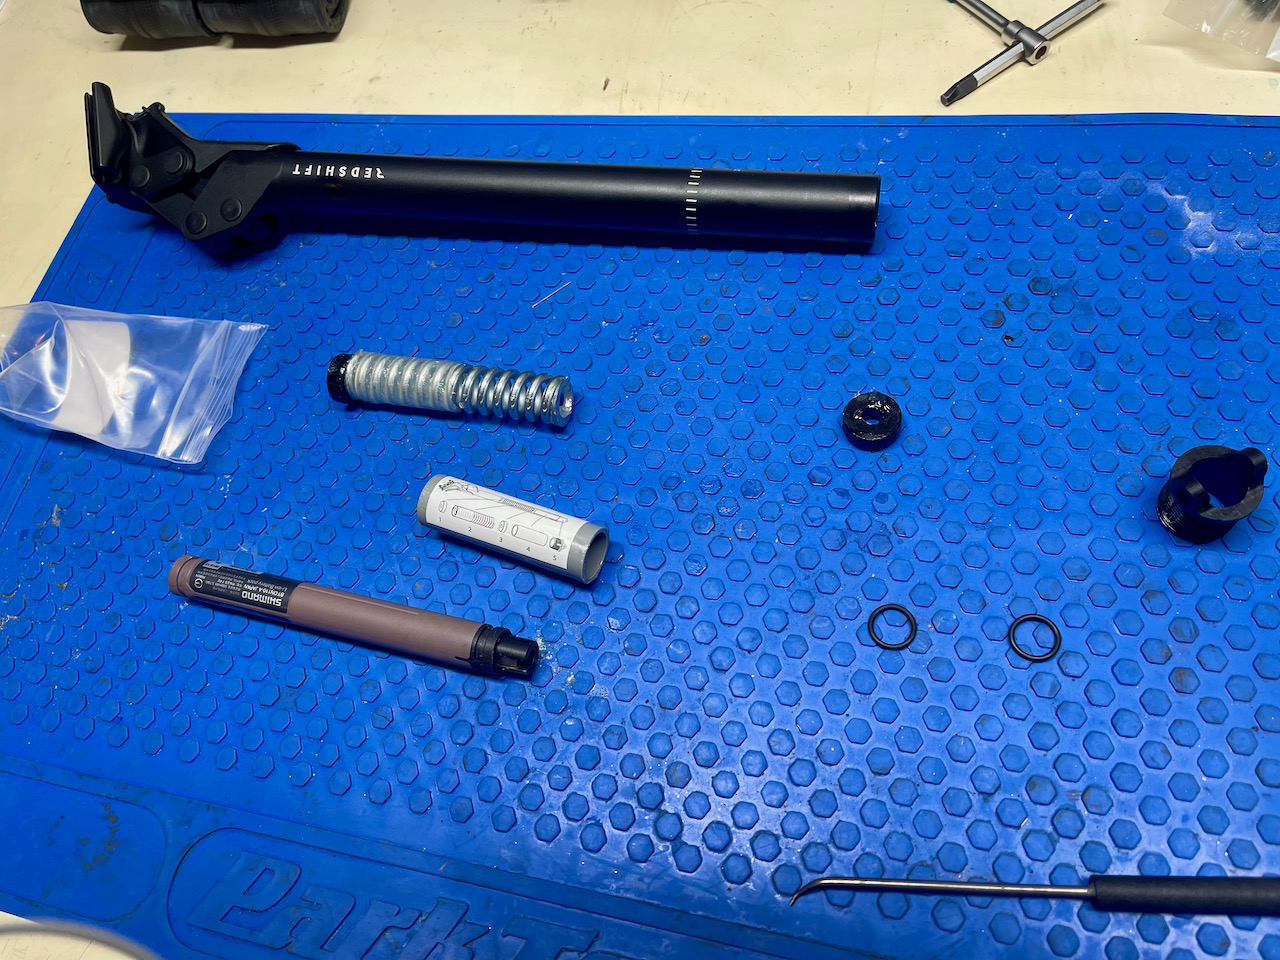
The ShockStop Seatpost has a super clean look, and the magnetic bolt cover is something remarkable. I felt that I should mention how easy the Di2 battery install is.
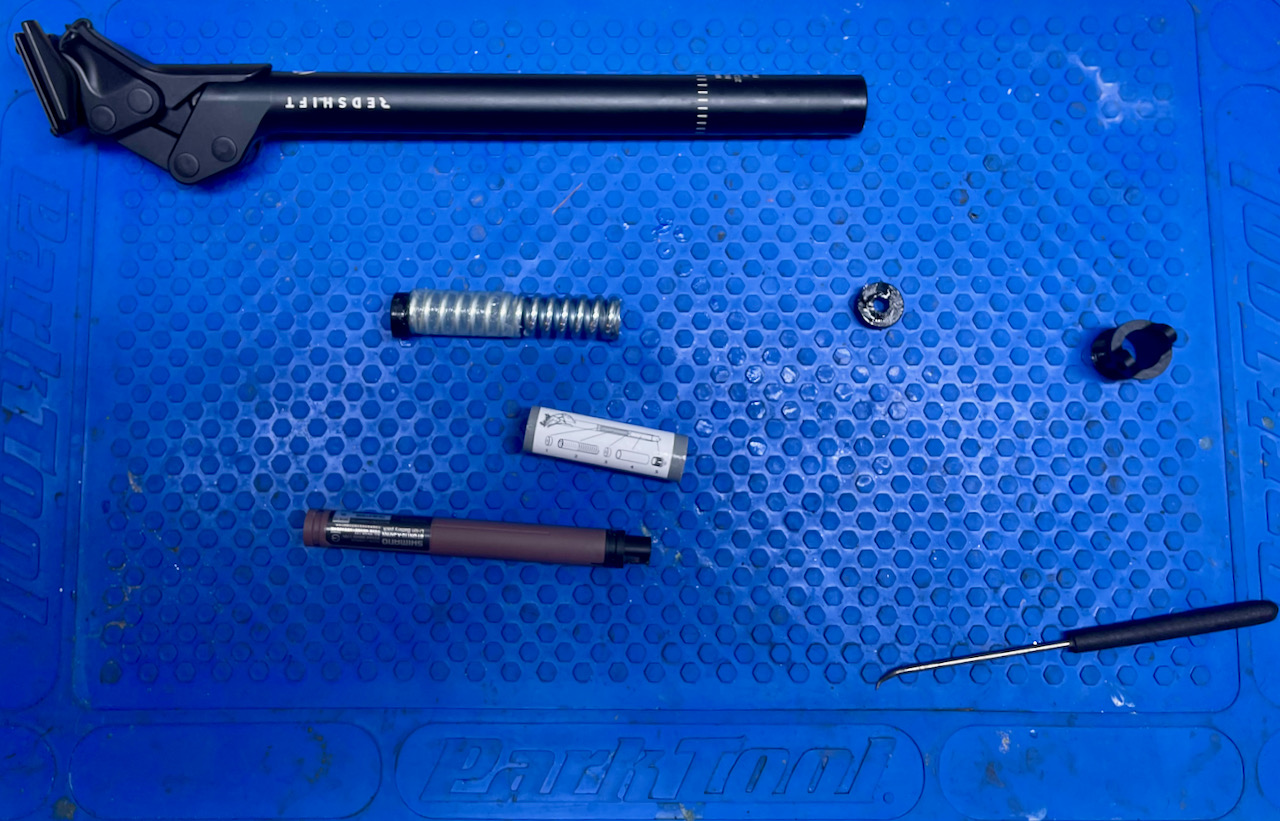
Disassemble the post by unscrewing the preload knob and take out the spring and spacers. Install the o-ring spacers from the Di2 kit from Redshift (or your local hardware store) around the battery and install. The small grey spring space will hold the battery in place while you install the knob and spacers.
I’ve covered many miles of gravel and forest with zero issues or the battery coming loose or rattling. The ShockStop Seatpost offers just the right amount of suspension to compliment the ShockStop Stem without feeling bouncy or like riding with a flat tire.
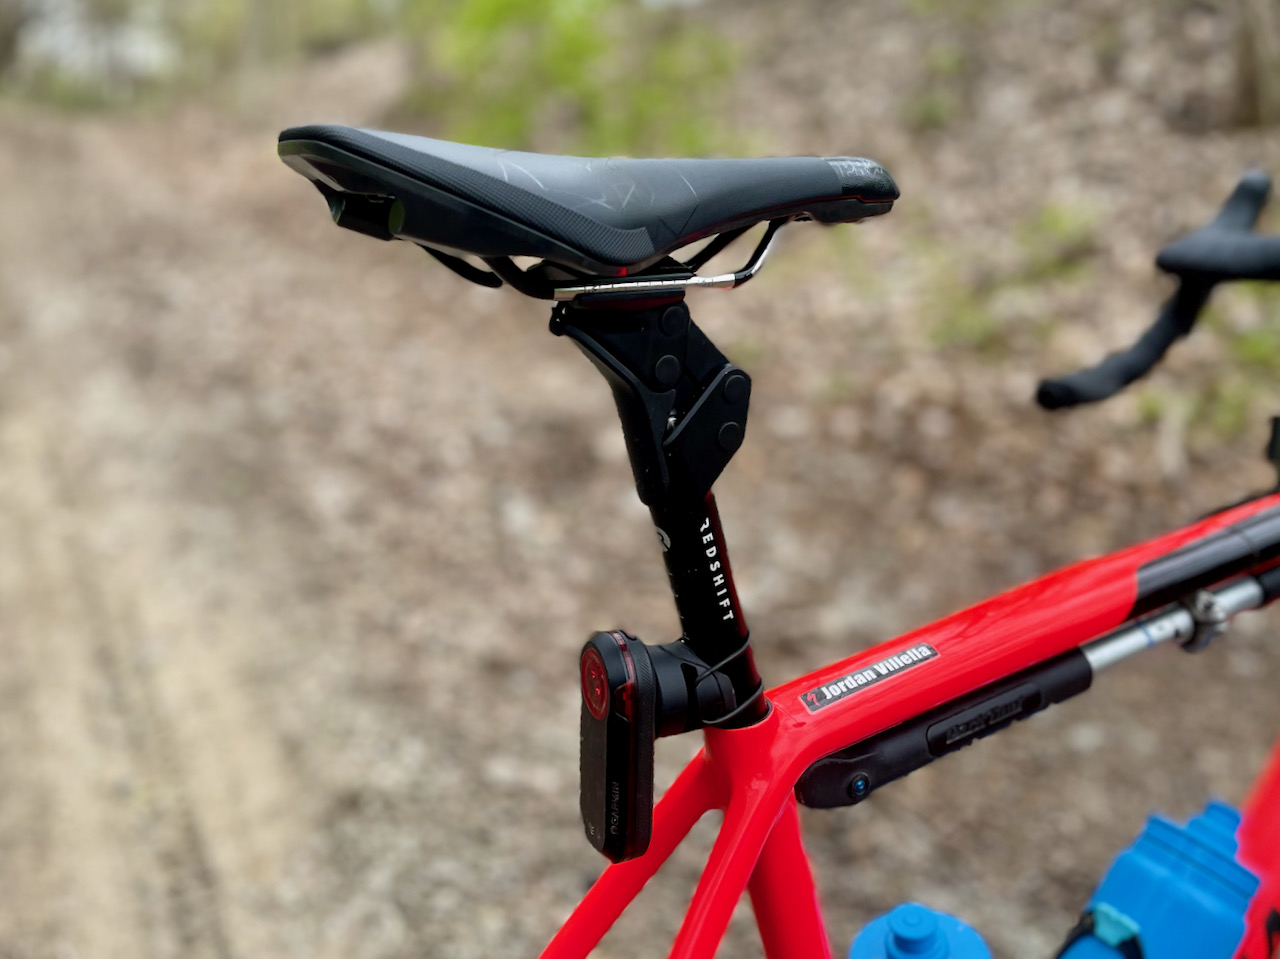
The tuneable spring preload and slick parallelogram design create a stiff, responsive, customizable platform for seated hard pedaling over various terrain.
The ride
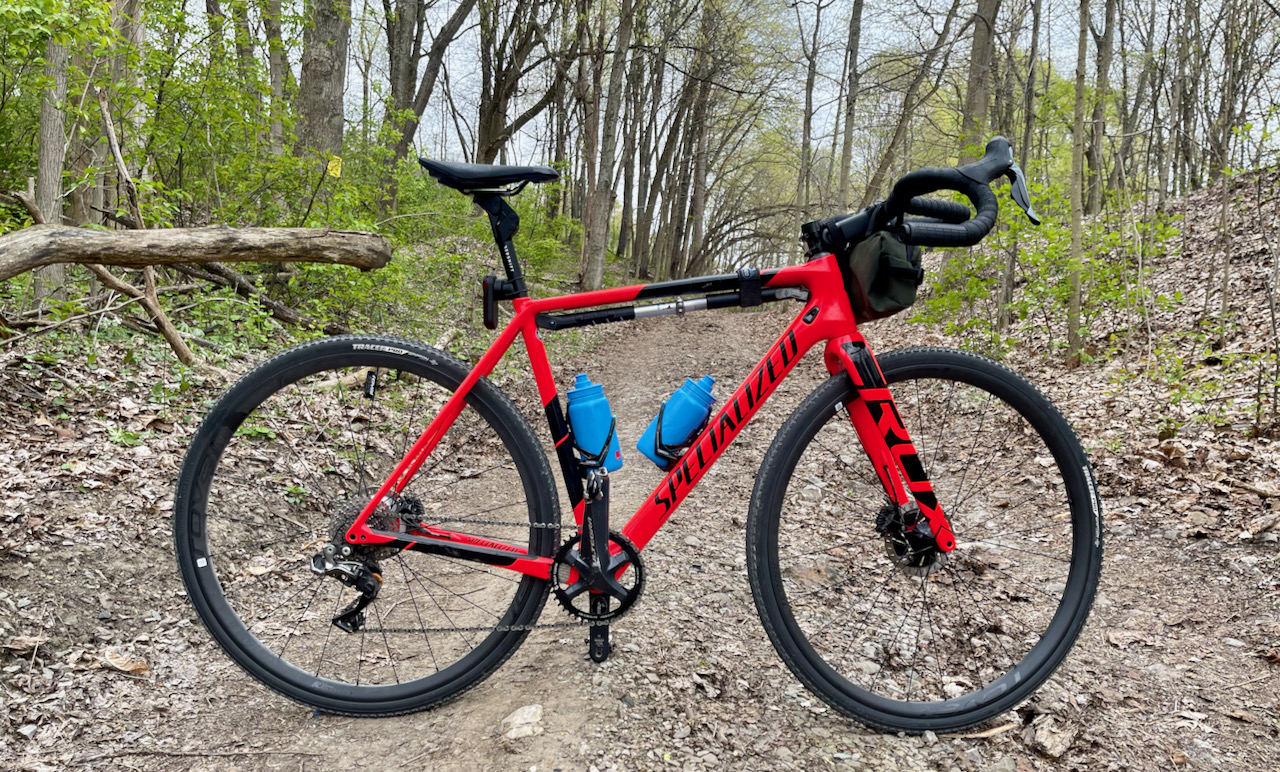
After the installation and creative problem-solving, I was very excited to get this set up on the road. I took a dial-in ride to get everything in place. I opted for the same 44mm bar width and 120mm stem that I usually ride on my gravel rig and let the bars do their thing without messing with the fit too much. After a few miles riding in the drops, I ended up adjusting the grips on the drops slightly outward. From there, I took off to the gravel and country roads around my area with everything in its proper place.
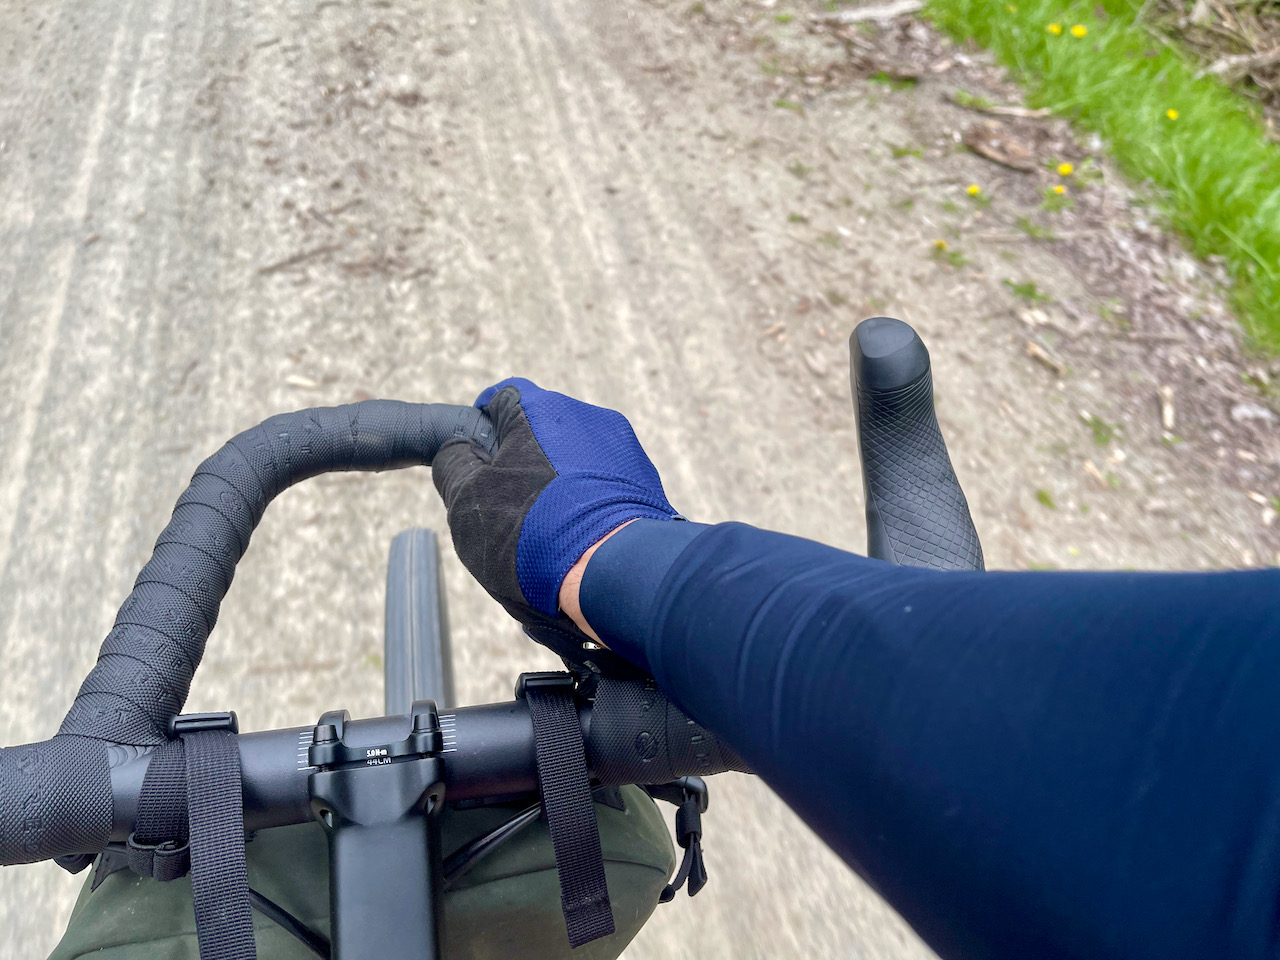
The neutral riding position on the Kitchen Sink Bars (on the shifters) is very comfortable. The short reach gives a nice bit of confidence, same with the rise. The setup is slightly shorter than my regular shifter position, but it took some tension off my shoulders, so I wasn’t complaining.
When I hit the gravel, the bike felt lighter. The stem and seat post soaked up the little bits of rock quickly. I spent most of my time hammering in the drops — the position and grips are super comfortable. Rotating the drop grips to the outside of the bar gives them a bit of micro-suspension in the palm. The beefy texture of the tape helps, but the overall comfort is all from the grips.
Riding in the drops, the brake levers are extremely easy to access and control. This was even easier with the electronic shifting. I found myself not leaving the drops for miles at a time, just cruising along comfortably.

On the tops, while climbing and slogging through access roads, the grips are just as comfortable. I was surprised to see the padding didn’t migrate or slip down — not because of the installation, but because I was riding some rough roads and pushing down on them quite a bit.
For the aero loop feature of the Kitchen Sink Bar, I didn’t find myself using the position as much casully riding, but when I was looking to avoid the wind, it was an excellent tool to have.
The aero-loop isn’t something that you need to center your fit around unless you plan on TT-tucking for miles on end. And in that case, I would experiment with saddle tilt and hip angle for the most efficient setup.
The aero loop isn’t exclusively for tucking in TT mode though — I found myself getting a bit more aero comfortably. Having the option to move to a slightly more tucked position is great on wide-open wind tunnel sections, and you don’t have to sacrifice comfort.
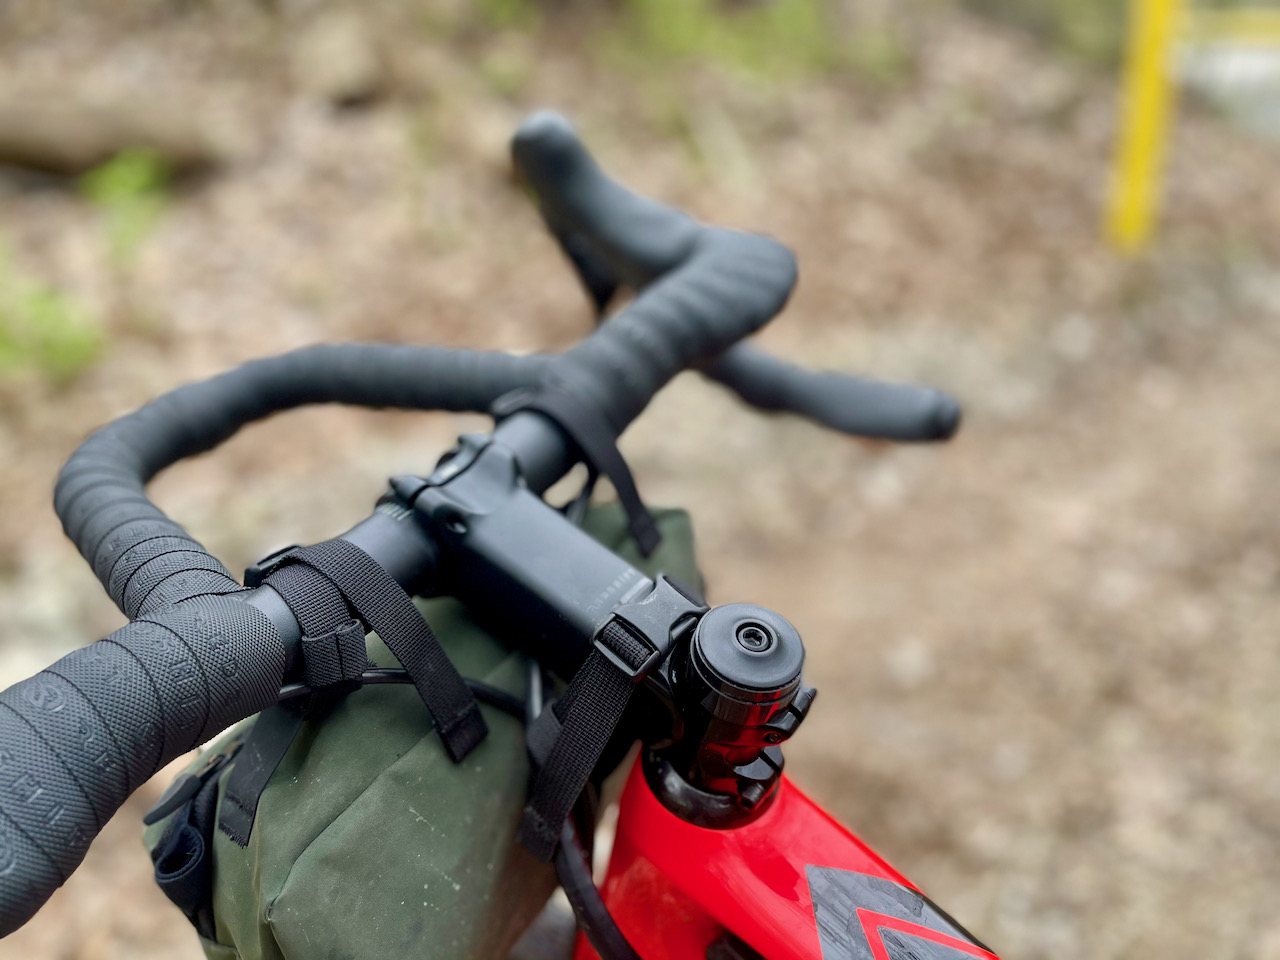
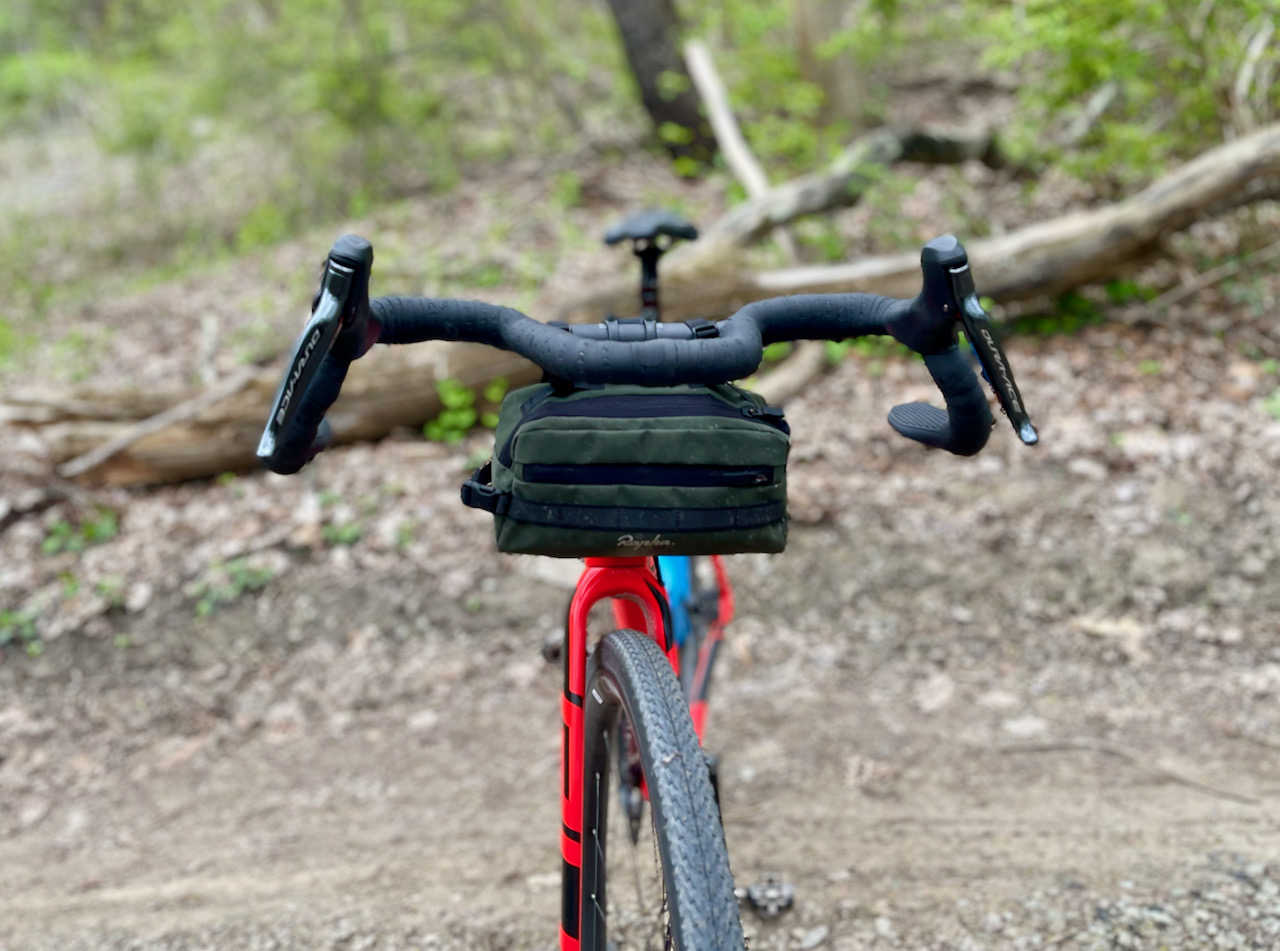
A few things did catch me off guard with the Kitchen Sink Bar — the Garmin mount and snack pack being the most glaring. Nothing too obtrusive, but I’ll have to move from my handlebar snack bag to a top tube version in the future. The computer mount was a bit tricky — depending on what unit you ride and how you like it displayed, you’ll have to augment the fit.
I found the Garmin 1030 didn’t fit 100% in the aero loop portion of the bar, but I could tilt the mount back a bit and secure the unit that way. I imagine most riders using the Kitchen Sink Bar will be navigating some gravel distances solo, so computer mount position is paramount.
Pricing for the full Redshift experience
- Cruise Control Grip System – $55.00.
- Redshift Really Long Bar Tape – $40.00.
- Kitchen Sink Bar – $129.00.
- ShockStop Stem – $149.00.
- ShockStop Seatpost – $229.00.
- Total system cost: $682.00
Conclusion
If you’re a gravel rider looking to soak up all the bits of rock and potholes — the Shockstop stem is a must-try. I suffer from hand numbness frequently on gravel rides, yet I didn’t have any with the full Redshift setup (I’m attributing most of this to the stem). Dialing in the exact amount of travel can be daunting, but once you zone in on the right combo, you’ll be happy with the performance.
As for the Kitchen Sink Bar and Endurance Drop Bar Grip System — don’t count it out until you try it. The system is extremely comfortable, with many hand positions to satisfy the antsy rider on long days in the saddle. I was pleasantly surprised by the drop grips. While they were a pain to install with the Di2 system, they are exceeding comfortably.
In my opinion, Redshift did create the ultimate gravel bar. This thing is super comfortable and creates a great ride experience. Though I wouldn’t call it super race-ready, this bar is perfect for anything off the beaten path, from gravel exploration to loaded touring.