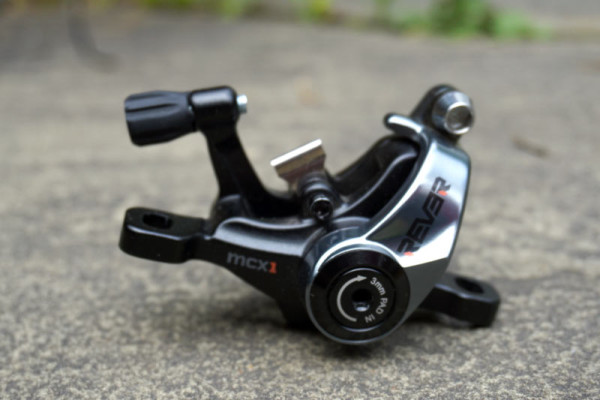
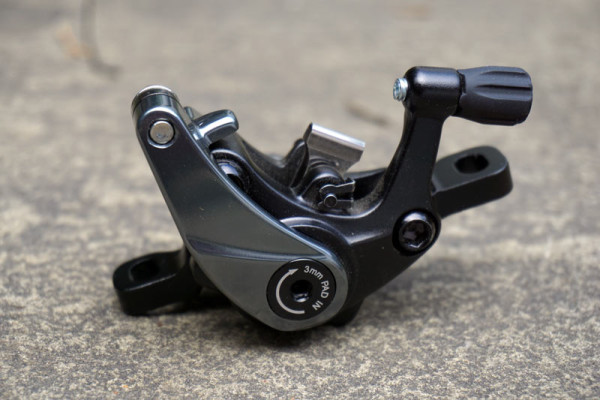
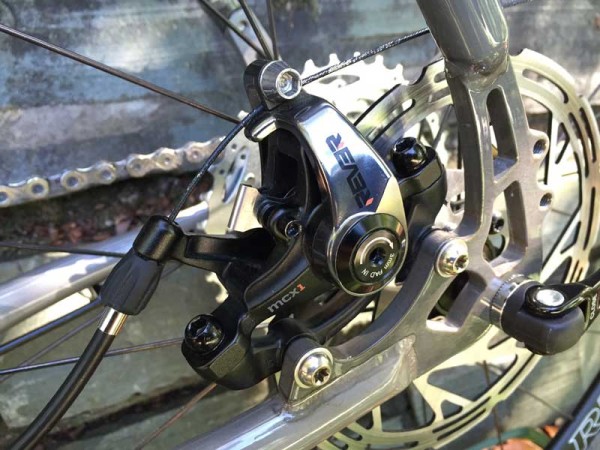
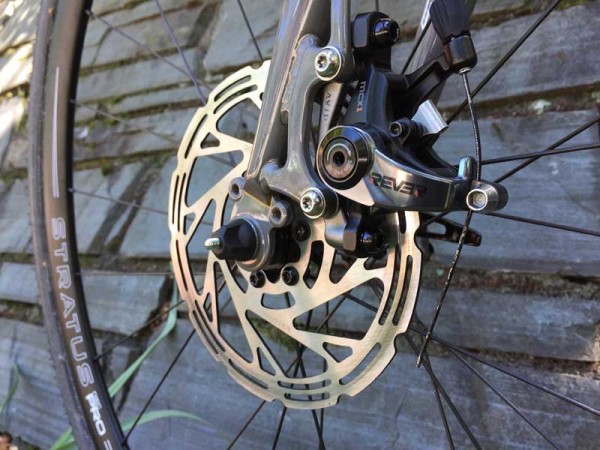
Designed around short pull levers for road and cyclocross use, the Rever MCX1 mechanical disc brake debuted officially at Sea Otter as only the second real option for anyone wanted both brake pads to move without going hydraulic.
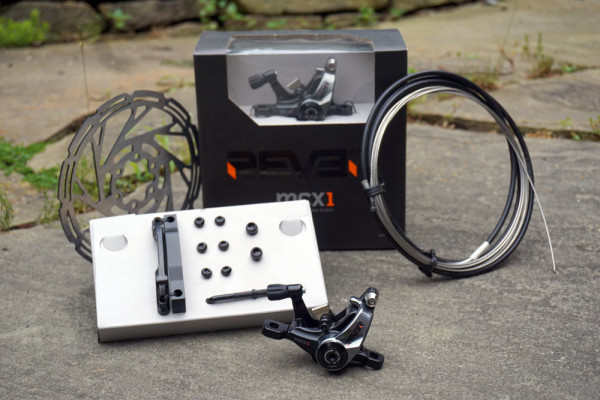
Our test set arrived in two very beautiful boxes, complete with everything you’d need to install them on any disc-brake ready bike, from cables to bolts to adapters and more. And that’s part of their pitch: race-ready brakes in a box, just install and go, no need to dig around your own parts bin or head to the store for any adapters. As such, installation was easy once things were all playing nicely together. I used the cables and housing already on my bike since the World’s Funnest Bike is still fairly fresh, but some other parts created an issue that delayed my first ride by a day. Once that was resolved, it was off for a first ride…
The internal packaging is just as nice as the external presentation. Depending on how many upgrades you’ve done over the years, the brake mount adapters and mini L-shaped Torx wrench can start to resemble all the cheap USB cables that come with every electronics device these days, just filling drawers. But for those without them, the Rever philosophy really does make for a one purchase solution. Just pick the box with the desired rotor size and you have everything you need…except cable cutters. And please, get yourself some real cable cutters.
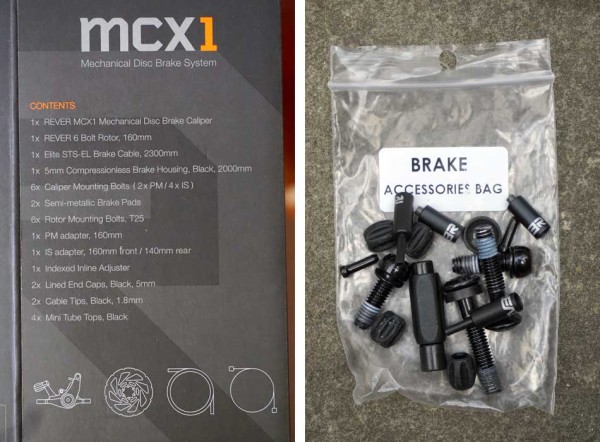
Contents are printed on the outside of the box. Cable housing ends, inline barrel adjuster and frame protecters are all in the box. The calipers have a built-in barrel adjuster, too, so you won’t need to install the inline one if you’re just getting started on home repairs and installs.
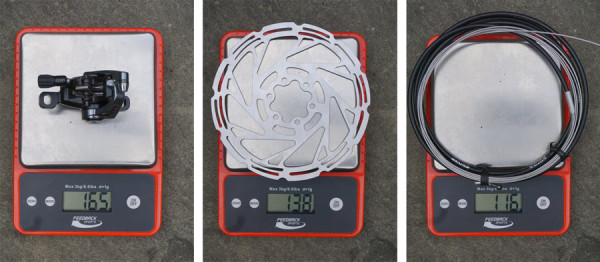
The caliper comes in at 165g, 160mm rotor at 138g and full length cable and housing at 116. You definitely will not need the entire length.
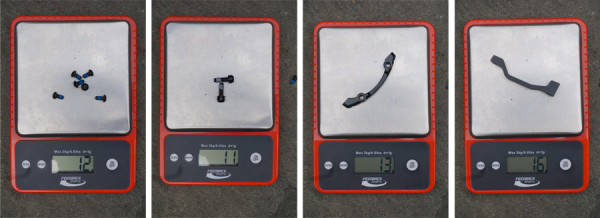
Six rotor bolts are 12g, caliper mounting bolts for putting it into direct frame mounts are 11g. The mounts and adapters are 13g and 16g each.
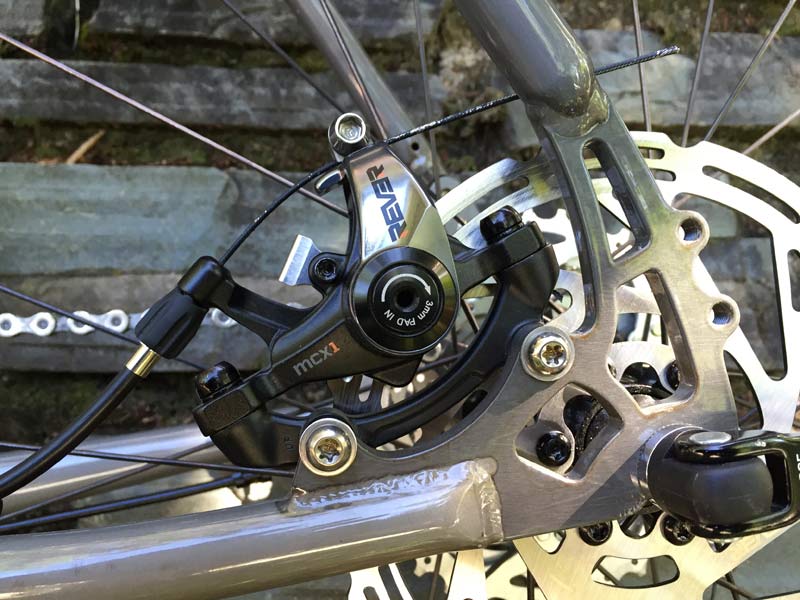
The caliper mixes black and polished “storm” gray that should match up with both SRAM and Shimano parts.
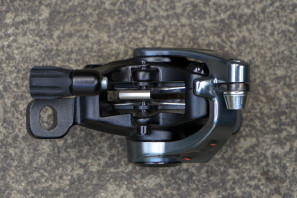
Semi-metallic brake pads are top loading and secured by a small bolt. They’re also independently adjustable to help center them on the rotor, but they come out of the box positioned in their outermost setting, so you’re better off getting the caliper properly positioned manually then using them to fine tune than following the included instructions to the letter. Why? Because if the pad is initially too close to the rotor, you can’t back it out to add space.
The pad adjustments are made using a 3mm allen wrench slide deep inside the cover, which is removable using a 4mm allen wrench…which can be a little confusing at first.
SETUP & FIRST RIDES
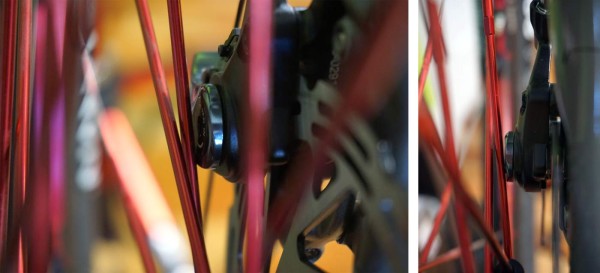
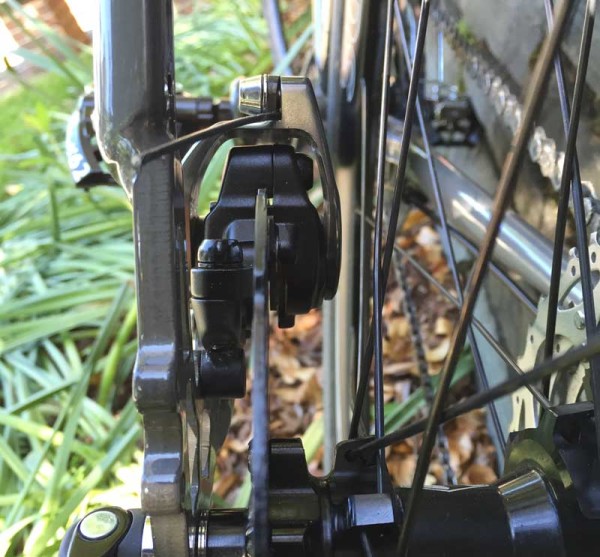
The World’s Funnest Bike was set up with Crank Brothers Cobalt 3 wheels, which use a split spoke that places a fatter part at the bottom. Whether it was this extra girth or just the fact that the spoke flanges are set wide on these wheels, the result was that the caliper made contact with them. So, in the unlikely event you’re running Crank Brothers mountain bike wheels on a road or ‘cross bike, these probably aren’t compatible.
So, after setting up another set of wheels (Reynolds Stratus Pro) with cyclocross tires and remounting the rotors, I was back in business.
It’s not shown, but these were setup using the TRP levers that ship as part of the Gevenalle friction shifter system.
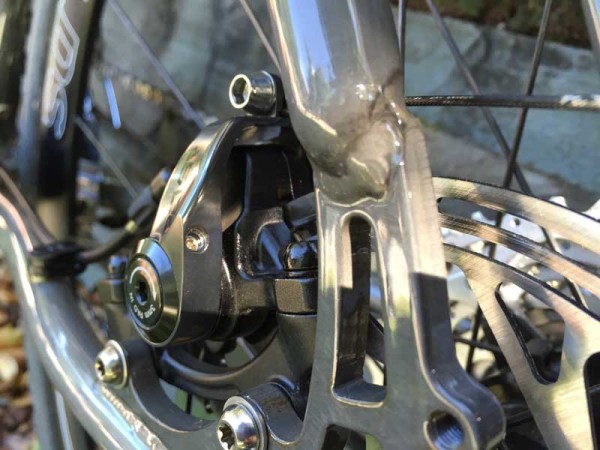
From there on, installation and setup was quick and easy. The calipers stayed in place while tightening the mounting bolts, which is a massive plus. All too often, particularly on the front and on carbon forks, the caliper will shift as the bolts are tightened, which is (from my own estimation) often the result of imperfectly faced mounts, which requires filing, occasionally washer(s) and cursing to fix. But I digress…
One install note worth mentioning: I used a third hand cable puller/holder at the port behind the barrel adjuster to pull the cable tight, then clamped down the cable bolt. As was, there were maybe 5-7mm of “free stroke” that the cable could pull without affecting the lever. This made for a very sloppy lever feel. My solution was to loosen the cable bolt, push the lever arm on the caliper forward a bit and retighten it. This took up the slack mostly…
A tension bolt on the back of the lever arm will add a bit more spring tension, which has too benefits: First, it took up any remaining slack in the line without having to use the barrel adjuster. That’s important because it gave the brakes a more immediate feel and action without putting the pads in a too-close-to-the-rotor starting position.
Second, it gave the brake lever a snappier return feel, which enhanced overall modulation. Oddly, there’s no mention of the tension screw adjustment in the included manual, but I confirmed with Rever that it’s OK to use this. The bolt is basically a tension adjustment, which serves exactly the purpose we needed.
Spoke clearance was generous with the Reynolds wheels.
Once out on the road, I took it through a few grassy paths and dirt walking trails with a couple short ups and downs and tight corners just to see how they’d react. They did the job quietly (yay!) and without drama in dry conditions. The brakes took very little time to bed enough safe stopping, but I’m hoping they’ll develop a little more bite with continued use.
My TRP levers they’re pulled by have two cable mounting positions, and I have them set in the upper position for longer pull. With multi finger braking, they’re plenty strong enough, but wasn’t a ton of leverage for single digit braking from the hoods.
The solution was to backtrack a bit, loosen the cable bolt so the lever arm could open all the way back, pull the cable tight and affix the bolt, then jack up the tension spring. This kept the brake lever taut with no slack in the line and allowed me to pull through more of the caliper’s articulation, which improved lever feel and leverage with single finger braking. So, having gone through all that, I’d recommend just going ahead and threading in the tension adjustment screw a couple turns and starting there.
And with all that, I’m happy to say the brakes work just fine. Having swapped from the TRP HyRD calipers to these, they lack the power that a hydraulic system provides (expected). But for a mechanical brake they’re good, the feature set is solid and weight is comparable or better than brakes like BB7 SL and Hayes CX5, neither of which have dual sided pad movement. The obvious comparison is the TRP Spyre, which has a virtually identical feature set and costs less but does not include the compressionless cable housing, cable and inline adjuster. Weights are about the same though.
From here, the brakes will switch onto one of Jayson’s bikes for a summer’s worth of riding and gravel racing, look for a long term review in a few months.
MSRP is $149 per wheel with any rotor size, available now through any bike shop or online dealer with a QBP account.
