It’s 2019, and you’re shopping for a mountain bike. Maybe you’re new to “serious” cycling and are buying your first mountain bike that costs $1,500 or more. Or perhaps you’re a veteran cyclist that hasn’t upgraded in a decade and you’re just out of the loop.
If the terminology you’re seeing looks like a foreign language mixed with marketing hype, you need this quick guide to bring you up to speed on the current state of mountain bikes – a 10,000ft view that won’t cover every possible brand or product, but rather a Cliff’s Notes version so you won’t make any bad purchase decisions. If you want to future-proof your investment as much as possible, this is your Mountain Bike Buyer’s Guide!
TABLE OF CONTENTS
1. The State of the Union
2. Hub Axle Standards
3. Bottom Bracket & Crank Standards
4. Number of Chainrings and Cogs
5. Gear Shifting Methods
6. Brake Types and Trends
7. Wheels & Tires
8. Freehub Standards
9. Cockpit Standards and Trends
10. Suspension
11. Fork Standards
12. Rear Shock Standards
13. Frame Geometry
Quick Note: If you’re buying a complete bike, this overview will help you know what to look for and ask about. You won’t necessarily need to remember everything, but this should provide the basis for picking something that has all of the latest “standards”. Or, at least, those standards that are important to you. This is especially important if you’re buying a lower priced bike now with plans to upgrade. Some standards are more easily upgraded than others. And if you’re building your dream bike component by component, then pay attention to the details because not everything plays well together. Ready? Time to drop in.
1. STATE OF THE UNION
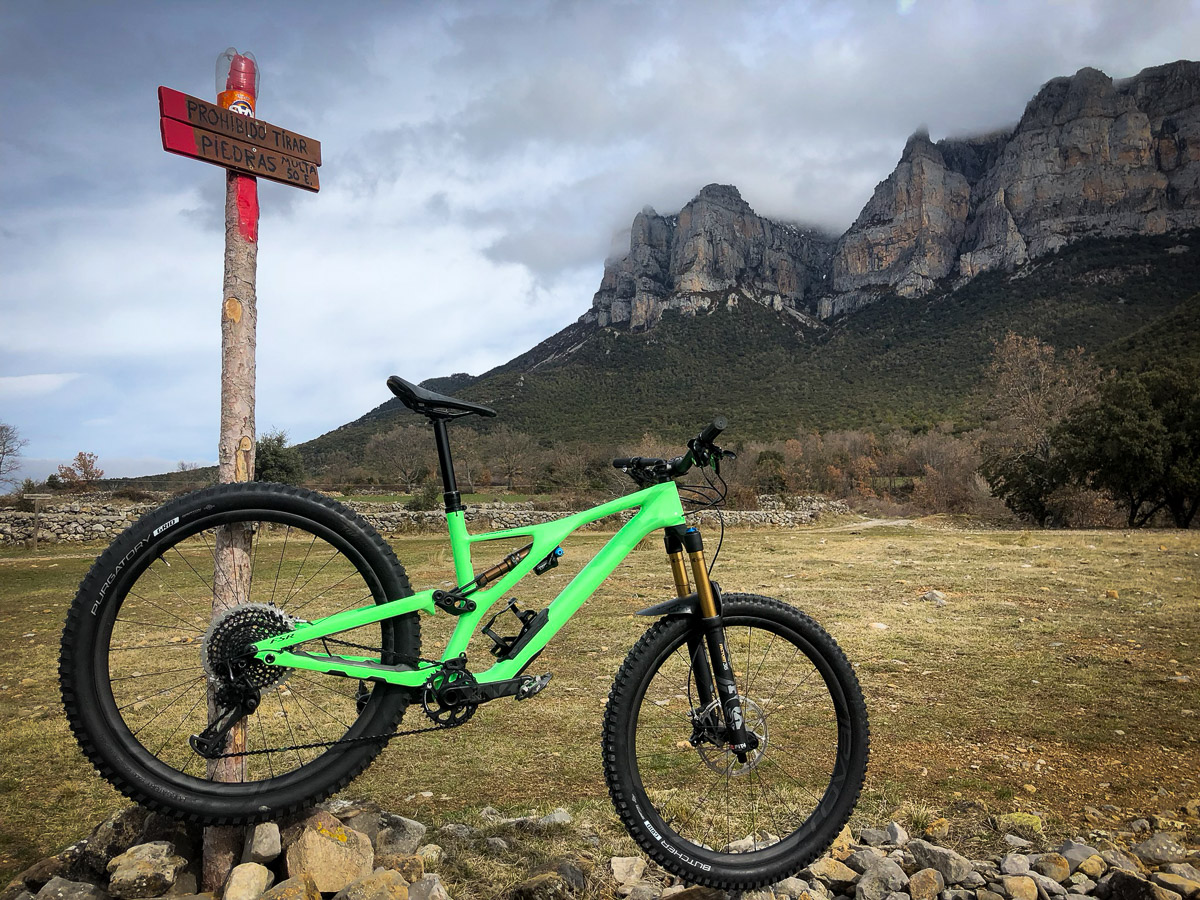
For purposes of this article, we define a mountain bike as something with flat (or riser) handlebars, tires of 2.0 – 3.0″ width, and primarily intended for riding on dirt/rock trails, bike parks, and urban jump environments. While not all mountain bikes feature suspension, we’ll generally focus on suspension bikes, because rigid forks don’t require much explanation and aren’t nearly as popular. It’s also worth mentioning that we won’t focus on fat bikes, which have mountain bike origins – but have evolved into their own clear category with different standards and tech. Oh, and before we get too far ahead of ourselves, it should be stated that “MTB” is a common abbreviation for MounTain Bike, and we’ll use it in this article.
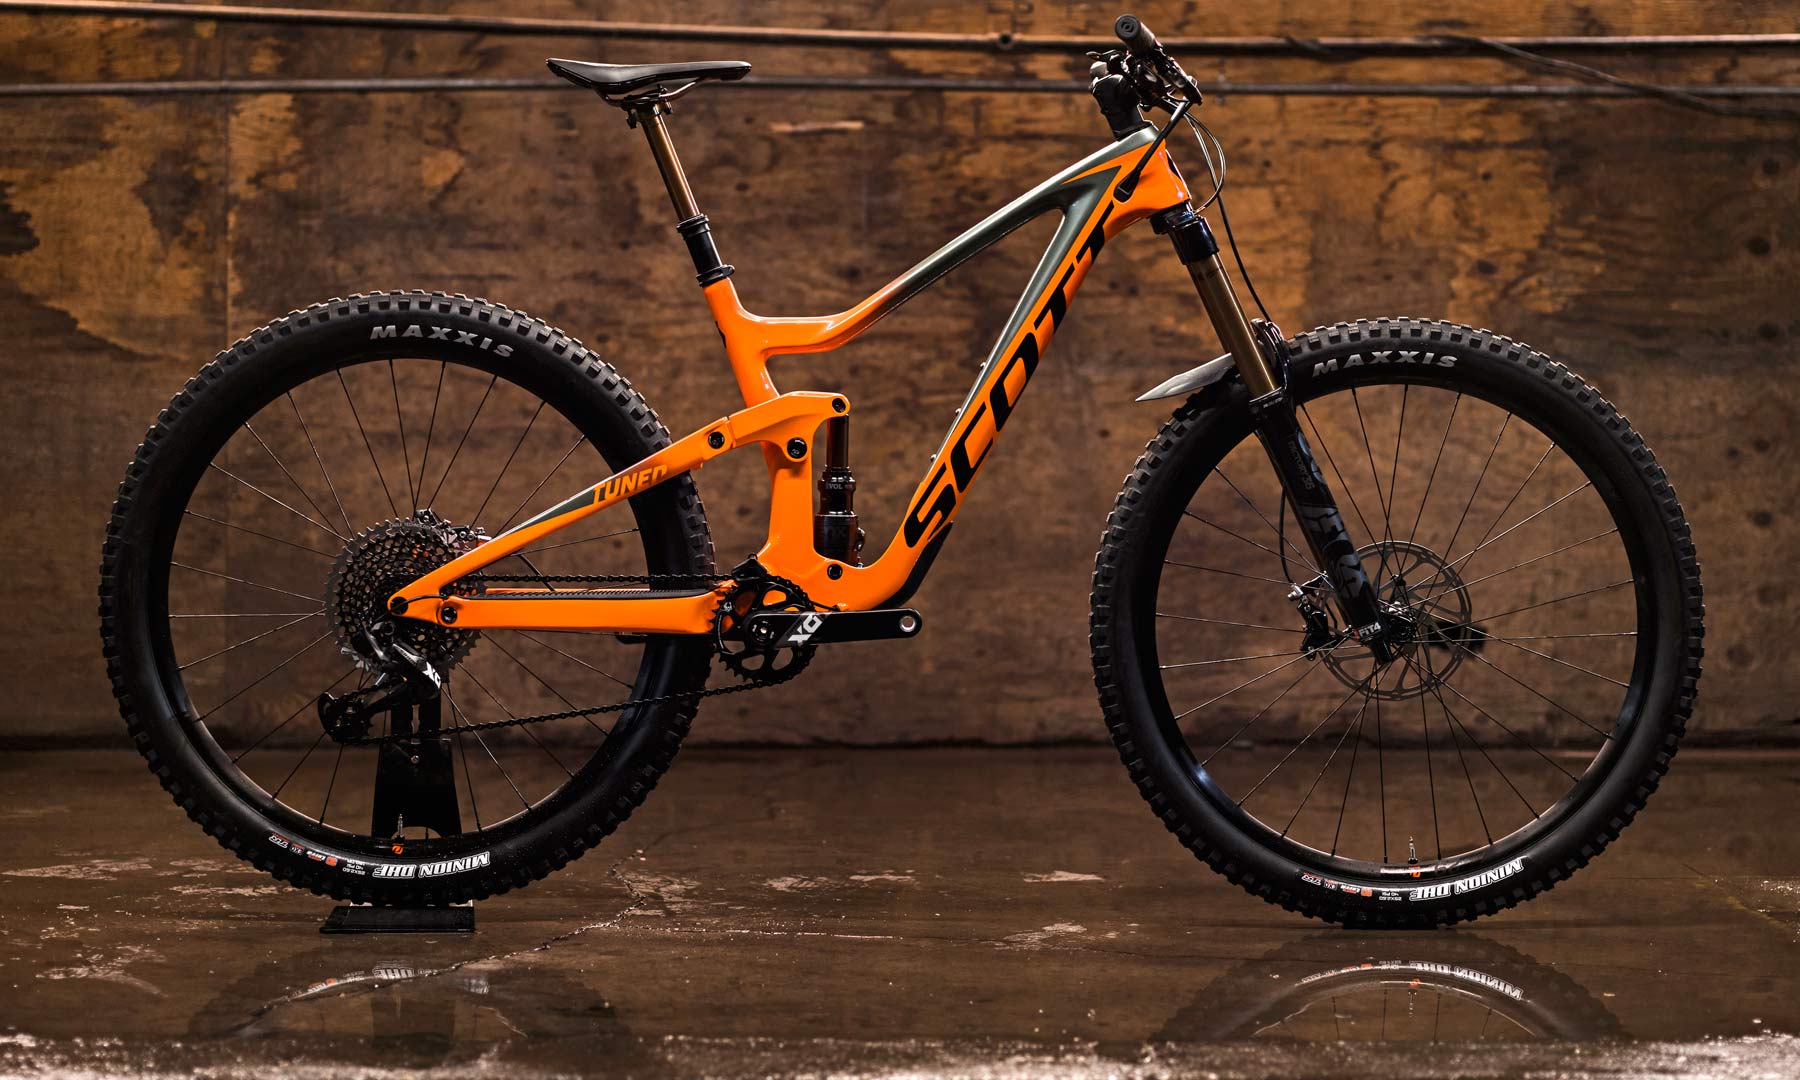
There are five key categories of mountain bikes that we’ll focus on, which can be roughly defined by the amount of suspension travel. Someone will disagree with these, and that’s okay. Suspension travel has steadily grown over the last 40 years, as technology has improved, and reduced or eliminated many downsides to long travel.
- XC – 80-120mm
- Trail 120-140mm
- All Mountain 140-160mm
- Enduro 150-180mm
- DH 180-220mm+
XC or Cross Country (80-120mm travel)
This is where it all started, the humble klunker. Originally adapted from beach cruisers in the 1970’s, nobody had any idea how far things would go. Granted, Cross Country had a slightly different meaning than today, XC bikes still dominate much of the market, and most budget department store bikes technically fit into this category, based on suspension travel alone.
For the meat of the ‘serious’ market, XC bikes focus on light weight and efficiency for less aggressive trails, at at the expense of some ride quality or the ability to take bigger hits. It’s also the one MTB category where you’ll find a decent number of hardtail frames (lacking rear suspension) and rigid forks – loved by purists, weight weenies, and those looking for absolute simplicity (often paired with a single-speed drivetrain). That said, over time, more and more big-hit standards have trickled into XC bikes, making them beefier and more capable than the offerings from 20+ years ago.
Trail (120-140mm travel)
Alongside XC, Trail bikes dominate mountain bike sales. They’re the bigger brother of XC, toeing the line between lightweight, race-focused gear, and the heavier, bulkier All Mountain bikes. To sum it up, trail bikes are what most average people should ride for average trails. While they have a slight weight penalty over XC, you’ll often end up riding longer, faster, and more comfortably on a trail bike for all but the smoothest routes and parks.
All Mountain (140-160mm travel)
All Mountain is where the scales begin to tip in a meaningful way from pedaling efficiency and super light weight into something designed for jumps and going downhill. While you could certainly complete an XC course on an All Mountain bike (and perhaps carefully complete a downhill race course), it won’t feel at home. All Mountain is the true jack-of-all-trades, perfect for the amorphous mix of trails you can find in many mountainous areas. It’s the all-day bike that can still pedal reasonably efficiently, but tackle trails that would be difficult on an XC bike.
Enduro (150-180mm travel)
Enduro is the last frontier before dedicated downhill machines, as it’s mostly absorbed the ‘freeride’ category (long travel bikes with predominantly single crown forks). They’re perfect for a mix of bike parks, downhill courses, and aggressive trails. While you can certainly pedal uphill on these bikes, it won’t be nearly as fast or enjoyable as one of the lighter-weight categories above. Along with DH, much of the best riding for Enduro bikes requires either a chairlift, a drive to the top of the mountain, or a casual transfer stage for best results.
DH (180-220mm+ travel)
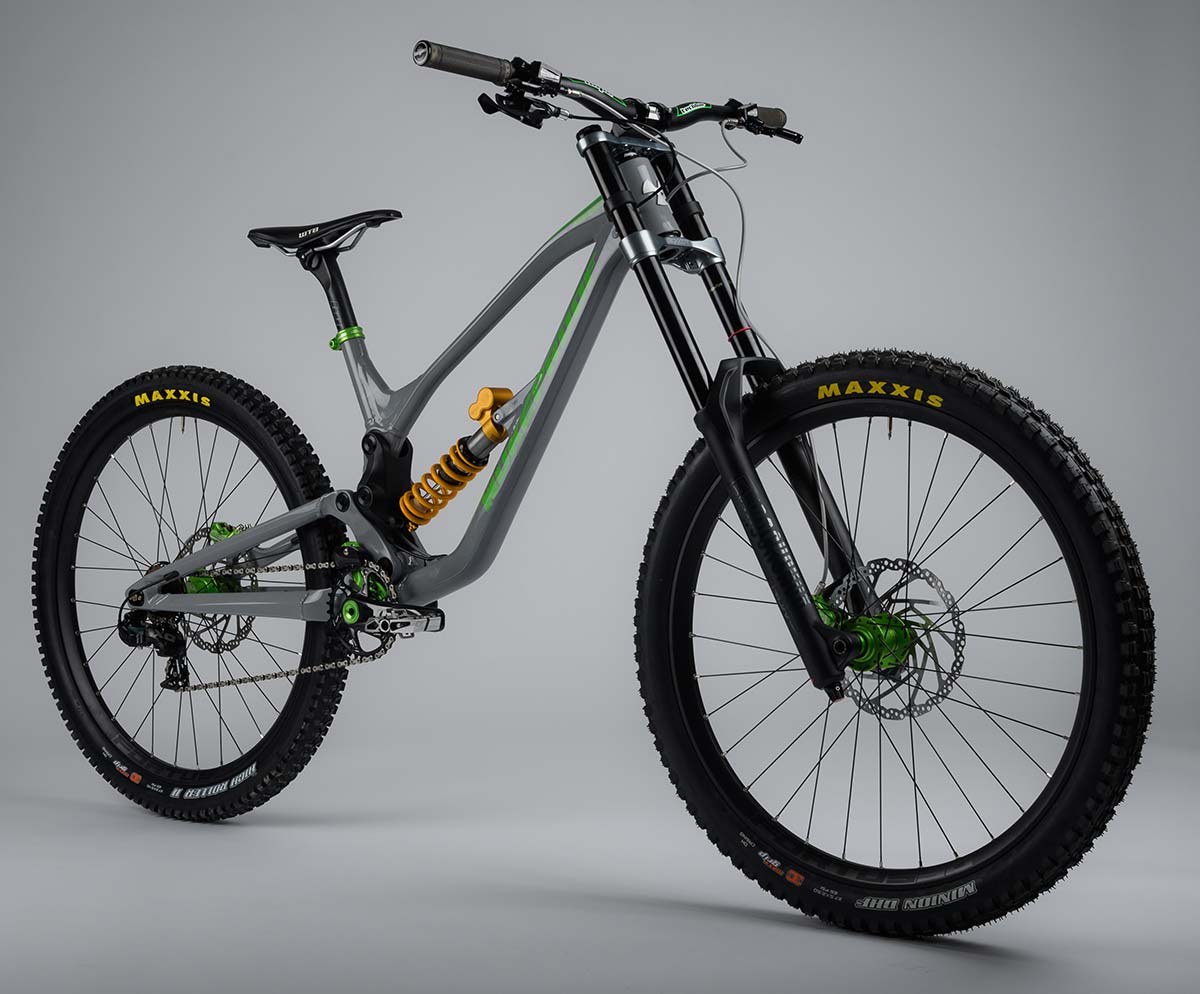
Downhill, or DH bikes aren’t super common for your average cycling consumer, so we won’t spend too much time on the specifics. DH bikes almost always feature a beefy dual-crown fork, long suspension travel, and a robust design that’s aimed squarely at traveling in sync with the laws of gravity. Many DH customers are experienced enough to know what they prefer or what’s best suited for their local runs. For the rest of us, we can all thank DH for acting as a testing ground for new ideas and equipment, which tend to trickle down in lighter-weight packages.
2. HUB AXLE STANDARDS
Hub widths and axles are an area of big change for cycling, with mountain bikes leading the way in terms of thru axle innovation. Quick release skewers were a huge innovation for cycling, offering fast, reliable wheel swaps. These were used for many years on mountain bikes, using 100mm front and 135mm rear axle spacing (i.e. the width from one face of the hub to the other, a.k.a. O.L.D. or over-locknut dimension).
Eventually, it was realized that QRs have a compromise: Axle diameter within the dropouts is only 9mm or 10mm. While you can boost the axle size within the hubshell and bearings, you have a bottleneck at the dropouts. Anyone who has ever landed a jump heavily and bent their quick release knows why this is a bad thing.
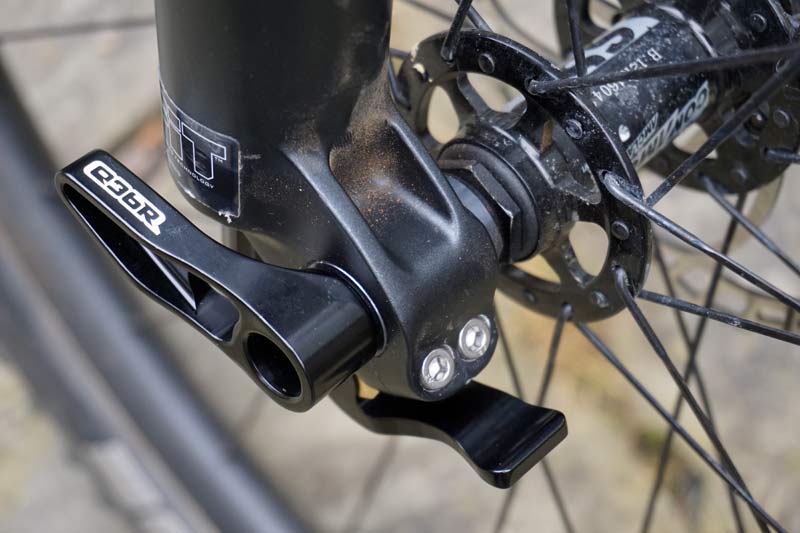
To solve this, thru axles were introduced. Now, instead of a tiny steel QR skewer, we have massive aluminum thru axles. This allows for larger axle diameter all the way through the dropouts, increasing stiffness, handling, and axle retention. As an added bonus, thru axles more reliably locate the rotor, reducing the frequency of brake adjustments in the case of disc brake bikes.
In the early days of thru axles, they were intended for DH bikes, or situations that were thought to really warrant a beefier solution – with QRs sticking around for light weight XC applications. These days, however, it’s almost impossible to find QR skewers on a mountain bike, save true entry-level equipment. Most thru axle systems have evolved to being nearly as light as QRs anyhow – and the stiffness boost offsets any penalty.
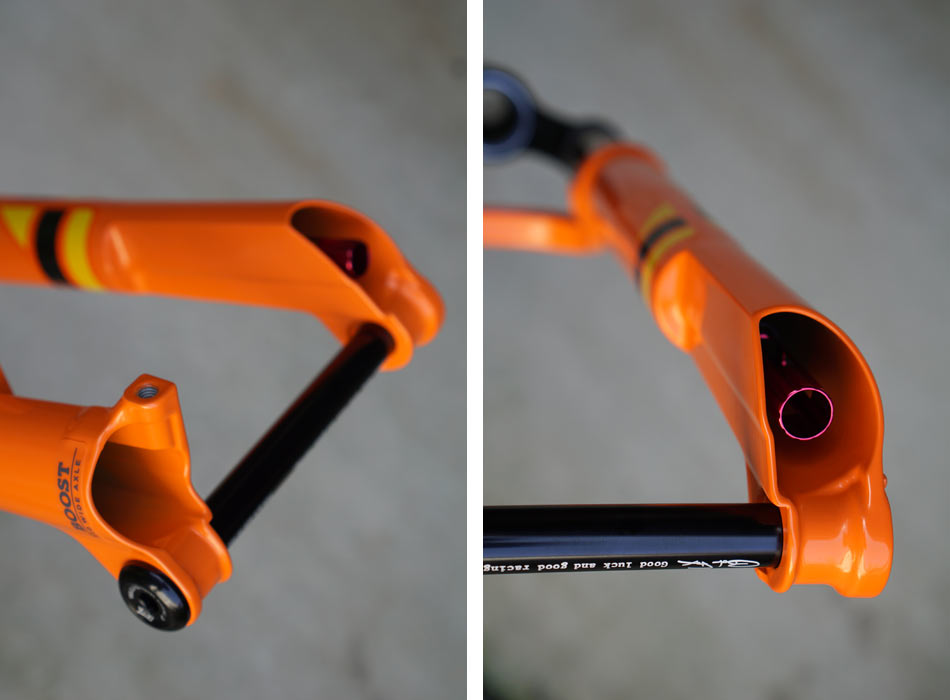
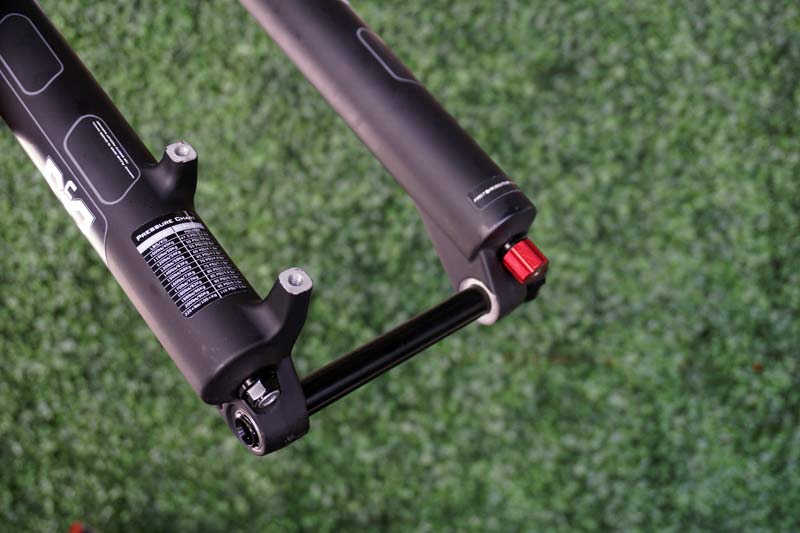
Front MTB thru axles currently use three standards: 15x100mm, 15x110mm Boost, and 20x110mm (the first number refers to the axle diameter, while the second refers to the dropout width of the bike). There’s also a 20mm Boost version out there which is also 20 x 110mm, but has different brake spacing – it’s pretty limited at the moment so we’ll ignore for now.
In general, the beefier the bike, the larger the axle you’ll find. Originally this meant 15×100 for XC, trail, and all mountain, with 20x110mm for Enduro and DH. This quickly changed with the introduction of 15x110mm Boost, being slightly wider than the original 15×100 – allowing for a widening of spoke bracing angles (and all but killing the original 15mm standard in a very short time relative to the quick release).
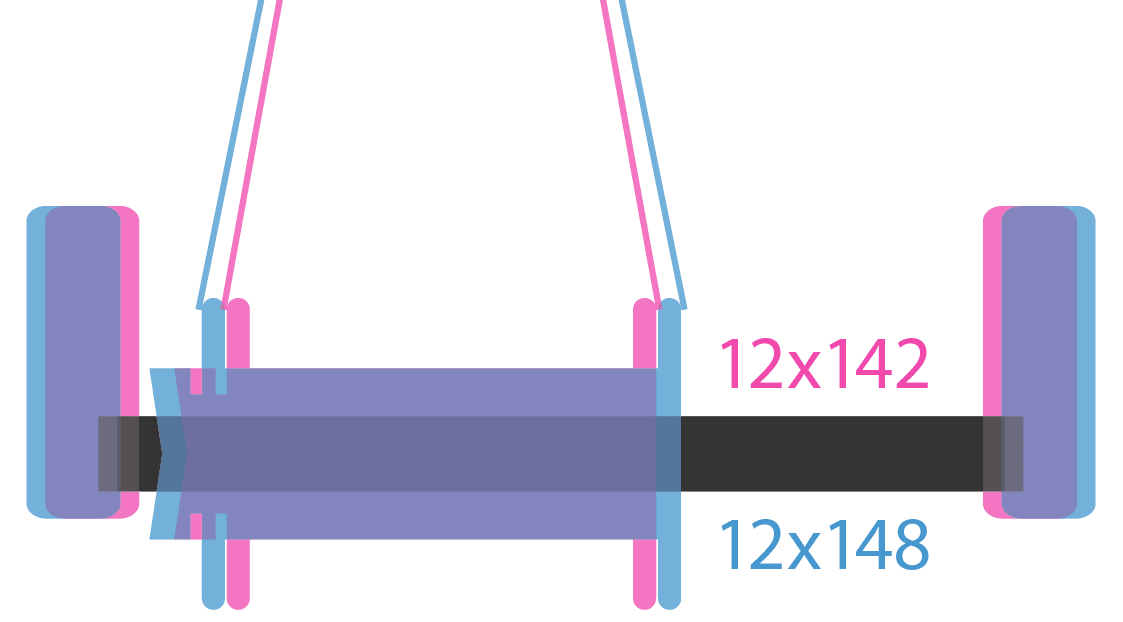
Out back, you’ll find a plethora of standards: 9 x 135, 10 x 135, 12 x 135mm, 12 x 142mm, Boost QR 9 x 141mm, Boost 12 x 148mm, 12 x 150mm, 12 x 157mm DH, and new 12 x 157mm Super Boost – plus some short-lived oddities like 165mm, or 142mm+ from Specialized. Don’t worry – we’ll explain.
Most of the current options feature a 12mm axle diameter. 142mm was the clear standard for nearly a decade for almost everything except serious Enduro and DH bikes, which often used the wider 150mm standard. This all changed with the introduction of Boost, which modified the standard chainline for use with wider Plus tire sizes, and has quickly become a common standard. Most current DH bikes use the 157mm standard which is the same as 157mm Super Boost spacing, but uses wider hub flanges for stiffer wheel builds (though the hubs are technically interchangeable). The former relies on hub flanges that typically stick to width specs from standard 142mm hubs, while 157mm Super Boost pushes everything outboard to build stronger rear wheels.
The take-home: The ‘safest’ standard for most XC, trail, and all-mountain bikes is Boost (15x110mm front, 12x148mm rear). For DH and Enduro, 20x110mm front is the clear winner, with rear spacing split between 150mm, 157mm, and 157mm Super Boost. Note that technically, 12 x 150 and 12 x 157 DH are essentially the same width hub between the frame. The difference is that 12 x 157 has a ‘shelf’ in the dropout for the hub to rest in. 12 x 150mm frames do not have that shelf, so lining up the hub and the axle is a bit harder.
But aren’t there different thru axle types?
Why yes, there are.
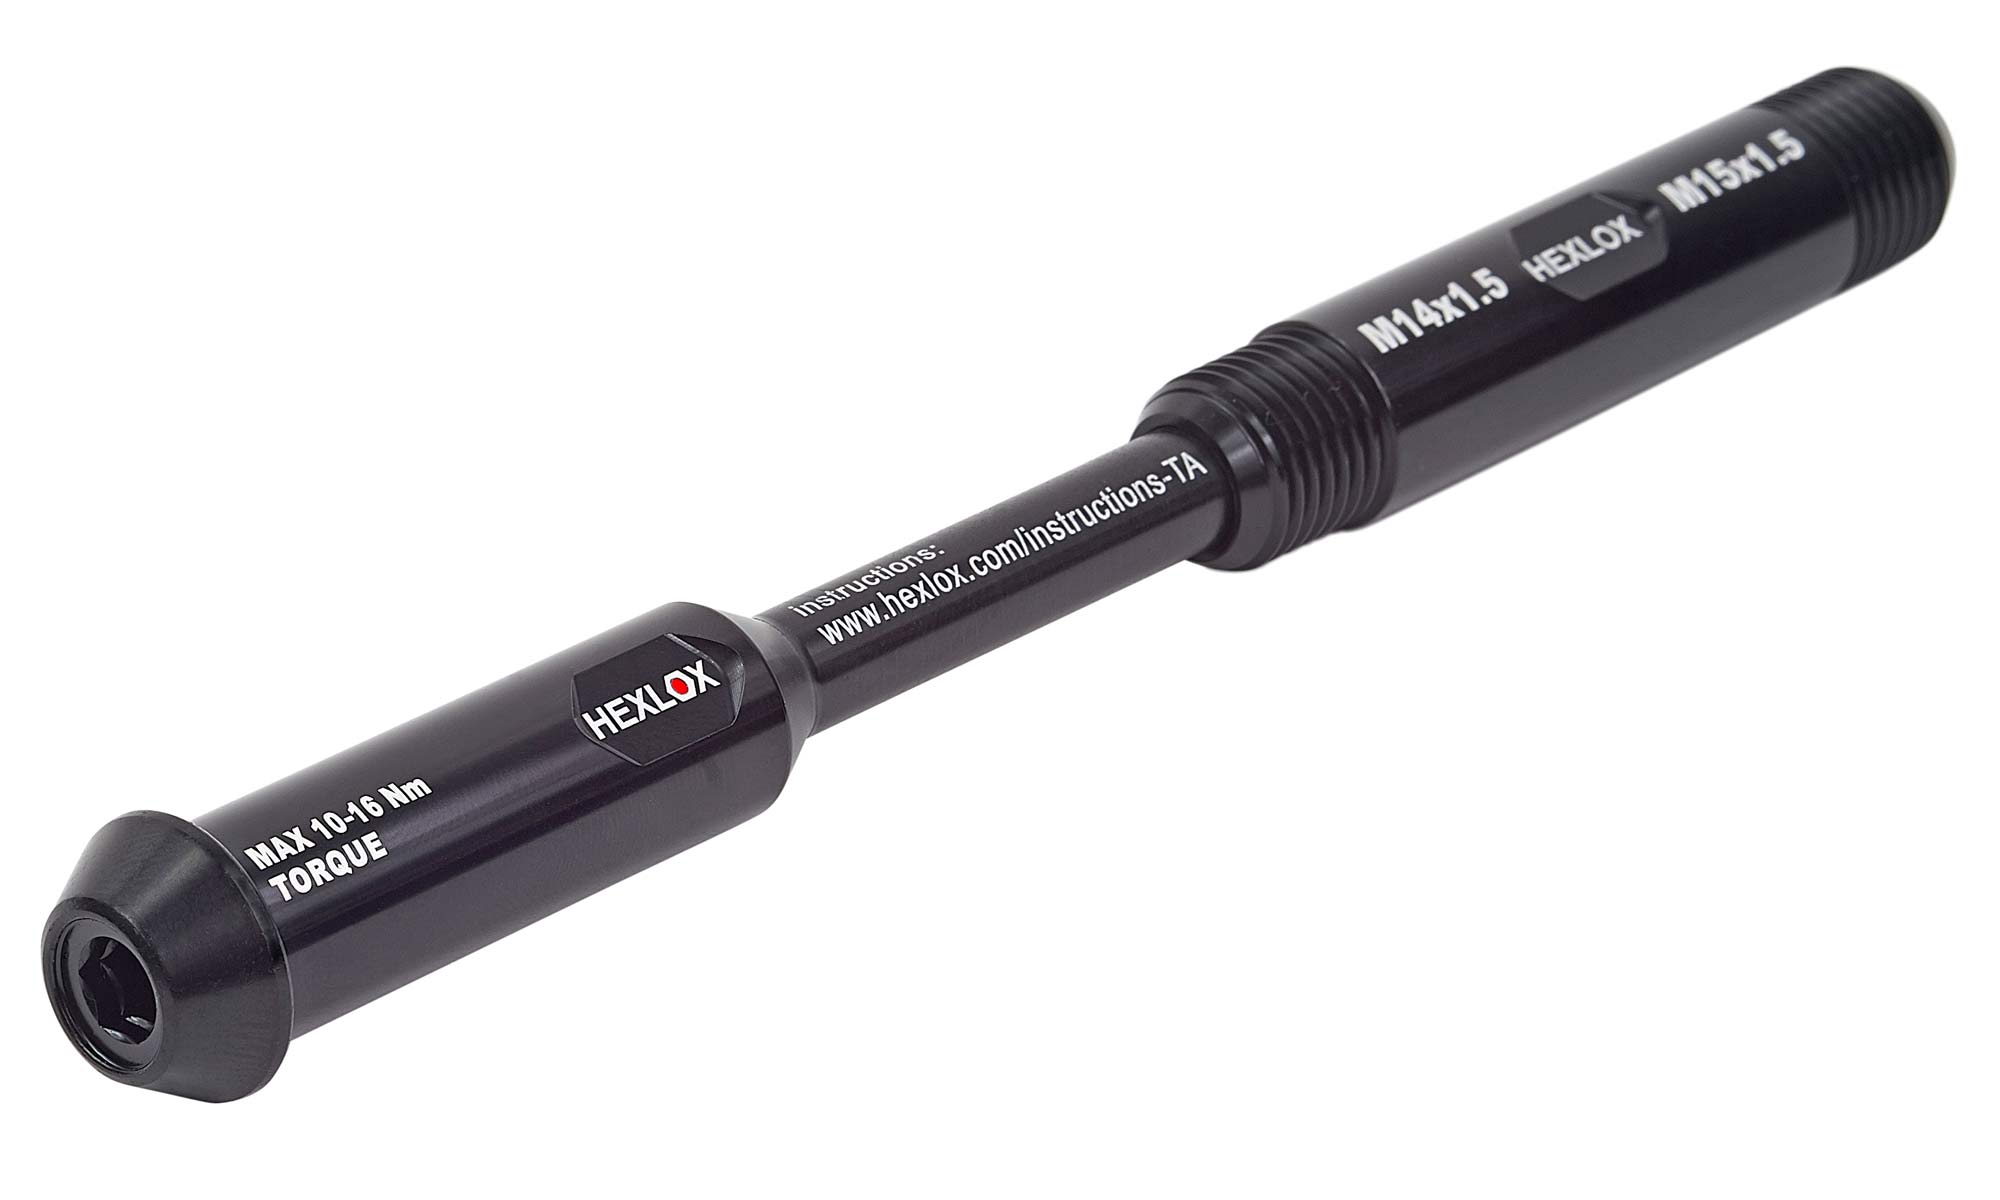
Some thru axles are bolt-on style, either with or without a lever, and sometimes with a removable lever. Others thread in to the frame or fork on one side, and secure using a lever that’s modeled after the good ol’ quick release skewer. Note that there are quite a few different thread pitches and designs of front and rear thru axles (i.e. your 12x142mm rear axle might not fit my bike that’s also equipped with a 12x142mm rear thru axle, because the size and pitch of the threads may be different). It gets complicated. When in doubt, only use the axles that came with your frame and fork – and keep spares handy if you’re prone to losing small parts. If you find an incompatibility, companies like the Robert Axle Project make a slew of unique axles and adapters to make almost anything work.
3. BOTTOM BRACKET & CRANK STANDARDS
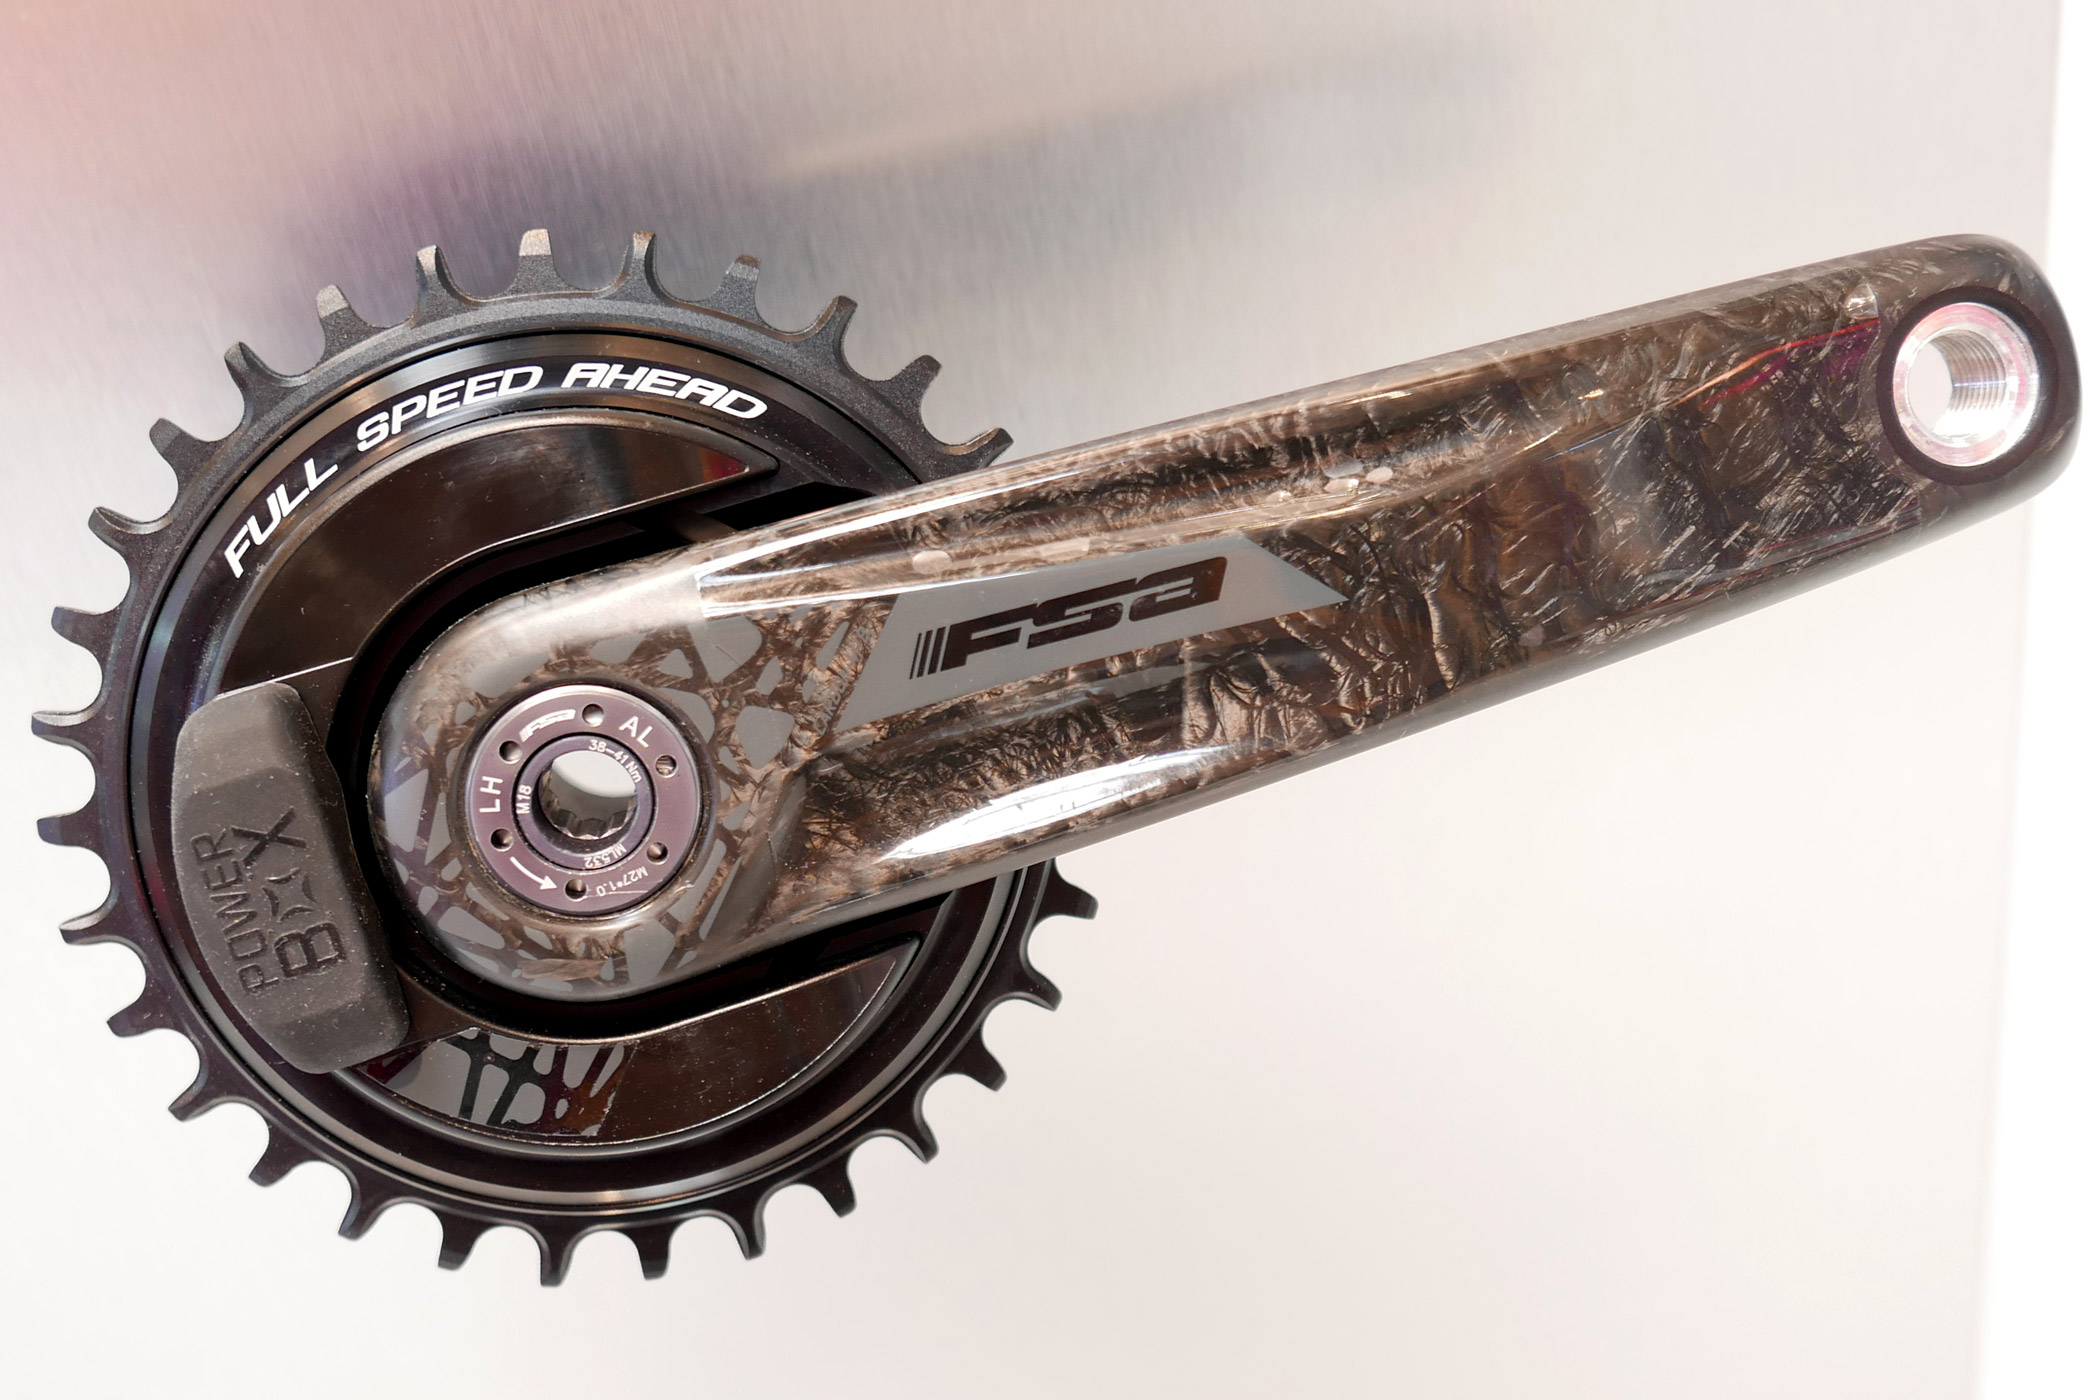
Ever the source of controversy, all your bottom bracket really does is keep your cranks spinning when you pedal away. If you’re a cycling veteran, you can rest assured that threaded bottom brackets are still around. We wrote a bottom bracket update in 2010, but since then the landscape has changed, a lot.
Today, the two broad categories that you’ll find are 1) threaded and 2) press-fit bottom brackets. The two MTB threaded standards are 68/73mm (same BB for both, spacers are used to take up slack from 68mm) and 83mm-wide; the former being more common for short-travel bikes, and the latter being used for enduro or DH bikes. You can thread in a square taper bottom bracket, but other than White Industries, you’d be hard pressed to find a fully modern crankset still using a square taper interface.
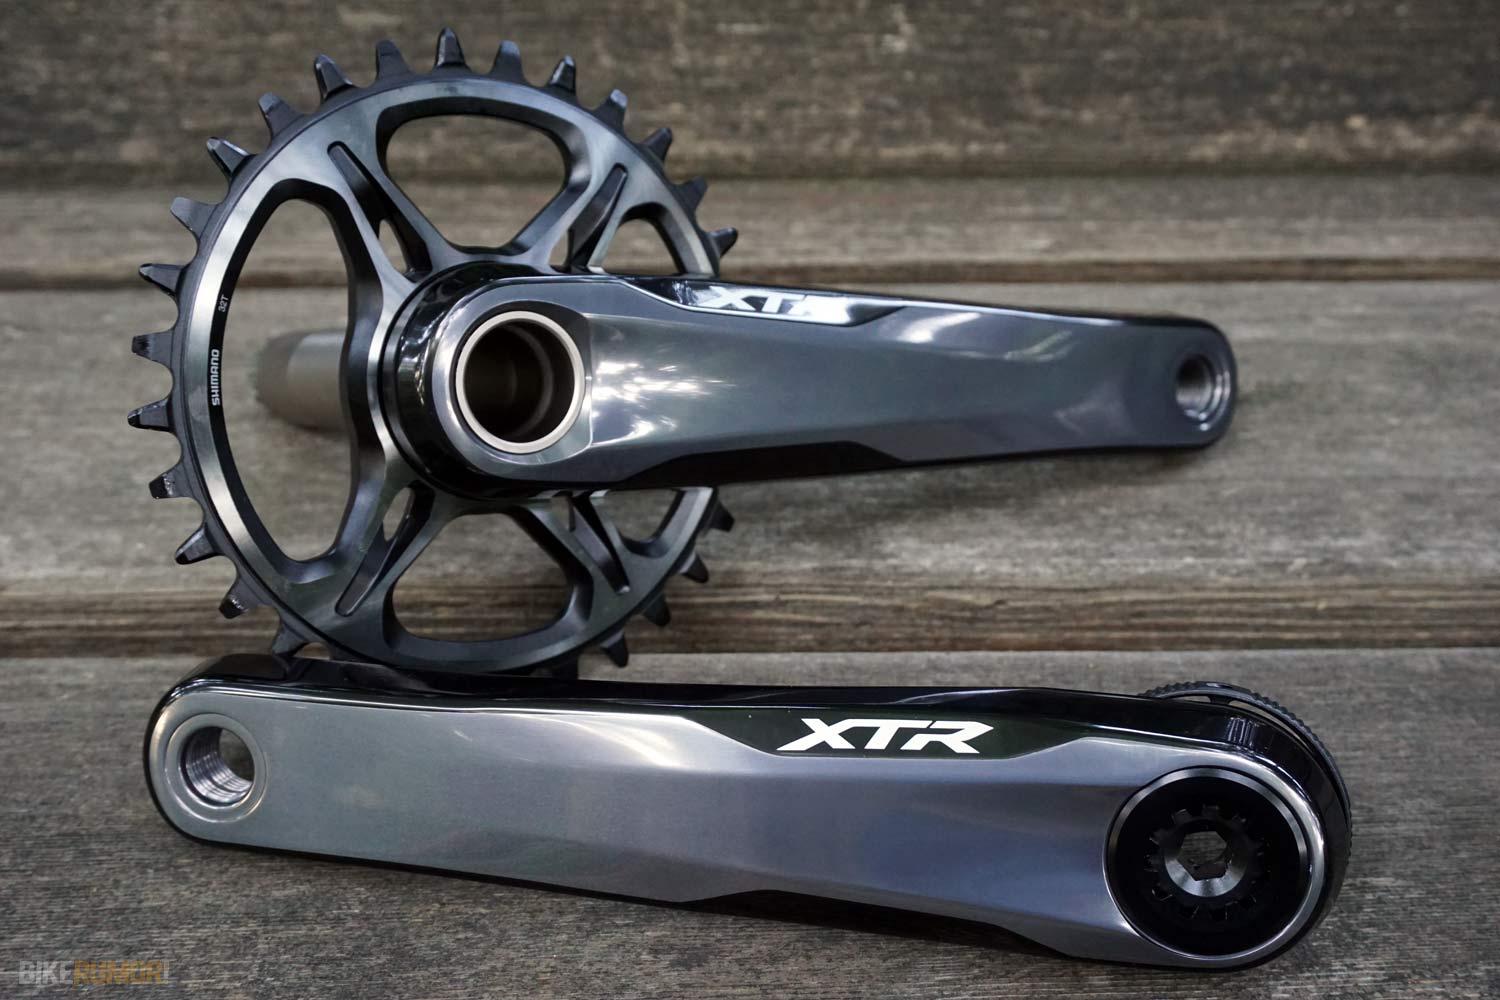
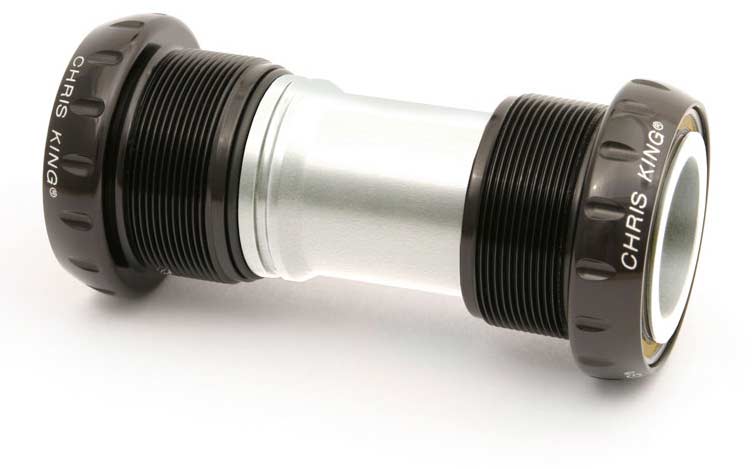
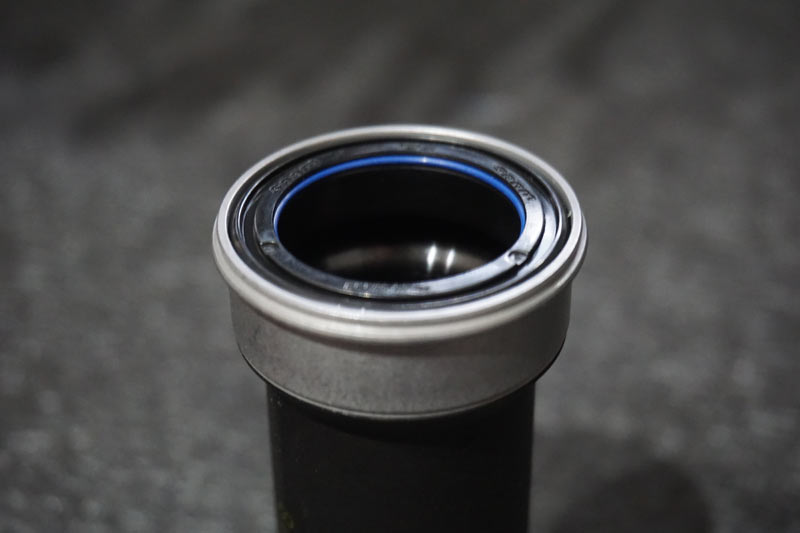
The current threaded standard BB uses outboard bearings, which rely on a crankset featuring its own integrated axle/spindle. Outboard bearings (seen above) were introduced in the early 2000’s, largely use a 24mm steel axle, and became the standard for anything but true entry-level bikes. A straight 24mm spindle is the norm, but you’ll also find a GXP spindle from SRAM that tapers from 24mm on the drive side to 22mm on the non-drive side.
There are also threaded bottom brackets meant to use with cranksets that have 30mm spindles, called BSA 30. These look like a standard threaded outboard bottom bracket, but have larger cups to fit bigger bearings which will allow for the use of larger spindles. The trade off is that while potentially stiffer thanks to the larger spindle, the bearings often use smaller balls which may result in compromised longevity.
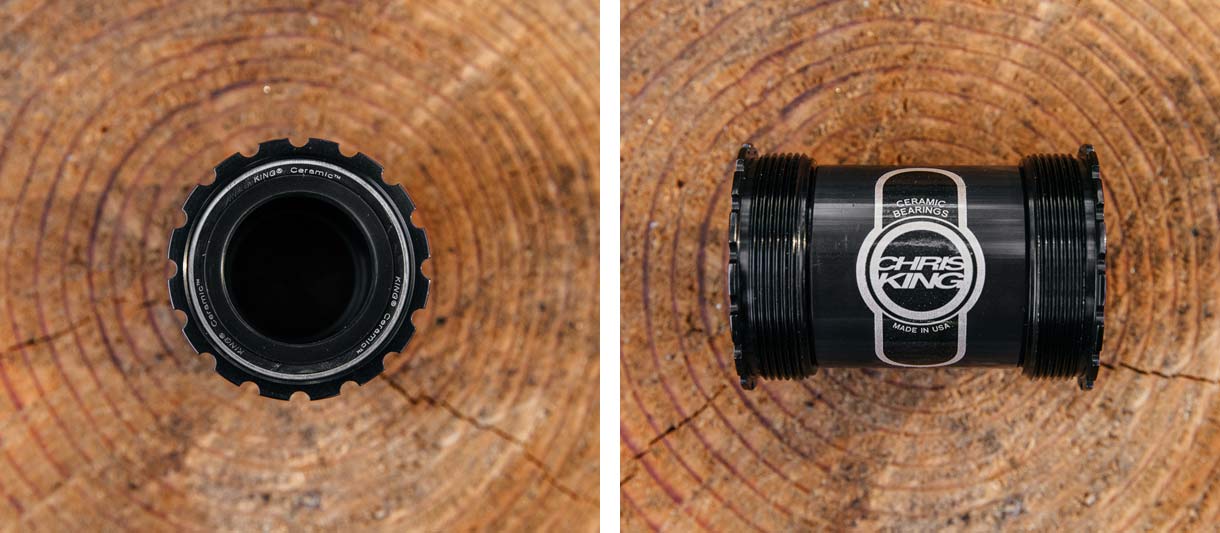
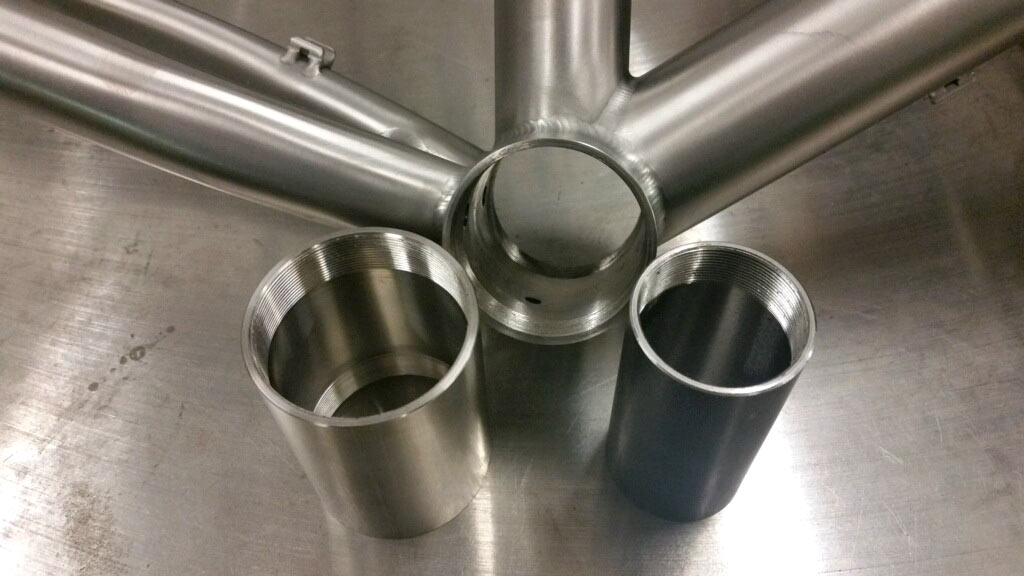
Press-fit bottom brackets are a large category containing many different sub-types. Rather than threading into the frame, they rely on a large bearing press for installation. The main reasons for their introduction were to reduce weight and increase stiffness via larger-diameter 30mm spindle and more material at the bottom bracket for bigger tube to tube joints and more tire clearance. Here are some of the most common varieties:
BB30: Uses a short-length 30mm diameter aluminum axle; bearings press directly into the frame (ideally into an aluminum insert molded into a carbon frame, since most of the time it’s not ideal to press bearings directly into carbon fiber, though some companies have special technology to do so). The bearings are held into place with C-clips. It’s rare to find a true BB30 frame anymore because PFBB30 is cheaper to manufacture, and often easier to maintain.
PF30 / PFBB30: Same as above, but the bearings are pre-pressed into a plastic or nylon sleeve that presses into the frame. Typically results in easier installation and easier frame manufacturing – no precision-machined aluminum insert required. The composite cups that hold the bearings can make up for minor frame intolerance, and they help minimize the creaking that could occur in a BB30 setup.
BB92 or PFBB92: Relies on a slightly smaller bottom bracket shell than PF30, using a bearing size intended for a 24mm steel crank spindle (which would otherwise be used with a standard threaded bottom bracket shell and outboard bearing bottom bracket).
There are others: Trek’s BB95, Specialized OSBB, and more. If you’re glazing over with confusion, the good news is that companies such as Wheels Manufacturing, Rotor, Praxis, and others have created adapters and special bottom brackets which allow many of these different crank, bottom bracket, and frame standards to play nicely with each other. Be aware that Cannondale’s Ai asymmetric frame designs and bottom bracket layouts sometimes have very limited upgrade options… but they also make some very lightweight, high end SiSL cranks, too, so that’s only an issue if you absolutely must run a complete Shimano or SRAM group. In general, the best way to future-proof yourself with an expensive crankset or crank-based power meter purchase is to buy an option with a long crank spindle. You can always use shims or adapters to take up extra spindle length, but you can’t make a too-short spindle work in a wide frame.
Don’t forget about DUB. Created by SRAM, this crank/bottom bracket standard is intended as an ultimate past-and-future-compatible standard that combines the best of old and new-school technology. With a 28.99mm aluminum spindle, it’s stiffer and lighter than 24mm steel designs, yet smaller than the common 30mm alloy spindles. Why? In a nutshell, it allows for better bearing sizes and seals than BB30 / PF30, leading to longer bearing life – when used in threaded frames. It is a “universal” standard that theoretically works in just about any frame on the market. You can even upgrade DUB bikes to fast-spinning ceramic bearings, thanks to Kogel’s new offerings.
And then there’s T47: Hitting the scene in 2015, the latest BB standard attempts to combine the benefits of large diameter press-fit axles with the ease of threaded bottom brackets. It’s called T47. In short, it uses the same threaded style as an old BSA bottom bracket, but in a larger diameter that fits BB30-style bearings and cranks inside. While it hasn’t gained widespread adoption yet, it could be a popular future standard that retains backwards-compatibility. So, if you see this as the standard on whatever bike you’re looking at, that’s a good thing.
The Takeaway: Most mountain bikes today use traditional threaded 68/73mm or 83mm, PF30, or BB92 – with some custom manufacturers offering T47. If you do start developing any play or creaking in a press-fit shell, upgrading to a thread-together conversion bottom bracket will add a few grams but mostly likely will eliminate any of the creaking or misalignment issues of press-fit designs. Or check out the one-piece solutions from BBinfinite, which seem to spin for days.
4. NUMBER OF CHAINRINGS AND COGS
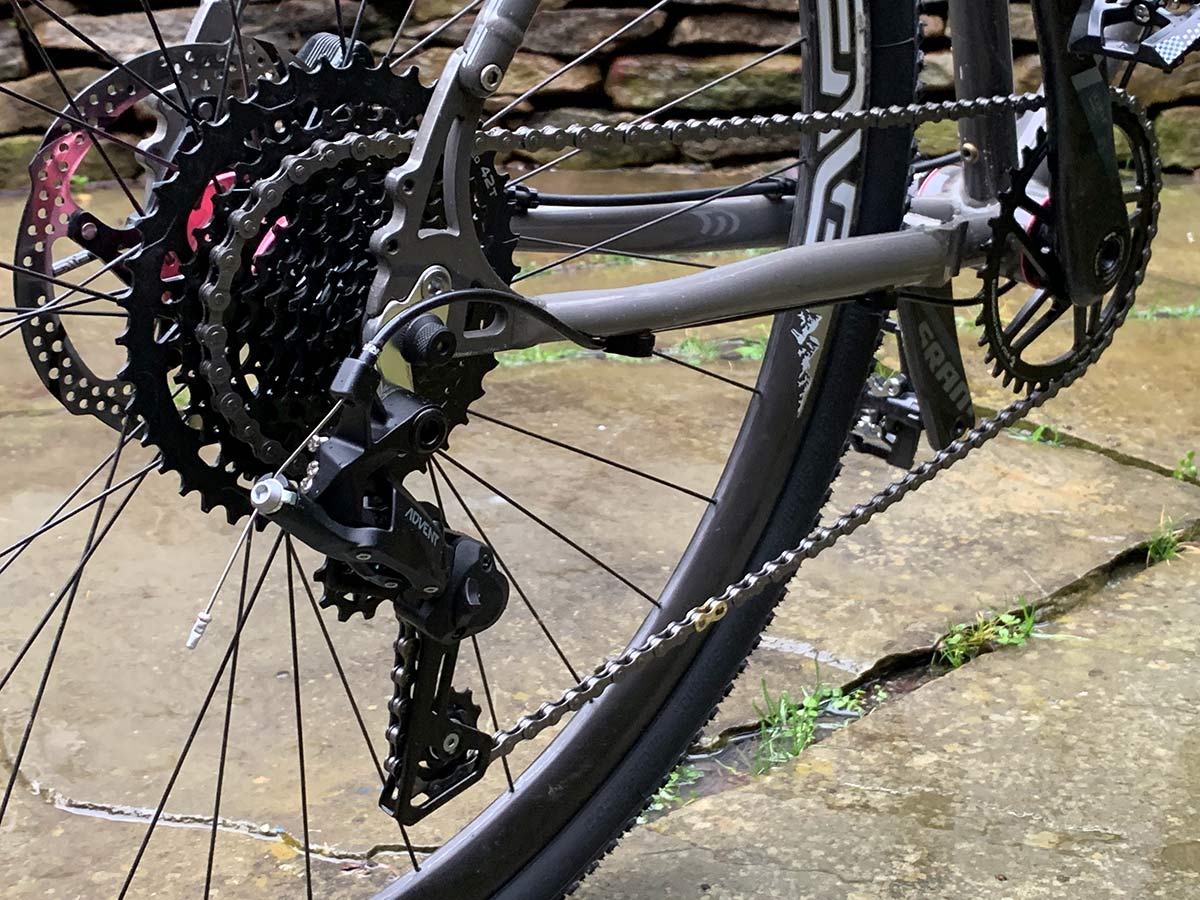
Even if you’ve been away from cycling for a long time, you probably know that it’s par for the course for component manufacturers to increase the number of rear cassette cogs every five to eight years. For 2019, most mid-to-high-end mountain bikes have 11 or 12 cogs in the rear, and 10-speed has trickled almost all the way down to entry level. If you’re shopping at a department store, you might still find 8-speed rear cassettes, but virtually everything in a bike shop is now 10, 11, or 12-speed. Note that DH bikes often use 7-speed cassettes, due to their special requirements and smaller necessary gear range.
In general, you should shop for the highest number of cogs you can afford. More cogs allow for a tighter gearing progression from cog-to-cog, and/or a greater gear range overall.
It’s also worth noting that the switch from 10-to-11-speed and 11-to-12-speed brought about two new freehub standards – SRAM XD and the new Shimano Micro Spline. We’ll cover these in greater depth in the Freehubs section, but be aware that upgrading your current bike to the latest drivetrain may require new wheels – or at least a new rear hub driver body.
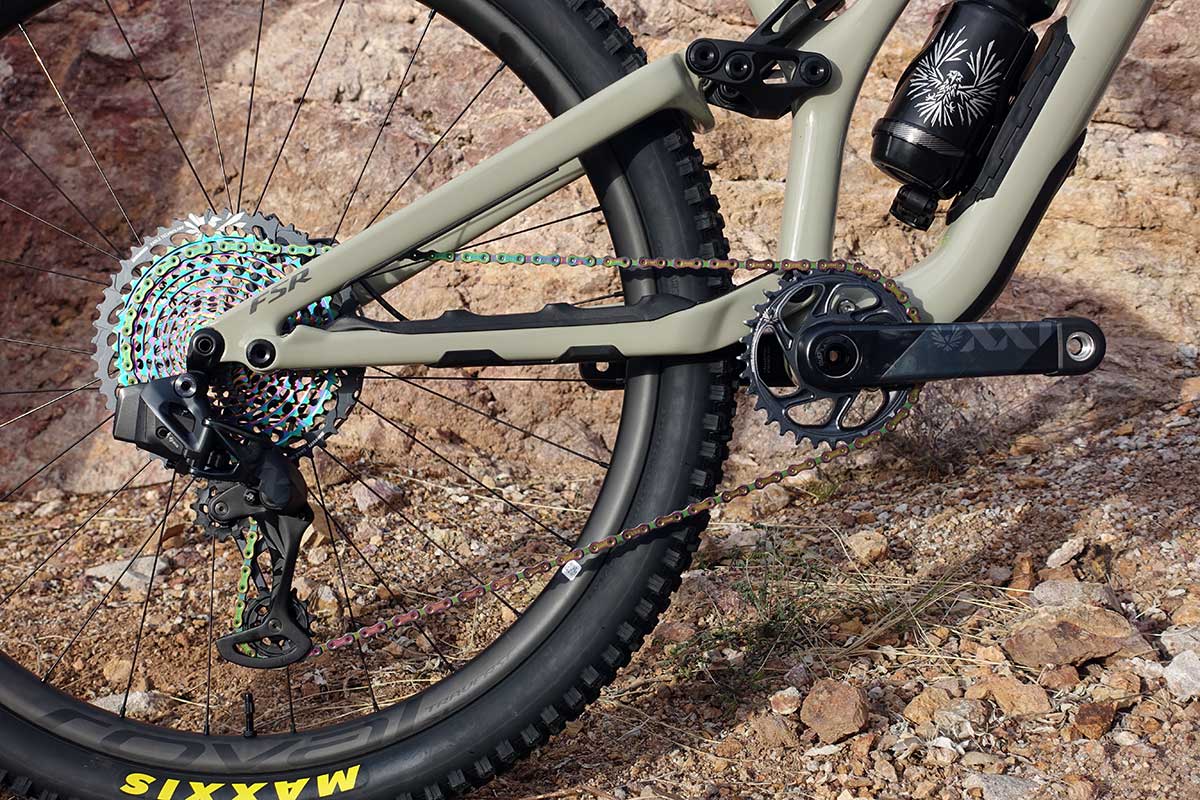
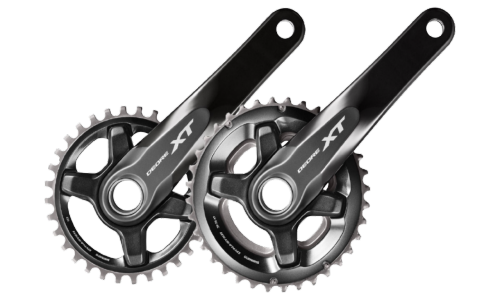
While the number of cogs at the rear of our bikes steadily grows, the number of chainrings has declined. Why? That larger number of rear cogs allowed the gear range to grow – requiring fewer gears up front to maintain an acceptable range overall. In short, a system with one or two chainrings and 11 or 12 rear cogs could easily have the same or greater range than a system with three chainrings and nine rear cogs. It’s science.
This is one area where the there’s a growing divide in opinion between road and mountain enthusiasts. While double chainring (or “2x”) systems remain dominant in road cycling, single chainring (or “1x”) systems have big acceptance in MTB. Why? In short, mountain bikes aren’t typically used for fast road speeds, reducing the need for tight gear steps and a super-wide overall gear range. Second, removing the front derailleur and shifter eliminates weight and potential parts to break. It’s also quieter. And since the chain never shifts off the front chainring, you can create a ring that ‘grabs’ the chain and prevents chain drops. Finally, both tire clearance and suspension design are open for big paradigm shifts without the need to design around a front derailleur. In fact, many mountain bikes today have no provisions at all for front shifting – so be sure to do your research if you prefer a front derailleur.
That said, there is still a market for 2x mountain bikes, and this decision largely depends on personal preferences. Do you live in a flat area, want light weight on a budget, and elimination of (potential) front shifting problems? Go 1x. Are you riding huge mountain passes, need massive overall gear range, and prefer tighter-spaced cassette gearing? Go 2x. Just be aware that – all else equal – 1x bikes will allow for greater tire clearance, shorter chainstays, or both.
5. GEAR SHIFTING METHODS
Once you’ve selected the number of chainrings and rear cassette cogs you want, the next step is to decide how you’d like that shifting to happen. There are three current methods of actuating a gear shift:
1. Mechanical
2. Electronic
3. Hydraulic
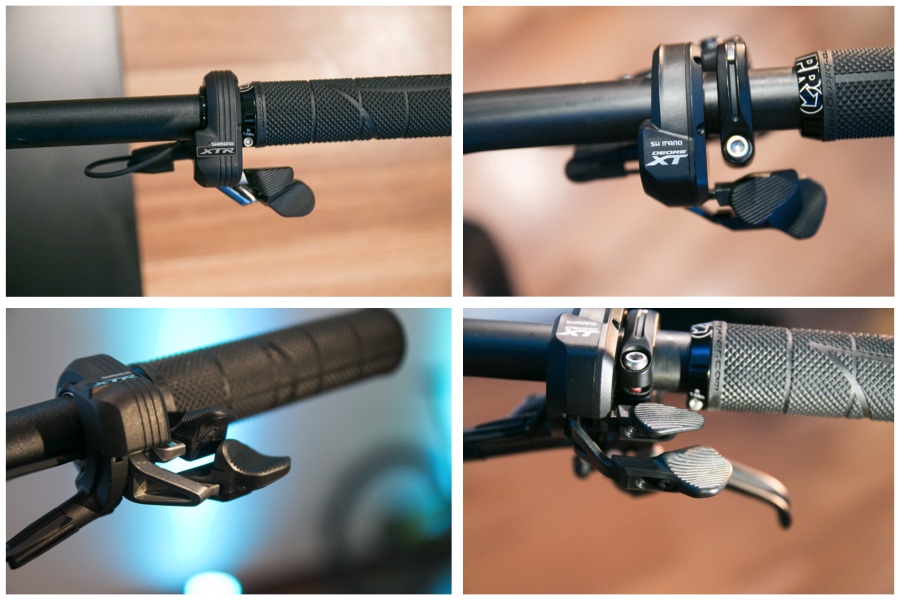
Mechanical systems are the most common. Your shifter pulls on a steel cable, which runs along your frame through a cable housing, and eventually pulls on a derailleur – and the magic of shifting happens. Mechanical drivetrains are all made for different budgets, typically offering lighter weight and improved shift quality as you climb the ladder of price. The downside is that the shift cables and housings eventually become gummed up with dirt and debris (a real issue for MTB), requiring their replacement. The majority of component sales are by SRAM and Shimano, with smaller players vying for position with unique product features. There’s even an impressive budget groupset from MicroSHIFT for only $125.
Electronic shifting, on the other hand, is much newer to cycling. First introduced in the early 1990s by Mavic, it took almost two decades before electronic shifting hit mainstream cycling (and about 3 decades for MTB). Rather than relying on cables to move those derailleurs, each derailleur has its own electric motor.
The benefits of electronic shifting are many. It shifts very consistently, and there are no cables and housings to collect dirt and degrade shifting over time. It requires very little skill to use, and very little effort from your hands to shift. Finally, and perhaps most importantly, it has opened up a world of customization and possibilities with software: customized button functions, automatic front derailleur trim adjustment, and multiple shift button locations.
What about downsides? First and foremost, electronic shifting comes at a premium price. With the abuse that mountain bikes endure, this is perhaps the biggest impediment to increasing the popularity of electronic shifting. Second, while you don’t have to replace shift cables, you do have to charge one or more batteries – the frequency of which depends on the system you buy and how often you ride (but count on every 1 – 3 months, give or take). For serious long-distance adventures, it often isn’t practical to charge batteries or carry the weight of a charger. Finally, while perhaps subjective, it can be difficult to diagnose or fix problems for the shade-tree mechanic, who is more accustomed to adjusting a cable than updating firmware.
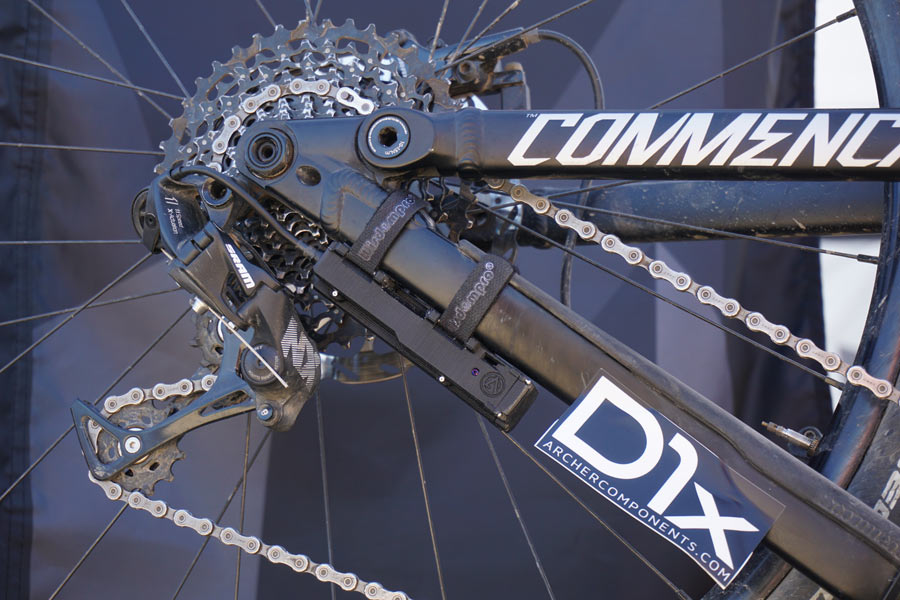
The other choice to make when deciding on an electronic system is whether you want wired or wireless. Currently, the electronic systems from Shimano are wired, while SRAM’s Eagle AXS is wireless. In other words – Shimano Di2 has a physical connection running from the shifters to a single battery to the derailleurs. In contrast, each SRAM AXS component has its own battery (the shifter has its own replaceable coin cell battery, while the rear derailleur has its own rechargeable battery), and shift signals transmit via a wireless signal. Debate about superiority rages on, but the short of it is this: Proponents of wireless shifting praise its clean look and quick installation, while proponents of wired shifting praise its longer battery life, need to charge only one battery, and its (theoretically) more reliable hard connections.
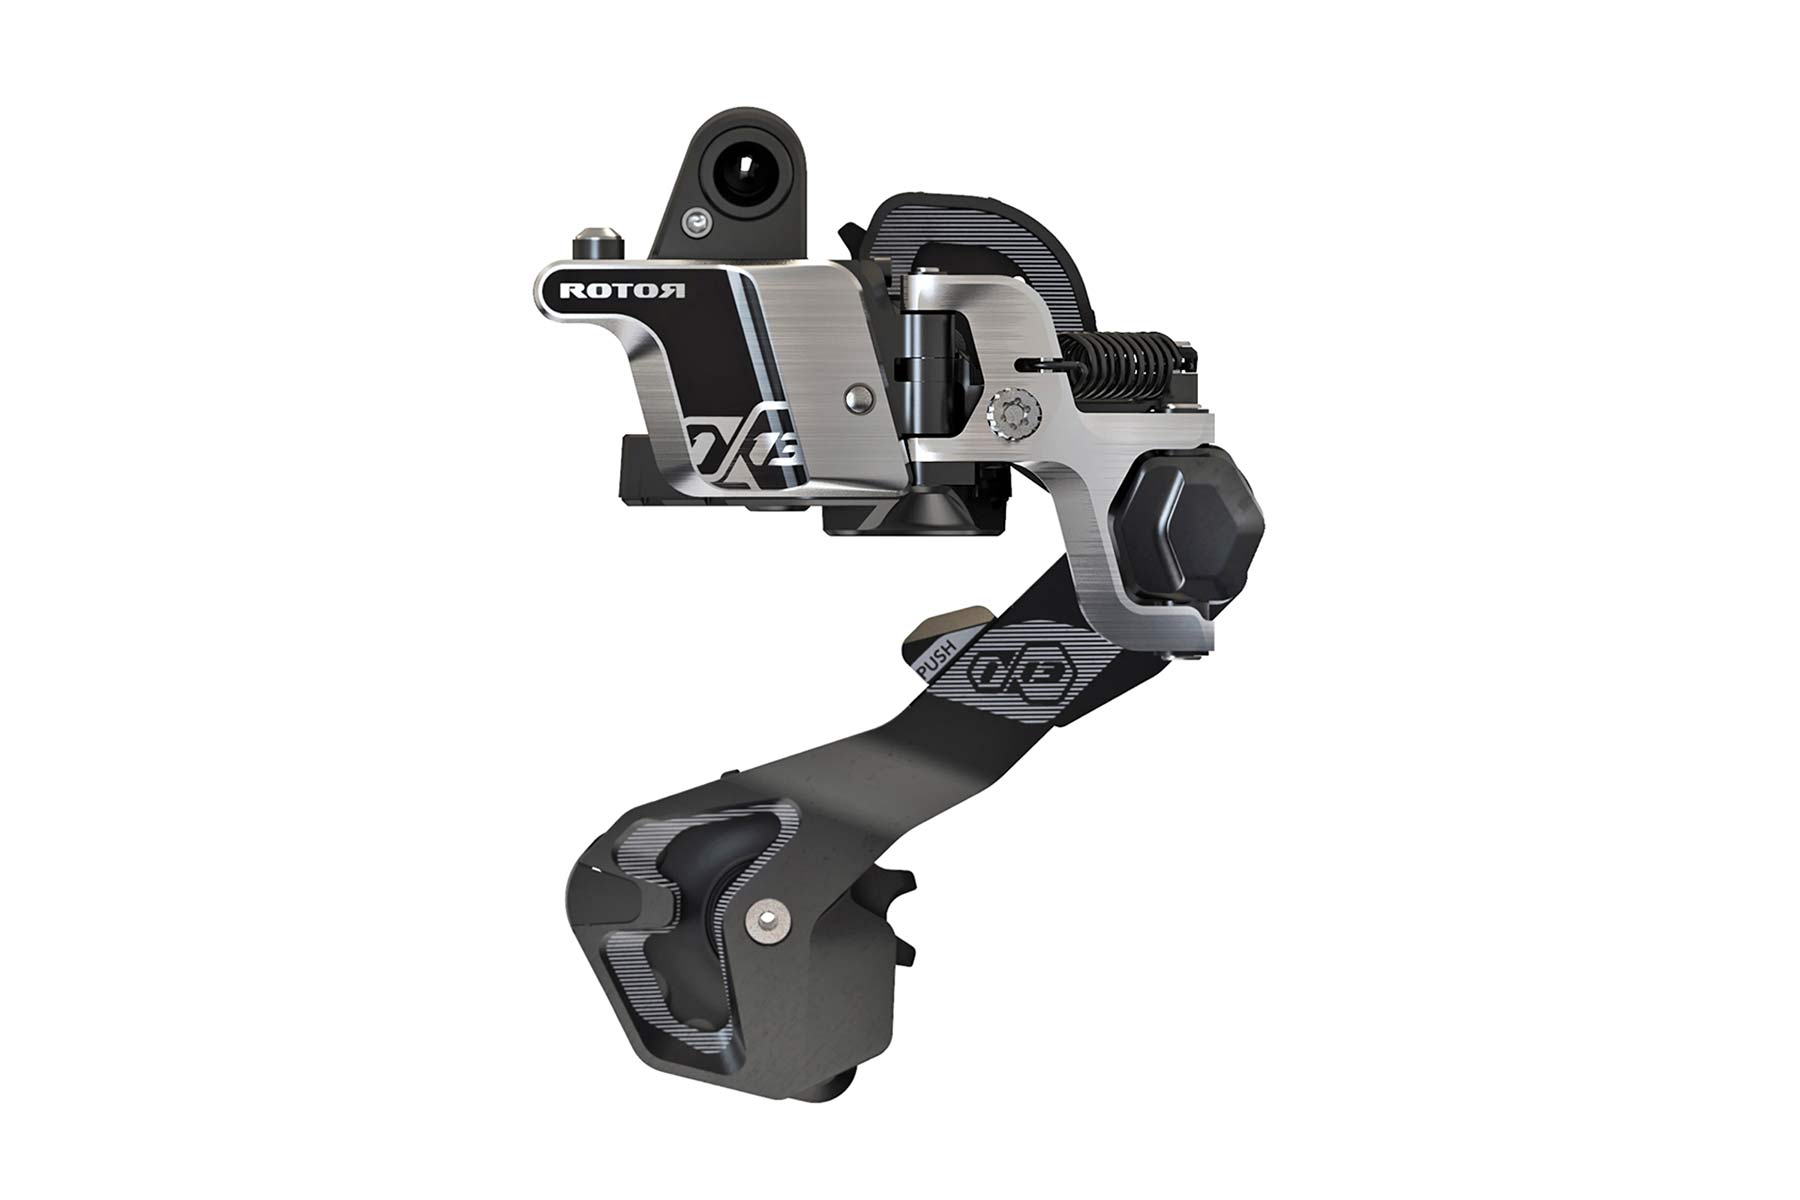
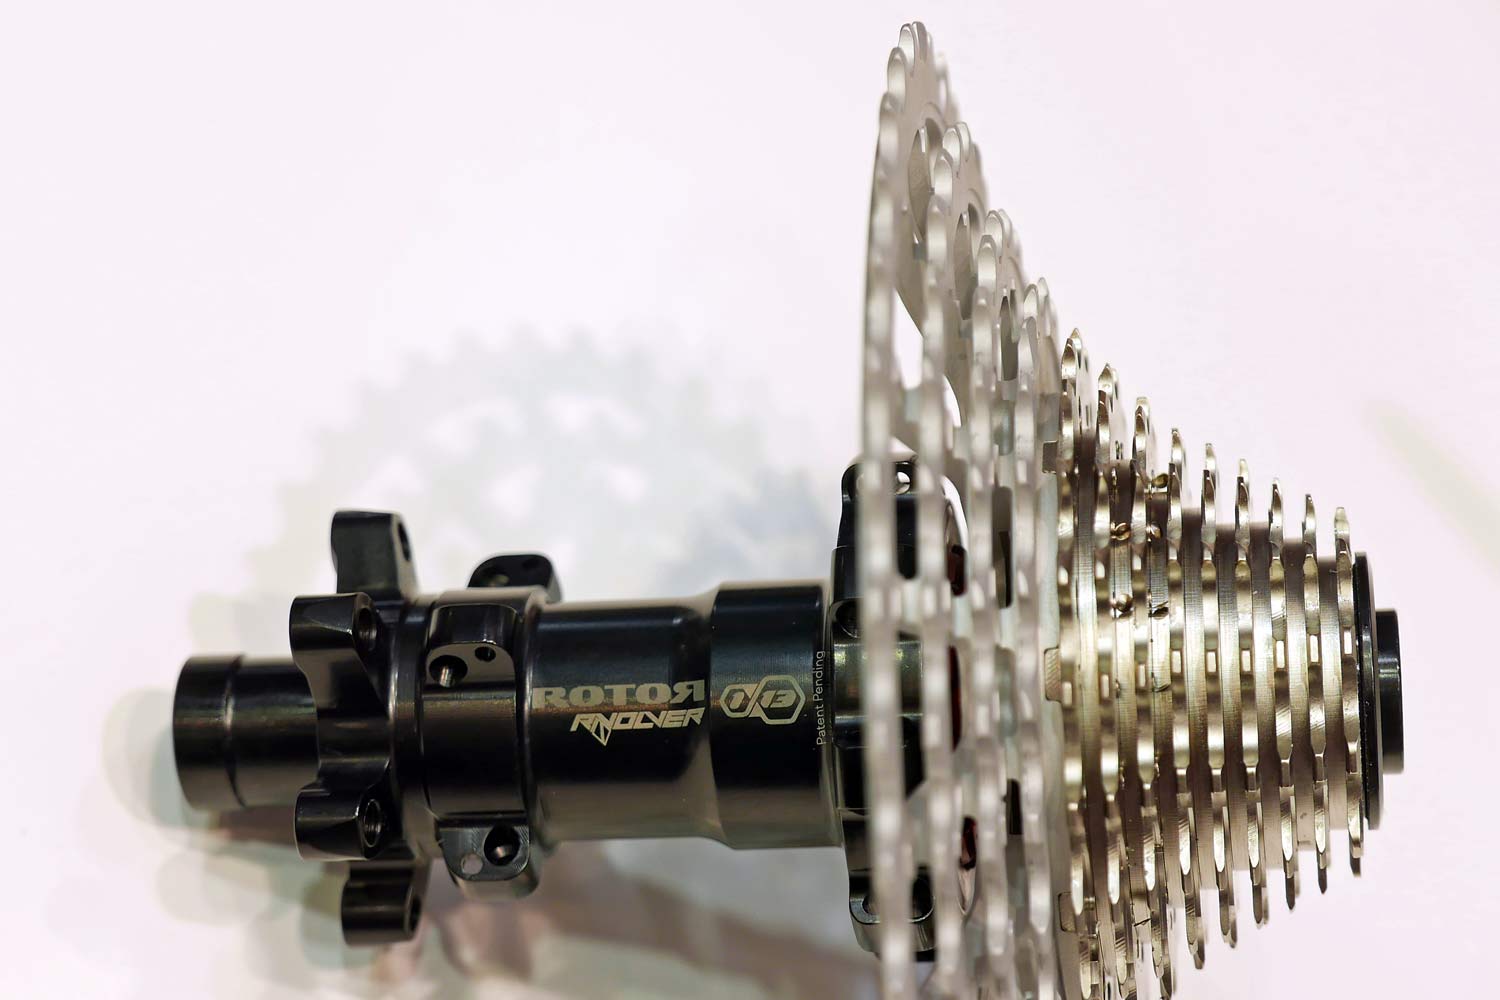
The last method of shift actuation is hydraulic. Currently offered only by Rotor now that Acros is no longer offering their version, this system uses hydraulic fluid and lines to initiate each shift, similar to how hydraulic brakes work – except that it’s a fully closed system that shouldn’t require maintenance once installed. This system has yet to gain widespread adoption or OEM specification, but touts very light weight and sealed lines that won’t become contaminated by dirt (and no battery to charge). Rotor is also first to market with a 13-speed groupset, giving them a massive overall gear range with just a single chainring.
6. BRAKE TYPES & TRENDS
Unless you’ve been asleep for the last 20 years, you should know that disc brakes have completely taken over mountain bikes at almost all price points. Discs excel in wet, dirty, and freezing conditions – which is what mountain biking is all about. They also have a huge advantage of not being affected in the case of a bent rim or broken spoke, which often renders rim brake mountain bikes completely inoperable (because the rim is the braking surface).
Mechanical or Hydraulic?
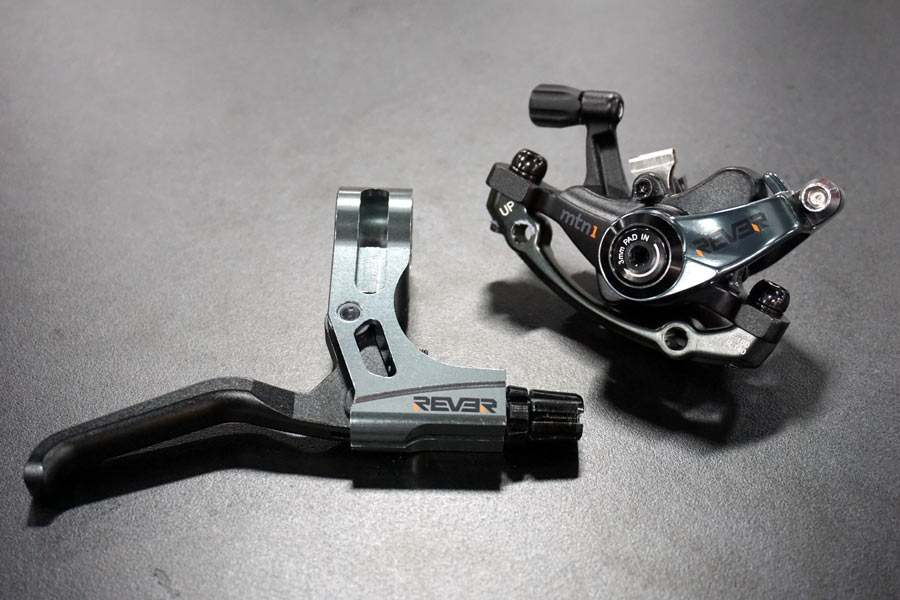
Disc brakes come in two main formats: mechanical and hydraulic. Mechanical discs operate much like mechanical shifting – a steel cable runs between the brake lever and caliper. These systems are typically price friendly, but don’t offer the modulation and power of a hydraulic system. They tend to be preferred by people who value mechanical simplicity, and the ability to perform trailside repairs for ultra-distance, middle-of-nowhere competition.
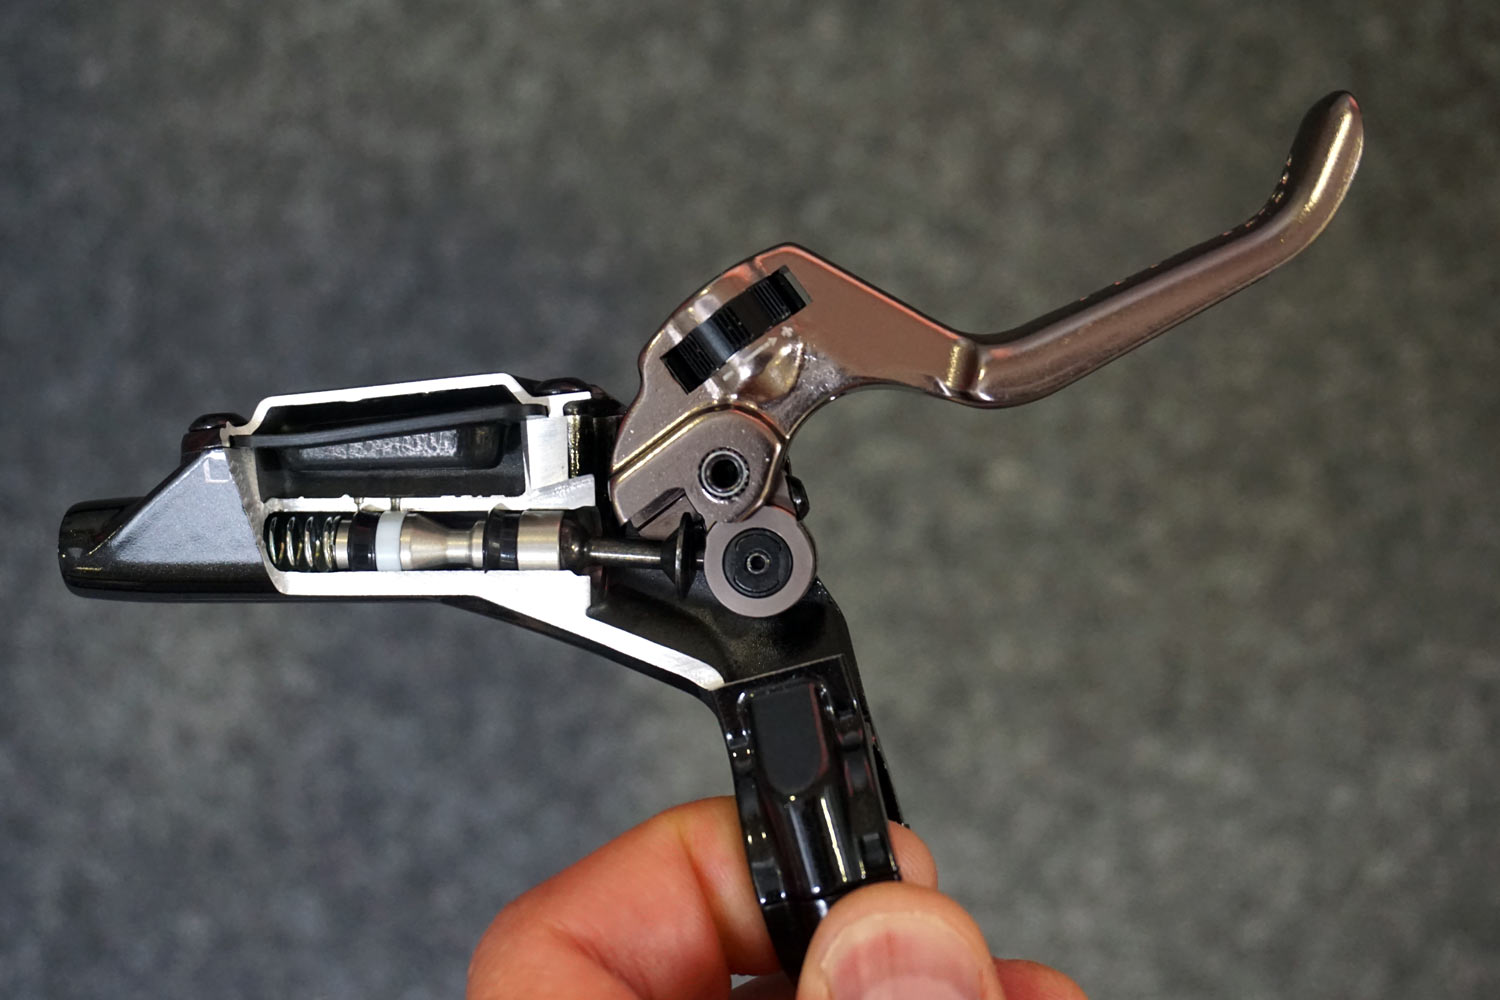
Hydraulic systems cost more, but offer improved modulation – the somewhat subjective band of feel between light braking and full wheel lockup. They are also well sealed from the elements, don’t require the cable replacement of mechanical systems, and provide automatic adjustment as brake pads wear down. However, depending on the type of fluid required by the manufacturer, hydraulic systems can require fluid replacement as regularly scheduled maintenance. Some hydraulic brakes use DOT fluid, which absorb moisture over time and must be replaced more frequently than systems using mineral oil. Mineral oil is also non-corrosive which extends the life of the brakes and won’t ruin your paint if you spill it during the bleed procedure and don’t properly clean it up. DOT fluid is preferred, however, by those who ride for extended lengths in sub-zero temperatures, due to its low freezing point. Note that ALL hydraulic brake systems require the use of a specifically-made hydraulic-equipped brake lever.
Caliper mounting standards
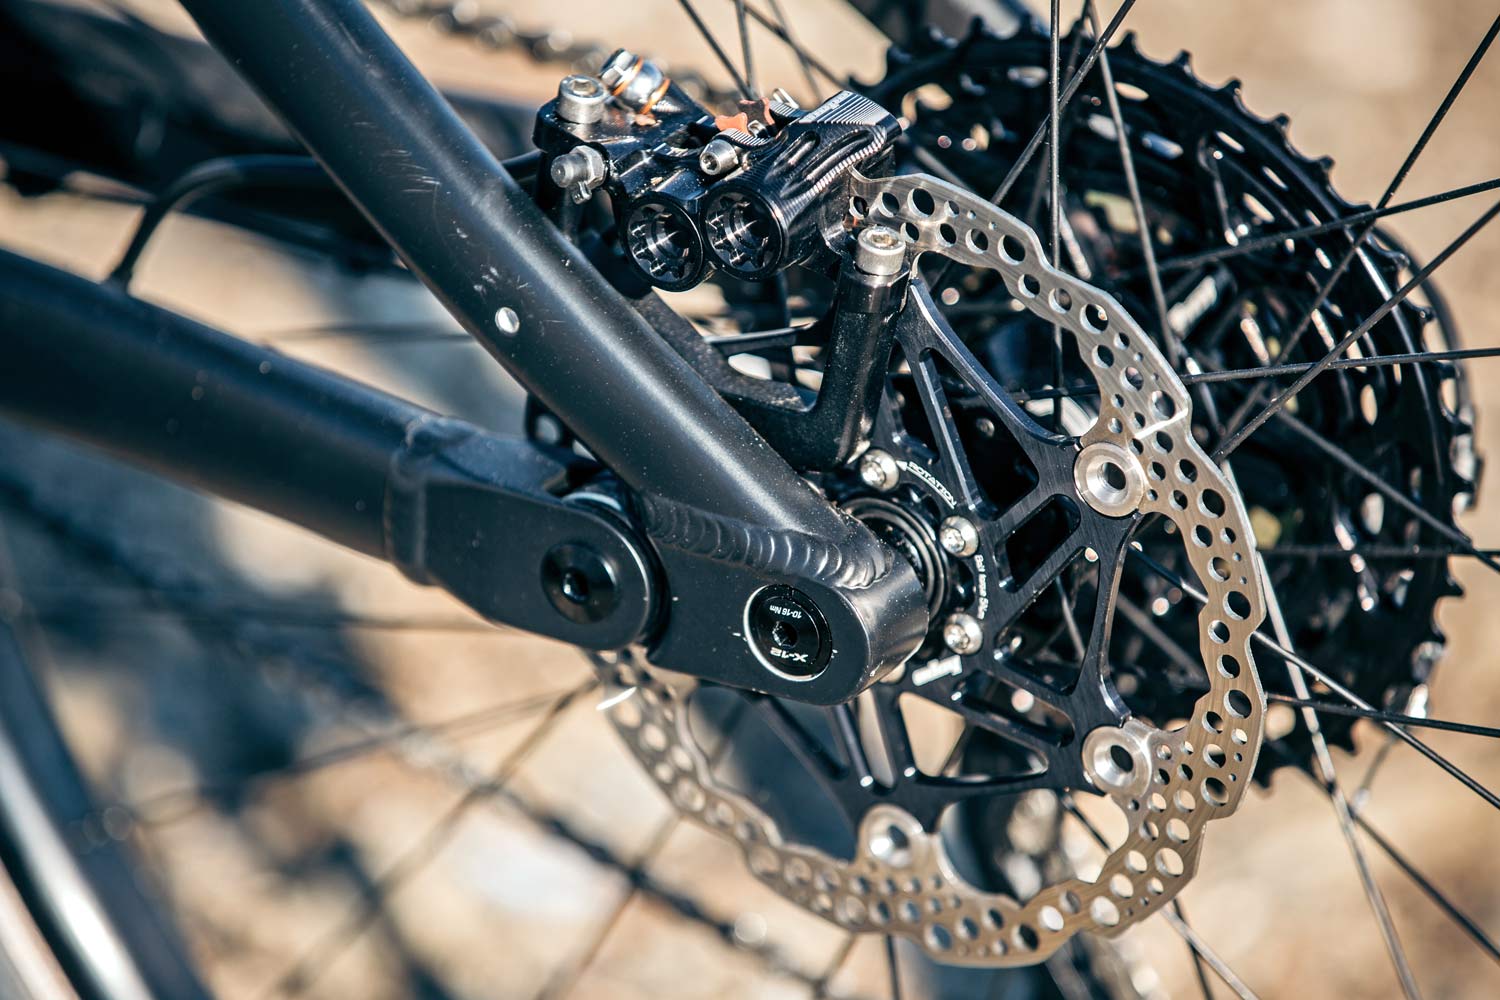
As for attaching those disc calipers to your bike, there are two key standards in use: ISO and post mount. The former uses a tab that’s molded into or welded on to the frame or fork, through which two bolts pass to attach the caliper. It adds a few grams, but does allow for easy replacement of caliper mounting brackets in the case of a stripped bolt. Post mount uses a design in which the bolts thread directly in to the frame or fork, reducing weight.
You might have noticed that many road and gravel bikes with disc brakes are using the Flat Mount standard, which was introduced by Shimano in 2014. This was designed to be a slimmer, lighter, and more low-profile system, and for now is not used on production mountain bikes… though Magura did preview a flat-mount MTB caliper last year.
Rotor Sizing
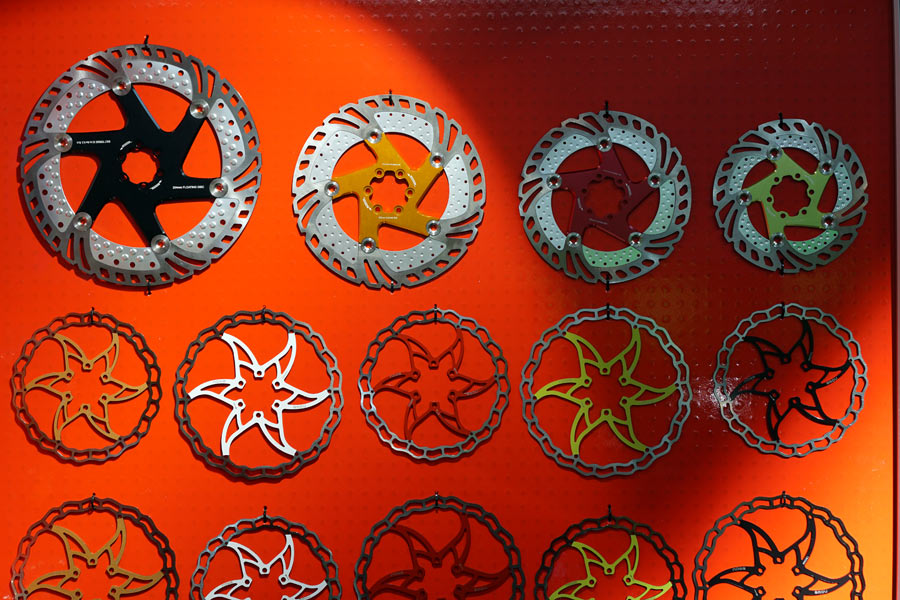
Over the years brake rotors have varied in sizing slightly, but they seem to have settled on 140, 160, 180, and 200mm diameters. You’ll still find some outliers, but these are the main choices. Generally, the larger the rotor the more stopping power and modulation you’ll have. But also the larger the rotor the higher the weight – not just in the rotor but in the caliper adapters needed to space out the brake caliper to fit along with longer brake hardware. Larger rotors are also more susceptible to hitting obstacles on the trail.
What size should you go with? Consider things like your riding style and overall weight. More aggressive, hard charging, or heavier riders will benefit from larger rotors. Less aggressive, lighter weight riders or just those looking for the lightest set up will trend towards smaller rotors. Keep in mind that this is only one part of the braking equation – the construction of your brake itself also plays a role in total braking power and modulation. Generally, brakes with more pistons and larger pads will offer better stopping power than lighter weight models.
What about rotor mounting standards?
There are two key standards for attaching rotors to hubs: 6-bolt and Shimano Center Lock. The former relies on (surprise!) six small bolts to attach the rotor, while Center Lock has a splined interface and lockring – similar to what you’re used to with rear wheel freehubs and cassettes. Both are used today, with Center Lock growing in popularity due to the ease and speed with which you can swap rotors (a big bonus for traveling with a bike box). Bonus: Center Lock hubs are also usually lighter, though the rotors themselves are a little heavier, so it’s basically a wash.
Note that thru axles require a special thru-axle-specific lockring, which typically requires a bottom bracket tool for installation – the same as you’d use on any standard outboard bearing BB. Finally, if you find yourself in a situation with a Center Lock hub and a 6-bolt rotor, rest assured that there are adapters available which work great and carry minimal weight penalty – but not the other way around.
7. WHEELS AND TIRES
Along with suspension, choosing the right rolling stock is one of the most important things that will influence how your mountain bike performs. Only ten or fifteen years ago, 29ers were still considered controversial, 2.3″ tires were considered wide, and 27.5″ wheels weren’t even “a thing” for mountain bikes. My, how things have changed…
Today, we technically have three or four mountain bike wheel sizes in use, with two dominating the scene. The original 26″ wheel size is all-but-dead, surviving only on fat bikes, entry-level bikes, and a handful of trials, DH, & DJ bikes.

29″ wheels are actually identical in diameter to road 700c wheels, and started to gain popularity in the early 2000’s after the introduction of the Gary Fisher Two Niner model. Since then, 29ers have become very popular, taking about 50% of the market today. Why 29″? In short, they offer a longer contact patch for better traction, better angle-of-attack over obstacles, and better fit for tall riders.
The third wheel size you’ll find is a relatively new kid in town, called 650b or 27.5″. It’s actually a revived touring bike wheel size that has been given new life, pioneered by custom frame builder Kirk Pacenti in 2007. Long story short, 27.5″ is a middle-ground between 26″ and 29″, attempting to offer the best of both worlds. In a very short amount of time, this has become the new standard, replacing 26″.
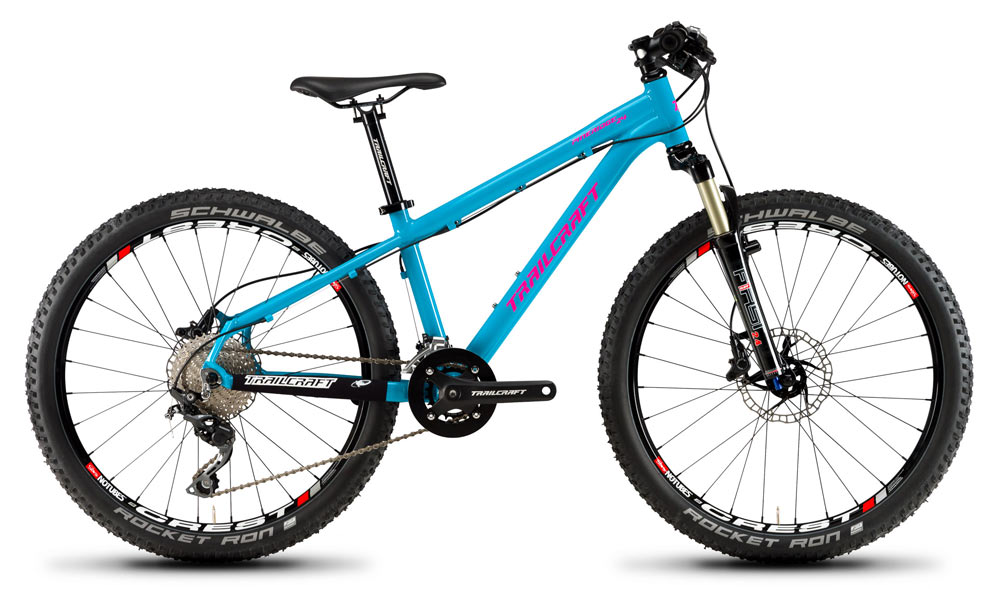
Finally, the fourth size you can occasionally find is 24″ wheels, used for some small-size fat bikes, DJ and trials bikes, and kids’ bikes.
Perhaps the biggest thing to understand with mountain bike wheel sizes is that the industry has moved to a place where wheel size is only correlated very loosely with rider height. Upon its introduction, 29″ wheels followed the pattern set by road cycling: big wheels for big riders, and small (26″) wheels for small riders. While this is still a good general rule to live by, we’ve seen manufacturers move to recommending 29″ for XC, and slowly reducing the wheel size as your riding becomes more aggressive. That said, even this has become less of a rule, with more 29″ DH bikes popping up, and the near death of 26″. Our advice: If you’re short and concerned about optimizing your fit and handling, err on the smaller end of the spectrum. If you want to maximize traction and the ability to plow over anything, go big.
Tread Patterns
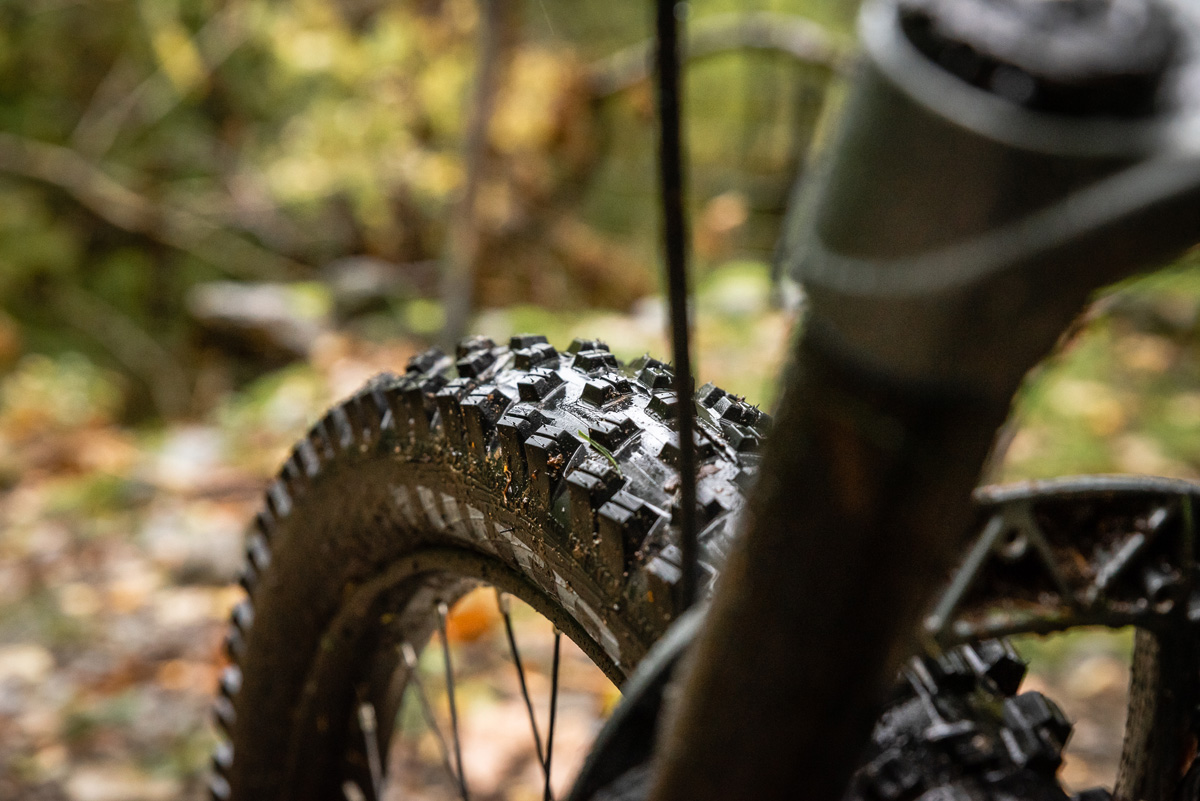
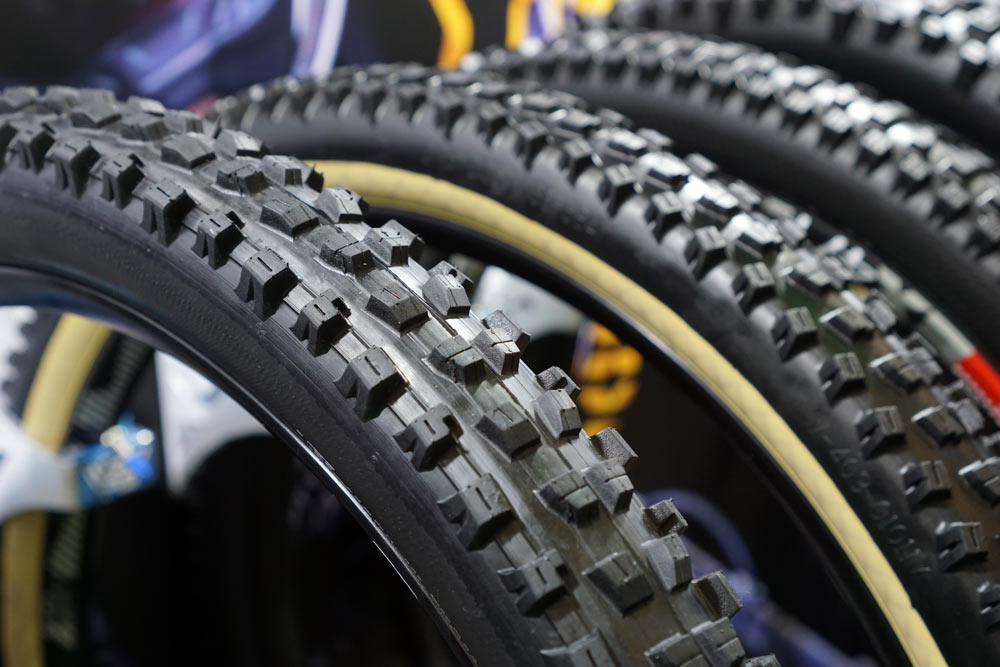
Tread pattern is of huge importance for mountain biking, with potential conditions ranging from dry, hard-packed dirt to deep mud and massive jumps. The very basic conventional wisdom is simple – the smoother the course and sunnier the day – the less tread you need. As the conditions worsen, larger knobs help to increase grip. Another huge x-factor is tread compound, with some manufacturers like Vittoria offering up to four different compounds per tire. Softer compounds provide better grip – at the expense of tread life and rolling resistance.
Of course, personal preferences will vary, and you’ll probably need to experiment here. When in doubt, start with a set of moderate tread tires, or a known all-rounder such as the Maxxis Ardent or Kenda Nevegal. We advise leaving room in your budget for at least two tire choices.
Tubeless-Ready Wheels & Tires
Regardless of rim material or brake type, the hottest trend these days is tubeless tire compatibility. Like your car tires, these are set up without an inner tube inside. In fact, tubeless tires are so popular for mountain biking, we struggle to even call it a ‘trend’, with clear performance advantages and near ubiquitous use outside of very casual riders and department store bikes.
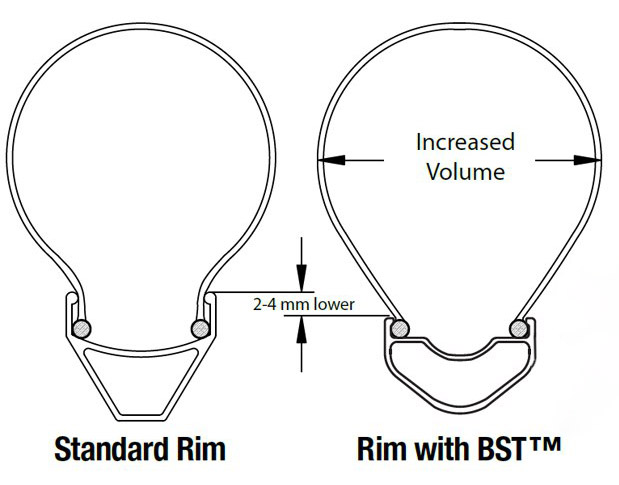
In the early days, we had two distinct types of tubeless wheels and tires: 1) UST, and 2) the wild west of everything else. The former was established by Mavic, Michelin, and Hutchinson as a true standard with tight tolerances, making an air-tight rim/tire interface that doesn’t even require liquid sealant. The latter was pioneered by Stan’s No Tubes, who used a unique “BST” rim shape or rim strip conversions to allow the use of standard clincher tires without an inner tube. The internal rim design features a channel and “shelf” design to help lock tire beads into place upon inflation, unlike traditional curved rim designs from previous decades. A tubeless-specific liquid sealant must be used, which helps to seal up the tire bead area, and also adds protection against everyday punctures.
Nowadays, there is a large group of products that sits somewhere between the original UST and Stan’s designs – Tubeless Ready. Also known as TLR, TCS, TR, 2Bliss, and other manufacturer-specific-names, this just means that the wheels and tires incorporate design cues from both original standards. Tubeless-ready rims have some type of internal shelf design, and either a smooth rim bed (sans spoke holes) or a sealing tape or strips to allow the use of liquid sealant. Tubeless-ready tires have thicker beads and sidewalls than traditional non-tubeless tires, but not quite as thick and heavy as UST tires – and almost always require the use of liquid sealant.
Regardless of whether or not you use an inner tube, this update to internal rim design slightly changes the procedure of removing or installing a tire. In order to more easily remove or install the tire beads, it’s always best to first push them to the center of the internal rim channel – where the diameter of the wheel is smaller. If one side of the tire bead sits up on the larger-diameter “shelf”, it’s going to be much harder to get that second bead on or off the rim.
Should you go tubeless?
Almost certainly – but here are a few things to consider:
Weight savings: Tubeless-ready tires are typically heavier than traditional clincher tires, but most or all of the weight gain is offset by the fact that you lose the inner tube. Even with sealant, the system weight is almost always lighter going tubeless. Running non-tubeless tires set up tubeless offers the lightest overall weight, but they tend to leak air faster and might not be covered in the case of a tire warranty claim.
Improved rolling resistance: While we can’t generalize and say that ALL tubeless tires roll faster than ALL tires with inner tubes, the data is trending to show that tubeless tires roll fast – especially if you have a rim that allows a standard non-tubeless clincher to be set up tubeless.
Puncture protection: “Tubeless Ready” means a tire needs tire sealant inside to make it air tight (unlike UST). The benefit is that the liquid seals a puncture on-the-fly without you ever needing to remove the tire (or even stop your bike).
A faster, more comfortable ride: For those of you who like to run lower tire pressure, the lack of an inner tube means that you are less likely to pinch flat. Lower pressures make for a more compliant, comfortable ride. And, somewhat surprisingly, tests have proven that lower pressures actually roll faster, too.
Low risk investment: Your new bike’s wheels and tires might already be Tubeless Ready (TR), but many new bikes ship with tubes inside. Check the bike brand’s website if you’re unsure. If your bike comes setup tubeless and you don’t like it, you can always throw an inner tube inside, and go back to old-school.
Yes, tubeless does require some maintenance: Sealant dries out over time and will need to be replenished. Valve cores can also become clogged over time, because sealant can’t always tell the difference between a puncture and a presta valve. While older tubeless systems often suffered from poor rim and tire fit (usually requiring the use of an air compressor to seat the tires), most modern setups have a much better fit, allowing the use of a floor pump.
Rim & Tire Widths
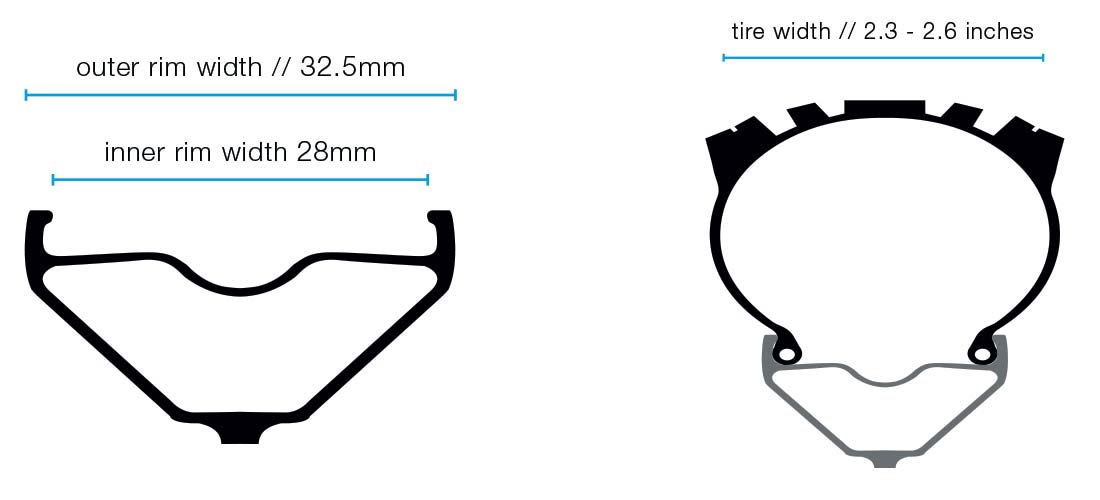
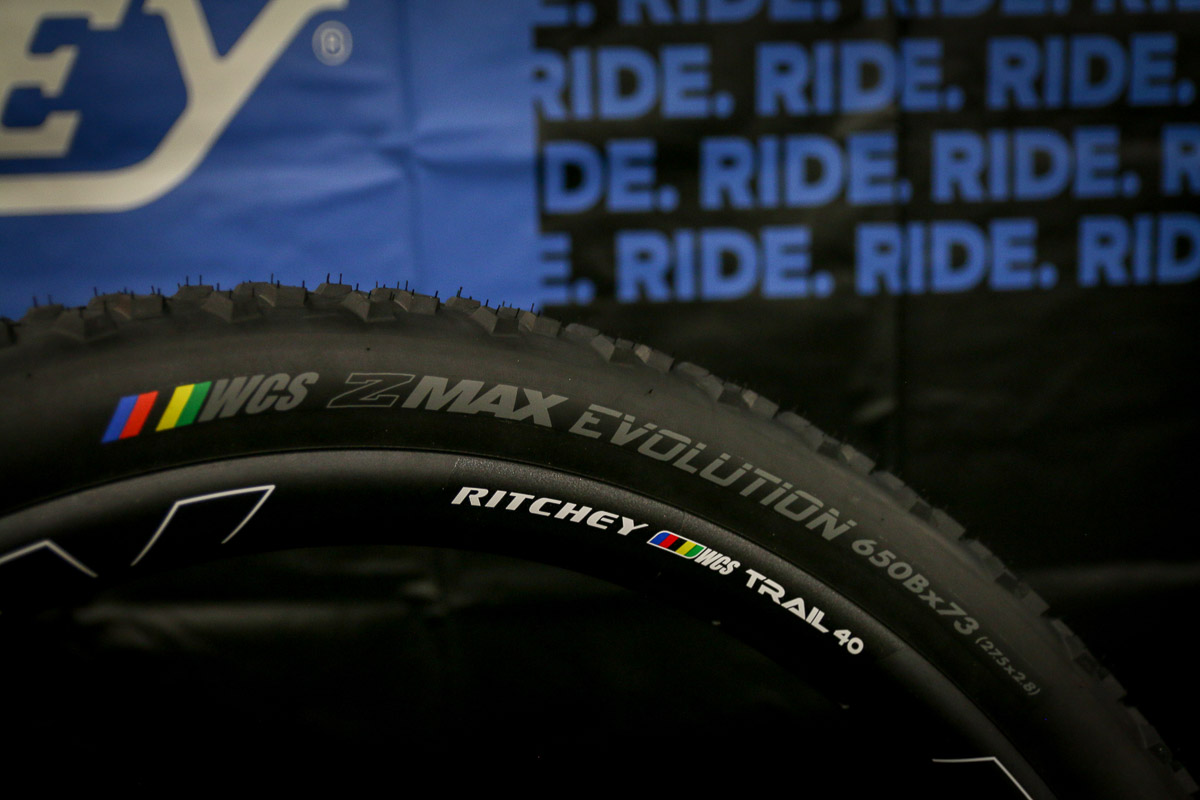
Regardless of wheel diameter, they continue to grow in width – along with tire sizes. Older mountain bikes had tires under two inches in width on 20mm-wide rims… which can be considered small today even for some drop-bar gravel bikes! Today, tires generally range from about 2.2 – 2.6 inches for most XC, Trail, and All Mountain bikes, while Enduro and DH bikes are usually at the top end of that spectrum. Rim widths are common in the 25 – 40mm range for most applications.
Wider rims tend to do a few things:
• Flatten out the tire tread to increase contact patch and grip
• Straighten out the sidewalls of the tire for better cornering stability and decreased pinch flat risk
• Increase tire volume, allowing for lower tire pressure, leading to improved ride comfort and grip
While any rim width can accept a range of tire sizes, you don’t want to stray too far from the original design intent. There is some movement towards defining ideal rim-and-tire width ratios, but they’re nowhere close to being called “standards”.
Don’t forget about Plus tires
Just when you thought you knew everything about MTB rim and tire width… things changed (again). Surly has been a big pioneer with creating new categories and tire sizes, and did it again with their introduction of the Krampus mountain bike in 2013. Using a massive 29×3.0 tire, the bike sought to provide levels of grip, comfort, and log-crushing abilities never seen before in an XC or trail-type package. In other words, it combined some lessons learned from four and five-inch fat bike tires with the good stuff from XC bikes, and settled on the 3 inch tire as a happy medium. This quickly became an entire category that included 27.5″ wheels, and anything from a 2.6 – 3.0 inch width.
How do you know if Plus is right for you? Let’s be clear. It won’t provide the flotation of a full-on fat bike tire. Just because the tires are big doesn’t mean that they’re thick and burly (read: they’re not specifically for DH riding, despite their imposing looks). Plus is for situations where HUGE grip is needed but a fat bike is too heavy and cumbersome. When combined with short chainstays and a 1x drivetrain, Plus bikes can be surprisingly nimble, and the weight can be reasonable with the right wheel and tire choices. They shine for hard tail or full-rigid bike use, where the extra tire squish helps to soften rough trails. If you want to win races, ride an XC bike. If you want to have fun, enjoy massive grip, and increase your obstacle-riding confidence, Plus might be for you.
Choosing a Tire Width and Construction
• Wheel diameter: Are you tall, want the most possible grip, and the best angle of attack over trail obstacles? Go 29″. Are you short and don’t want to feel overwhelmed by your wheels? Go 27.5″ instead of 29″. Also: smaller wheels give frame designers more room for designing complex rear suspension designs, though with every generation small 29ers are getting better and better.
• Terrain and conditions: Rough and loose surfaces call for larger tires with more aggressive tread. Smooth-and-fast dirt roads might allow for lightweight, low-tread tires. This is one area that experimentation will be necessary, so leave room in your budget for more than one tire choice.
• Ride distance and risk tolerance: Are you riding for an hour – or for a two week adventure? How much do flat tires bother you? Are you willing to take on risk for a reward? Only you can answer these questions. Typically, longer distances and lower risk tolerance call for beefier tires.
• Future-proofing: We don’t know how big MTB tires will grow. Don’t buy a new XC or trail bike without clearance for at least 2.35″ tires. For all mountain, enduro, and DH, you’ll want at least 2.6″ clearance. If you’re in to Plus tires, many bikes are spec’ced with 2.7 or 2.8″ tires, but it’s always good to have room to spare if you want to go wider.
8. FREEHUB STANDARDS
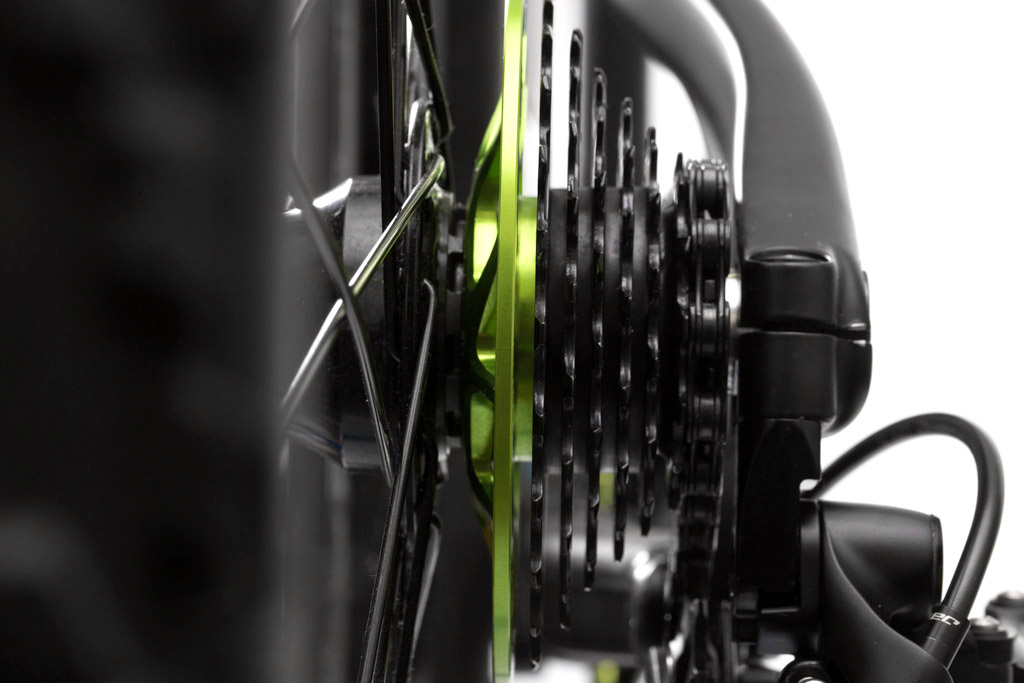
A freehub is the modern method for attaching a cluster of gears to your bike, featuring a splined interface and fastening mechanism. The most common freehub standards haven’t changed much, but there are some notes worth explaining. First and foremost, the traditional Shimano HyperGlide (HG) freehub design (above, right) is still around as a common choice.
A big change occurred in 2013, when Shimano introduced 11-speed rear shifting for road, requiring 1.8mm of length to be added to the existing Hyperglide design. However, this didn’t actually change anything for mountain bikes, since the old 10-speed freehub worked on 11-speed MTB cassettes. If your wheel has the longer 11-speed road freehub, using a spacer behind the cassette will make it compatible for MTB.
SRAM offers cassettes using both the Shimano HG standard, and their own XD system – which allow for a 10-tooth small cog (the HG freehub is limited to an 11-tooth cog). XD was originally introduced for the XX1 single chainring mountain bike drivetrain, which was groundbreaking at the time. With the popularity of single chainring drivetrains for MTB, it’s time to get familiar with SRAM XD if you aren’t already. Also note that SRAM makes a longer XDR version that’s specifically made to match the longer 11-speed HG freehub, and offers compatibility with 12-speed road (though it’s not necessary for SRAM 12-speed MTB, you can run a 12 speed MTB cassette on XDR with a spacer).
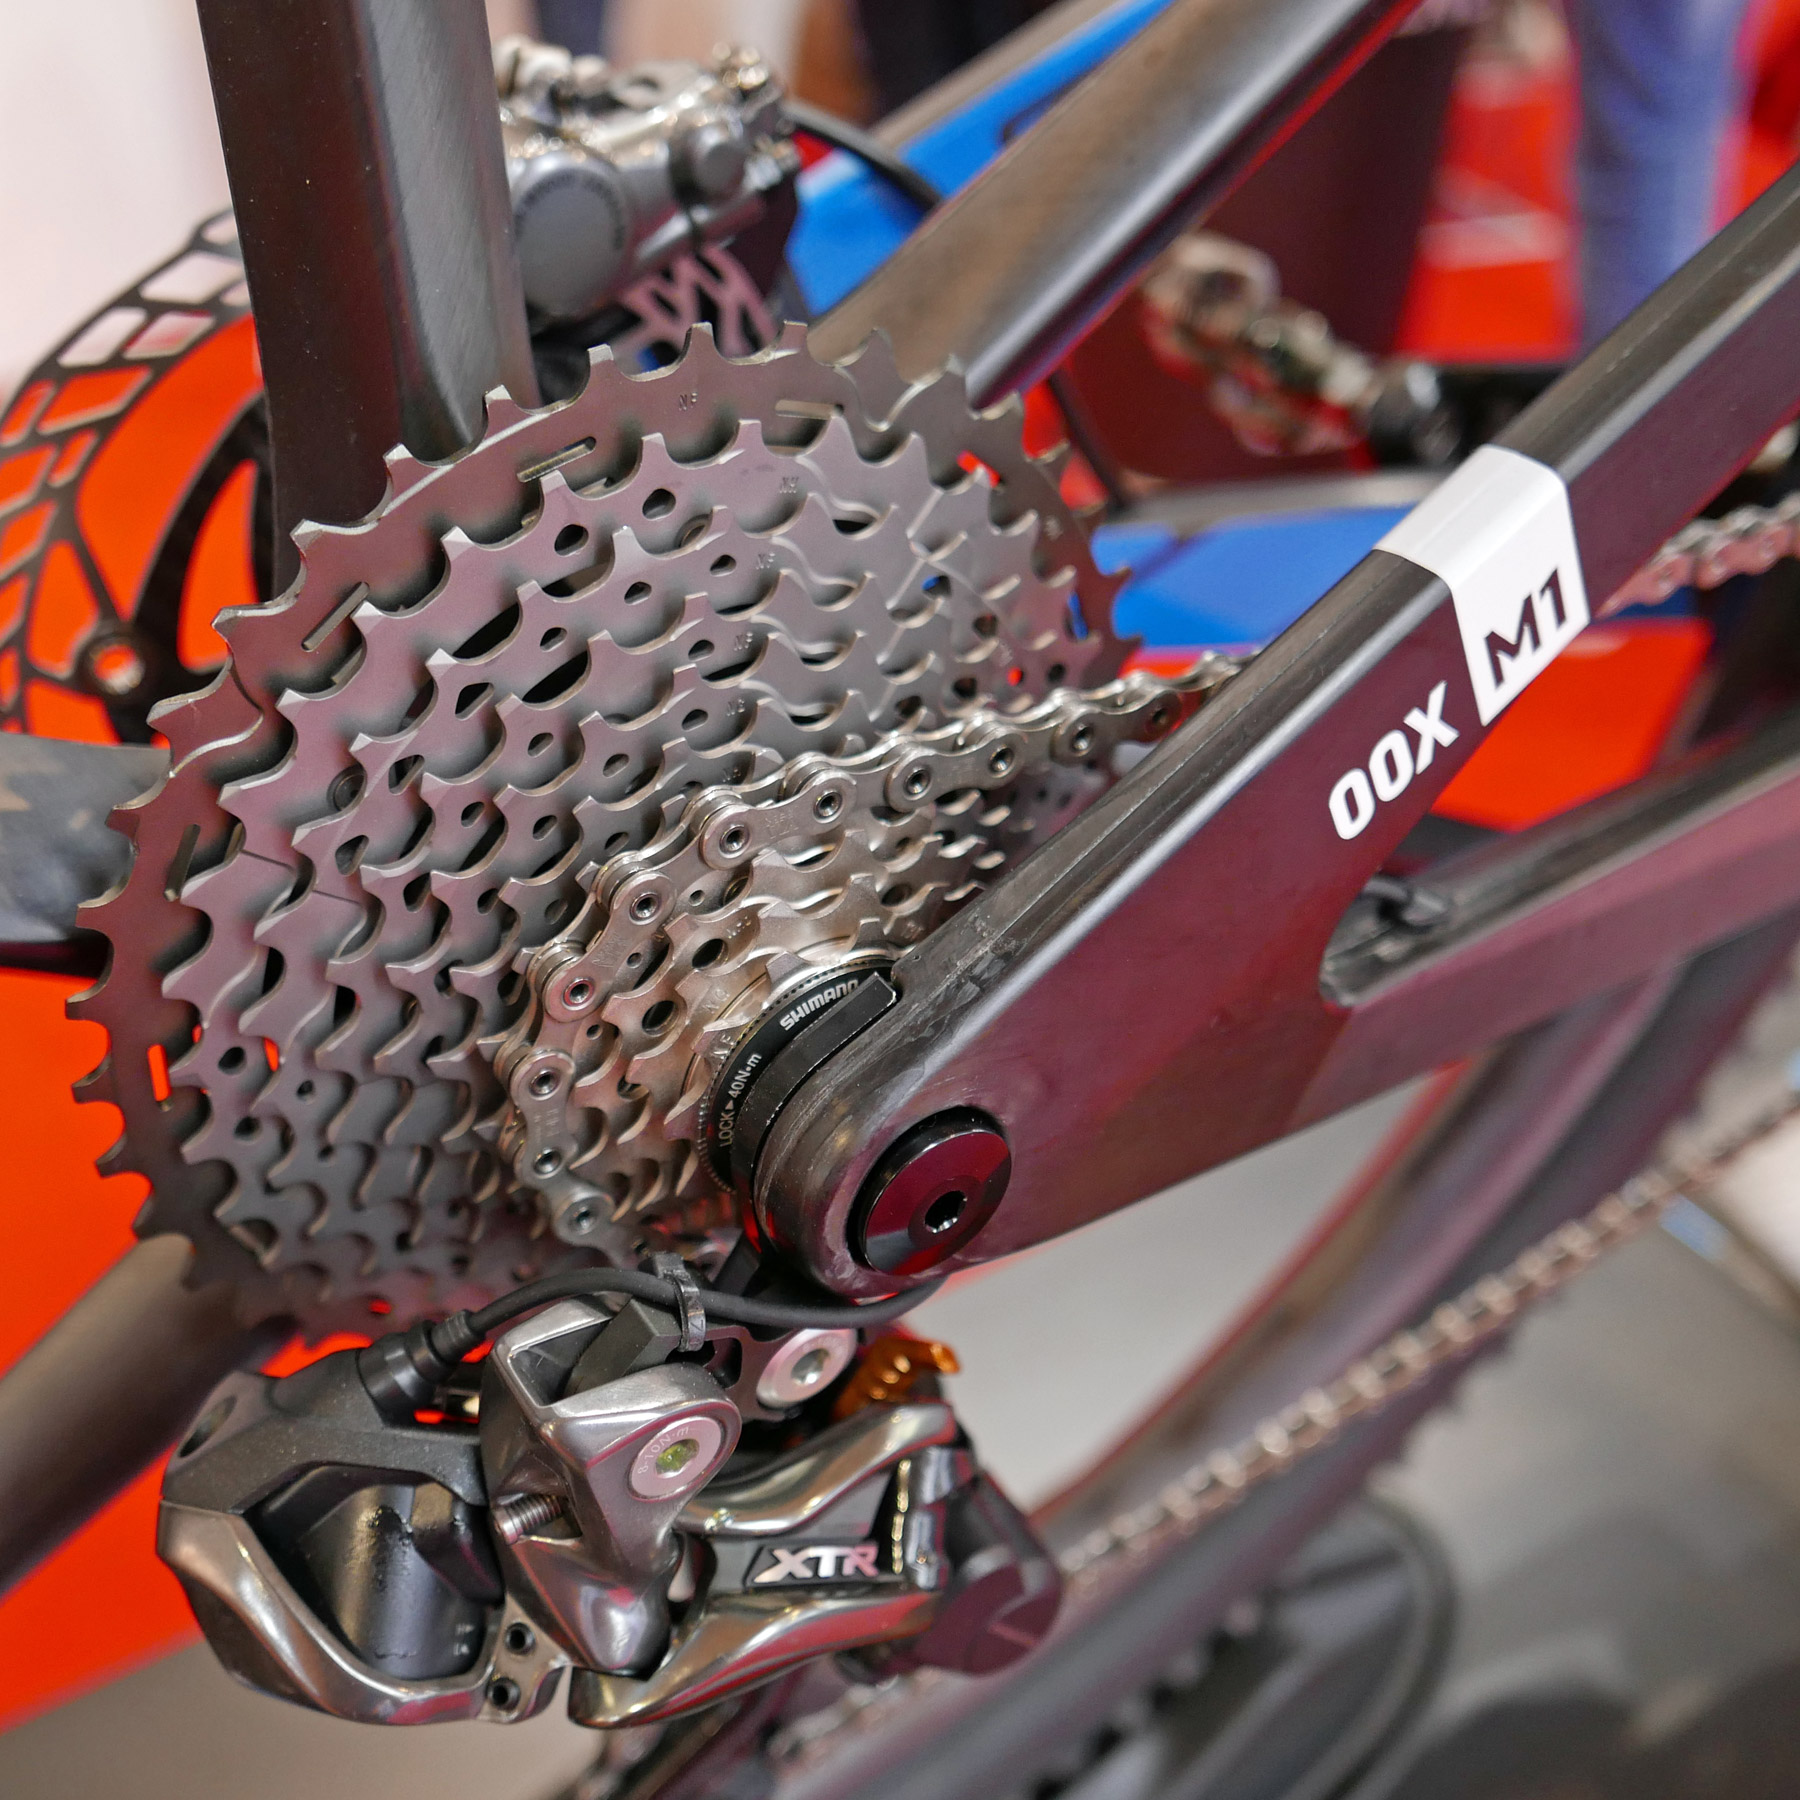
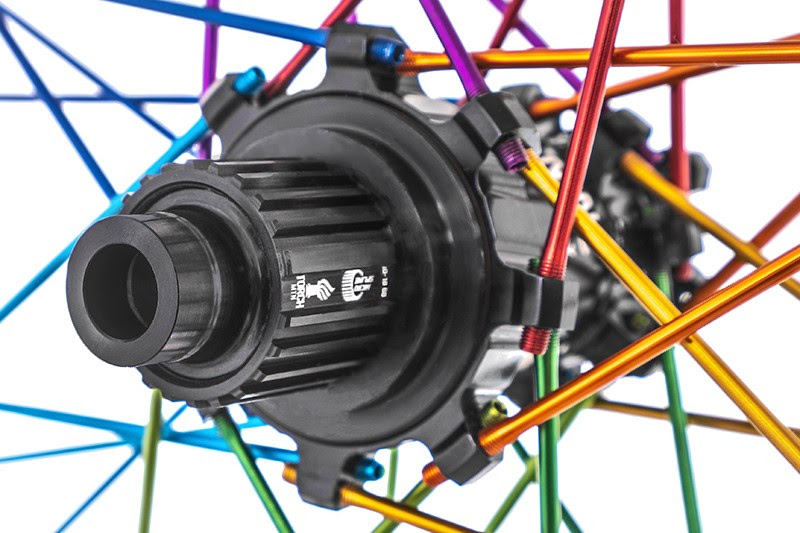
Finally, Shimano made big waves in 2019, with their first major freehub revision in many years: Micro Spline. Seen above, this is for their latest 12-speed components, and will likely be used in future road applications. As of today, there aren’t a tremendous amount of companies making Micro Spline-compatible hubs, but Industry Nine and DT Swiss are already on the case.
Oh, and we shouldn’t forget that Rotor’s new 13-speed MTB groupset uses an HG-style freehub – BUT it allows for a 10-tooth small cog due to a special design. The smallest cog actually sits off of the freehub, connecting with a unique long lockring. Note that, as of today, Rotor is the only hub manufacturer that accommodates this combination of spacing, freehub, and flange width (i.e. you must use a Rotor hub with this drivetrain).
9. COCKPIT STANDARDS AND TRENDS
Cockpit? We’re talking about handlebars, stems, and seat posts.
Mountain bike equipment has followed a similar path to road in that we’re seeing more technology, and boundaries being pushed in both stiffness and weight. Carbon fiber, while not ubiquitous, is very common, especially for performance-oriented XC and trail bikes.
Stems moved from 25.4mm to 31.8mm diameter in the early-mid 2000’s, improving lateral stiffness. Note that both road and mountain bikes had adopted this new shared standard, whereas older road bikes used a 26.0mm bar that was NOT cross-compatible with MTB’s 25.4mm.
In 2011, Deda introduced a new 35mm diameter bar and stem, further improving stiffness. 35mm handlebars own a good bit of the mountain bike market now, compared to relatively low adoption in road. The upside is that it is markedly stiffer without adding much weight, so it’s great for powerful riders and sprinters. They also allow for much wider bars to be built to the same strength. The downsides are that some bars might actually be too stiff with companies building bars around that issue, and of less importance, 35mm bars require a new out-front computer and accessory mounts, but K-Edge and others make compatible options.
Regardless of bar diameter, width has trended up over time, especially with All Mountain, Enduro, and DH. Wide bars provide better leverage and control on rough terrain and big hits, but can make it tougher to navigate tight turns and dense forest trails. The good news is that you can easily cut your bars to the desired width – just make sure to ride them before you cut them to see if you actually prefer them wider.
A word on grips…
Most new bikes ship with alloy handlebars, which can transmit a lot of vibration to your hands, causing numbness and fatigue. Carbon bars can help to dampen vibration, as can thicker padded grips. There’s also a growing trend for different shaped ergonomic grips, such as the popular choices from Ergon. If you suffer from numbness or other hand problems, a better set of grips can make a huge difference at a very low cost.
…and now let’s talk setup
Bar setup and bar choice are highly individual. Compared with road, MTB is (much) less about aerodynamics, and much more about control, steering, and the ability to move your body around the bike. Riser bars have risen in popularity, as have bars with more backsweep (an angle back towards the rider). Assuming your saddle is at an appropriate height, a good starting point is to have the bar grips level-with or slightly above the saddle top, giving a comfortable bend in your elbows. If your elbows are locked out in your normal riding position, there’s nothing left to “give” when you encounter a drop-off in the trail – which could lead to a crash.
Make sure you feel comfortable, and don’t be afraid to ask your shop for help. Also make sure you address the positioning of your shifters and brake levers, which can be easily moved for easier access and better comfort.
In the seat post department, typical sizes are 27.2mm, 30.9mm, 31.6mm, and 34.9mm – with the ends of the spectrum being slightly less common. Some bikes equipped with Shimano Di2 now use seatpost batteries stuck inside the bottom of the post. If you’ve never used these groupsets, make sure your mechanic shows you how the battery works, and where the charging port is on the junction box.
Dropper seat posts
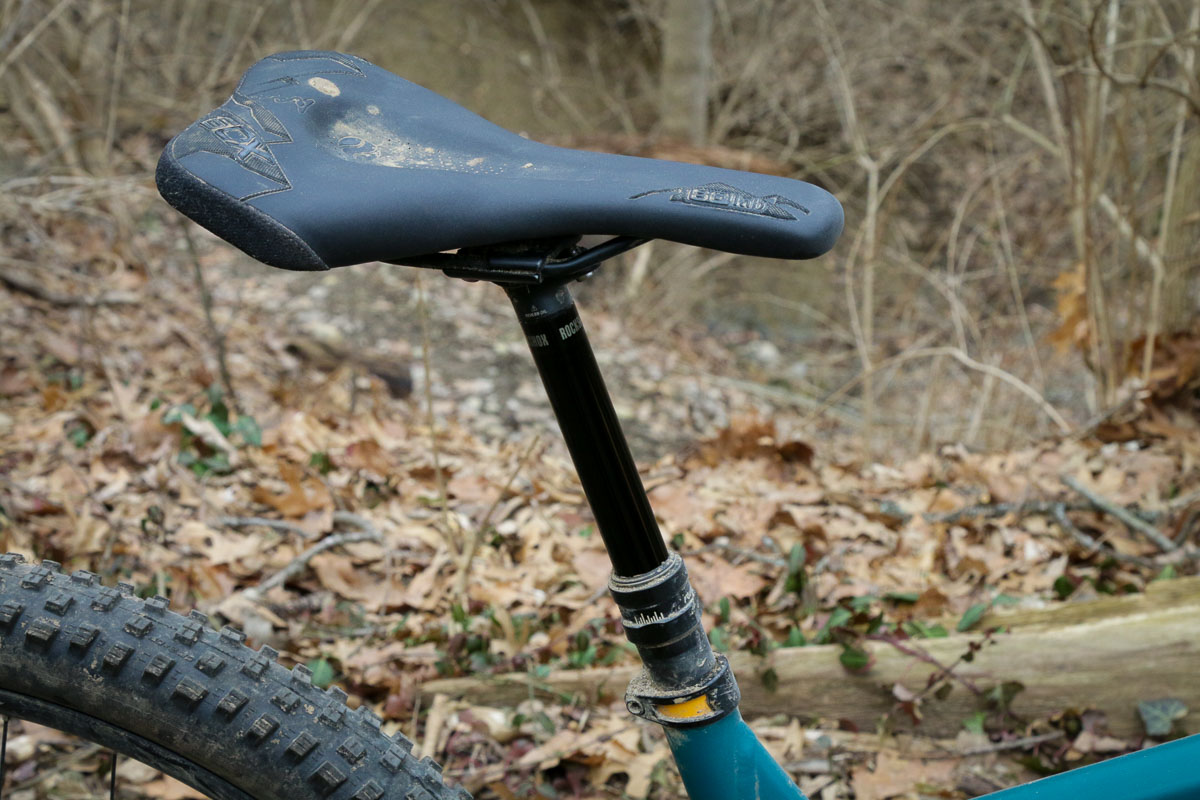
The other huge trend in seatposts is the rapid multiplication of dropper-style posts. These either use a lever under the saddle or a remote switch at the handlebar, allowing you to lower the saddle via a telescoping action. Lowering the saddle gets it out of the way during jumps, drops, or other maneuvers that would otherwise be more difficult with a full-height saddle in the way. They’re also a huge benefit when trying to fit multiple bikes on a bike rack, or to stuff a bike in your car.
While dropper seat posts do add some weight compared to non-dropper posts, it’s almost universally agreed that the weight is a small price to pay for most riding beyond XC racing. Perhaps the more notable cost is that droppers do require occasional maintenance and rebuild, similar to front or rear suspension.
Many newer bikes have internal routing for dropper post remote switches. If you are upgrading an older bike, don’t worry – some droppers still have the option for external routing, which runs along your frame next to brake and shift housings.
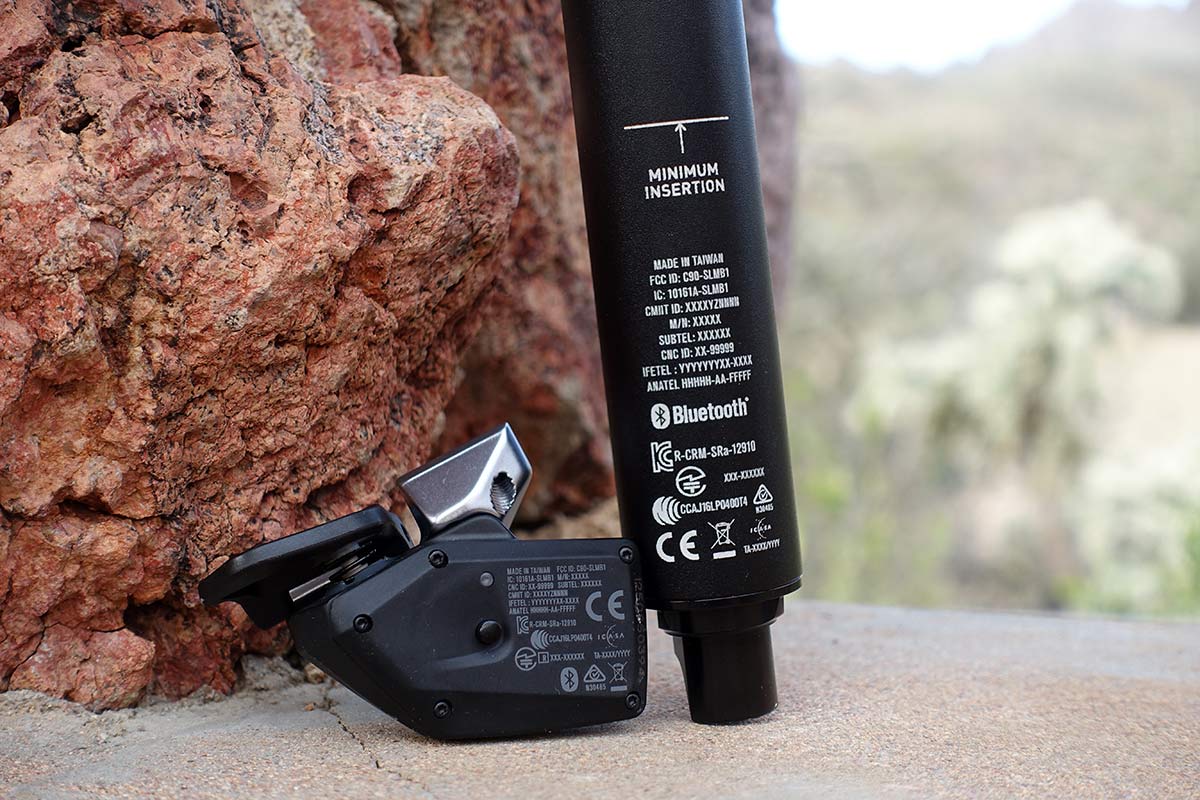
Oh, and there’s something new from Rockshox, if you don’t like routing cables or housings at all – the new wireless Reverb AXS dropper post. But don’t forget about Magura, and KS, they have wireless droppers as well.
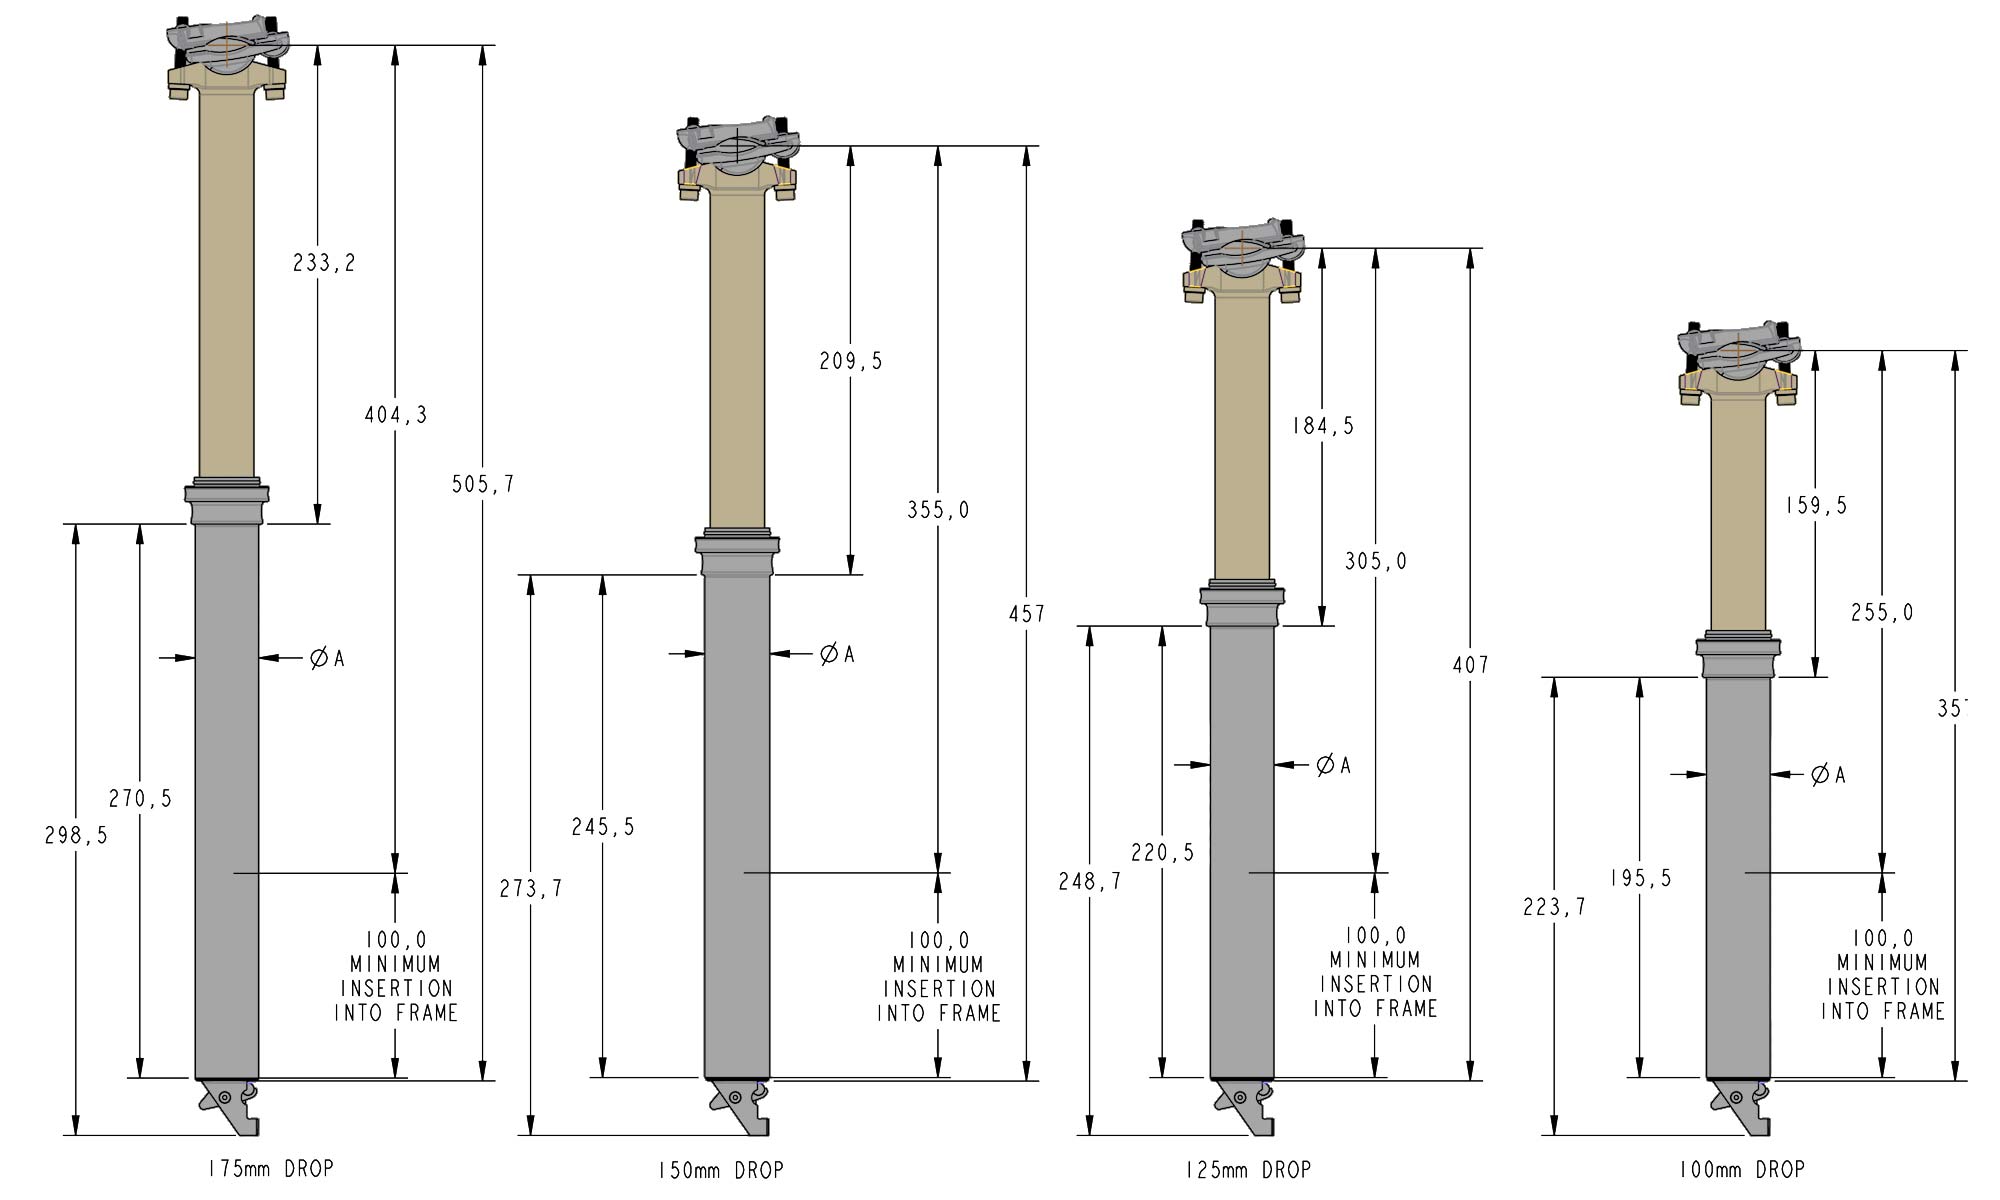
The main thing to figure out before buying a dropper post is how much seat post length you have exposed on your bike. Long story short: Shorter riders with less seat post length need to be sure they don’t select a dropper with too much travel and too much exposed length. Some posts like the OneUp allow you to customize the amount of travel for this very reason.
Equally import is how much room you have in your seat tube before the post bottoms out on water bottle bolts, frame curves, etc. Most dropper manufacturers will give you a measurement of the minimum seatpost insertion that you’ll need to run the post.
10. SUSPENSION
While more road and gravel bikes are integrating micro-suspension, longer-travel designs are the heart of what makes modern mountain bikes so effective. They continue to evolve, which only means good things for those who like the squish.
As stated at the top of the article, mountain bikes are roughly categorized by the amount of front and rear suspension travel (which is normally equal front/rear – or close to it). Are these set-in-stone? Of course not, and there will always be development over time as we refine existing categories and add new ones.
- XC: 80-120mm
- Trail: 120-140mm
- All Mountain: 140-160mm
- Enduro: 150-180mm
- DH: 180mm+
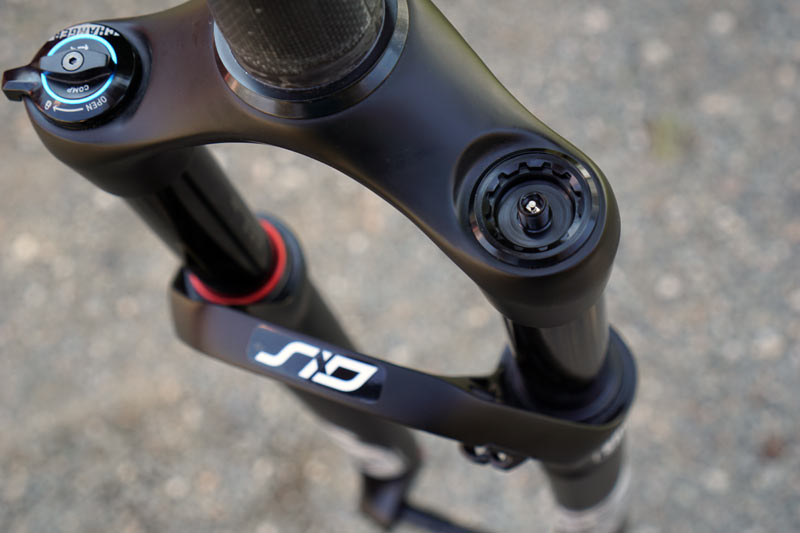
You could argue that not much has changed in suspension in the last decade, at least in terms of the forks you see on average stock bikes on the showroom floor. Fox and Rockshox are still the two biggest players in terms of OEM spec. Air springs with fluid dampers still dominate (though coil springs are making a comeback), with standard telescoping designs.
Perhaps the biggest updates have been to keep up with standards and developments from the rest of the bike. Disc brake mounting standards and fork steerer tube updates will be covered in Section 11 (Fork Standards), while rear suspension has been affected by large Plus tires and a proliferation of bikes that are made to ONLY accept a single chainring (1x) drivetrain.
Nontraditional Fork Designs
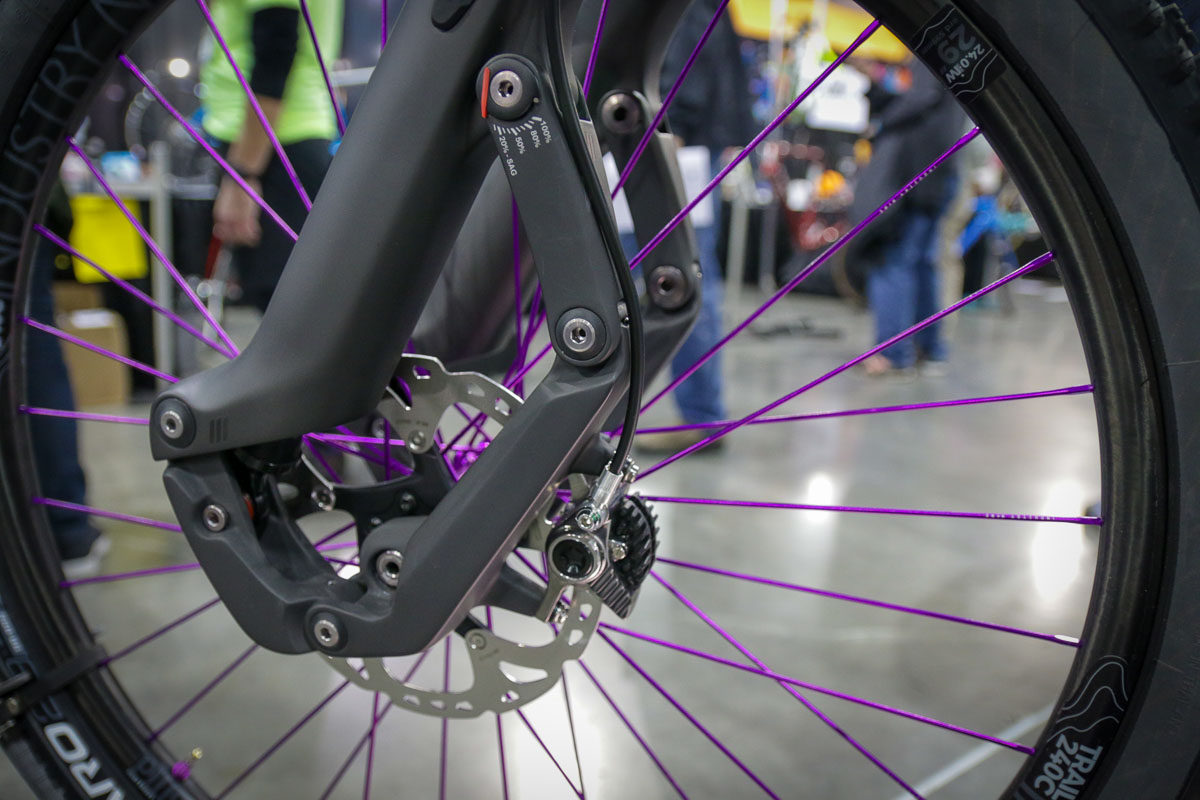
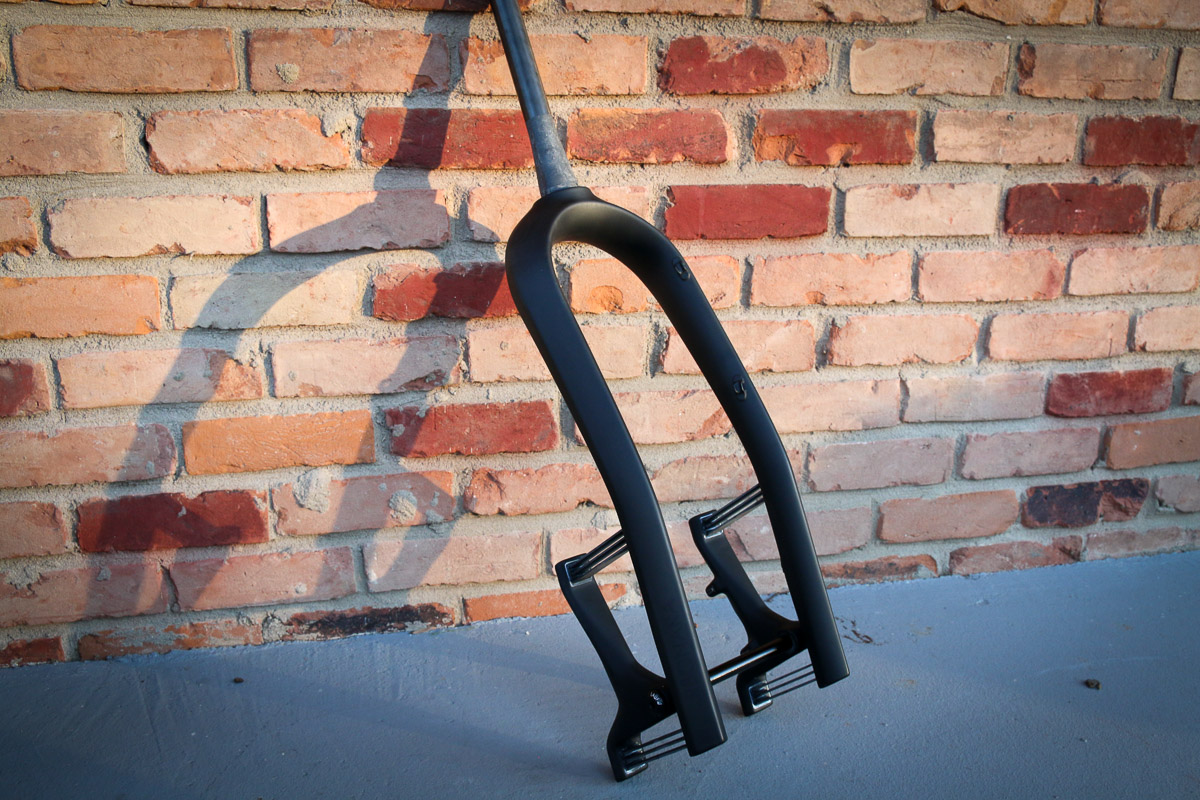
If standard suspension forks don’t meet your needs or you just want something different, there are some very interesting and innovative options. The Message fork from Trust Performance has a unique multi-link design, bucking the standard telescopic fork paradigm.
Another less-than-common design comes from Rockshox, with the inverted RS-1 fork. Designed as an XC fork with the burly feel of something much heavier, it’s more expensive than other Rockshox options. You also need a unique hub design to use the fork, dubbed Predictive Steering. It’s a great riding fork, however, and is worth your consideration if it fits your budget.
If you just want something simple to soak up chatter with zero maintenance, forks like the Lauf Carbonara have become popular for fat bikes. It uses a simple leaf spring design with no damper – for a zero maintenance and 60mm of travel. It’s also available for road and gravel use as well as a mountain bike version.
11. FORK STANDARDS
Fork standards for road and gravel bikes have evolved quickly, taking cues from the MTB world that are now well-established. Case-in-point: tapered steerer tubes. It’s nearly impossible to find a mountain bike above entry level today that doesn’t have a tapered steerer tube (1.5″ to 1.125″). This is the clear standard, surviving a relatively brief appearance of a 1.5″ to 1.25″ standard called Overdrive 2 from Giant, and a short lived straight 1.5″ steerers for big hit bikes.
The one place where straight steerer tubes have mostly survived is on dual-crown DH forks like the Rockshox Boxxer and Fox Factory 40 DH fork. With a fundamentally different (and super-beefy) design, there’s been little reason to change. But that hasn’t stopped companies like DVO and SR Suntour from adding 1.5 to 1.125″ tapered steerers for their DH forks.
While thru axle use remains consistent, the one major axle-related shift has been the adoption of 15x110mm Boost front spacing.
Brake mounting has largely abandoned ISO mount (except for some rigid forks or lower-end bikes) in favor of now-standard post mount.
12. REAR SHOCK STANDARDS
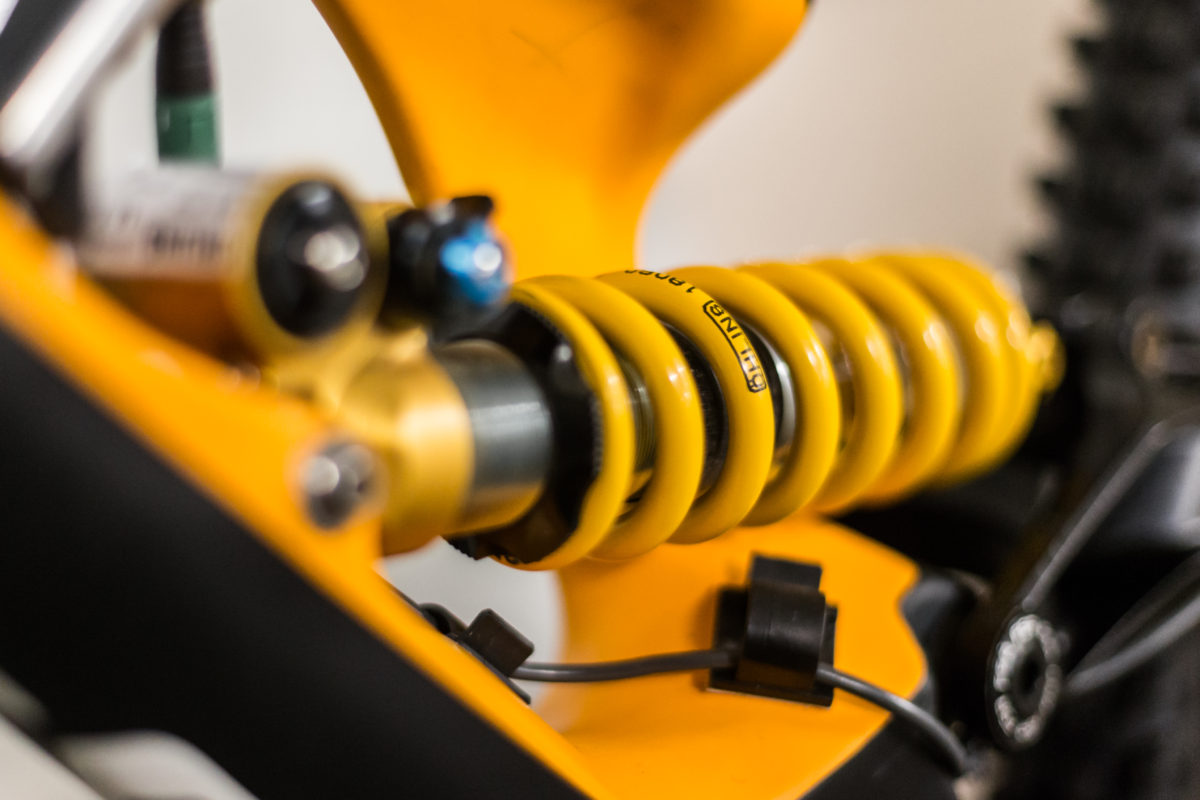
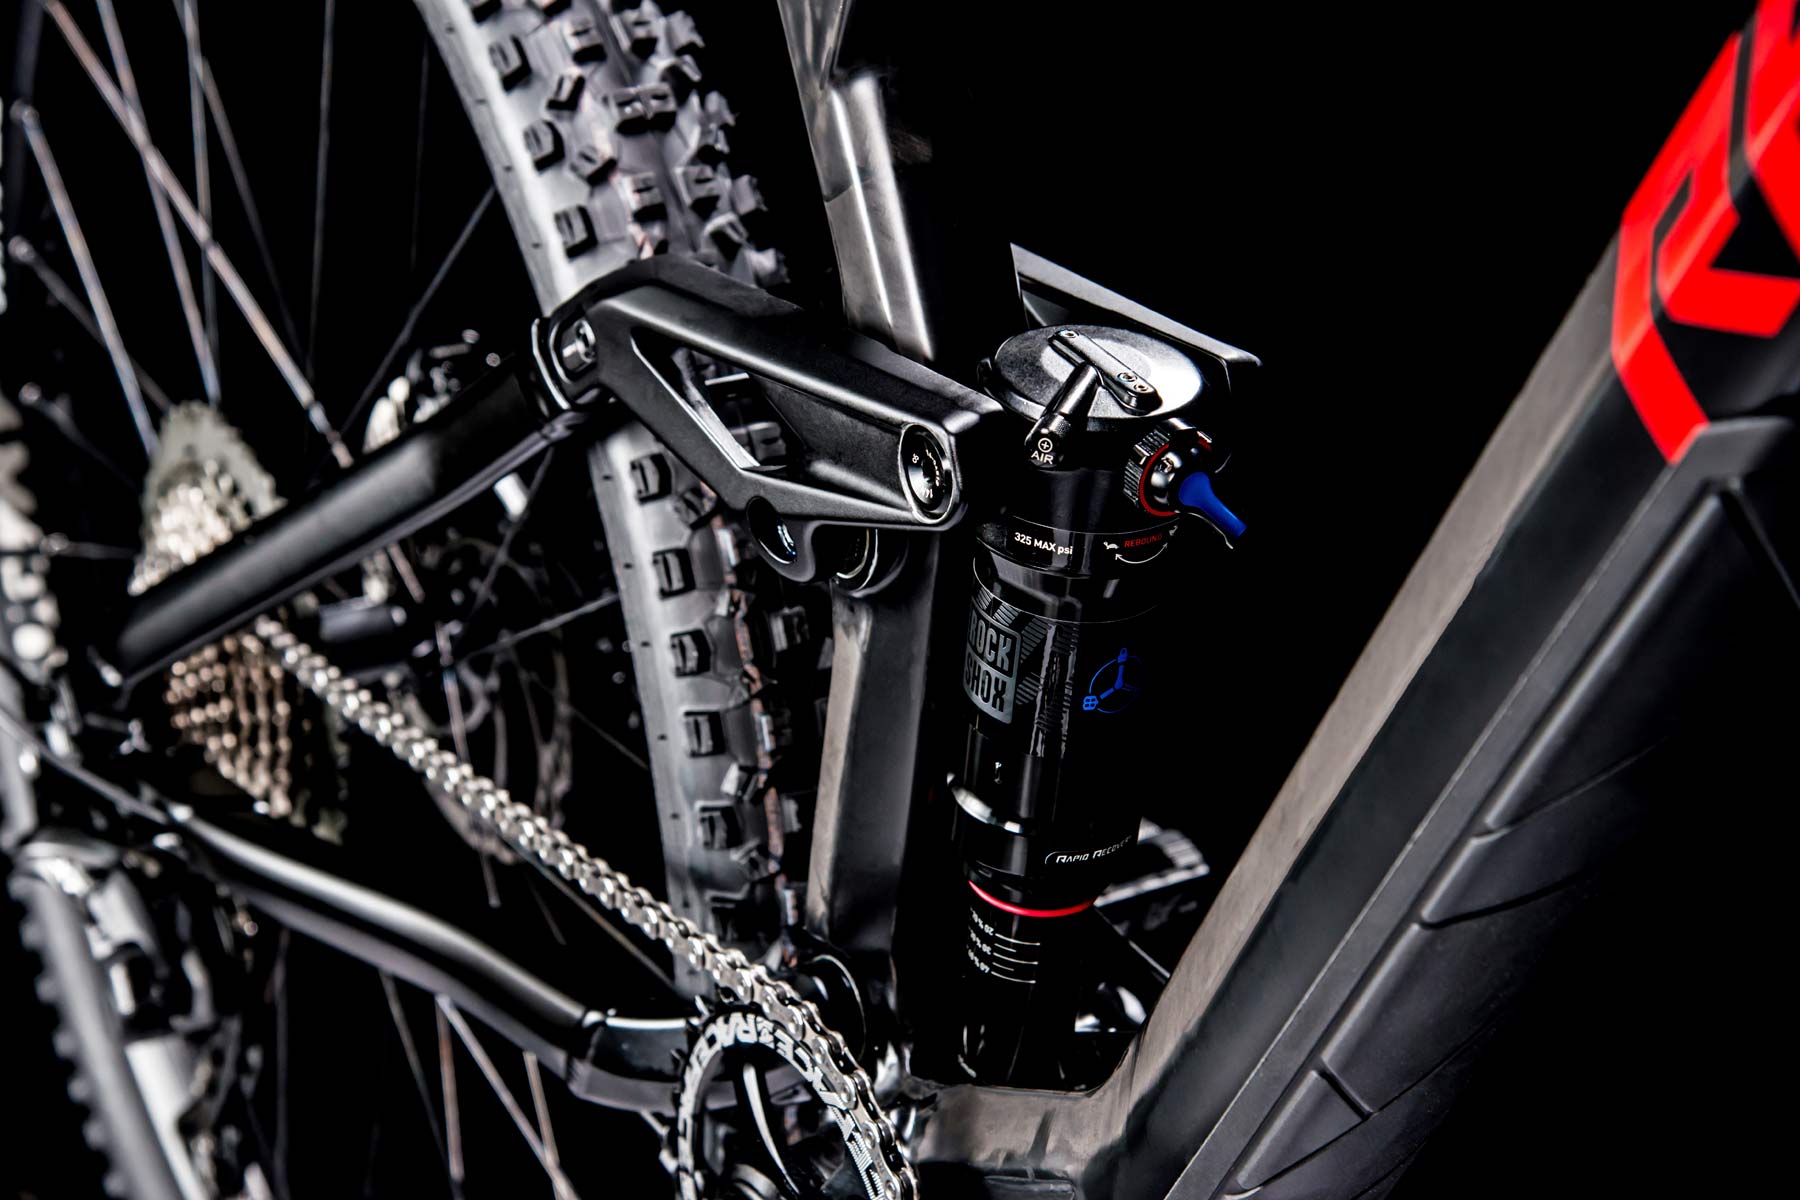
Functionally, rear shocks are still pretty similar to how they were years ago – just with far better performance and durability. But they’ve also undergone changes in sizing and mounting. Most performance mountain bikes will use what’s referred to a ‘Metric’ sizing which is more than just converting a standard shock measurement to the metric system. Metric shocks are built around a new sizing standard gives suspension manufacturers more room to work with internally, as well as increased oil volumes for better performance.
Many shocks now also use what’s called a trunnion mount. This places the mounting hardware directly on either side of one of the shock ends while the other end is attached normally. The design results in increased frame stiffness and more room for the shock itself allowing for longer strokes.
Lockout or pedal platform levers are still common (particularly on XC bikes), though many suspension designs are so efficient that the need for a lockout has become unnecessary. We’re also starting to see more electronic integration in products like Fox Live which essentially locks out the bike for you before you can even think about it, but how well these will be adopted remains to be seen.
13. FRAME GEOMETRY
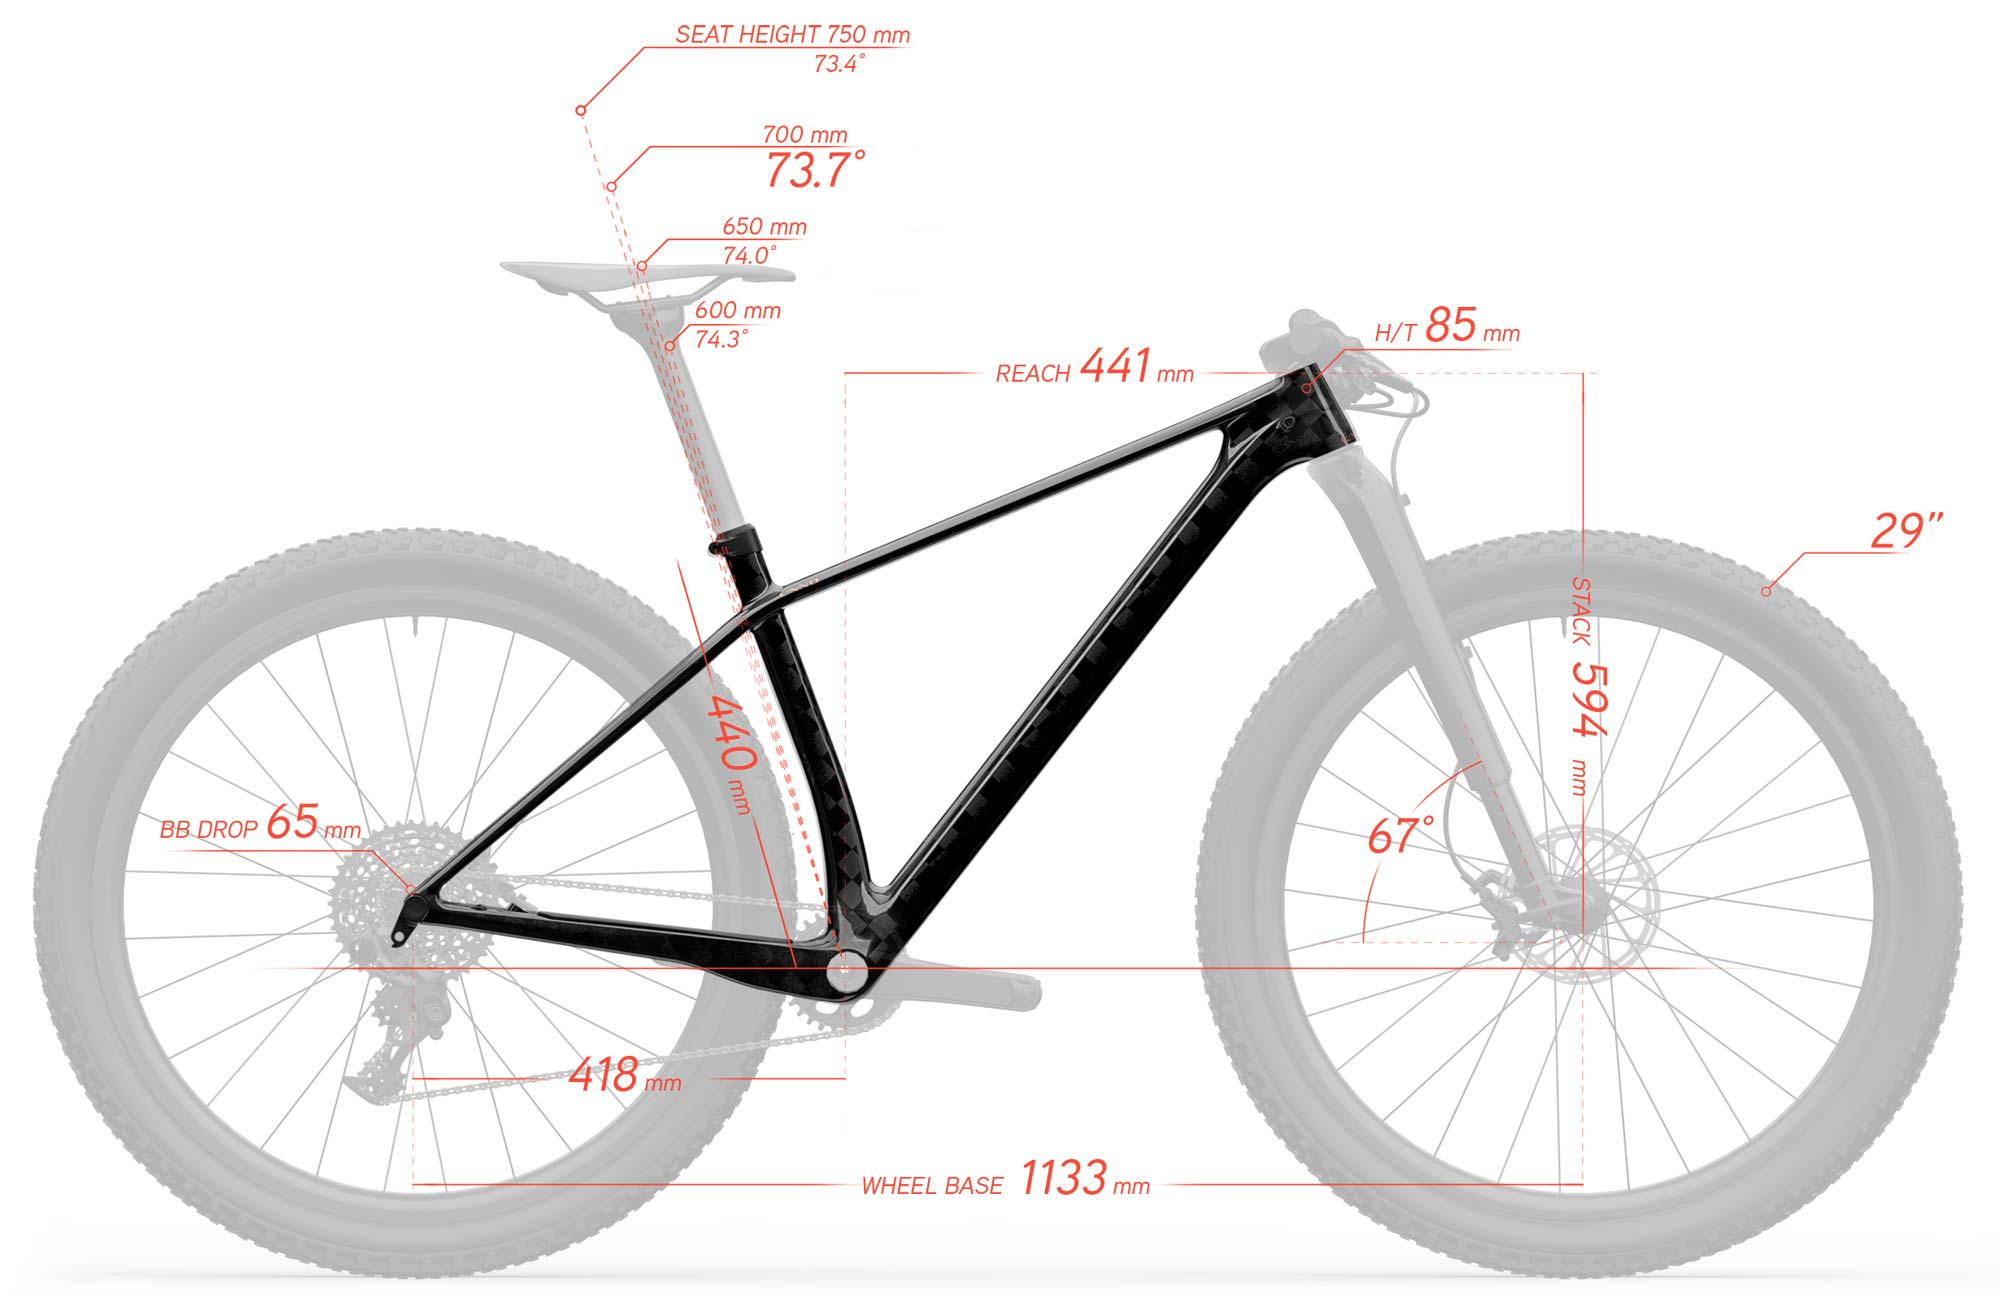
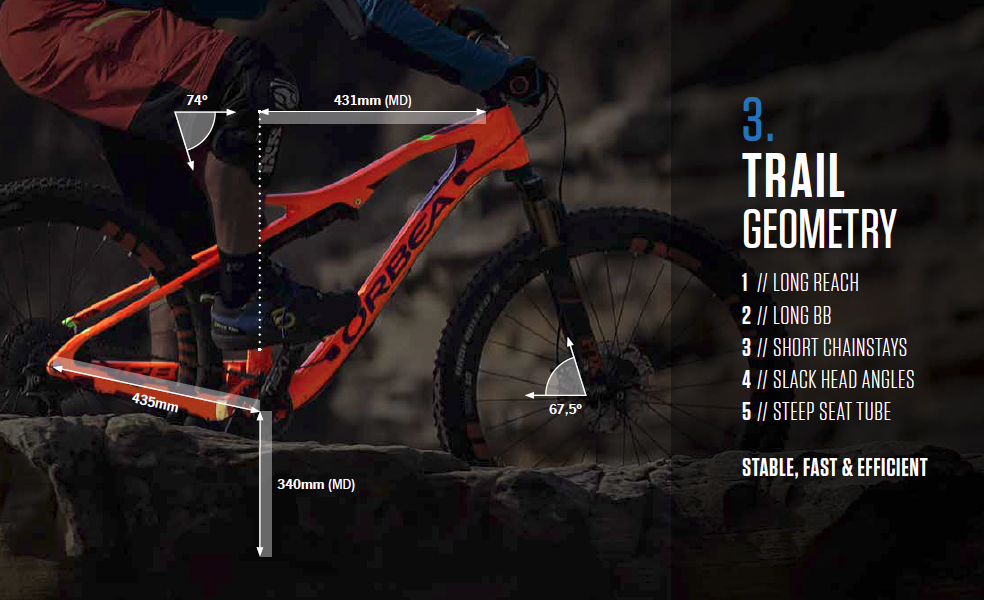
While it’s tough to make large generalizations about such a wide variety of mountain bike styles, there are some trends. We’ve seen a huge proliferation of ‘trail-style’ geometry, typically featuring a slack head tube angle, longer front-end, and short-ish stem. This is often coupled with shorter chainstays (and sometimes elimination of a front derailleur option) – aiming for a ride that’s stable at speed, and not easily knocked off-line. While not quite ubiquitous, it’s becoming much more common, with relatively few bikes having a head tube angle of more than 70 degrees. If you like quick steering, check the geometry charts (and take a test ride!) before buying.
But what bike should I buy?
As always, our best recommendation when trying to decide which bike is best for you is to go test ride as many as you can. Many bikes share similar specs at a given price point, and each brand has their own marketing jargon for often very similar features. The easiest way to cut through it all is to go ride them and find the one that fits you best. Try both 27.5″ and 29″, and always keep in mind how much the tire size, construction, and pressure can influence how each bike rides. Oh yeah, and there’s the little detail of suspension travel, setup, and design – so go and try at least a few choices! Finally, if you haven’t tried a dropper seat post, now is the time to give it a go! Be sure to communicate your needs to the shop to steer you in the right direction.
There you have it! We hope this guide has offered you some value and education, and will steer you towards a smart purchase in 2019 and beyond. If you missed them, check out our Gravel Bike and Road Bike Standards Guides!
