These days, we’ve got a lot of options for carrying the necessities with us on our rides, but mountain bike hip packs are easily one of the best. Tools, tubes, water, food, first aid, layers, keys, and even our phones all need to go somewhere, and hip packs are an excellent way to hold it all conveniently strapped around your waist.
Hip packs have steadily evolved over the years into a specialized accessory for the modern mountain biker. Whether you prefer to carry water in hydration bladders or bottles, you carry the bare minimum of tools and gear, or bring everything but the kitchen sink, there are hip packs designed to suit every need and preference. From minimalist packs for quick backyard laps to cavernous models for all-day epics, and everything in between, there are more great options than ever before.
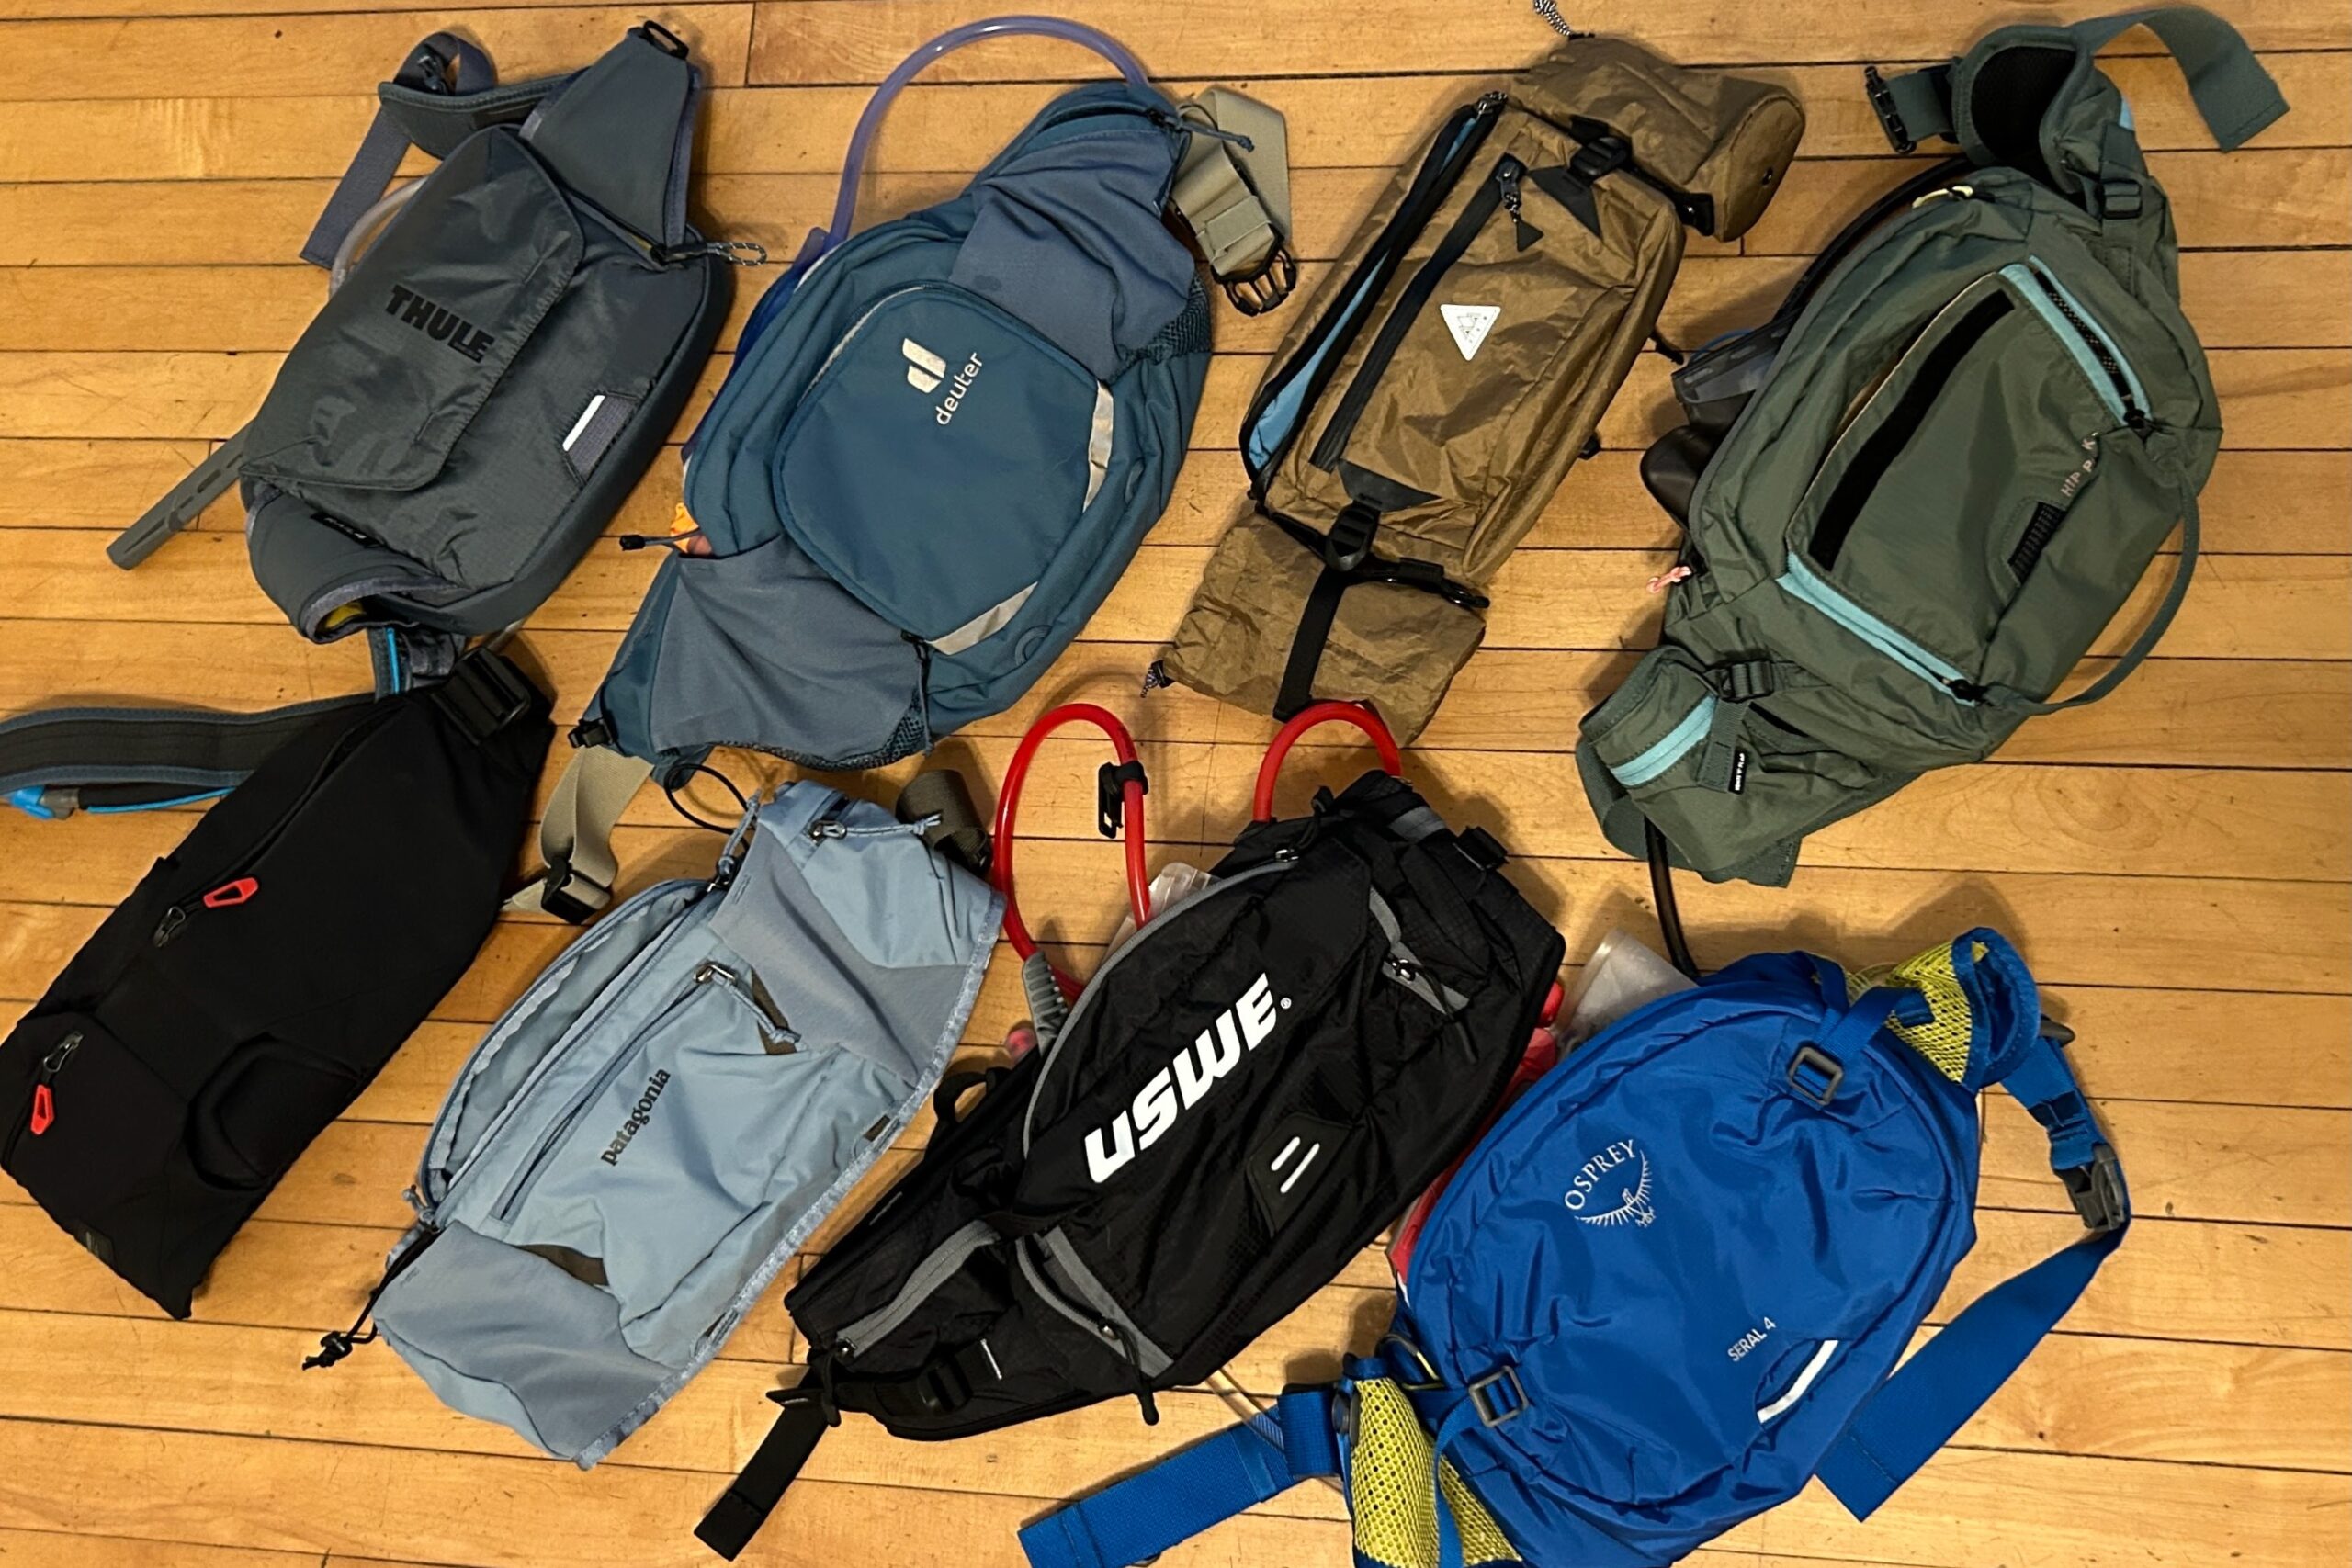
With so many mountain bike hip packs to choose from, finding the right one can be a challenge. To help navigate the choices, we rounded up a diverse selection of 11 models for side-by-side testing and comparison. We loaded each pack up with water, tools, and gear to assess their cargo capacity, hydration capabilities, and organizational layouts before hitting the trails to analyze their comfort, stability, and performance while riding.
Our top mountain bike hip pack recommendations are listed below, followed by the best of the rest which are also great options that are worthy of consideration. You can check our comparison chart to see all the models we tested and their specs at a glance. Our buying advice has helpful information that can help you decide what you need, and our FAQ section provides answers to some common questions.
The Best Mountain Bike Hip Packs of 2024
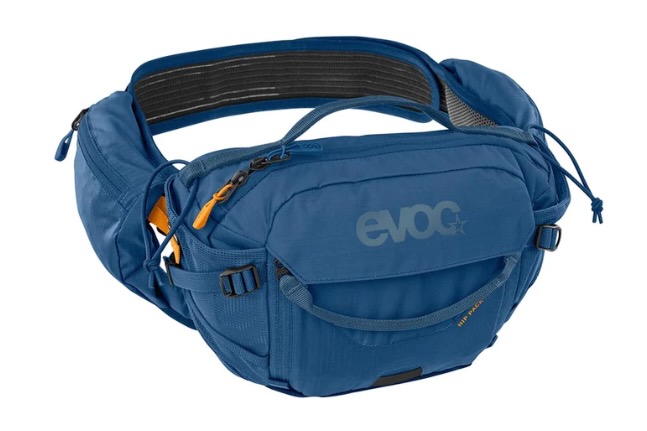
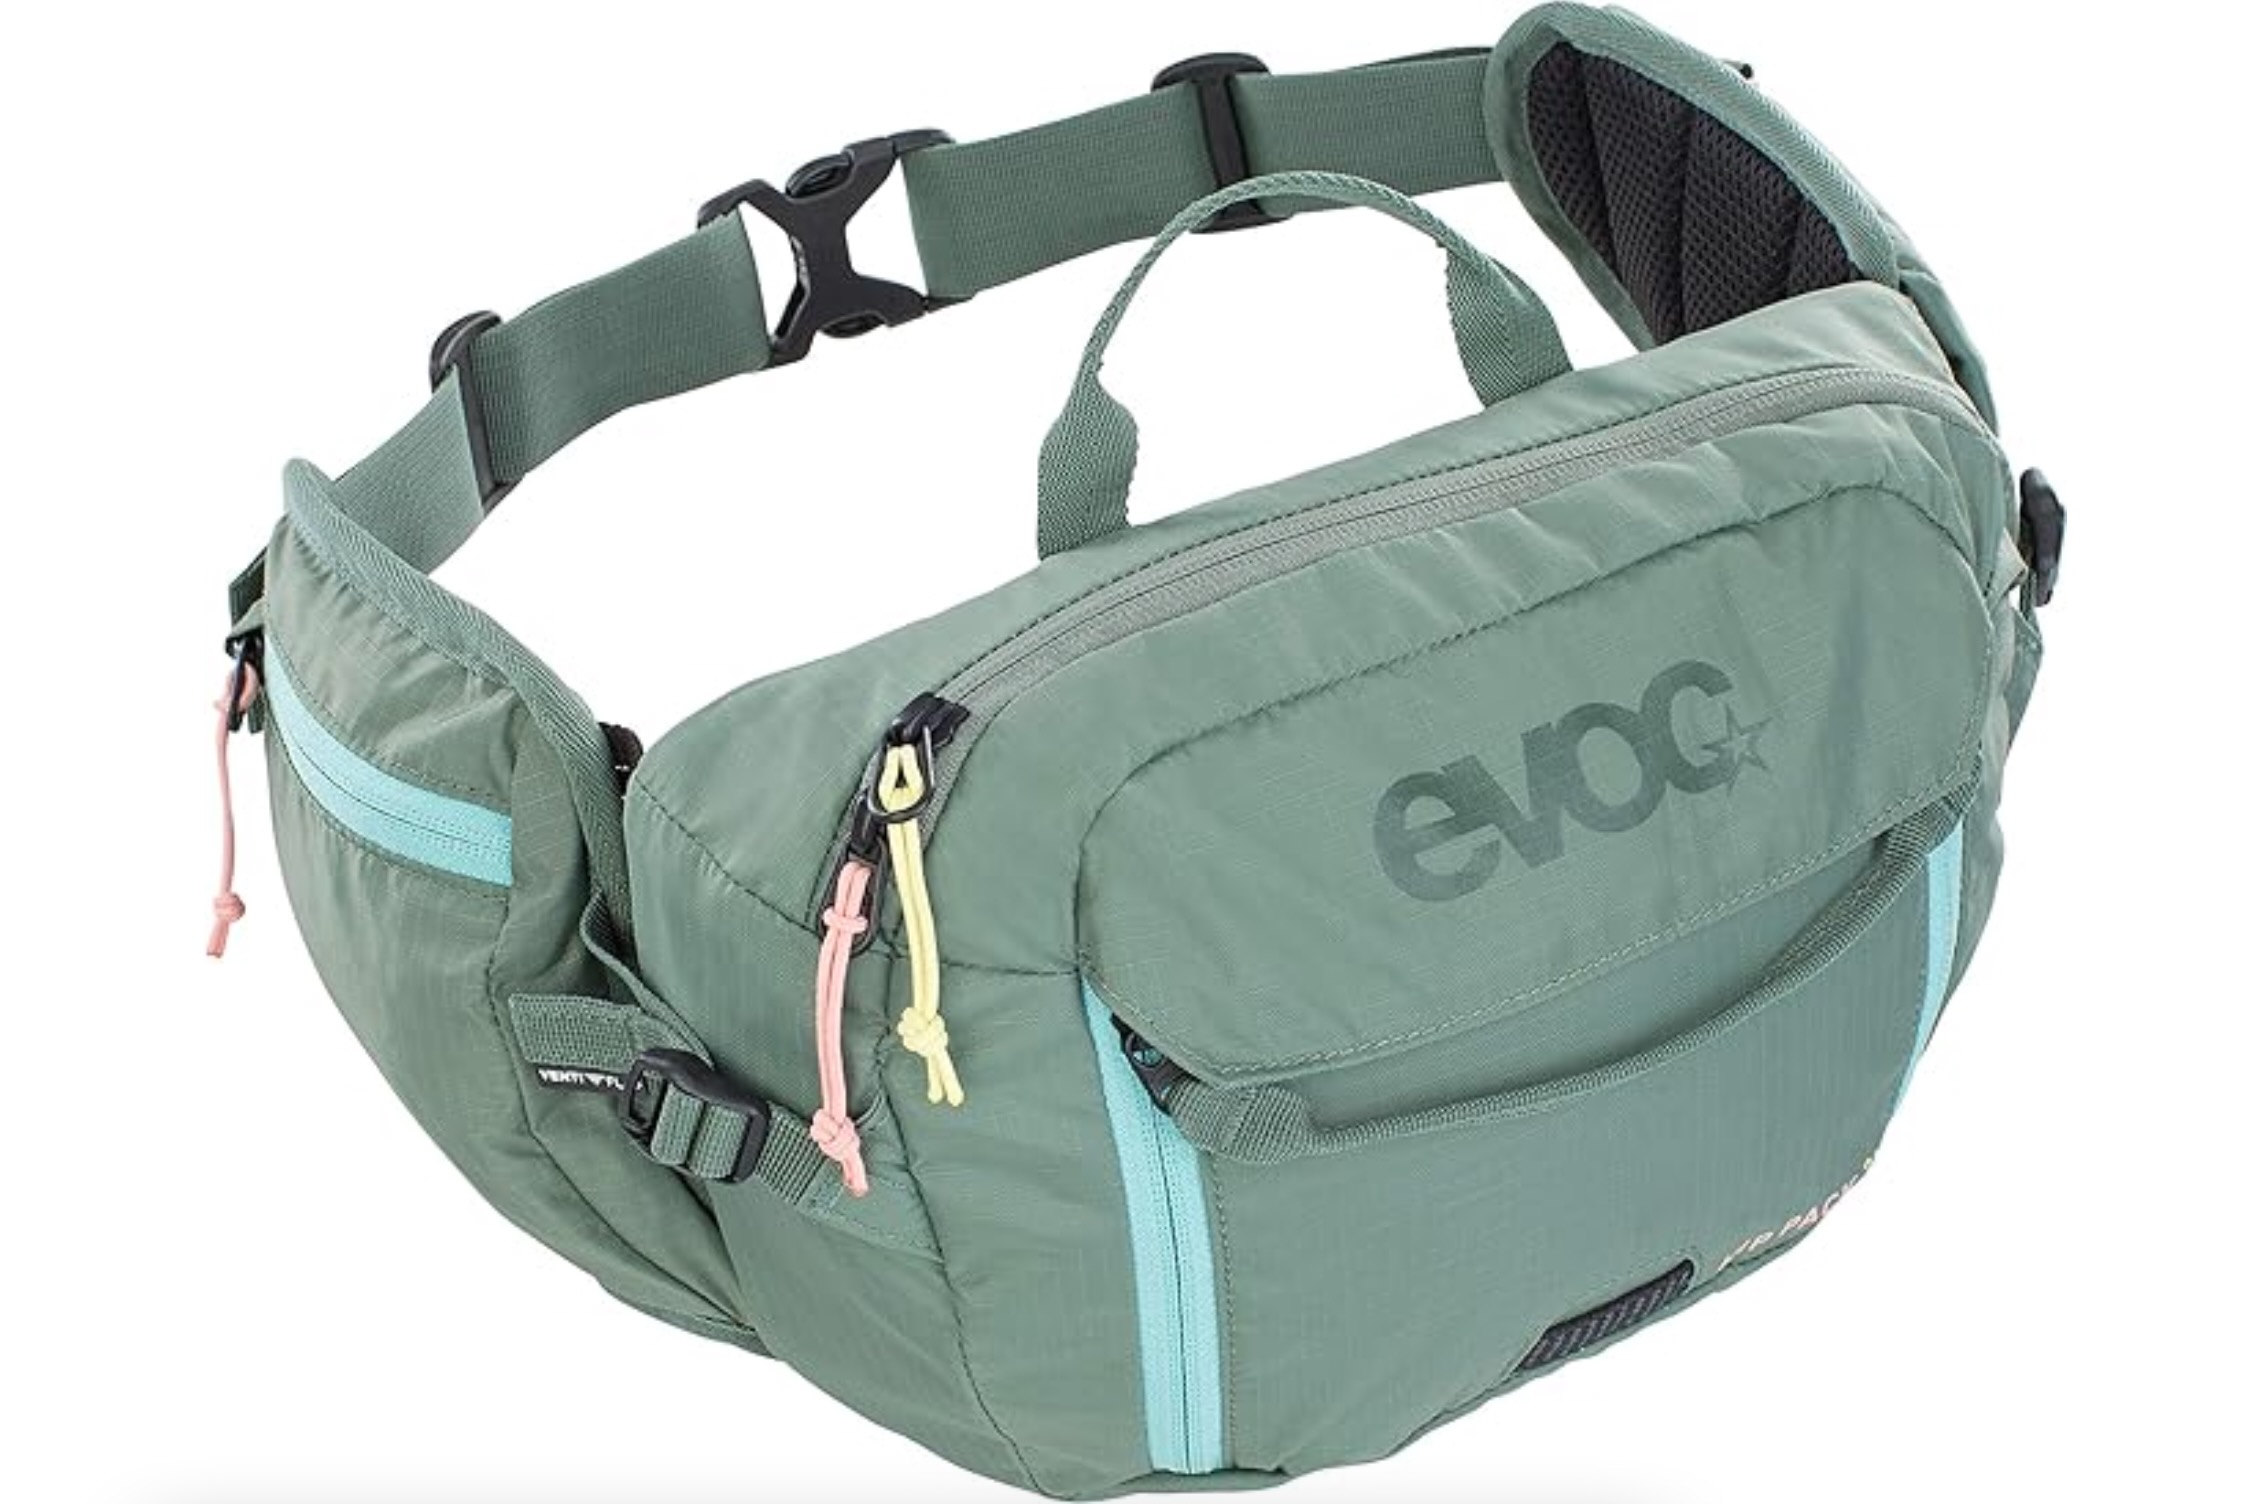
- Best Overall Mountain Bike Hip Pack (with bladder): EVOC Hip Pack Pro 3L + 1.5L Bladder
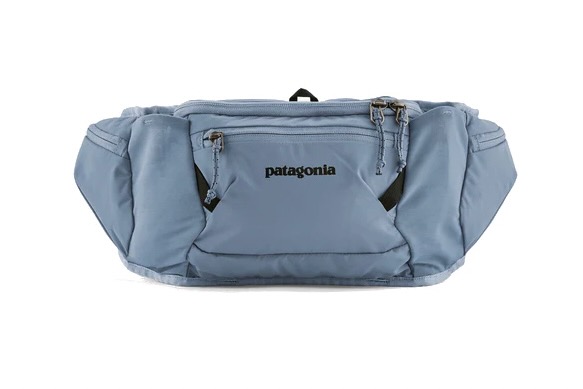
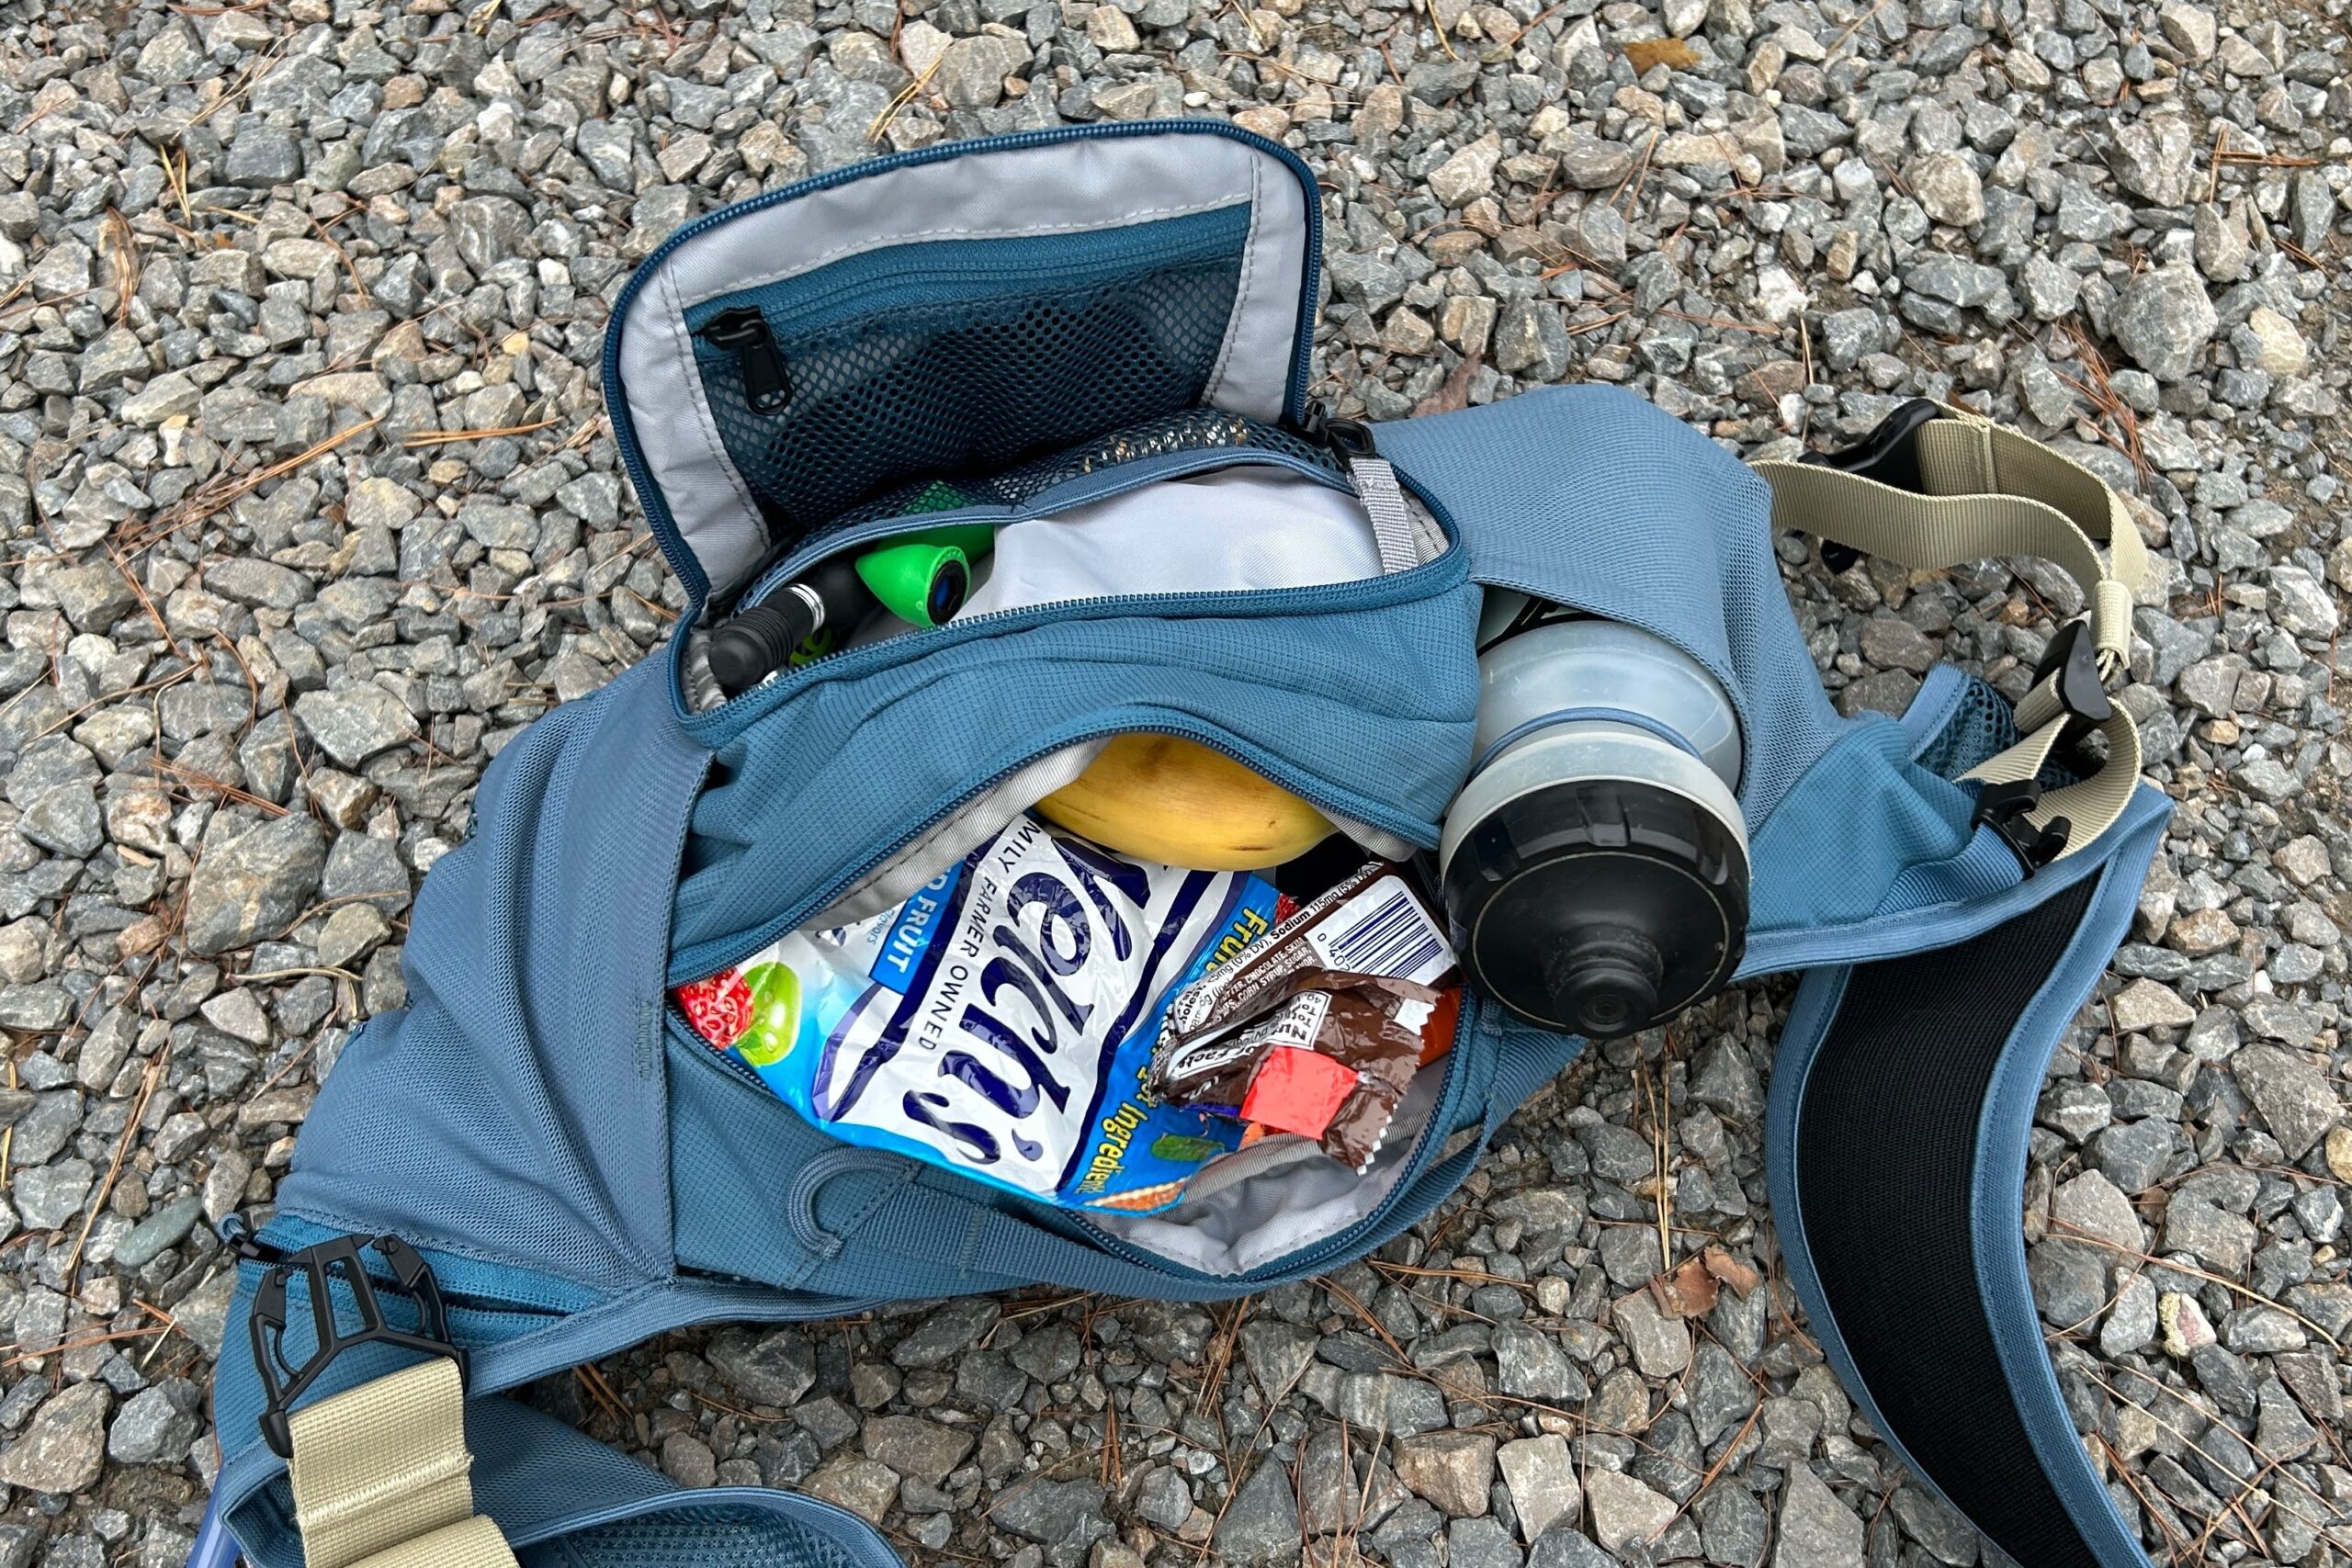
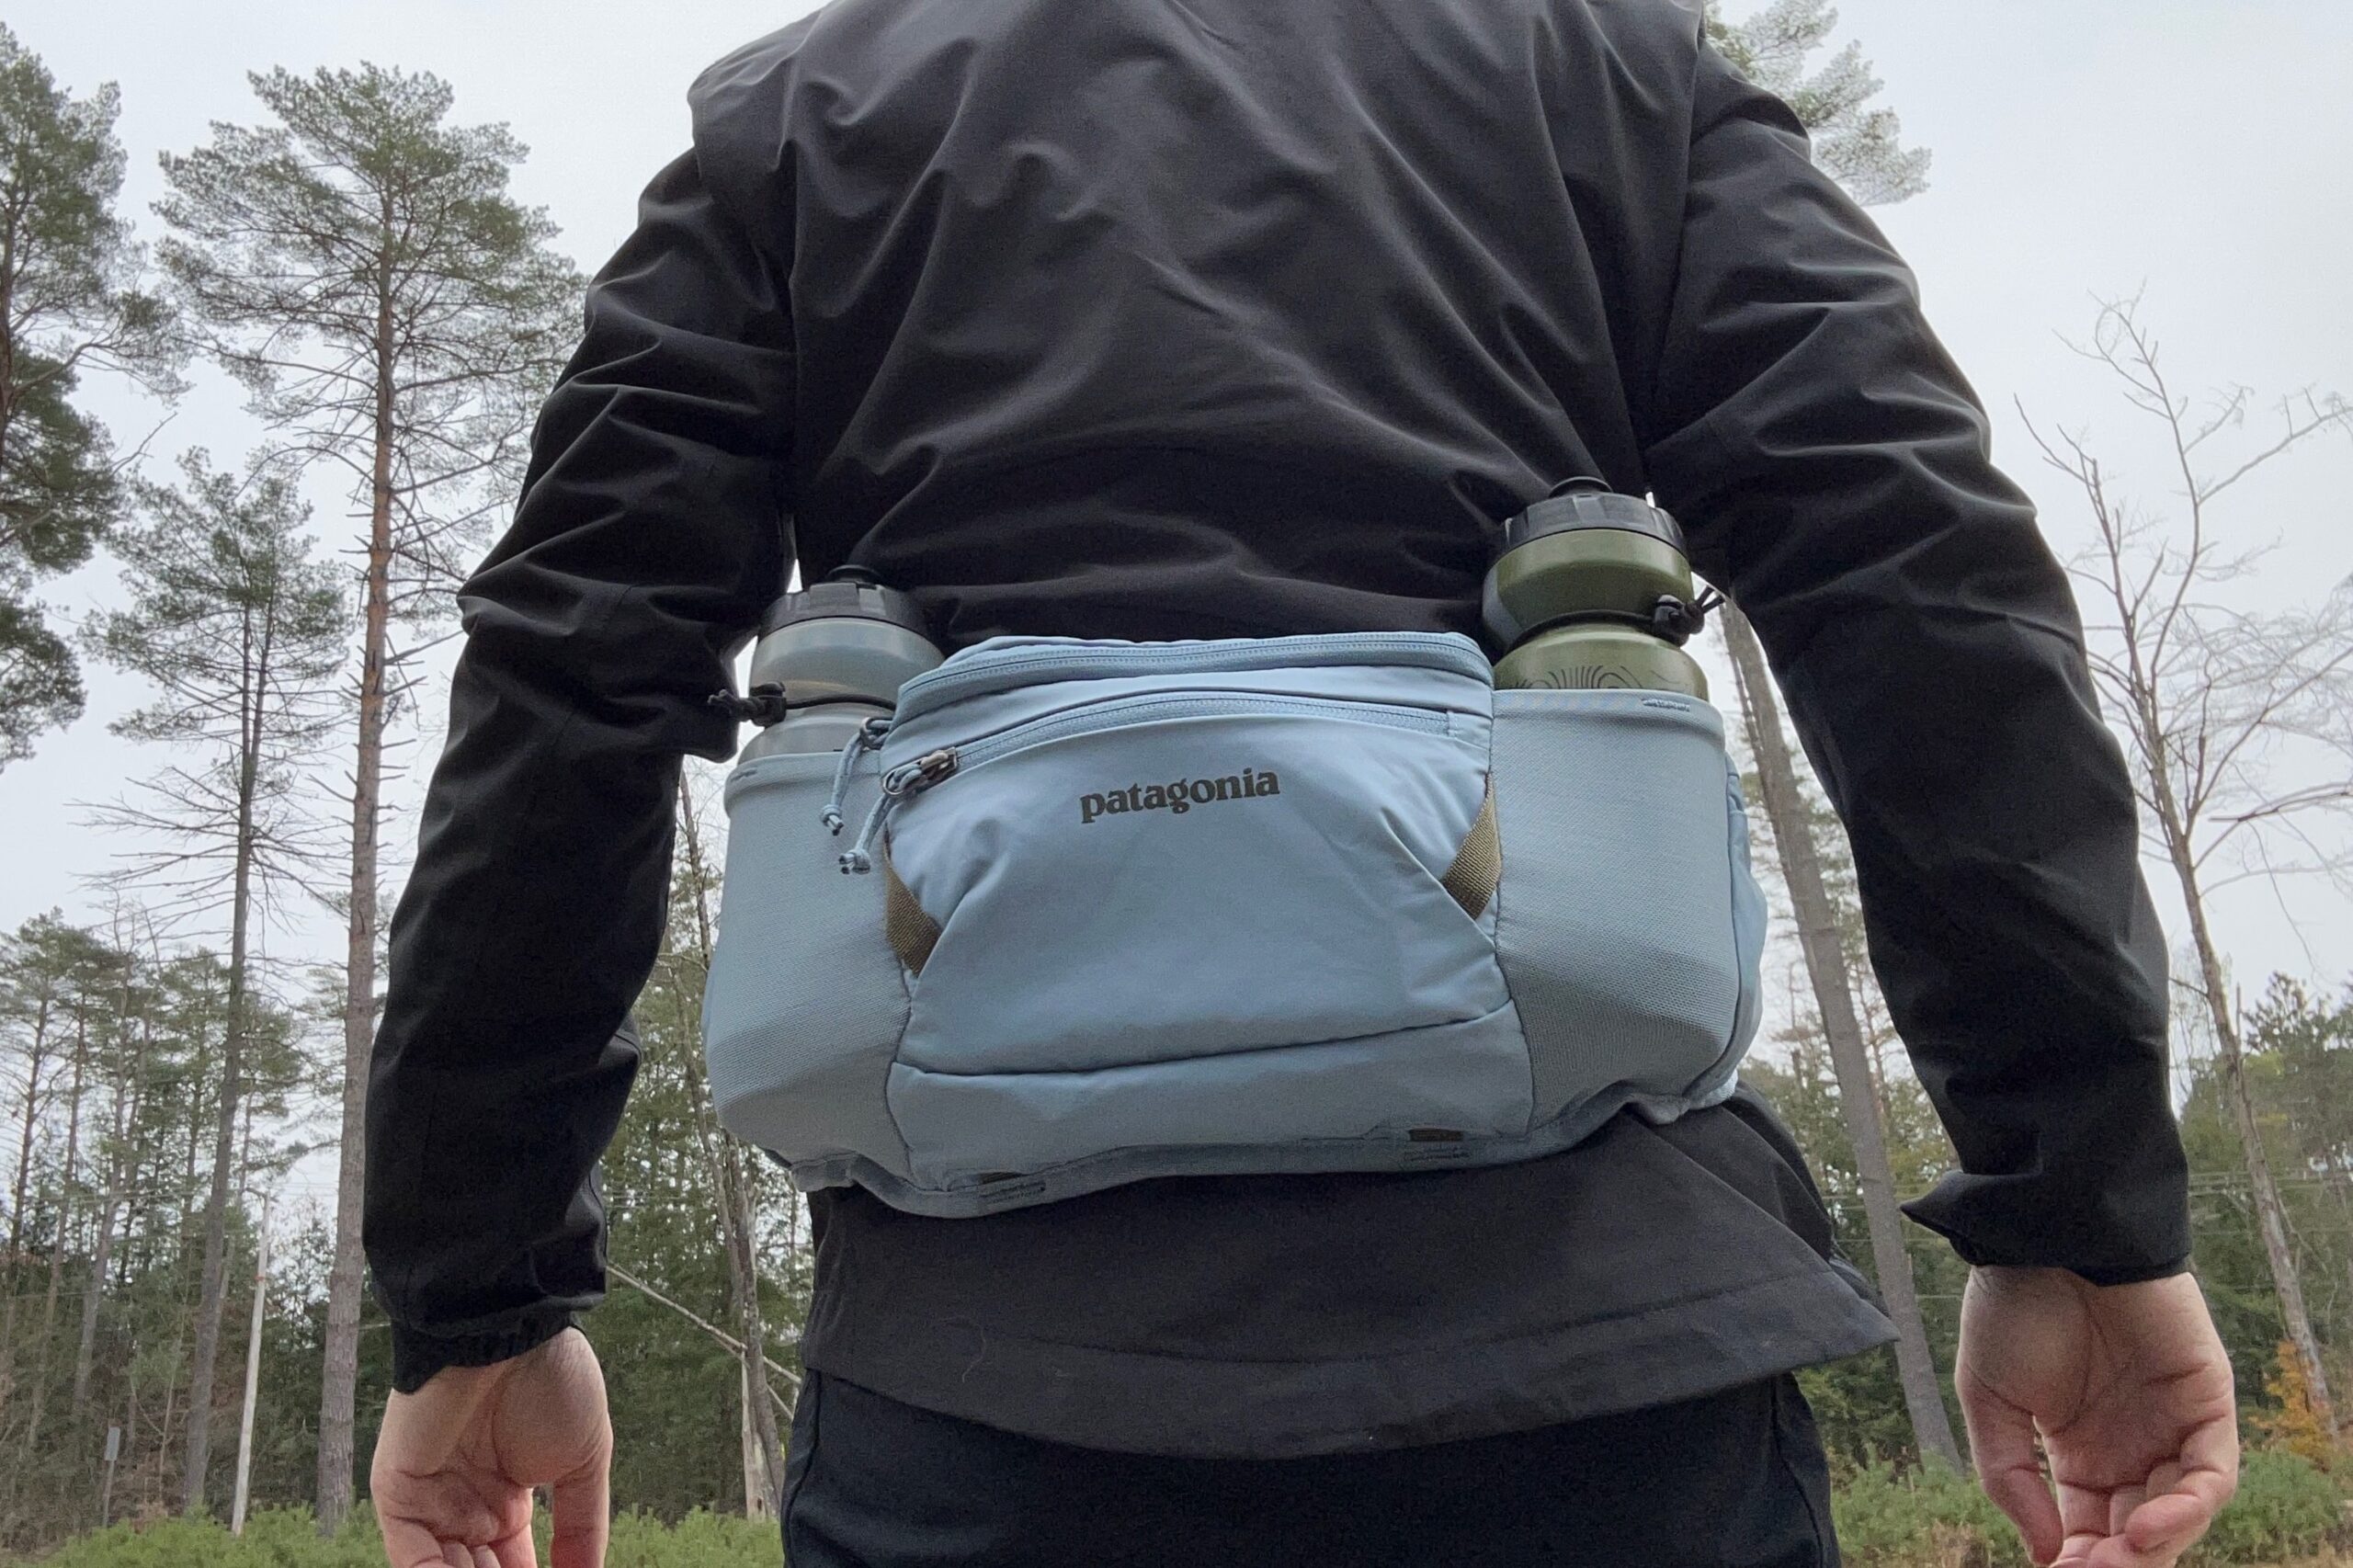
- Best Overall Mountain Bike Hip Pack (no bladder): Patagonia Dirt Roamer Bike Waist Pack 3L
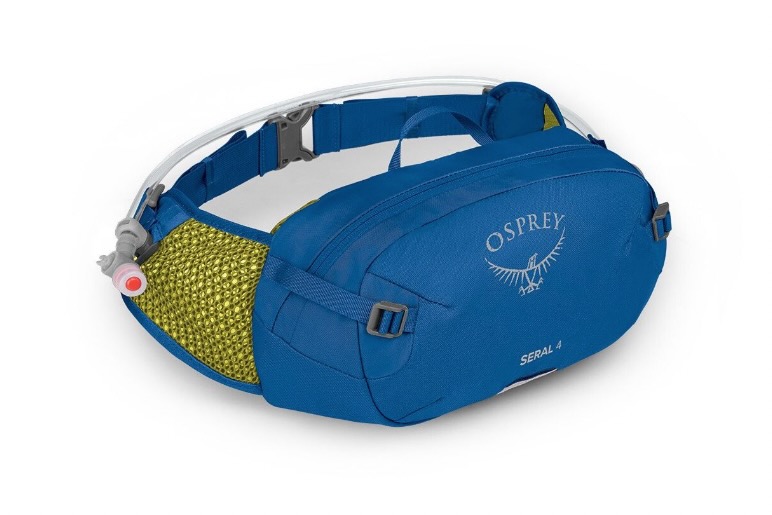
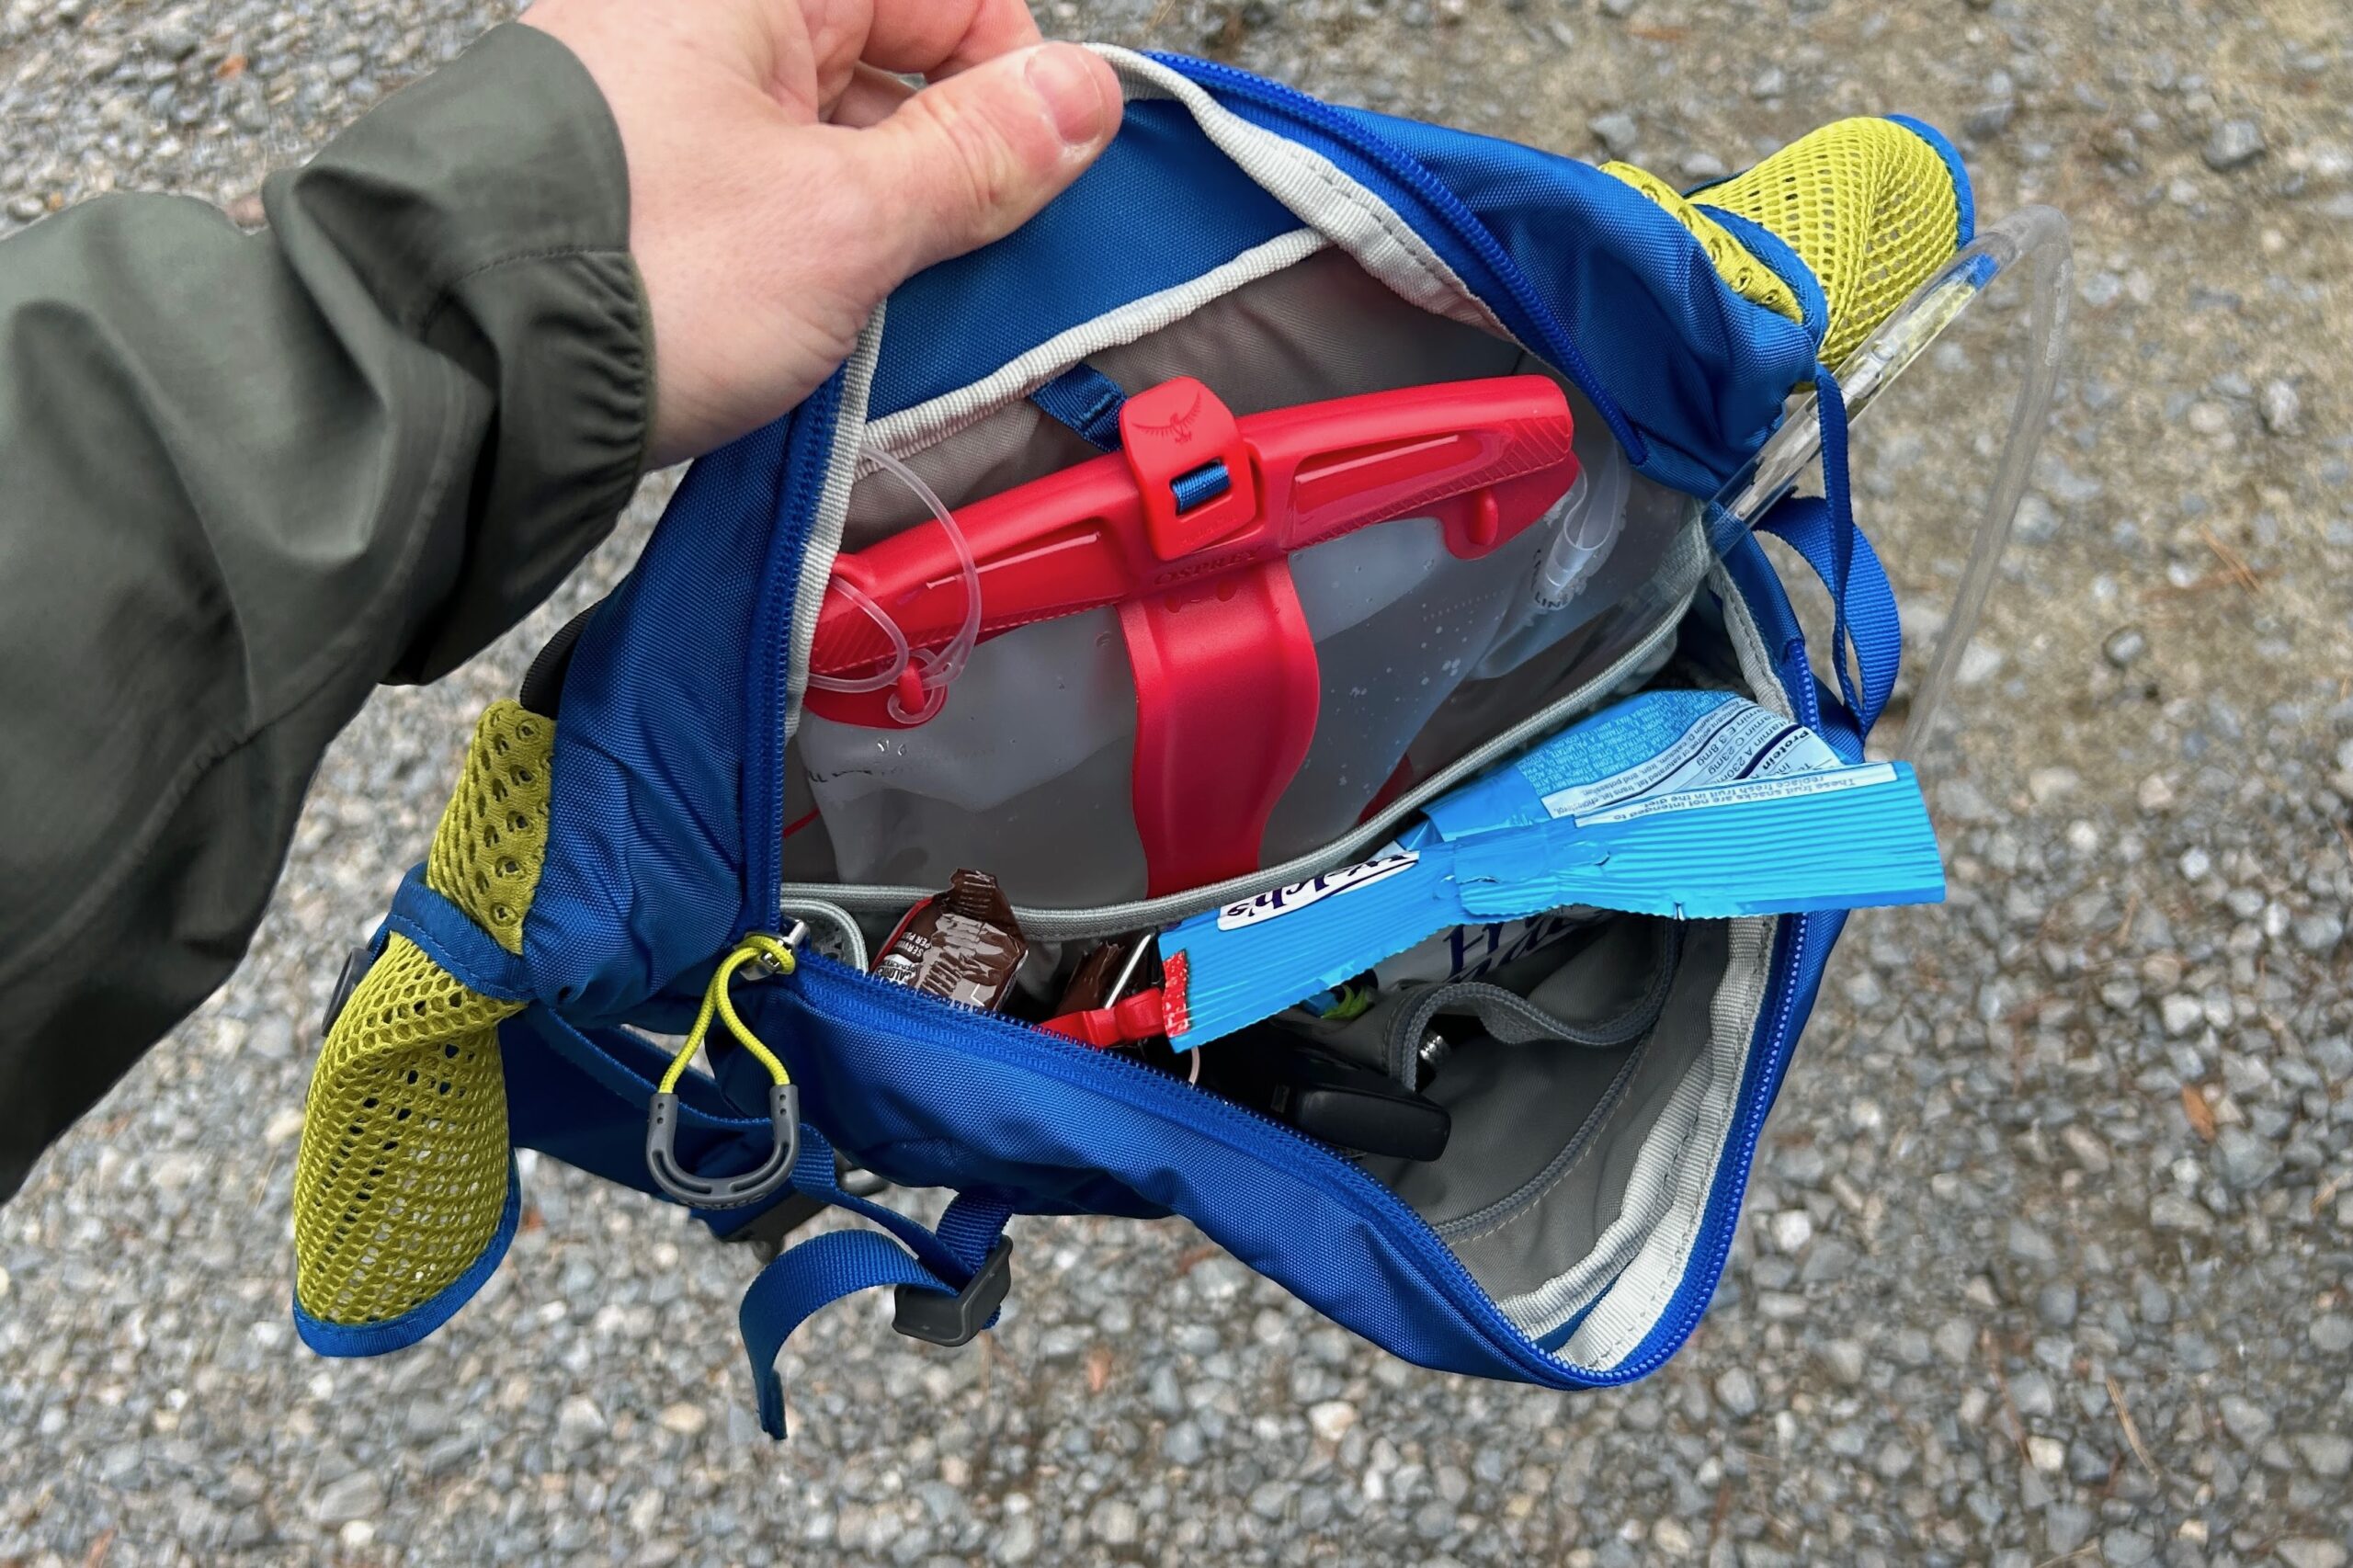
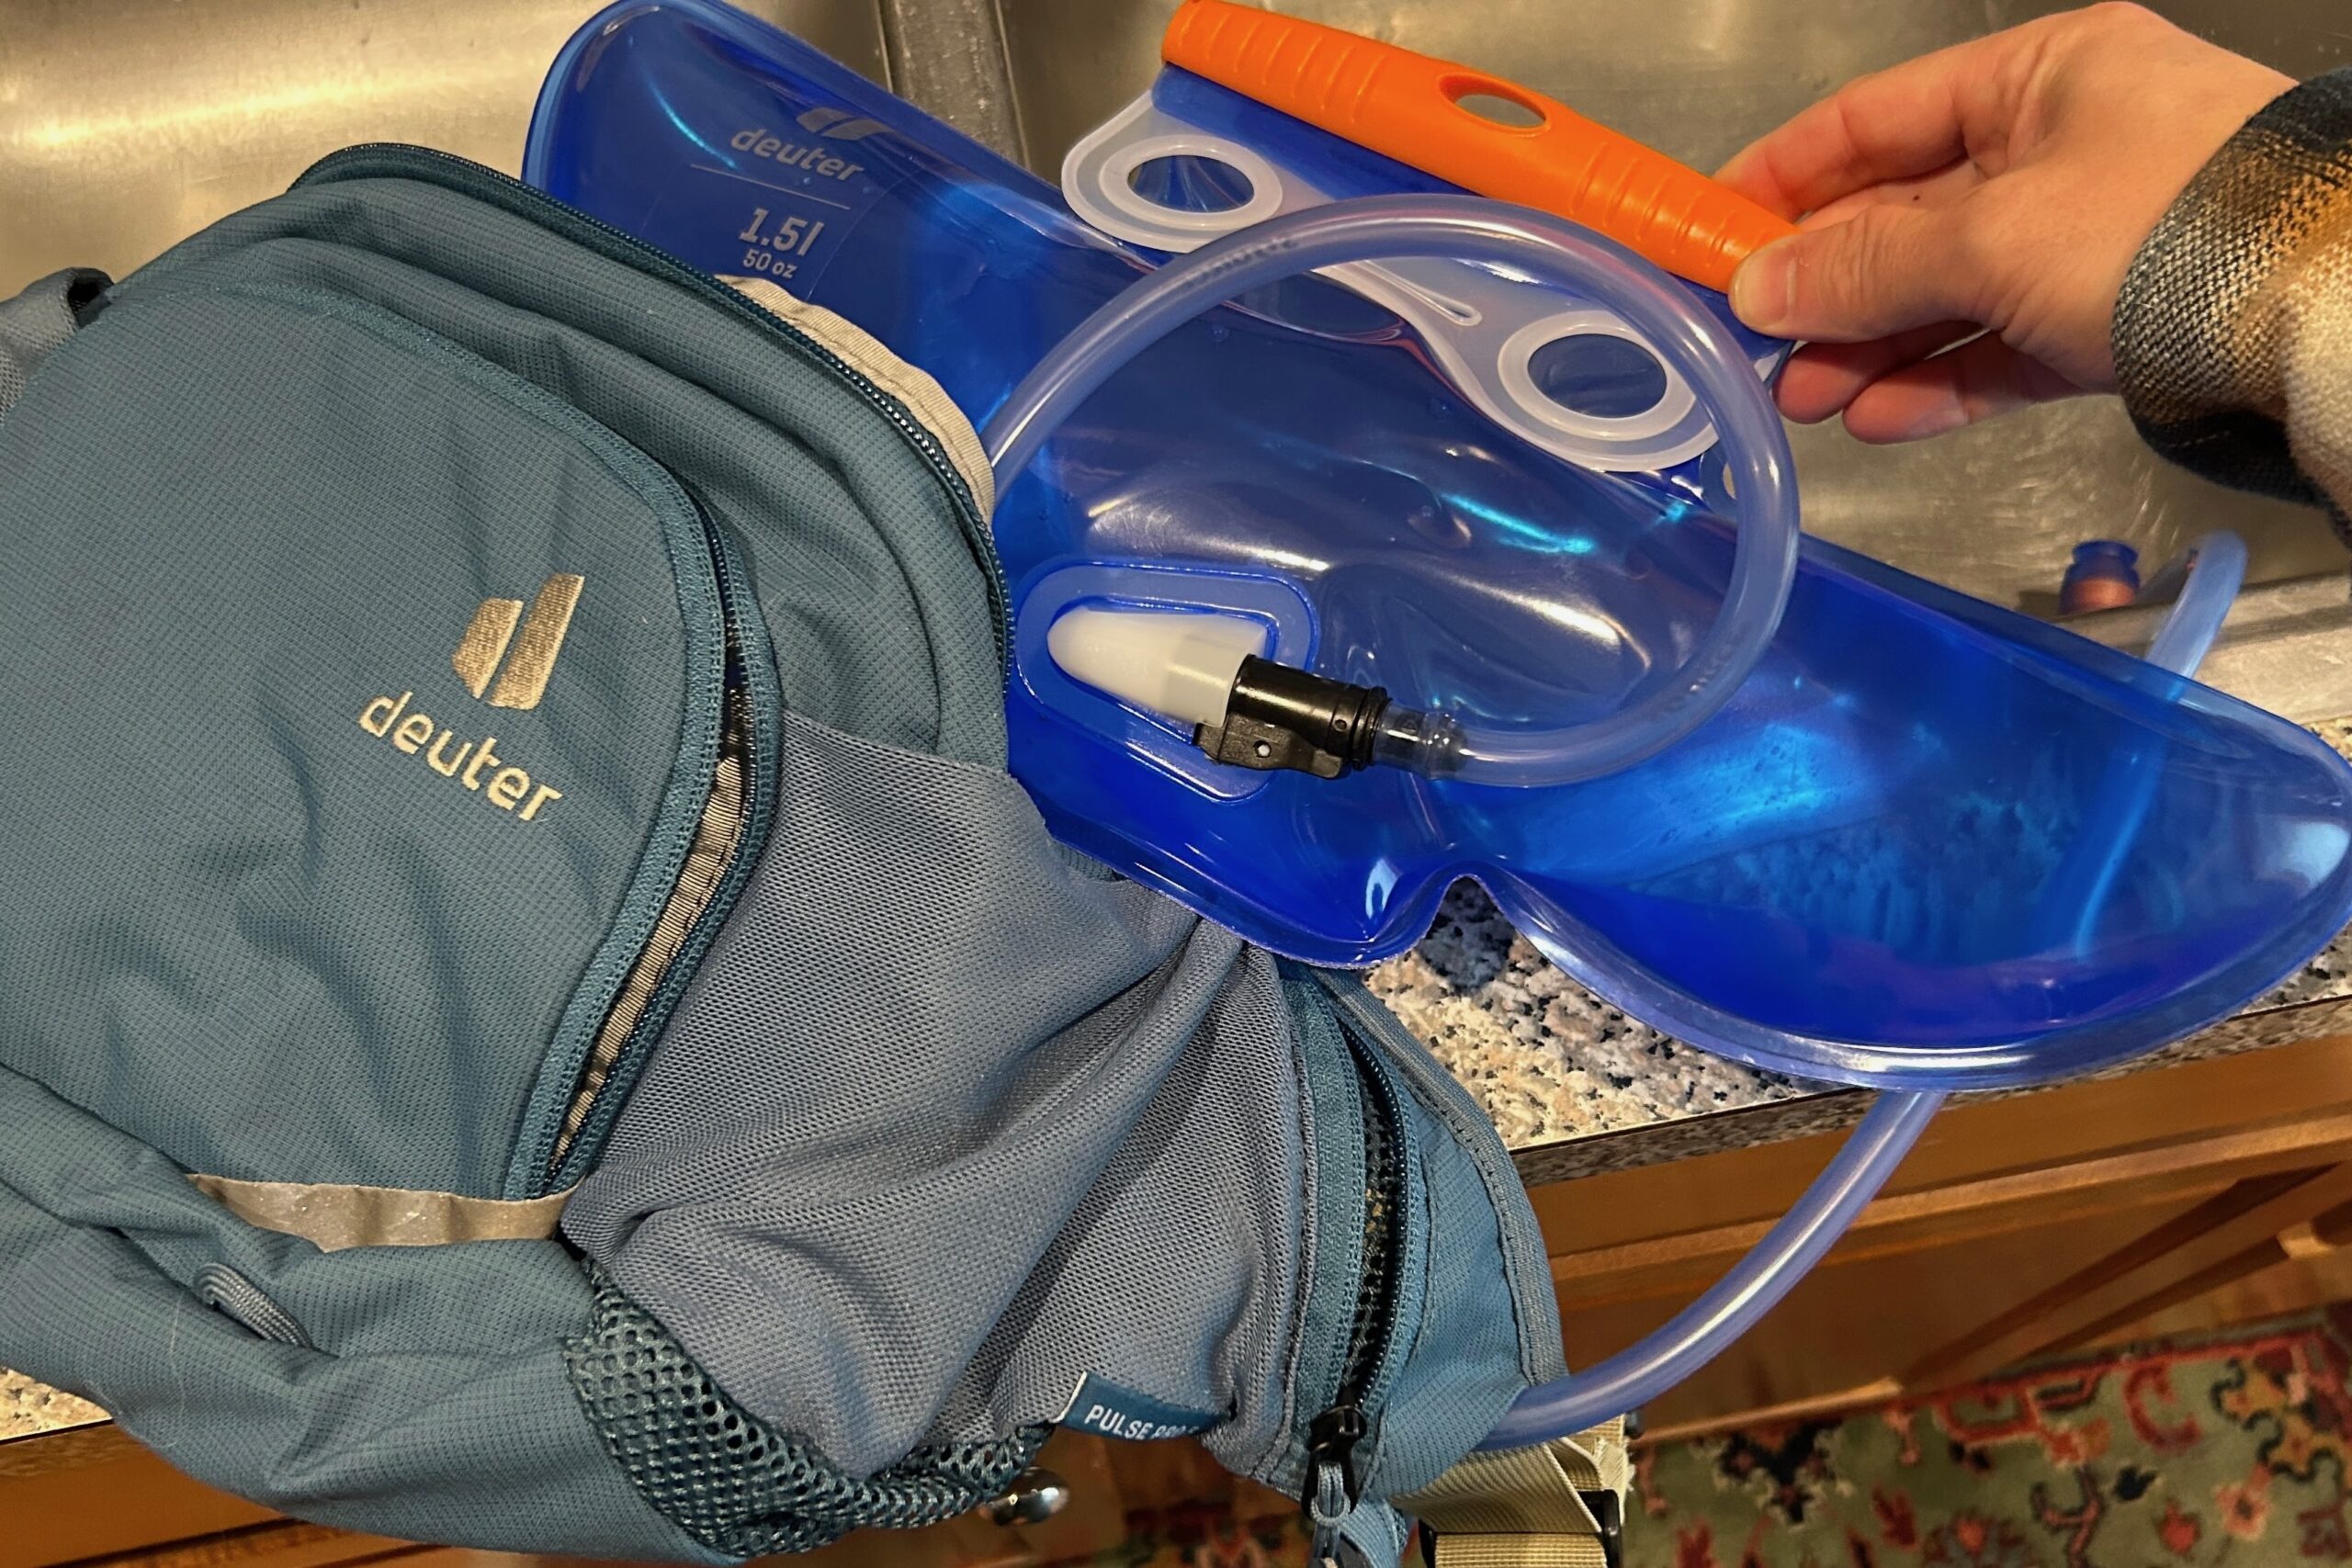
- Best Budget Mountain Bike Hip Pack (with bladder): Osprey Seral 4
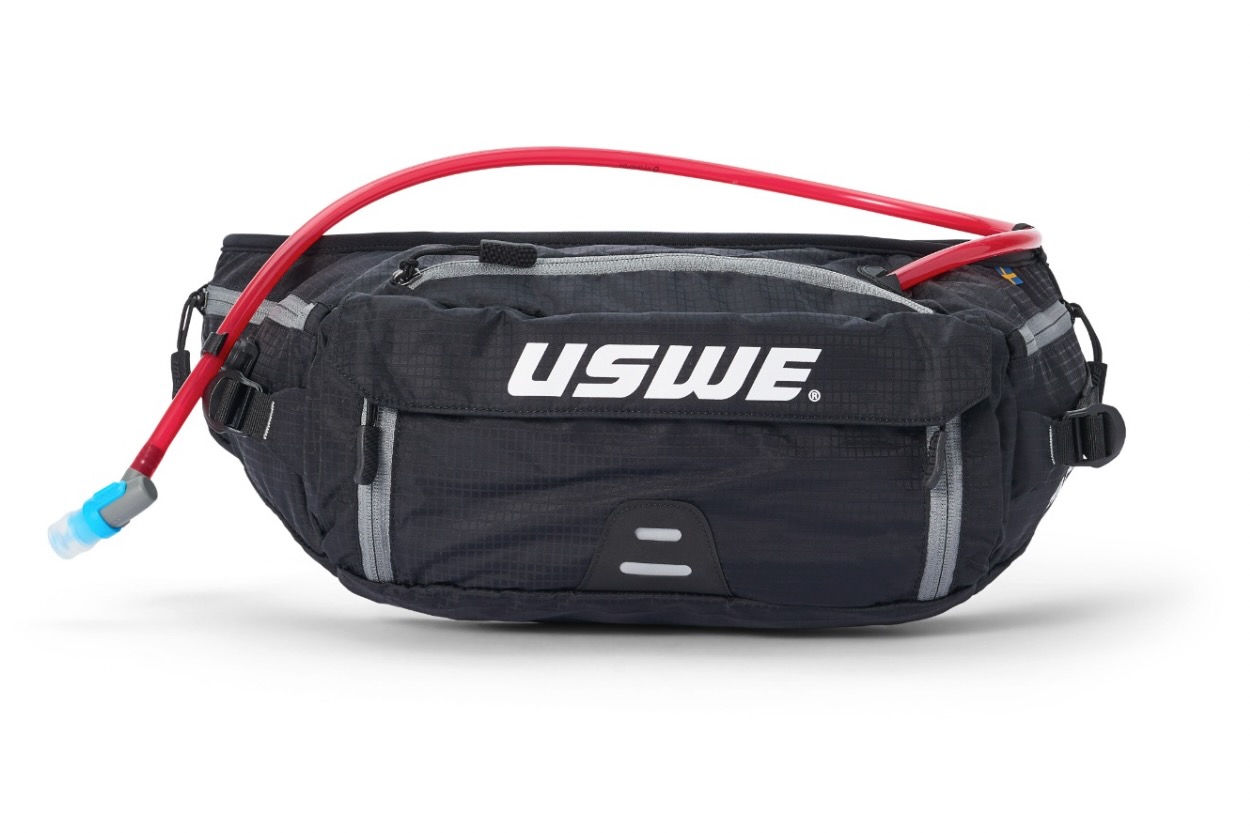
- Runner-Up Best Mountain Bike Hip Pack (with bladder): USWE Zulo 6
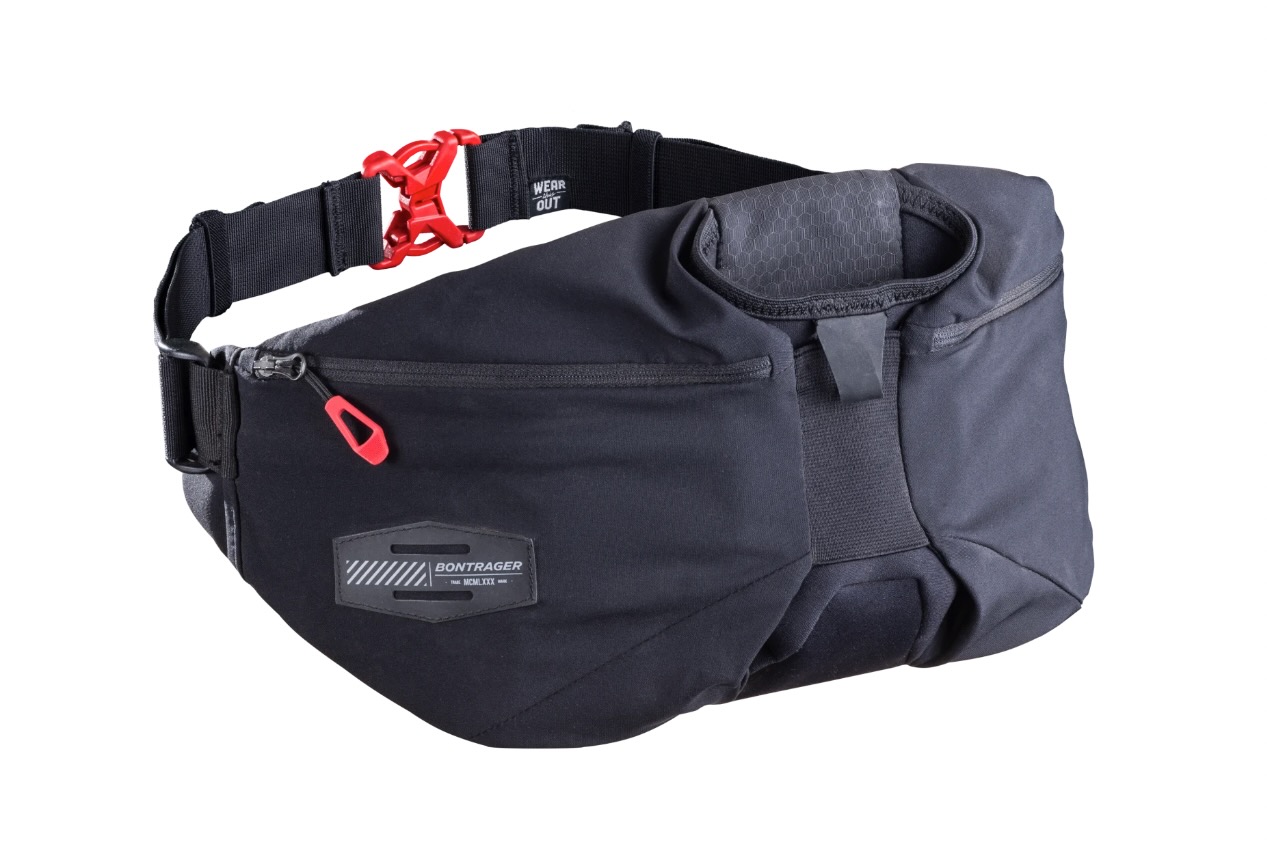
- Best Minimalist Mountain Bike Hip Pack (no bladder): Bontrager Rapid Pack
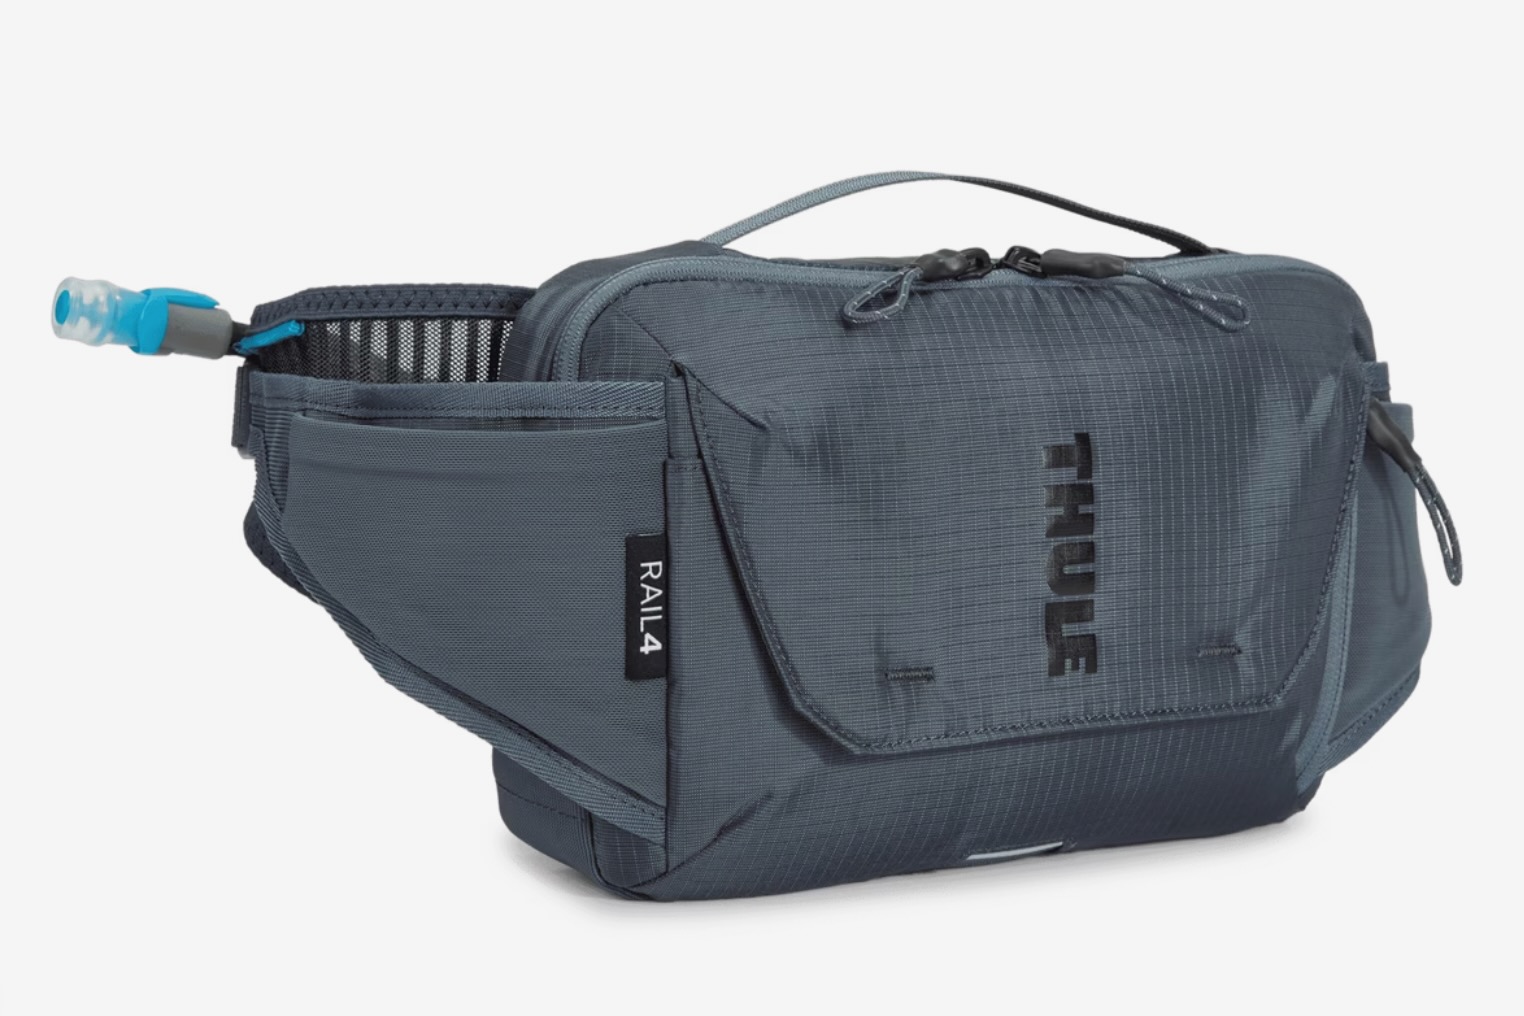
- Most Organized Mountain Bike Hip Pack (with bladder): Thule Rail 4
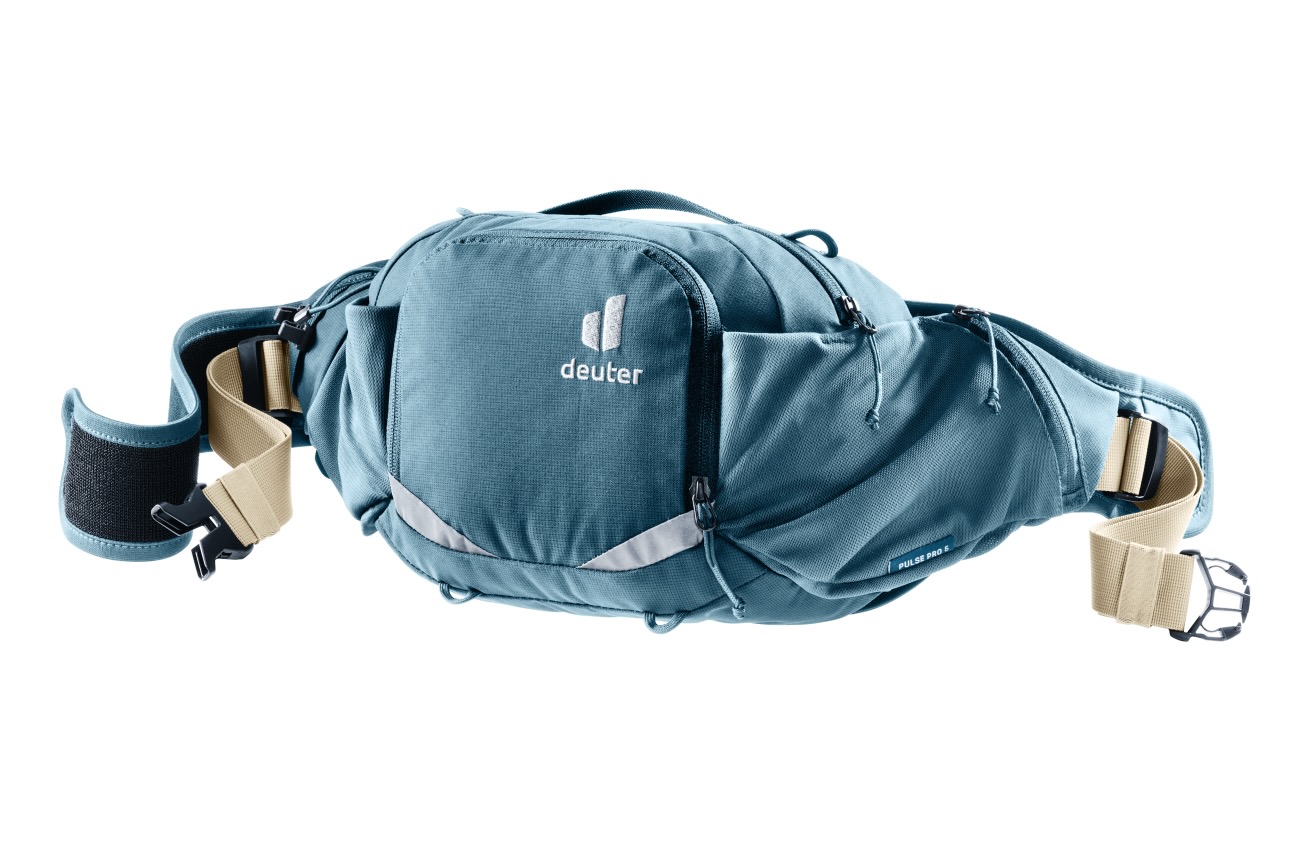
- Best Mountain Bike Hip Pack for Carrying Capacity (with bladder): Deuter Pulse Pro 5
Evoc Hip Pack Pro 3L + 1.5L Bladder
Specs
- MSRP $135
- Weight 431 grams (w/o bladder) 562 grams (w/ bladder)
- Capacity 3 liters
- Water Bladder Yes, 1.5L
- Water Bottles Yes, up to 2
- Waist Sizes 31" to 43"
Pros
- Excellent stability
- Stretch waist belt is comfortable
- Well ventilated back panel
- Great organization
- Medium volume is great for most rides
- Options to carry water in bladder or bottle (or both)
Cons
- Expensive
- 3 liter storage capacity may be too small for longer rides or people who like to carry lots of gear
Patagonia Dirt Roamer Bike Waist Pack 3L
Specs
- MSRP $69
- Weight 245 grams
- Capacity 3 liters
- Water Bladder No
- Water Bottles Yes, 2
- Waist Sizes 27" to 46"
Pros
- Lightweight
- Secure and stable with or without bottles
- Comfortable
- External straps allow easy mounting of bulkier items
- Surprisingly large capacity from smart layout
Cons
- No water bladder (could be a pro depending on preference)
Osprey Seral 4
Specs
- MSRP $90
- Weight 442 grams (w/ bladder)
- Capacity 4 liters
- Water Bladder Yes, 1.5L
- Water Bottles No
- Waist Size 27” to 42”
Pros
- Great airflow through mesh hips and “Airscape” back panel
- Simple bladder and routing makes refills quick
- Adjustable nozzle speed
- Bladder “handle” is a nice touch, makes filling and installing the bladder very easy.
- Easy to find old colors on sale at a discount
Cons
- Simple layout – there is really only one main section with a zippered internal pocket
- No hip pockets
USWE Zulo 6
Specs
- Price $145
- Weight 510 grams (w/ bladder)
- Capacity 6 liters
- Water Bladder Yes, 1.5L
- Water Bottles No
- Waist Sizes 31” to 40”
Pros
- Full length padded belt
- Zip pockets on waist belt for easy access while riding
- Comfortable
- Excellent stability while riding
Cons
- More expensive
- Bladder is a tight fit to get into pack when full
- Heavy branding
Bontrager Rapid Pack
Specs
- MSRP $68
- Weight 216 grams
- Capacity 1.64 liters
- Water Bladder No (bladder version available)
- Water Bottles Yes, 1
- Waist Sizes 24" to 42"
Pros
- Effective minimalist approach, enough room for the essentials
- Tightening strap by pulling forward makes extra waist webbing management easy
- Incredibly stable and comfortable – you hardly notice you’re wearing it
- Lightweight
Cons
- Not great for carrying larger, bulkier, or longer items
- Lower overall capacity – not the best for longer rides or large items
Thule Rail 4
Specs
- MSRP $100
- Weight 532g (w/ bladder)
- Capacity 4 liters
- Water Bladder Yes, 1.5L
- Water Bottles No, not securely
- Waist Size 31” to 40”
Pros
- Thick, comfortable waistband
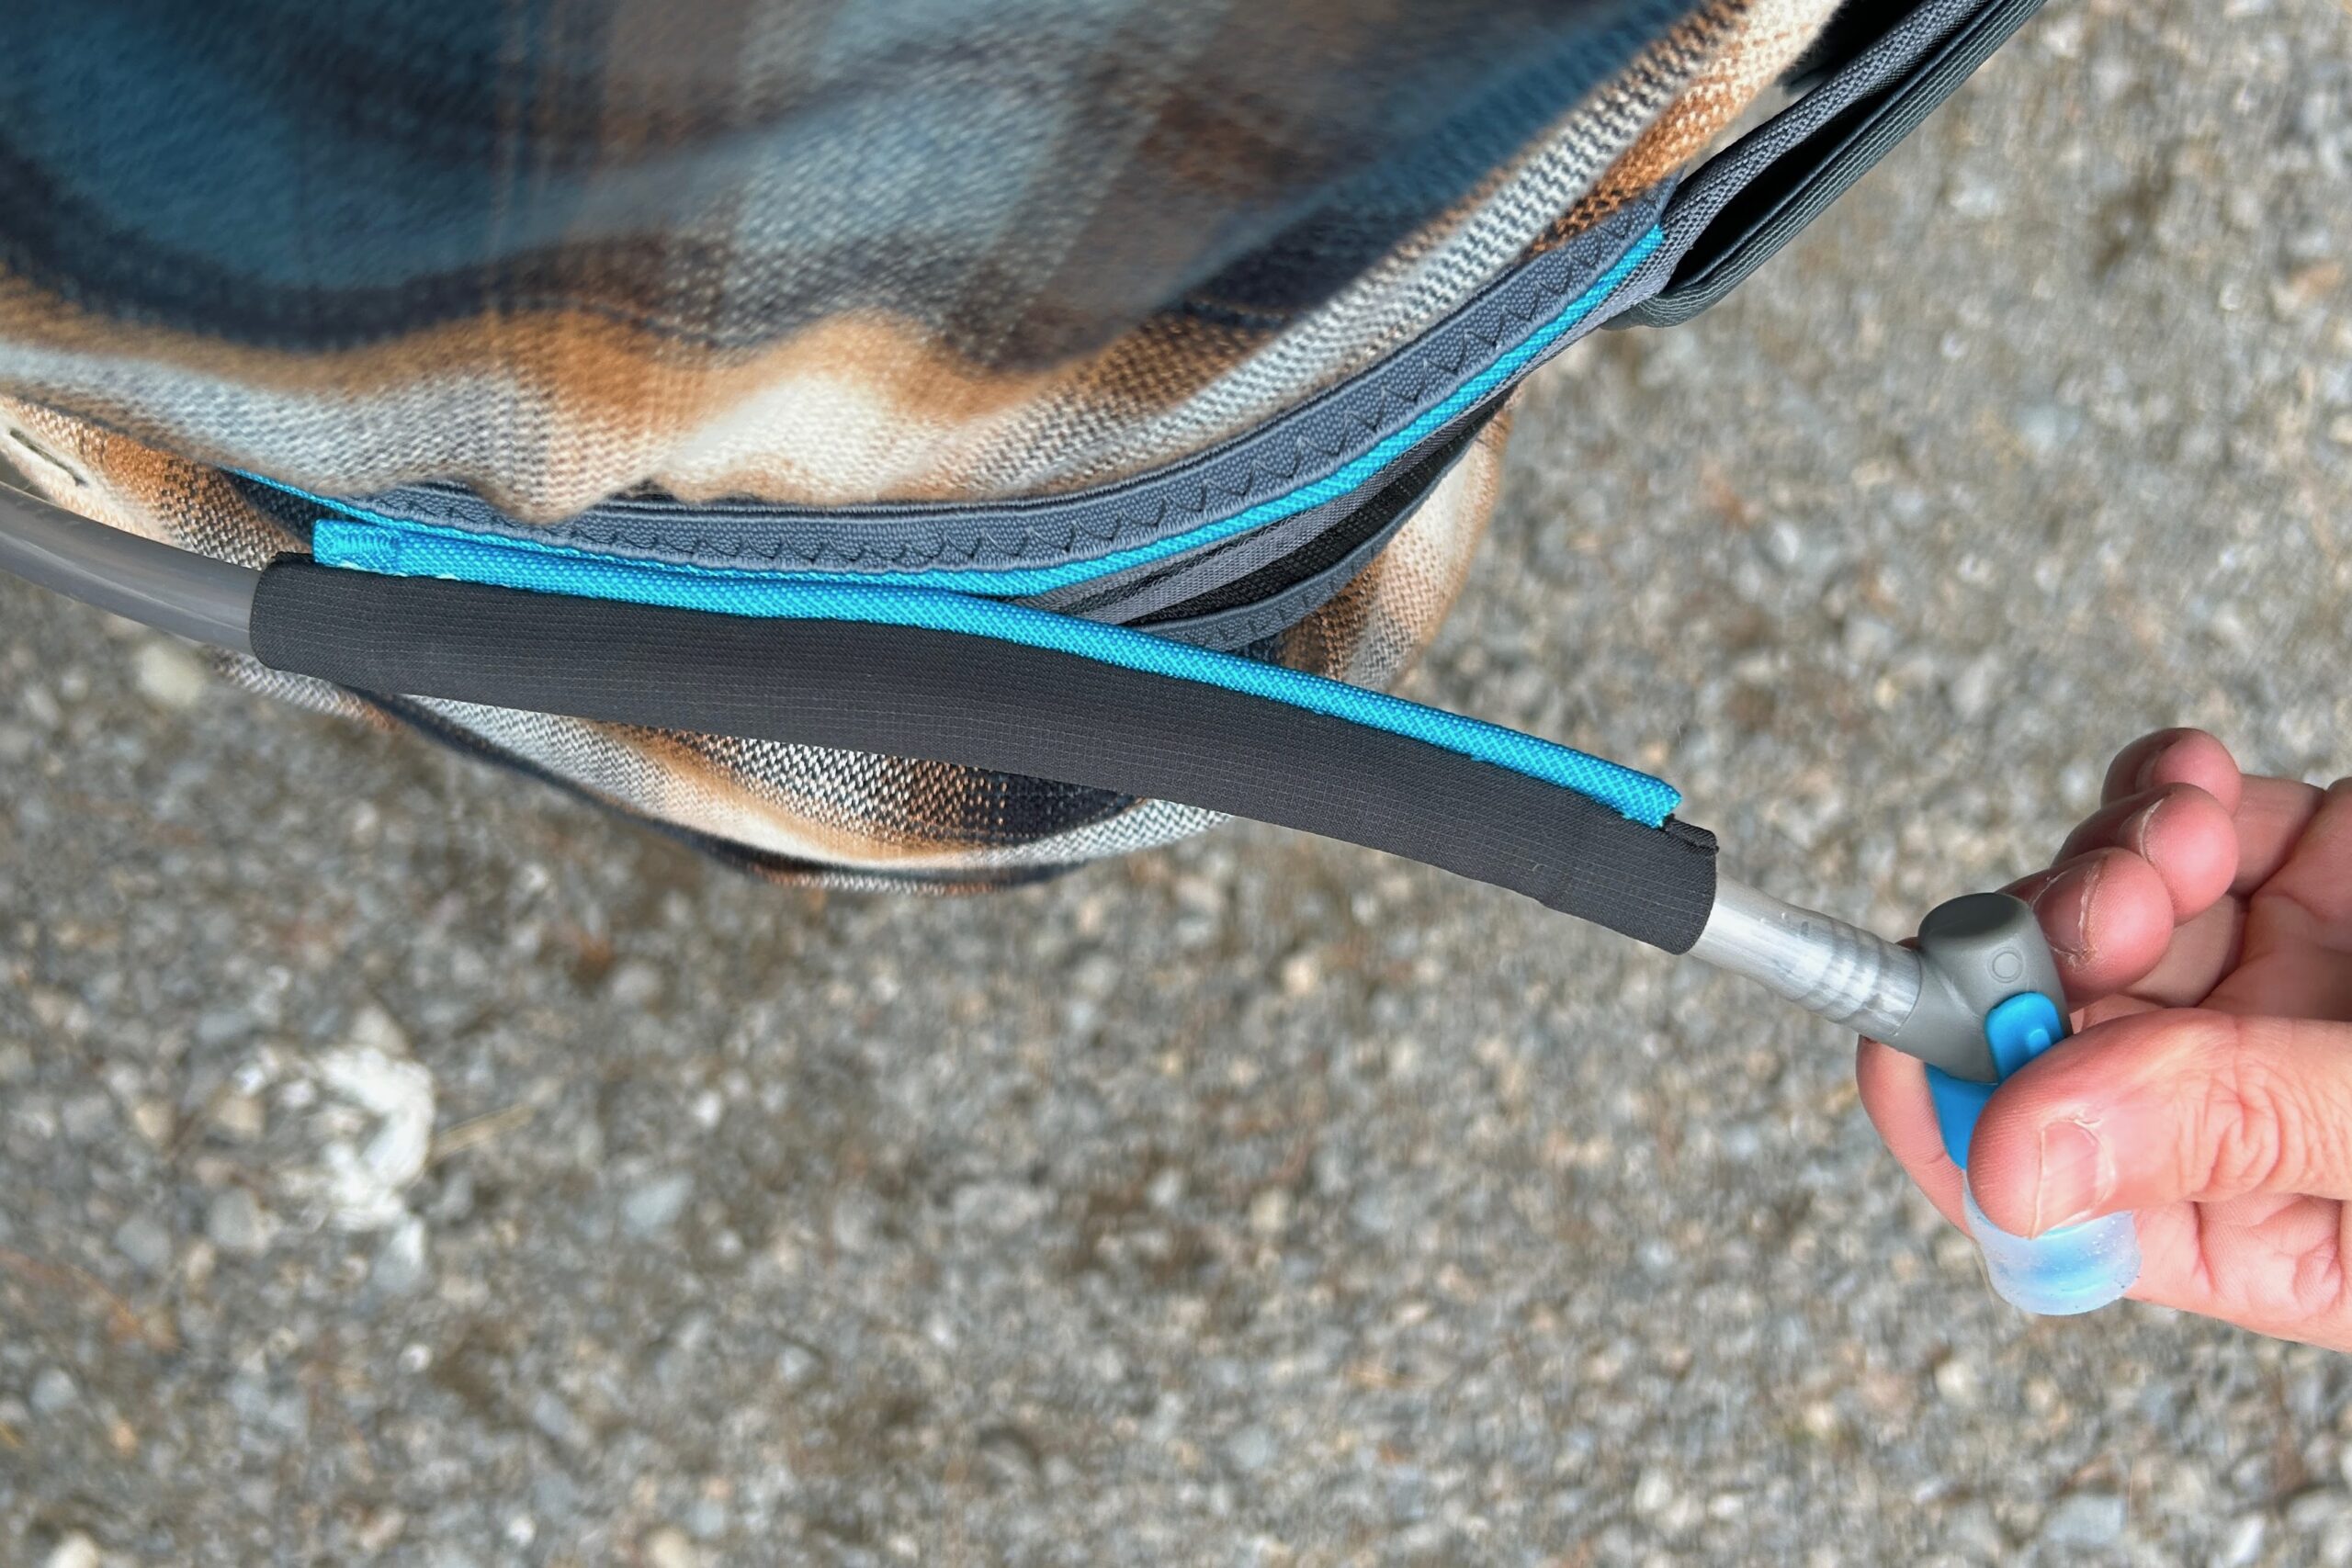
- Long magnetic strip catches hydration hose and nozzle well
- Good organizational strategy, if you use it as intended
- Very streamlined and tidy look
Cons
- Layout and low profile design makes capacity feel smaller than it is, very structured and not very flexible
- Friction fitting on hose/bladder connection – challenging to remove bladder from pack
Deuter Pulse Pro 5
Specs
- MSRP $125
- Weight 710 grams (w/ bladder)
- Capacity 5 liters
- Water Bladder Yes, 1.5L
- Water Bottles Yes, 1
- Waist Size 25” to 42”
Pros
- High usable volume
- Stowable strap included for attaching items externally
- Comfortable back contact and wide hip band
- Quick connect hose makes filling/cleaning bladder easy
- Rotational nozzle lock works very well
Cons
- Not the most stable hip pack for aggressive riding or rough terrain
- Not the easiest pack to put on/take off quickly with the mesh/velcro belt
- Heavier weight
Best of the Rest
EVOC Hip Pack 3L + 1.5L Bladder
Specs
- MSRP $120
- Weight 495 grams (w/ bladder)
- Capacity 3 liters
- Water Bladder Yes, 1.5L
- Water Bottles No
- Waist Size 30” to 48”
Pros
- Well ventilated back panel
- Stable
- Great bladder management and quick release bladder/hose connection
- Well organized
Cons
- Small hip pockets
- No water bottle carry option
- Difficult to tighten straps when the pack is on
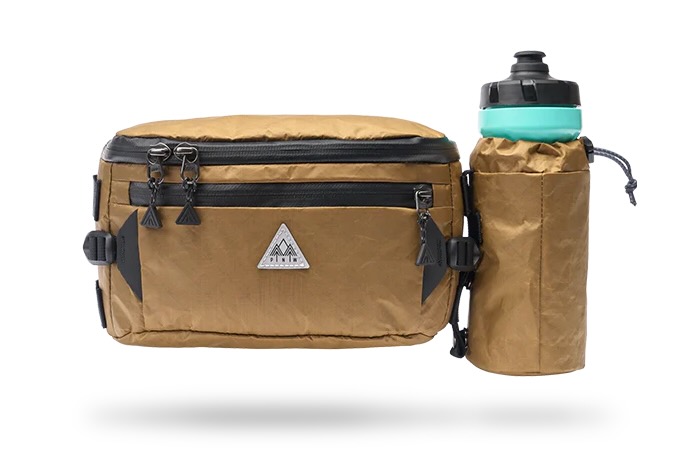
PNW Rover Hip Pack
Specs
- MSRP $79
- Weight 387 grams
- Capacity 2.72 liters
- Water Bladder No
- Water Bottles Yes, with detachable bottle holder (up to 2)
- Waist Sizes 24" to 48"
Pros
- Middle of the road capacity, large compartment is roomy enough for everything we usually needed
- Good main pocket compartmentalization
- Fairly water resistant with neoprene lined phone pocket
- Soft backing, comfortable and secure
- Good value
Cons
- Detachable water bottle pockets are not the most stable while riding
Dakine Hot Laps 5L
Specs
- MSRP $100
- Weight 460 grams (w/ bladder)
- Capacity 5 liters
- Water Bladder Yes, 2L
- Water Bottles No
- Waist Sizes Not specified
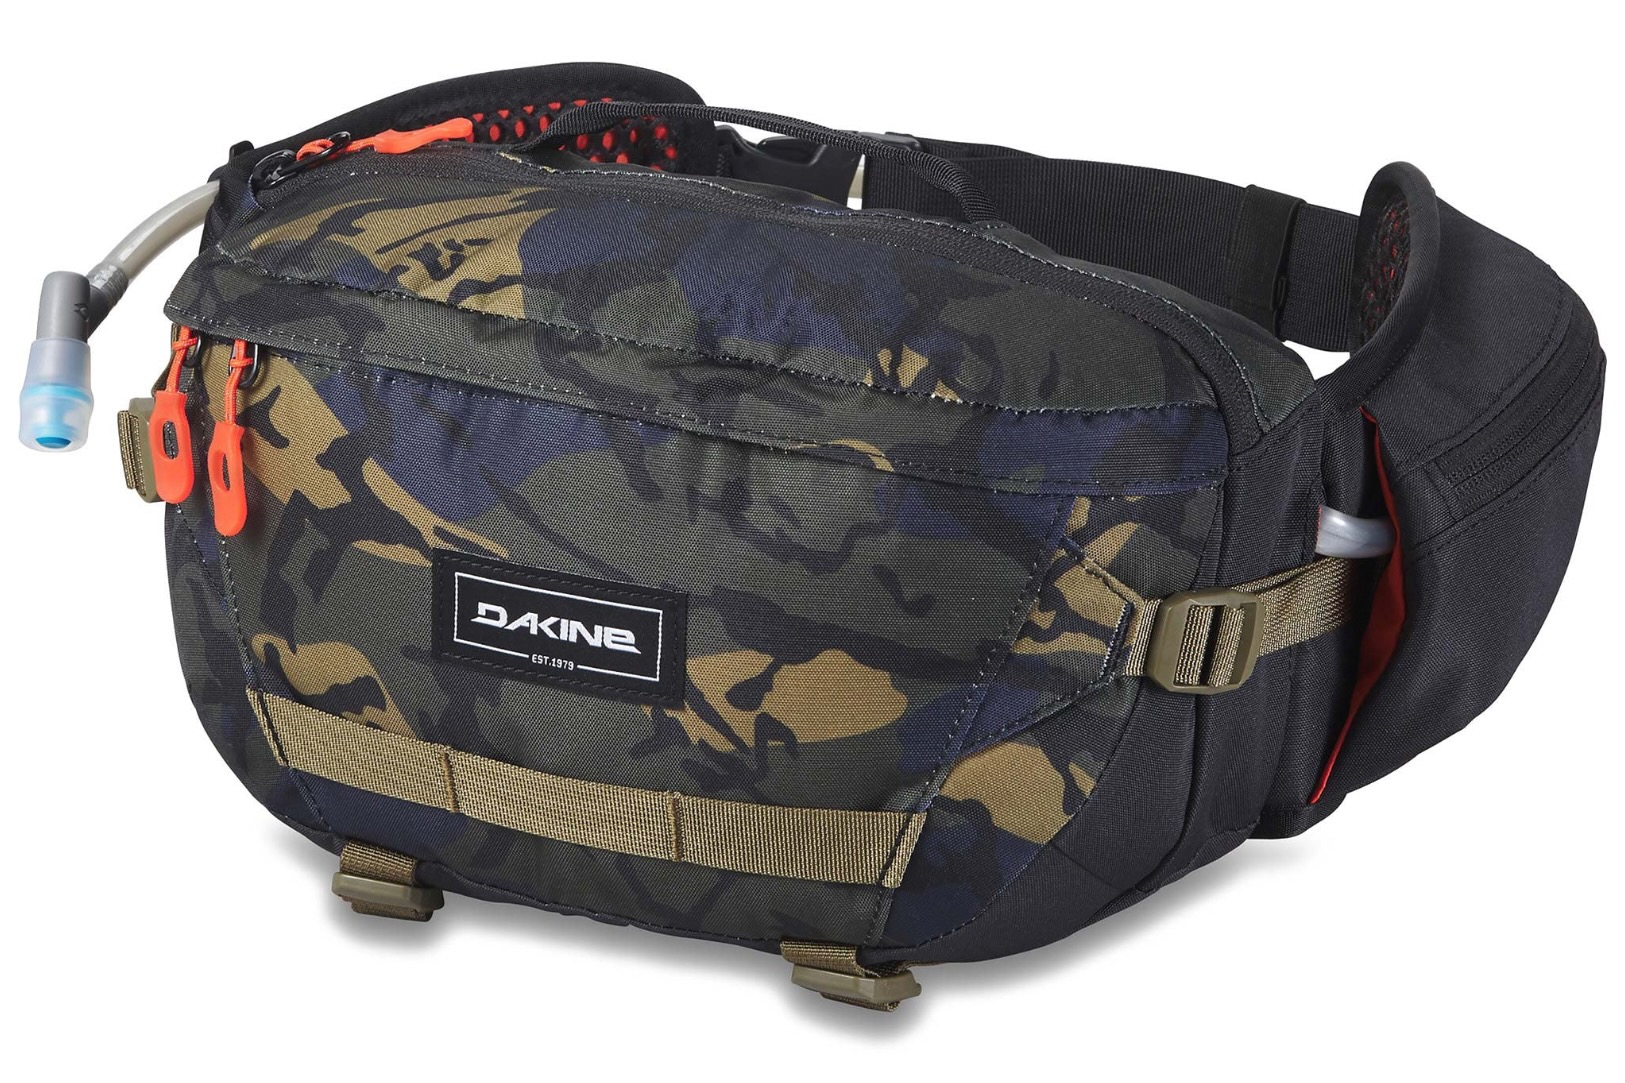
Pros
- 2 liters of water storage
- External straps for knee pads or extra layer
- Lots of color options
- Fleece lined pocket on belt fits phone
- Less expensive than many other models that come with bladders
Cons
- Doesn't hold shape well when fully packed
- Full water bladder takes up quite a bit of the storage space
Fox Standard Hip Pack
Specs
- MSRP $70
- Weight 370 grams
- Capacity 2 liters
- Water Bladder No
- Water Bottles Yes, up to 2
- Waist Sizes Not specified
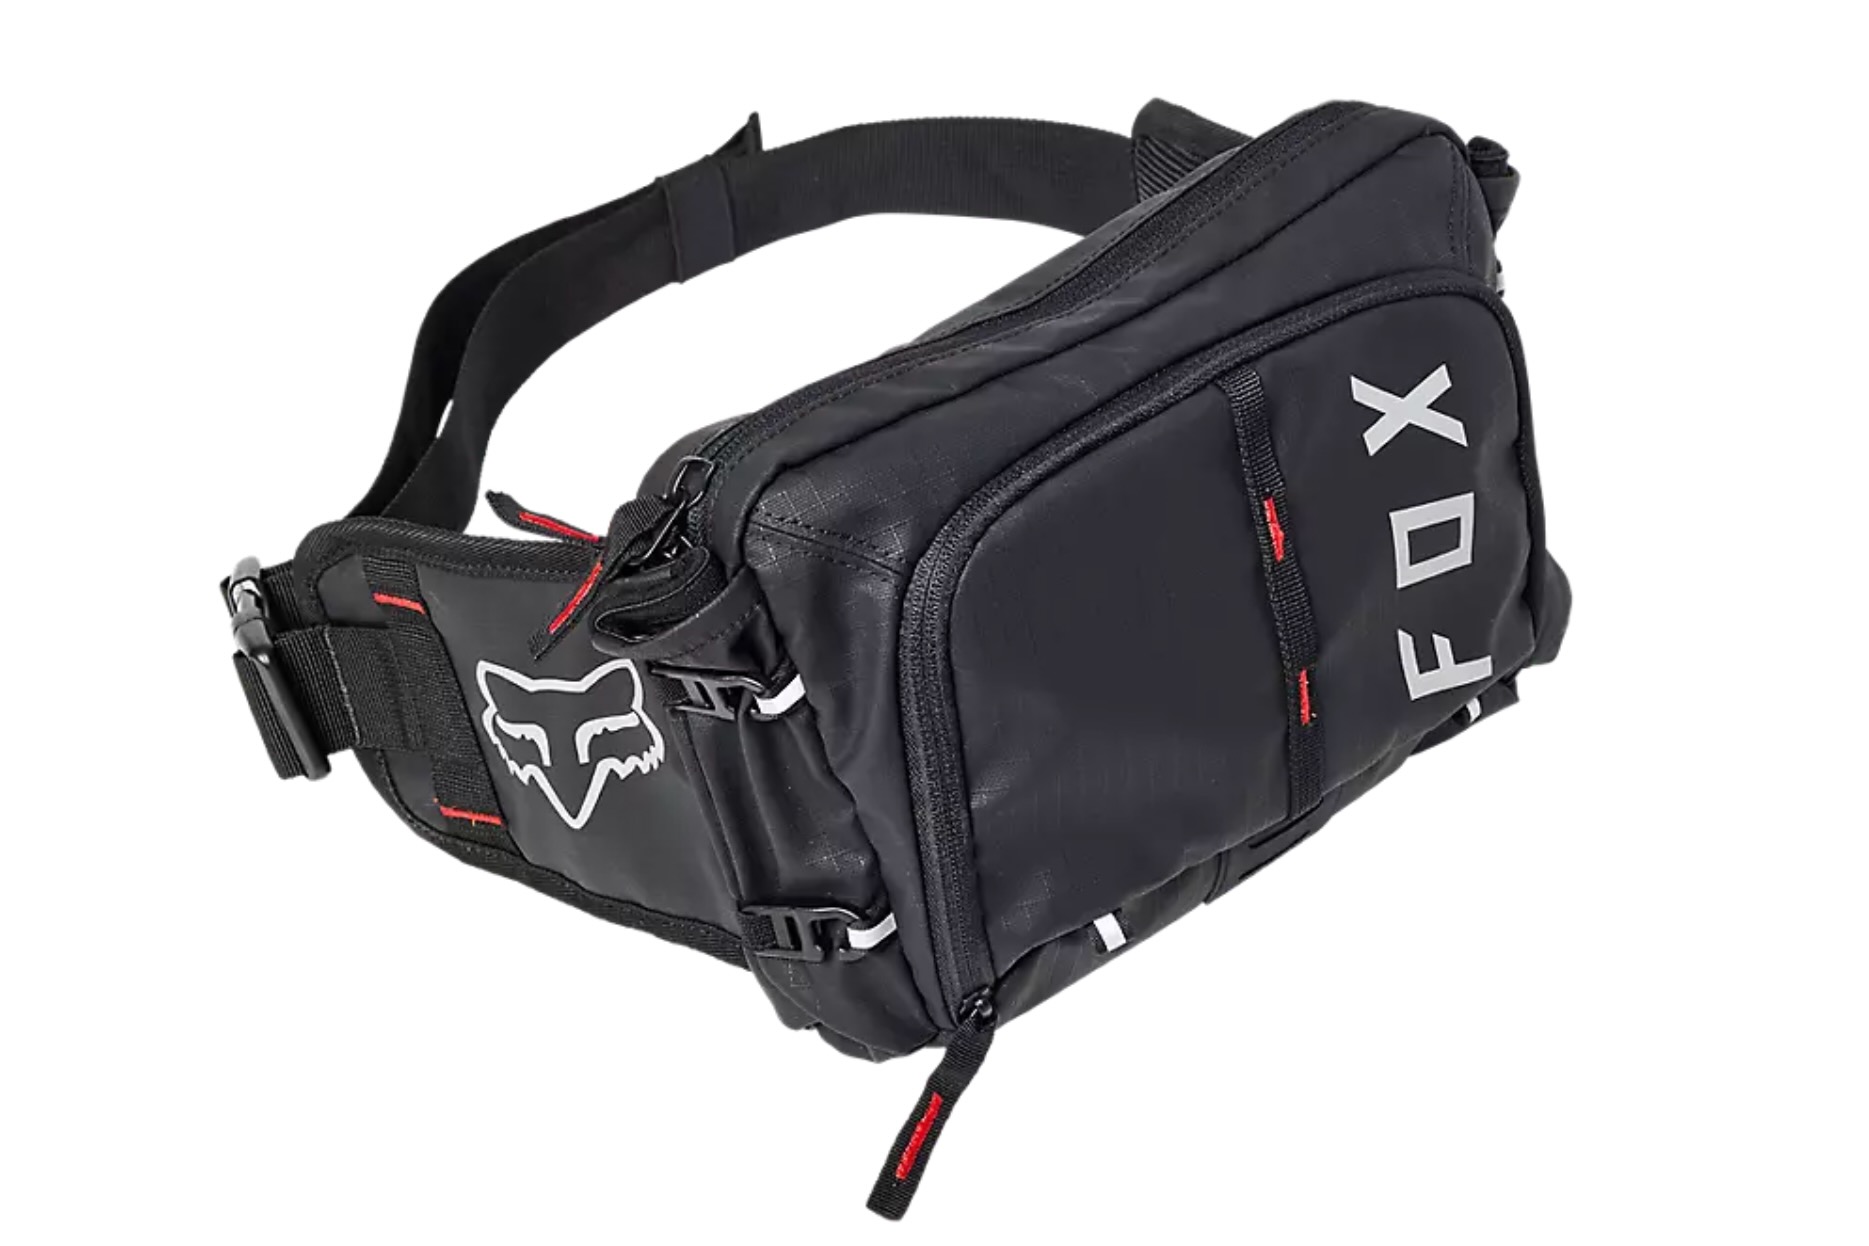
Pros
- Minimal design for carrying just the essentials
- Good waist strap management
- Bottle sleeves compress when not in use for streamlined look
- Stable – even with 2 full bottles
Cons
- No pockets on waist band
- Small capacity – best for shorter rides and warmer temps
- Only comes in black
Comparison Chart
| Hip Pack Model | MSRP | Weight | Storage Capacity | Bladder | Bottles | Waist Size Range |
|---|---|---|---|---|---|---|
| Evoc Hip Pack Pro 3L + 1.5L Bladder | $135 | 562g (w/ bladder) | 3 liters | Yes, 1.5L (also sold without) | 2 | 31″ to 43″ |
| Patagonia Dirt Roamer Waist Pack 3L | $69 | 245g | 3 liters | No | 2 | 27″ to 46″ |
| Osprey Seral 4 | $90 | 442g (w/ bladder) | 4 liters | Yes, 1.5L | No | 27″ to 42″ |
| USWE Zulo 6 | $145 | 510g (w/ bladder) | 6 liters | Yes, 1.5L | No | 31″ to 40″ |
| Bontrager Rapid Pack | $68 | 216g | 1.64 liters | No (bladder version offered) | 1 | 24″ to 42″ |
| Thule Rail 4 | $100 | 532g (w/bladder) | 4 liters | Yes, 1.5L | No | 31″ to 40″ |
| Deuter Pulse Pro 5 | $125 | 710g (w/ bladder) | 5 liters | Yes, 1.5L | 1 | 25″ to 42″ |
| Evoc Hip Pack 3L + 15L Bladder | $120 | 495g (w/ bladder) | 3 liters | Yes, 1.5L | No | 30″ to 48″ |
| PNW Rover Hip Pack | $79 | 387g | 2.72 liters | No | 1 (up to 2) | 24″ to 48″ |
| Dakine Hot Laps 5L | $100 | 460g (w/ bladder) | 5 liters | Yes, 2L | No | Not specified |
| Fox Standard Hip Pack | $70 | 370g | 2 liters | No | 2 | Not specified |
Why You Should Trust Us
At Bikerumor, we love riding bikes, and one of the key elements of enjoyable bike rides is being prepared. Carrying the necessary tools to handle mid-ride mechanicals, enough water for the duration of the ride, adequate food to keep the energy up, and the appropriate layers for the weather, are all important things that can make or break the experience. Hip packs are one of our favorite ways to carry all the necessities, and we’ve been riding in them for years. While there are now more ways than ever to stash gear on our bikes, in cargo bibs, or backpacks, we still gravitate towards hip packs for their comfort, stability, convenience, and ease of use.
For this buyer’s guide, review authors Paul Clauss and Jeremy Benson personally tested the 11 hip pack models chosen for this review. Clauss is an avid trail rider, mountain bike coach, and trail builder who lives in northern Vermont. He’s been riding for many years and has a great appreciation for any gear that helps to enhance his performance and elevate his experience out on the trails. A mechanical engineer by trade, Clauss is particularly critical of the design and construction and he brings a very measured and logical approach to product testing. In addition to testing hip packs, Paul has tested and reviewed numerous other categories of gear including dropper posts, bike pumps, flat pedals, and the best flat pedal shoes.
Benson has been professionally testing and reviewing mountain bikes, components, apparel, and accessories for over seven years. He is an obsessive rider who spends an inordinate amount of time on mountain and gravel bikes training for races, riding for fun, and testing new gear. He’s been riding in mountain bike hip packs for the past decade and has seen them evolve from their humble beginnings into their more advanced forms. In that time, he’s personally owned five different hip packs and tested over 20 different models. As a full-time product tester, he is constantly scrutinizing every piece of gear he touches to tease out the performance differences that separate the best from the rest, whether that’s hip packs, the latest mountain bike shoes, or a hitch bike rack.
How We Tested
After researching the best mountain bike hip packs on the market, we rounded up 11 models to test and compare. Each model was weighed before examining their design, materials, and construction to assess the build quality and storage layout. Then, we loaded them up with all of the tools, gear, water, and food we could fit and hit the trails. While riding, we considered the fit, comfort, stability, and ventilation of each model when used with a full load on trails ranging from smooth and flowy to rough and rowdy. On rides ranging from quick laps at the local trail centers to all-day suffer-fests, we used and abused each model just like anyone else would. We got familiar with each model’s storage capabilities and hydration systems by filling and cleaning bladders and drinking from hoses and bottles. After months of testing, we compared notes and zeroed in on our favorites and those that perform well in specific ways compared to the rest.

Buying Advice: How to Choose a Mountain Bike Hip Pack
Hip packs, also known as fanny packs, lumbar packs, and waist bags, have had a resurgence in popularity in the mountain bike world in the past decade or so. What was previously a fairly non-technical accessory used primarily by tourists on vacation has developed into a relatively specialized piece of equipment that many riders rely on to carry the necessary tools, snacks, water, and other gear out on the trail. Hip packs represent a happy middle ground between the minimalist on-bike and body approach and a larger backpack, the latter of which can be sweaty, uncomfortable, and bounce around when riding technical terrain. And, if you’re looking for other ways to carry essentials on your rides, we’ve tested and reviewed the best handlebar bags too.
Carrying the hydration, food, and tools you need to keep riding in the event of a mechanical and to meet your basic human needs in a way that does not interfere with cycling movement is a classic challenge for mountain bikers and one that hip packs aim to overcome. Compared to most backpacks, hip packs are generally more stable, relatively small so they cover less of your back, and are worn around the waist so weight is lower on your body. They can also usually carry more water and gear than most people are able to strap to their bikes or stuff into pockets.
With so many hip packs on the market these days with different styles, designs, cargo capacities, and hydration systems, finding the right one to suit your needs can be a challenge. For such a seemingly simple product, there’s a lot to consider when deciding what’s right for you. We’ll break down the important factors to consider when making a purchase decision.
Cargo Capacity
Mountain bike hip packs vary pretty dramatically in their cargo-carrying capacity with models made to suit just about every need or preference. The capacity is typically measured in liters with super slim, minimalist, race-belt style packs starting around 1 liter, and high-volume models topping out around 7 liters plus a 1.5 or 2-liter water bladder. We tested 11 different hip packs ranging from 1.6 to 6-liter capacity, with the Bontrager Rapid Pack as the smallest and the USWE Zulo 6L as the largest. The right capacity for you depends on what you plan to carry.
If you just need the essentials – your keys, phone, wallet, a tube, multi-tool, water (in a bottle or bladder), and some CO2 – any of these packs will work with space to spare, with the Bontrager Rapid Pack being the most streamlined option at 1.64-liter capacity, followed closely by the 2-liter Fox Standard Pack. If you’d like a little more flexibility to carry additional food and some bulkier items like a mini-pump or a super-packable layer, models in the 3 to 4-liter range, like the PNW Rover, Evoc Hip Pack Pro 3L, Osprey Seral 4, Thule Rail 4, or Patagonia Dirt Roamer are good choices. And, if you’re a heavy packer, going for a long ride, or heading out in variable weather, packs with 5+ liters of capacity will be easier to stuff with packable jackets and larger food items. The largest packs we tested are the Deuter Pulse Pro 5, the USWE Zulo 6, and the Dakine Hot Laps 5L.
It’s also important to note that most of the packs we tested feature highly usable compression straps, allowing the pack to be compressed when not fully loaded or to keep the load compact to prevent the contents from bouncing around inside. Compression straps can effectively decrease the volume of a larger pack, making it usable for rides when you need a lot of gear and those when you don’t.
And, despite our high priase of hip packs, sometimes even the largest models aren’t quite big enough for some people’s needs. Perhaps you’re going out for a huge adventure into the alpine where you need to bring a jacket, layers, and extra food, or maybe an overnight bikepacking trip? Situations like these may require significantly more cargo capacity, and backpacks might simply be a better option. Bike specific backpacks come in a huge range of sizes and designs to meet vary needs, far more even than hip packs. Deuter, for example, makes 12 different models of bike backpacks ranging in cargo capacity from 8 up to 30 liters.
Storage Layout
Nearly as important as the capacity, the storage layout of a pack dictates the organization of your gear and how you can use the space. Some packs, like the Osprey Seral 4, take a very simple approach, with a single large compartment with a zippered pocket within. Others, like the Deuter Pulse Pro 5 and Thule Rail 4, are highly compartmentalized, with separate zippered and open organization pockets and larger open sections. The split design of the Bontrager Rapid Pack, and its small capacity, make it difficult to carry larger items in, while the more open designs of packs like the Patagonia Dirt Roamer or PNW Rover make it easier to stuff bulkier items into them.
If you want to separate your food from your tools or keep your phone screen safe from scratches while riding, a more compartmentalized design might work for you. Some of the more organization-heavy designs rely on the user storing tools and other items in their separate pockets to get the most out of the space. It may take some getting used to, but once you’ve got your system, everything can have its place and be quick and easy to find when you need it. If you want a bag to toss the essentials into, zip up, and forget it, simpler layouts may suit you just fine. Like capacity, layout depends on what you need to carry and how you prefer to organize it.
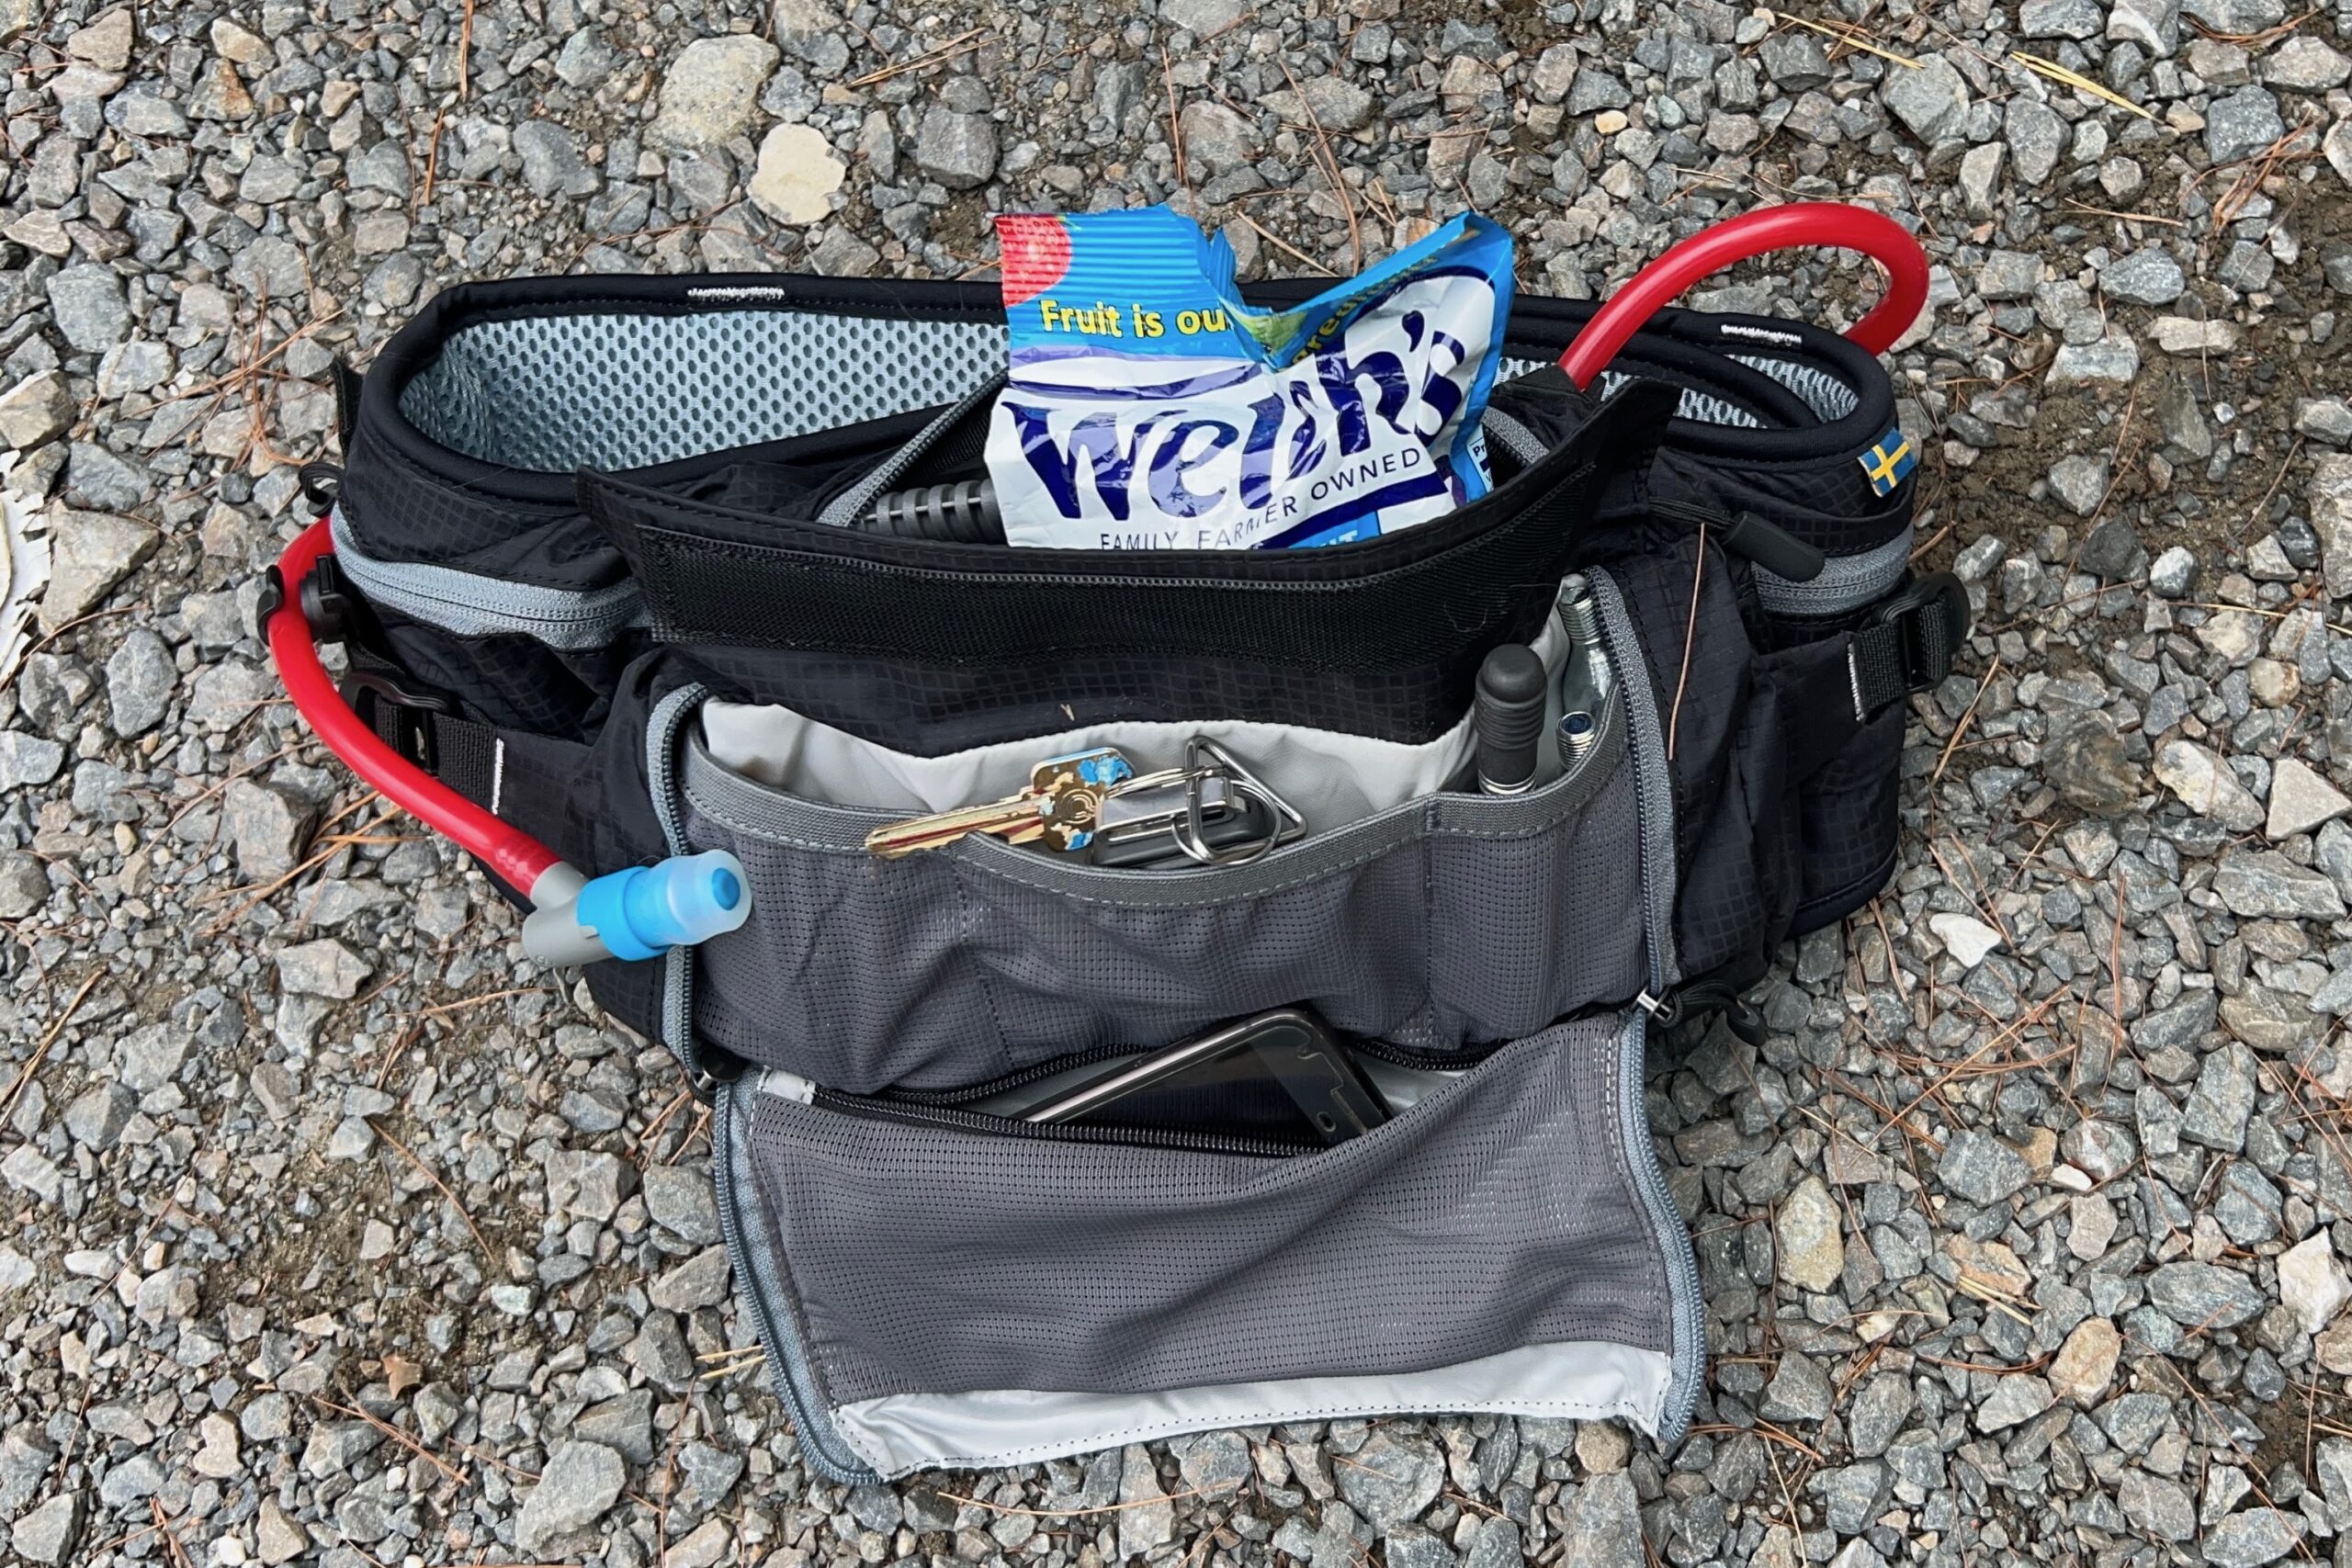
Pockets on the hip wings of the waist belt are another factor to consider. Many packs have them, and they can be very handy to keep smaller items that you want to access on the fly without having to spin the bag around to the front. These vary in size, but most are good for smaller items like keys, gels, chapstick, or credit card/ID, while a few are capable of fitting a smartphone. Additionally, a few models, like the Dakine Hot Laps 5L, Deuter Pulse Pro 5, and the Patagonia Dirt Roamer, have external strap systems that can be used to attach bulkier items like knee pads or a jacket to the outside of the pack for extra carrying capacity.
Hydration Style
Most mountain bike hip packs provide the ability to carry extra water in additional water bottles, water bladders, and sometimes both. Like the overall capacity of the pack, the right water capacity depends on how much you drink and the duration of your ride. Having more water than you need is always better than not having enough. Of the packs we tested, 4 of them carry water in bottles only, 7 of them carry water in water bladders, and 2 of the models with bladders can carry an additional bottle or two. What works best for you is typically a matter of personal preference.
Bottles
The bottle-carry models can usually handle one or two 20 to 25-oz bottles, which may be more than enough for your needs, especially if you’ve already got a bottle on the bike. Both the Fox Standard Hip Pack and the Patagonia Dirt Roamer can carry two bottles in sleeves on either side of the storage compartment. The PNW Rover comes with one detachable bottle holder, and you can add a second if you need to. The Bontrager Rapid Pack can only carry one bottle, but it does so very securely in the center of the pack between the storage pockets.
Compared to hydration bladders, bottles are super easy to fill and clean. For those packs that can carry two bottles, you can almost get the same amount of water capacity as a pack with a 1.5-liter bladder. For most of these packs, it’s also pretty easy to reach back and pull the bottles out of the pack for drinking, but not quite as easy as reaching a hose up to your mouth while riding. And, while most bottle holders are quite secure, there is the chance they could bounce out over super rough terrain or in a crash.
Bladder
Of the bladder-equipped packs we tested, six of them, the USWE Zulo 6, both Evoc models, the Deuter Pulse Pro 5, Thule Rail 4, and the Osprey Seral 4, come with a 1.5-liter bladder (50.7 oz). The Dakine Hot Laps 5L comes with a 2-liter (70 oz) bladder. Additionally, the Evoc Hip Pack Pro 3L can carry two bottles and the Deuter Pulse Pro 5 can carry one. Any of these packs should carry enough water for 2-3 hour long rides, or longer, depending on the temperature and your personal rate of consumption.
There are some advantages to bladder-style hip packs. Drinking from them is super easy and convenient. The hoses and nozzles are located on the waist belt, and reaching down and grabbing it to drink is quick and easy and can usually be done while riding on smooth sections of trail. The bladders are also soft and squishy, so they conform to the shape of your back and other contents in your pack and can distribute water weight more evenly, which can enhance pack stability. Bladders are carried internally, so they should never fall out on a rough trail, and you’re unlikely to set it down and forget it on the side of the trail like you could with a bottle. The disadvantages of bladders are that they are slightly more cumbersome to fill and clean, and bacteria and mold can grow in the bladder/hose/nozzle if neglected. Some people just don’t like drinking from a hose, and the hoses can occasionally pop loose while riding, which can be annoying and potentially dangerous.
Waist Belts
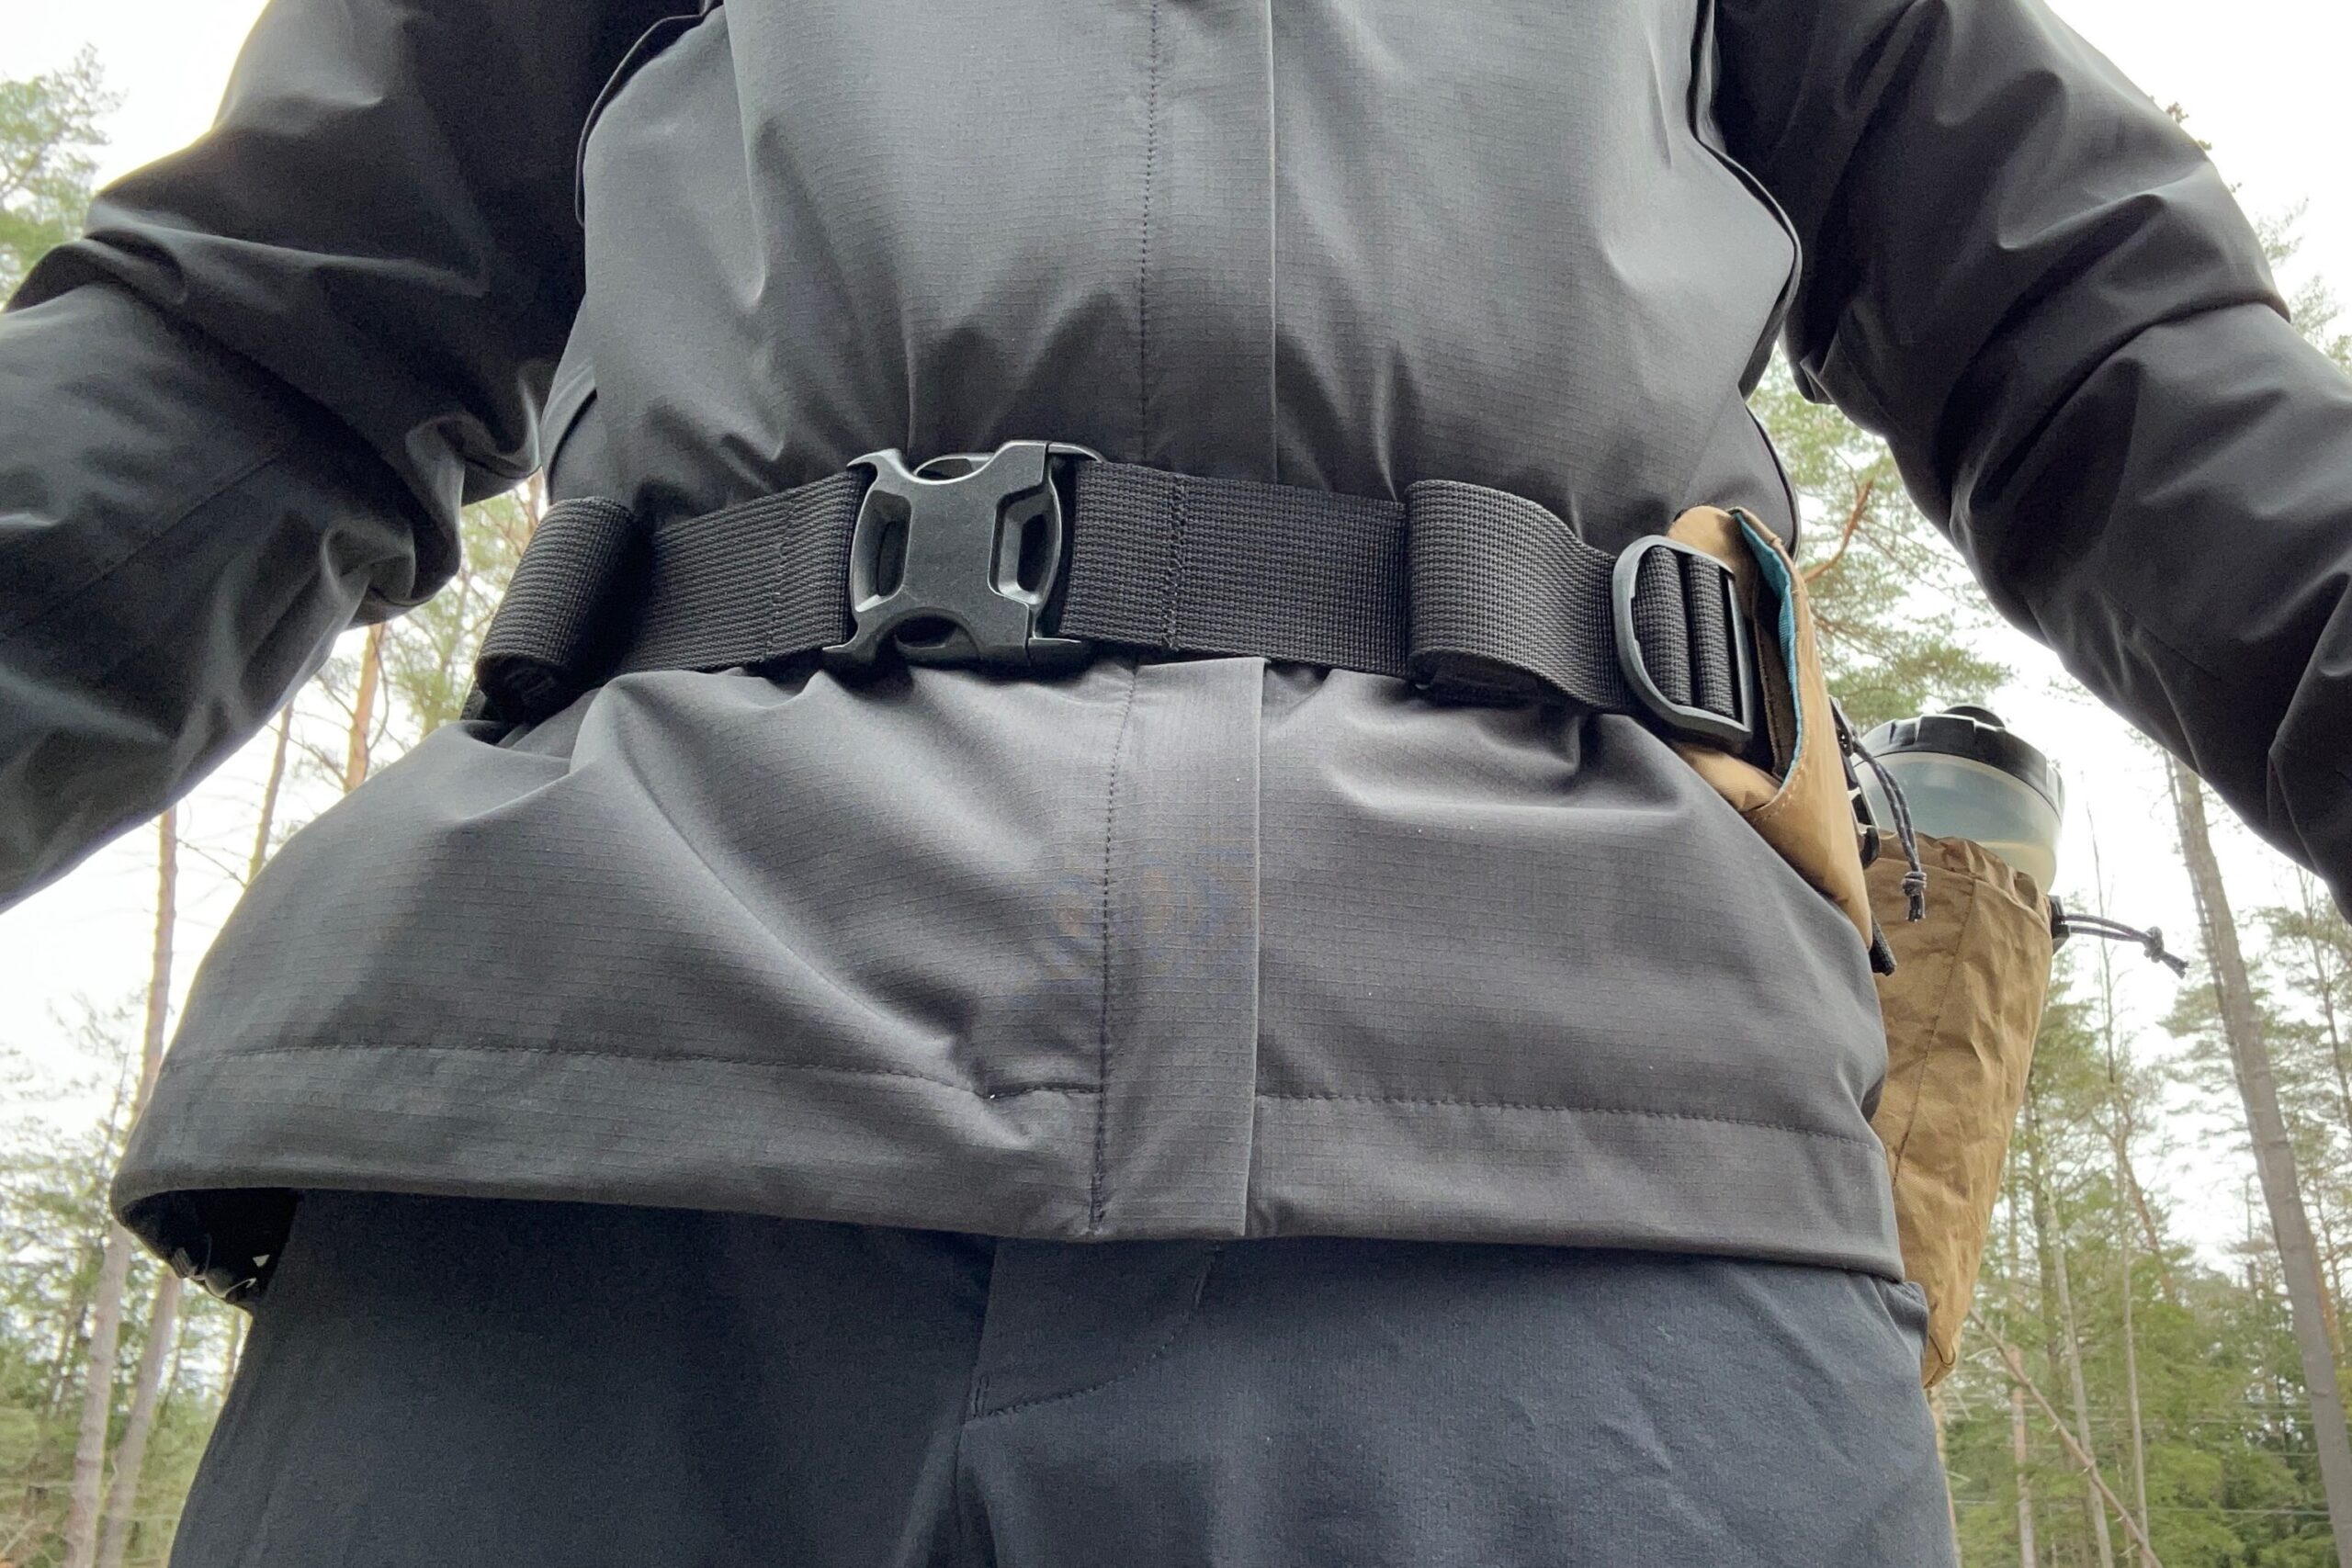
While they all perform the task of securing a hip pack around the waist, there are two main styles of waist belts on the packs we tested. Most packs come with a more basic, adjustable, static webbing belt with a plastic clasp to secure it. The PNW Rover, Patagonia Dirt Roamer, Fox Standard, Bontrager Rapid Pack, Evo Hip Pack 3L, and Dakine Hot Laps 5L, all use this style of waist belt.
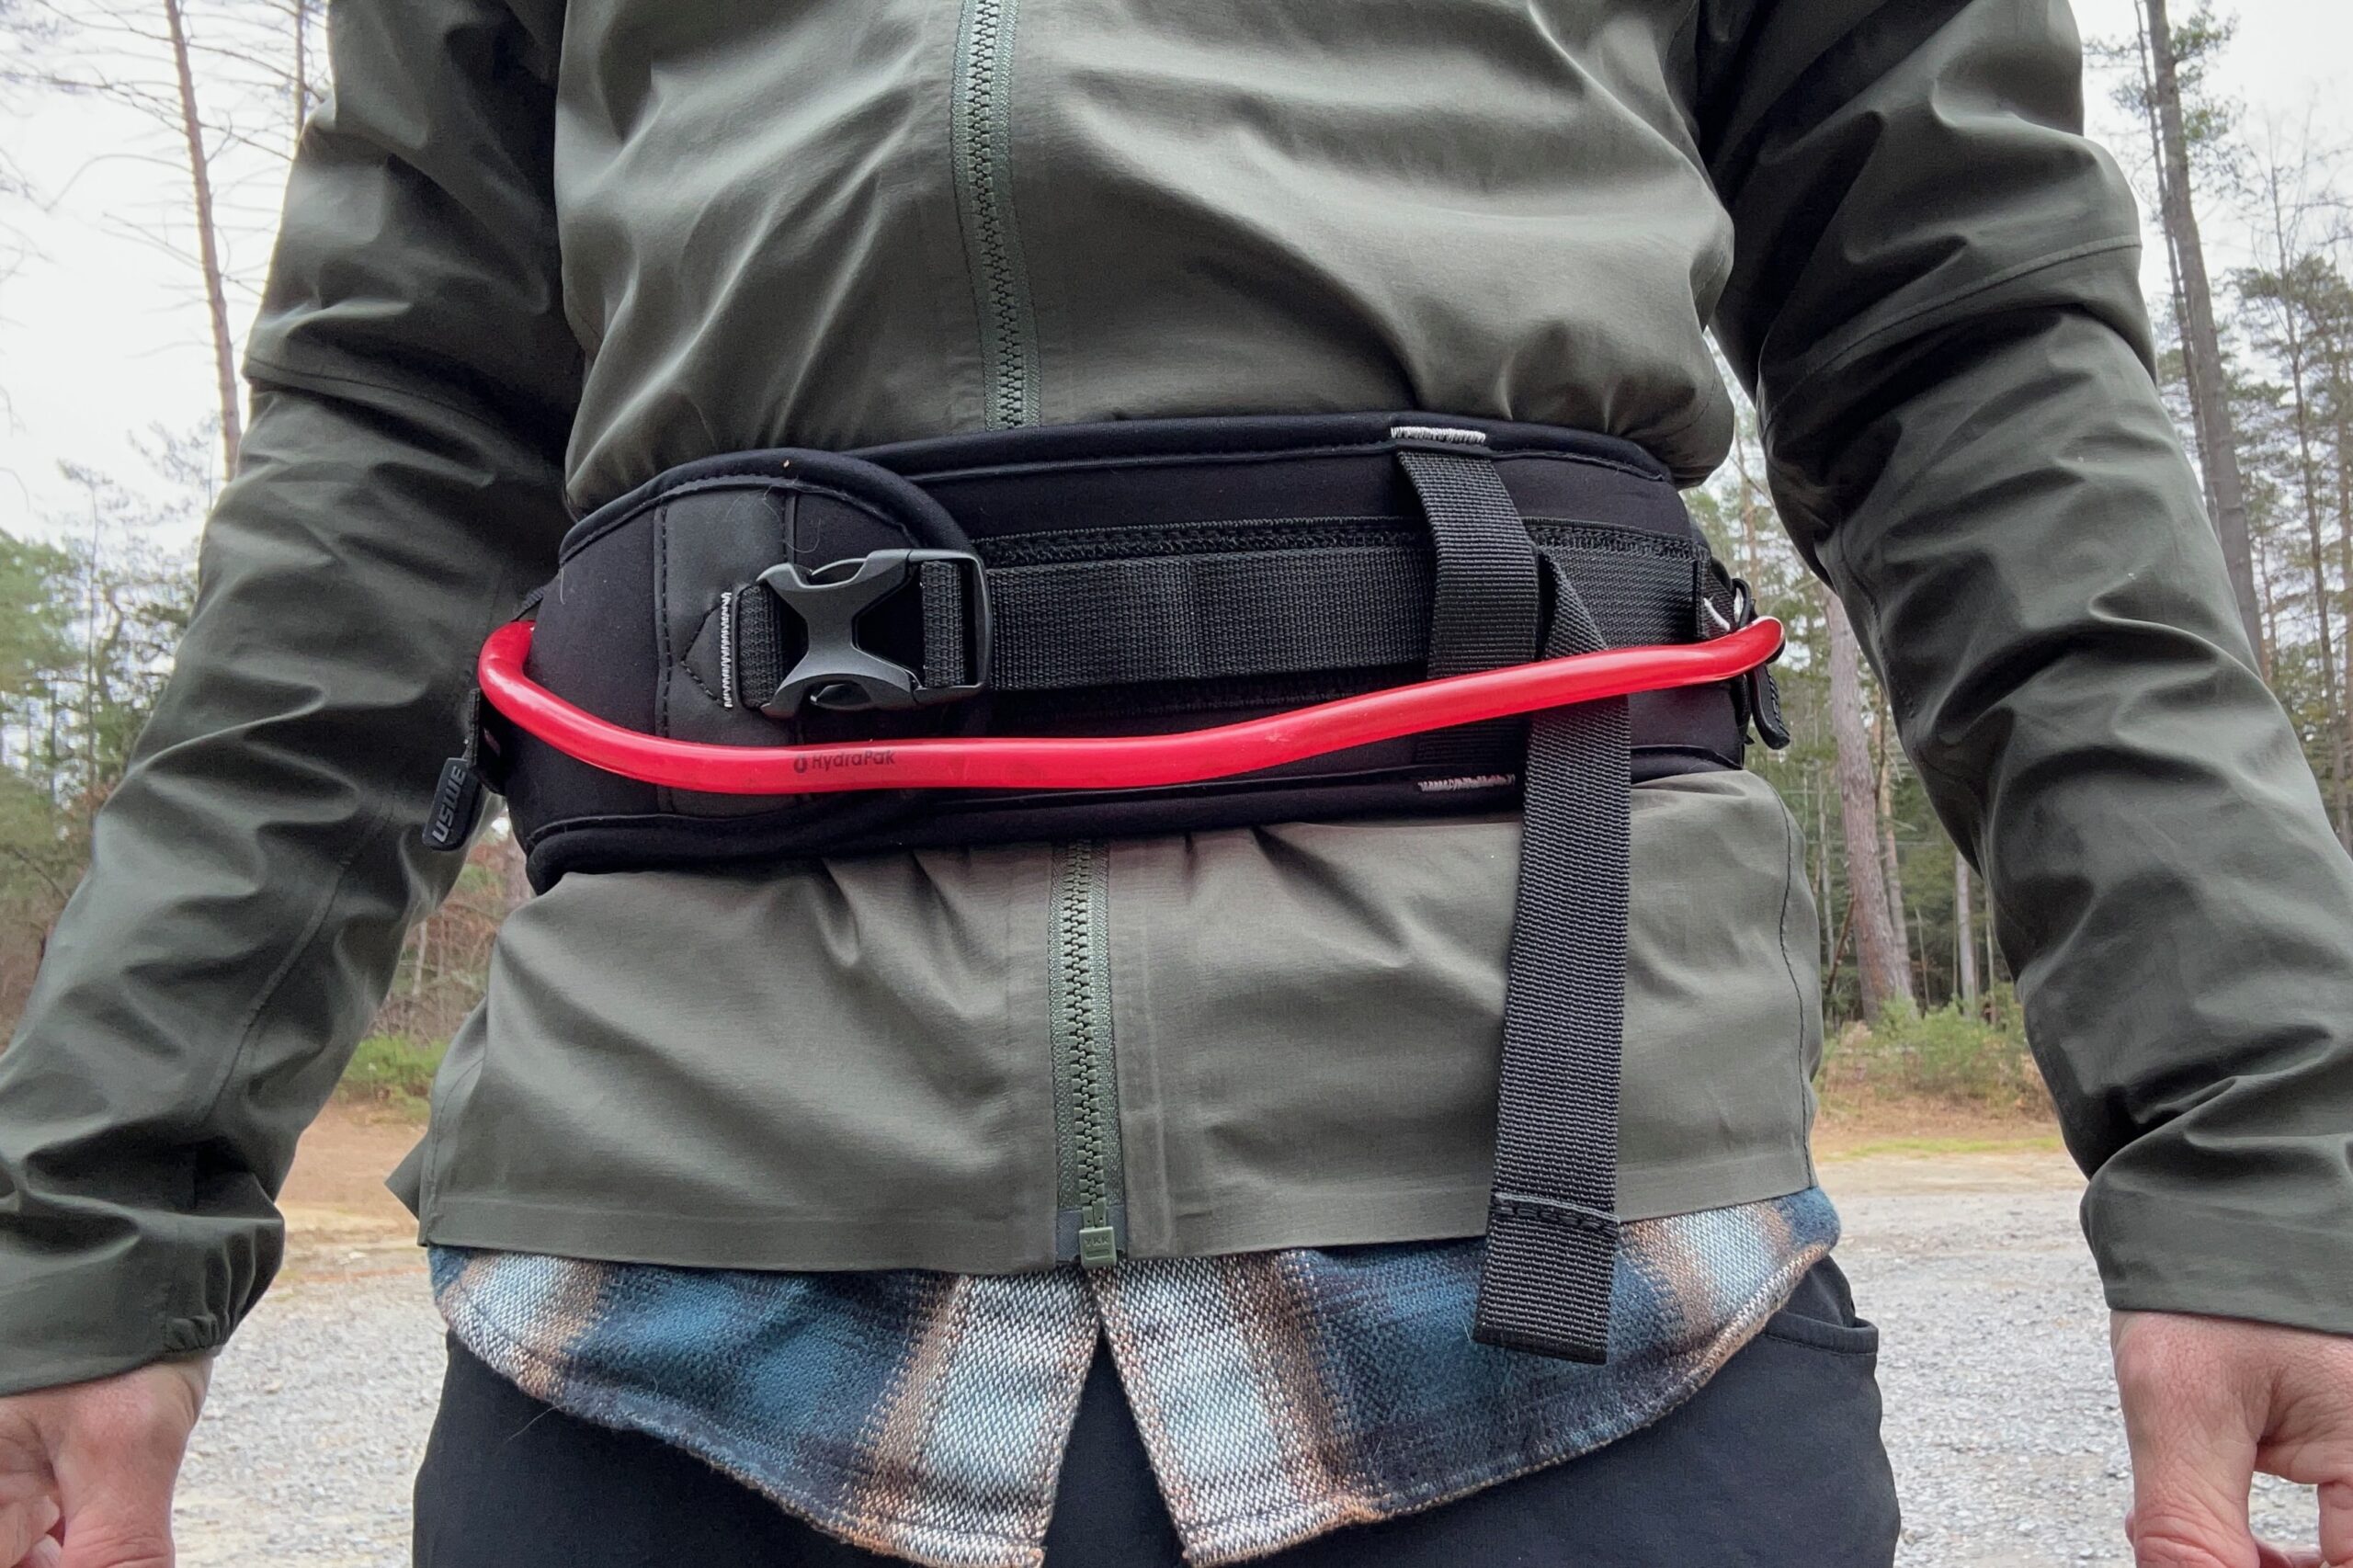
Other packs, typically the more expensive ones, have wide, overlapping velcro belts that also have a webbing strap and clasp over the top to secure it. This style of waist belt is found on packs like the Deuter Pulse Pro 5, Evoc Hip Pack Pro 3L, Thule Rail 4, and USWE Zulo 6. Realistically, both styles work quite well and give little to complain about, but the softer, wider, overlapping models tend to be a little more comfortable, stable, and they distribute the weight of a loaded pack a little more evenly around the waist. The flip side is that they are a bit more finicky to put on, as you have to line up the overlapping straps before securing the buckle on top. Regardless, it isn’t that much of a hassle, and the added comfort and stability are generally worth the few extra seconds it takes to put them on.
Both styles of belts are adjustable to fit a range of waist sizes and keep them snug when in use. The designs vary somewhat, of course, but most are reasonably easy to adjust and stay secure while riding. The recommended waist size ranges also vary among the models we tested with some models like the Thule Rail 4 and USWE Zulo 6 fitting waists between 31 and 40 inches compared to the PNW Rover which is claimed to work for waists between 24 and 48 inches.
Ventilation
Compared to hydration backpacks, hip packs cover only a small portion of your back and are inherently better for staying cool and managing sweat. That said, they still make contact with your lower back where it can become quite hot and sweaty. Almost every hip pack makes some attempt at managing moisture where the pack makes contact with your body through the use of breathable mesh materials or more advanced ventilation systems, but they are not created equal.
The two Evoc packs, the Hip Pack Pro 3L and the Hip Pack 3L have by far the best ventilation among the models we tested with their Air Flow Contact System. The back panels feature raised, channeled foam blocks that are covered in an open mesh material that allows for superior breathability. Additionally, the Venti-Flap system allows the user to quickly loosen the upper part of the pack and create a gap between your back during climbs or other times you want to increase airflow, then quickly cinch it back down for the descents. The rest of the models we tested do a commendable job of promoting breathability and are generally much cooler and less sweaty than wearing a full-on backpack.
Value
Like anything else in mountain biking, hip packs vary pretty widely in terms of price. The more basic designs and those that carry bottles tend to cost a bit less. When you add a water bladder or fancier waist belt, the price goes up a bit. Of the models we tested, the $69 Patagonia Dirt Roamer strikes us as the best value, and it happens to be our favorite bottle-carry pack too. Other models at the low end of our price range are the Bontrager Rapid Pack ($68), the Fox Standard Hip Pack ($70), and the PNW Rover ($79). That said, we also highly recommend the more expensive models, like the Evo Hip Pack Pro 3L and the USWE Zulo 6, for their excellent comfort, stability, and ease of drinking while riding. Even though they are more expensive, you should expect to get several years of use out of them, assuming you don’t shred them in a crash or something. In fact, all of these packs should deliver years of faithful service under normal use.
Frequently Asked Questions
Hip packs are one of several ways to bring your hydration and gear with you while you ride, and arguably one of the best. They allow you to bring more water, tools, and other gear than you can typically carry on your bike and in your pockets, so you can be well prepared for whatever you’ve got planned and most mechanicals that may happen along the way. They also keep everything in arms reach for convenient access, and most feature organizational pockets so your tools and other items are quick and easy to find when you need them.
Depending on what you need to carry while you ride, you can choose from hip packs with varying storage and water-carrying capacities to suit your specific needs. Many hip packs are also fairly adaptable and can carry lighter or heavier loads depending on the length of ride. Some of them can even fit about as much as many hydration backpacks. Compared to backpacks, however, hydration packs sit just above the waist on your lower back for a lower center of gravity, better weight distribution, and stability. They also cover significantly less of your back, allowing for better breathability and sweat management.
It really depends on what you want to bring with you on a ride. Taking stock of all the things you need to carry – water, tools (multi-tool, pump/CO2, tube, tire levers, tubeless plugs, etc), food, phone, wallet (or money/card and ID), extra layers, pads, etc. – should give you a rough idea of the size pack you’ll need to fit it all into. And, it’s also important to consider that what you carry on rides may vary based on the length of ride or the season.
Those who carry a water bottle on the bike and bring the bare minimum with them on rides may prefer a low-volume and low-profile option like the Bontrager Rapid Pack or Fox Standard Hip Pack. Most people will likely find the sweet spot in the medium-volume packs in the 3 to 4-liter capacity range, like the Evoc Hip Pack Pro 3L, the Thule Rail 4, and the Patagonia Dirt Roamer. Others who like to bring more on their rides, or who just like the option to do so, will be well served by looking at some of the larger capacity packs like the USWE Zulo 6L or the Deuter Pulse Pro 5. Again, it really just depends on the length of your rides and what you want to have with you out on the trail.
With the variety of hip packs on the market today, you can choose between models that carry water in a bladder, bottles, or both, or some that don’t carry any water at all. What works best for you really comes down to personal preference or your water-carrying needs, as both systems work quite well. Water bladders carry up to 1.5 or 2 liters of water, have a clean look inside of the pack, conform to shape easily for comfort against the back or cramming things in a pack around them, and allow for easy drinking (even while riding) from a hose. That said, water bladders are a little more annoying to clean.
Bottles are also quite easy to drink from and far easier to clean than bladders. Their storage location varies on the hip packs we tested with some being super stable while riding and others moving around a bit on the back, but you’ve almost always got to reach around to grab them which is less convenient than the bladder systems. Either way, you can’t really go wrong, but considering your drinking preference and water-carrying capacity needs will likely steer you in one direction or the other.
Hip packs tend to get dirty from sweat or when riding in dusty or wet conditions. Their location on the lower back means they are placed right in line of fire from tire spray and they can get caked with mud. In general, they don’t need to be cleaned very often, and you can typically wipe off dirt or mud and let them dry out between rides. Eventually, though, you’ll need to wash them, and it is quite easy to spray them down with a hose or hand wash them in the kitchen sink and let them air dry. Some packs can also be washed in a washing machine, but you definitely want to look up and follow any manufacturer’s recommendations when washing your hip pack.
Even more important is cleaning the hydration system. Bacteria and mold can and do grow in the moist environment inside the bladder, hose, and nozzle, so keeping it clean is important for your health and the taste of your water. You can use dish soap, brushes, and/or cleaning tablets to get through the hose and inside the bladder. You can also use baking soda, lemon juice, bleach, or even denture cleaning tablets to kill bacteria. And, be sure to let everything dry before using it again. There are lots of helpful tips that can be found online if you are unsure how to go about cleaning your hydration system. Whatever technique you use, be sure to clean your water bladder, hose, and nozzle regularly. Most bladders are not dishwasher safe – again, check with the manufacturer before using the dishwasher.
Yes! Pretty much any hydration hose can be shortened to your desired length. You can do this by pulling out the nozzle piece, cutting the hose to length with a sharp pair of scissors or a knife, and pressing the nozzle piece back in.
Related Content
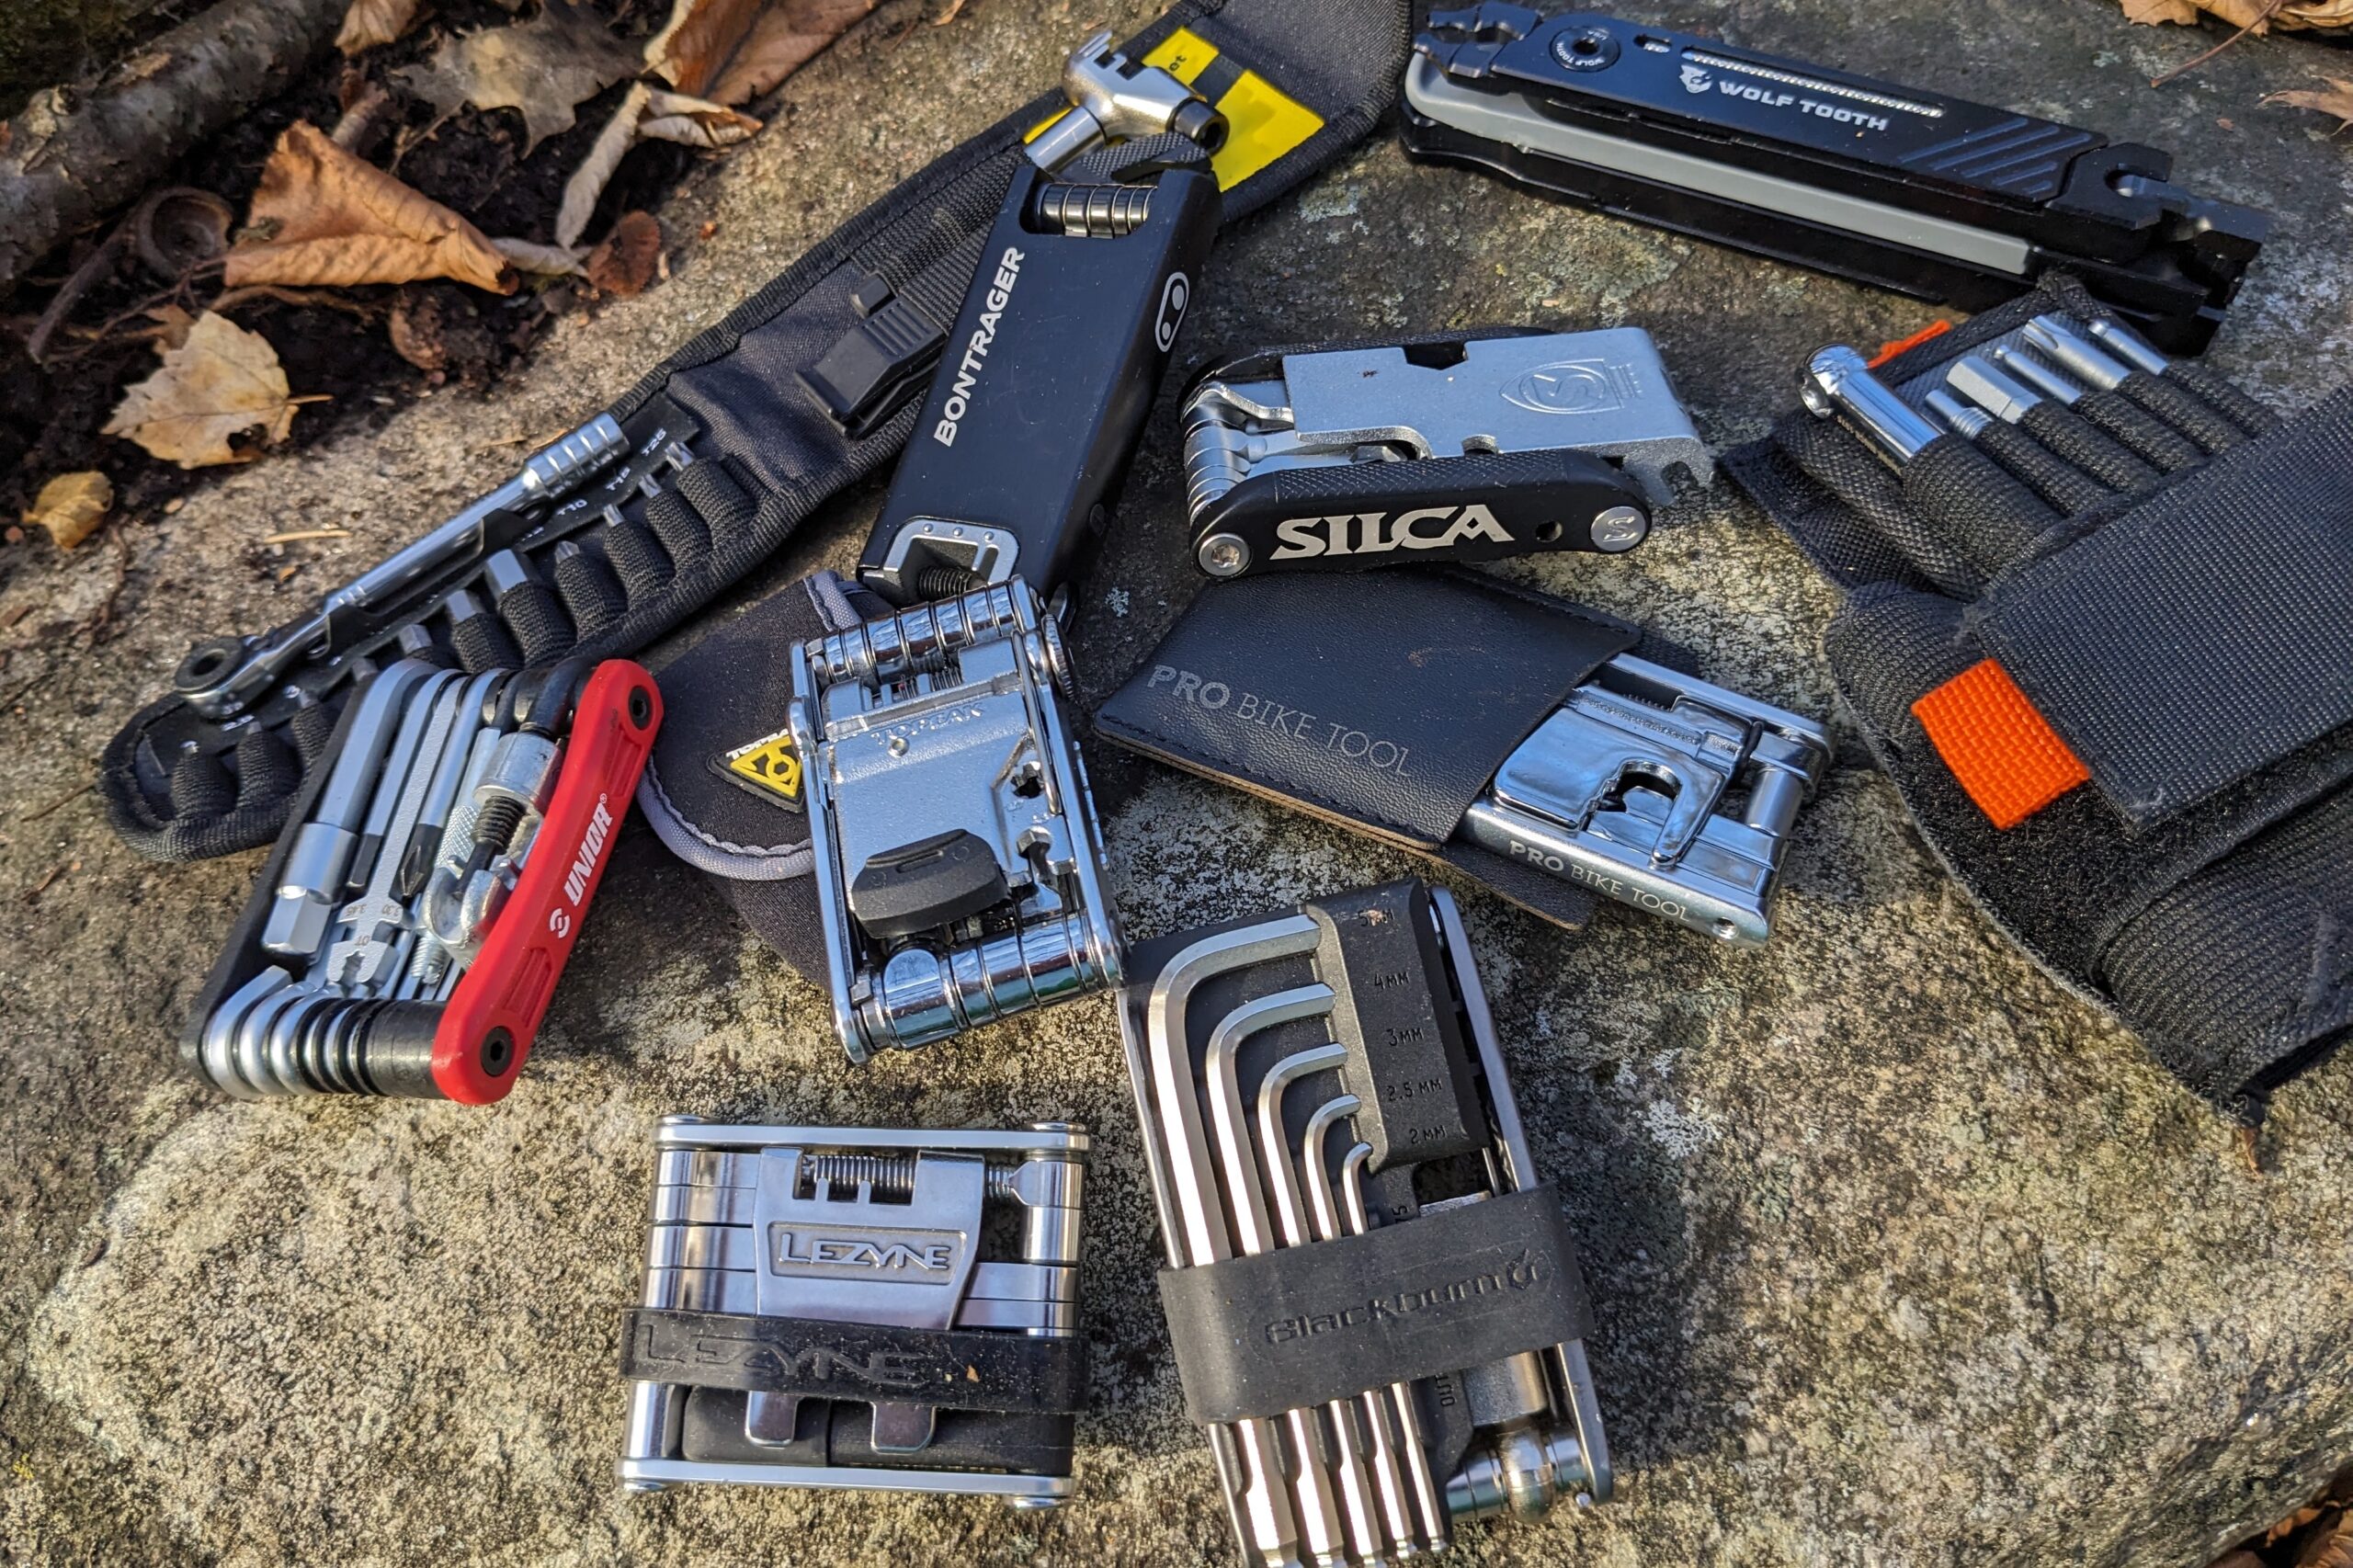
The Best Bike Multi-Tools of 2024
It’s hard to imagine a cycling accessory that is more essential, affordable, or portable than the bike multi-tool. Mechanical issues can and do happen, and…
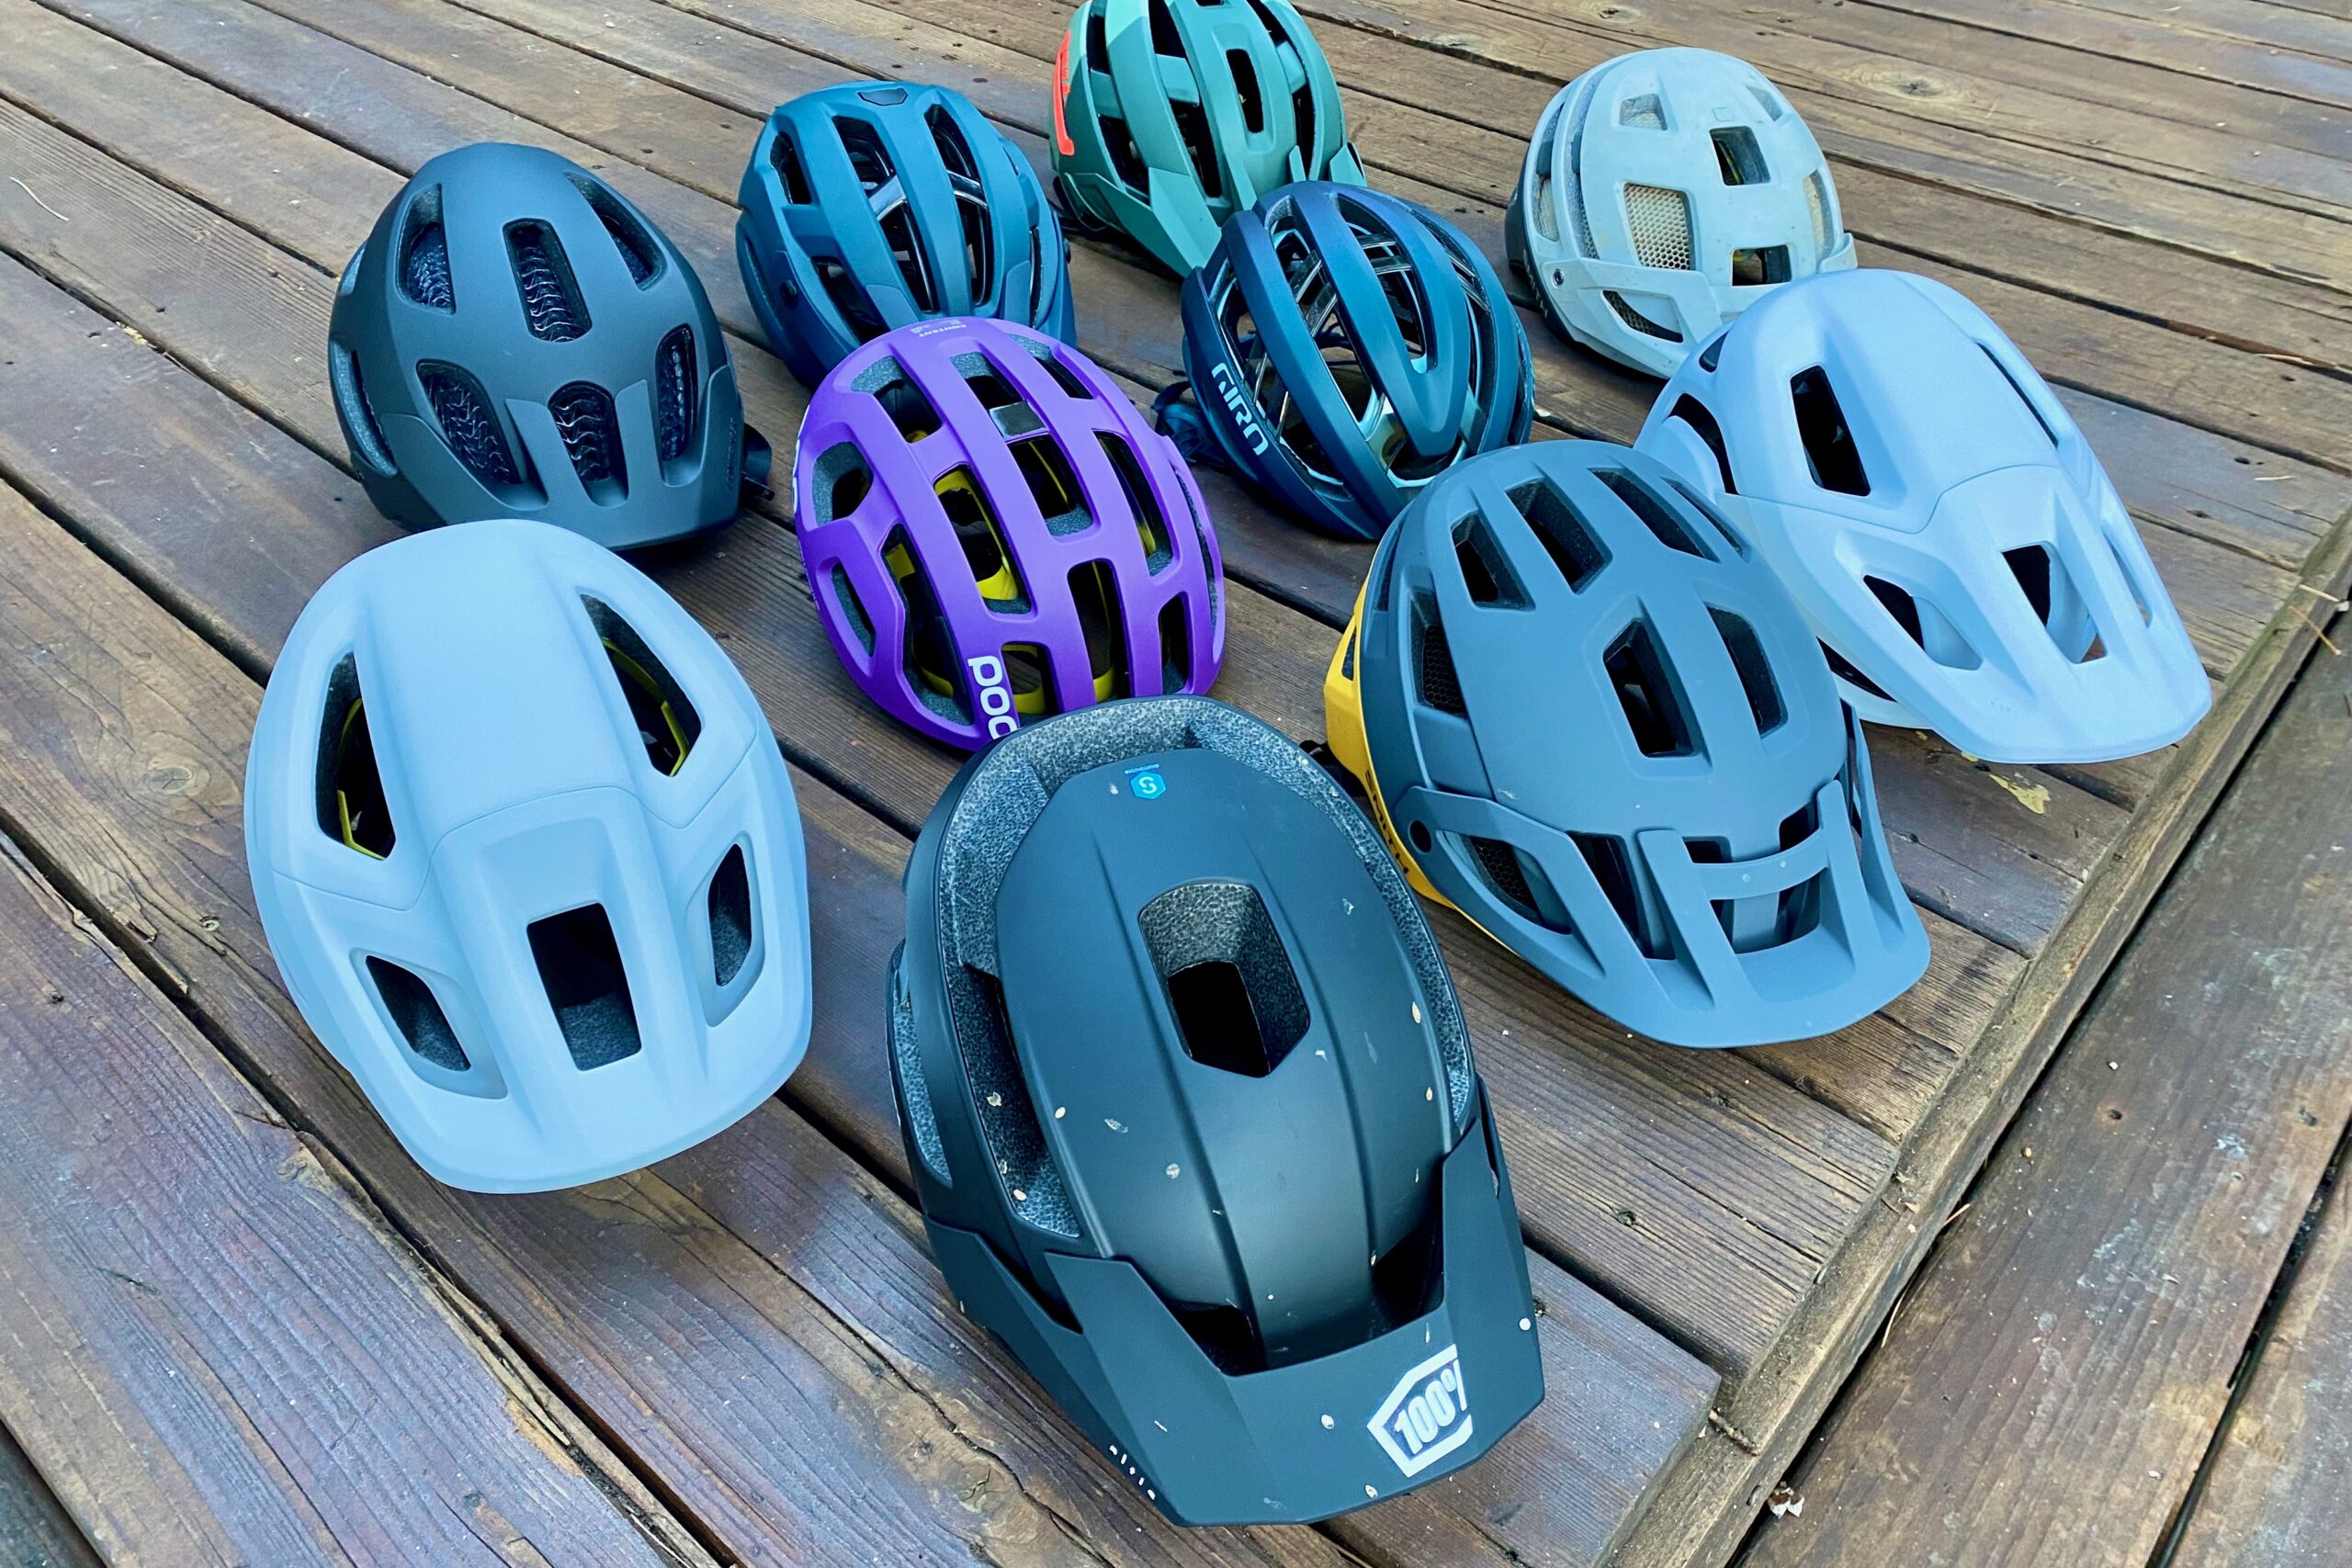
The Best Mountain Bike Helmets of 2024
A quality helmet is the most important piece of gear you can wear during any type of cycling, and this is especially true when mountain…