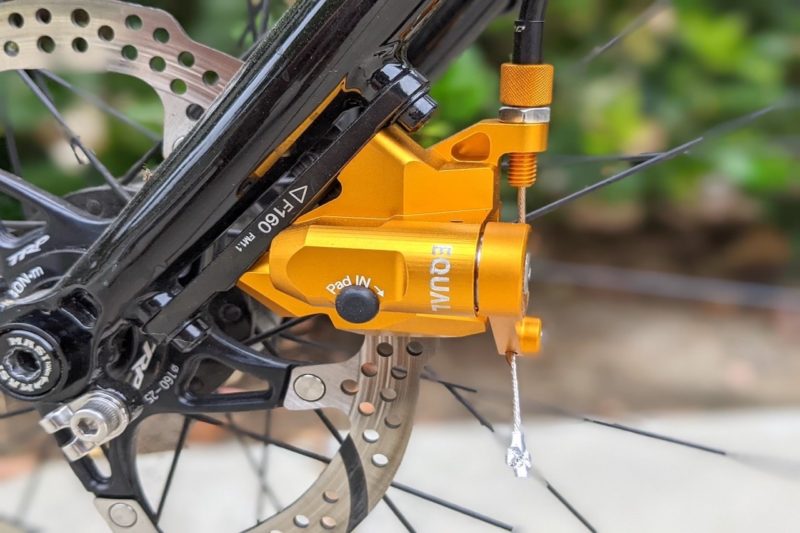
A little over a month ago, I reviewed the Growtac Equal cable-actuated brakes. It wasn’t long after it was published, that the comment section lit up with brake-type allegiance. Readers seemed to be either in favor of, or very much against the cable-actuated disc brake as a whole – with little to no gray area. Ok.
I appreciate that kind of engagement and thank those of you for reading the review and taking the time to comment… it was colorful and entertaining, to say the least.
In that Growtac review, I promised I’d review and compare another high-end, cable-actuated disc brake, the Klamper, by Paul Components.
I’m here to deliver on that promise.
Cable-actuated disc brakes… well, geez, it seems some cyclists get pretty riled up about ’em. I get it, to an extent. Look, I’ve ridden both types of brakes, hydraulic and cable-actuated, off and on for over two decades. There have been horrible and stellar versions of both.
For the most part, I think that the bicycle hydraulic brake system adds unnecessary complications to a fairly simple procedure, which is to simply press brake pads against a rotor.
But I digress…
The Klamper by Paul Components
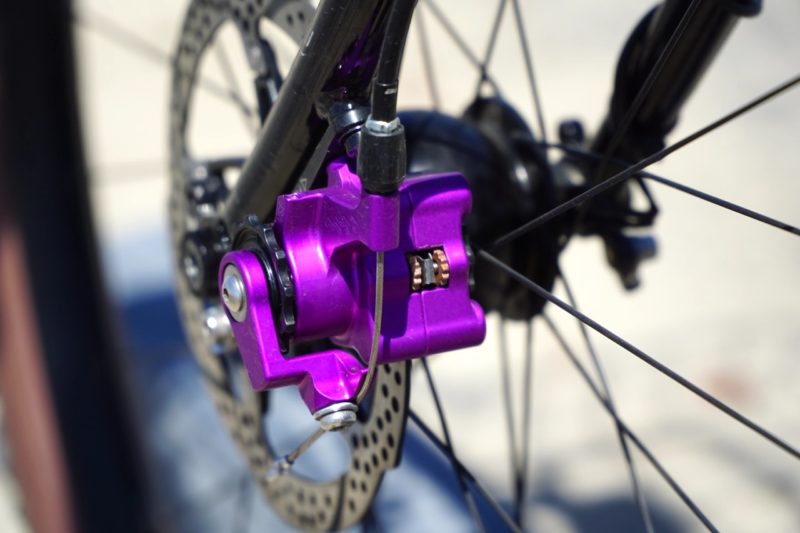
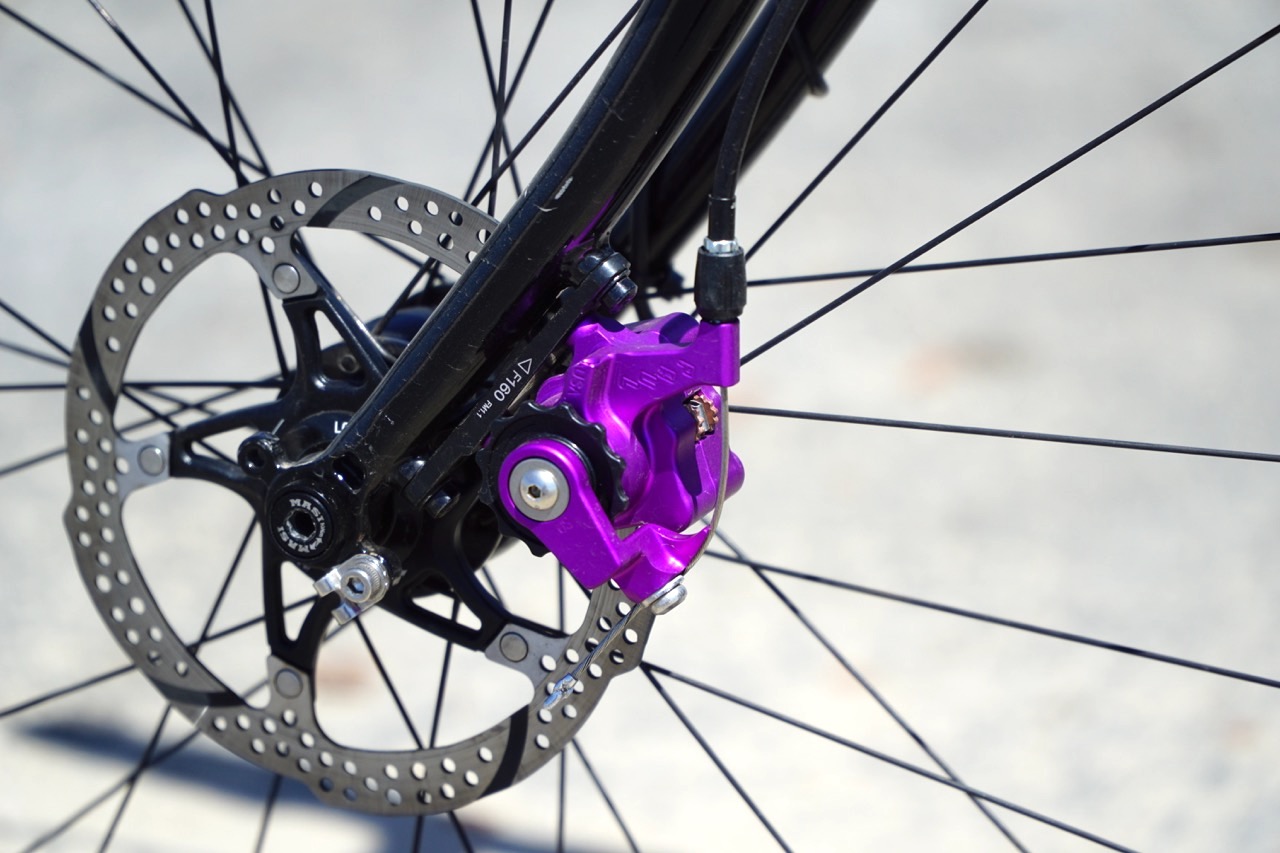
The Klamper is made in the US of A in Chico, California. It is completely rebuildable and serviceable –and it is a machined thing of beauty.
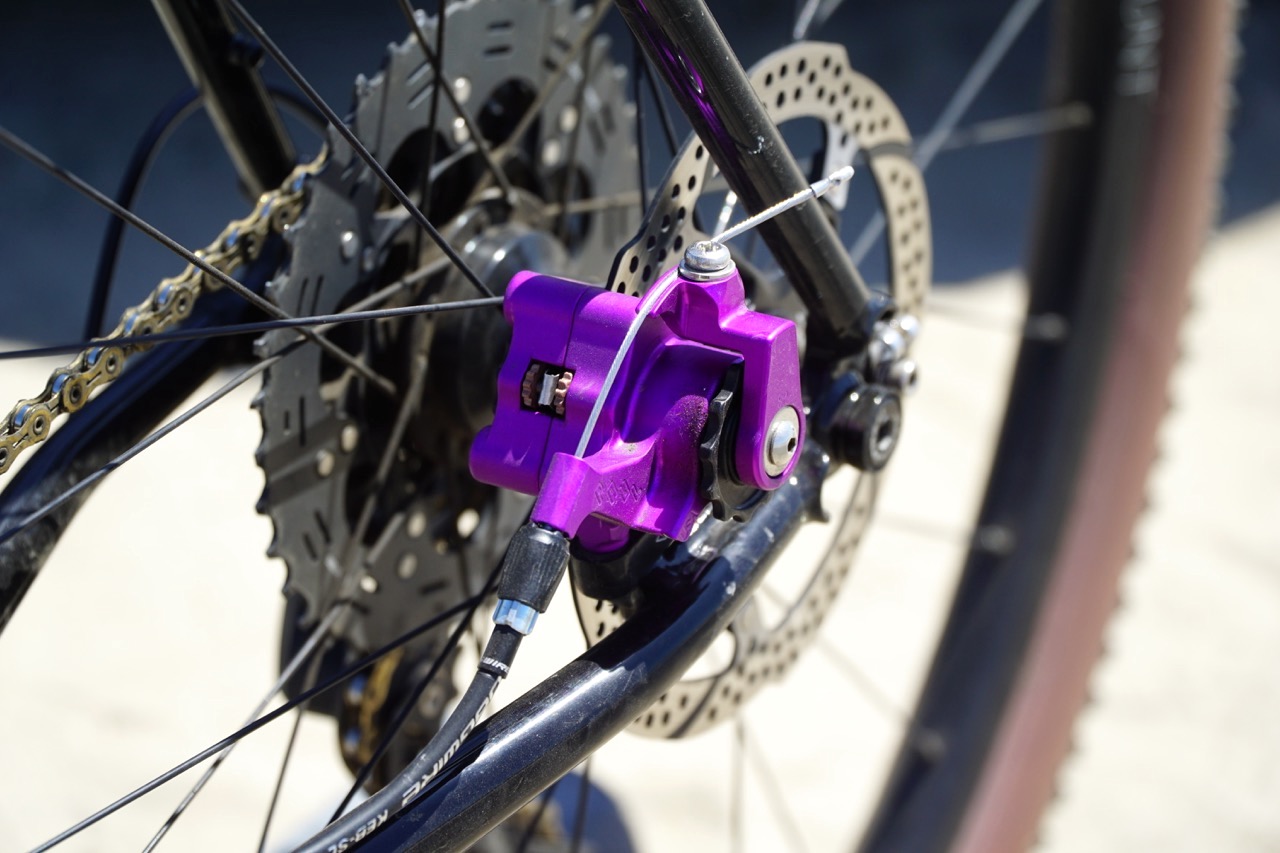
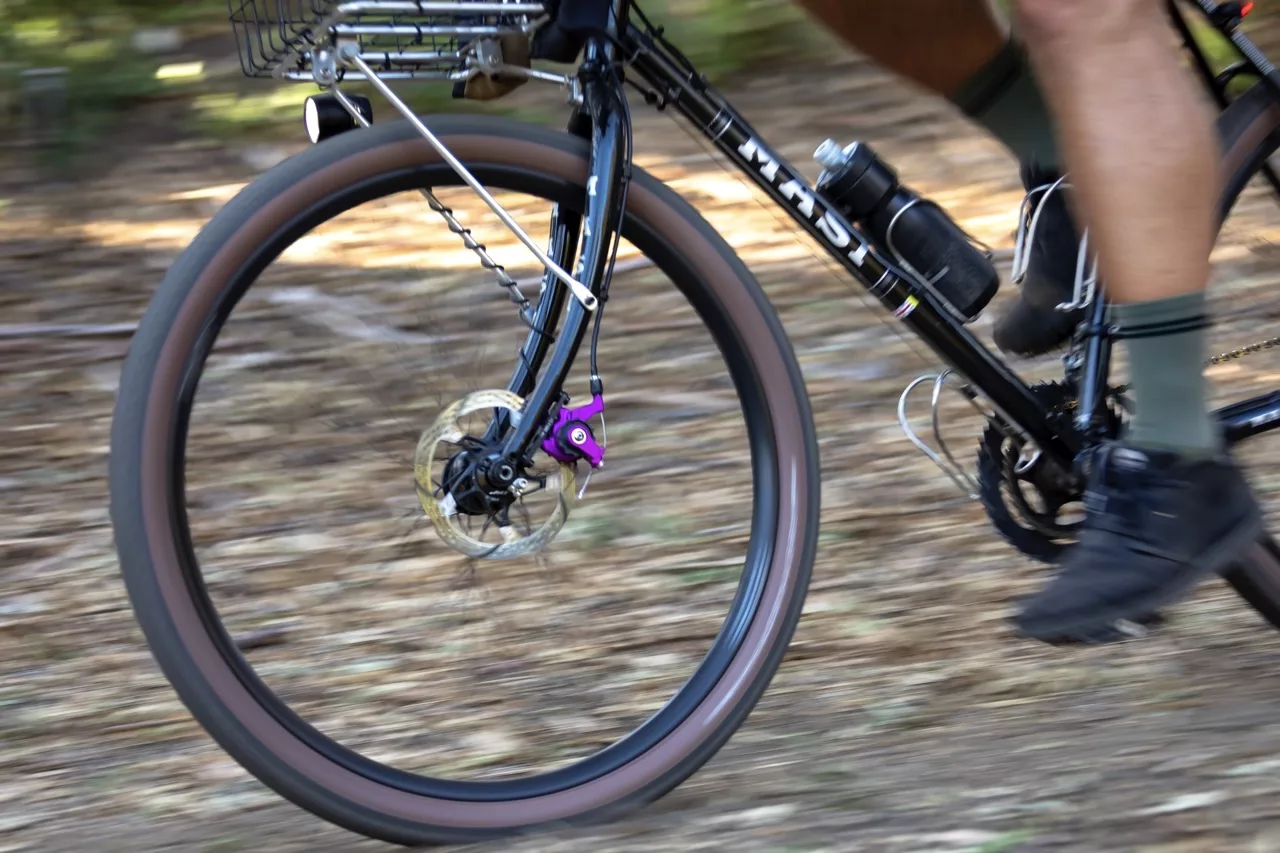
I tested the flat mount, short pull version of the Klampers and mounted them on my Masi Speciale Randonneur Elite. After taking the slim and small Growtac Equals off and mounting the Klampers, admittedly they looked a little “bulky” at first…
I quickly got used to the look of the caliper, however, because I actually really like the bulky look of the brake. To me, it looks strong, utilitarian, and purpose-built. I Dig it.
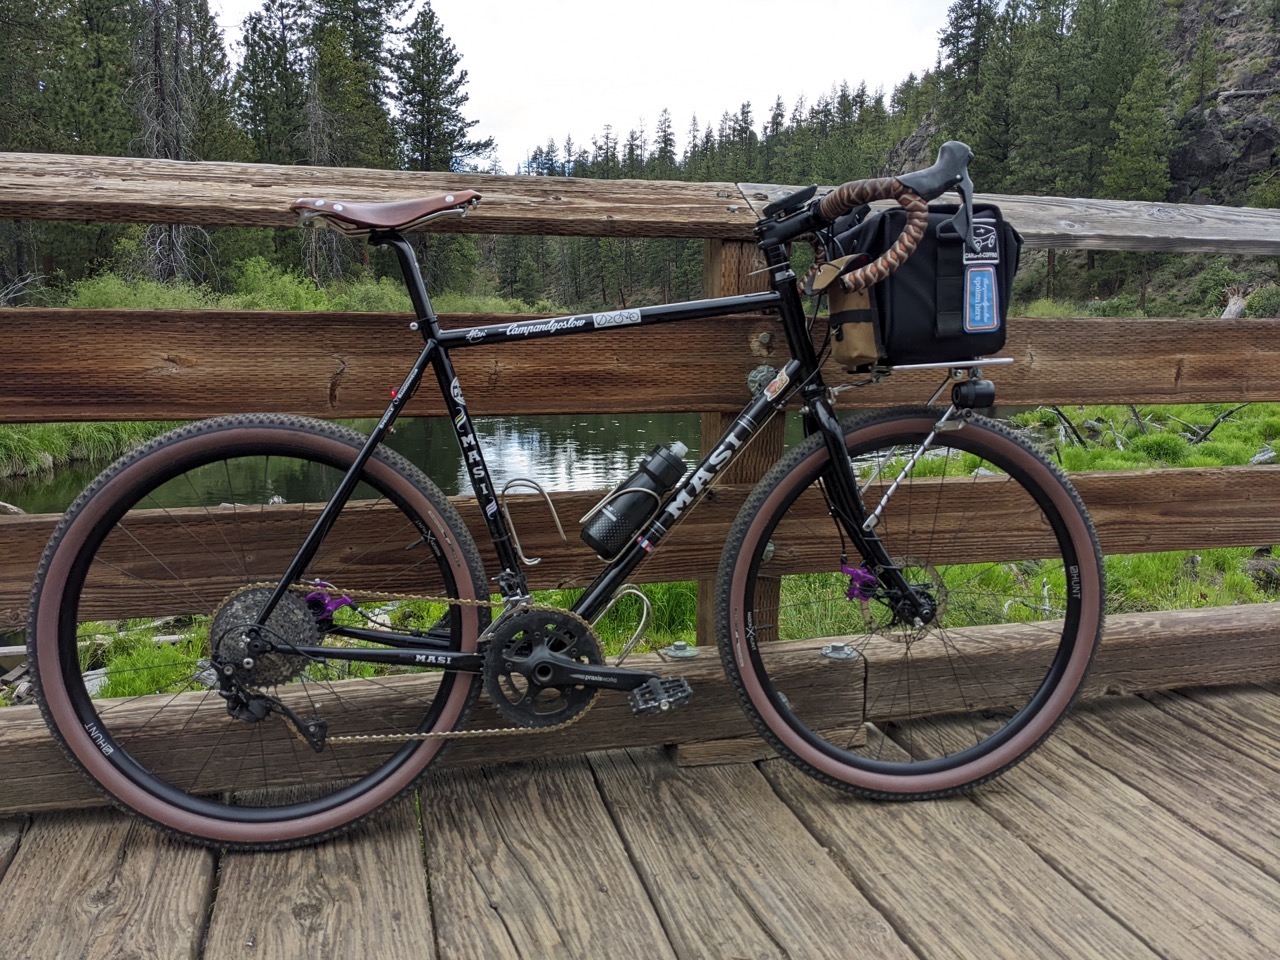
Remember, this is the same bike that I used for the Growtac Equal review. I am using the same exact rotors and cables as well. Trying hard to keep it “apples to apples”.
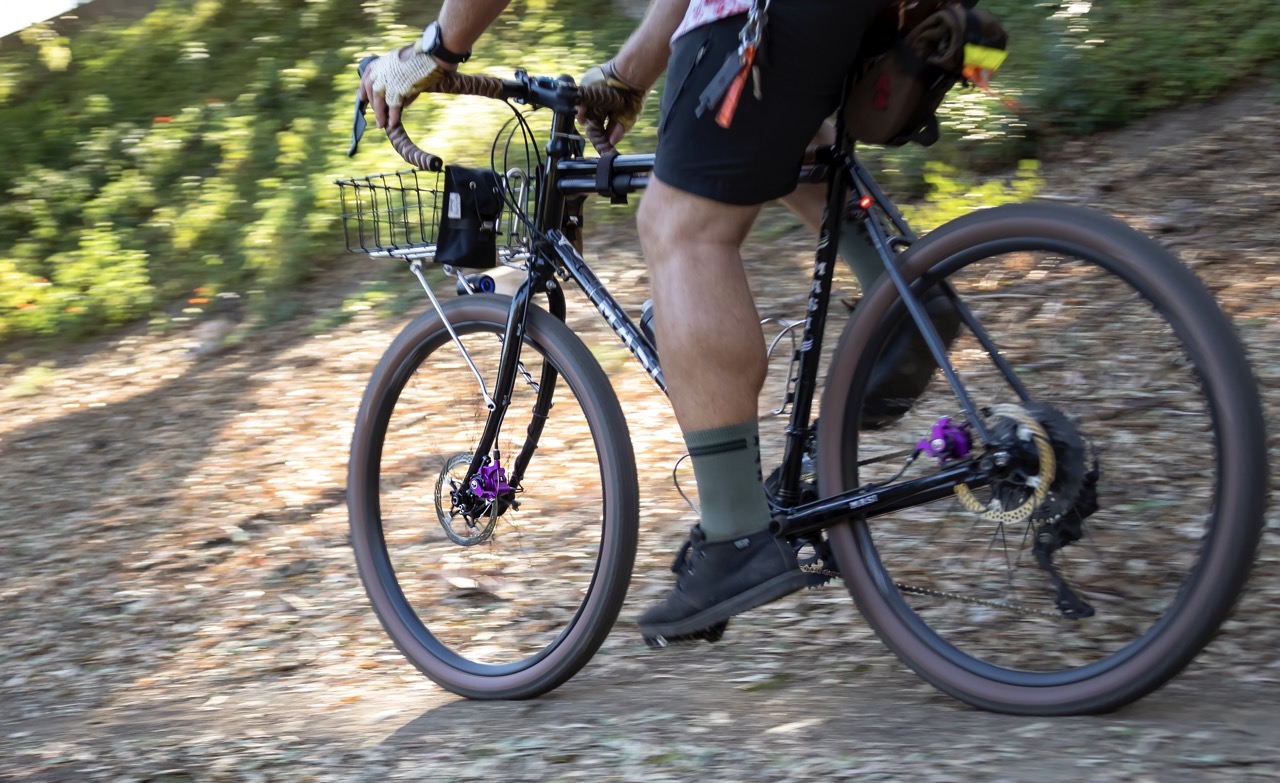
Paul Klamper Brake Set-up
Upon removing the Equals from the Masi, I decided to use the same compressionless housing that was used when running the Equal brakes. There was no need for any adjustment in length between the two, so that was sweet.
Paul at Paul Components actually recommends using regular brake housing with the Klampers, but, as mentioned earlier, I wanted the comparison to the Equal brakes to be as close to “apples to apples” as possible.
Let me just say that right out of the gate, the versatility of being able to effortlessly swap out the brakes on my Masi (or any bike for that matter) is an incredibly strong argument FOR the cable-actuated disc brake. Swapping the brakes was super convenient, no cutting hydraulic hosing, no olives, no pounding barbs, no mineral oil, no filling or bleeding, no dumb syringes and bleed cups, no mess, and zero “clean-up”.
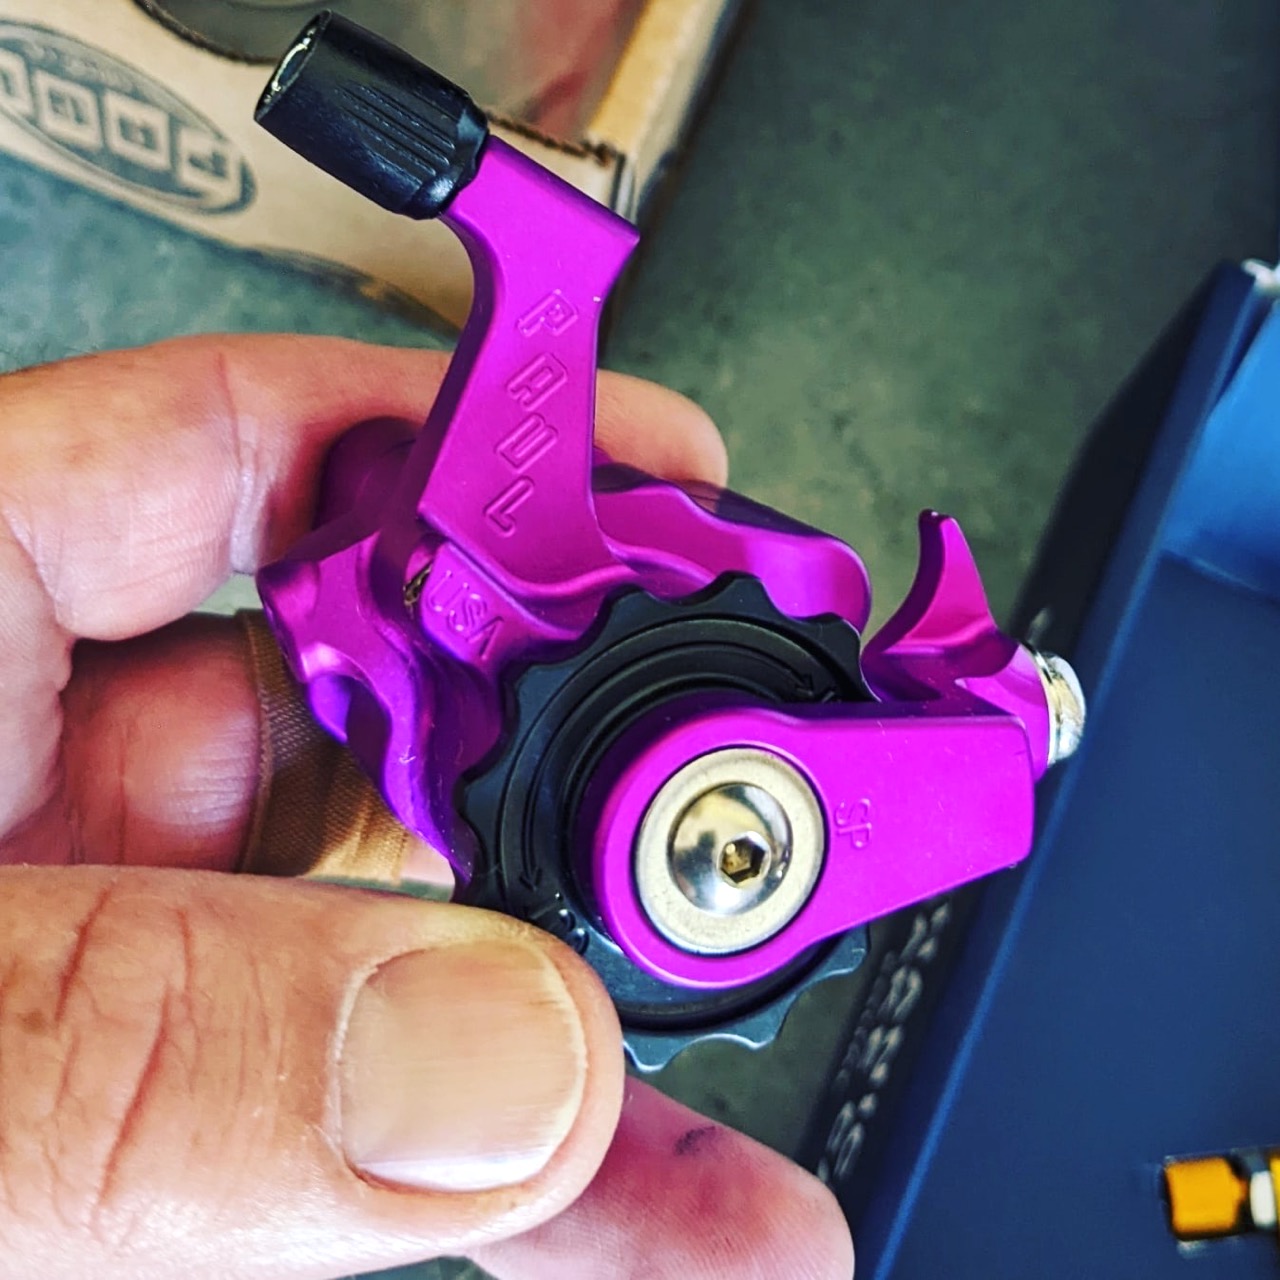
The actuating arm on the Klampers are interchangeable and can be swapped out. So, changing your brakes from a long pull version, that works with modern MTB brake levers, to a short pull version, working with standard drop bar levers/brifters or cantilever brake levers adds to the total versatility of the Paul Klamper.
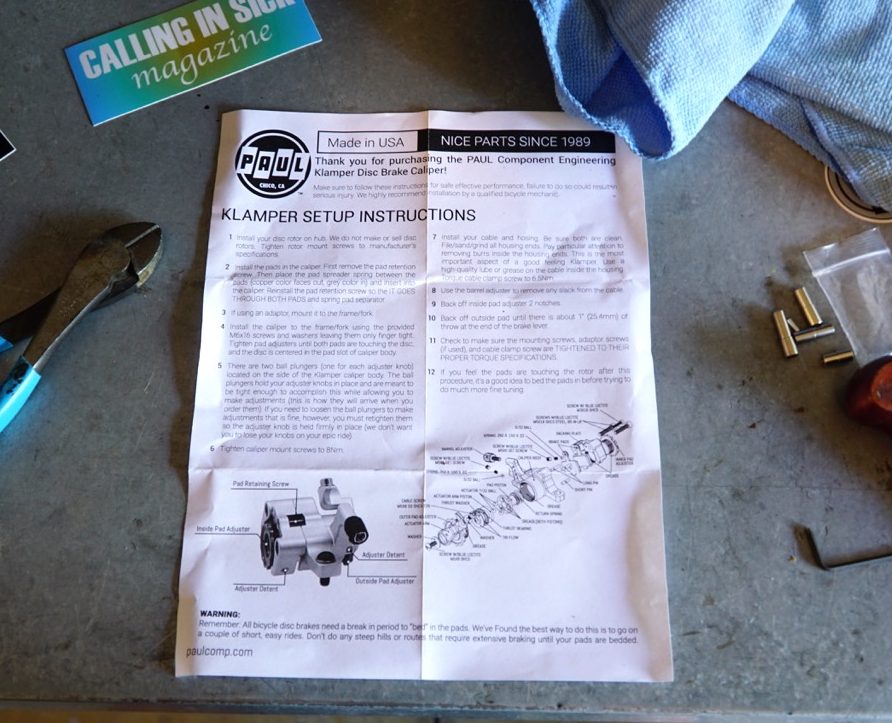
Included with the Klampers are the pads and the mounting hardware as well as concise instructions and an exploded view of the brakes with labels for what all the parts are called.
After installing the pads in the caliper, I then mounted the calipers to the frame, but only finger-tight. After that, I turned the inside and outside pad adjustment wheels to where they just barely touched the rotor, and then tightened the caliper to the frame.
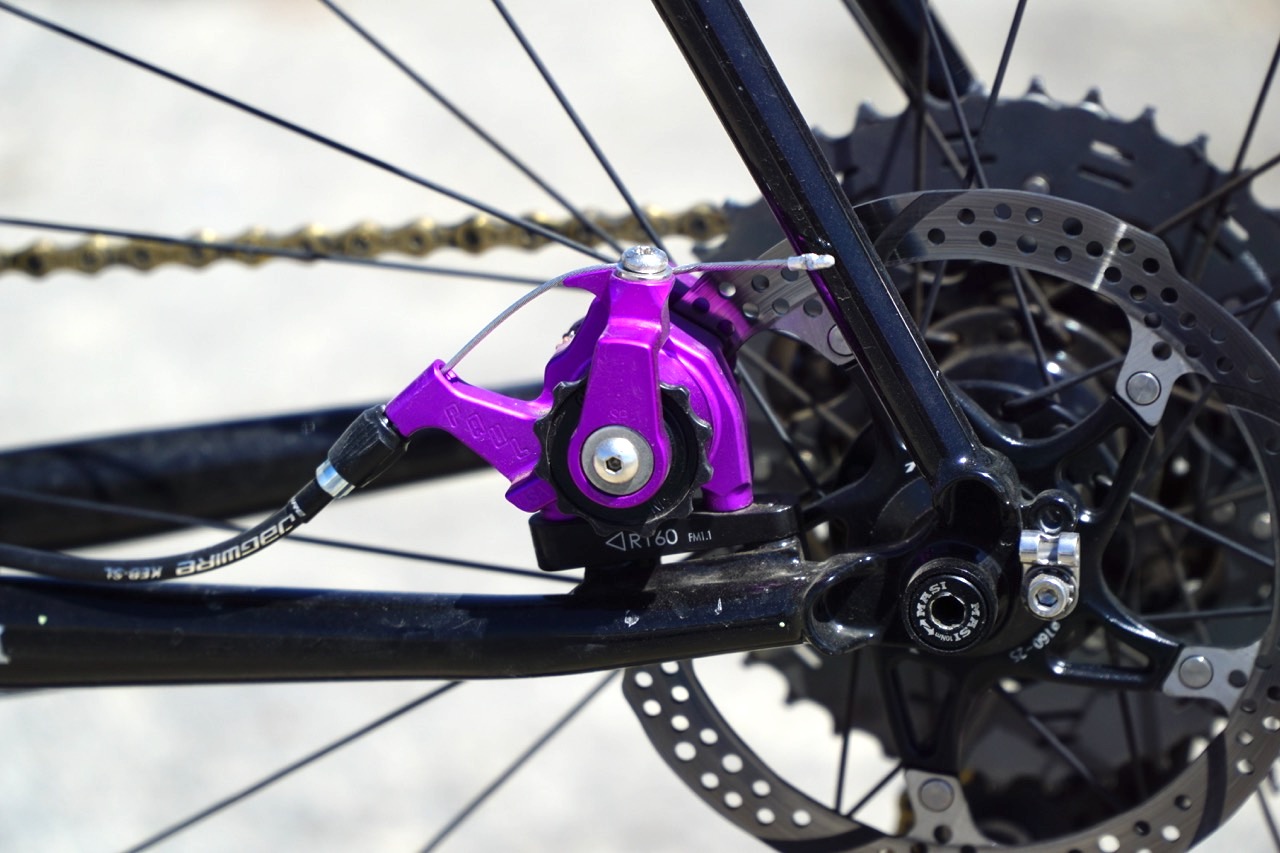
After running the new cable and getting the brakes set up, the front operated perfectly and had a great lever feel. The rear, however, felt sluggish at the beginning of the actuator throw when initially pulling the rear lever. It felt like a little dead spot, that held slightly, and would eventually “let go” as you squeezed the lever more. It sounds bad how I’m describing it, it wasn’t all that bad and was very, very subtle… but still didn’t feel great and, for me, needed to be addressed prior to using the brakes.
So I loosened the cable at the caliper and started again. I opened the pistons all the way with the adjustment wheels, loosened the caliper, and slid it slightly outboard, making the rotor a smidge off-center. Now, with the rotor biased slightly inboard in the caliper, almost touching the stationary pad, I tightened the caliper back to the frame again.
I found that this was an easy way to “dial out” that feeling of a “dead spot”. Also, doing this is a great way to maximize the amount of power you can get from the brake.
The issue was addressed, the rear lever now felt as snappy as the front. Let’s ride!
How’d they Klamp?
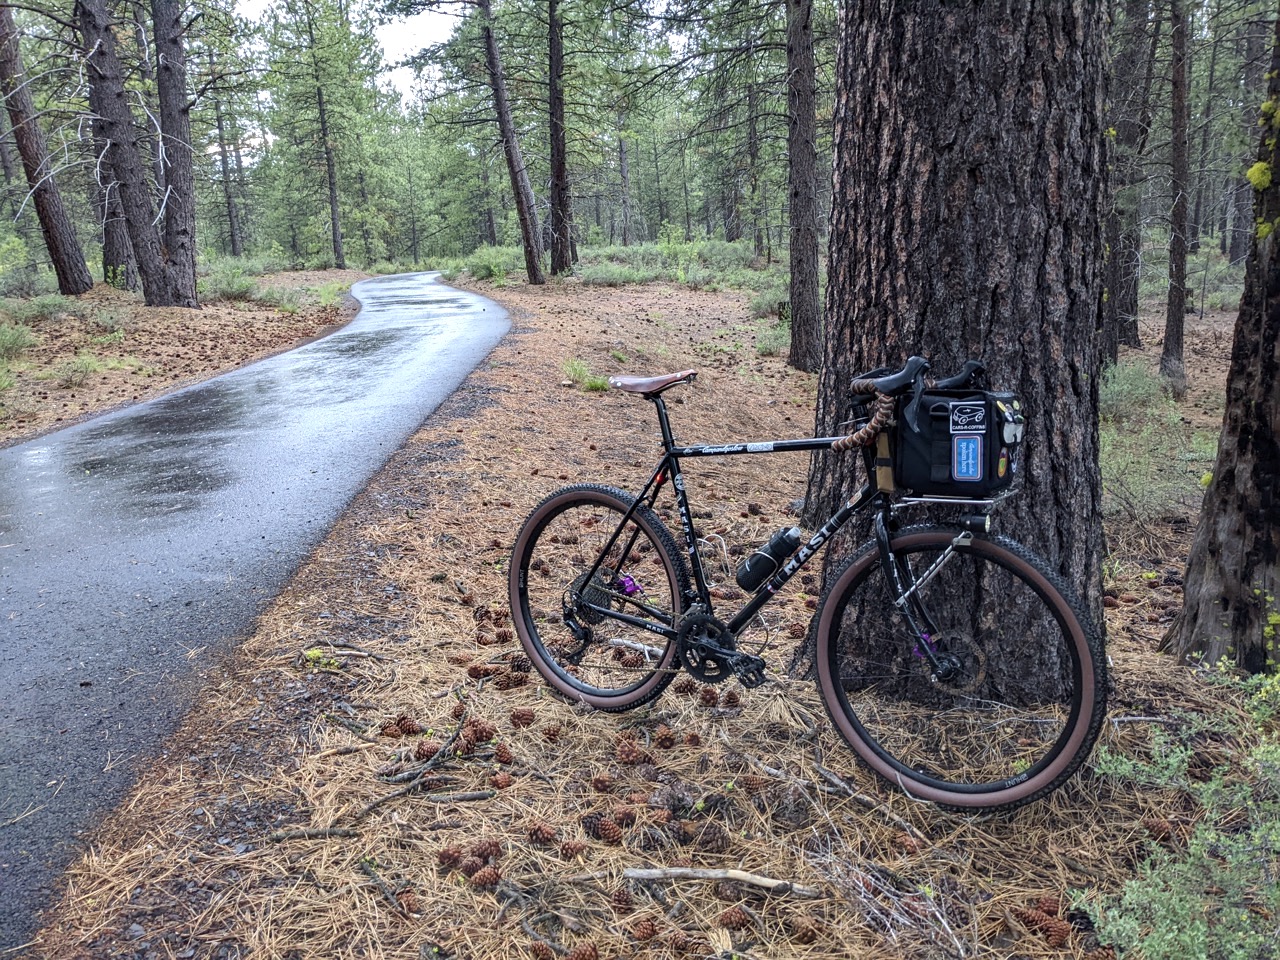
I installed them and did the initial 2 rides (30 miles total) right before I left for an event in Oregon. They weren’t stopping really great and were a bit noisy. I wasn’t really concerned about this, as there is always a pad break-in period for all disc brakes, plus the instructions from Paul Components mentioned 3-4 rides before the pads “bed in”. OK, let’s wait and see.

The second ride of the Oregon trip (the fourth ride for the Klampers) found us finishing the last 13 miles of the ride in a total Pacific Northwest downpour. When the brakes were dry, they were just a little noisy but when applying the brakes after they were soaked with water, the amount and volume of the Klamper’s brake noise was insane… but, I wasn’t alone in the noise. I was on the ride with 5-6 other cyclists and everyone’s brakes were howlin’ really bad …we sounded like a pack of wolves when slowing down for the corners. It went on like that until we got back to the house.
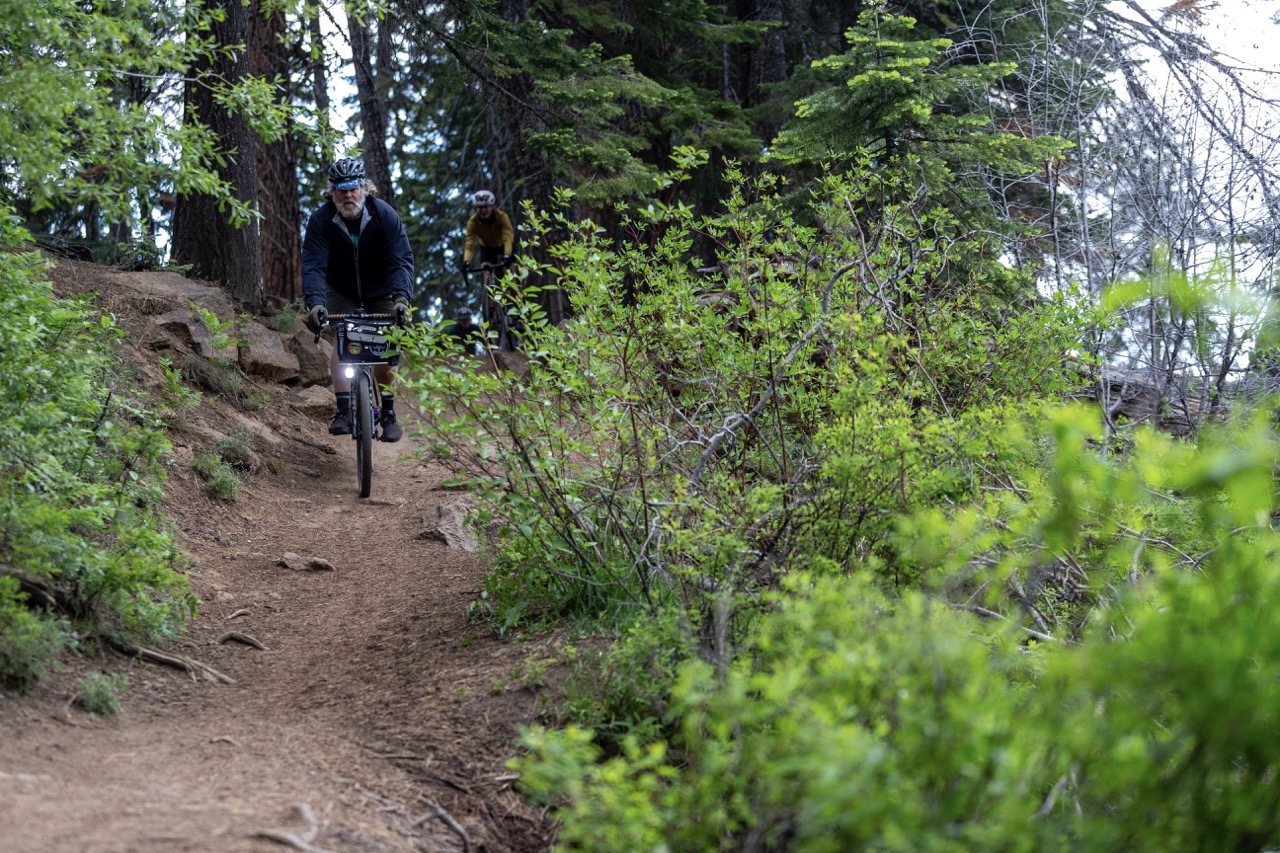
Remember, this wet ride was only the fourth ride for the brakes. And never once in Oregon did the brakes feel like they weren’t going to stop me… even during the downpour.
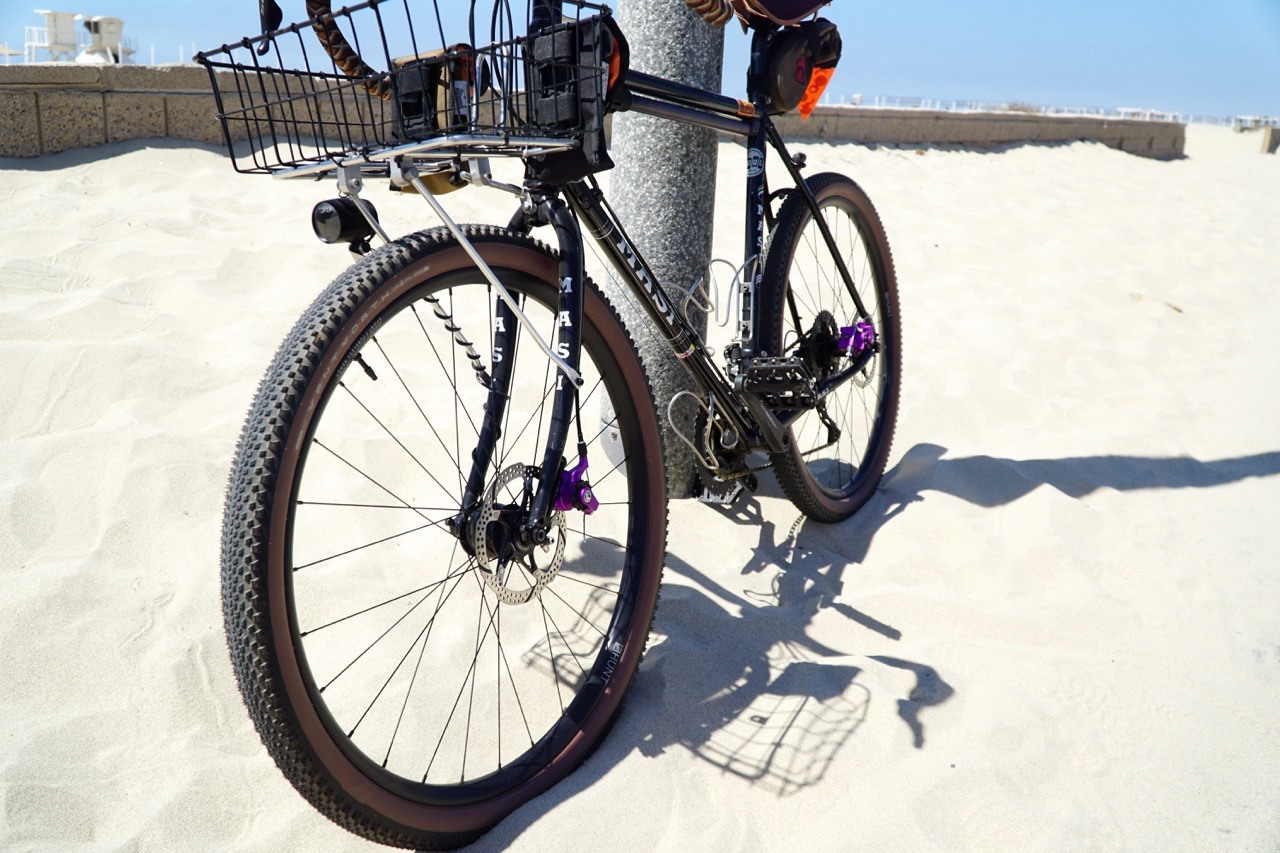
After I got home and went out for a ride, I expected the braking noise that I got on the Oregon trip, but noticed that the Klampers were totally quiet. Not only were they quiet, but they felt amazing. They had remained quiet for that entire 60-ish mile ride. I mean, wow! At this point, with only 4 rides (90-ish miles or so), with some rain, the pads seemed to be bedded leaving the brakes feeling absolutely amazing.
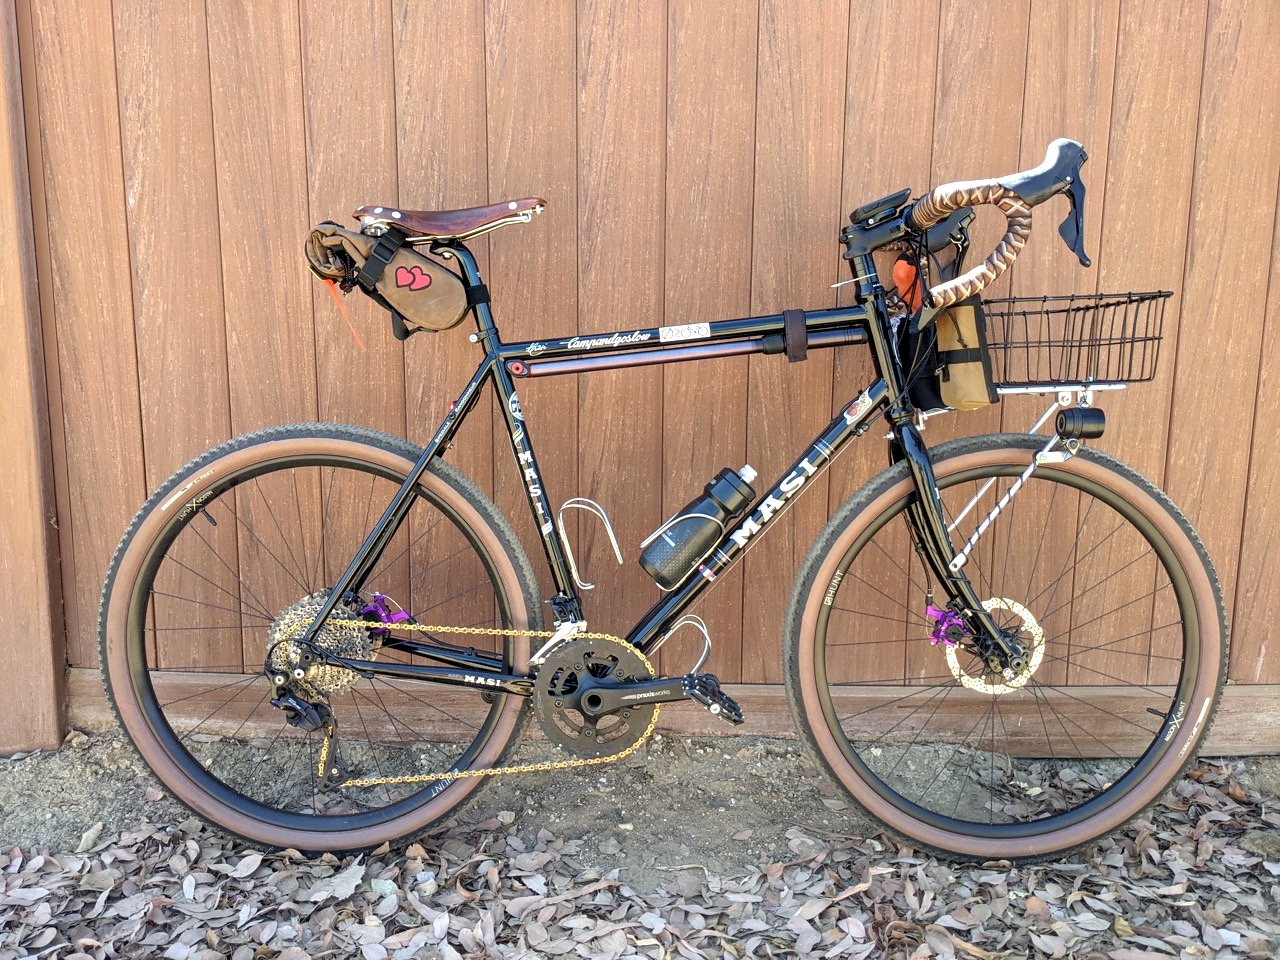
It was time to just start putting miles on the brakes. I took the bike to all of the spots and rides that I rode the Growtac Equals. I did a lot more trail riding and underbiking with the Klampers. They just felt so strong and powerful.
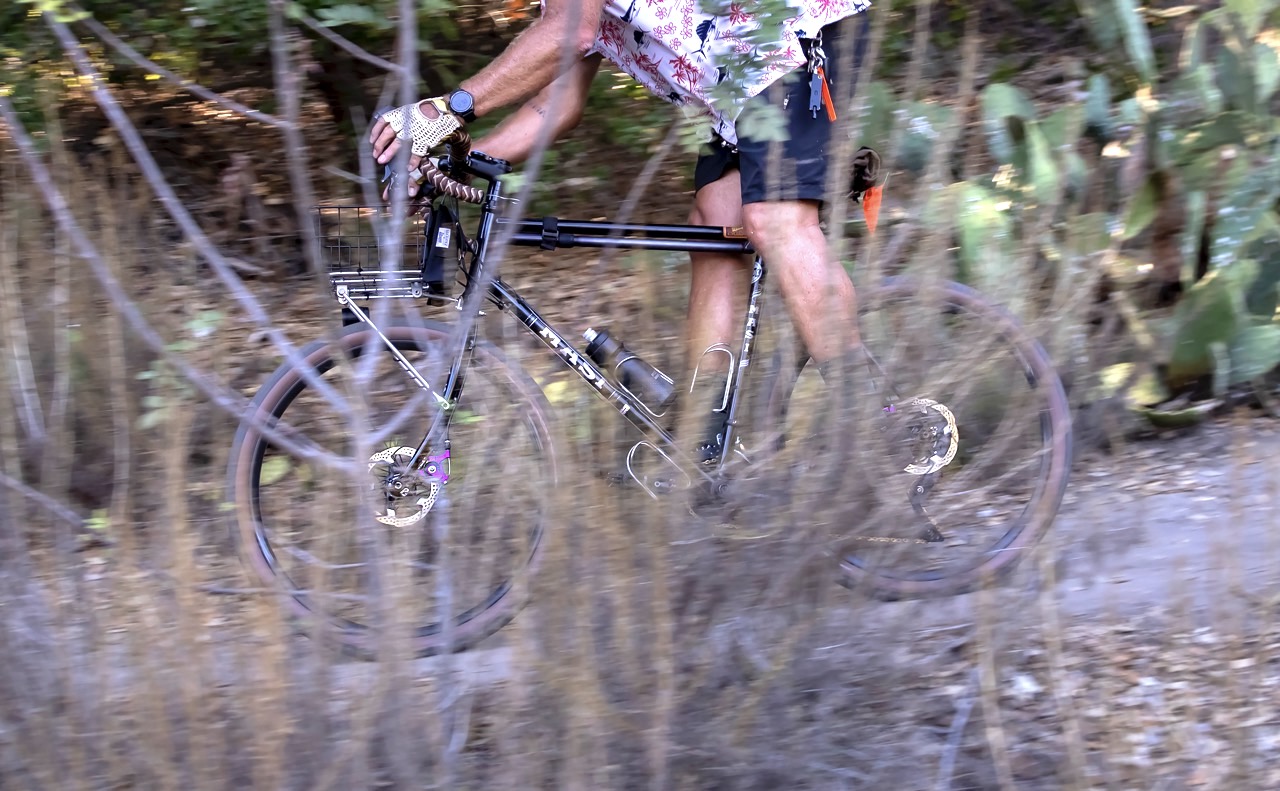
The Klampers feel so good that I can safely state that I feel they are on par with hydraulic brakes.
I know that’s bold, and I can hear all of the typing already. But, it’s how I feel. The hydro’s brake lever feel is a bit more effortless when pulling it, but just barely. I do feel a little finger/hand fatigue, as well as a little forearm pump on longer, more technical dirt trail descents. But in the Klamper’s defense, I was squeezing them tighter and more often than I would if I wasn’t reviewing brakes.
The power of these brakes is pretty incredible and is on tap, whenever you need it. If there is any difference in the power of hydro vs the Klamper, it is minuscule and, to me, not worth the added hassle, the limited versatility, and the inability for trailside repairs or caliper serviceability of the hydro system.
Now, let’s talk about modulation… the one disc brake feature we all hang our hats on. I noticed that the modulation of the brakes while off-road, was really impressive. Hands-down the best of any cable-actuated brake I’ve ever ridden.
That sounds dramatic, I know. But I stand by it. The modulation is there with the Paul Klampers. Period.
While going into the off-camber corners and slowly crawling down steep rutted trail descents, I was able to accurately control the amount of pressure applied directly to the rotor. I felt that the amount of lever pulled was duplicated exactly to the amount of pressure put on the rotor, allowing me to properly “feather the brakes”.
Which, I believe is the actual definition of brake modulation. Eh?
Road descents felt equally confidence-inspiring. The Klampers suffered no fading or glazing on the descents I did. The power and ability to slow me down from high speeds was, again confidence-inspiring, allowing me to feel comfortable going even faster if I needed to.
Remember kids, a great brake can actually help you go faster.

In Conclusion
I have approximately 500+ miles on the Klampers, and they have proven themselves to be pretty damn remarkable!
It is this cyclist’s opinion, that after riding hydraulic and mechanical disc brakes, in one form or another for the better part of two decades, I believe that Paul Components’ Klamper mechanical disc brakes are better than hydraulic disc brakes. And, I think they are hands down the best mechanical disc brake I’ve ever tried.
The initial set-up of the brakes took a bit of effort, but once the pads were bedded, it’s been smooth sailing. Or, should I say awesome stopping? The instructions said to take 3-4 good rides to bed the pads, and it took just that. Maintenance has been easy with the occasional turn of the outboard pad adjustment wheel… no big whoop.
I would recommend this brake to everyone.
It’s the best cable-actuated brake I have ever ridden.
Sure, it’s pricey. But are you comparing the price to other small, USA-made component companies? Usually not. These brakes are hand-made and are not mass-produced. And also keep in mind, that with these cable-actuated brakes, you won’t need to spend money on all of the extra doodads you need to maintain a hydraulic brake system or keep buying mineral oil.
Plus when buying the Paul Components Klampers, you are supporting small, independent American manufacturing, and you have to put a value on that. Right? Right.

Earlier in this review, I mentioned that all of my personal bikes are pulling cable to stop, and two out of the three are using Paul Klampers, that’s how much I like these brakes. As a matter of fact, look for the review on the pair that’s on my mountain bike coming soon. For that review, I am running them in a configuration that is a little different. So stay tuned!
Paul Klamper Brakes vs. Growtac Equal Brakes
Ok, here we go. I am going to keep this simple, non-scientific, and very understandable.
The following is a reflection of my experiences with these two high-end cable-actuated brake systems.
First, let me start by saying that I did end up putting more “real-life” miles on the Klampers and more “intentional” miles on the Equals. That wasn’t purposeful, it just happened that way.
Aesthetics
At the end of the day, I do like the robust aesthetics of the Klampers over the Equals. I did like the size of the Equal caliper body and the placement of the actuator arm (on the top as opposed to the side) is very attractive. Its smaller size allowed the Equal caliper to “tuck” into the chainstay. Again, personal preference.
The actual fit and finish are very good on both brakes. The visible “machine-marks” of the Equal caliper aren’t my jam, but for others, it may be. I prefer the smooth “finished” look of the Klamper caliper.
How They Performed
The performance of the Equal and the Klampers are very similar. They’re both incredibly strong brakes, the strongest I’ve ever ridden. But, the Equals strength-to-lever feel always felt either on or off. The Equal’s lever feel, although really snappy, had a very “soul-less” feel to them… almost robotic. You could squeeze the lever and actuate the brakes, but couldn’t “feel” the brakes if that makes sense.
The Klampers felt stronger than the Equals, with a more “usable” strength. When it came to strength-to-lever feel, the Klamper felt as snappy but had more of an organic feel when squeezing the lever, allowing you to “feel” the brake when braking. I liked the way this felt, a lot more than the Equals.
This leads me to modulation. The Klampers were hands down the winners in this arena as well. The Equal brake, as mentioned above, felt very on or off during my use. The Klampers were close to, or as good as hydraulic brake modulation. I have never felt a cable-actuated brake modulate as well as the Klamper.
What they Weigh
The Equal brake caliper weighs in at 137grams with the pads installed. The Klamper weighs in at 211grams with the pads installed. So you’re looking at 148g more for the pair of Klampers.
The Klamper’s little extra weight could be coming in the form of needle bearings for the thrust bearing, and a heat-treated steel actuator arm piston, and pad piston as well as two “tool-free” pad adjustment wheels.
Set-Up
The Equal brakes were a little easier to set up, there were a lot more steps to the set-up, but it was painless and came with really good instructions. It resulted in great braking results immediately after installation with a short (2-ride) pad bedding.
The Klampers needed a bit more attention and finesse in their setup, with a longer pad bedding time. But, again the results I got from the Klampers were worth the extra work and time put in, resulting in better overall performance than the Equal brakes.
The Klamper wins in the “on-the-fly” pad adjustment category by offering inboard and outboard, easy-to-turn brake pad adjustment wheels. You need a tool to adjust the Equal’s pads.
Where They’re Made
The Growtac Equals are designed and manufactured in Japan. The Paul Component Klampers are designed and manufactured in Chico, California.
Versatility
Both the Klampers and Equals come in flat mount or post mount/IS. The Klampers however, come in short pull, long pull, and Campy pull versions. This is done with the interchangeable actuating arm. The Equals, as of this writing, come in short pull only.
The Equal brakes firmly state that for best results, use compressionless housing, whereas the Klampers suggest regular housing but can work very well with either type of housing. Also, the pads that the Klampers come with are the most common type of brake pad and are available everywhere.
What’s the Cost and What’s Included
The Equals retail for $350. That price buys you everything you need to set up your brakes on your bike minus rotors:
- Two calipers
- 2x road and MTB cables
- A flat mount adaptor
- 2x compressionless housing
- 2x non-compressionless housing
- Mounting hardware
The Klampers retail for $245 ($315 for the high polished finish) and are sold per wheel. So, that price buys you:
- one caliper
- Kool stop Avid Elixer pads
- mounting hardware
- USA Made
Comparison Final Thoughts
This is a little tougher than I thought. I like both of these brakes, a lot. But if we are using the feel and strength of the hydraulic disc brake system as the benchmark for both power and modulation, which we are, then the Paul Components Klamper is the hands-down winner of the comparison, matching the hydro system in both strength and modulation.
With the Growtac Equal brakes, you get a very strong brake with a lighter caliper. They are at a lower initial cost and come with everything you need to set your bike up with a very capable disc brake set. And they are made in Japan.
With the Paul Klamper brakes, you get a category leader in both braking strength, modulation, serviceability, and finish. The USA-made brakes, in my opinion, on par with or better than hydraulic disc brakes and, by far worth the money.
That’s it.
Check out all of the hand-made goodness from Chico, California by clicking on the link below.
