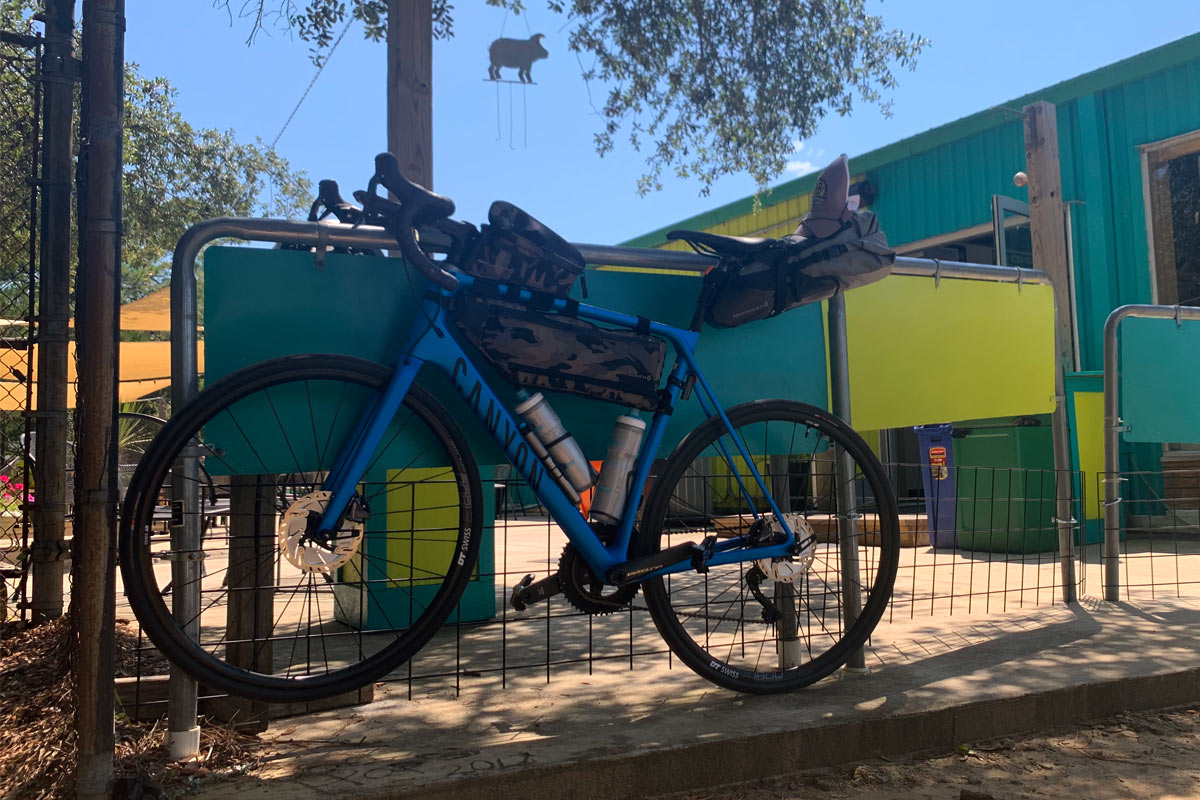
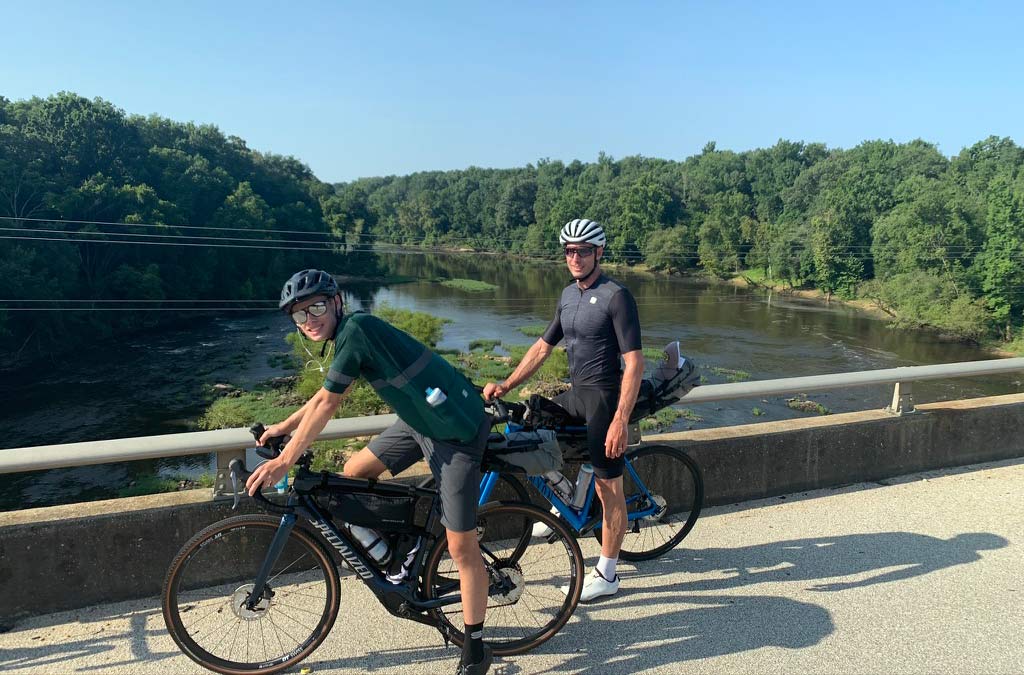
This summer, we rode about 240 miles over three days, from our home office in Greensboro, NC, to Carolina Beach. Three of us loaded up our test bikes with a suite of Blackburn Design’s Outpost frame bags and a selection of their mini tools, pumps and bottle cages.
It was “credit card bikepacking”, meaning, we stayed in hotels and had breakfast and dinner at restaurants. But we still needed to each bring a couple sets of clothes, flip flops, hat, and a ton of snacks. And have room for water bottles, so the frame bags couldn’t take up all of the front triangle’s real estate.
Two of us rode regular bikes, and my son joined in on a Specialized Creo SL with spare battery packs. Shown here are the Canyon Endurace I rode and that Creo SL. The other rider used a Felt VR carbon endurance road bike, which we’ll review in a separate post, but the bag layout on that was the same as the Canyon. Here’s how it all came together…
Blackburn Outpost Bikepacking Bags review
The Frame Bag
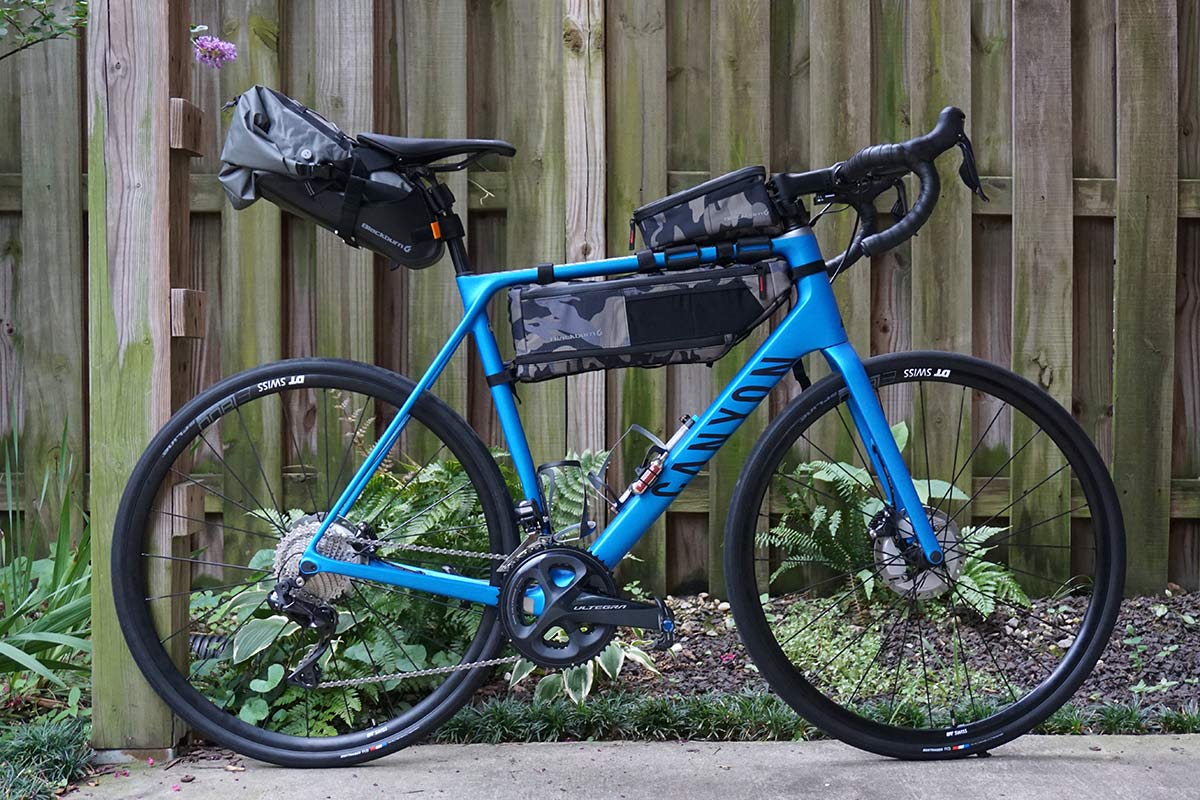
Here’s what it all looked like on the Canyon. Blackburn also offers two different Outpost handlebar roll options and a Corner Bag that tucks into the corner created by your top- and seat-tubes…if you’re not using the Frame Bag. The Frame Bags come in two versions…and Elite model that does not compact, and the regular model that does.
We tested the regular model because we wanted to maintain space for a bottle cage on the downtube. You’ll see how this works in both open and closed positions in a sec.
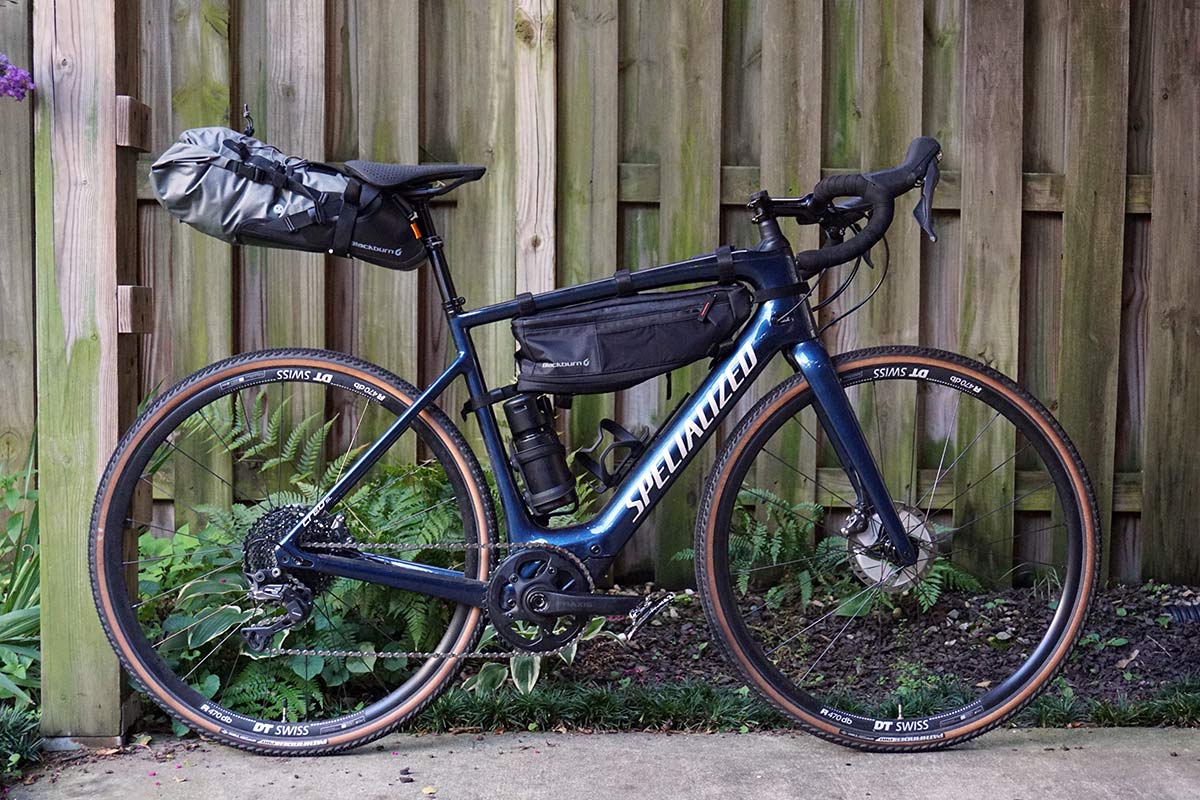
On the Specialized Creo SL, we made a few sizing decisions based on the space available inside the front triangle and how we’d be using it. The main thing is that the bag is intentionally one size too small, and that’s because we wanted to be sure we could clear the spare battery that sits in the seat tube’s bottle cage. And…
…we would have the option of expanding it if we needed more space.
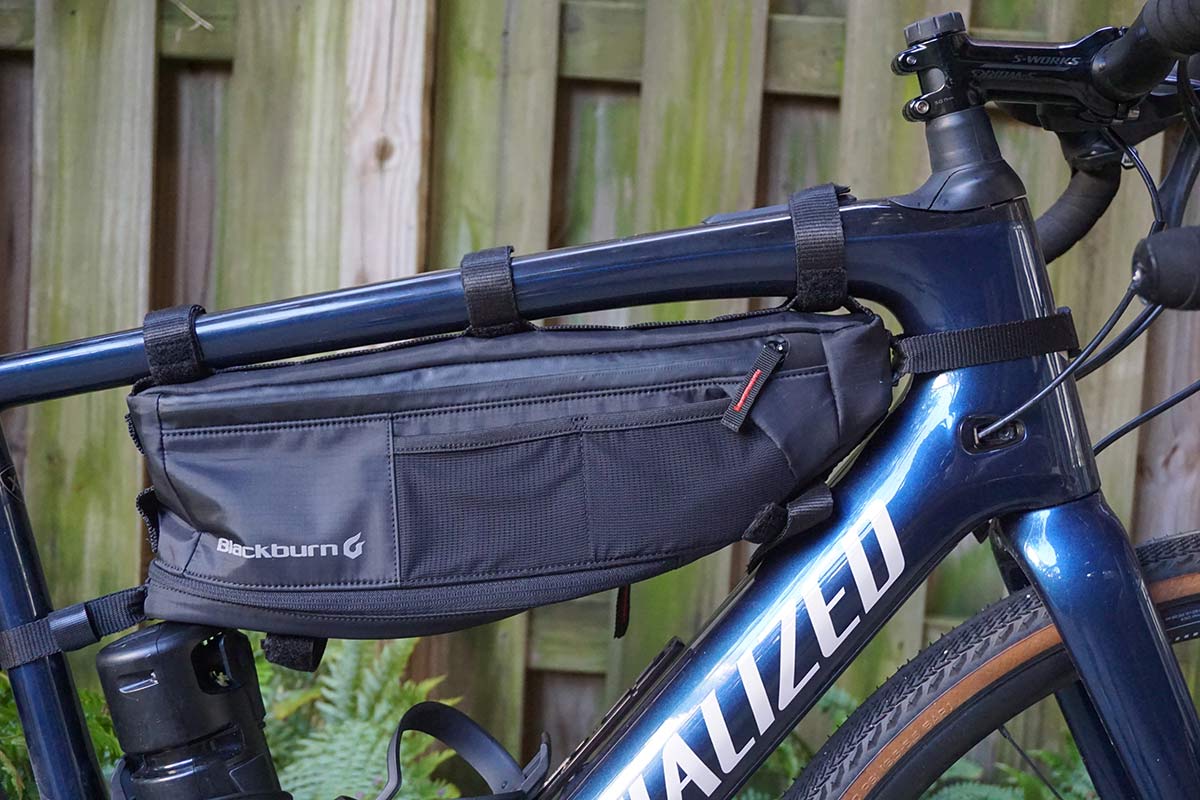
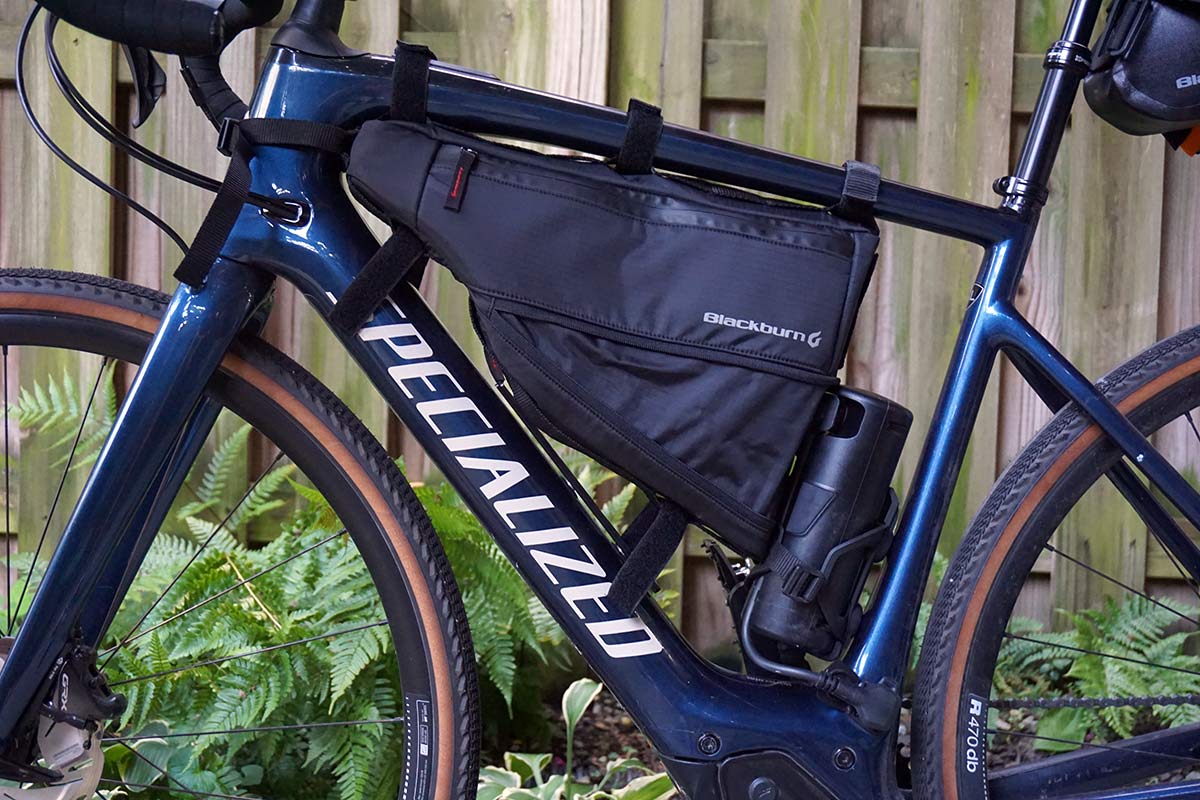
For this ride, we opted to keep it closed and run another bottle on the downtube. We also used a Wolf Tooth Components B-RAD adapter to move the downtube’s bottle cage lower to add clearance for a taller bottle.

On the off chance you’re also putting a bag on a Specialized (or any other) e-bike with a top tube power button, chances are one of the straps will cover part of your controls. Fortunately, it only covered part of the display, but this prevented us from putting a top tube bag on this bike.
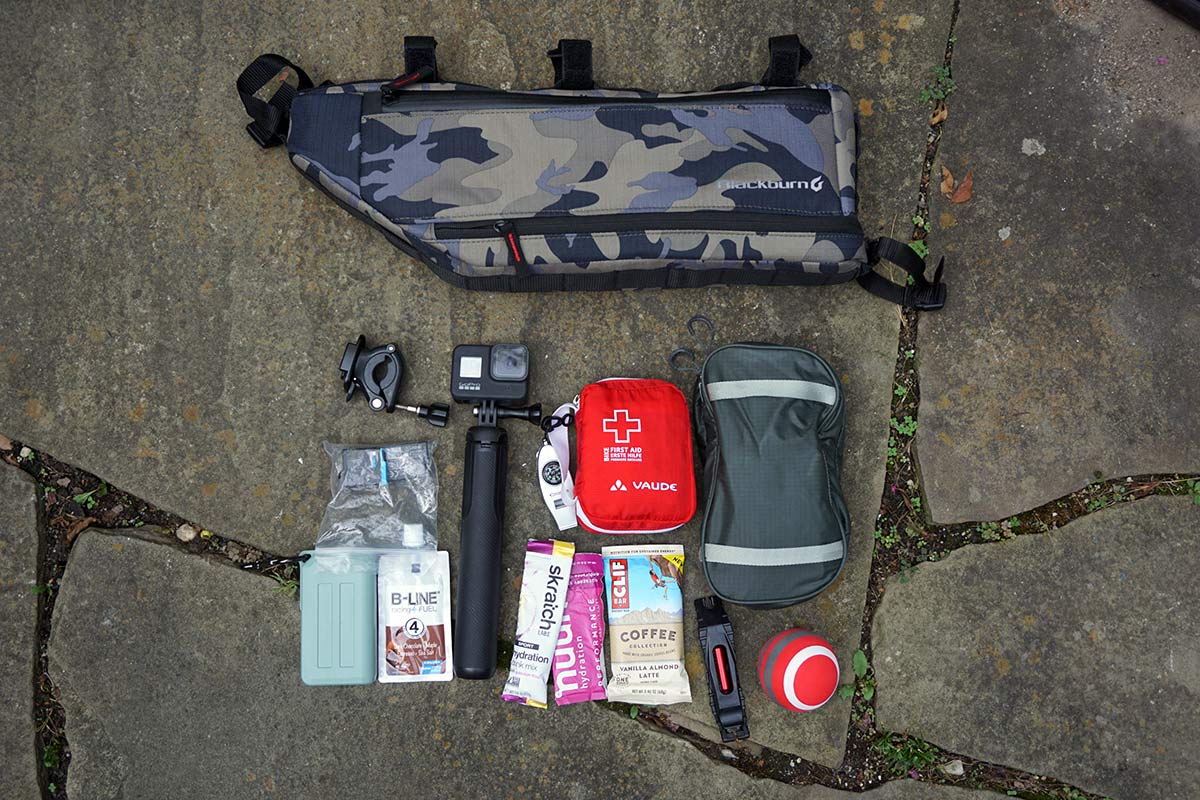
This was my pack out for the size Large frame bag. It included:
- Toiletry case with some drink mix packets
- Tire levers
- First aid kit
- GoPro HERO8 on telescoping handle/tripod
- GoPro handlebar clamp + spare batteries
- Various gels and bars
- MyCharge Adventure waterproof 6700mAh battery pack
- TriggerPoint Therapy massage ball
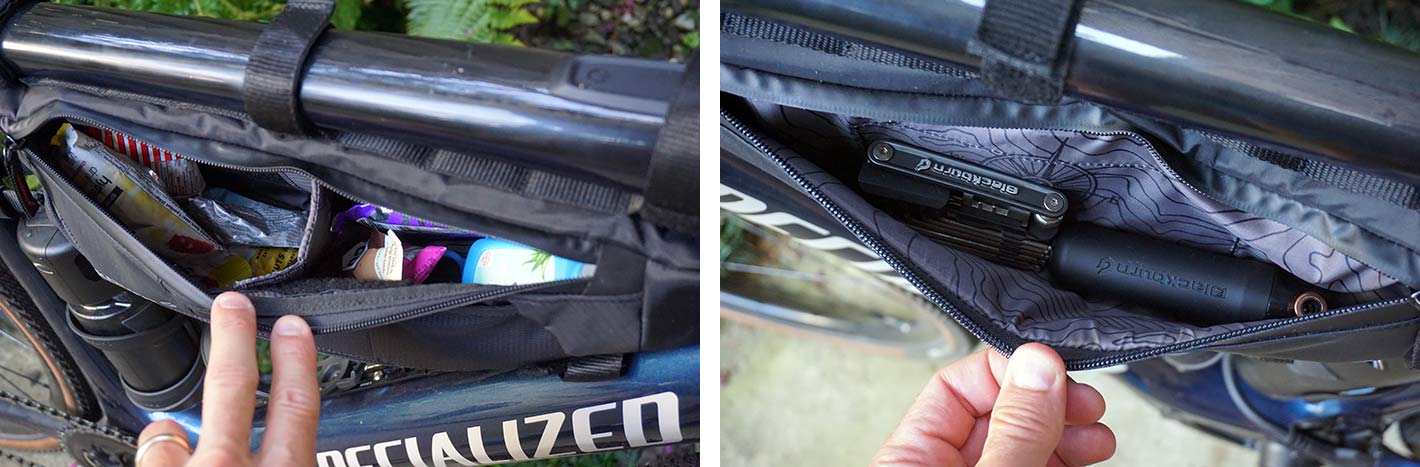
My son, however, mainly just packed his with bars. Because he’s a teen. And they eat all. the. time. On the non-drive side is a full length zippered compartment where he stored his Wayfinder tool and CO2 inflator. I used this pocket for my wallet and mask.

A removable panel uses Velcro to connect the sides. This prevents it from bellowing out too wide, but also allows you to adjust its position and orientation to work with whatever you’re cramming in there. I found it worked great positioned horizontally to create a small shelf that the GoPro stalk could rest on while burying the lesser-used items out of the way.
Available in Black and Digital Camo in Small, Medium, and Large sizes. Retail ranges from $60 to $75.
The Top Tube Bag


One of my favorites is the Outpost Top Tube Bag. Among “bento box” style bags, I’ve found this one to be one of the most stable and secure. Plus, you can zip the zippers toward the front and out of the way so the little pull tabs don’t flutter against your knee.
It’s easy to open while riding, and it opens wide for great access. I fit my iPhone XS Max, a GoPro with Bite Valve mount, and a small bottle of hand sanitizer in there. Plus a piece of bubble wrap to keep the screens protected from chafing. If you’re more focused on snacks, it can easily hold four bars plus a few gels.
Bonus points for coming with both bolt-on mounting points and removable Velcro straps with non-slip, non-scratch backings. If you’re just looking for a way to add a bit more stuff for longer rides, this one’s a standout. Retail is $50.
The Saddle Bag
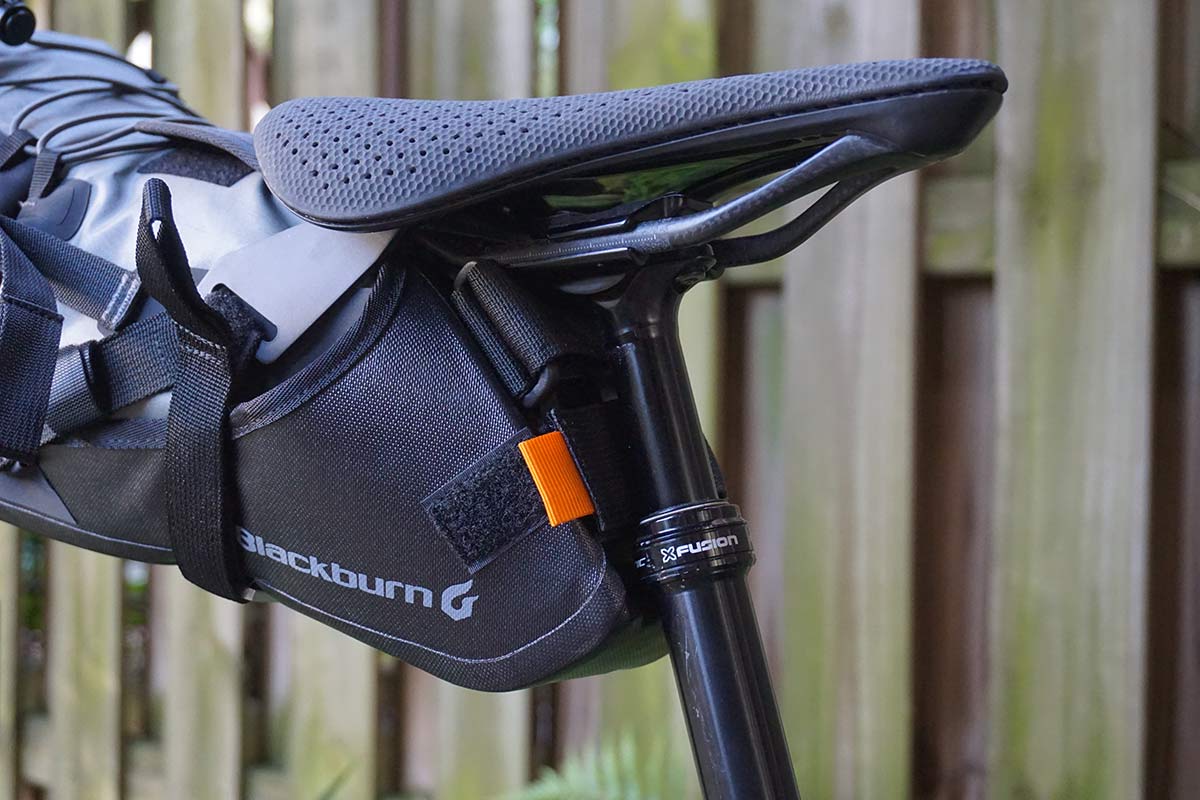
The Outpost Saddle Bag is a bit of a beast. Or, at least, it’s mounting system is, and kudos to them for thinking through the ability to use it on standard and dropper seatposts.
First, we’ll show it on the dropper post on the Creo SL. Look closely at the photo above and you’ll notice it’s not actually touching the post. The straps don’t go around the post, so there’s no restriction to lowering it (other than making sure it doesn’t drop so low that the bag would hit your tire).
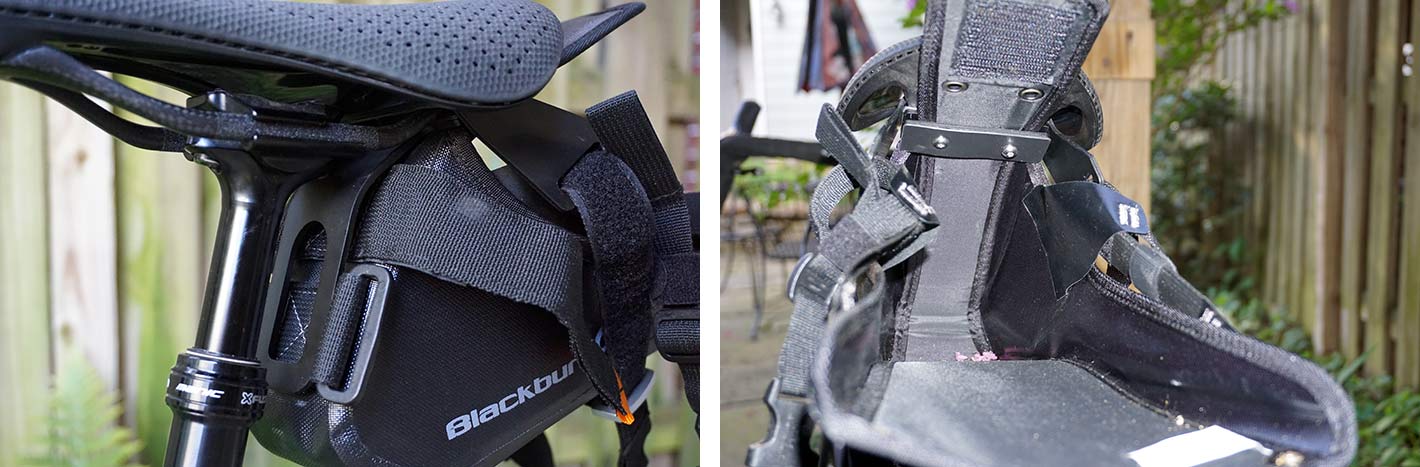
To do this, they include a bent metal plate that gets sandwiched between the standard mounting plates that you bolt onto your saddle’s rails.
Either way, you’re bolting a mounting plate onto the back of your saddle’s rails, so we’d maybe advise against putting it on an extremely expensive unit like the Specialized Power Mirror printed-carbon saddle with carbon fiber rails…but you do you. It’s worth mentioning that there wasn’t a scratch on the rails after our trip.

For traditional seatposts, including the split carbon leaf-spring style post Canyon uses on higher-end models, you simply clamp the rails and wrap alternating, heavy-duty Velcro straps around the post.
Herein lies both strength and, well, just something to think about. The clamping mechanism is rock solid, but it takes 5 minutes or so to install. Or remove. So, it’s not a saddleback you’ll just slap on the bike for a quick trip to the store, and the “hammock” that the dry bag sits in is far too large to just leave on your daily-use bike.
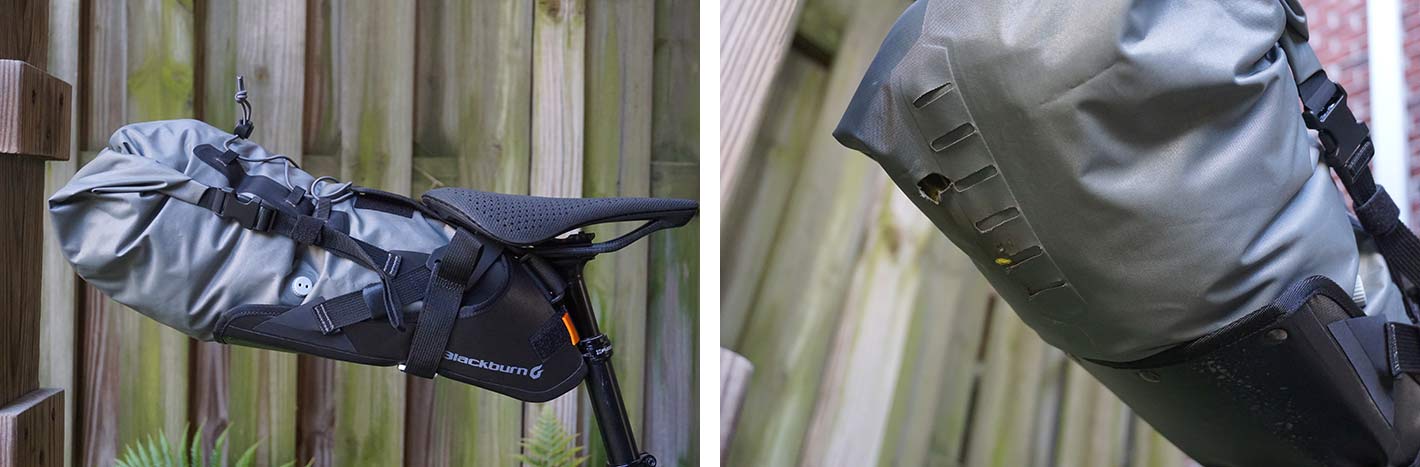
The upside is that the bag is nestled inside very securely. And since the cradle (mount, hammock… call it what you like) is bolted into place, it prevents the bag from sagging or swinging around. Assuming you install it correctly that is.
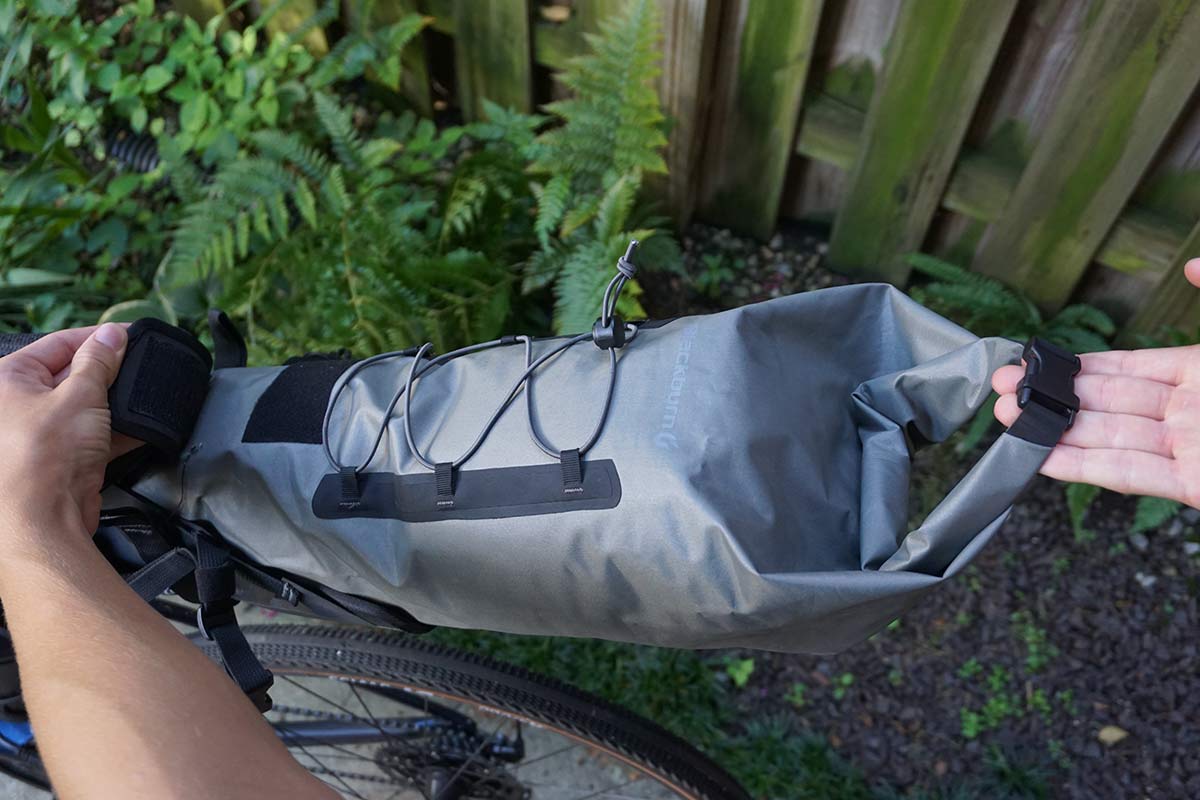
To do it right, take advantage of the air release port to compress your gear as much as possible, then close the valve to prevent it from sucking air back in. This also makes it easier to stuff more in since it’s not creating a bubble at the bottom.
Then roll the rear end tightly and completely, rolling upward toward the top of the bag. Then snap the clips…
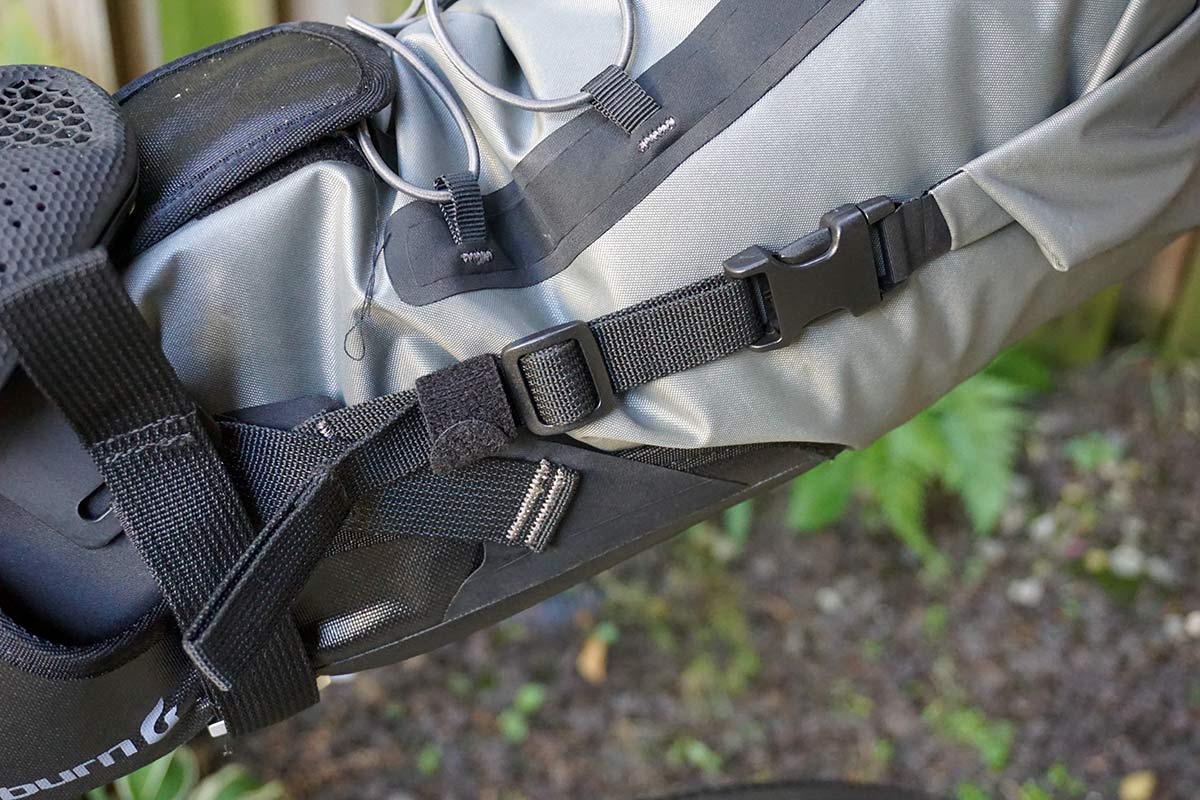
Like this. Yes, you could snap them closed at the end of the bag, but it’ll just unroll. And it won’t be fully captured inside the cradle. Blackburn put opposite clips on each side, so you can also use it as a standalone dry bag, which is a nice touch, but…
The intermediate buckle on the non-drive side strap makes it difficult to pull that side tight without multiple minor adjustments to the strap on either side of that buckle. The bags come with small Velcro straps that can be placed anywhere, and they (along with just tucking the straps under themselves) seemed to provide all the extra security needed.
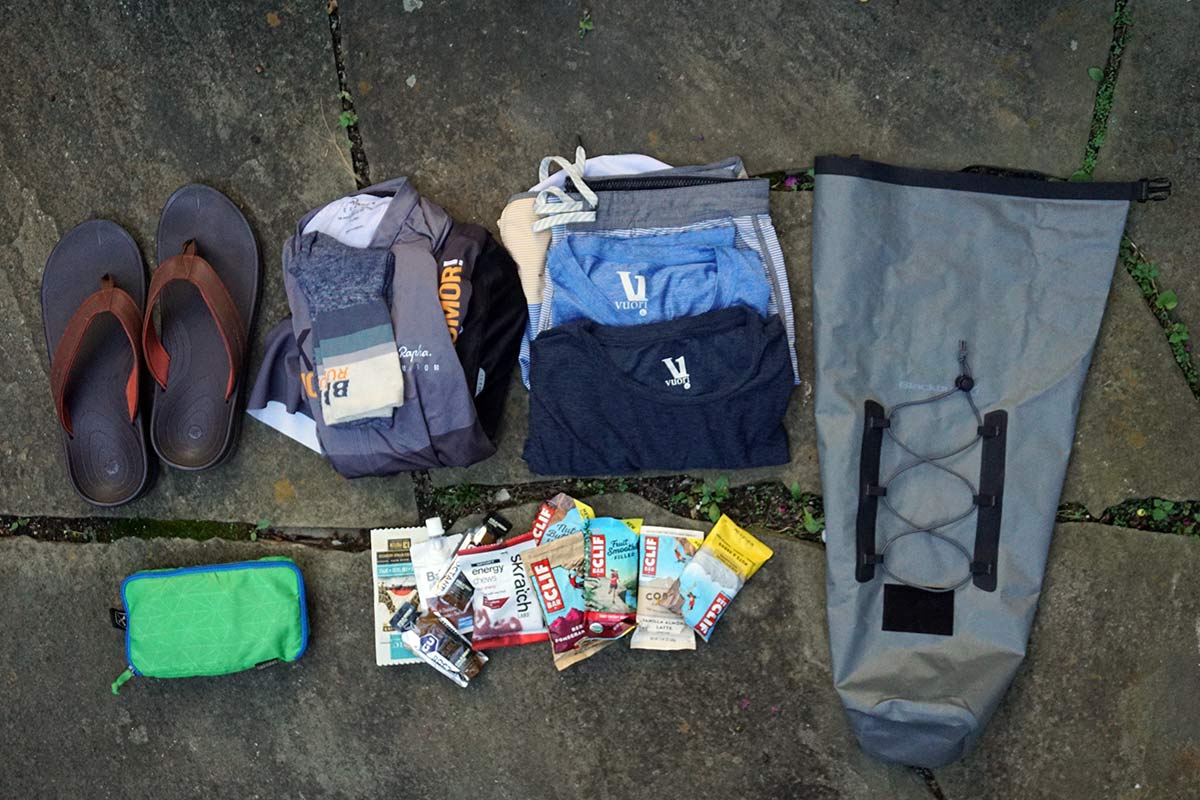
Here’s what I packed into my bag:
- swimsuit
- 2x tee shirts
- cycling kit w/ socks
- flip flops
- charging cables (inside the green case)
- Extra snacks
As such, I had room to spare. My son packed his clothes plus a spare e-bike battery, an extra water bottle, and a few other things in and filled it up with much heavier stuff. Even still, the bag remained stable and upright throughout the ride (as long as we packed and attached it properly).
One little design detail is worth noting. The loops on the underside of the dry bag are great for a light, but only if you half-fill the bag. When it’s stuffed full, they’re completely under the bag and your rear light would be aiming at the ground.
If you’re looking for a very stable saddle bag that can handle a real load, this one’s worth a look. Retail is $170.
Blackburn tools, pumps, CO2 & bottle cage reviews
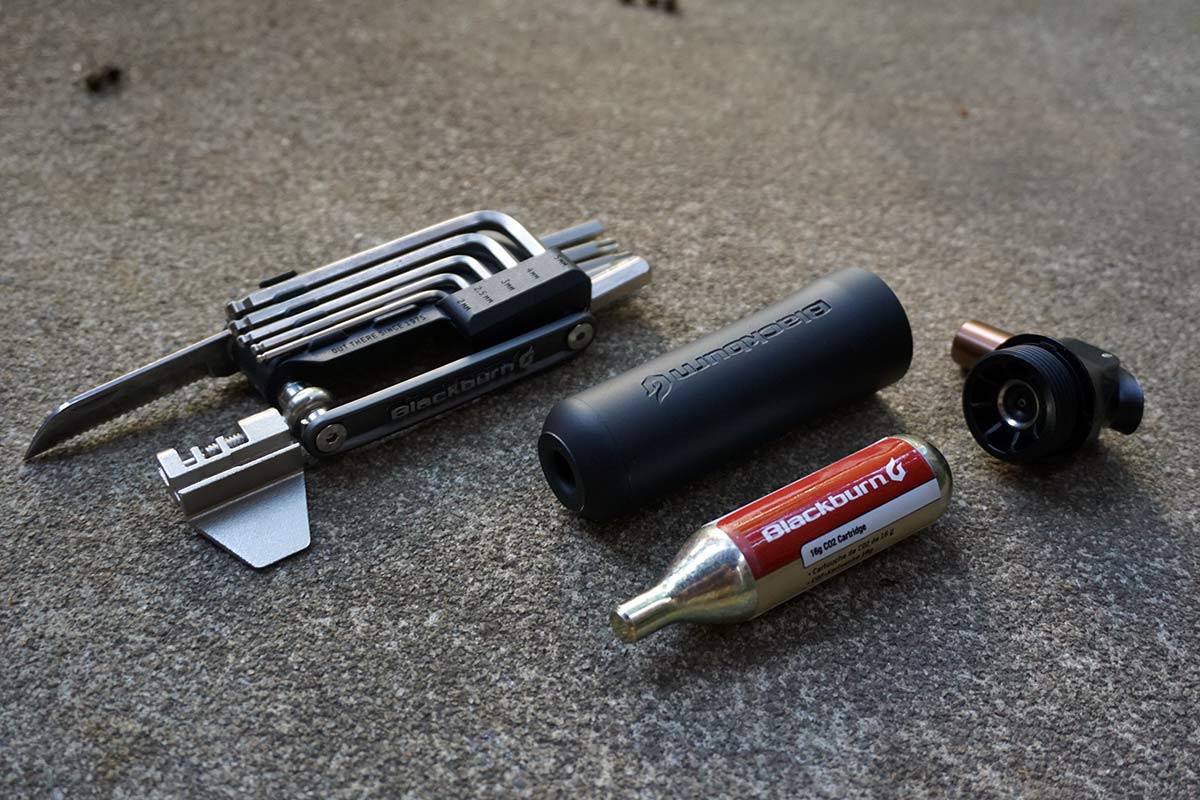
To support the ride, we called in what we thought would be Blackburn’s best tools and inflation devices, plus two different bottle cages. The Wayside Multi-Tool and Outpost CO2 inflator are, along with the rest of the items here, true standouts. Here’s why:
The Wayside is a heavy tool, but it gets a lot done in a relatively small package. In addition to the normal T25, flathead, Phillips head, and H8 for pedals, it adds a chain tool and a small blade.
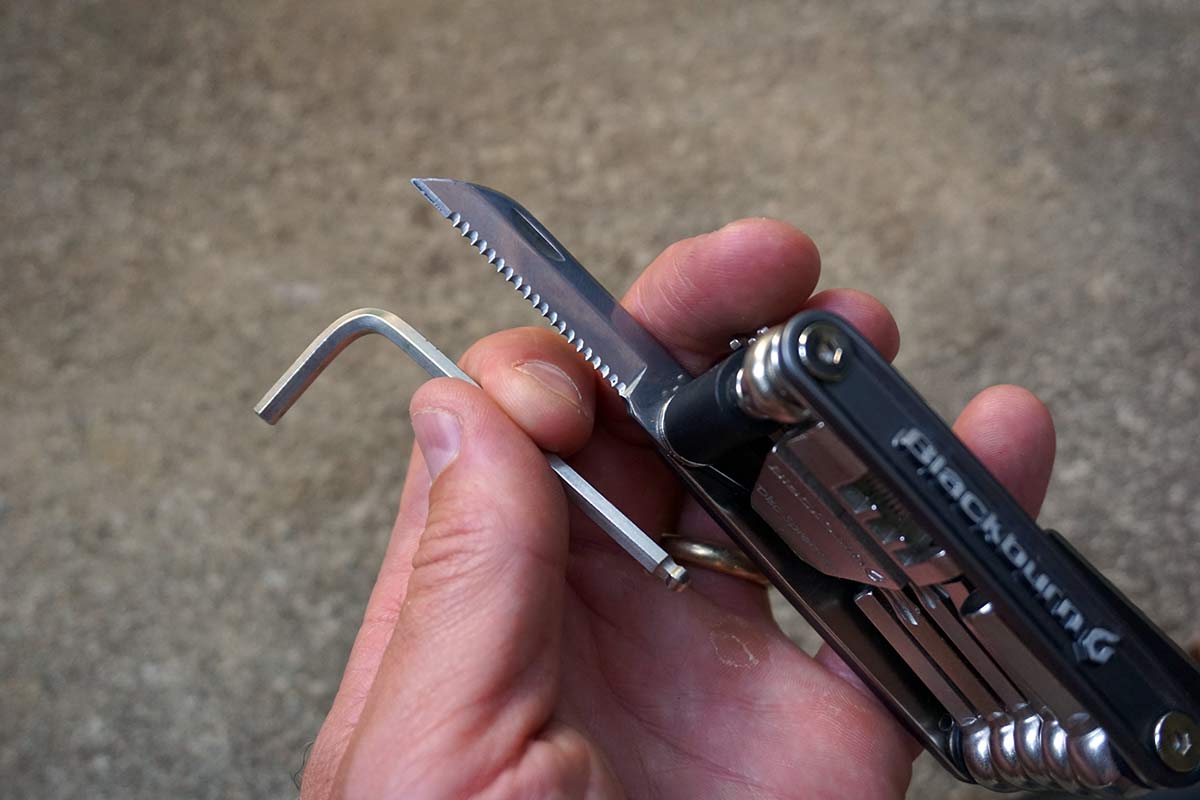
If you’re really getting out there, or not sure what days on the road may bring, having a small blade is handy. But what really makes this tool shine is the separate and individually removable hex wrenches. With all of the commonly needed sizes, being able to pull out and use an L-shaped allen key makes most any repair waaaay easier than fiddling with the fold-out, too-short versions on most other tools. Oh, and it’s only $35.
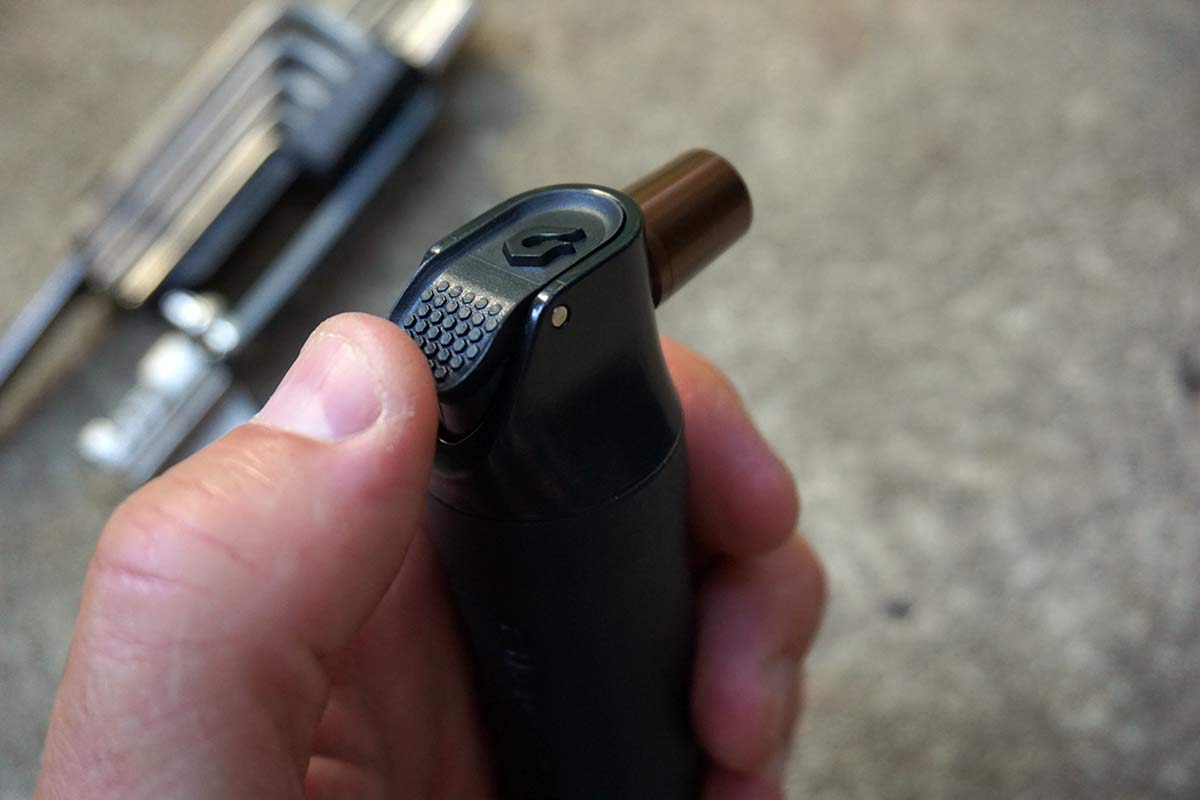
The Outpost CO2 inflator uses cheaper, widely available non-threaded CO2 canisters, which is my personal favorite due to their cost. And, it encloses the cartridge into a plastic case with an easy-to-use thumb button. No more frozen hands or wasted gas. Compared to other similar devices, this one’s quite compact, too. Retail is $25.
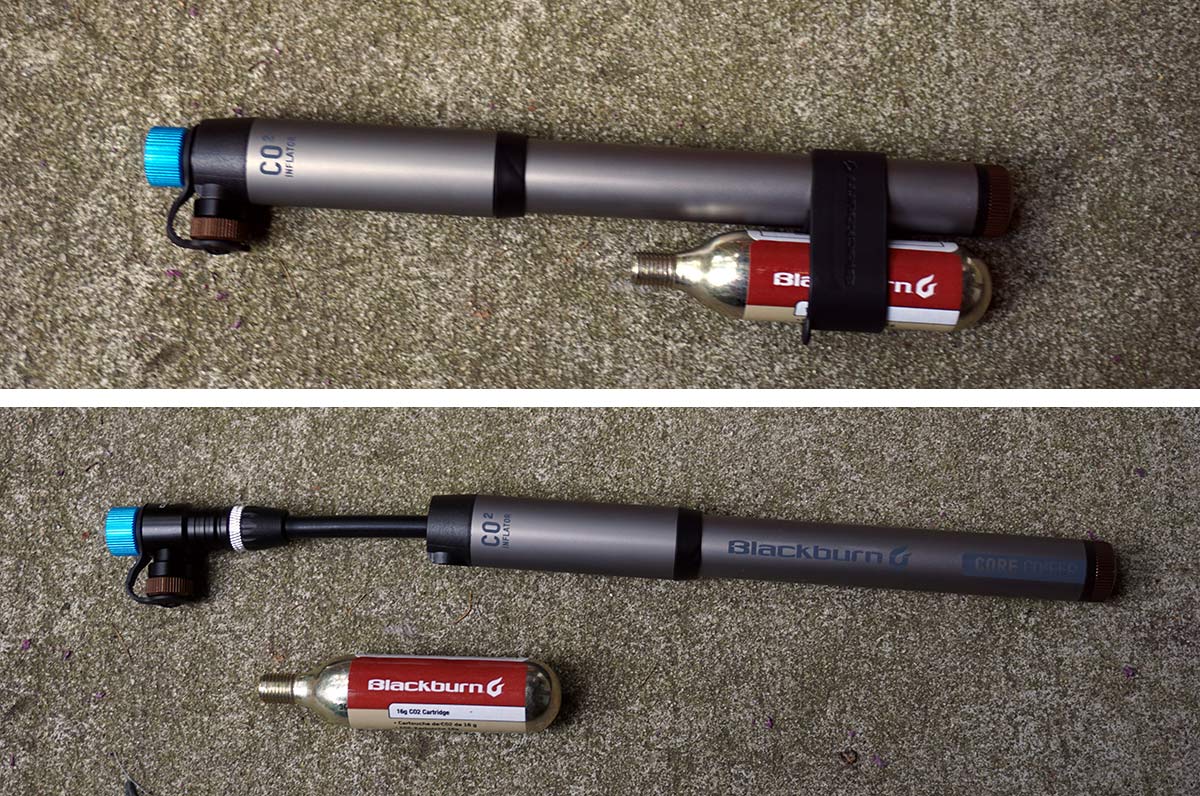
The Blackburn Core CO2fer combines a mini pump with a CO2 chuck in a compact package. It comes with a frame mount that nestles under a bottle cage, and the rubber sleeve shown above that holds the CO2 cartridge next to the pump for secure jersey pocket or hydration pack storage.
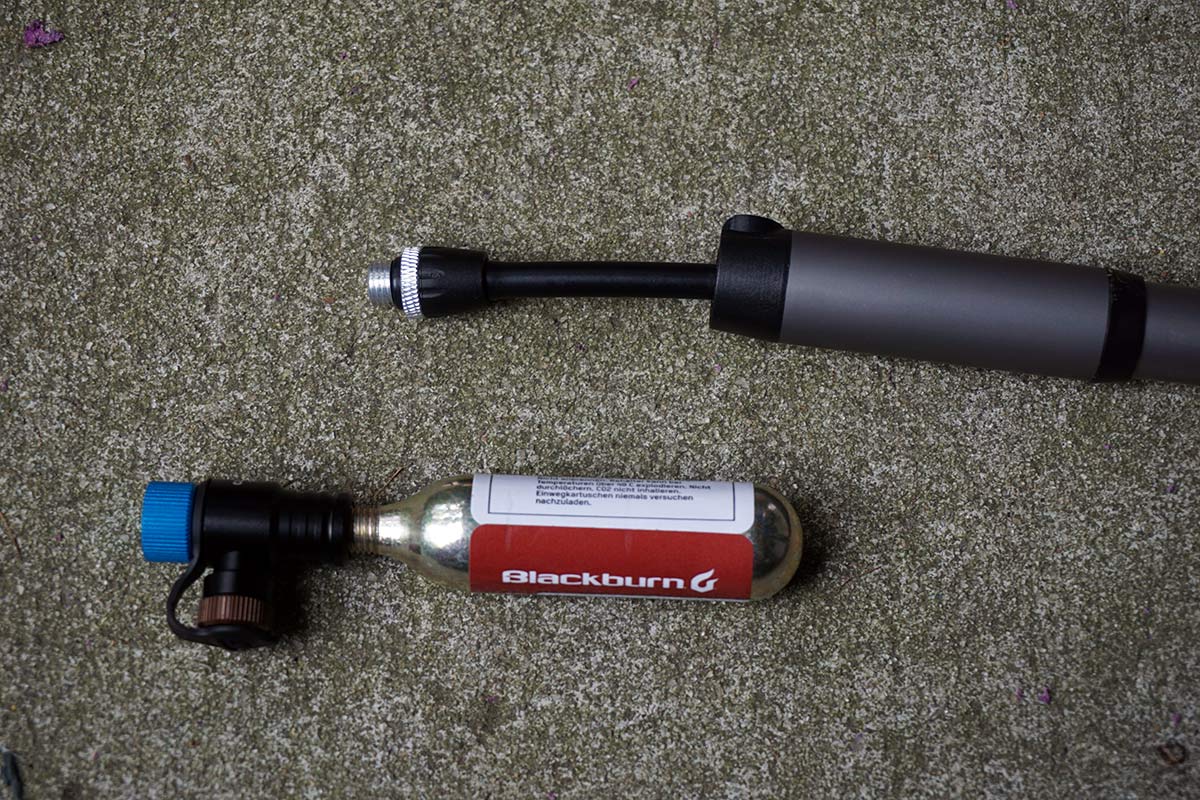

The design uses a dual purpose chuck that works for both the pump and the CO2. Thread the CO2 cartridge in, then use the blue release valve to meter out the compressed gas and inflate your tire. Maybe use that rubber sleeve to keep it from freezing your hands.
All in, with all the parts and the cartridge and frame mount, it weighs in at 192g…not bad for all that. Retail is $45.

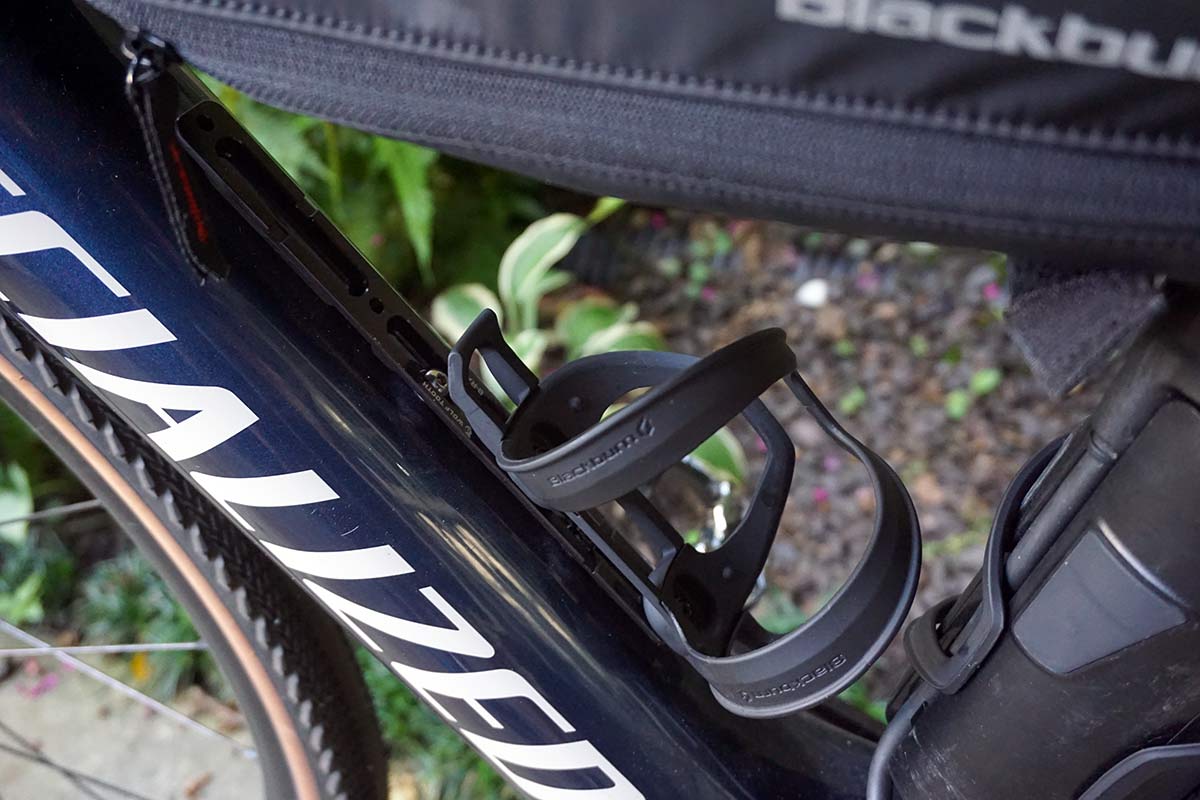
The frame mount keeps the pump and CO2 secure, and out of the way. It’s shown here under the Clutch Carbon Bottle Cage, which I chose for its simple design and incredibly lightweight (just 22g on our scale).

The only caveat with these is that I added washers since the extended bolts used to go through both the cage and pump mount had very small heads…and the slots on the cages seemed just a bit wider than necessary. But, those slots run a full half-length of the cage, letting me adjust their position with far more freedom than traditional cages!

We chose side entry bottle cages because the frame bags would prevent top-down bottle insertion. The Clutch Carbon cages worked great, holding the tallest Camelbak bottles securely and without incident. The only trick with bottle insertion is to start with the bottom of the bottle at the bottom of the cage, then tilt it in sideways. Once I retrained myself with that motion, they were awesome. At $55 – $58, they’re not cheap for a cage but reasonable for an ultralight carbon fiber cage that actually works.
They come in red, black, blue, and gray accent colors, in your choice of left- or right-hand entry.
The others in our group used the Wayside Side Entry bottle cages, which are a durable plastic and slightly heavier but cost only $25.
They use a two-piece design, with a base plate that has the lower lip to keep the bottle from sliding all the way through, and the main cage. This allows it to be left- or right-hand entry simply by rotating the cage to either side.

This design is thicker, though, so some of the really short bottle cage bolts (like on the Creo SL) aren’t long enough to properly secure the cage. So, make sure you get some longer bolts, especially if you’ll be using one of them for a heavy auxiliary e-bike battery!
Overall, the Blackburn Design equipment performed flawlessly. The bags are easy to open and use on or off the bike and come in a variety of frame bag sizes to fit almost any bike. Equally important, they didn’t scratch or rub the finish off any of the bikes, even with plenty of sweat to facilitate.
The tools, pumps, and other goods are well thought out, are easy to use, and are fairly priced. I’d recommend taking a look through Blackburn’s catalog as you start planning your next big ride, or just need a reliable repair partner for the short ones. Huge thanks to them for supporting this trip!
Learn more at BlackburnDesign.com.